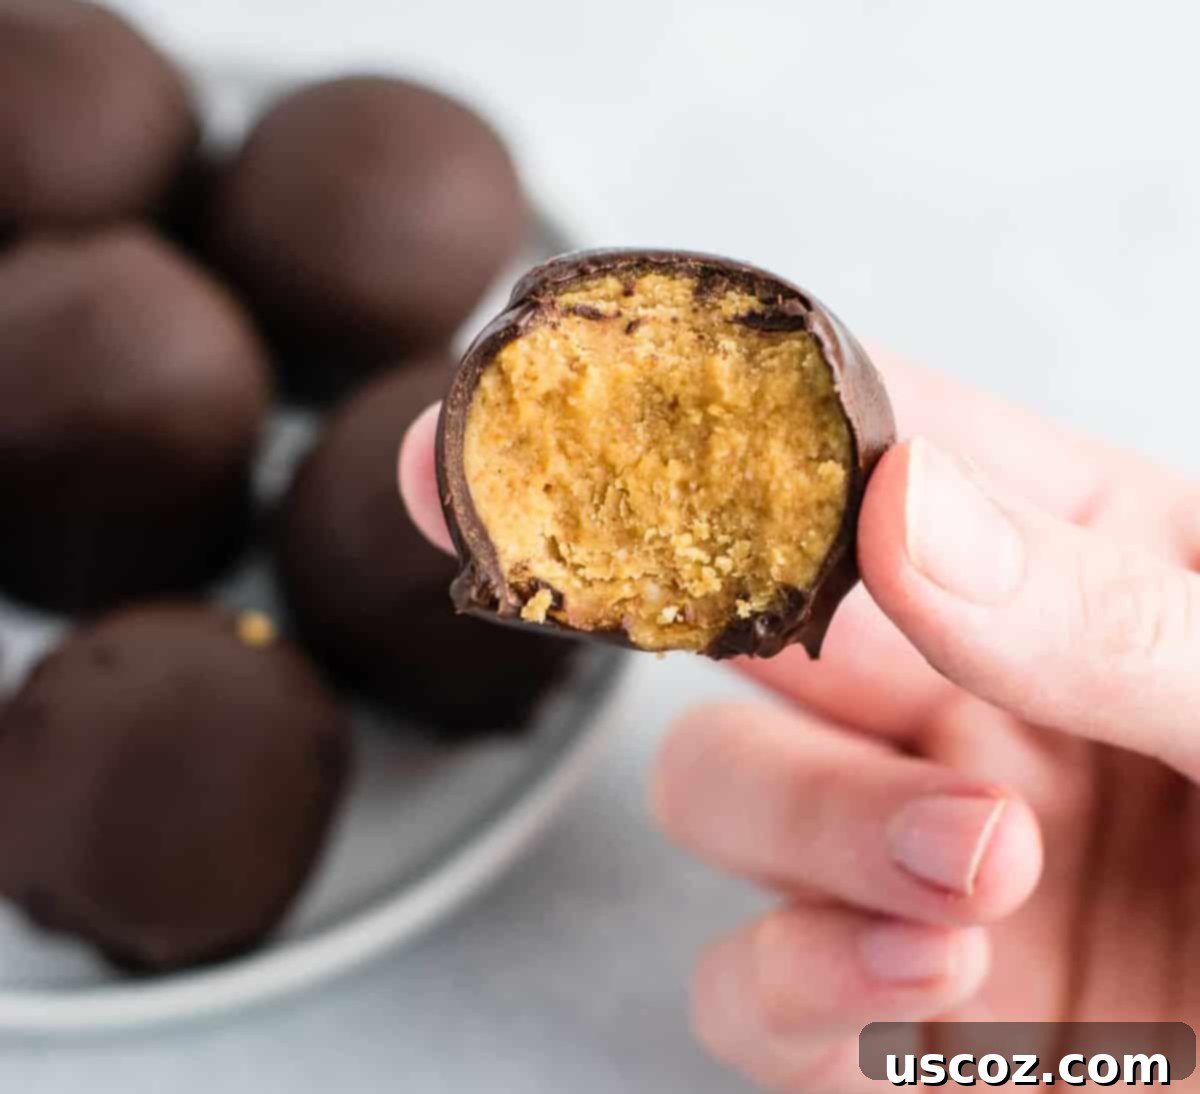
Irresistible No-Bake Peanut Butter Truffles: Easy Vegan & Gluten-Free Delights
Looking for the perfect holiday treat that’s both easy to make and universally loved? These incredible No-Bake Peanut Butter Truffles are your answer! Naturally gluten-free, vegan, and astonishingly simple to prepare, they are a festive delight that requires zero oven time. Get ready to impress your family and friends with a healthier alternative that doesn’t compromise on flavor.
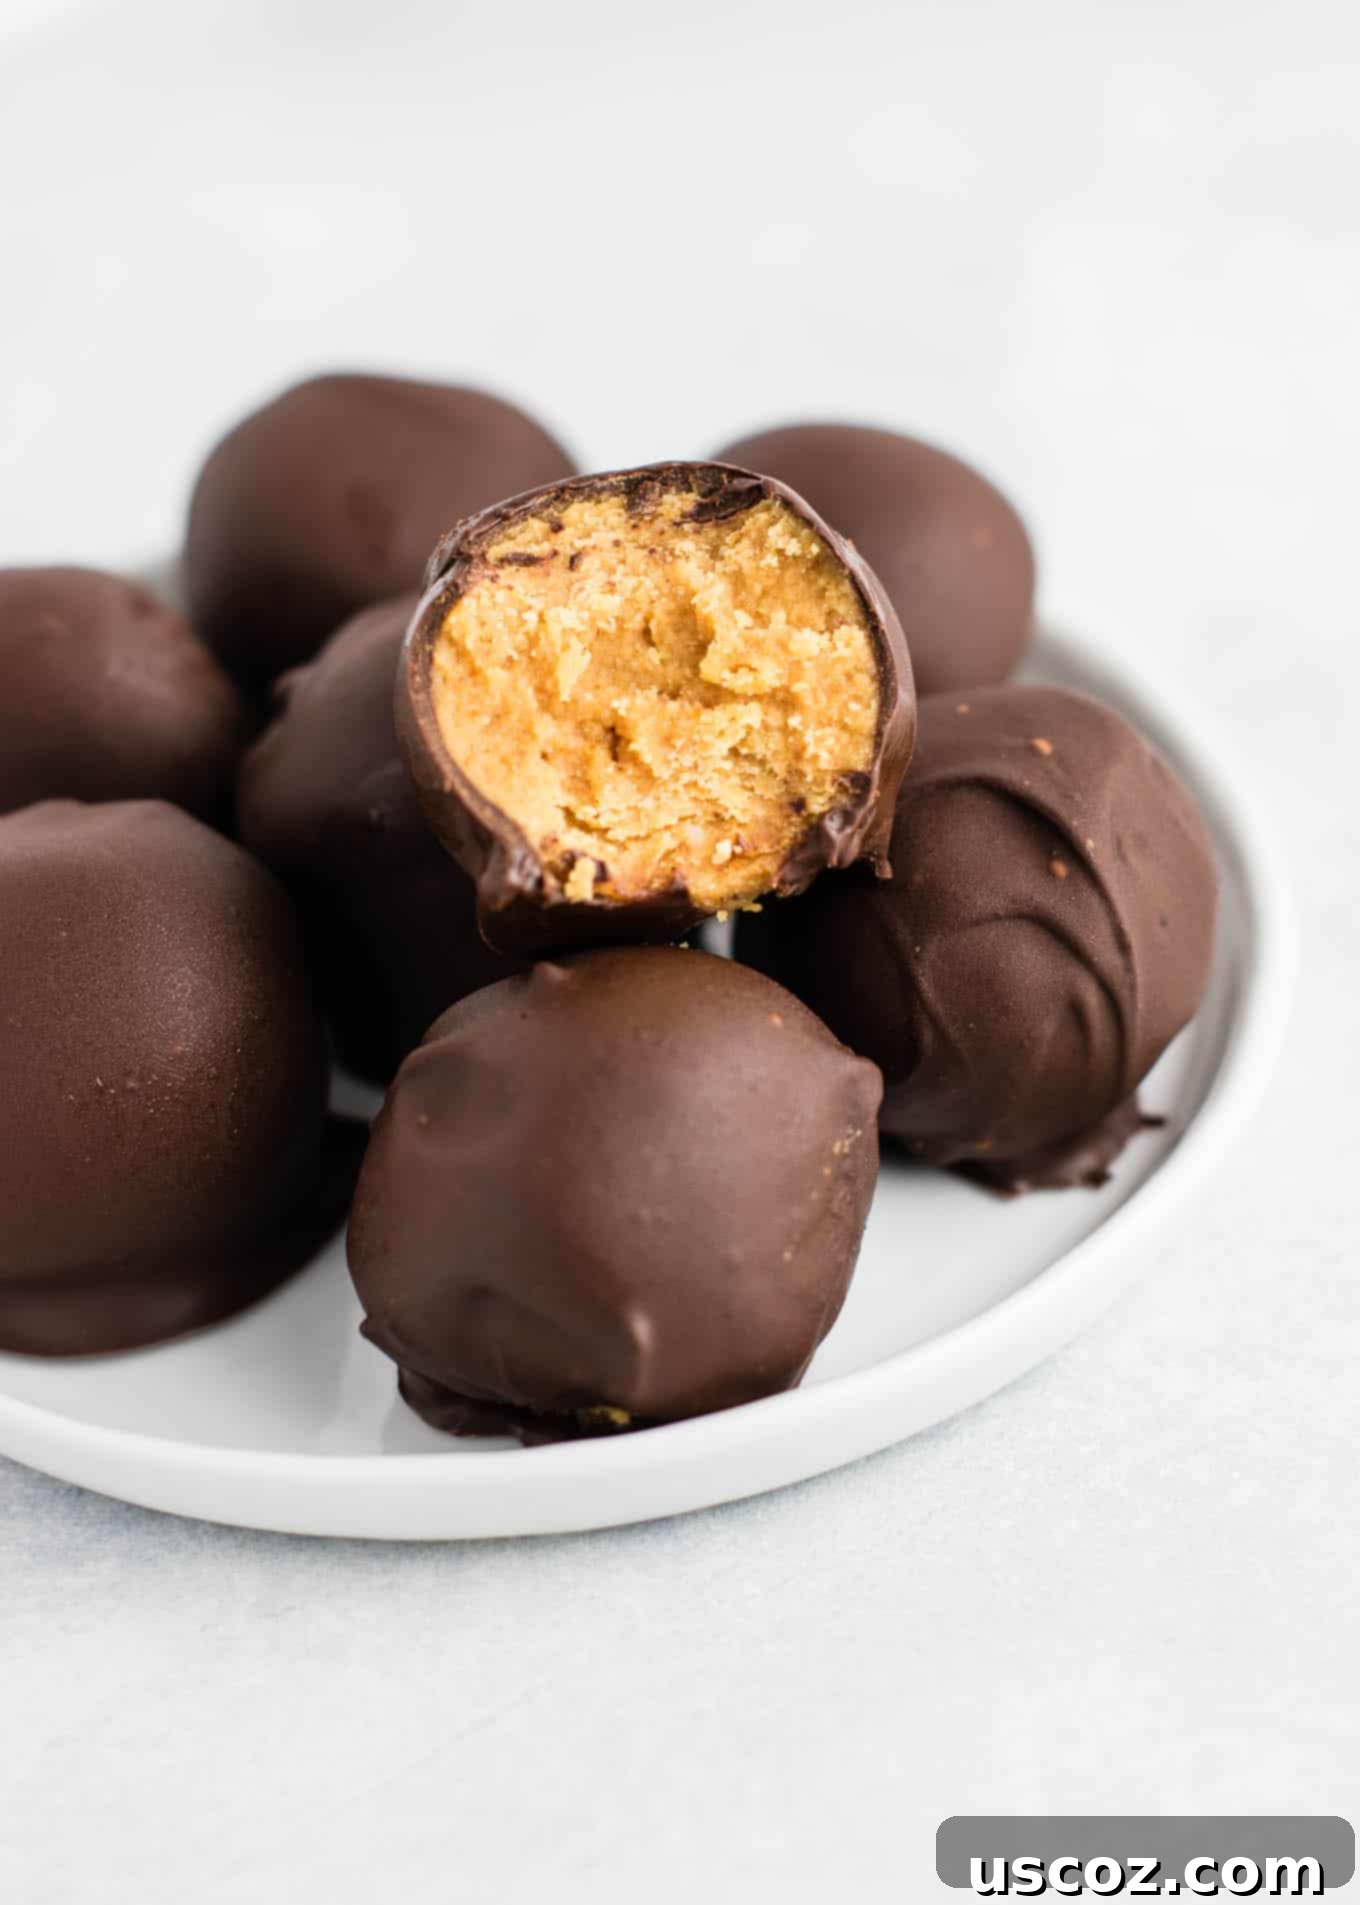
Every holiday season, I find myself eagerly anticipating the moment I can whip up a batch of these healthy no-bake peanut butter truffles. They’re not just a dessert; they’re a tradition, a delightful bite that evokes the classic taste of a buckeye but with a wholesome twist. The best part? You don’t need to be a seasoned confectioner to create these culinary gems. Even if you’ve never made a truffle before, you’ll find this recipe incredibly straightforward.
With just a handful of simple ingredients and about 20 minutes of active prep time, you can have a batch of these rich, decadent treats ready to chill. They’re perfect for impromptu gatherings, festive celebrations, or simply to satisfy that undeniable craving for chocolate and peanut butter. Let’s dive into how you can make these delightful vegan and gluten-free peanut butter truffles your new go-to holiday dessert!
Essential Ingredients for Your Peanut Butter Truffles
Creating these heavenly no-bake peanut butter truffles starts with selecting the right ingredients. Opting for high-quality, natural components ensures the best flavor and texture. Here’s what you’ll need:
- All-Natural Creamy Peanut Butter: This is the star of our truffles! Look for a brand where the only ingredients are peanuts and salt. Avoid those with added sugars or oils, as they can alter the consistency and flavor of your truffles. Natural peanut butter provides that rich, authentic taste we all love.
- Pure Maple Syrup: As a natural sweetener, maple syrup not only adds a lovely depth of flavor but also helps bind the truffle filling together. Make sure it’s pure maple syrup, not pancake syrup, for the best results.
- Coconut Palm Sugar: This provides an additional layer of sweetness with a slightly caramel-like note, balancing the richness of the peanut butter. If you don’t have coconut palm sugar, a fine granulated sugar can work as a substitute, though it might subtly change the flavor profile.
- Coconut Flour: This unique flour is crucial for achieving the perfect truffle consistency. It’s highly absorbent, helping to firm up the peanut butter mixture so it’s easy to roll without being sticky. We’ll add this slowly to ensure we get just the right texture, as different peanut butter brands can vary in oiliness.
- Chocolate Chips: For the irresistible outer shell! Semi-sweet chocolate chips are a classic choice, but feel free to experiment with dark chocolate for a richer, less sweet truffle, or even dairy-free white chocolate chips for a different flavor profile.
- Coconut Oil: A small amount of coconut oil is added to the melted chocolate to create a smooth, glossy coating that sets beautifully and has a wonderful snap. It helps the chocolate melt more easily and prevents it from becoming too thick.
- Sea Salt: A pinch of sea salt in both the filling and the chocolate coating enhances all the other flavors, providing a delightful contrast and preventing the truffles from tasting overly sweet.
Step-by-Step Guide: Crafting Your Healthy No-Bake Peanut Butter Truffles
Making these truffles is a fun and simple process. Follow these detailed steps to create perfectly portioned, chocolate-covered delights.
Step 1: Prepare the Truffle Filling Base. In a medium mixing bowl, combine your all-natural creamy peanut butter, pure maple syrup, coconut palm sugar, and a pinch of salt. Use an electric mixer on medium speed to beat these ingredients together until they are thoroughly combined and smooth. This creates the wonderfully rich and sweet core of your truffles.
Step 2: Achieve the Perfect Consistency with Coconut Flour. This step is critical for rollable truffles. Gradually add the coconut flour to the peanut butter mixture, beating it in slowly. You’re looking for a consistency that is firm enough to roll into balls without sticking excessively to your hands, but not so dry that it crumbles. The exact amount of coconut flour needed can vary based on the natural oiliness and consistency of your peanut butter. For instance, if your peanut butter is quite drippy, you might need the full 1/4 cup, or even a touch more. If it’s already quite thick, you might need slightly less. Test the mixture by trying to roll a small piece; if it’s too sticky, add a bit more coconut flour a teaspoon at a time until it’s just right.
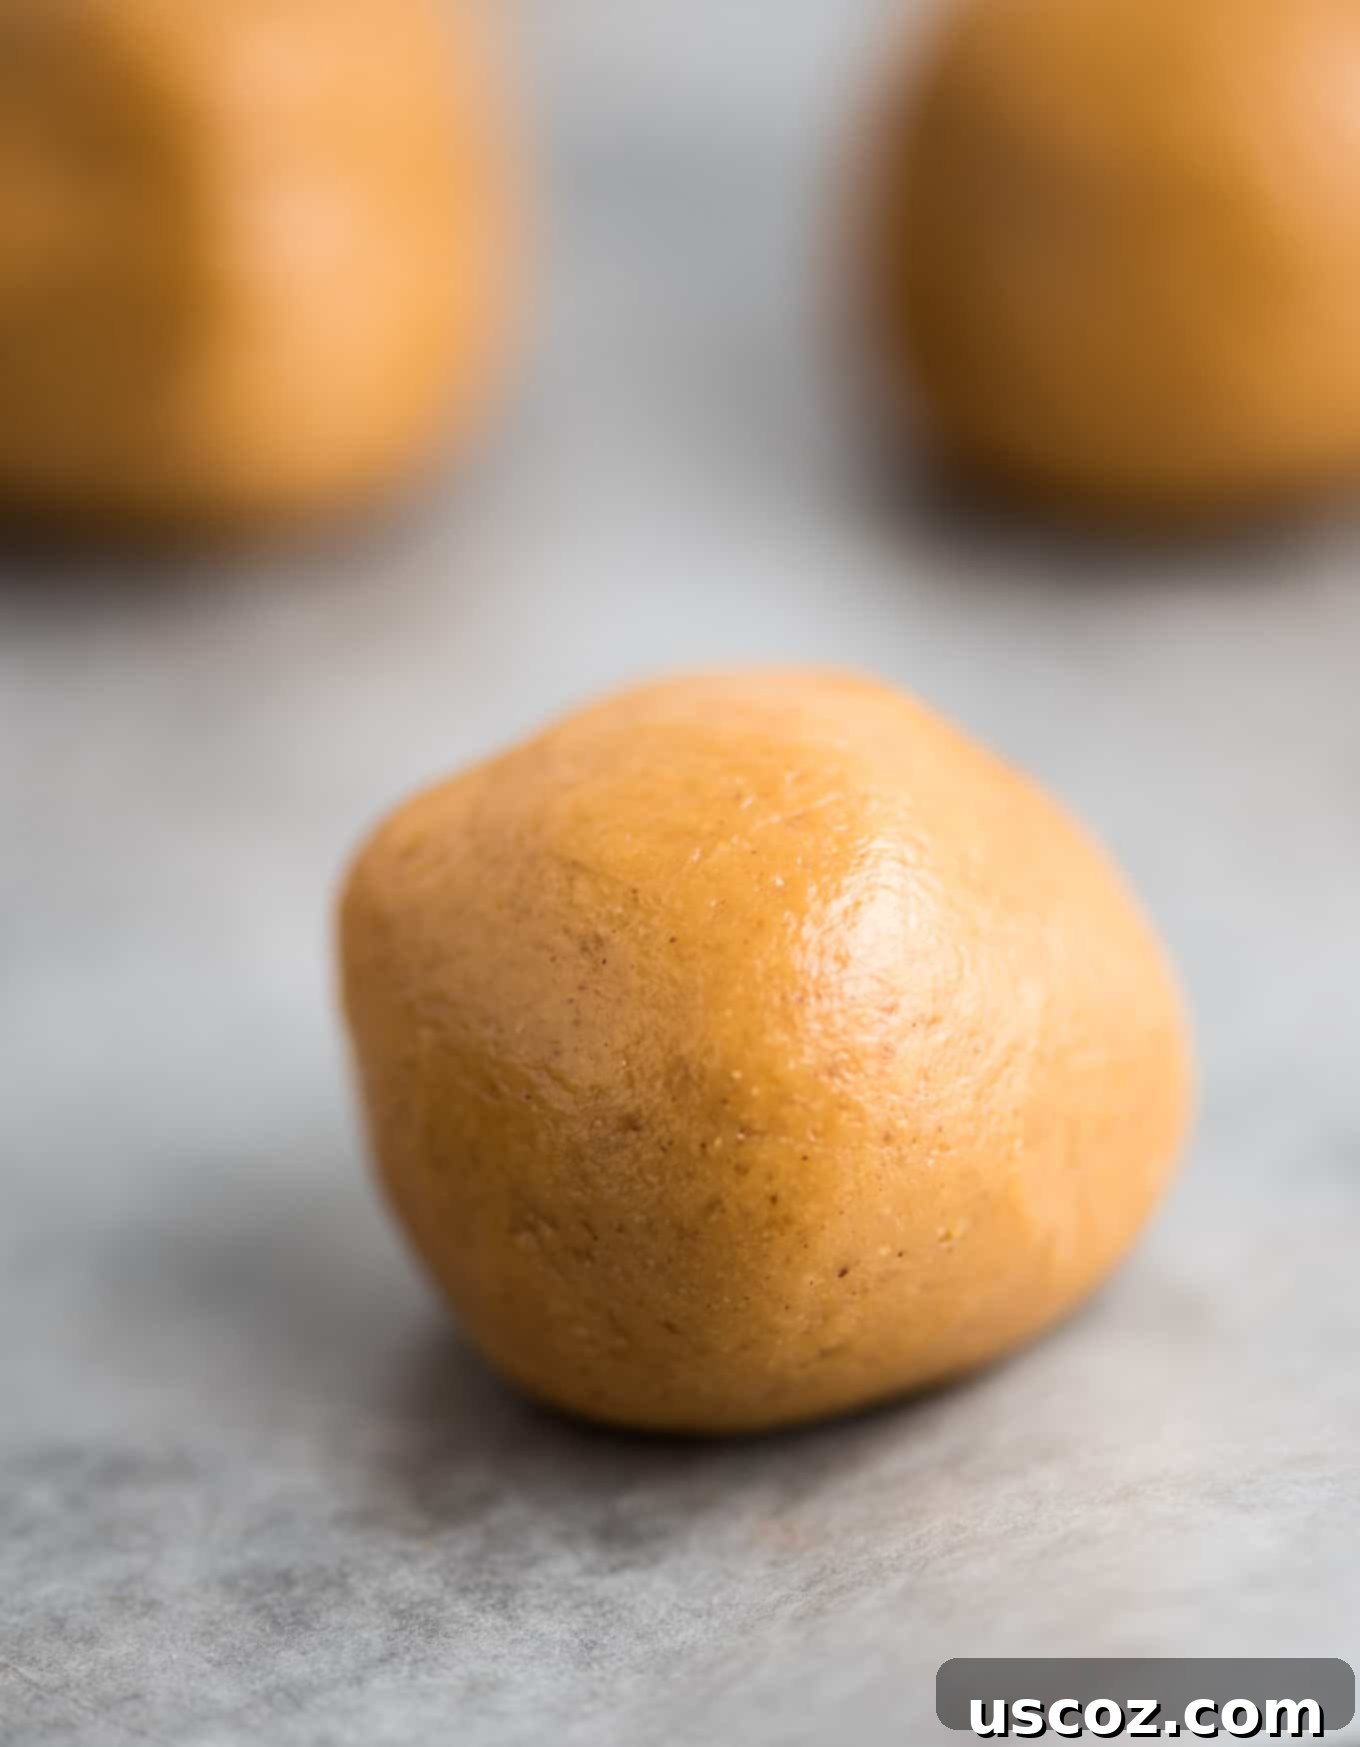
Step 3: Roll and Chill the Truffle Balls. Once your filling has the ideal consistency, take small portions (about 1 tablespoon each) and roll them into uniform, bite-sized balls. Arrange these peanut butter balls on a baking sheet lined with wax paper or parchment paper. This lining prevents sticking and makes them easy to remove later. Place the baking sheet in the freezer for about 5 minutes. This quick chill helps the balls firm up slightly, making them much easier to dip in chocolate without falling apart.
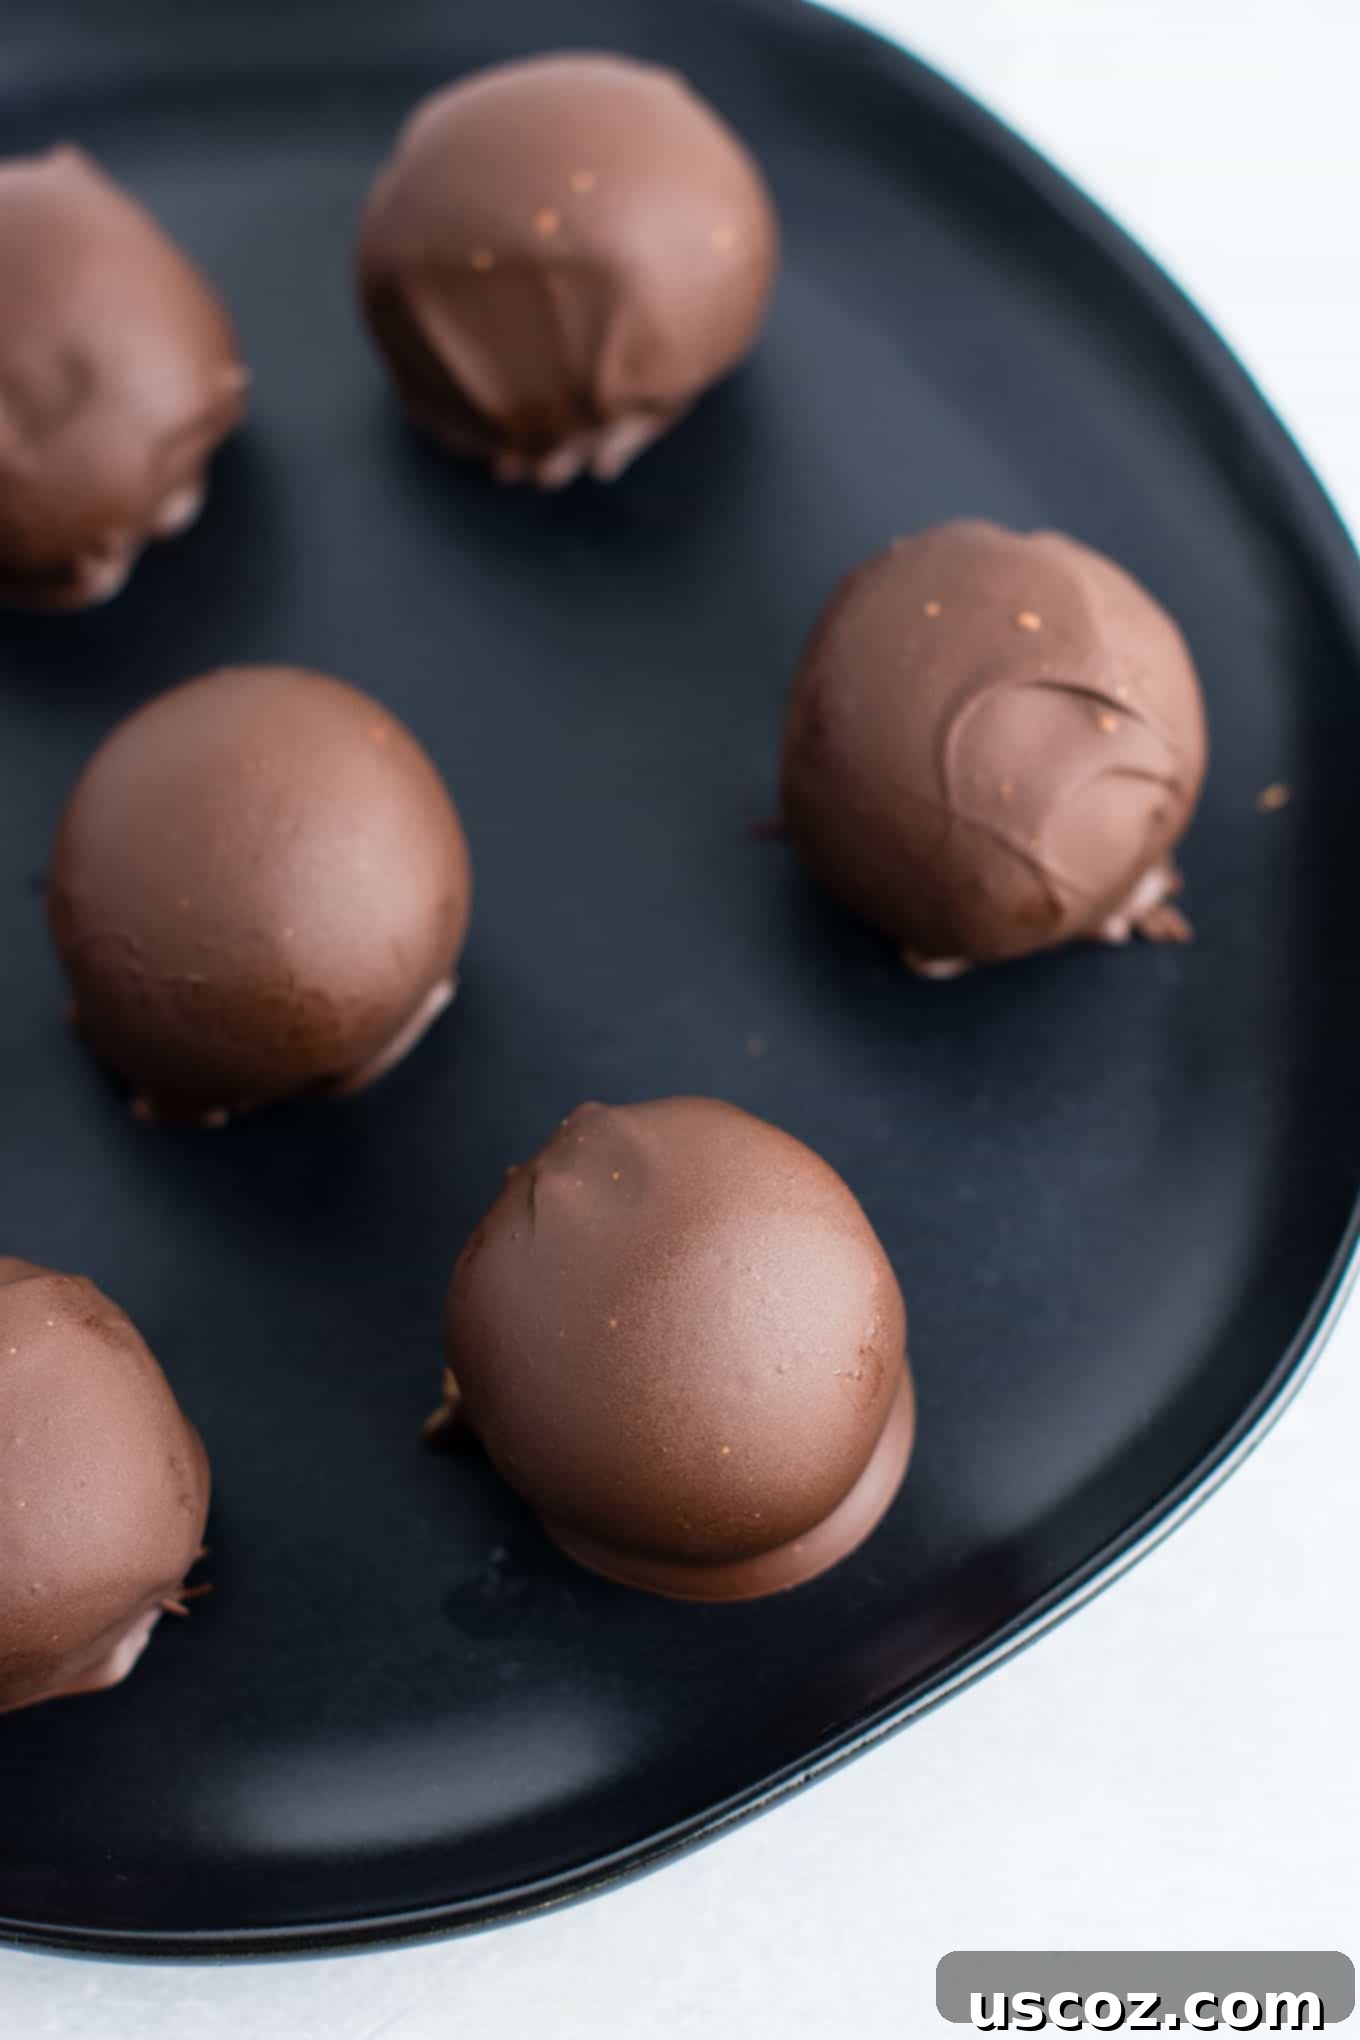
Step 4: Melt the Chocolate Coating. While your peanut butter balls are chilling, prepare your luscious chocolate shell. In a microwave-safe bowl, combine your chocolate chips and coconut oil. Microwave in short bursts (30 seconds at a time), stirring well after each interval, until the chocolate is fully melted and smooth. Be very careful not to overheat or burn the chocolate, as it can seize and become unusable. Alternatively, you can melt the chocolate using a double boiler method for more controlled heating. Once melted, stir in the sea salt to enhance the chocolate’s flavor.
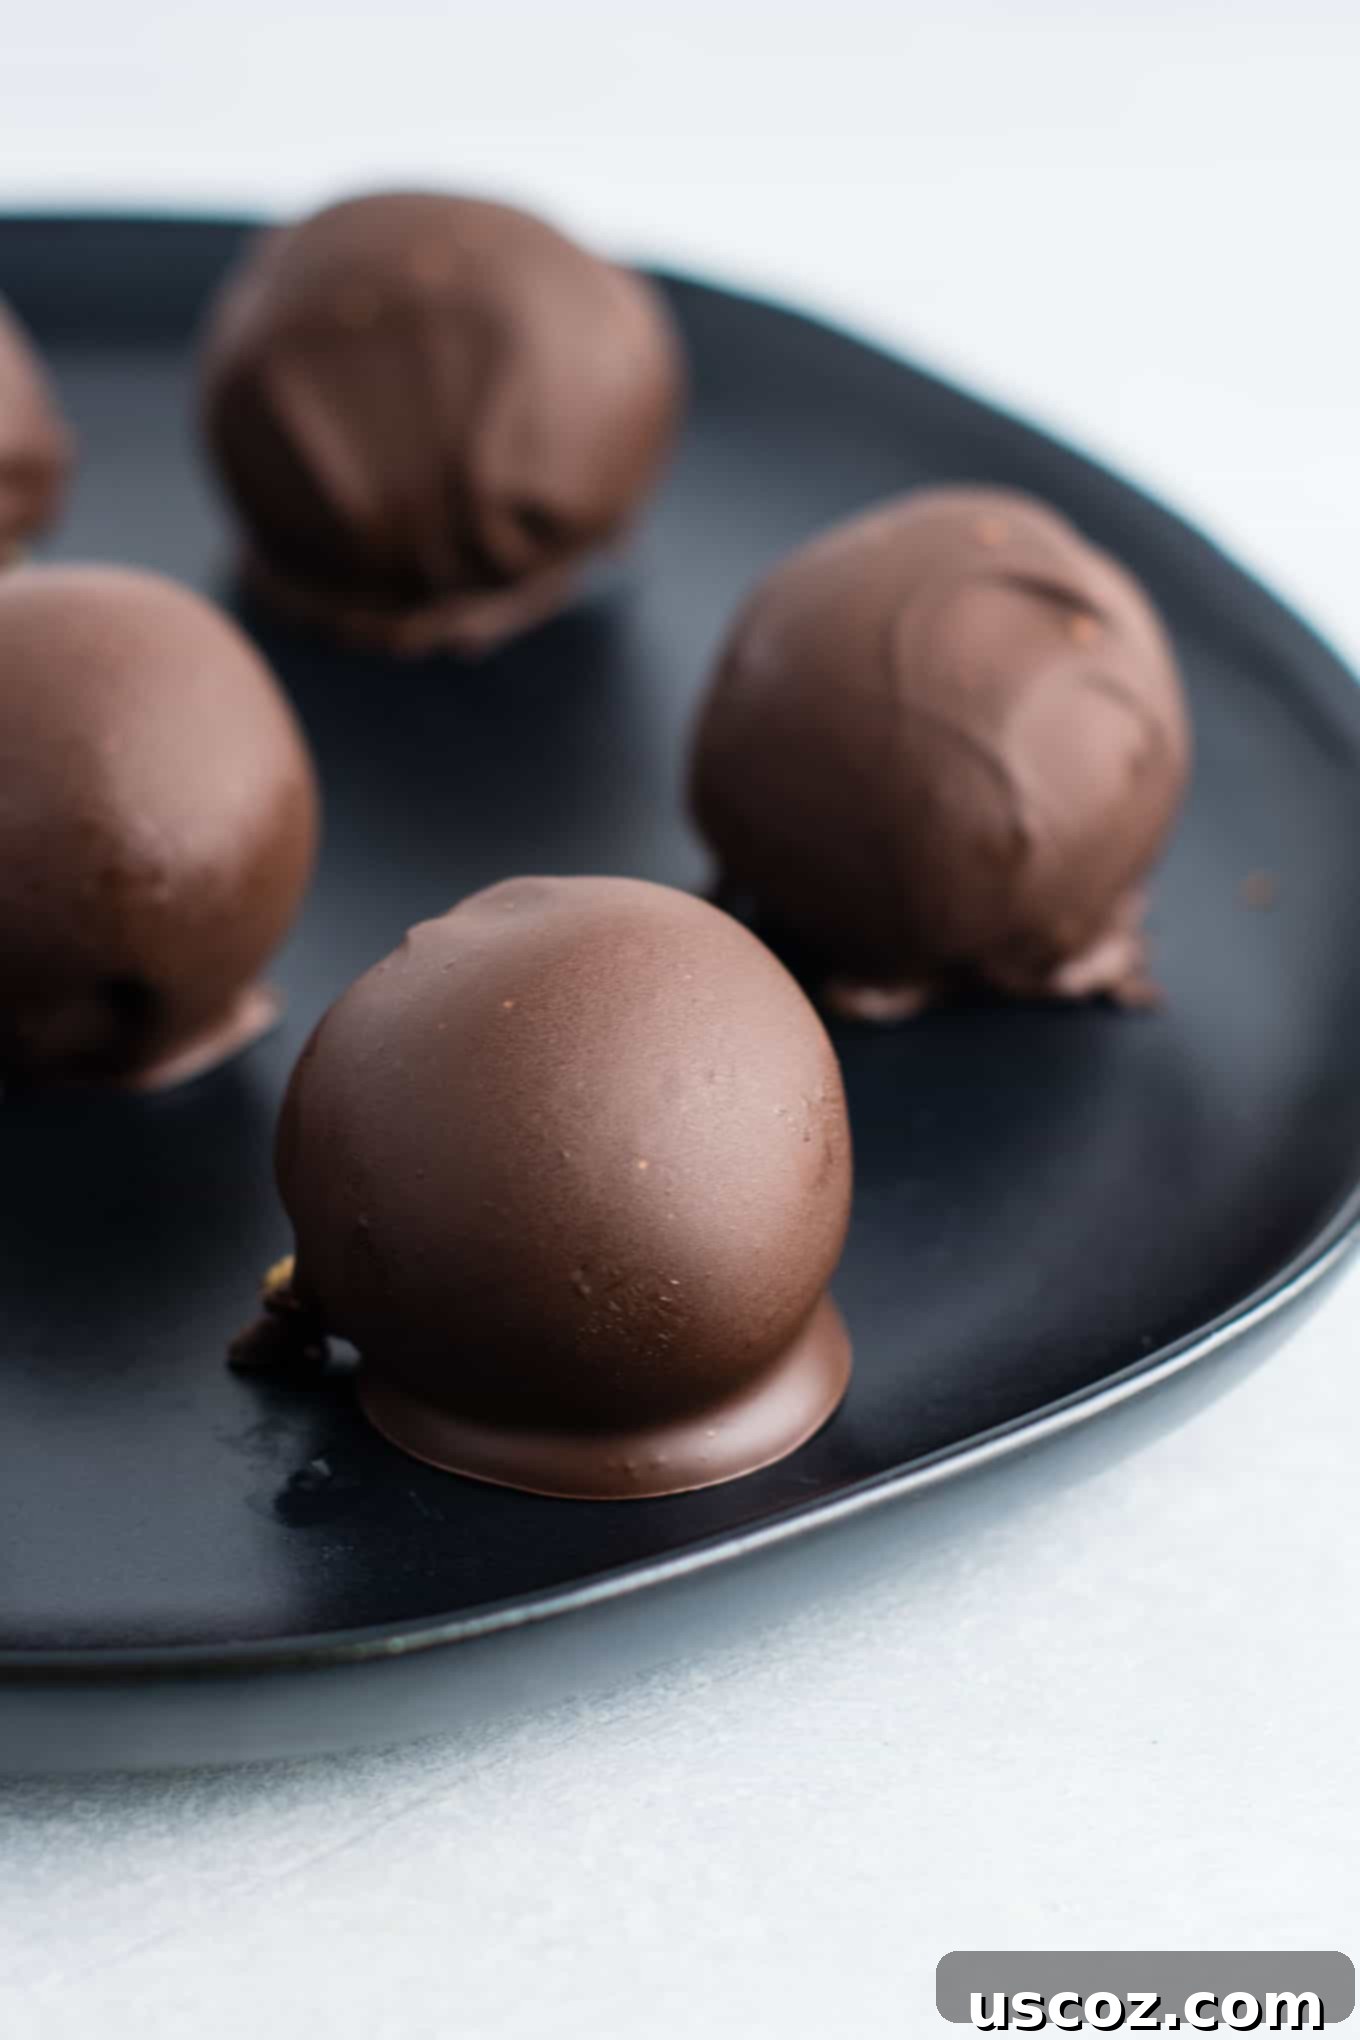
Step 5: Dip the Truffles in Chocolate. This is where the magic happens! Remove your chilled peanut butter balls from the freezer. Drop them one at a time into the melted chocolate. Use a fork (or a special dipping tool if you have one) to fully submerge each ball. Lift the truffle out, gently tapping the fork against the side of the bowl to allow any excess chocolate to drip off. For a flawless coating, use a spoon to drip chocolate over any bare spots. Then, carefully transfer the chocolate-coated truffles back onto the parchment-lined baking sheet. Don’t worry if your first few aren’t perfect – practice makes progress, and they’ll taste amazing no matter what! (If you’re new to dipping, a quick online tutorial for chocolate dipping techniques can be helpful, but it’s genuinely simple once you get the hang of it.)
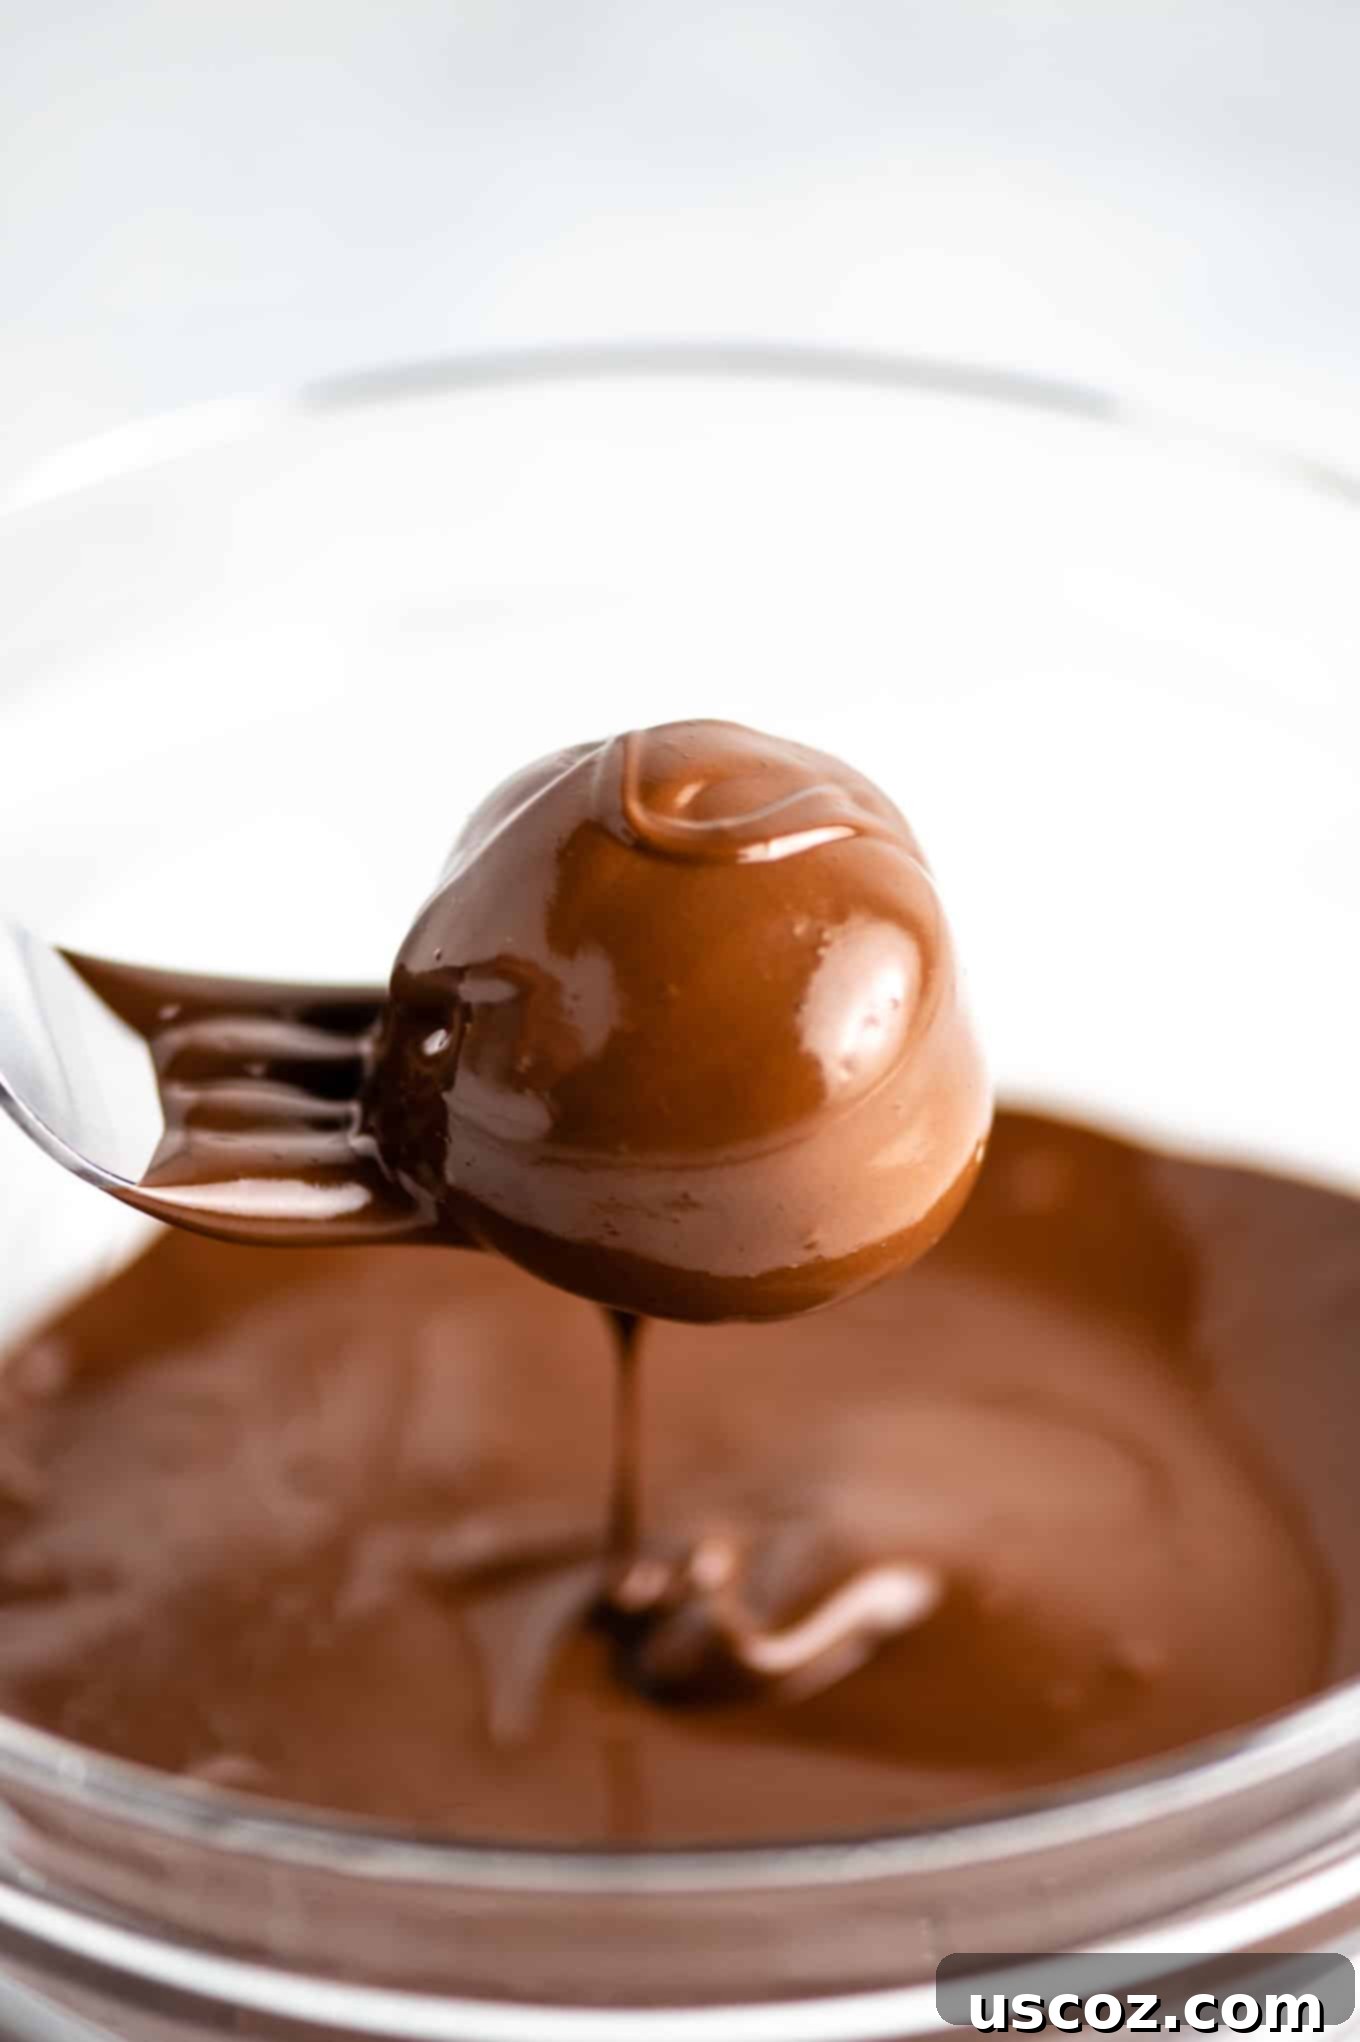
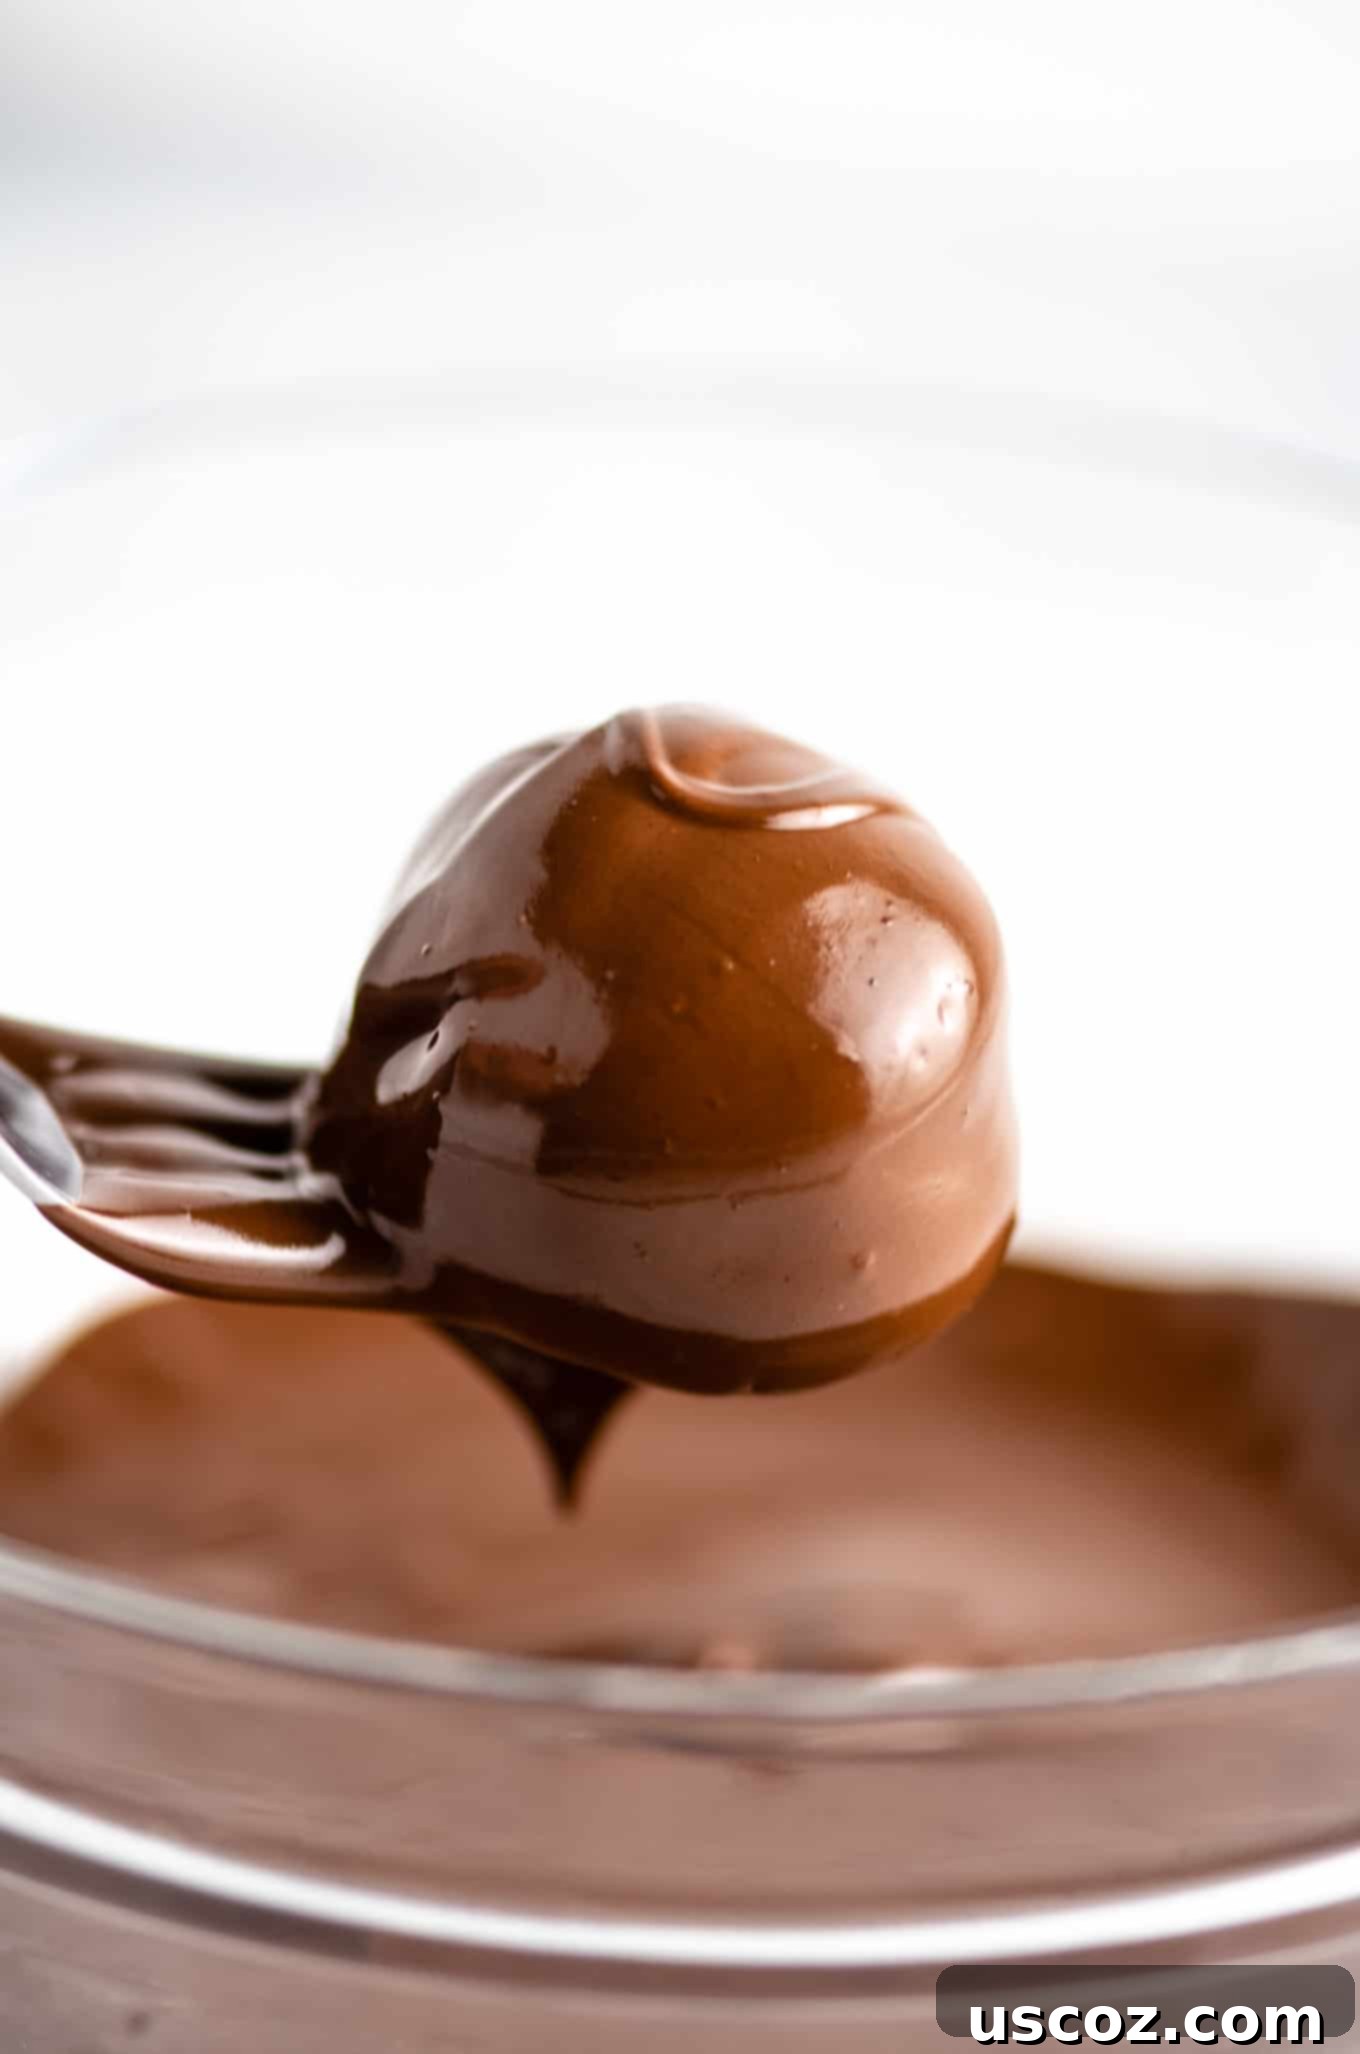
Step 6: Set and Serve. Once all your truffles are coated, return the baking sheet to the freezer or refrigerator. Let them chill until the chocolate coating is completely set and firm, which usually takes about 15-30 minutes in the freezer or an hour in the fridge. It’s important to note that these truffles will soften and melt at room temperature due to the coconut oil and natural peanut butter. For the best experience, serve them straight from the fridge or freezer. The cold temperature enhances their texture and prevents them from becoming messy.
These no-bake peanut butter truffles are genuinely the ideal Christmas dessert, or a delightful treat for any time of year! Each truffle is super rich and satisfying, meaning just one is often enough to curb a sweet tooth. But I have to warn you, they are so incredibly delicious, it’s hard to stop at just one!
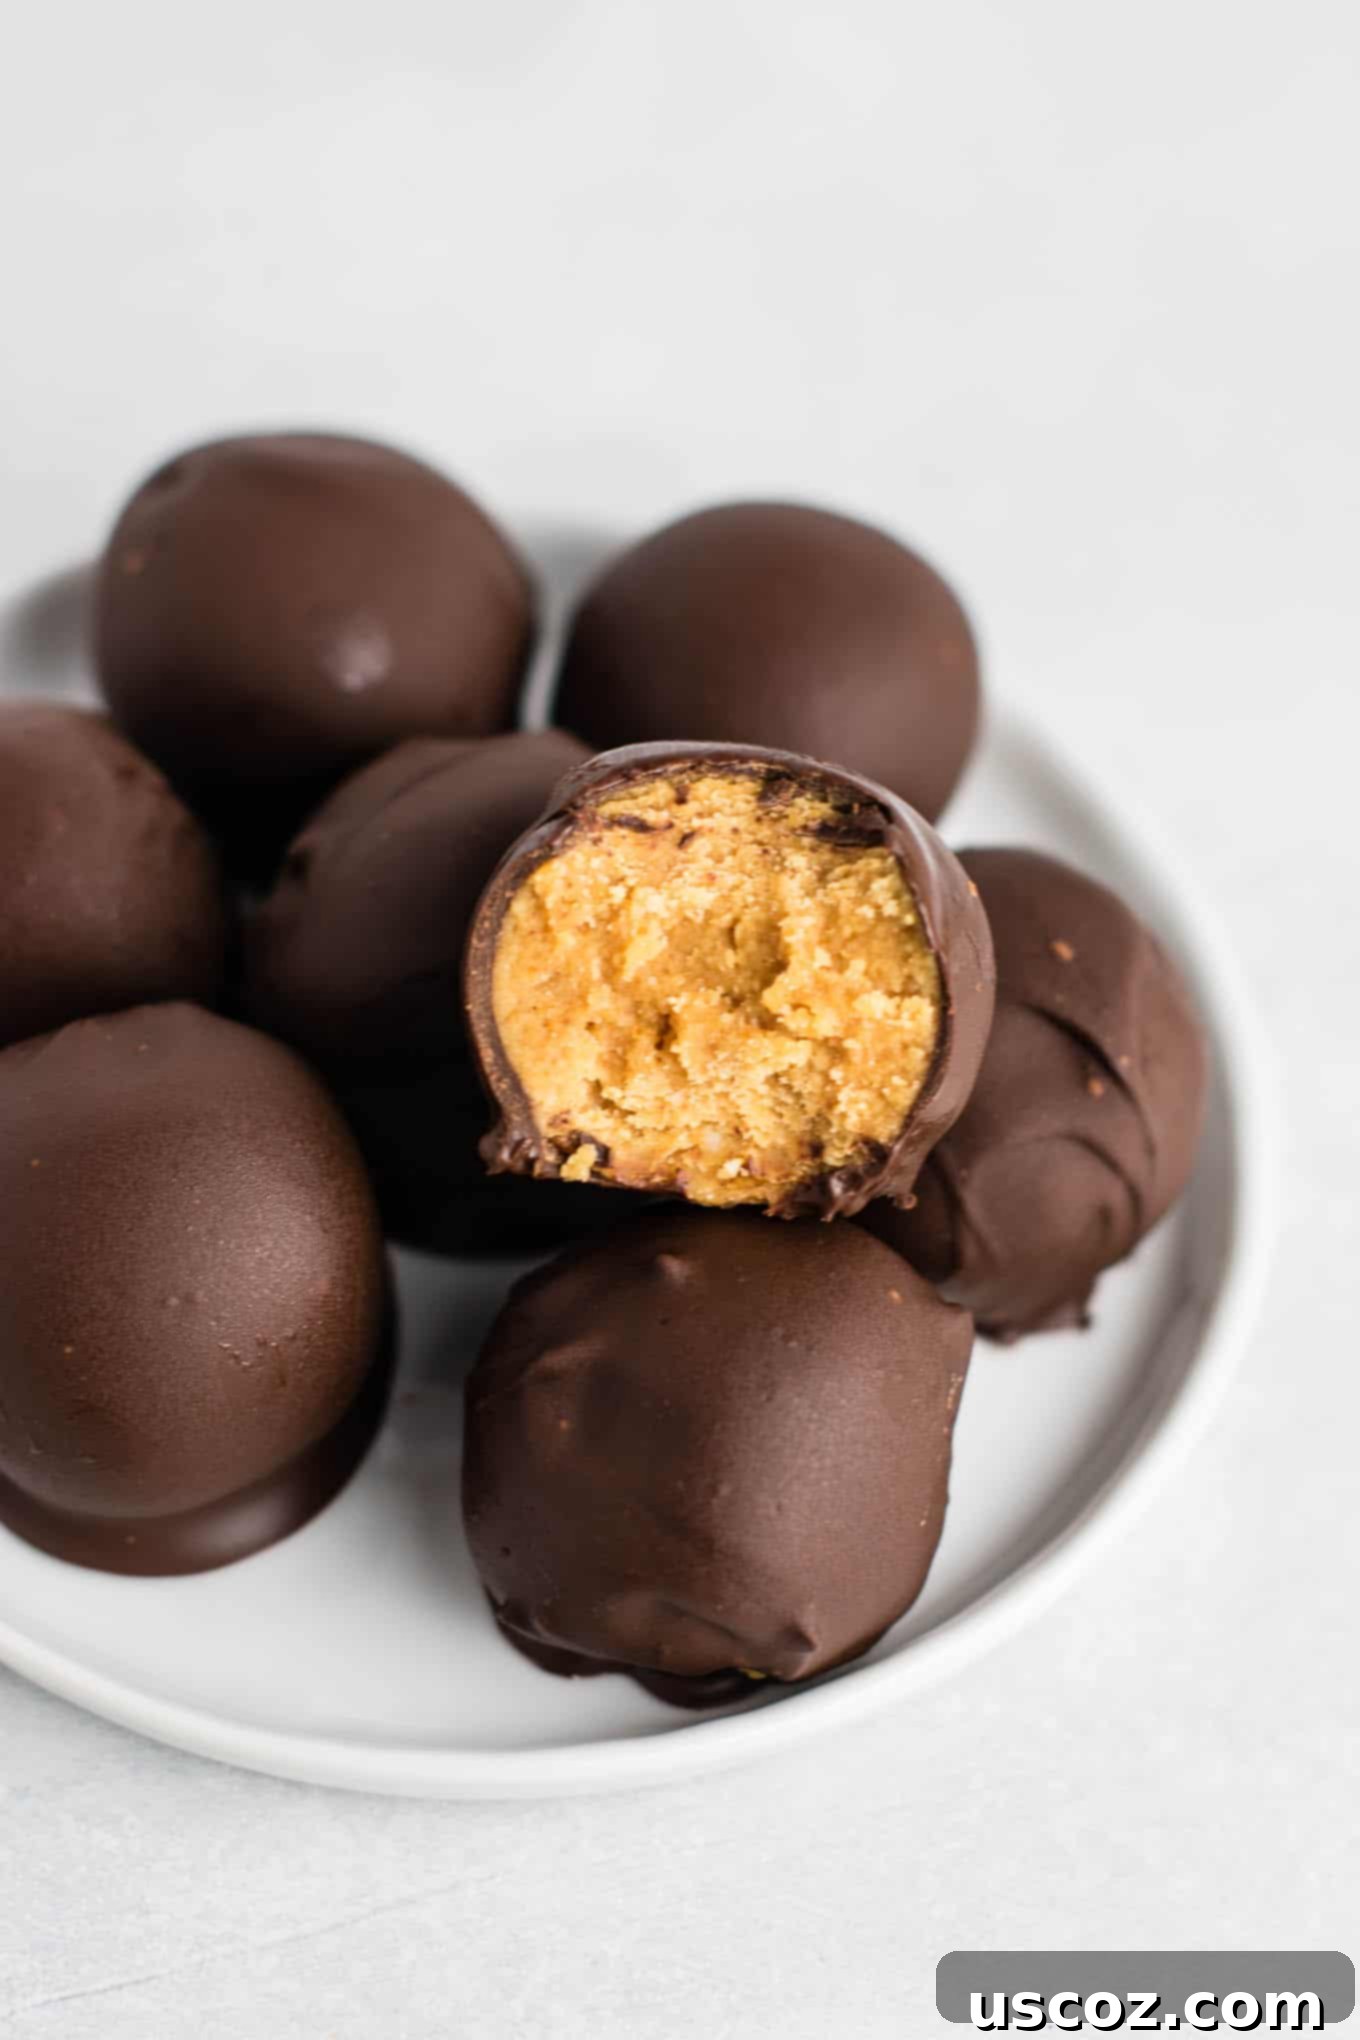
Why You’ll Adore These No-Bake Truffles
- Effortlessly Easy: No baking, no complex techniques. If you can mix and roll, you can make these!
- Naturally Wholesome: Made with natural peanut butter, maple syrup, and coconut flour, they offer a healthier alternative to traditional sugary treats.
- Diet-Friendly: Perfect for those following vegan and gluten-free diets, ensuring everyone can enjoy a delicious dessert.
- Irresistible Flavor: The classic combination of rich peanut butter and smooth chocolate is simply divine. They taste like a gourmet version of your favorite peanut butter cups!
- Perfect for Any Occasion: While fantastic for the holidays, these truffles are a crowd-pleaser year-round.
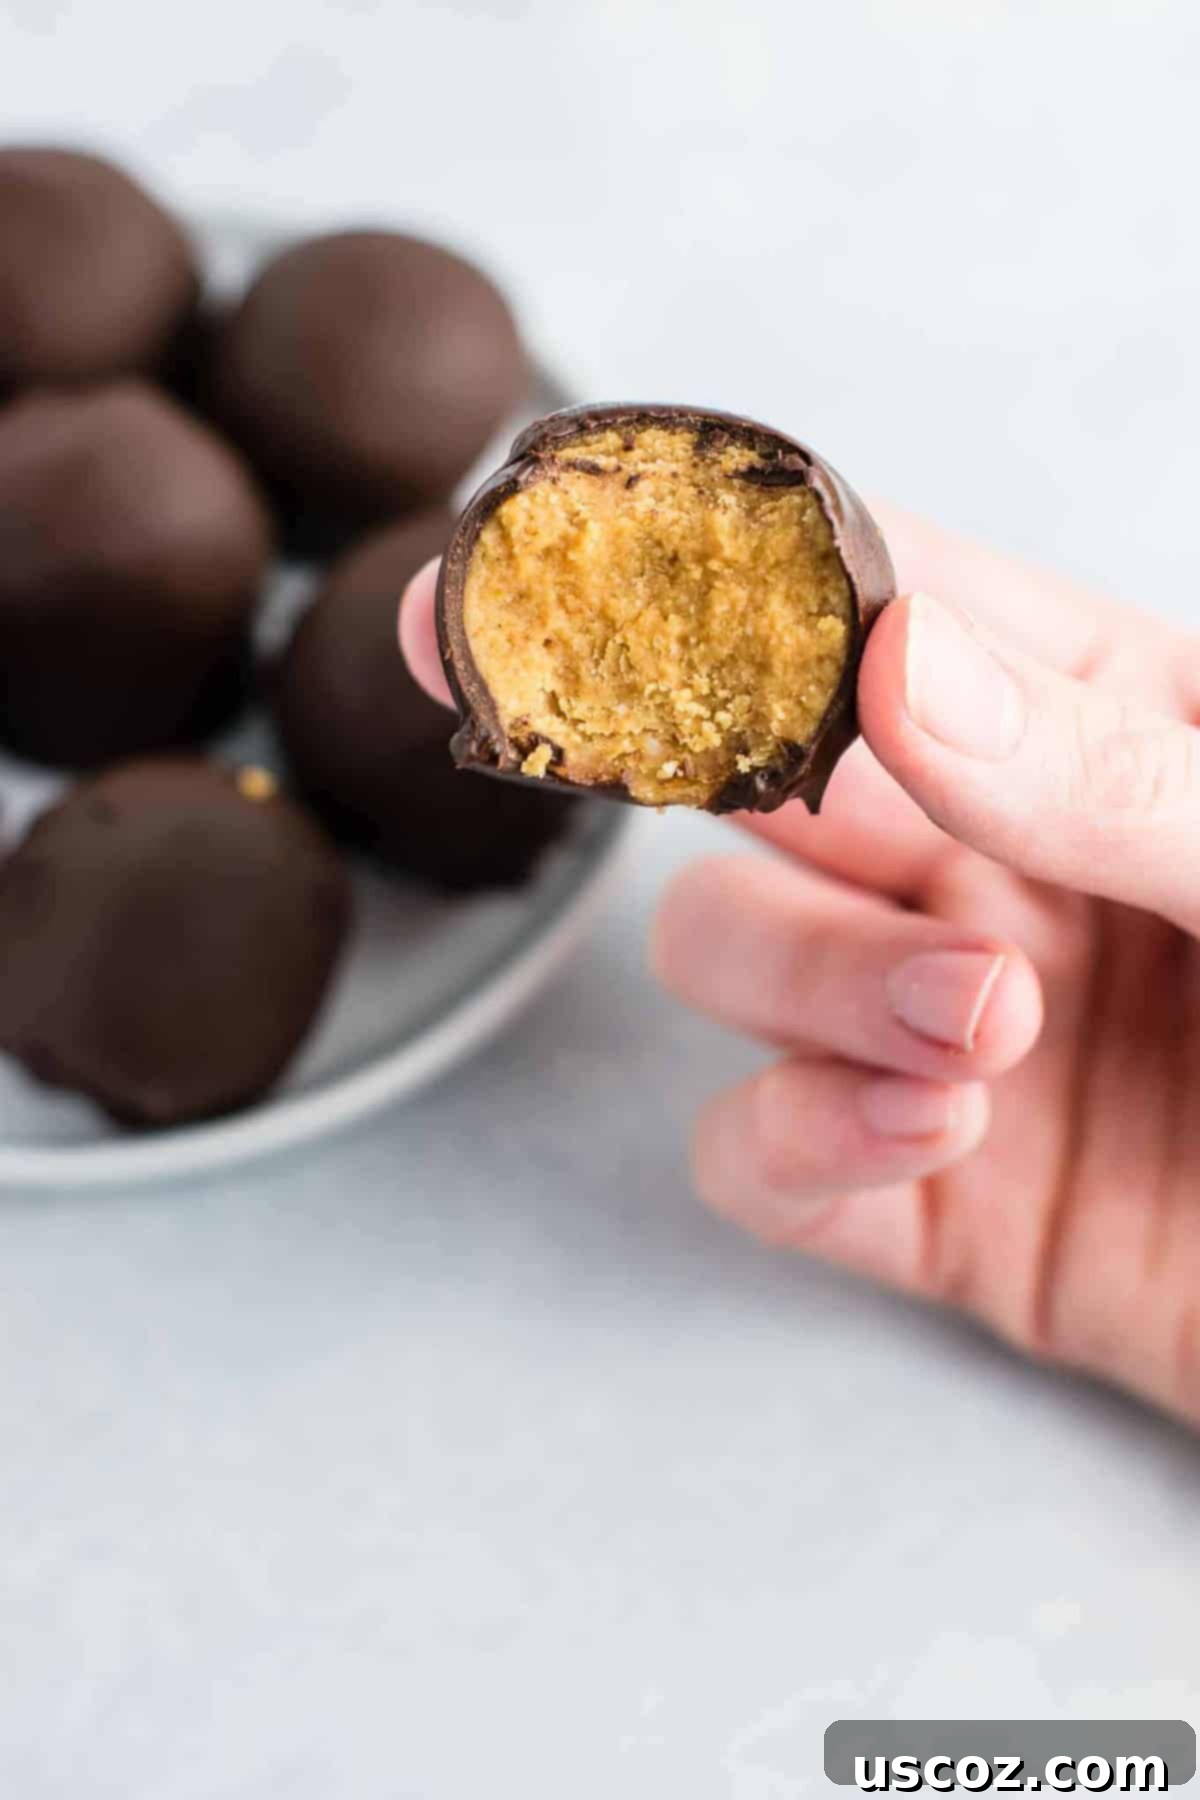
I almost don’t even want to share these with guests, they are that good! To me, there is just nothing better than the combination of peanut butter and chocolate. It’s truly a match made in heaven. These truffles are among our favorite dairy-free desserts, right up there with our Dairy Free Chocolate Chip Cookies.
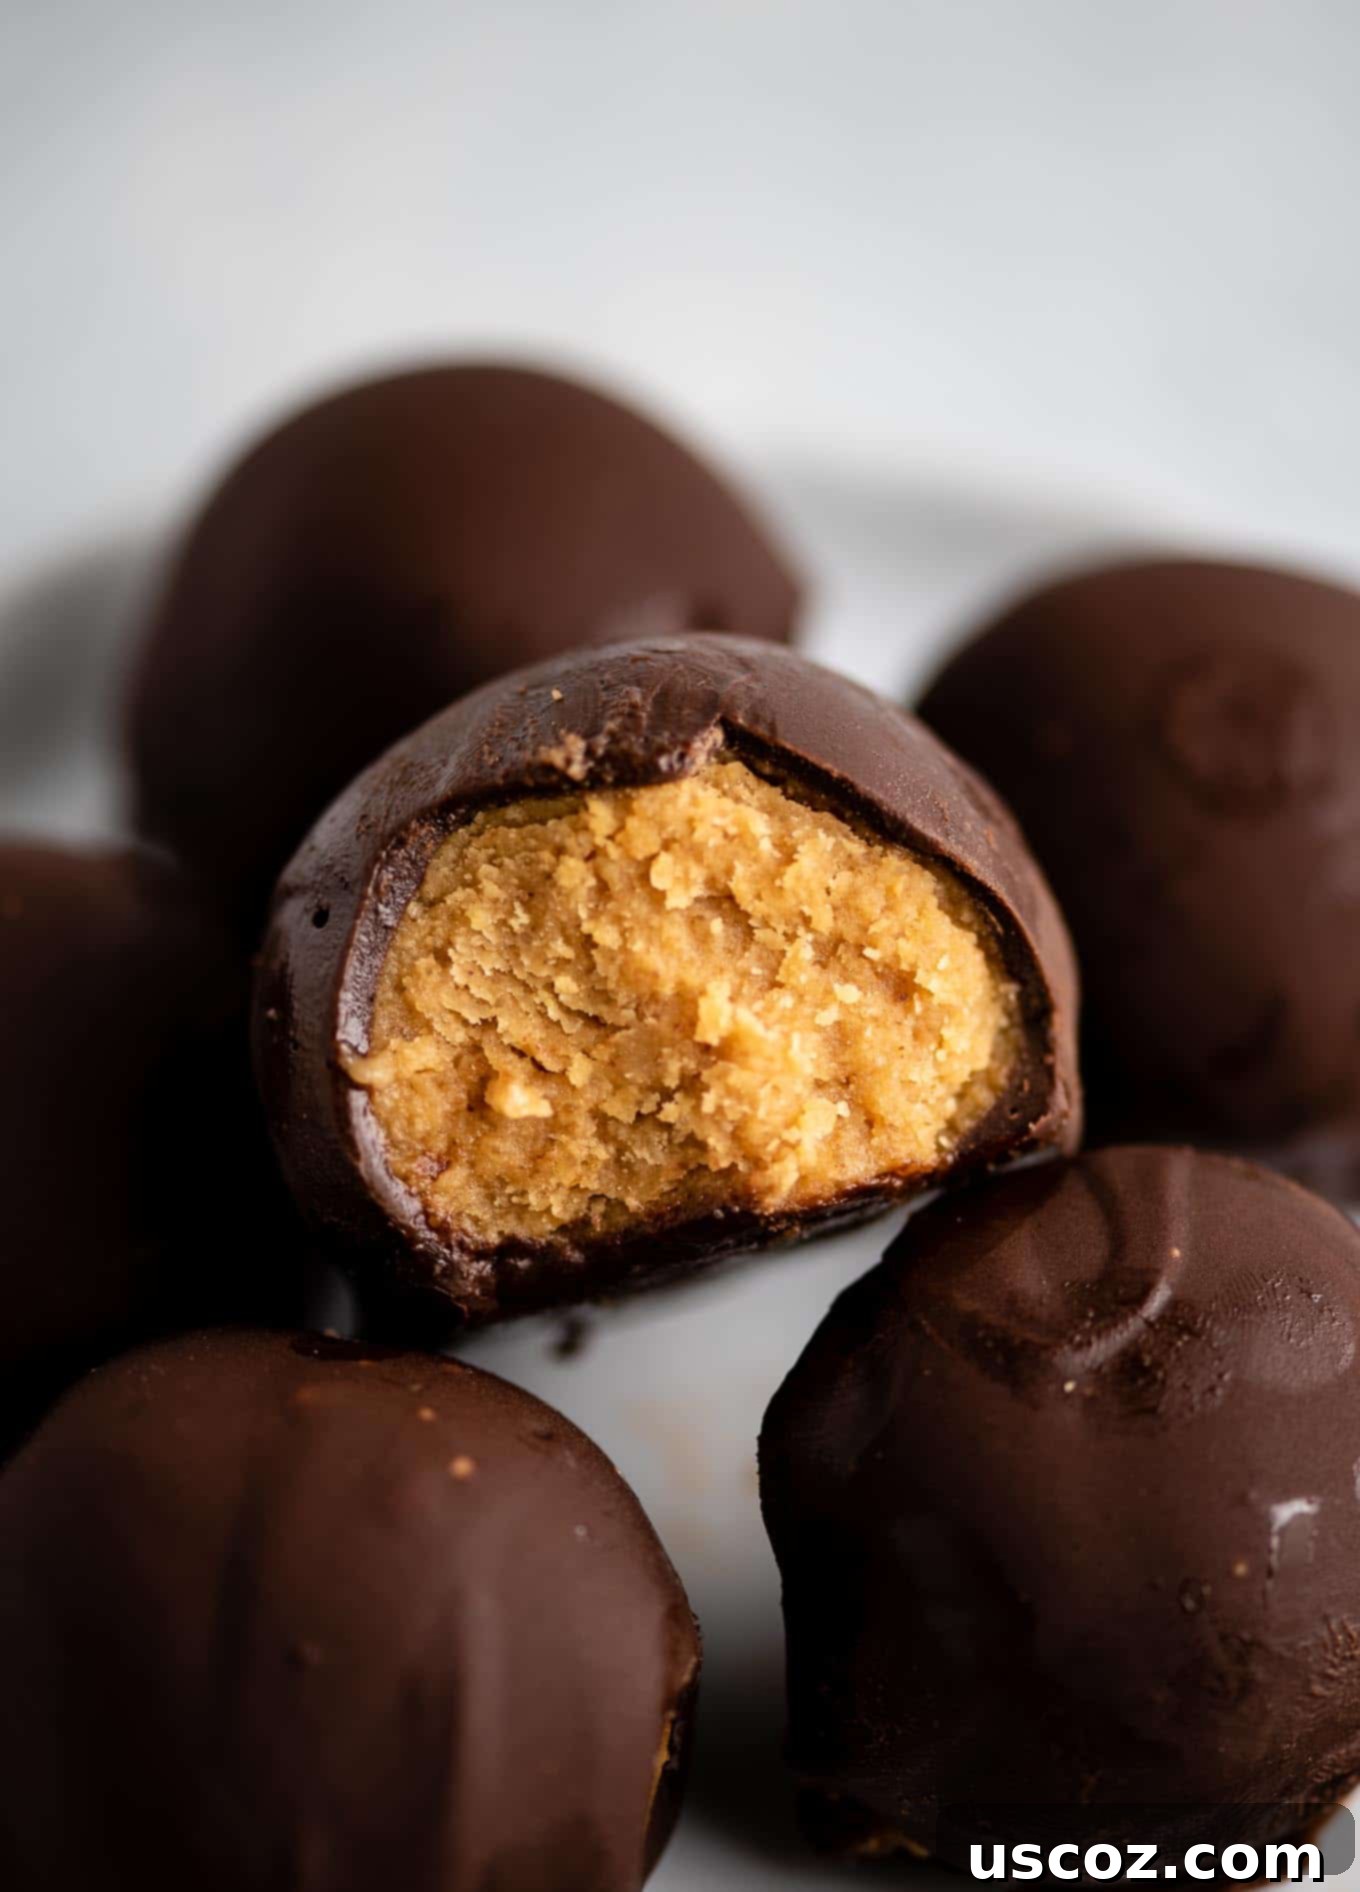
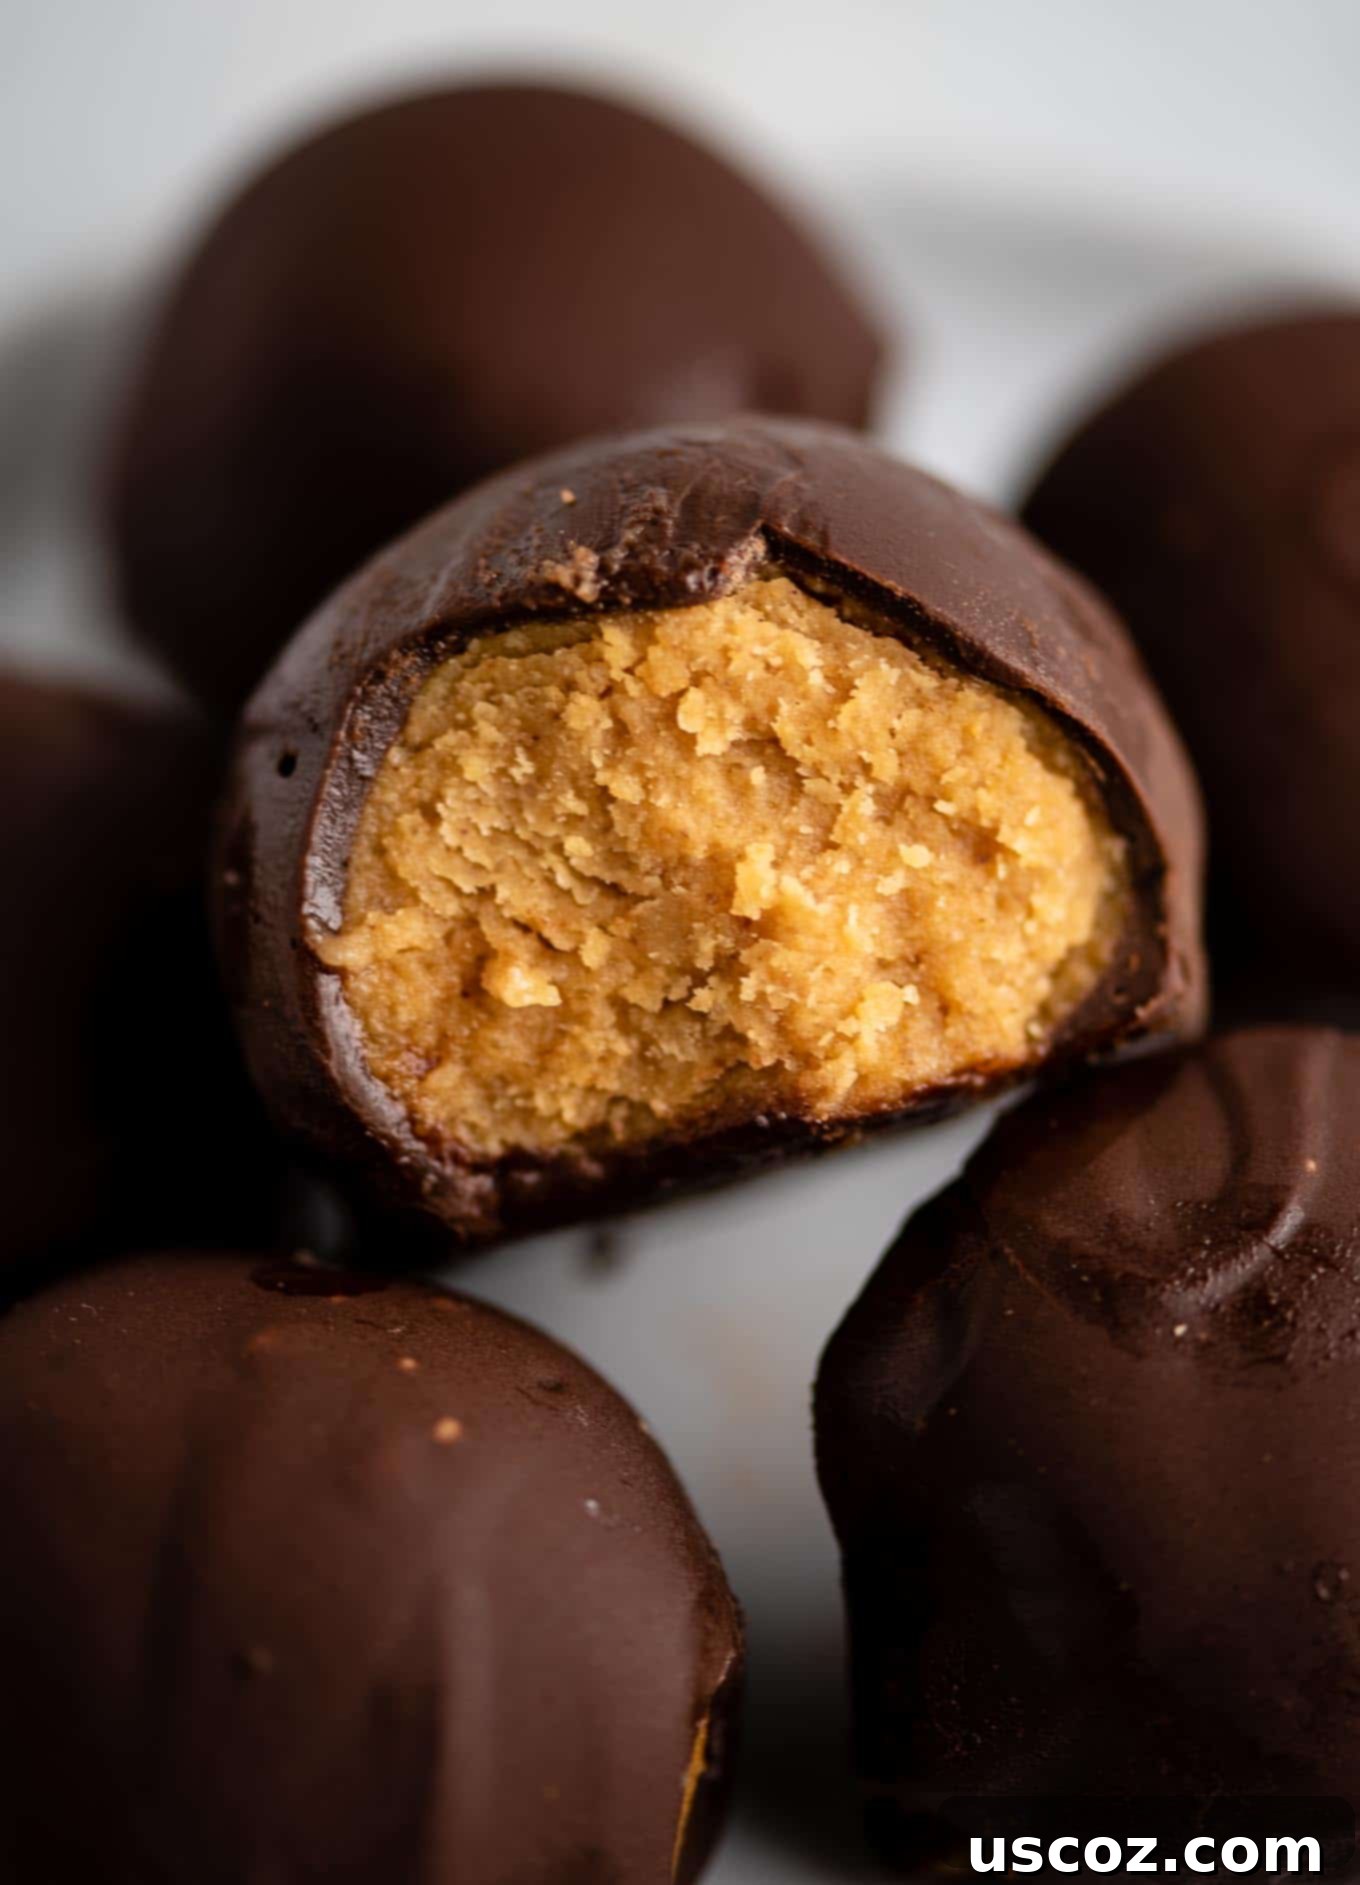
Whether your truffles turn out perfectly smooth or charmingly rustic, their deliciousness will undoubtedly steal the show. No one will care about the aesthetics when they taste the incredible flavor!
Tips for Success & Variations
- Peanut Butter Choice: Always use natural, creamy peanut butter. Stir it well before measuring, especially if it’s separated, to ensure consistent texture.
- Chocolate Quality: The type of chocolate chips you use matters! Good quality chocolate will melt smoother and taste better. For vegan truffles, ensure your chocolate chips are dairy-free.
- Temperature Control: Chilling the peanut butter balls thoroughly before dipping is key. This prevents them from melting into the warm chocolate and helps the chocolate set faster. Keep your melted chocolate at a warm, but not hot, temperature to avoid scorching.
- Creative Toppings: Once dipped and before the chocolate sets, sprinkle your truffles with flaky sea salt, chopped nuts, shredded coconut, or a drizzle of contrasting white chocolate for extra flair and flavor.
- Flavor Variations:
- Nut Butter Alternatives: Not a peanut fan? Try almond butter or cashew butter for a different twist. Just ensure they are also all-natural and creamy.
- Spice It Up: Add a tiny pinch of cinnamon or a dash of vanilla extract to the peanut butter filling for an extra layer of flavor.
- Coffee Lovers: A small amount of instant espresso powder mixed into the chocolate coating can add a sophisticated depth.
Frequently Asked Questions (FAQs)
Q: How long do these no-bake peanut butter truffles last?
A: When stored in an airtight container in the refrigerator, these truffles can last for up to 1-2 weeks. In the freezer, they can last for up to 1-2 months. Just be sure to let them thaw slightly in the fridge before serving if they’re coming straight from the freezer.
Q: Can I use a different type of flour instead of coconut flour?
A: Coconut flour is unique in its absorbency, so it’s not easily substituted 1:1 with other flours. If you don’t have coconut flour, you might try finely ground oat flour or almond flour, but you would likely need to adjust the quantities significantly to achieve the right consistency. Start with a very small amount and add gradually until the mixture is firm enough to roll. However, for best results and ease, sticking to coconut flour is recommended.
Q: Are these truly “healthy”?
A: While they are a dessert, these truffles are a “healthier” alternative because they use natural sweeteners like maple syrup, unrefined coconut palm sugar, and all-natural peanut butter, avoiding highly processed ingredients. They are also vegan and gluten-free. As with any treat, moderation is key!
Q: My chocolate seized! What went wrong?
A: Chocolate seizing (becoming thick and grainy) usually happens if it gets too hot or if even a tiny bit of water or steam gets into it. When melting in the microwave, use short bursts and stir thoroughly. When using a double boiler, ensure the water in the pot doesn’t touch the bottom of the bowl holding the chocolate, and prevent steam from escaping into the chocolate.
Q: Can I make these ahead for a party?
A: Absolutely! These truffles are perfect for making in advance. Prepare them completely and store them in an airtight container in the refrigerator or freezer until you’re ready to serve. This makes holiday entertaining a breeze!
More Delicious No-Bake Recipes You’ll Love
If you enjoy the simplicity and deliciousness of these no-bake peanut butter truffles, you’ll definitely want to explore these other fantastic no-bake recipes:
- Chocolate Sea Salt Pretzel Bark
- Almond Butter Cups
- White Chocolate Peanut Butter Balls
- Ultimate Vegan Peanut Butter Fudge
- Vegan Peanut Butter Cups
- Healthy Peanut Butter No Bake Cookies
- Dark Chocolate Pumpkin Truffles
These delightful peanut butter chocolate truffles are truly best served straight from the freezer, offering a firm texture and refreshing coolness. They are incredibly simple to make, requiring absolutely no baking, making them a stress-free dessert option for any home cook. Give them a try – your taste buds will thank you!
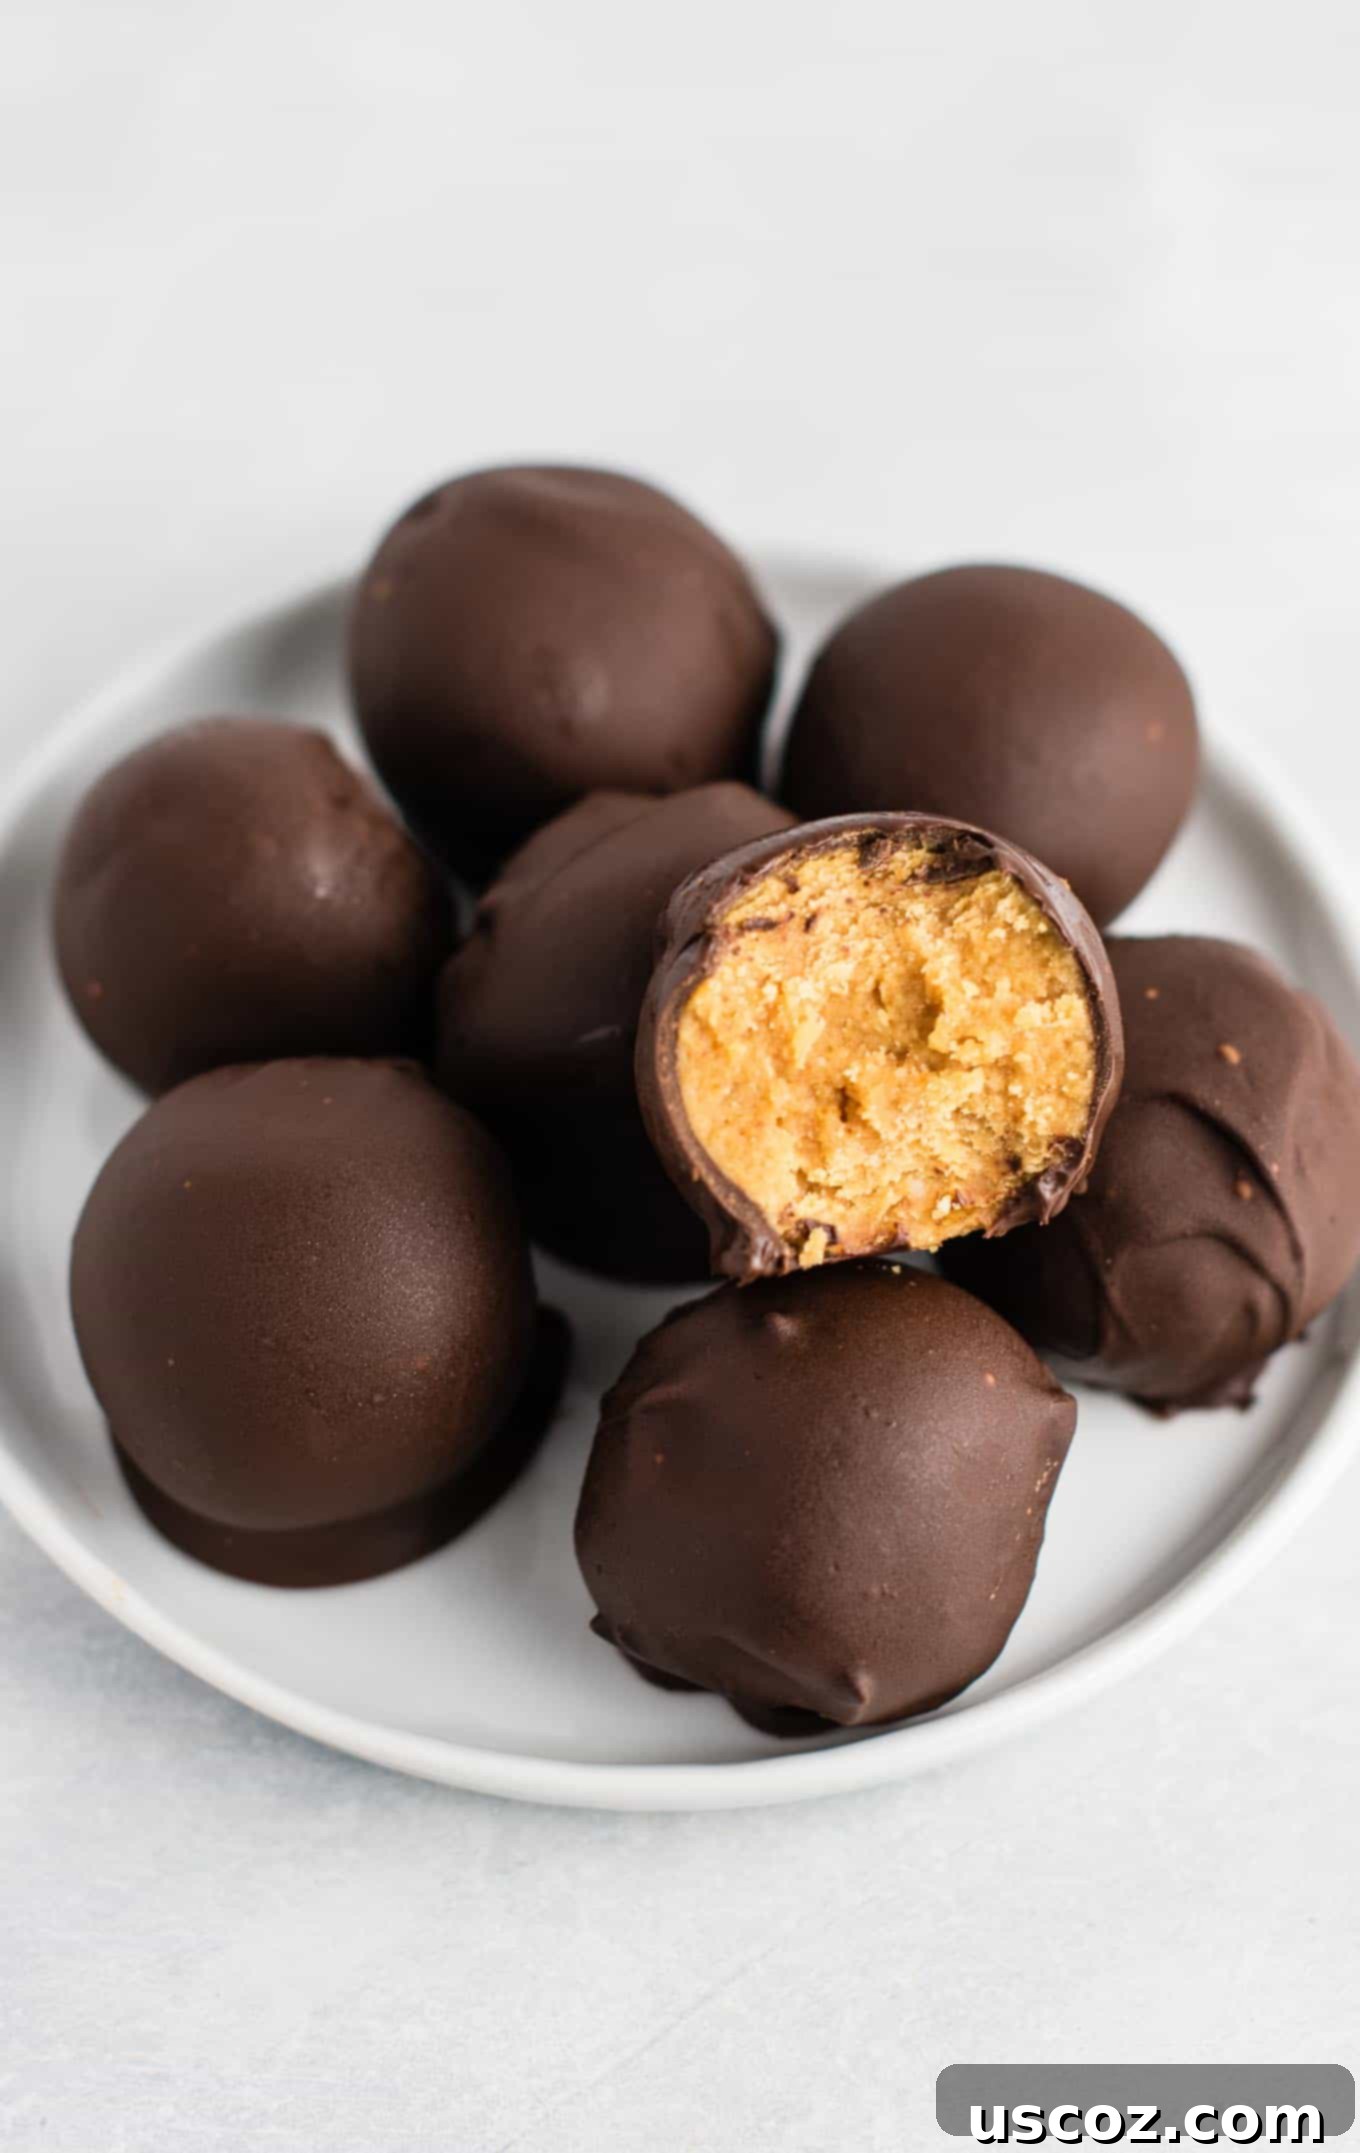
Did you make this recipe? We’d love to hear from you! Be sure to leave a star rating and comment below to share your experience.
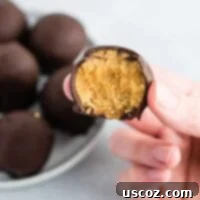
No Bake Peanut Butter Truffles
Joy Shull
20 minutes
20 minutes
10
Saved!
Pin Recipe
Rate Recipe
Print Recipe
Ingredients
For the truffle filling:
- 3/4 cup all-natural creamy peanut butter
- 1/4 cup pure maple syrup
- 1 tablespoon coconut palm sugar
- 1/4 cup coconut flour, see instructions before adding
- 1/8 teaspoon sea salt
For the Chocolate Shell:
- 1 cup semi-sweet chocolate chips (dairy-free for vegan)
- 1/2 teaspoon coconut oil
- 1/4 teaspoon sea salt
Instructions
-
1. Prepare the Filling: In a mixing bowl, beat together the peanut butter, maple syrup, coconut palm sugar, and 1/8 teaspoon sea salt until well combined and smooth.
-
2. Adjust Consistency: Gradually add the coconut flour, a little at a time, mixing until the mixture is firm enough to roll into balls without being overly sticky. The amount needed can vary based on your peanut butter’s consistency. For drippier peanut butter, you’ll likely use the full 1/4 cup.
-
3. Roll Balls: Roll the peanut butter mixture into small, uniform balls (about 1 tablespoon each) and place them on a wax paper or parchment paper-lined baking sheet.
-
4. Chill: Freeze the peanut butter balls for 5-10 minutes to chill them slightly, which helps prevent them from melting during dipping.
-
5. Melt Chocolate: While the balls are chilling, melt the chocolate chips and 1/2 teaspoon coconut oil in a microwave-safe bowl. Microwave in 30-second intervals, stirring thoroughly after each, until smooth. Be careful not to burn the chocolate.
-
6. Season Chocolate: Once the chocolate is melted and smooth, stir in the 1/4 teaspoon sea salt.
-
7. Dip Truffles: Drop the chilled peanut butter balls into the melted chocolate one at a time. Use a fork to completely coat each ball, tapping gently to remove excess chocolate.
-
8. Place on Sheet: Carefully transfer the chocolate-dipped truffles back onto the parchment-lined baking sheet.
-
9. Set Chocolate: Freeze or refrigerate the truffles until the chocolate coating is completely set, about 15-30 minutes in the freezer or 1 hour in the fridge.
-
10. Store: Store any leftover truffles in an airtight container in the refrigerator or freezer, as they will melt at room temperature.
Video
Notes
Nutrition
Like this recipe? Rate and comment below!
