Easy No-Bake Christmas Oreo Balls: The Ultimate Holiday Truffle Recipe
These easy Christmas Oreo Balls are a holiday must-have, transforming simple ingredients into a decadent, festive dessert. Decorate them with vibrant red and green sprinkles for a delicious and visually stunning treat that will delight everyone!

Indulge in the Magic: Why These Holiday Oreo Balls Are So Delicious!
As the festive season approaches, the search for the perfect holiday treat begins. Look no further than these incredibly easy and undeniably delicious Christmas Oreo Balls! They are truly a crowd-pleasing favorite, crafted with just a handful of simple ingredients and requiring absolutely no baking. Imagine a rich, fudgy, chocolatey truffle that tastes almost like cake batter, but with the beloved crunch and flavor of your favorite Oreo cookies. That’s exactly what you get with these delightful no-bake wonders.
Whether you’ve enjoyed classic Oreo balls before or are new to this phenomenon, you’re in for a treat. The magic happens when crushed Oreo cookies are mixed with softened cream cheese, creating a dense, decadent filling that’s then coated in smooth melted chocolate. While we adore Oreo balls all year round, Christmas provides the perfect opportunity to dress them up with vibrant holiday-themed sprinkles, crushed candy canes, or a dusting of edible glitter, transforming them into a festive centerpiece for any gathering.
Not only are they unbelievably easy to make, but they’re also a fantastic dessert for involving the whole family. Little hands love to help roll the truffle mixture and, most importantly, decorate their own creations with colorful sprinkles. This makes the preparation process as enjoyable as the eating! You’ll find that these truffles are consistently delicious, making them one of the most reliable and beloved holiday recipes in my collection.

Making these delightful Christmas Oreo truffles is a straightforward process, and you’ll find the complete recipe with step-by-step instructions in the recipe card at the bottom of this post. But before we dive into the detailed steps, let’s take a quick look at the simple yet essential ingredients you’ll need to create these festive treats.
Essential Ingredients for Your Christmas Oreo Balls
You’ll be amazed at how few ingredients are required to create such a spectacular dessert. Each component plays a crucial role in achieving that perfect fudgy texture and delicious flavor.
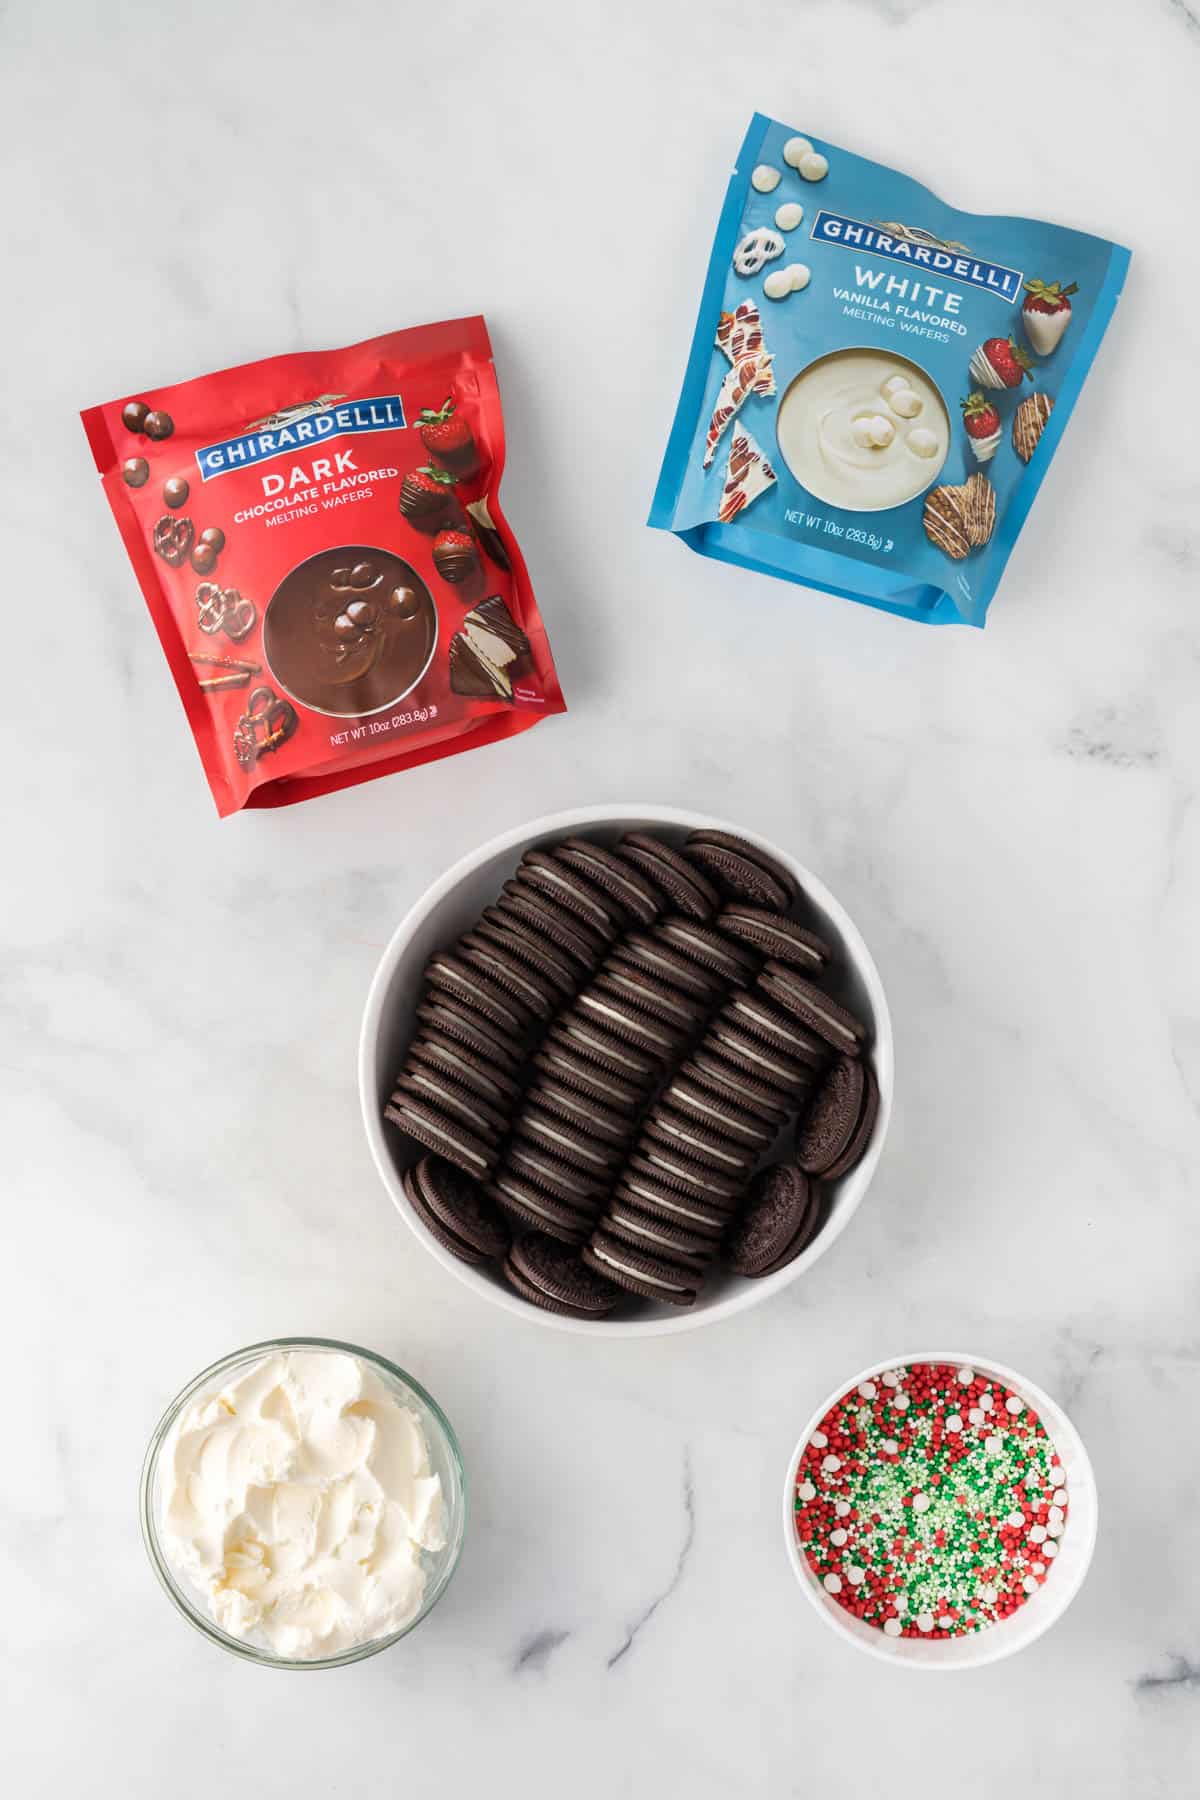
- Oreos: The star of our show! A full package of classic Oreos provides the chocolatey base.
- Cream Cheese: Softened to room temperature, this binds the Oreo crumbs and creates the signature creamy, fudgy texture.
- Dark Chocolate Melting Wafers: Ideal for smooth, glossy coating without tempering. Ghirardelli is a great choice for quality.
- White Vanilla Melting Wafers: Adds a beautiful contrast and a sweet vanilla flavor to half of your truffles.
- Christmas Colored Sprinkles: The ultimate festive touch! Think red, green, white, gold, or even holiday shapes.
Using melting wafers instead of regular chocolate chips is highly recommended, as they melt more smoothly and set beautifully, giving your truffles a professional finish.
Crafting Your Christmas Oreo Balls: A Step-by-Step Guide
Making these delicious truffles is straightforward and enjoyable. Follow these simple steps for perfect results every time.
Step 1: Crush Your Oreos to Fine Crumbs
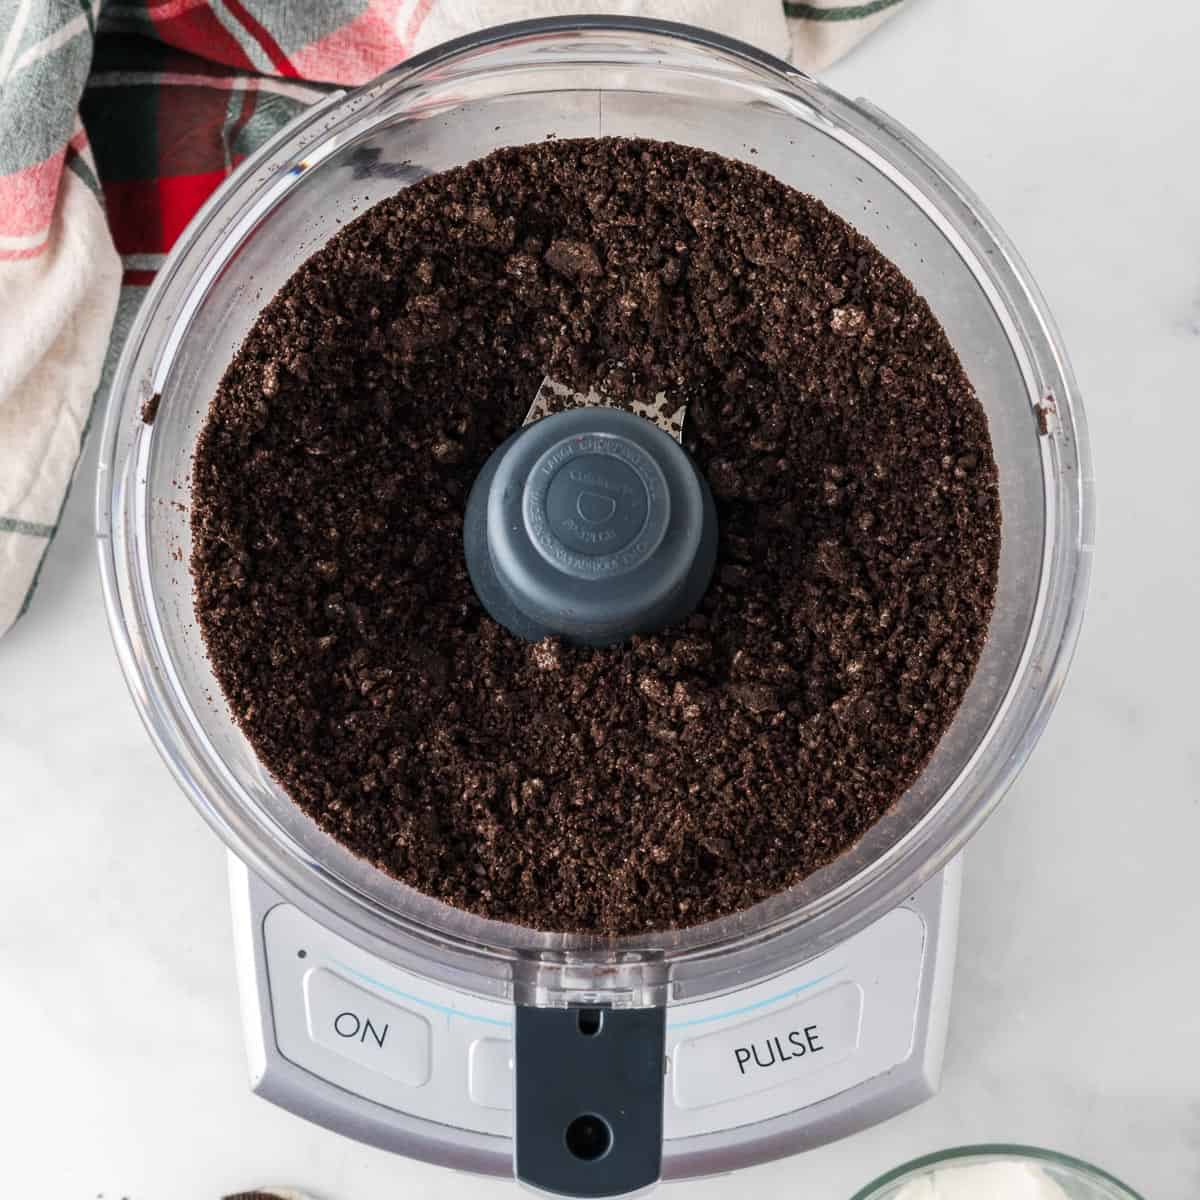
Begin by adding the entire package of Oreos to a food processor. Process the cookies until they transform into fine, uniform crumbs. The goal is to eliminate any large chunks, as this ensures a smooth, consistent truffle texture. If you don’t have a food processor, no worries! You can achieve the same result by placing the Oreos in a sturdy ziploc bag and crushing them with a rolling pin or the bottom of a heavy glass. Just make sure they are as finely crushed as possible.


Step 2: Combine with Cream Cheese for the Perfect Dough
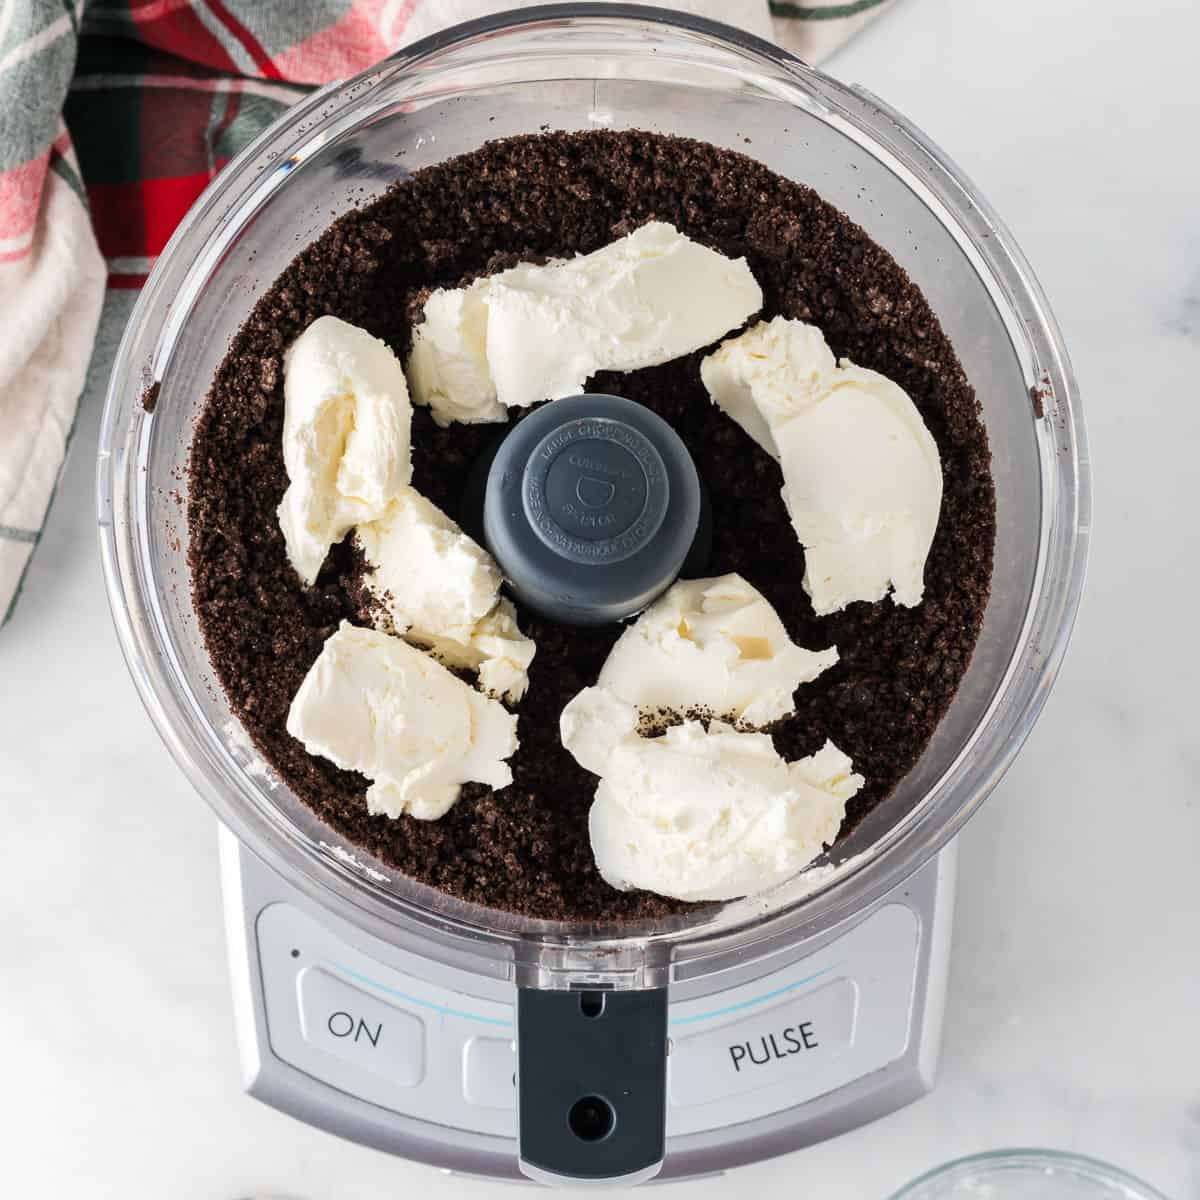
Once your Oreos are perfectly crushed, add the softened block of cream cheese directly to the food processor with the crumbs. The cream cheese must be at room temperature to blend smoothly and prevent lumps. Pulse the food processor until the mixture starts to come together. If you’re mixing by hand, use a sturdy rubber spatula to thoroughly combine the cream cheese and Oreo crumbs. Continue mixing until a thick, uniform dough forms. The Oreos will begin to bind with the cream cheese, creating a rich, fudgy consistency.
Step 3: Ensure Homogeneity with Hand Mixing
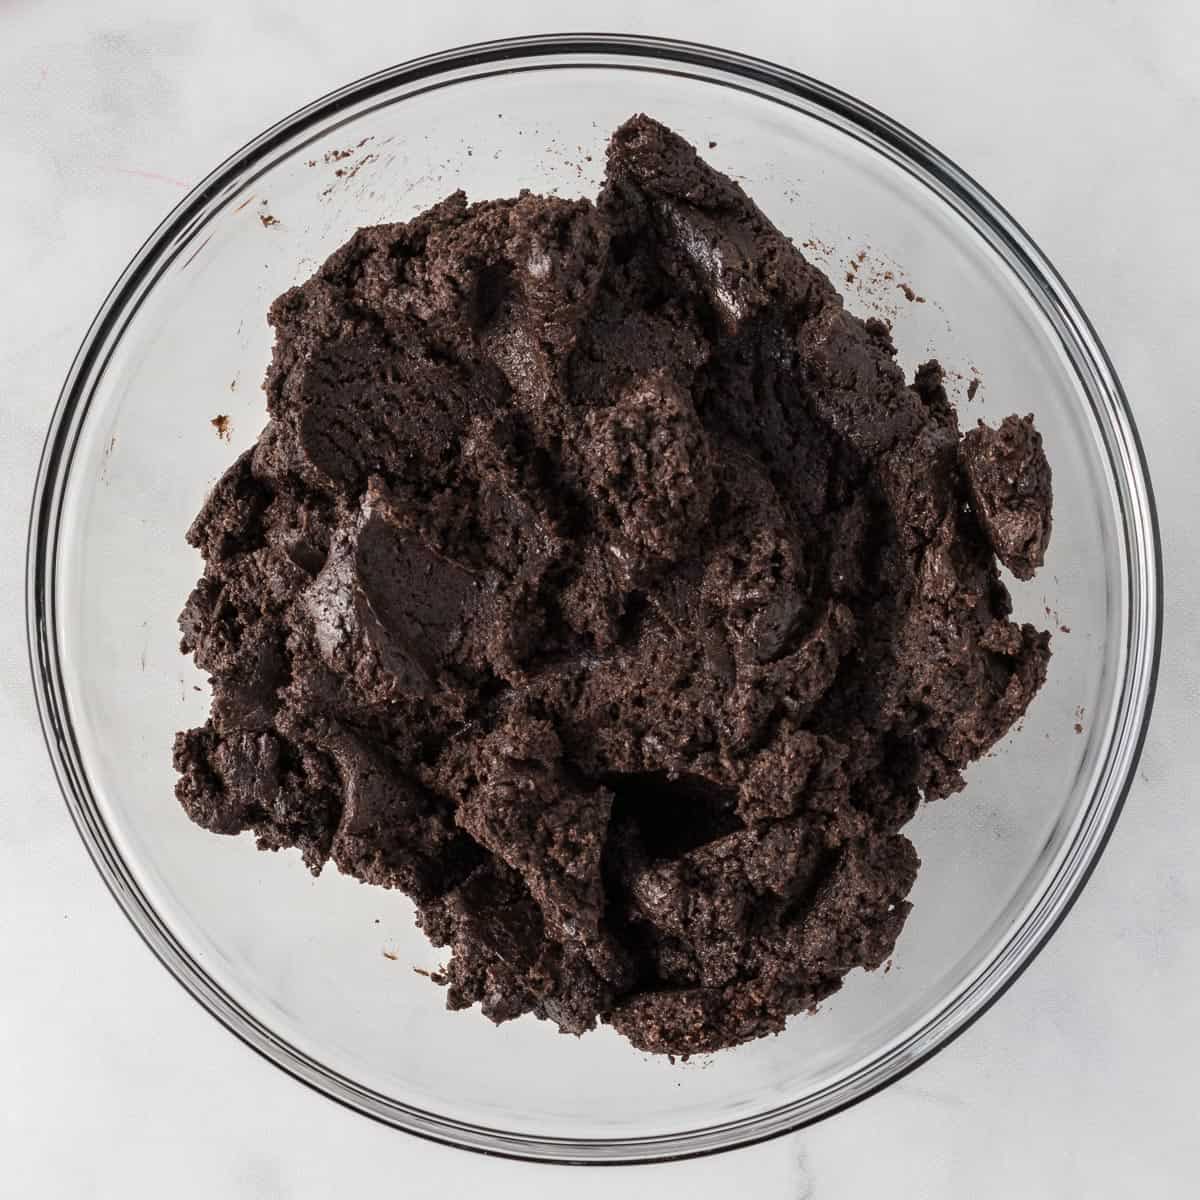
Even after using a food processor, it’s often best to transfer the Oreo ball mixture to a bowl and finish combining it by hand. This ensures that every bit of Oreo crumb is perfectly incorporated with the cream cheese, resulting in a consistently smooth and fudgy truffle base. A rubber spatula is the ideal tool for this step, allowing you to scrape the sides of the bowl and press the mixture together until it forms a cohesive “dough.”
Step 4: Scoop, Roll, and Chill
Line a baking sheet with parchment paper, which will prevent sticking and make for easy cleanup. Use a cookie scoop (a 1.5-tablespoon scoop works perfectly for bite-sized truffles) to portion out the Oreo mixture onto the prepared baking sheet. Once scooped, gently roll each portion between your palms to form smooth, round truffle balls. The warmth of your hands will help smooth them out. After rolling, place the Oreo balls into the fridge or freezer for at least 30 minutes. This chilling step is crucial, as it firms up the truffles, making them much easier to dip in chocolate without falling apart.
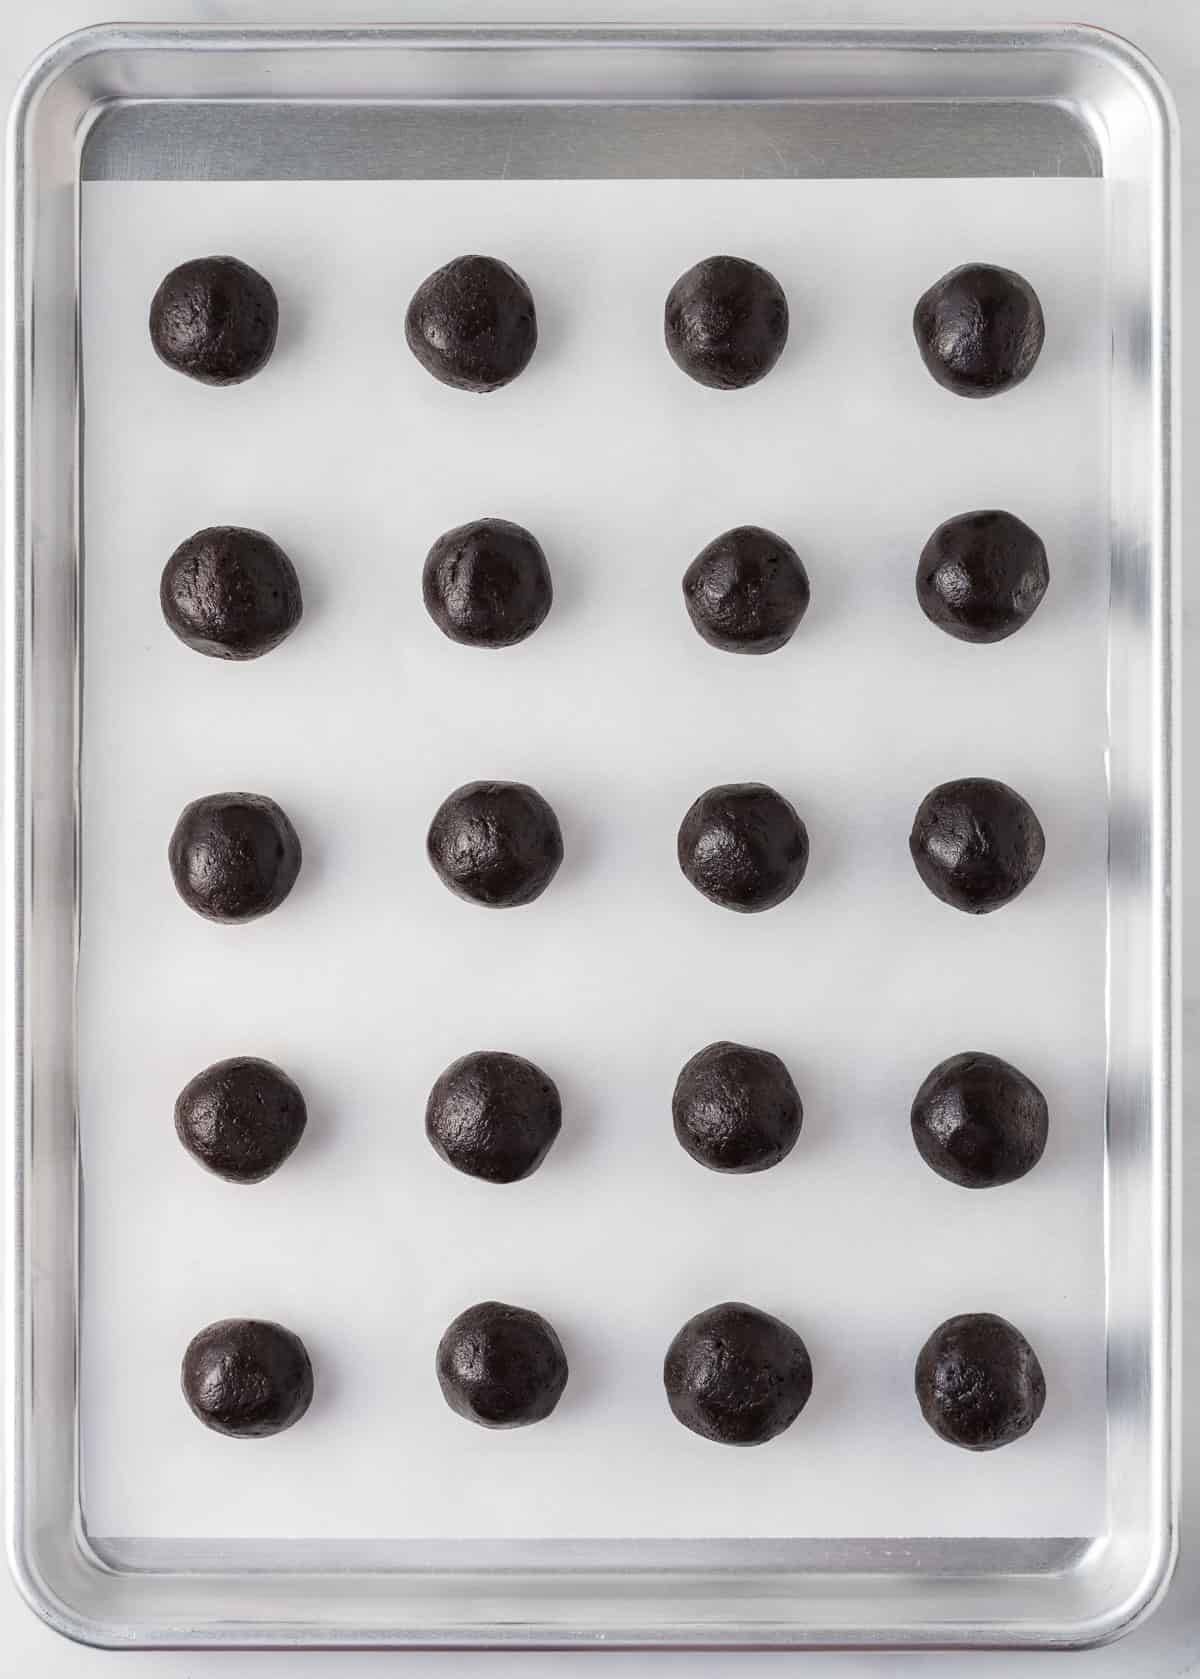
Step 5: Dip in Dark Chocolate and Decorate
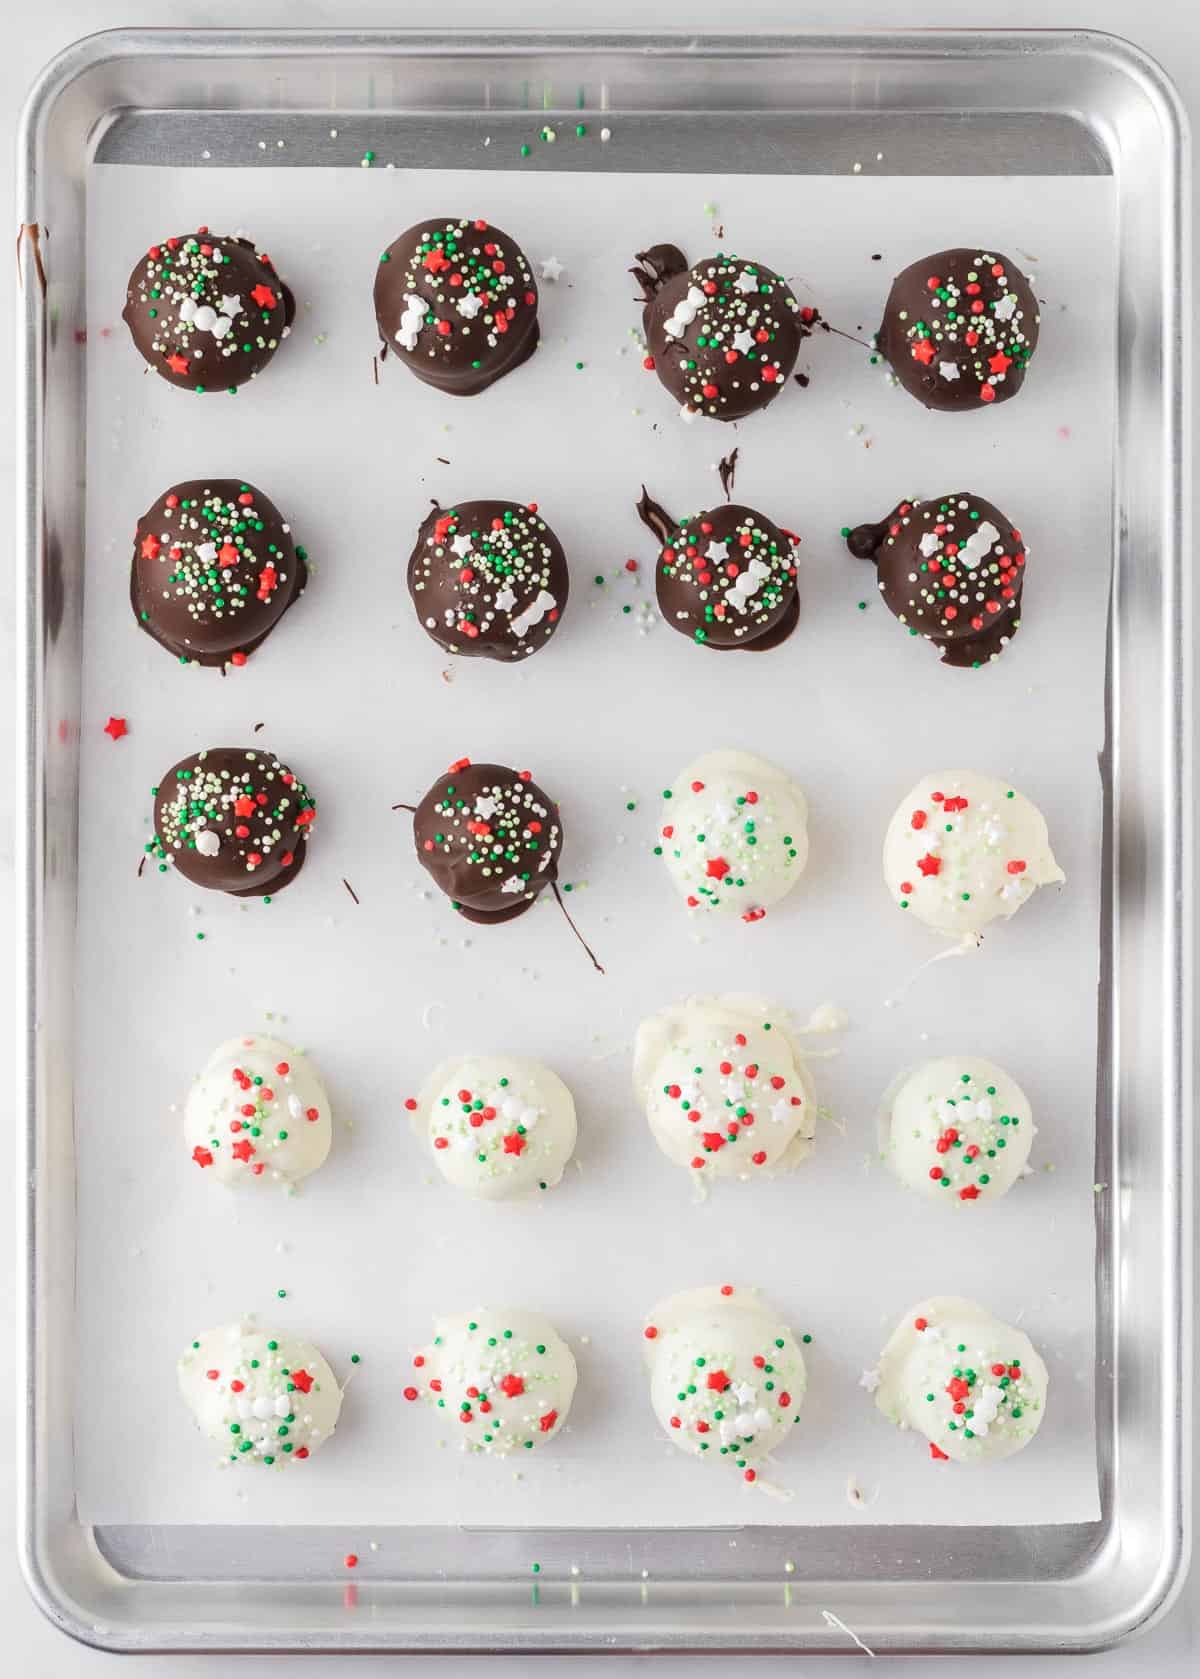
Once chilled, melt the dark chocolate melting wafers until completely smooth. You can do this in the microwave by heating in 30-second intervals, stirring well after each, or using a double boiler on the stovetop for more even melting. Ensure the chocolate is fluid but not too hot. Dip half of your chilled Oreo balls into the melted dark chocolate, allowing any excess to drip off. Place them back onto the parchment paper-lined baking sheet. Immediately, while the chocolate is still wet, generously top these dark chocolate truffles with your festive Christmas-colored sprinkles. This instant decoration is key for sprinkles to adhere properly.


Step 6: Dip in White Vanilla Chocolate and Decorate
Repeat the melting process with the white vanilla flavored melting wafers until they are perfectly smooth and creamy. White chocolate can be a bit more temperamental, so melt it slowly and stir frequently to prevent it from seizing. Dip the remaining half of your Christmas Oreo balls into the melted white chocolate. Again, let excess chocolate drip off before placing them back on the baking sheet. Without delay, shower them with your chosen Christmas sprinkles, ensuring they stick before the chocolate begins to set. The combination of dark and white chocolate truffles with festive sprinkles creates a beautiful visual variety on your holiday platter.


Step 7: Final Chill for Setting
Once all your Christmas Oreo balls are dipped and decorated, place them back into the fridge for a final chill. This allows the chocolate coating to fully set and harden, creating a firm, delightful outer shell that contrasts beautifully with the soft, fudgy interior. This step usually takes another 15-30 minutes, or until the chocolate is firm to the touch. Once set, they are ready to be served or stored!
Storage Tips for Freshness and Convenience
One of the best features of these no-bake Oreo balls is how well they store, making them ideal for preparing ahead of time during the busy holiday season.
- In the Refrigerator: Store your finished Christmas Oreo balls in an airtight container or a sealed bag in the refrigerator for up to 2 weeks. For best results, place parchment paper between layers to prevent them from sticking together.
- In the Freezer: For longer storage, these truffles freeze beautifully! Place them in a freezer-safe, airtight container or bag for up to 2 months. When you’re ready to enjoy them, simply transfer them to the refrigerator to thaw for a few hours, or let them sit at room temperature for about 15-20 minutes for a slightly softer bite.
Proper storage ensures that these delectable treats remain fresh, fudgy, and delicious whenever a craving strikes or guests arrive.
These truffles might be incredibly easy to prepare, but the taste is truly magnificent! Each bite offers a fudgy, rich, and intensely flavorful experience that’s hard to resist. With their smooth chocolate coating and creamy Oreo interior, I bet you won’t be able to eat just one!


Optimizing Your Christmas Oreo Ball Serving Experience
To ensure your Christmas Oreo Balls are enjoyed at their very best, keep these serving tips in mind:
- Chilled is Best: While these truffles can tolerate being left out for a short period in a cool room, their optimal texture and flavor are achieved when served chilled. The fudgy center is firmer and the chocolate coating snaps perfectly when cold.
- Refrigerate Until Serving: Always store your Oreo balls in the refrigerator until you are ready to present them. This maintains their integrity and prevents the chocolate from becoming too soft.
- Room Temperature Limit: If serving at a party, aim for them to be out of the refrigerator for no longer than two hours at standard room temperature (around 70°F or 21°C). For warmer environments, this time should be reduced.
- Elegant Presentation: Arrange your festive truffles on a beautiful holiday platter, or place them in mini paper cupcake liners for an extra touch of elegance and easy handling. Consider a mix of dark and white chocolate-coated balls for visual appeal.
- Pairing Suggestions: These rich truffles are wonderful with a warm cup of coffee, hot cocoa, or a glass of cold milk. They also make a fantastic addition to any dessert spread alongside other holiday favorites.

Oreo balls are indeed the perfect treat for all your holiday gatherings! Their irresistible flavor, ease of preparation, and festive appearance make them a standout dessert that will have everyone asking for the recipe. Whether you’re hosting a large party, attending a potluck, or simply looking for a delightful treat for your family, these truffles fit the bill perfectly.

Explore More Festive Christmas Desserts
If you’re looking for more delicious and easy-to-make treats for your holiday celebrations, here are some other fantastic Christmas dessert ideas:
- Oreo Dip: A creamy, dippable dessert perfect for sharing.
- Cake Mix Snickerdoodles: Soft, chewy, and cinnamon-sugary cookies with minimal effort.
- Christmas Crack: An addictive salty-sweet toffee cracker candy that disappears fast.
- Ritz Cracker Cookies: Simple peanut butter-filled crackers dipped in chocolate.
- Pecan Pie Balls: All the flavors of pecan pie in a delightful bite-sized treat.
- Mint Oreo Balls: A refreshing, festive twist on the classic Oreo truffle.
- Crock Pot Peanut Clusters: Easy, set-and-forget chocolate peanut clusters.
- Peanut Butter Balls with Graham Crackers: A classic no-bake favorite with a delightful crunch.
- Hot Chocolate Dip: A cozy and rich dip perfect for a winter evening.
- Graham Cracker Toffee: Another simple, irresistible sweet treat.
- No Bake Avalanche Cookies: White chocolate, peanut butter, and marshmallows – pure bliss!
- Peanut Clusters: A timeless combination of chocolate and peanuts.
These recipes offer a fantastic variety to complement your Christmas Oreo Balls and ensure your holiday dessert table is truly spectacular!
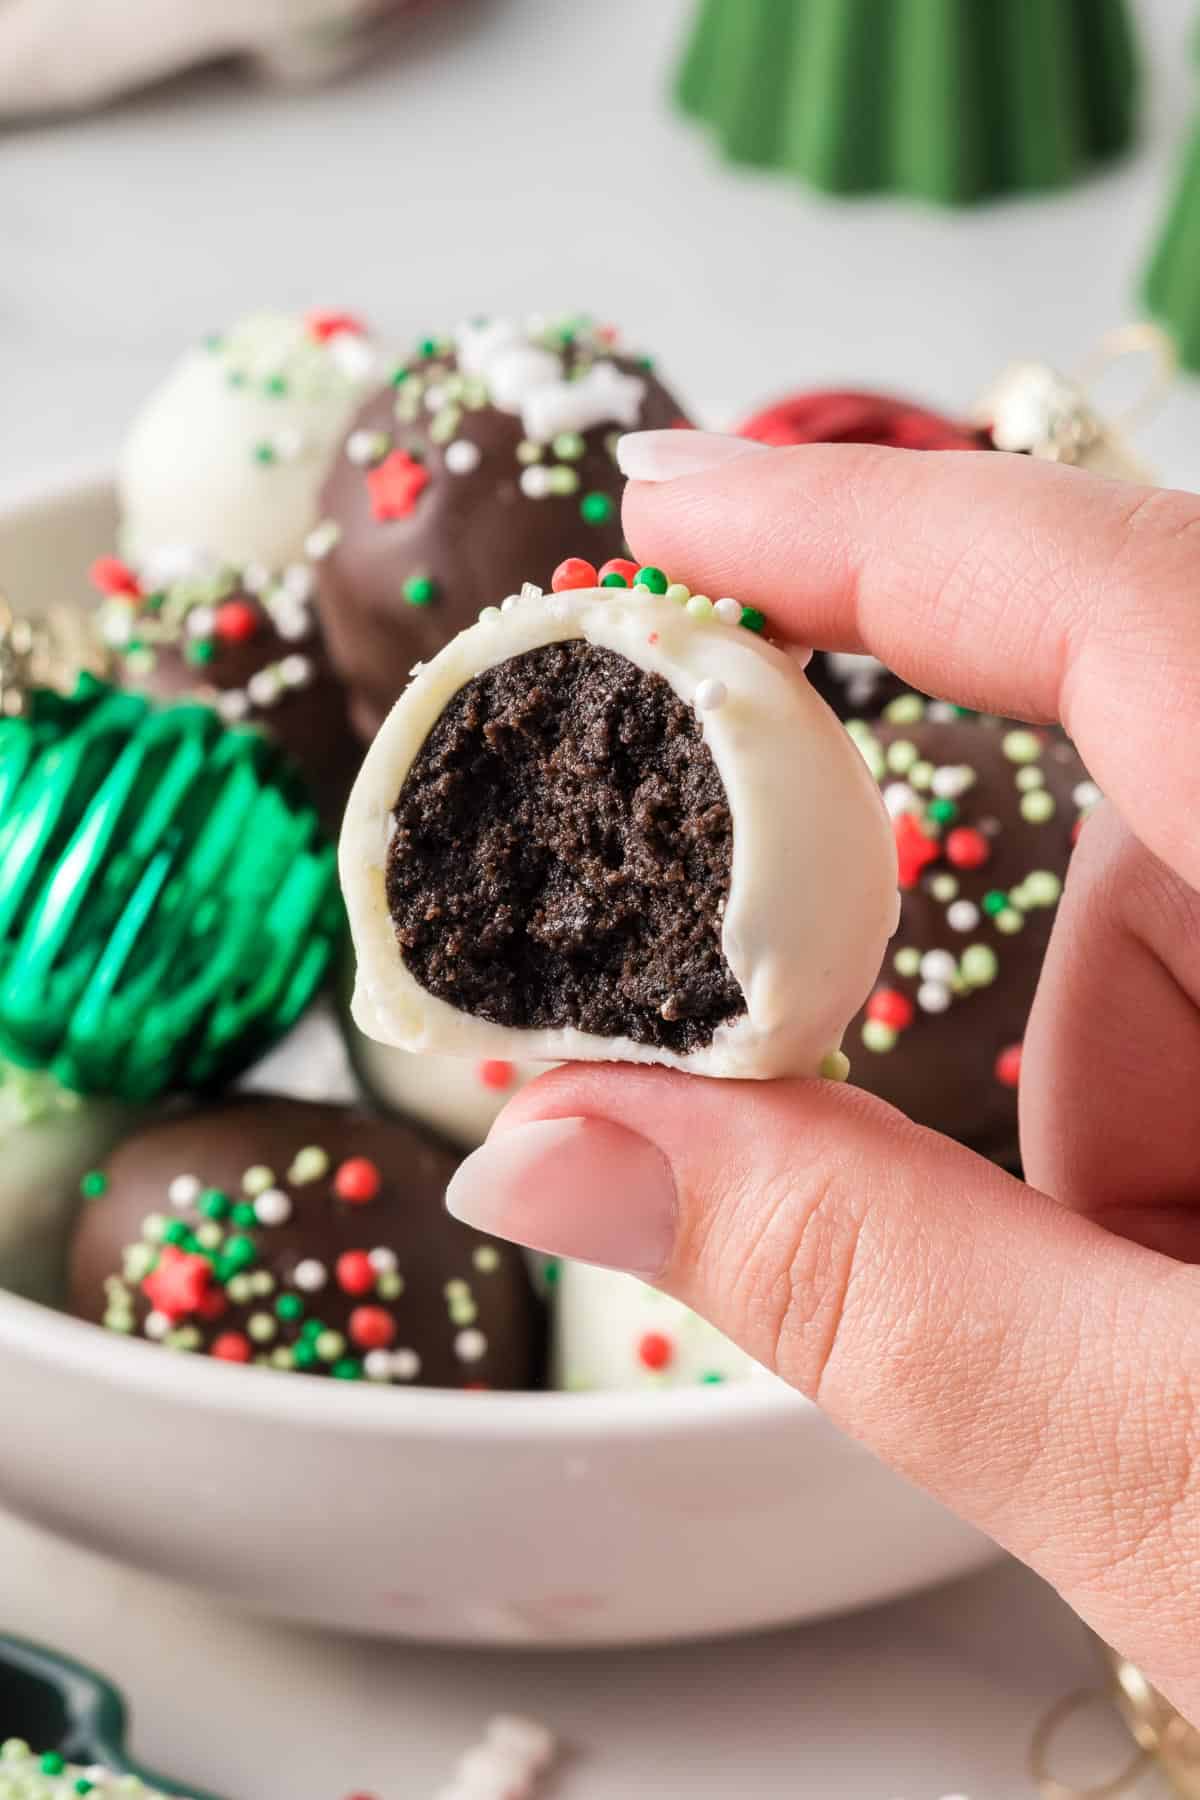
Try making these for your Christmas parties this year – they are sure to be a hit and quickly become a cherished holiday tradition!

Christmas Oreo Balls
Joy Shull
30 minutes
30 minutes
20
Saved!
Pin Recipe
Rate Recipe
Print Recipe
Ingredients
-
36
Oreos -
8
oz
cream cheese,
softened -
10
oz
Ghirardelli Dark chocolate melting wafers -
10
oz
Ghirardelli White vanilla melting wafers -
Christmas sprinkles
Instructions
-
Add the Oreos to a food processor and process into fine crumbs.
-
Add the softened cream cheese to the food processor and pulse until well combined and a thick dough forms.
-
Transfer the Oreo ball mixture to a bowl and use a rubber spatula to finish combining, ensuring no cream cheese streaks remain.
-
Line a baking sheet with parchment paper.
-
Use a mini cookie scoop (approximately 1.5 tablespoons sized) to portion out the Oreo mixture onto the baking sheet.
-
Gently roll each scooped portion between your hands to form smooth, round truffle balls.
-
Chill the Oreo balls for a minimum of 30 minutes in the fridge or freezer to firm them up.
-
Melt the Dark chocolate melting wafers until smooth, either in the microwave or using a double boiler.
-
Dip half of the chilled Oreo balls into the melted dark chocolate and top immediately with Christmas sprinkles before the chocolate sets. Place back on the parchment paper.
-
Melt the white vanilla wafers until smooth, following the same method as the dark chocolate.
-
Dip the remaining half of the Oreo balls in white melting wafers and top with sprinkles immediately before the chocolate sets.
-
Chill all the Christmas Oreo balls in the fridge until the chocolate coating is completely firm, about 15-30 minutes. Serve chilled.
Nutrition
,
Carbohydrates: 24g
,
Protein: 2g
,
Fat: 11g
,
Saturated Fat: 7g
,
Polyunsaturated Fat: 1g
,
Monounsaturated Fat: 3g
,
Trans Fat: 0.01g
,
Cholesterol: 11mg
,
Sodium: 132mg
,
Potassium: 66mg
,
Fiber: 1g
,
Sugar: 17g
,
Vitamin A: 153IU
,
Calcium: 16mg
,
Iron: 3mg
Like this recipe? Rate and comment below!
