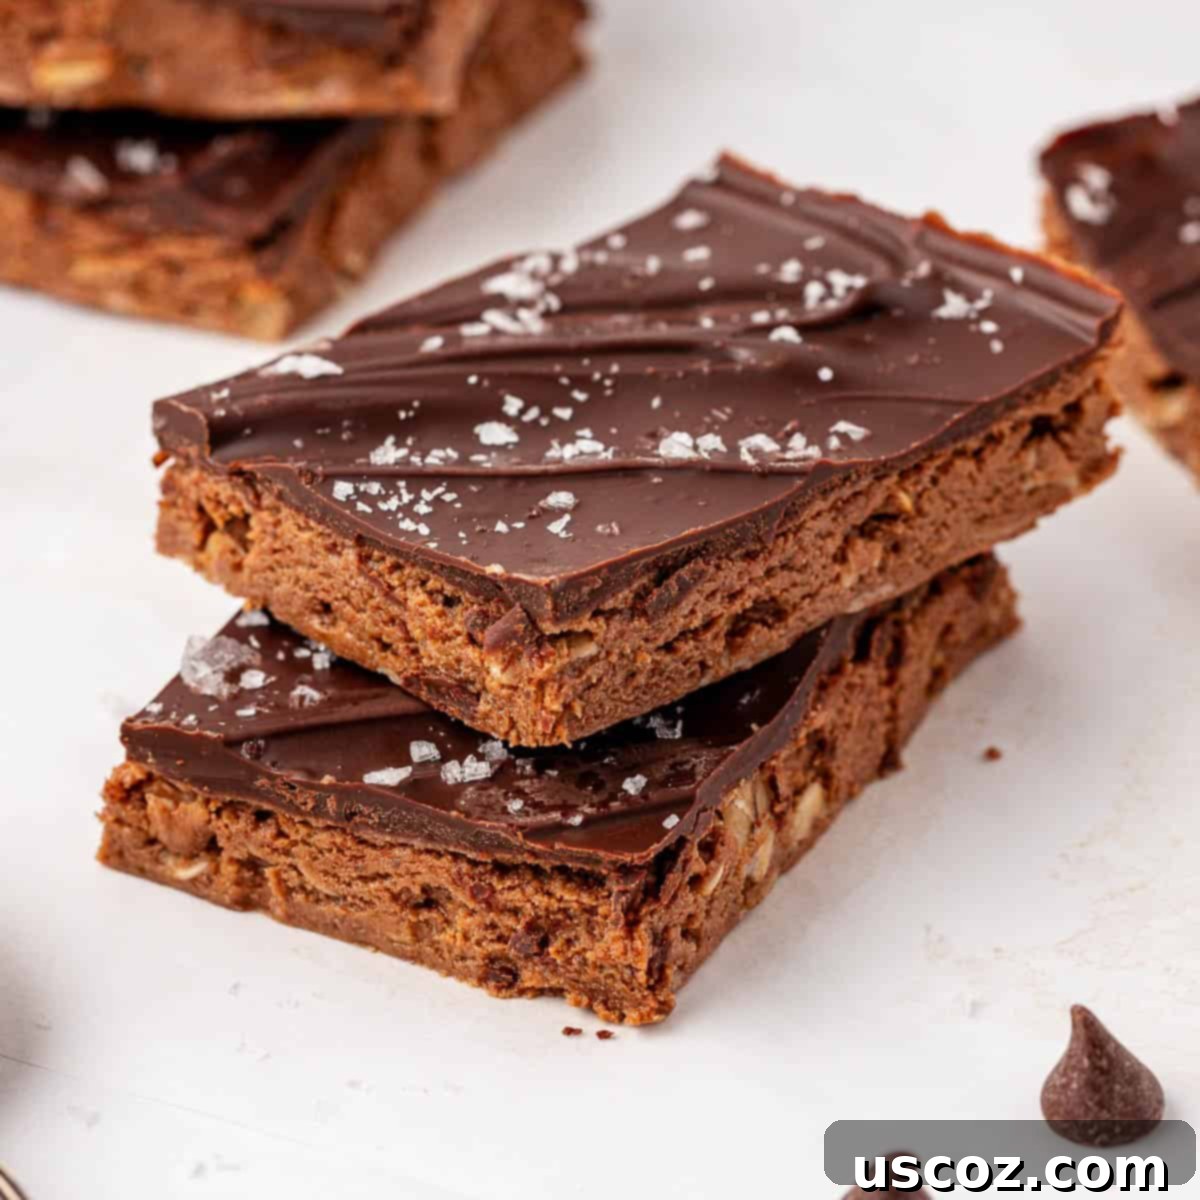
Easy No-Bake Chocolate Protein Bars: Your Ultimate Homemade Snack Recipe
These homemade Chocolate Protein Bars are an incredibly easy, no-bake snack that you can whip up in mere minutes! Forget the store-bought varieties; these are bursting with rich chocolate flavor and are perfect for a quick energy boost.
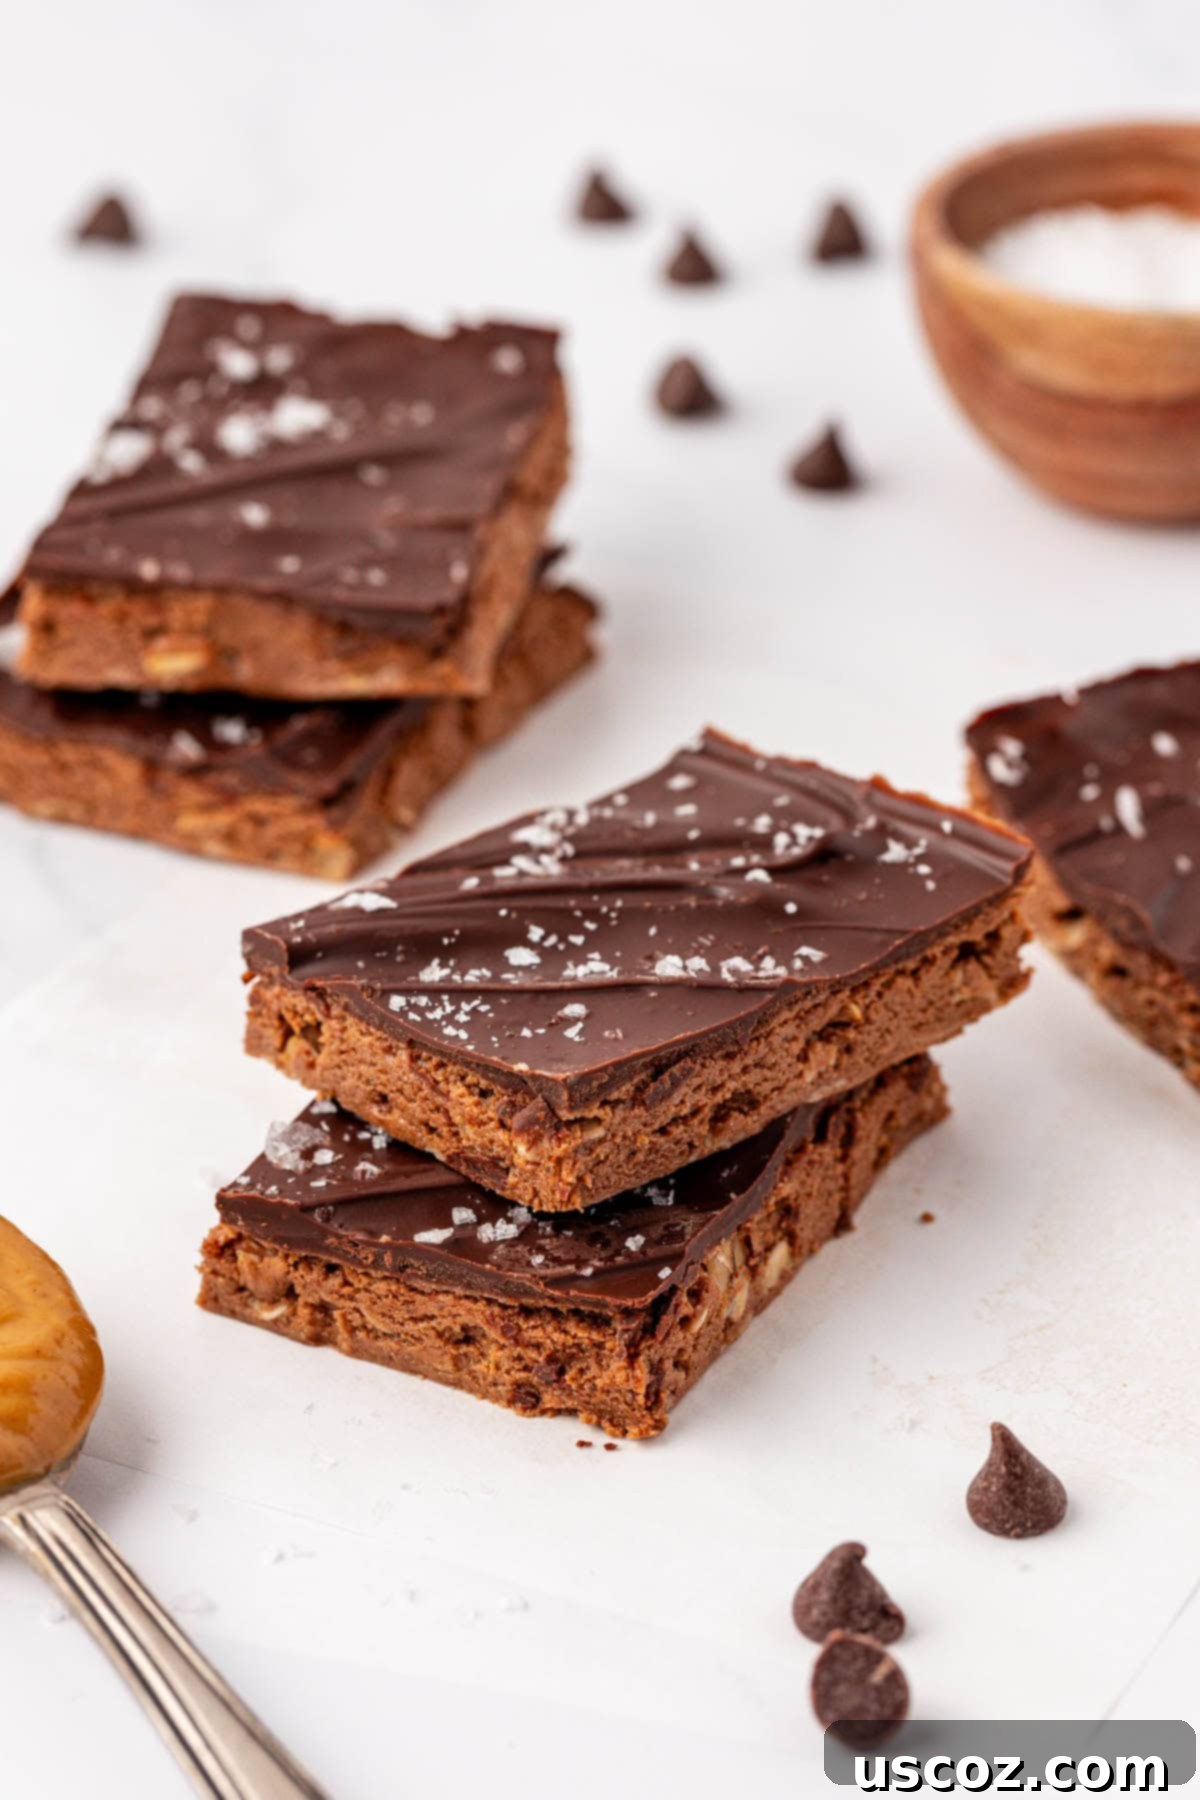
Why Homemade Protein Bars are a Game Changer
Homemade protein bars have become one of the most highly requested snacks in our household, and it’s easy to see why. Not only do they deliver on fantastic taste, but they also offer a peace of mind that store-bought options simply can’t match. When you make your own protein bars, you have complete control over the ingredients, ensuring a wholesome and nutritious treat free from unnecessary additives, artificial sweeteners, or hidden sugars.
As a big fan of protein-packed recipes, my absolute rule is that they must genuinely taste good. There’s nothing worse than a protein snack that is chalky, bland, or has an overpowering taste of protein powder. That’s why perfecting this no-bake chocolate protein bar recipe was a mission! After countless trials – I lost count but know it was at least 8 distinct tests – I finally nailed the perfect balance.
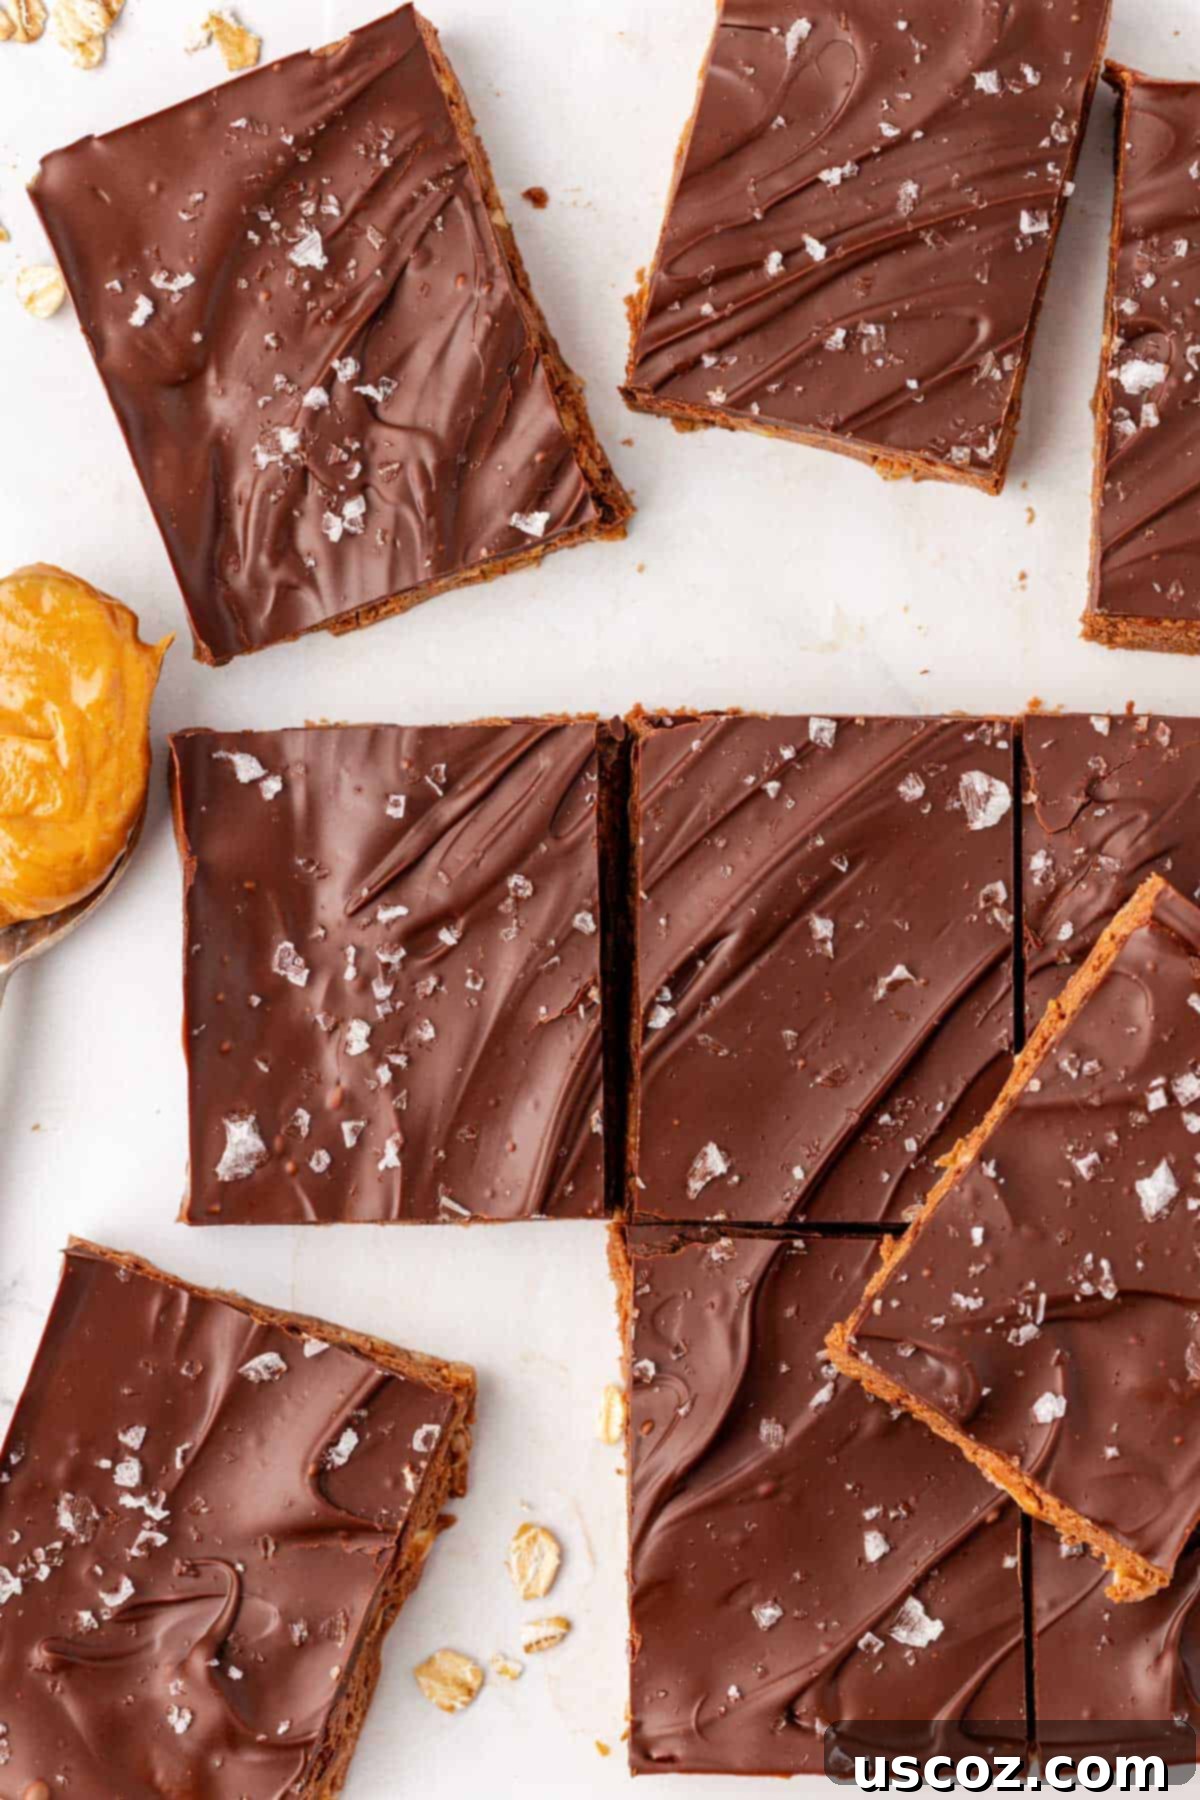
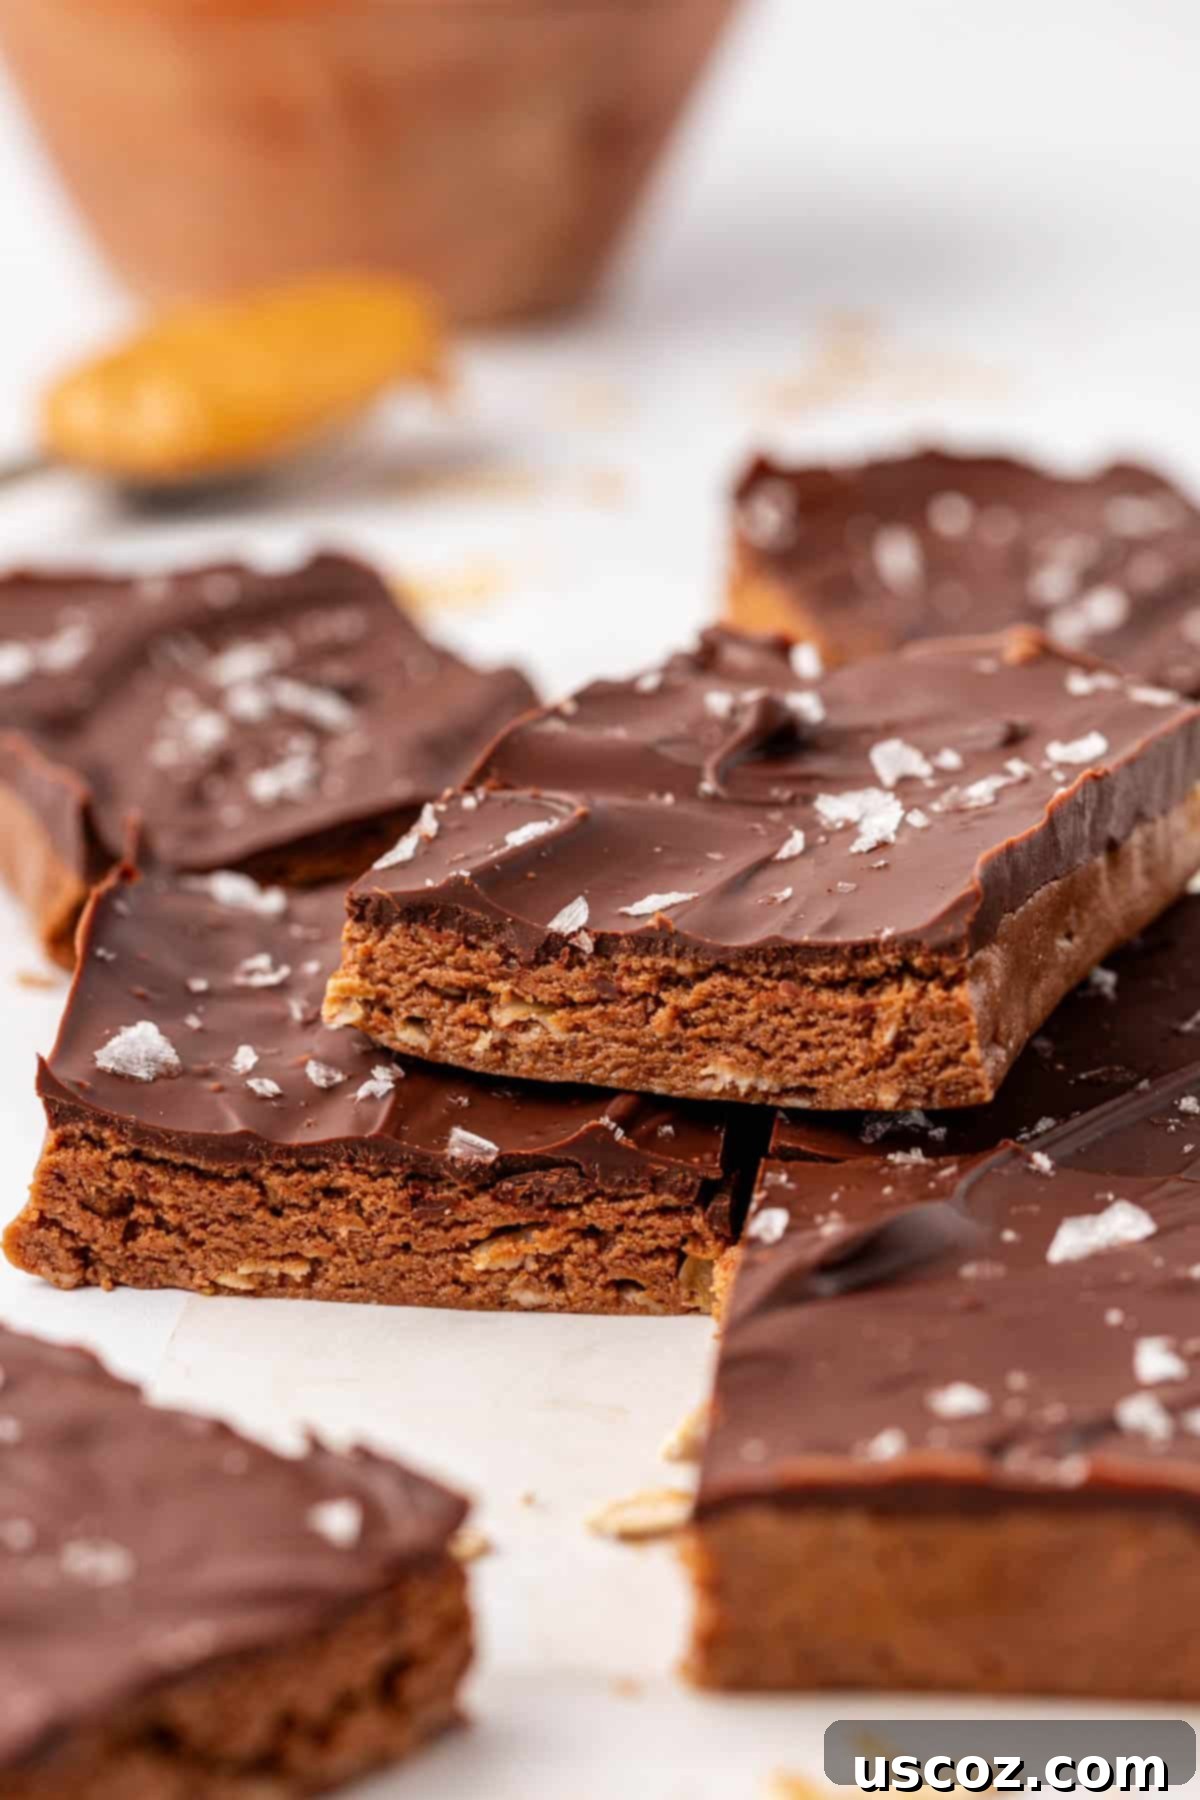
The result is a batch of bars that are truly exceptional. These no-bake delights are intensely chocolatey, boast a wonderfully satisfying texture, and are finished with a delicate sprinkle of flaky sea salt. This touch of salt elevates the flavor profile, creating a delectable salty-sweet sensation that makes these bars absolutely irresistible.
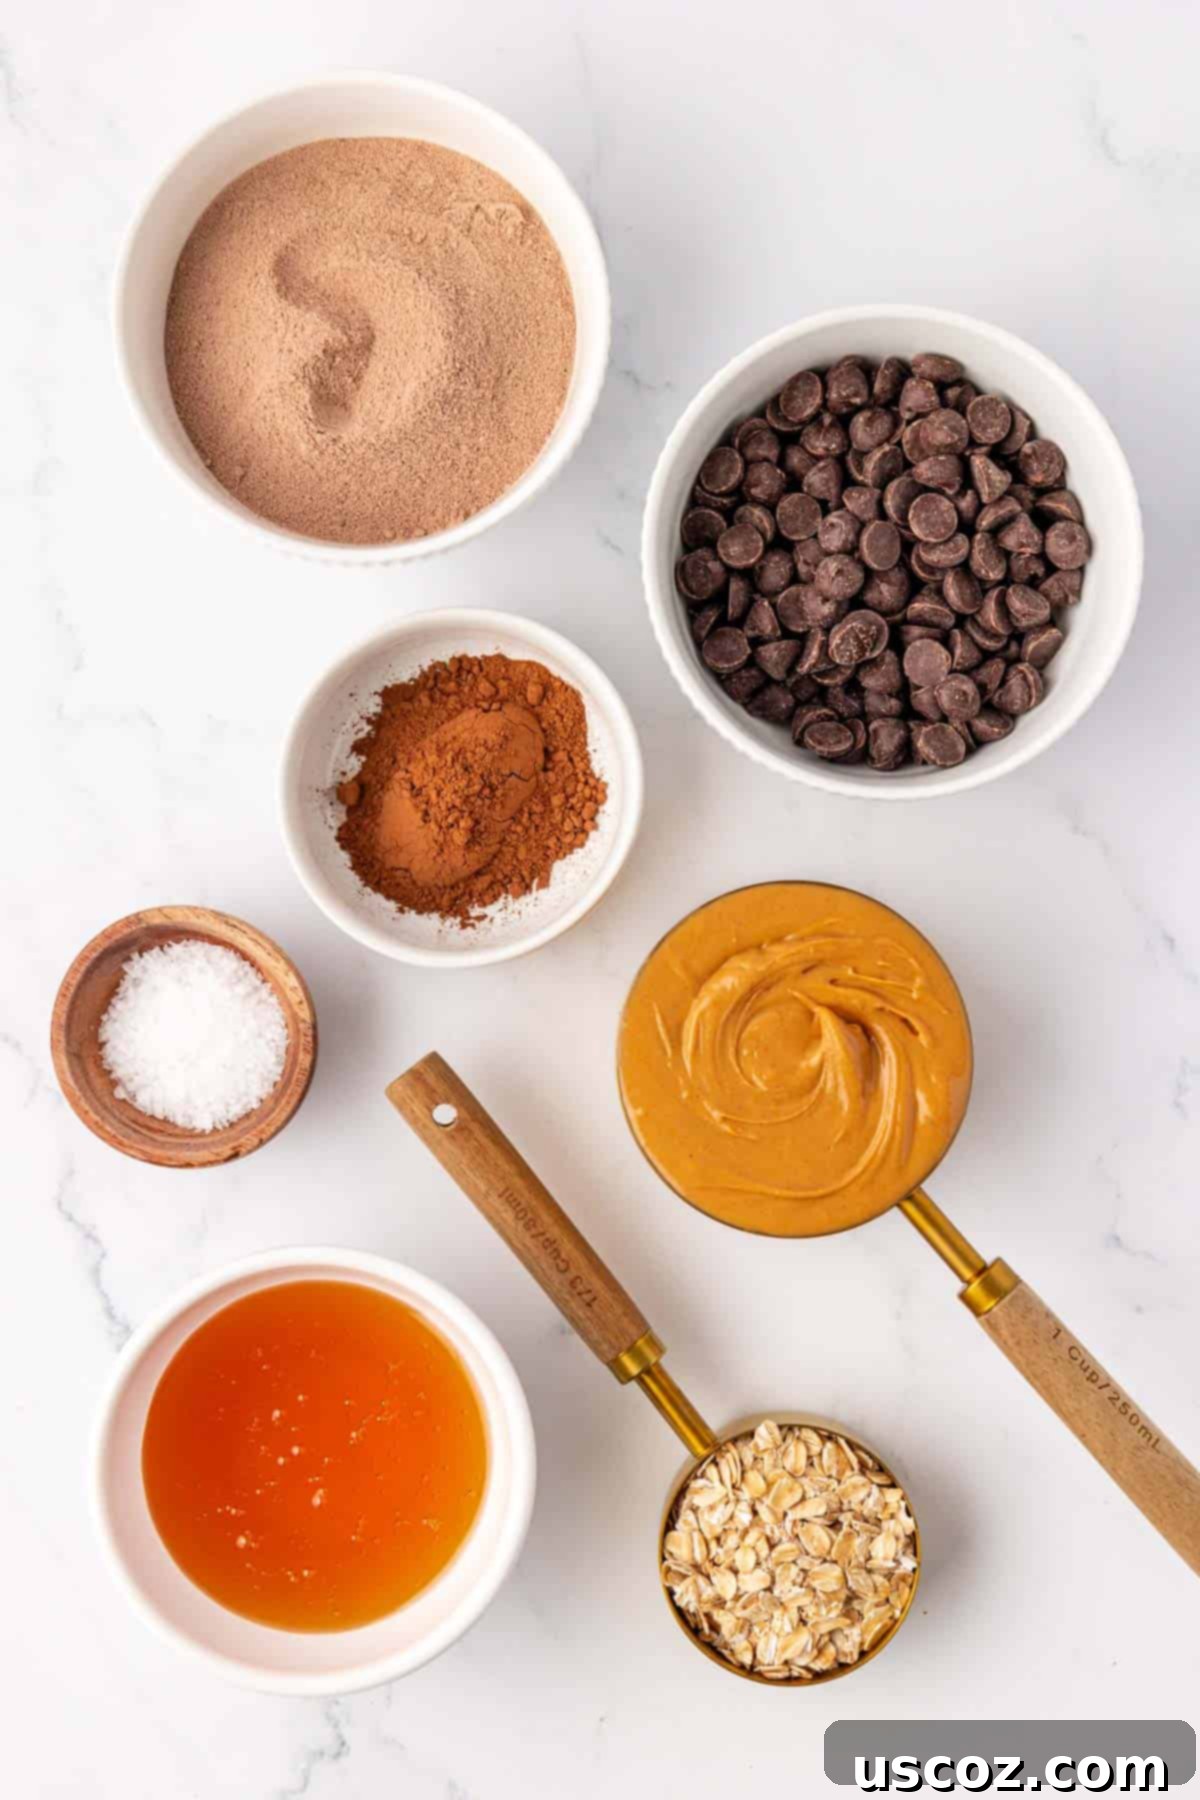
Essential Ingredients for Your No-Bake Chocolate Protein Bars
The full, detailed recipe and instructions are provided at the bottom of this post, but here’s a closer look at each ingredient you’ll need to create these fantastic homemade protein bars, along with some helpful notes and potential substitutions.
- No-Stir Creamy Peanut Butter: This is key for the ideal texture. Unlike natural peanut butter which can separate and be runny, no-stir creamy peanut butter typically contains a small amount of added sugar and oil, resulting in a thicker, smoother, and more consistent texture. This helps bind all the ingredients together perfectly. Ensure the ingredients list includes peanuts, oil (like palm oil), salt, and sugar.
- Substitution Tip: You can use natural creamy peanut butter, but you might need to add a bit more rolled oats or protein powder to achieve the right consistency, as natural peanut butter is often thinner. Almond butter or cashew butter can also be used for a different flavor profile.
- Honey: Our natural, sticky sweetener acts as the primary binder for these bars, holding everything together without the need for cooking. It also adds a lovely depth of flavor.
- Substitution Tip: Maple syrup or agave nectar can be used as vegan alternatives, though the flavor will be slightly different.
- Rolled Oats: Also known as old-fashioned oats, these provide structure, fiber, and a satisfying chewiness to the bars. They are essential for achieving the correct texture.
- Substitution Tip: Quick oats can be substituted if desired, but they will result in a slightly less chewy texture. Do not use instant oats as they absorb too much liquid too quickly.
- Chocolate Protein Powder: This is where the “protein” comes from! Choose a good quality chocolate protein powder that you enjoy the taste of. The quality of your protein powder will directly impact the final flavor and texture of your bars, so avoid brands known for being chalky.
- Tip: Both whey and plant-based protein powders (like pea protein or brown rice protein) generally work well. Adjust the amount slightly if your protein powder is exceptionally absorbent.
- Cocoa Powder: To truly amplify that rich, deep chocolate flavor, we add extra cocoa powder. This ensures a robust chocolate experience in every bite.
- Tip: Unsweetened natural cocoa powder or Dutch-processed cocoa powder will both work. Dutch-processed cocoa tends to be darker and less acidic.
- Semi-Sweet Chocolate Chips: These are melted down to create a smooth, decadent topping for the bars.
- Substitution Tip: Feel free to experiment with dark chocolate chips for a more intense flavor, milk chocolate chips for a sweeter topping, or even white chocolate chips for a visual contrast.
- Flaked Sea Salt: This is an optional, but highly recommended, topping! The delicate crunch and burst of savory saltiness beautifully complement the sweetness of the chocolate, creating that irresistible salty-sweet flavor pop that truly makes these bars shine.
Step-by-Step Guide: Crafting Your Chocolate Protein Bars
Making these no-bake chocolate protein bars is incredibly straightforward. Follow these simple steps for a perfect batch every time!
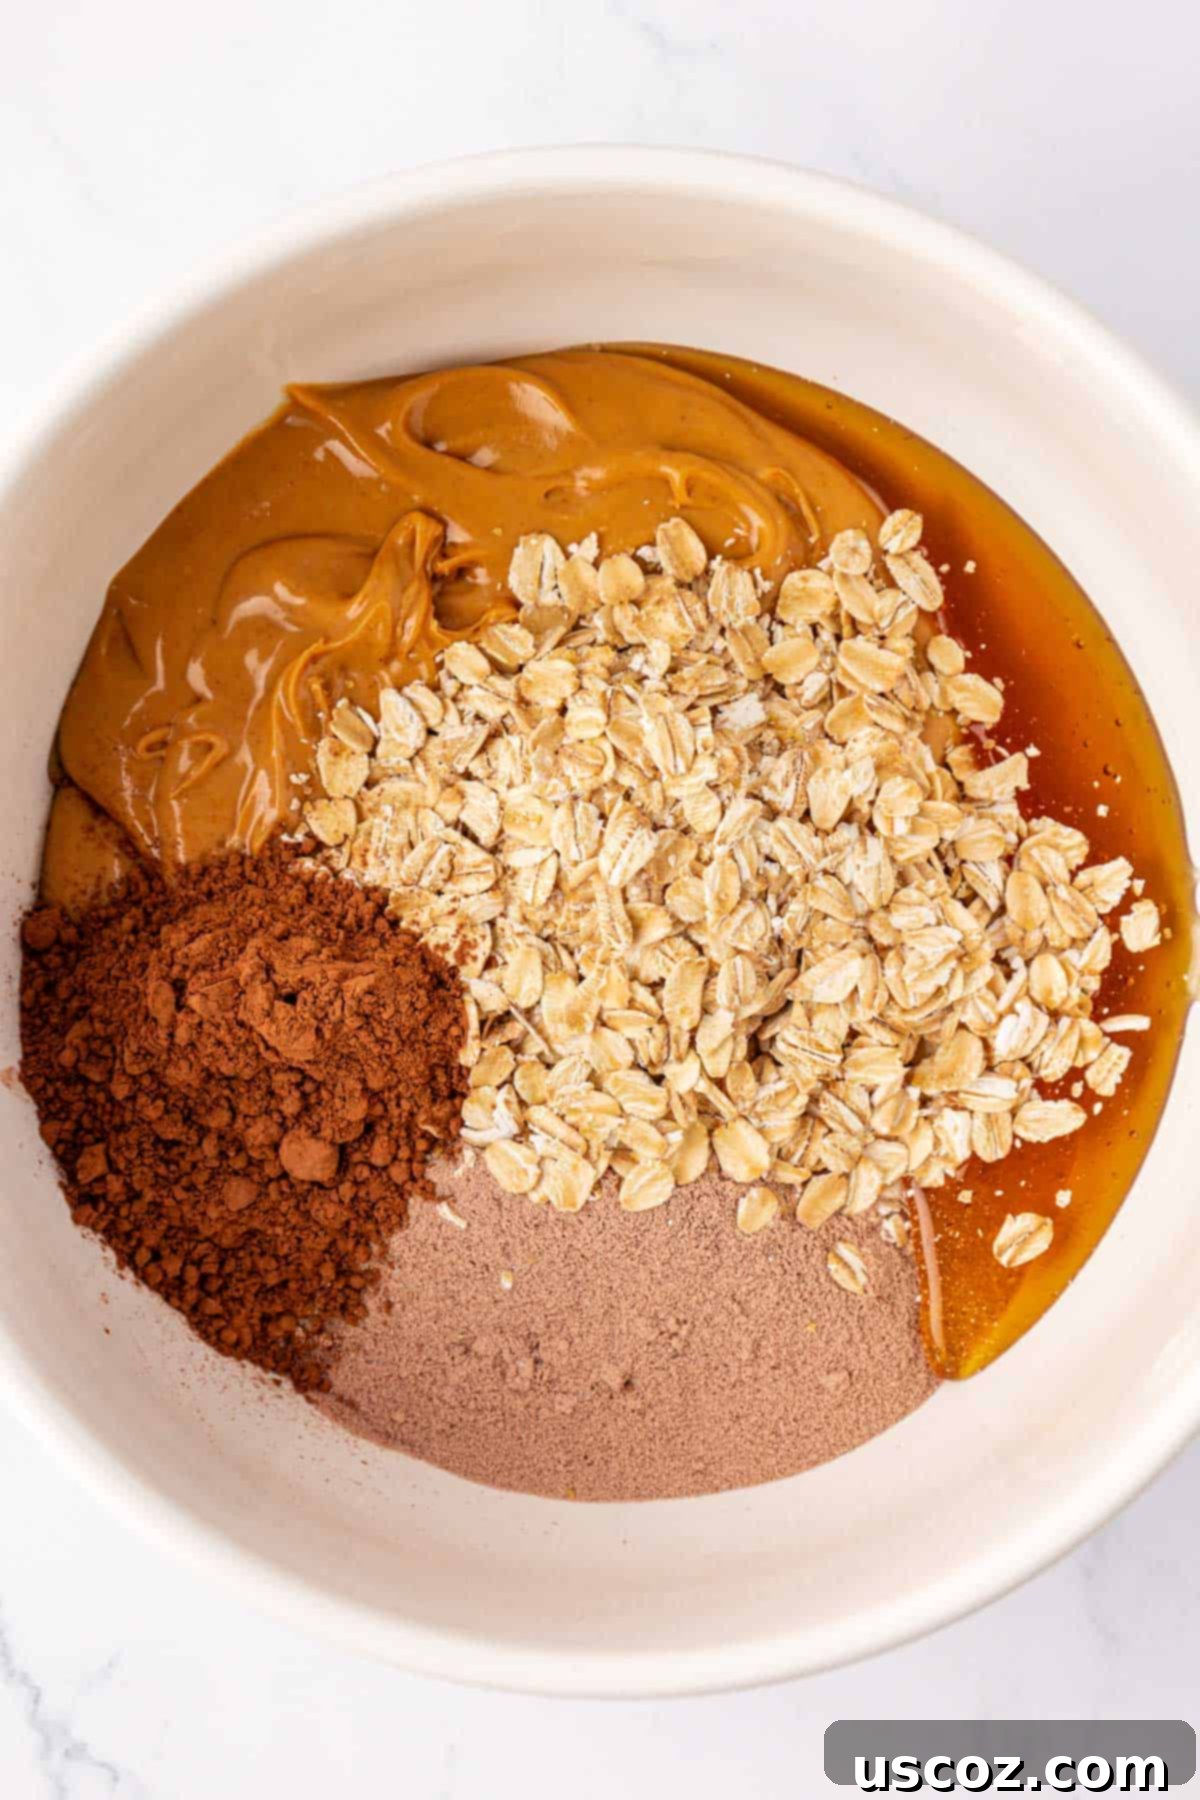
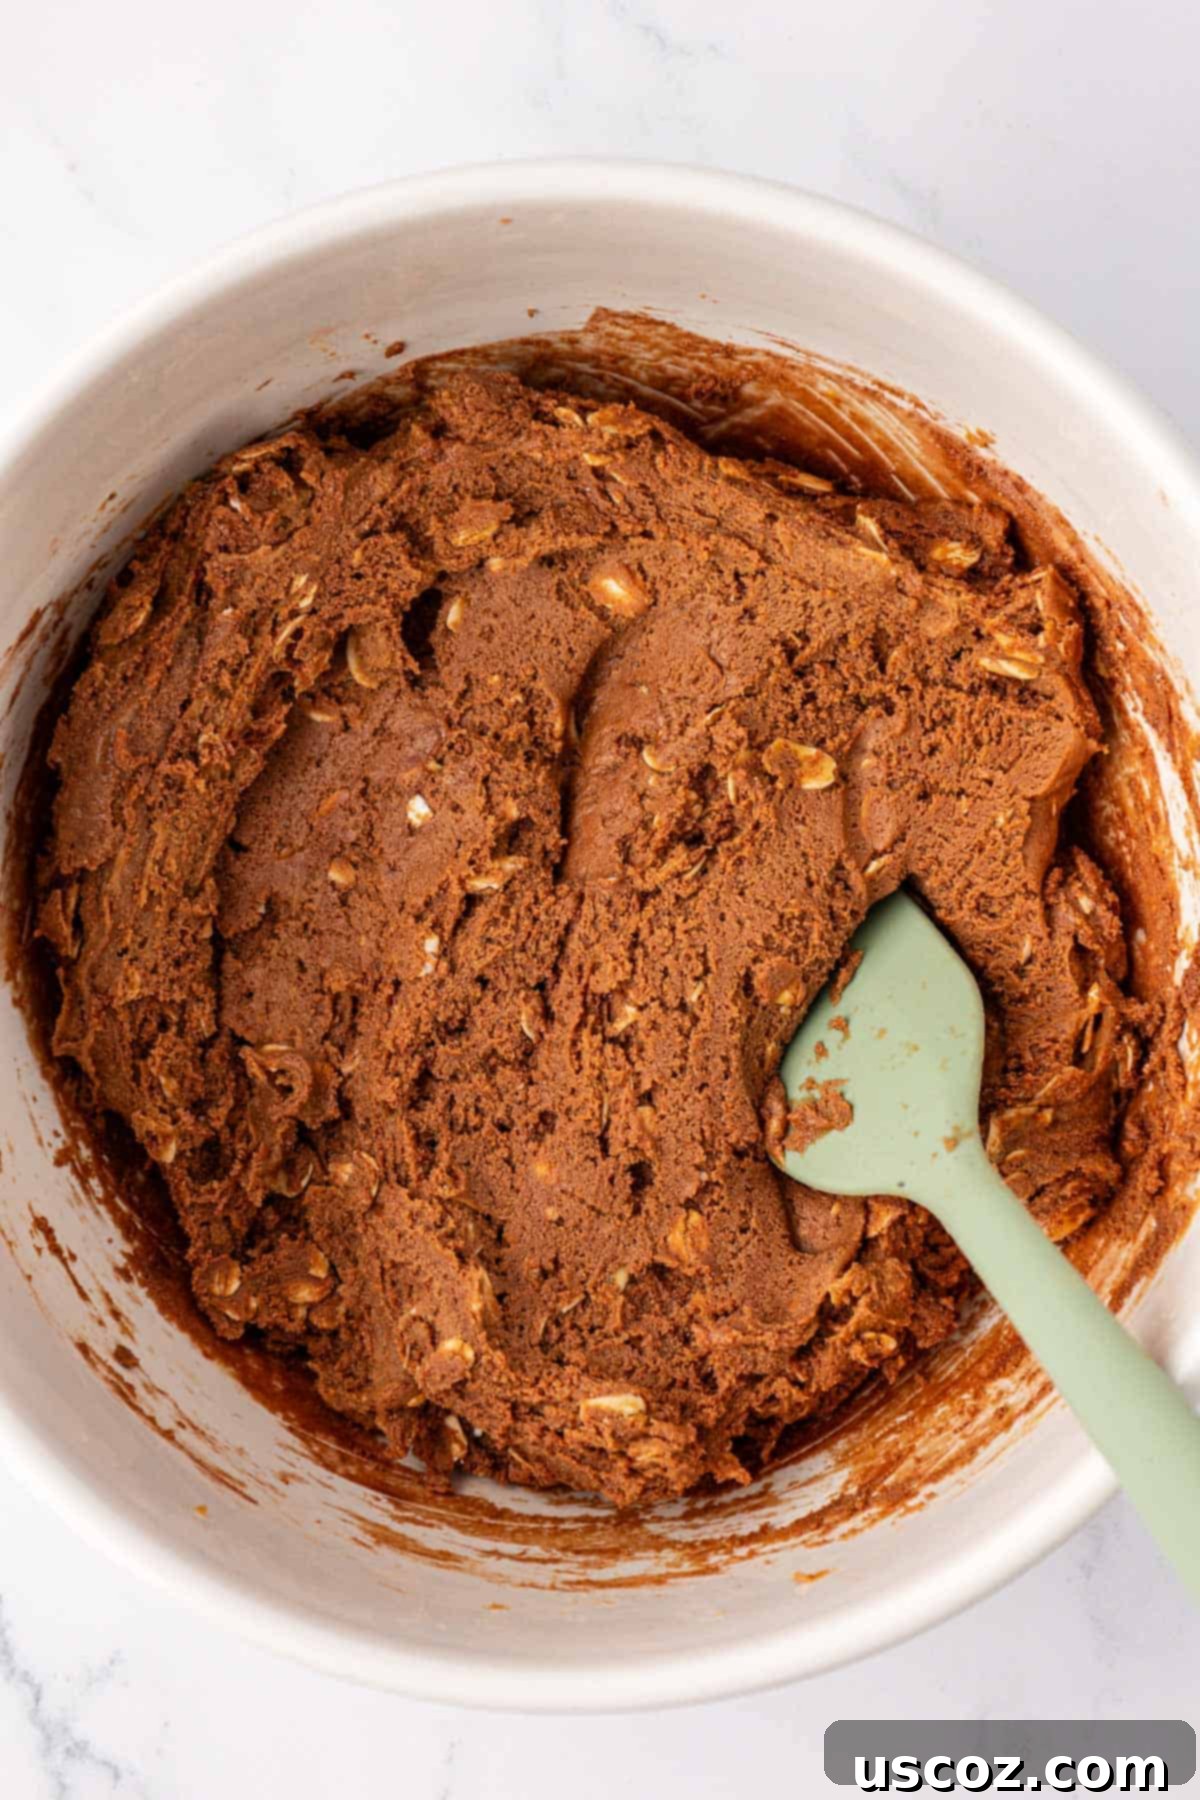
Step 1: Combine the Base Ingredients. In a large mixing bowl, add the no-stir creamy peanut butter, honey, rolled oats, chocolate protein powder, and cocoa powder. Using a sturdy rubber spatula, begin to stir all the ingredients together. This mixture will be quite thick and sticky, requiring a bit of elbow grease. Continue stirring and folding until all the ingredients are thoroughly combined and a uniform, thick batter forms. Ensure there are no pockets of dry protein powder or oats.
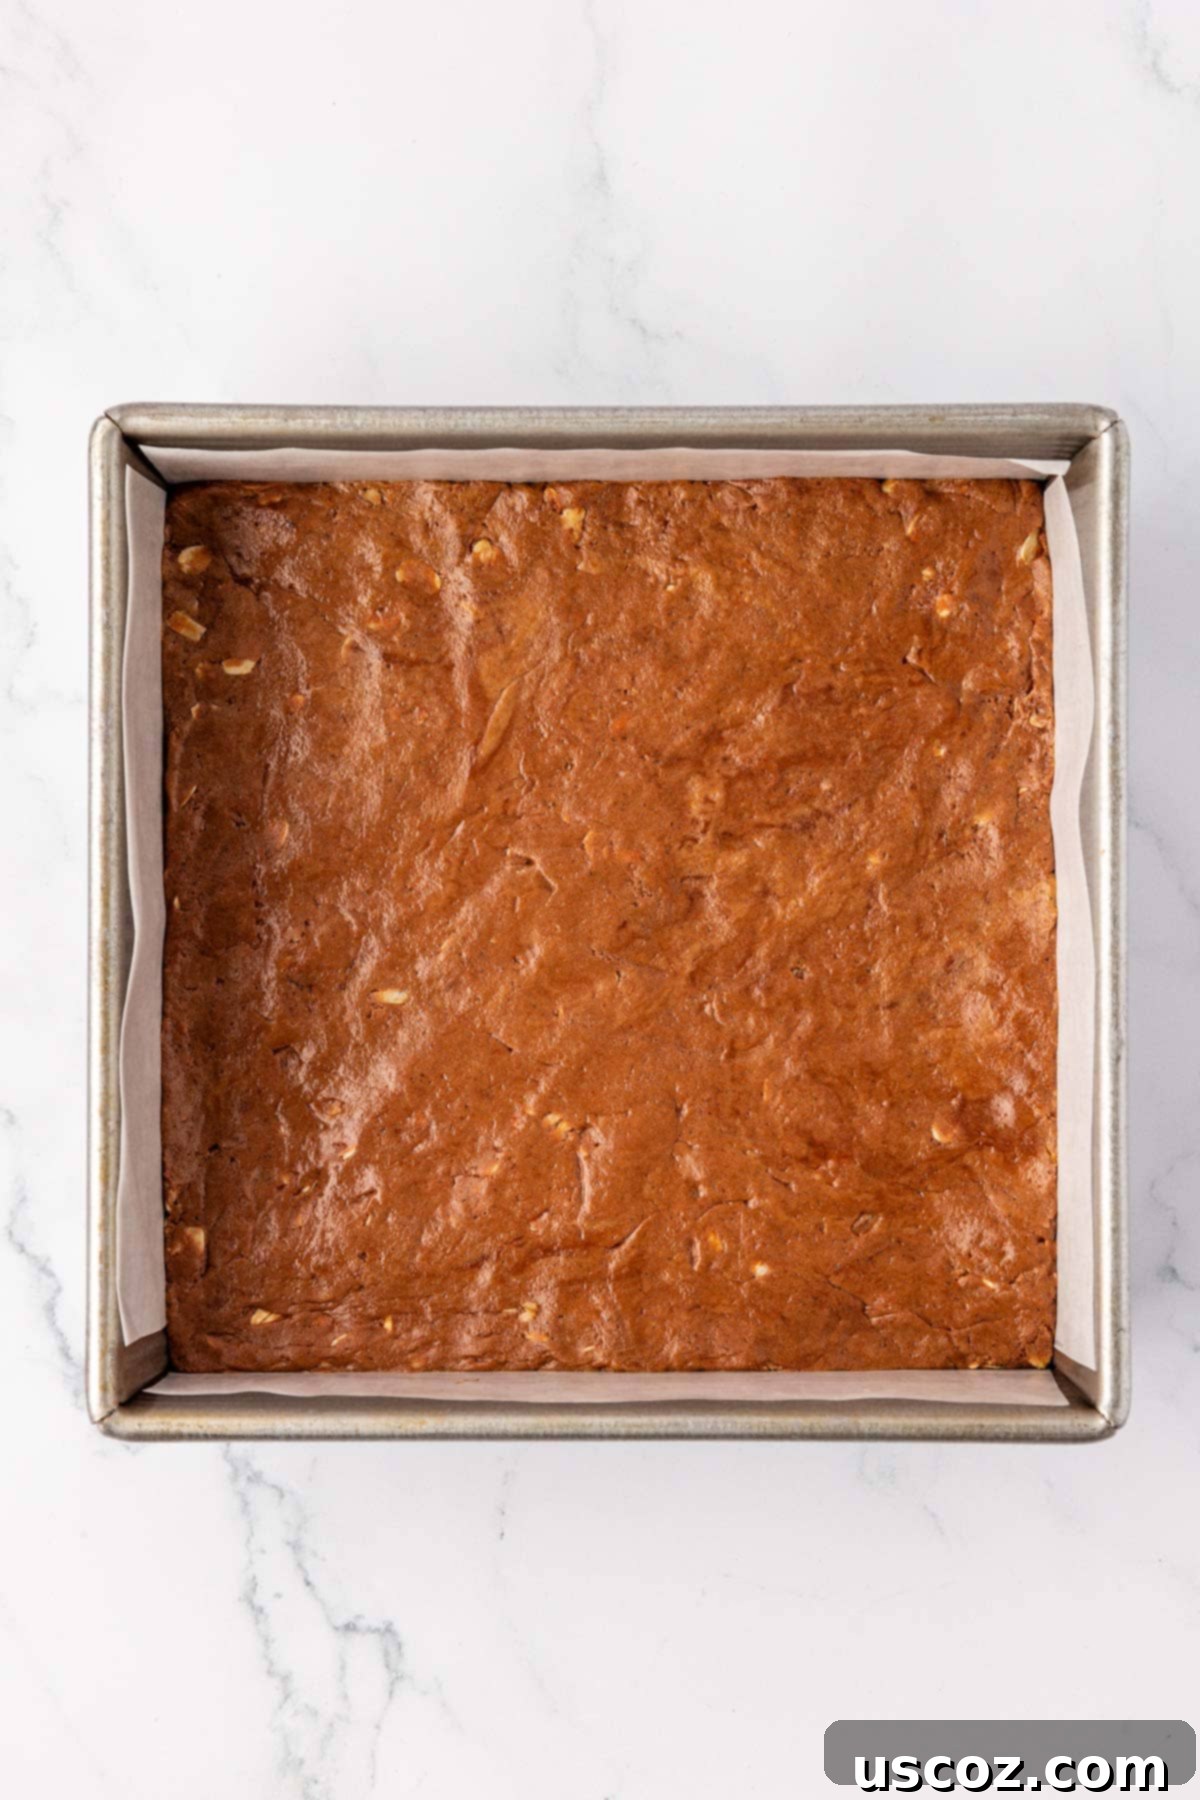
Step 2: Press into the Pan. Line an 8×8 inch baking dish with either wax paper or parchment paper. Make sure there’s enough overhang on the sides to easily lift the bars out later. Transfer the thick chocolate protein bar batter into the lined pan. Using your hands (lightly greased if it’s too sticky) or the back of a rubber spatula, firmly and evenly press the batter across the bottom of the pan. The goal is to create a compact and level layer, which will ensure evenly sized bars.
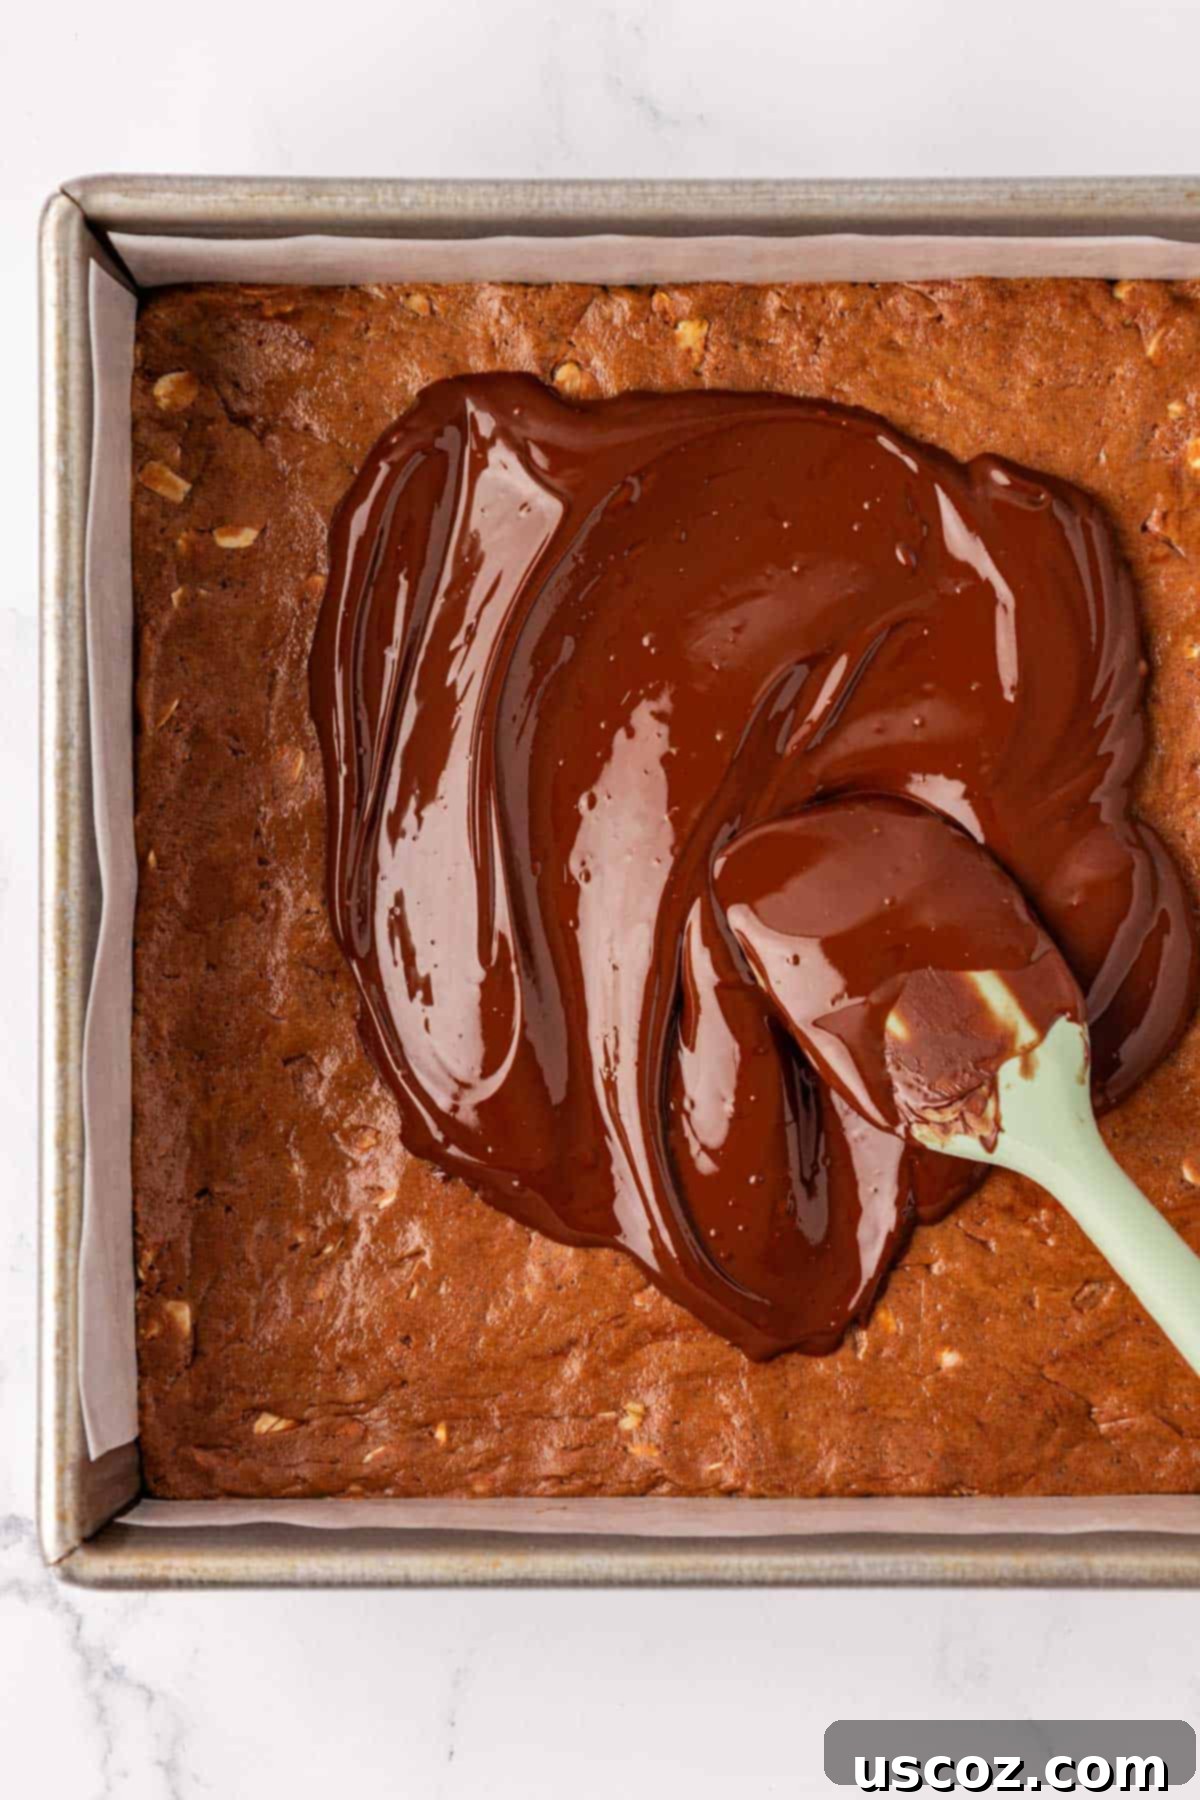
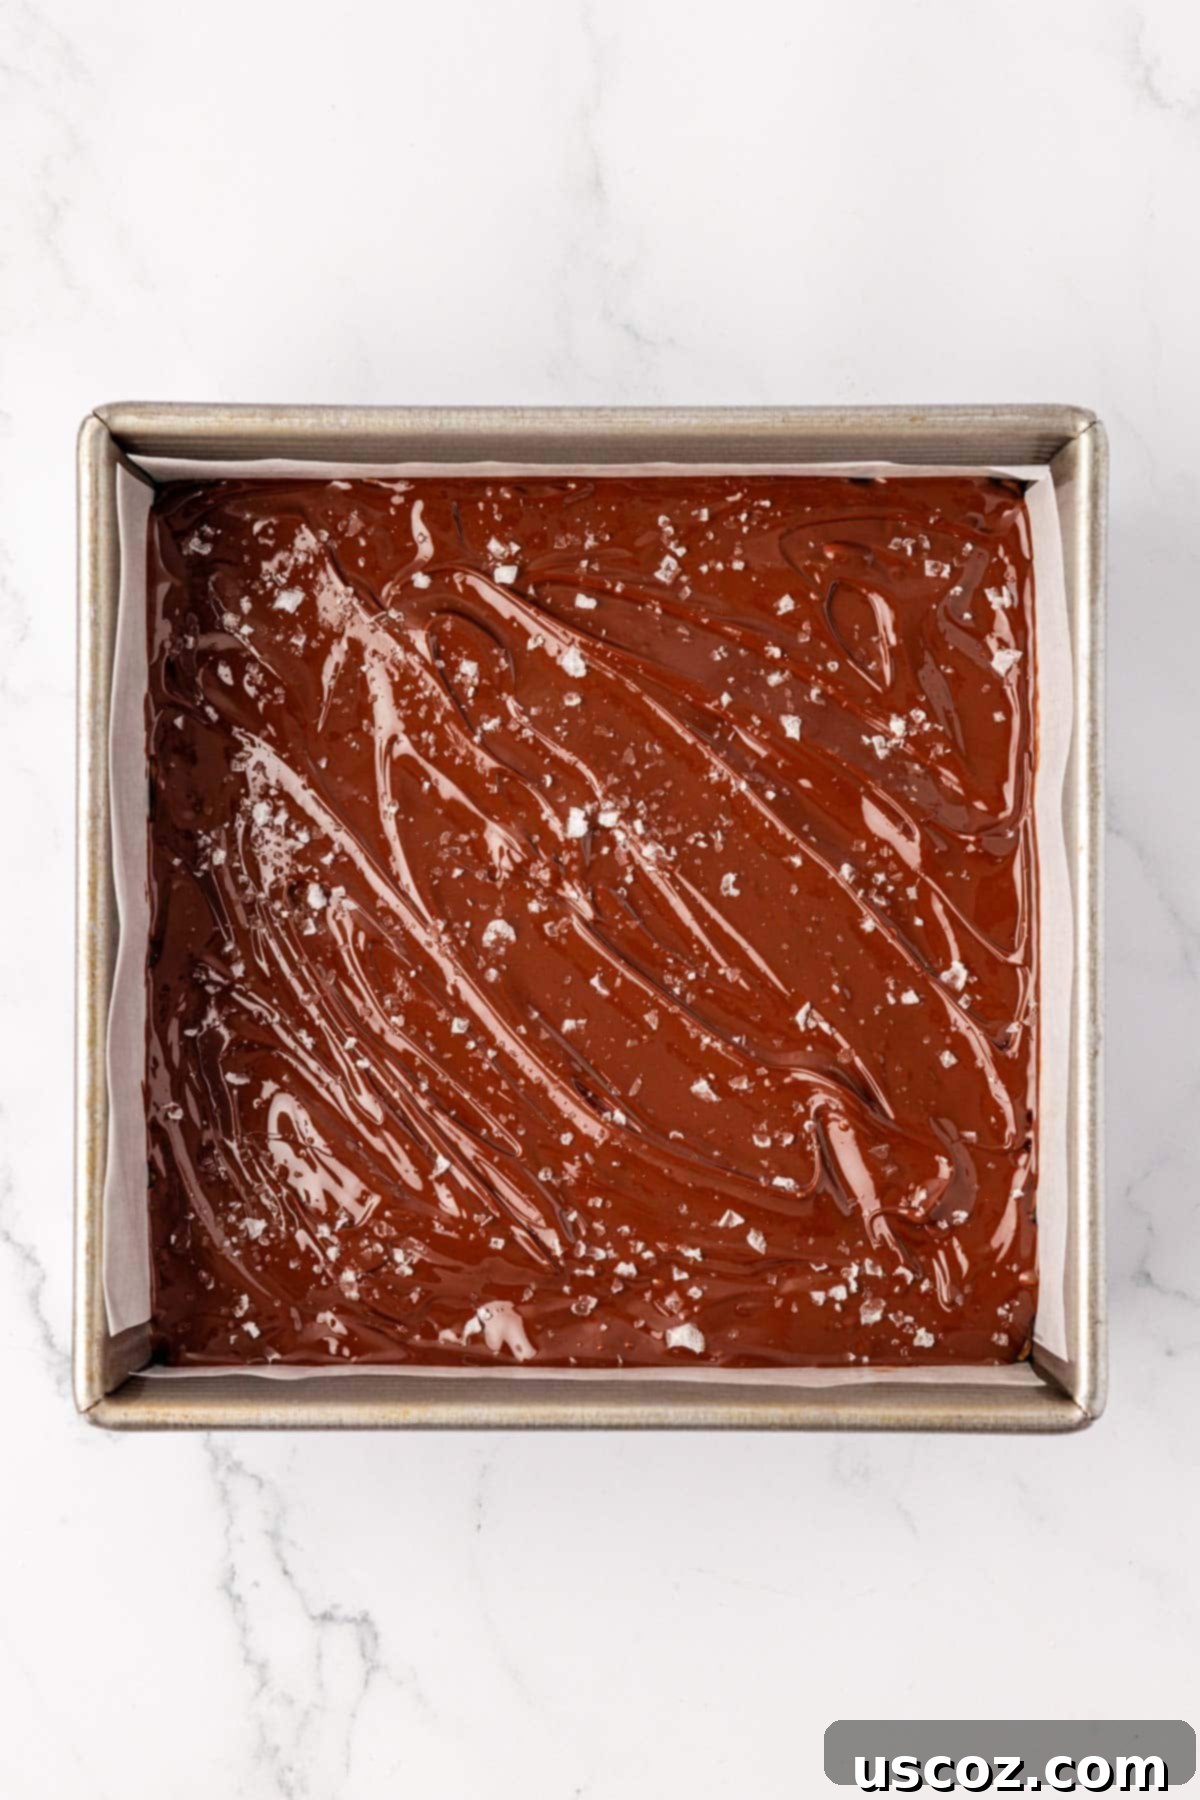
Step 3: Add the Chocolate Topping. Melt the semi-sweet chocolate chips until completely smooth and free of lumps. You can do this in a microwave (in 30-second intervals, stirring well after each) or over a double boiler. Once melted, pour the smooth chocolate evenly over the top of the pressed protein bar base. Use your rubber spatula to gently spread the chocolate into a thin, consistent layer that covers the entire surface.
Step 4: Sprinkle with Sea Salt. Immediately after spreading the melted chocolate, generously sprinkle the top with flaky sea salt. The key is to do this while the chocolate is still wet and warm, so the salt adheres properly. This final touch is crucial for that fantastic salty-sweet flavor balance.
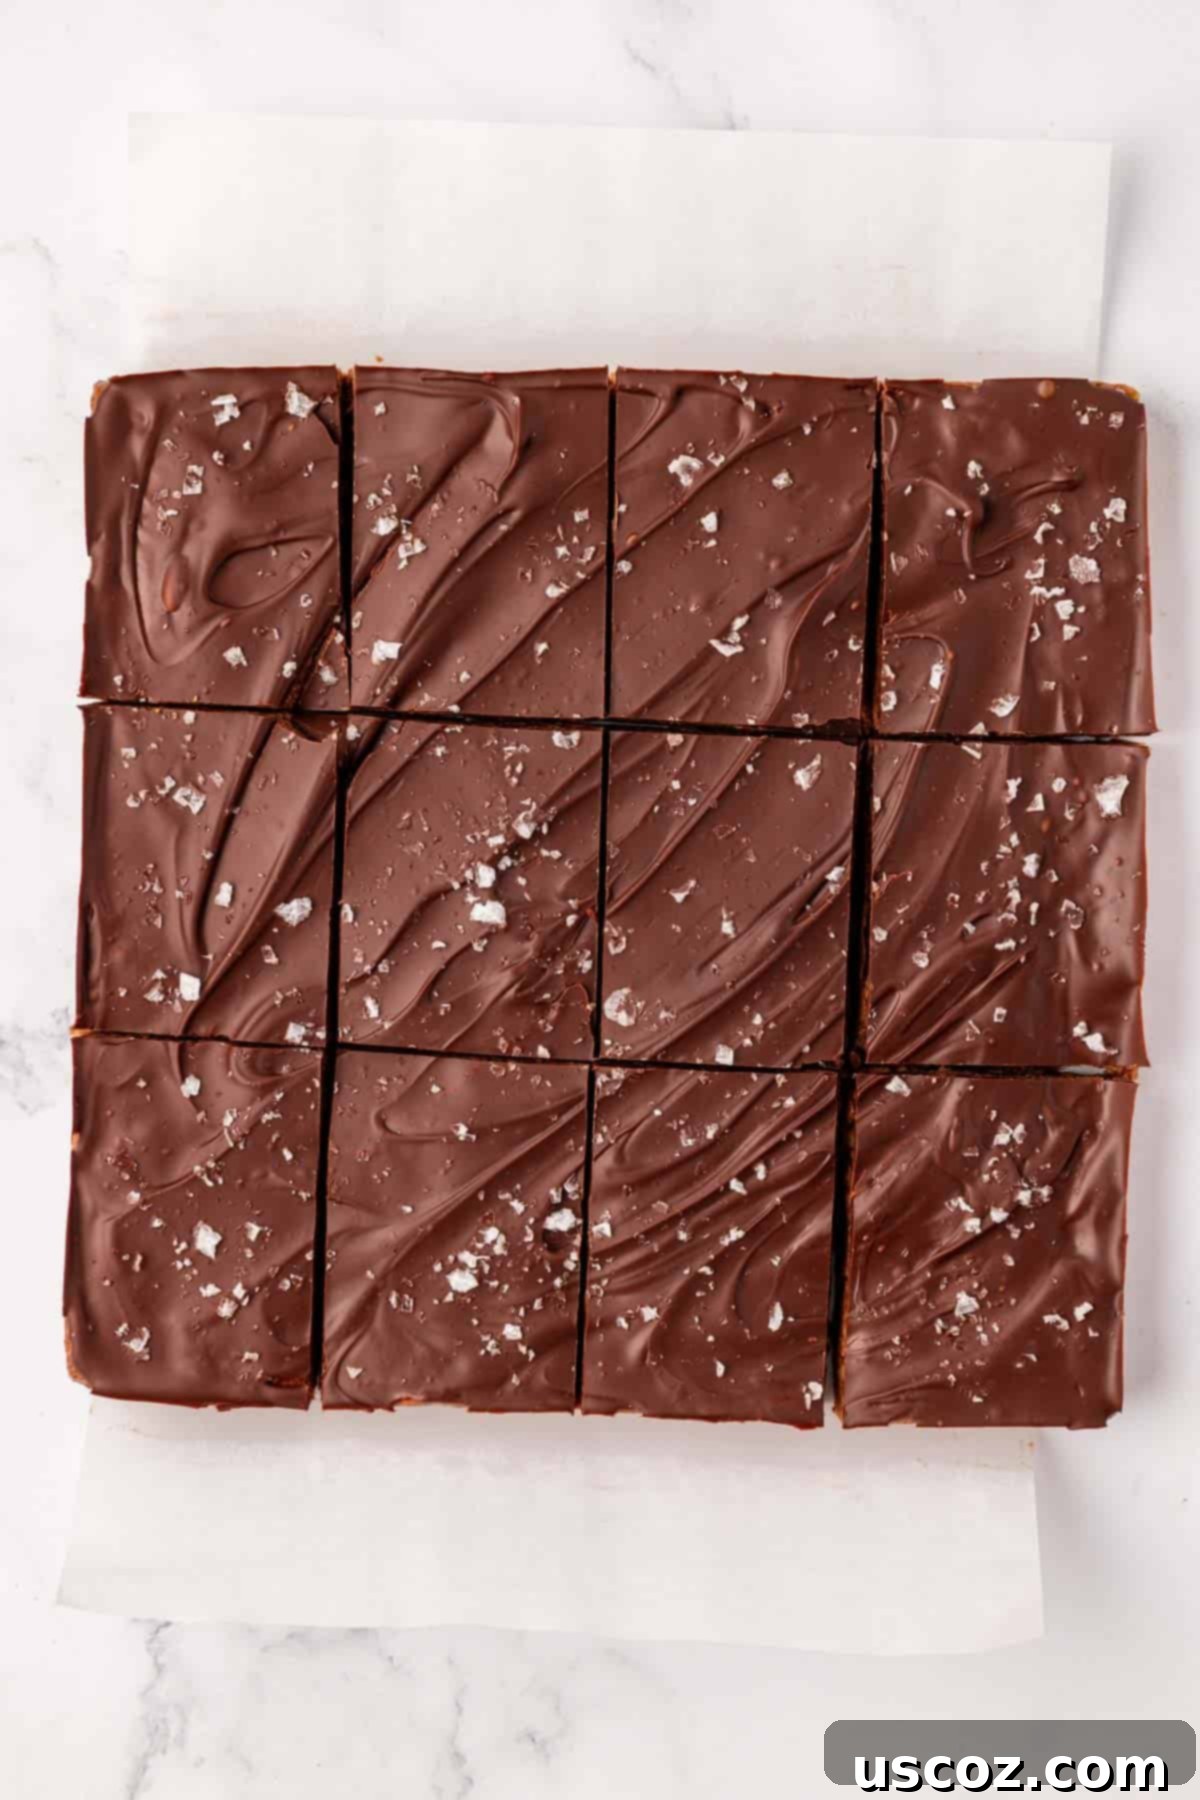
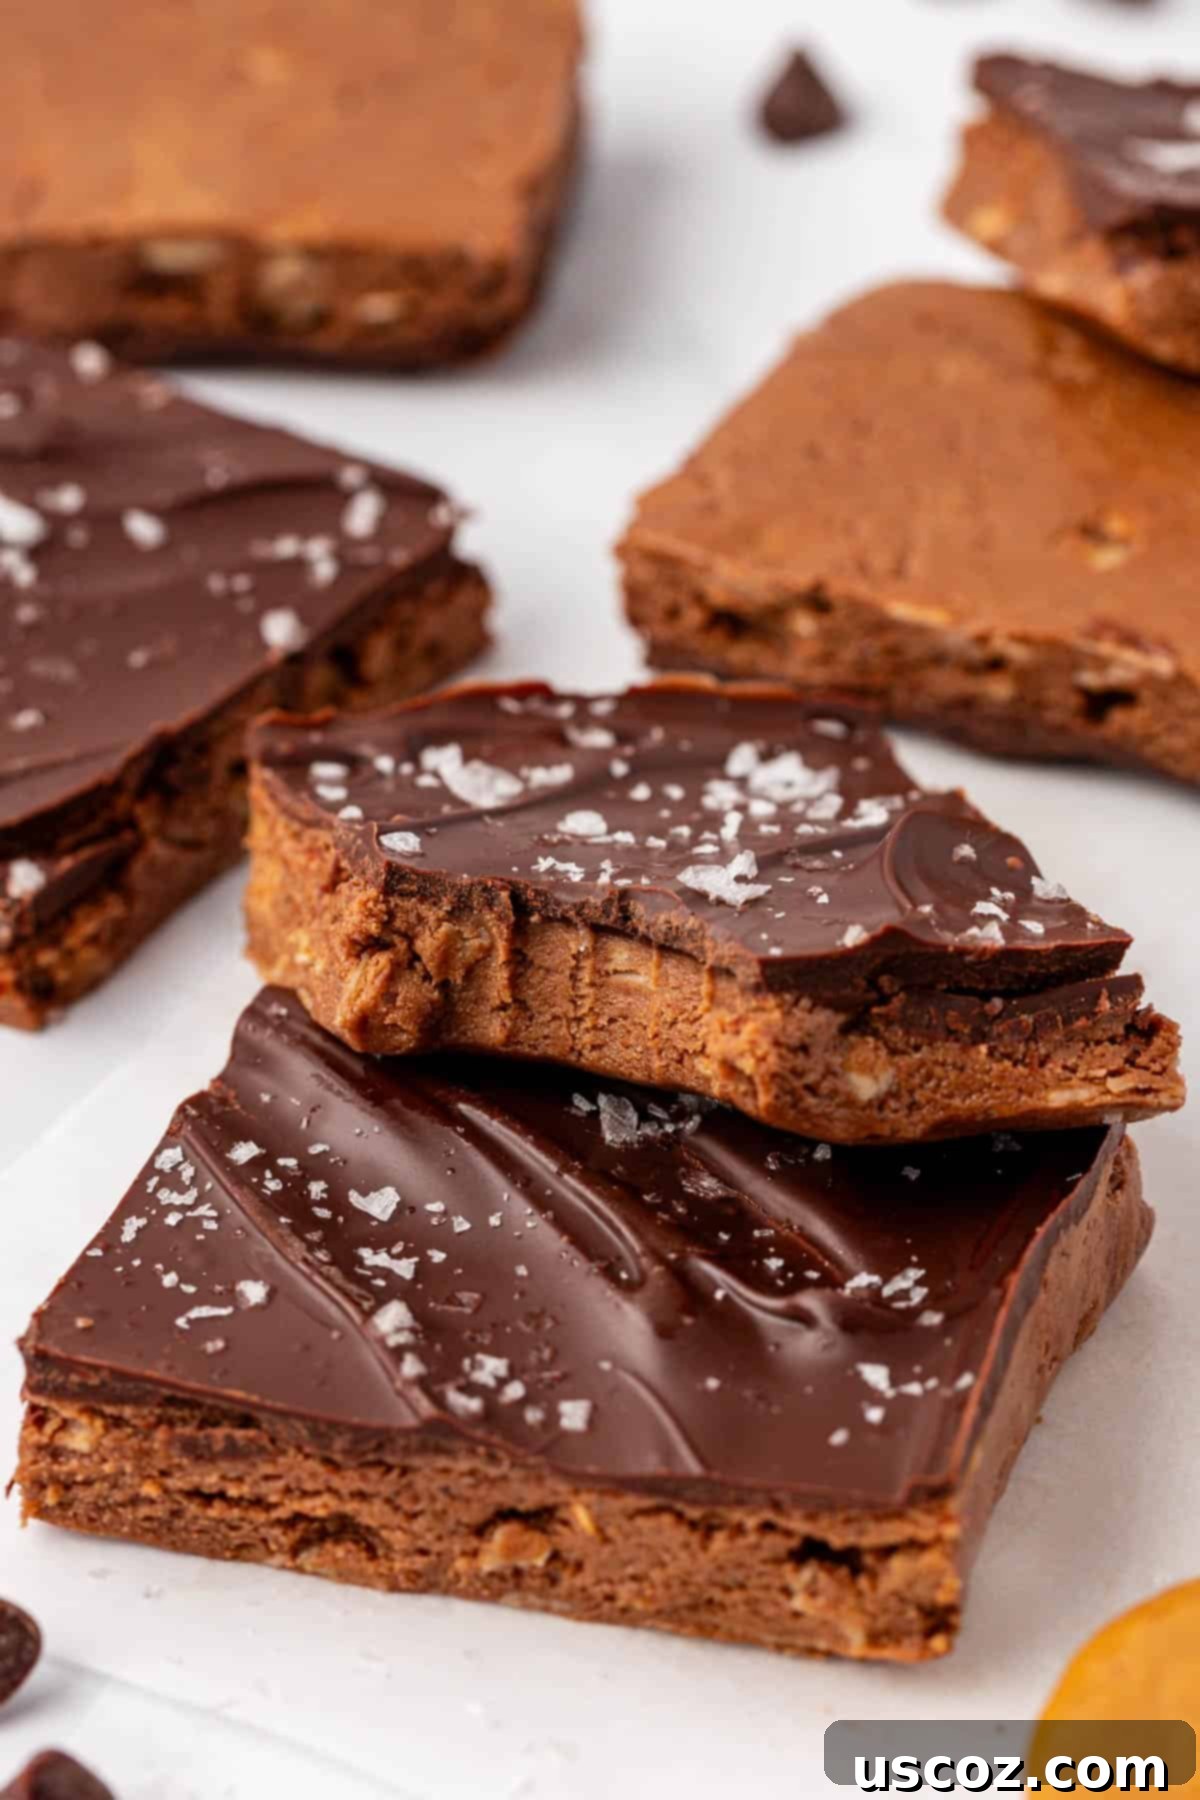
Step 5: Chill and Serve. Place the entire pan of chocolate protein bars in the refrigerator to chill for 1-2 hours. This crucial step allows the chocolate topping to harden and completely set, ensuring the bars hold their shape when cut. Once the chocolate is firm, use a sharp knife to cut the slab into individual bars. We typically cut them into 12 servings, but you can adjust the size to suit your preference – smaller squares are great for kids or quick bites.
Tips for Success & Customization
Achieving the perfect no-bake protein bar is simple, but a few pointers can make all the difference:
- Consistency is Key: If your mixture seems too sticky, add a tiny bit more oats or protein powder. If it’s too dry and crumbly, a small dash of honey or melted peanut butter can help. Different brands of protein powder absorb liquid differently, so slight adjustments might be needed.
- Quality Protein Powder: The flavor of your protein powder will shine through, so invest in one you genuinely like. Avoid overly flavored or artificial-tasting powders.
- Pressing Firmly: When pressing the base into the pan, make sure it’s packed down tightly. This prevents crumbling and ensures sturdy bars.
- Melting Chocolate: To avoid seizing, melt chocolate chips gently. If using a microwave, stir every 30 seconds. For a double boiler, ensure no water gets into the chocolate.
Feeling creative? These bars are easily customizable:
- Nutty Crunch: Fold in chopped nuts (almonds, walnuts, peanuts) or seeds (chia, flax) into the base mixture for added texture and nutrients.
- Dried Fruit: Mix in dried cranberries, raisins, or chopped apricots for bursts of fruity flavor.
- Extracts: A few drops of vanilla extract or peppermint extract can transform the flavor profile.
- Different Toppings: Instead of just sea salt, consider sprinkling with shredded coconut, chopped nuts, or even a drizzle of white chocolate.
Storing Your Homemade Chocolate Protein Bars
Proper storage is essential to maintain the freshness and texture of your delicious chocolate protein bars. Leftover bars can be stored in an airtight container in the refrigerator for up to 5-7 days. To prevent them from sticking together, you can place a piece of parchment paper between layers.
For longer storage, these bars freeze beautifully! Wrap individual bars tightly in plastic wrap, then place them in a freezer-safe airtight container or bag. They will keep well in the freezer for 2-3 months. When you’re ready to enjoy, simply grab one from the freezer and let it thaw at room temperature for a few minutes, or enjoy it chilled for a firmer bite.
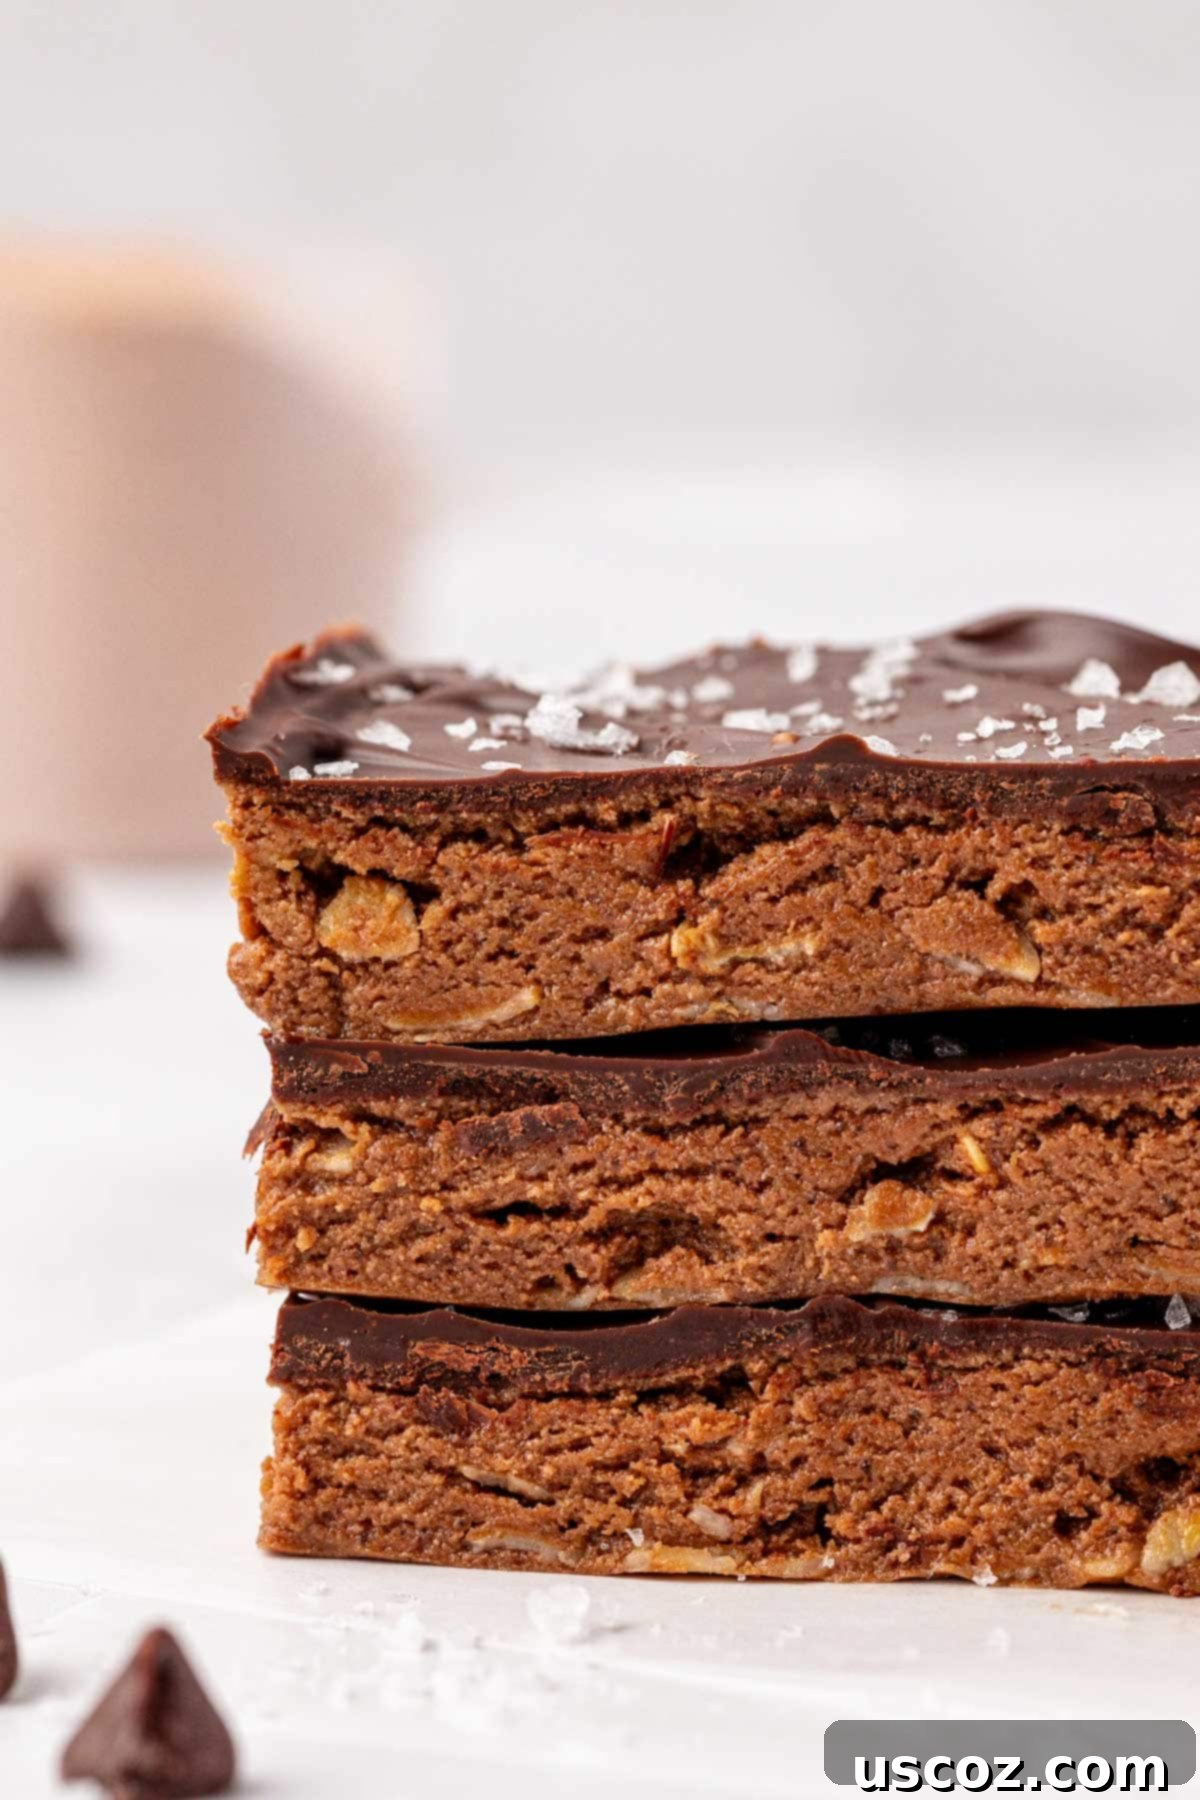
These versatile homemade chocolate protein bars make a fantastic post-workout recovery snack, a satisfying mid-morning boost, or a delightful addition to any lunchbox. With just 7 simple ingredients and a few minutes of active prep time, you can have a batch ready for the entire week. They’re quick, easy, and undeniably delicious!
Explore More Delicious Protein Recipes
If you loved these chocolate protein bars, you’re in for a treat! We have a wide array of other protein-packed recipes designed to be both healthy and delicious. Dive into our collection and discover your next favorite wholesome snack or treat:
- Protein Peanut Butter Cups
- Monster Cookie Protein Bars
- Chocolate Protein Mug Cake
- Protein Granola Bars
- Chocolate Cashew Protein Bars
- Peanut Butter Chocolate Chip Protein Bars
- Peanut Butter Crunch Energy Bites
- Strawberries and Cream Protein Balls
- Monster Cookie Protein Balls
- Birthday Cake Protein Balls
- Almond Butter Protein Balls
- Pumpkin Energy Balls
- Protein Overnight Oats
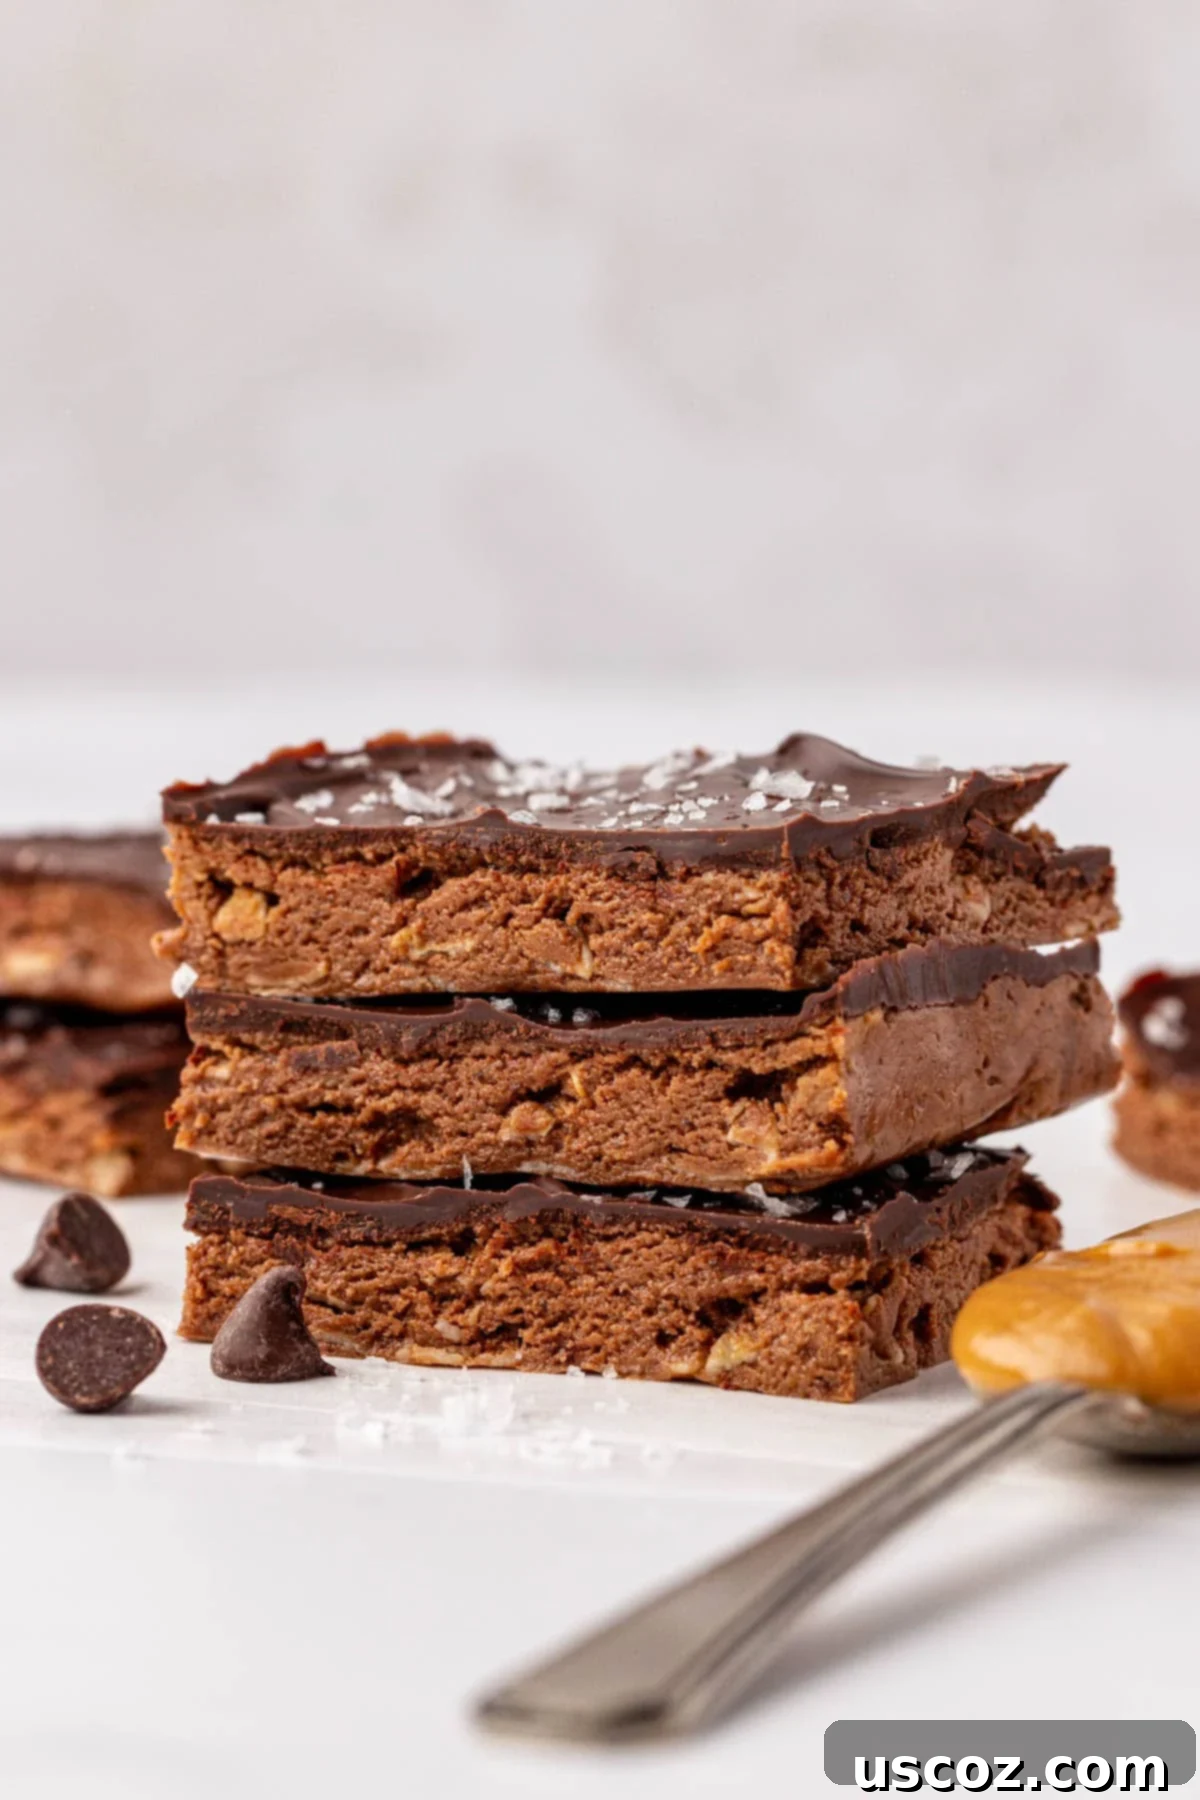
Next week, make sure to meal prep a batch of these incredible no-bake chocolate protein bars. They are the definition of quick, easy, and healthy snacking that you’ll look forward to every day!
Chocolate Protein Bars Recipe
Save RecipeSaved!
Pin Recipe
Rate Recipe
Print Recipe
Ingredients
- 1 cup no stir creamy peanut butter
- 1/3 cup honey
- 1/3 cup rolled oats, old fashioned oats
- 2/3 cup chocolate protein powder
- 1 tablespoon cocoa powder
- 2/3 cup semi sweet chocolate chips
- Flaked sea salt, for topping
Instructions
-
Use a rubber spatula to stir together the creamy peanut butter, honey, rolled oats, protein powder, and cocoa powder in a large mixing bowl.
-
Line an 8×8 baking dish with parchment paper or wax paper.
-
Spread the chocolate protein bar batter evenly into the pan and press it down.
-
Melt the chocolate chips until smooth and spread them evenly over the top of the protein bars using the rubber spatula.
-
Sprinkle the tops of the bars with flaked sea salt before the chocolate hardens.
-
Chill the protein bars in the fridge until the chocolate is set (1-2 hours).
-
Slice the protein bars into 12 servings.
-
Store leftover protein bars in an airtight container in the refrigerator or freezer.
Video
Notes
Nutrition
Like this recipe? Rate and comment below!
