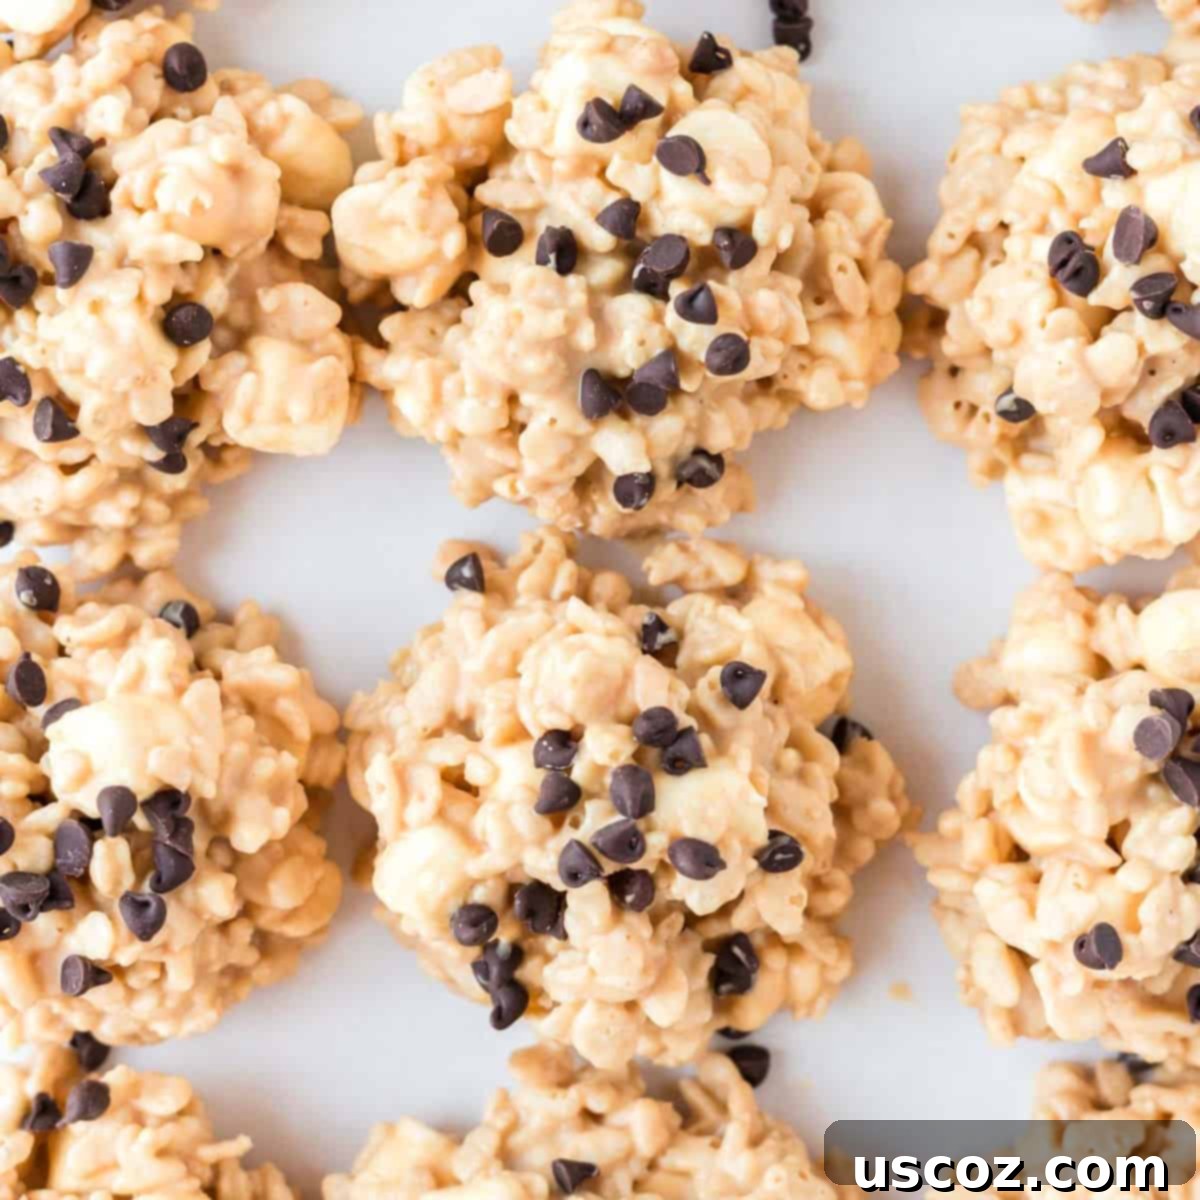
Irresistibly Easy No Bake Avalanche Cookies: Your New Favorite 5-Ingredient Dessert!
Craving a sweet, satisfying dessert but don’t want to turn on the oven? These **Easy No Bake Avalanche Cookies** are your ultimate solution! Made with just 5 simple ingredients, they are the perfect quick and delicious treat for any occasion. Whether you’re preparing for holiday gatherings, a casual family get-together, or simply need a sweet pick-me-up, these delightful cookies will surely become a household favorite.
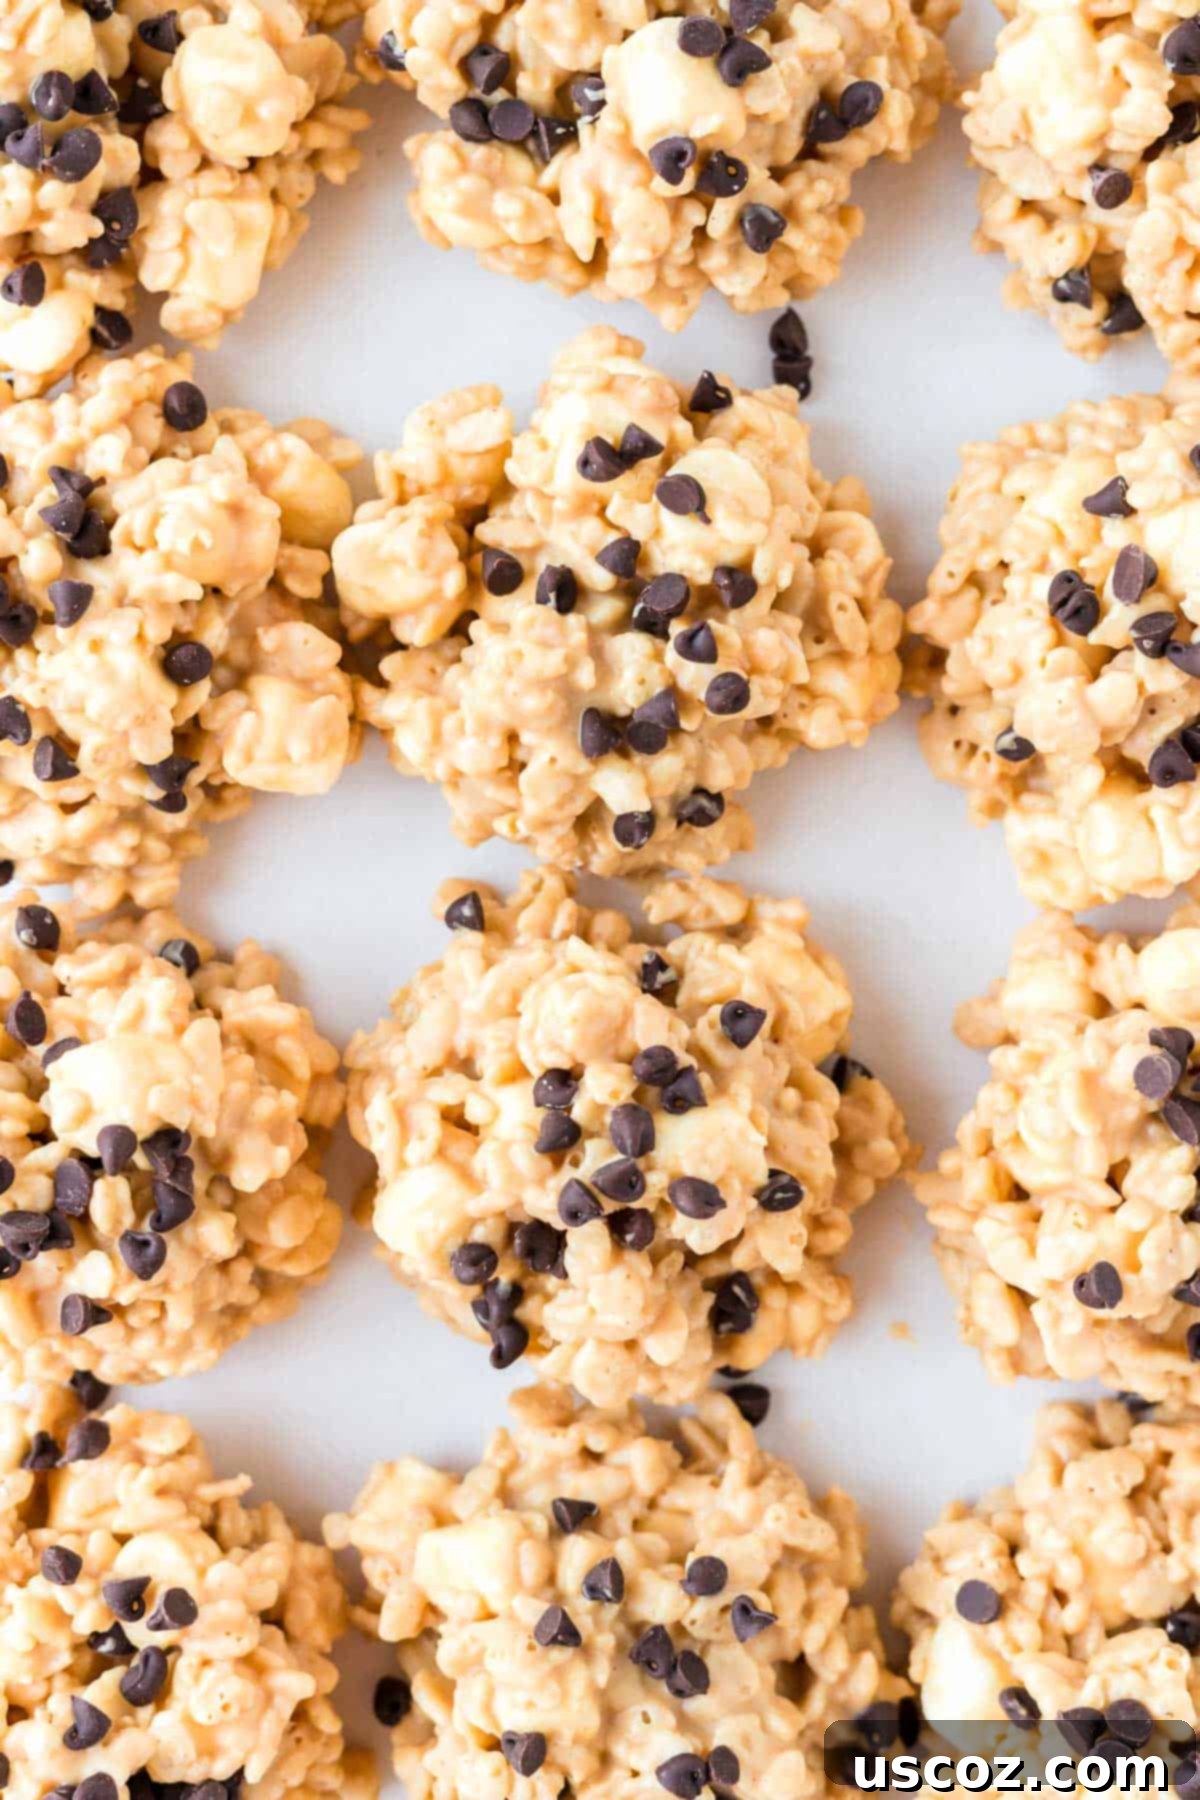
Why These No Bake Avalanche Cookies Are Truly the Best!
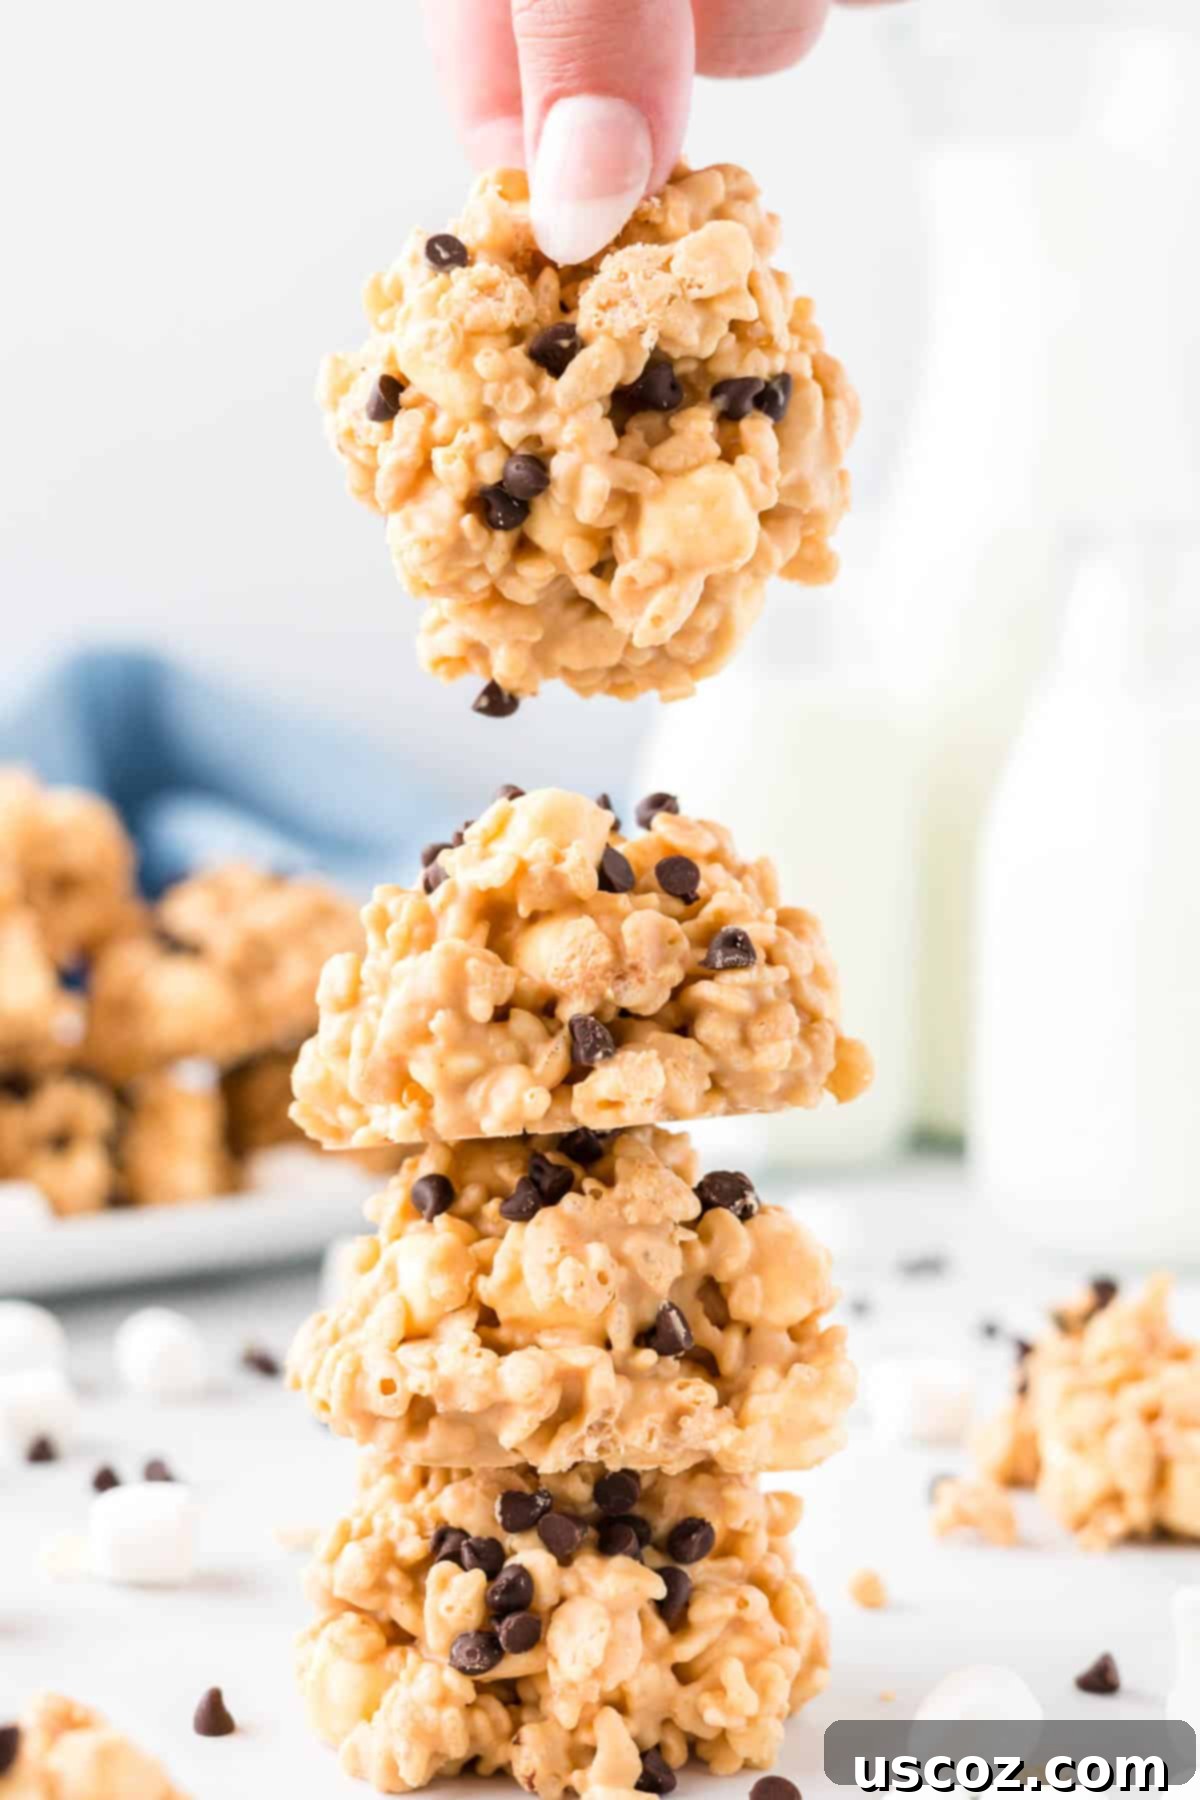
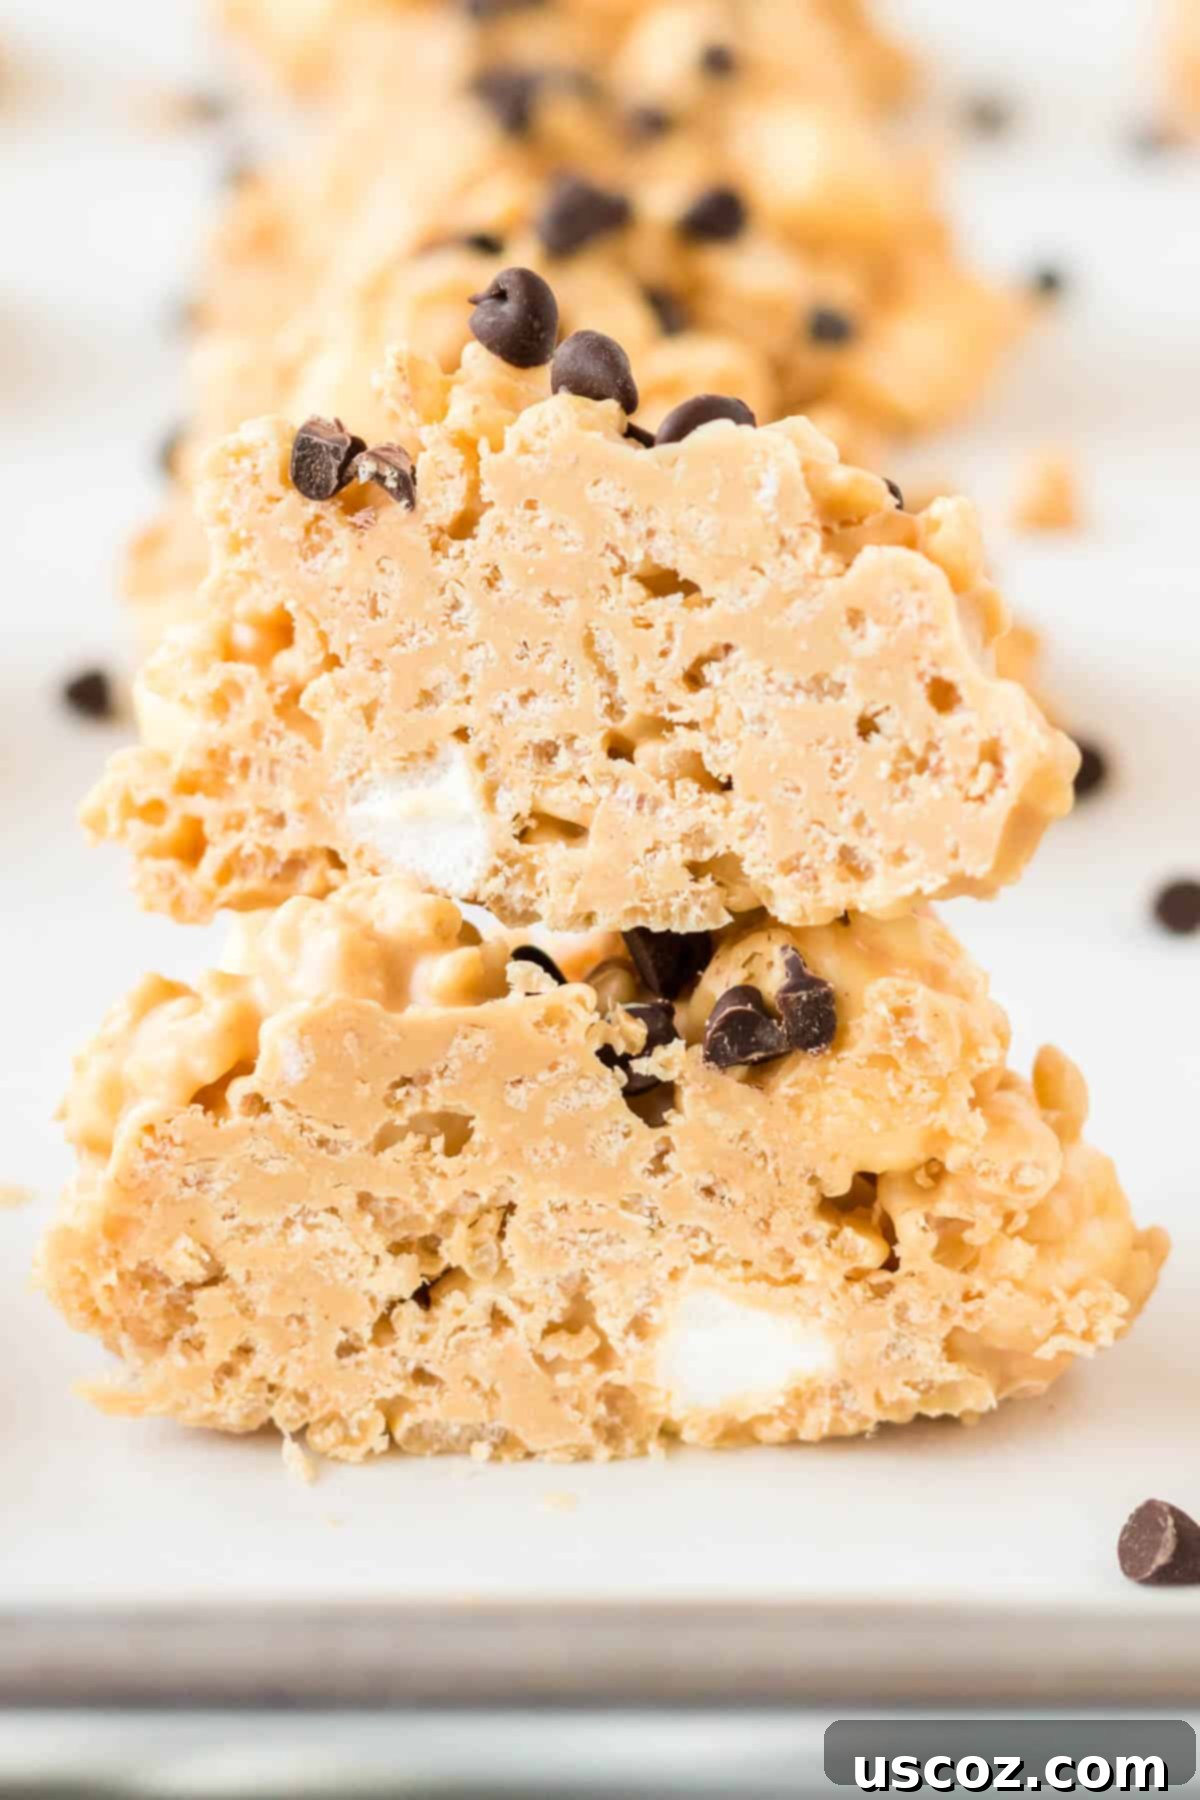
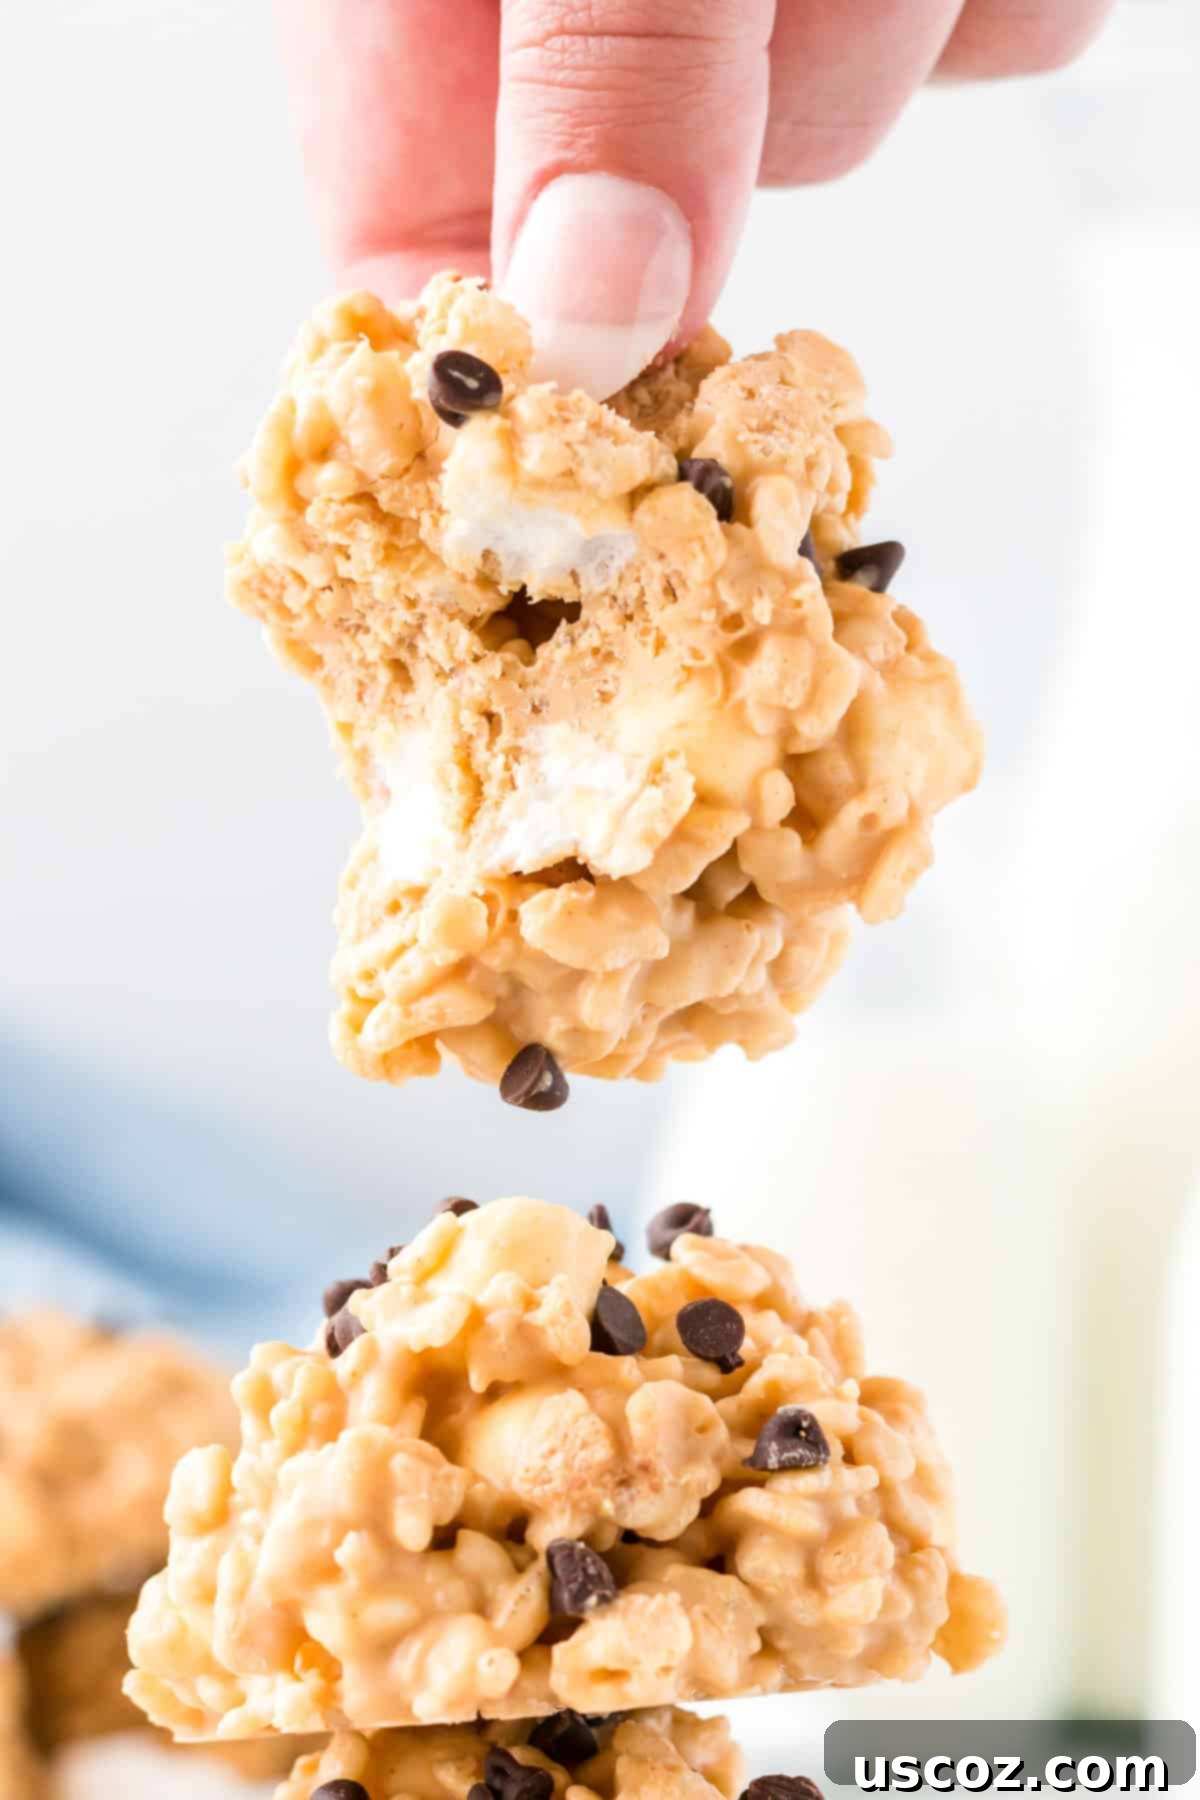
Avalanche cookies are renowned for their incredible combination of flavors and textures, featuring a delightful blend of rich melted white chocolate, creamy peanut butter, and soft mini marshmallows, all mixed with crunchy rice krispies. The final touch of mini chocolate chips sprinkled on top creates an irresistible treat that’s impossible to pass up.
Especially during busy times like the Christmas holiday season, I find myself reaching for simple, homemade no-bake cookie recipes. These avalanche cookies are not only incredibly easy to prepare, requiring no baking at all, but they also bring a festive charm to any dessert spread. Imagine a tin full of these sweet, chewy, and crunchy delights ready to be shared with family and friends!
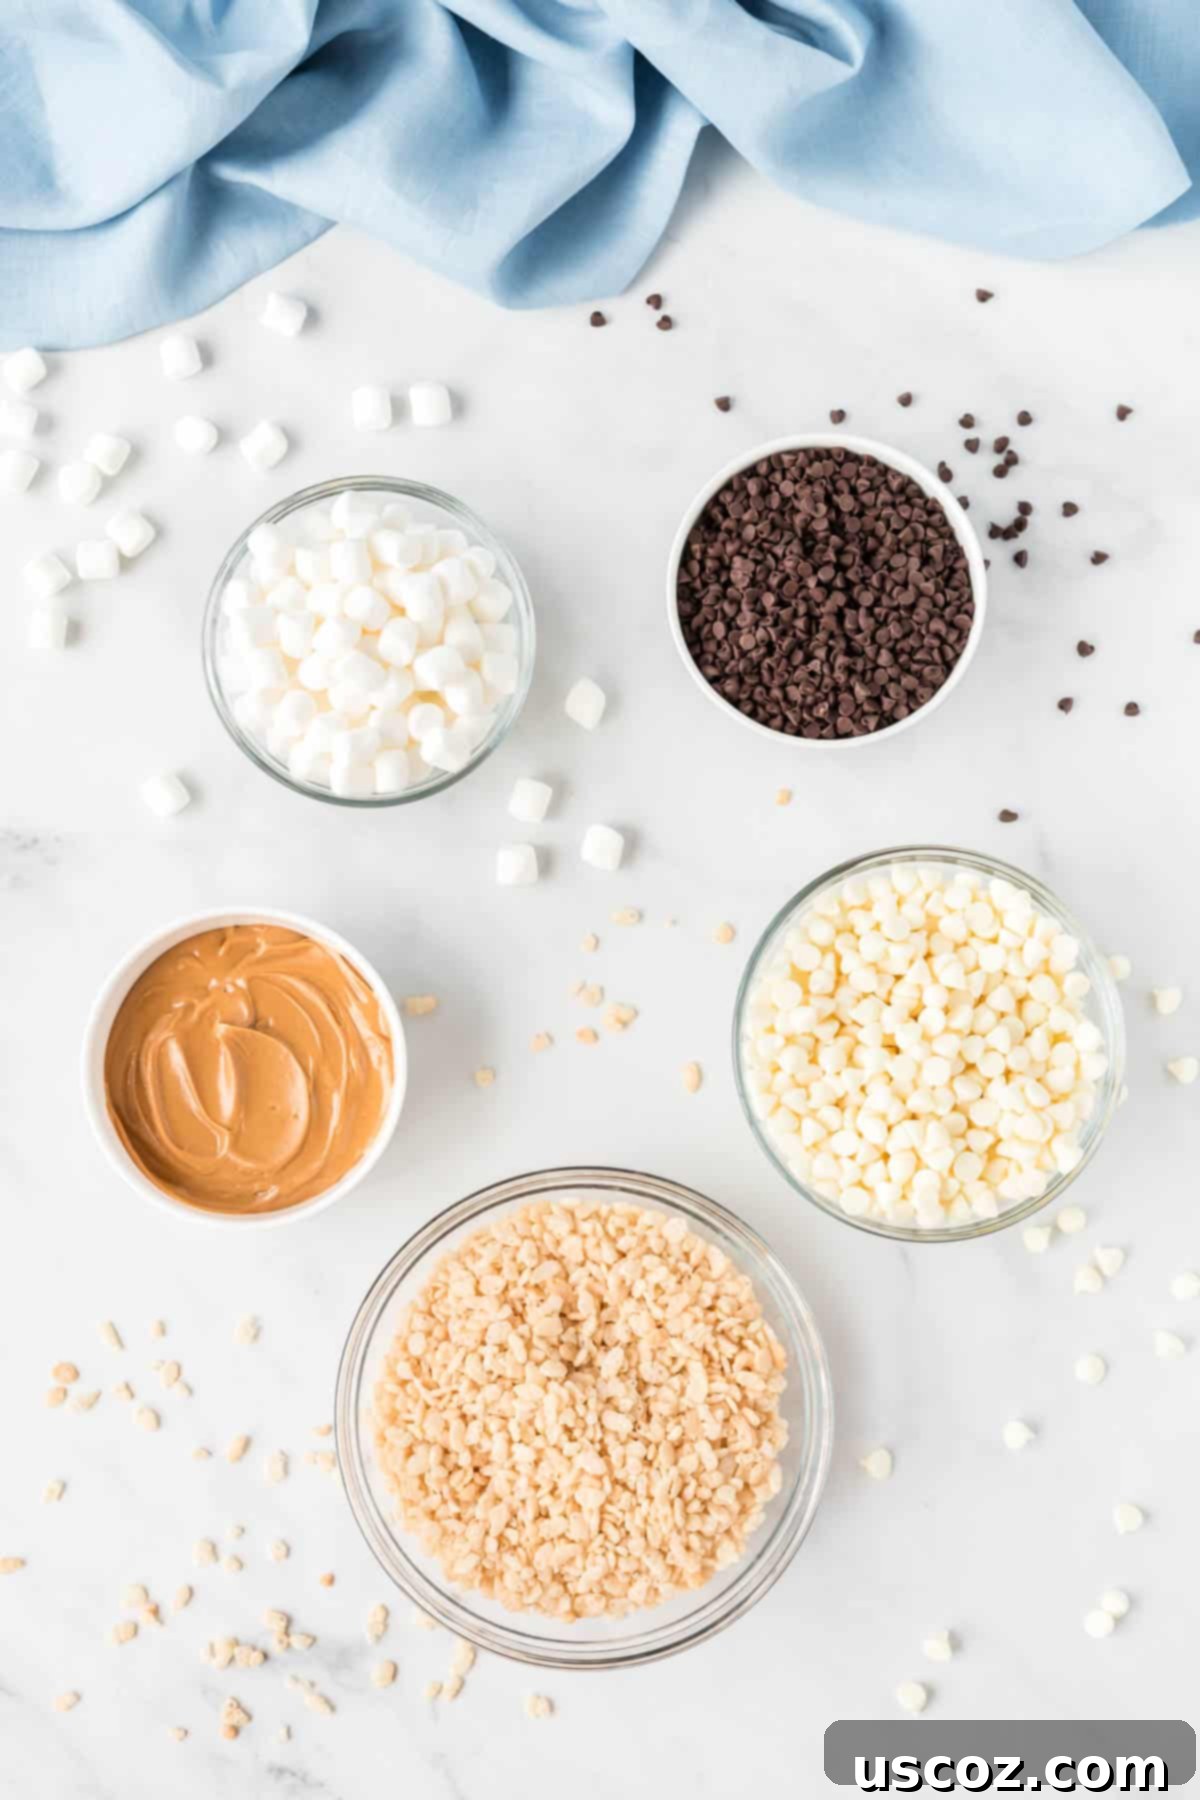
Essential Ingredients for Avalanche Cookies
This recipe shines because of its simplicity, requiring only five core ingredients. Each plays a vital role in creating that perfect avalanche cookie taste and texture. Here’s what you’ll need:
- Rice Krispies Cereal: The foundation of that delightful crunch! Ensure your cereal is fresh for maximum crispness. Any brand of crisp rice cereal will work beautifully.
- Mini Marshmallows: These tiny pockets of sweetness melt into an ooey-gooey base and then firm up to give the cookies a wonderful chewiness. The miniature size ensures they are evenly distributed in every single bite.
- White Chocolate Chips: The star of the show! High-quality white chocolate chips are key for a smooth melt and rich flavor. Brands like Ghirardelli or Guittard offer excellent results. Avoid using white chocolate candy melts if possible, as their flavor profile is often different from true white chocolate chips.
- Mini Chocolate Chips: These are primarily for topping and add a lovely visual contrast and a hint of classic chocolate flavor. Both semi-sweet and dark chocolate mini chips work wonderfully, depending on your preference for sweetness. They provide a nice counterpoint to the white chocolate.
- Creamy No-Stir Peanut Butter: A crucial ingredient for both flavor and binding. Opt for a creamy, no-stir peanut butter (like Jif or Skippy) as natural peanut butter often separates, leading to an inconsistent texture in your cookies. The fat content and emulsifiers in no-stir varieties help create a perfectly smooth, stable base.
Step-by-Step: How to Make Irresistible Avalanche Cookies
Making these no-bake avalanche cookies is remarkably straightforward. Follow these steps for perfect results every time:
Step 1: Prepare Your Workspace and Dry Ingredients
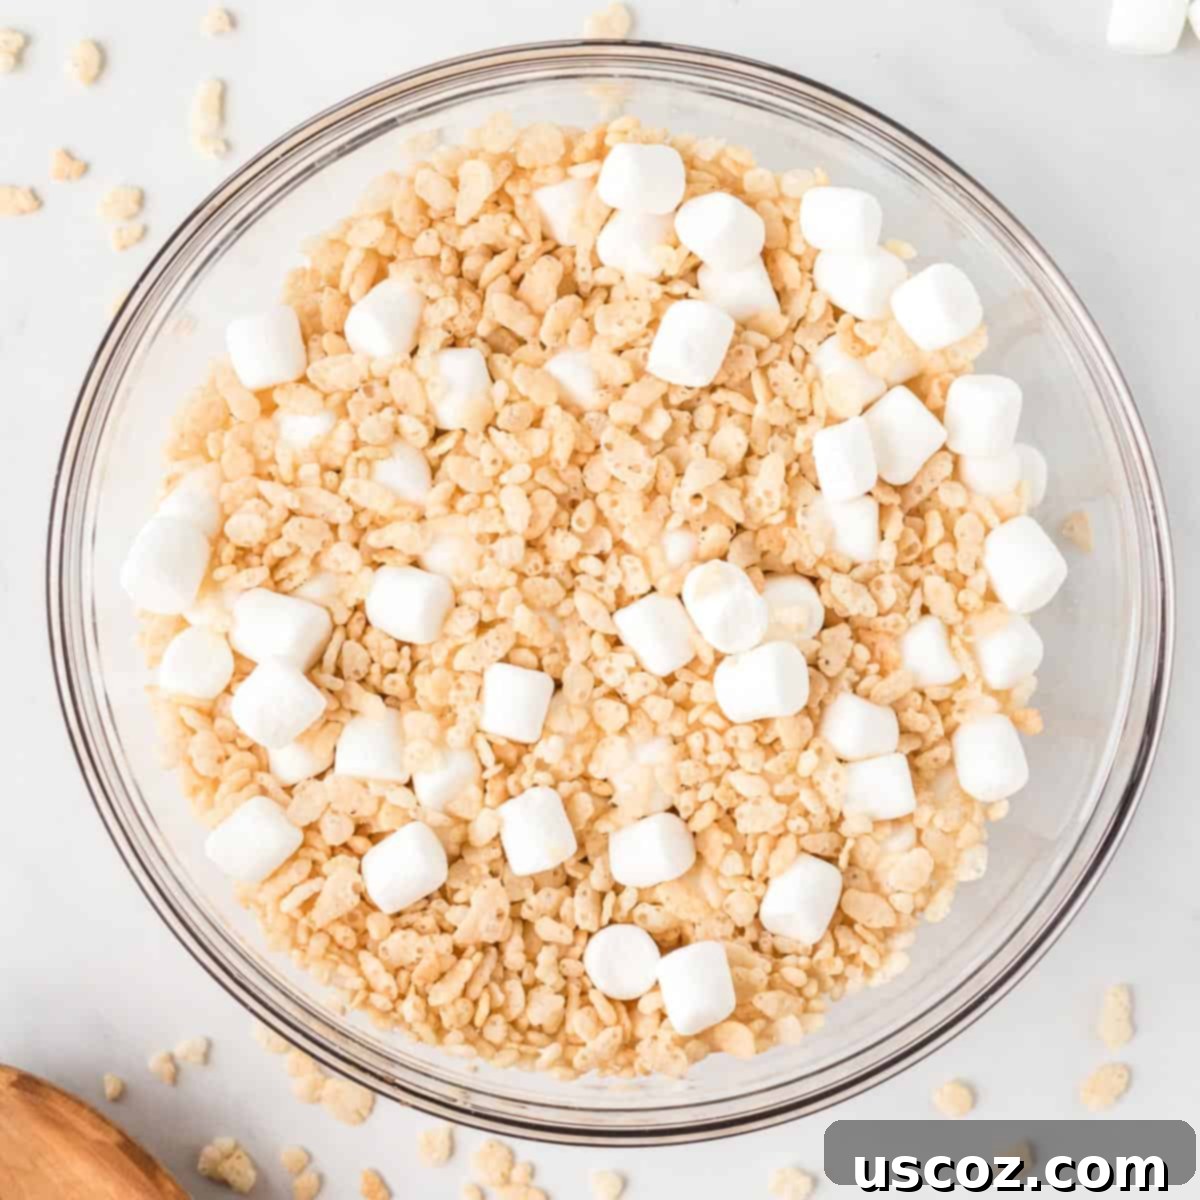
Before you begin, line two baking sheets with either wax paper or parchment paper. This is a crucial step that ensures your cookies won’t stick and makes for super easy cleanup. In a large mixing bowl, combine the rice krispies cereal and mini marshmallows. Give them a good stir to ensure they’re evenly distributed. This pre-mixing helps the melted chocolate and peanut butter coat everything more uniformly later.
Step 2: Gently Melt the White Chocolate and Peanut Butter
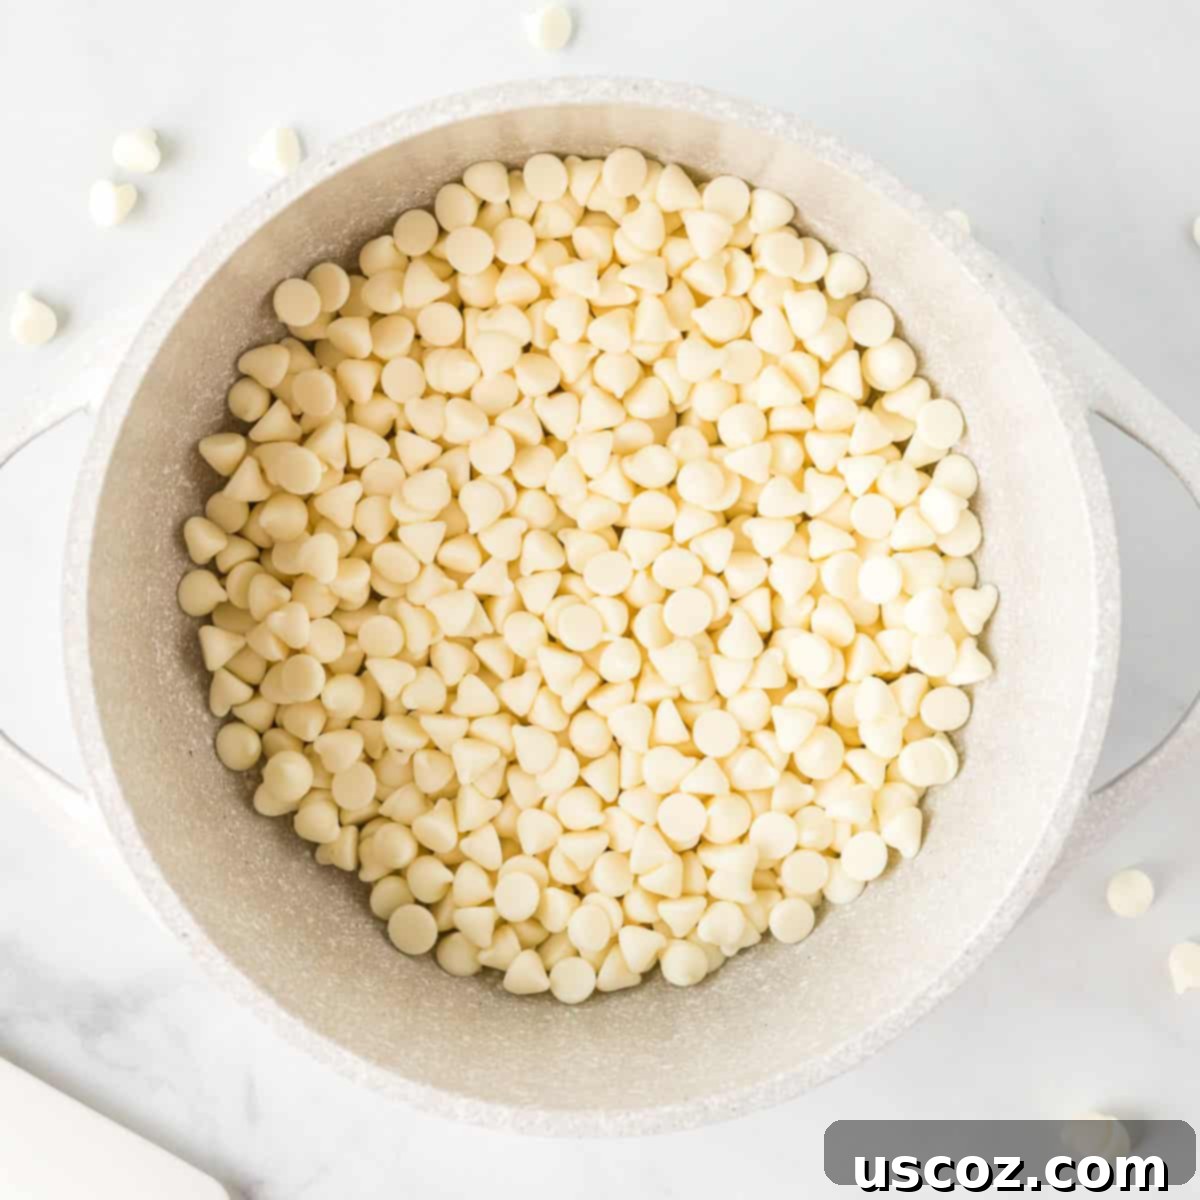
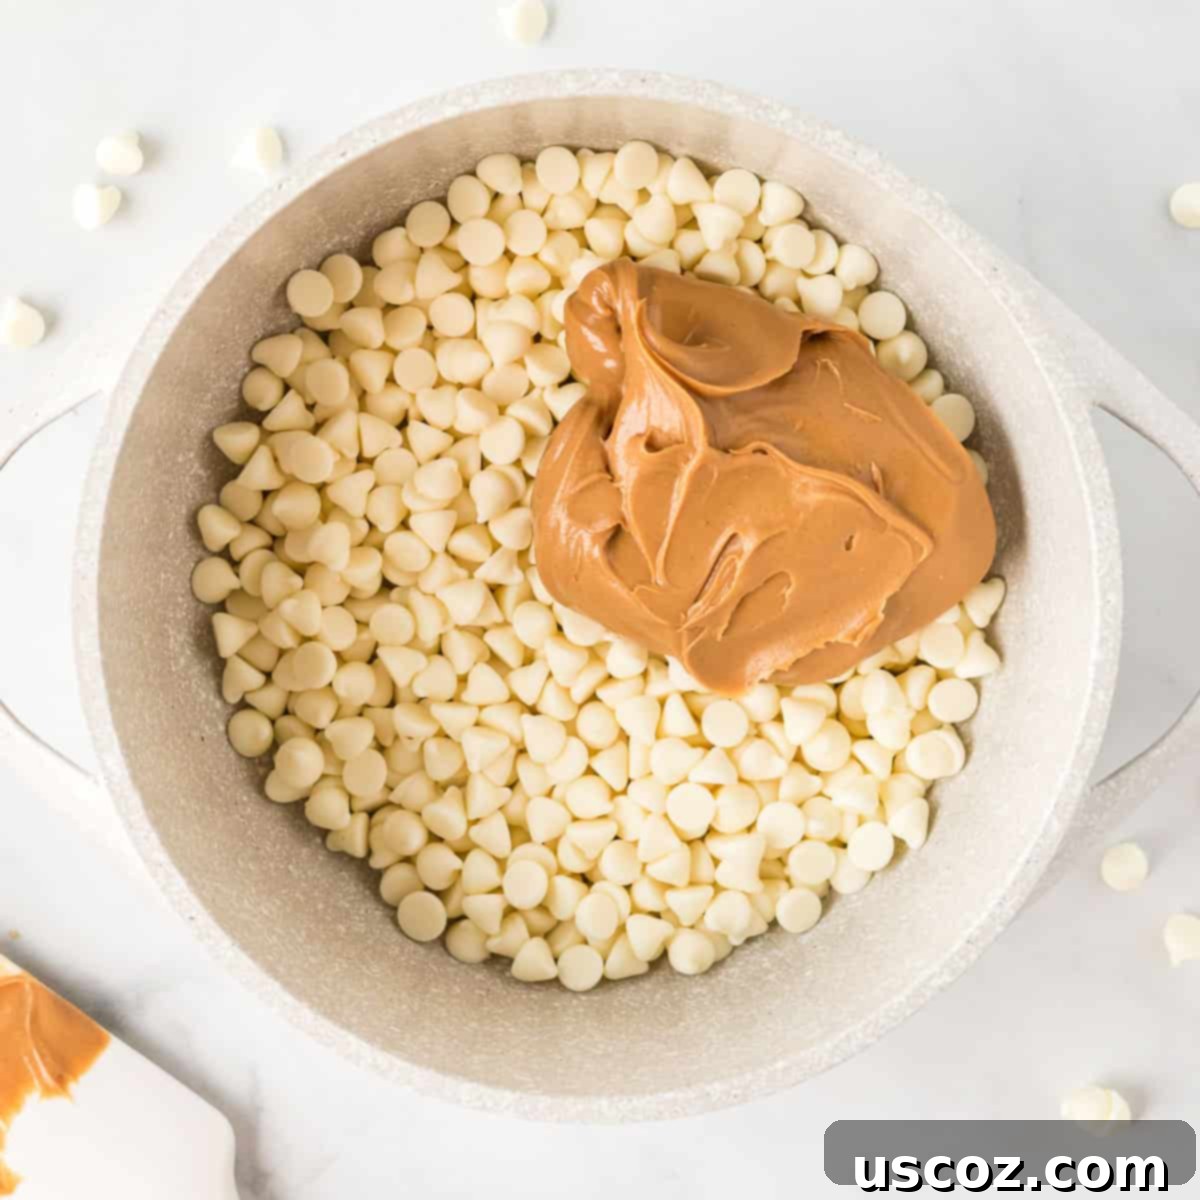
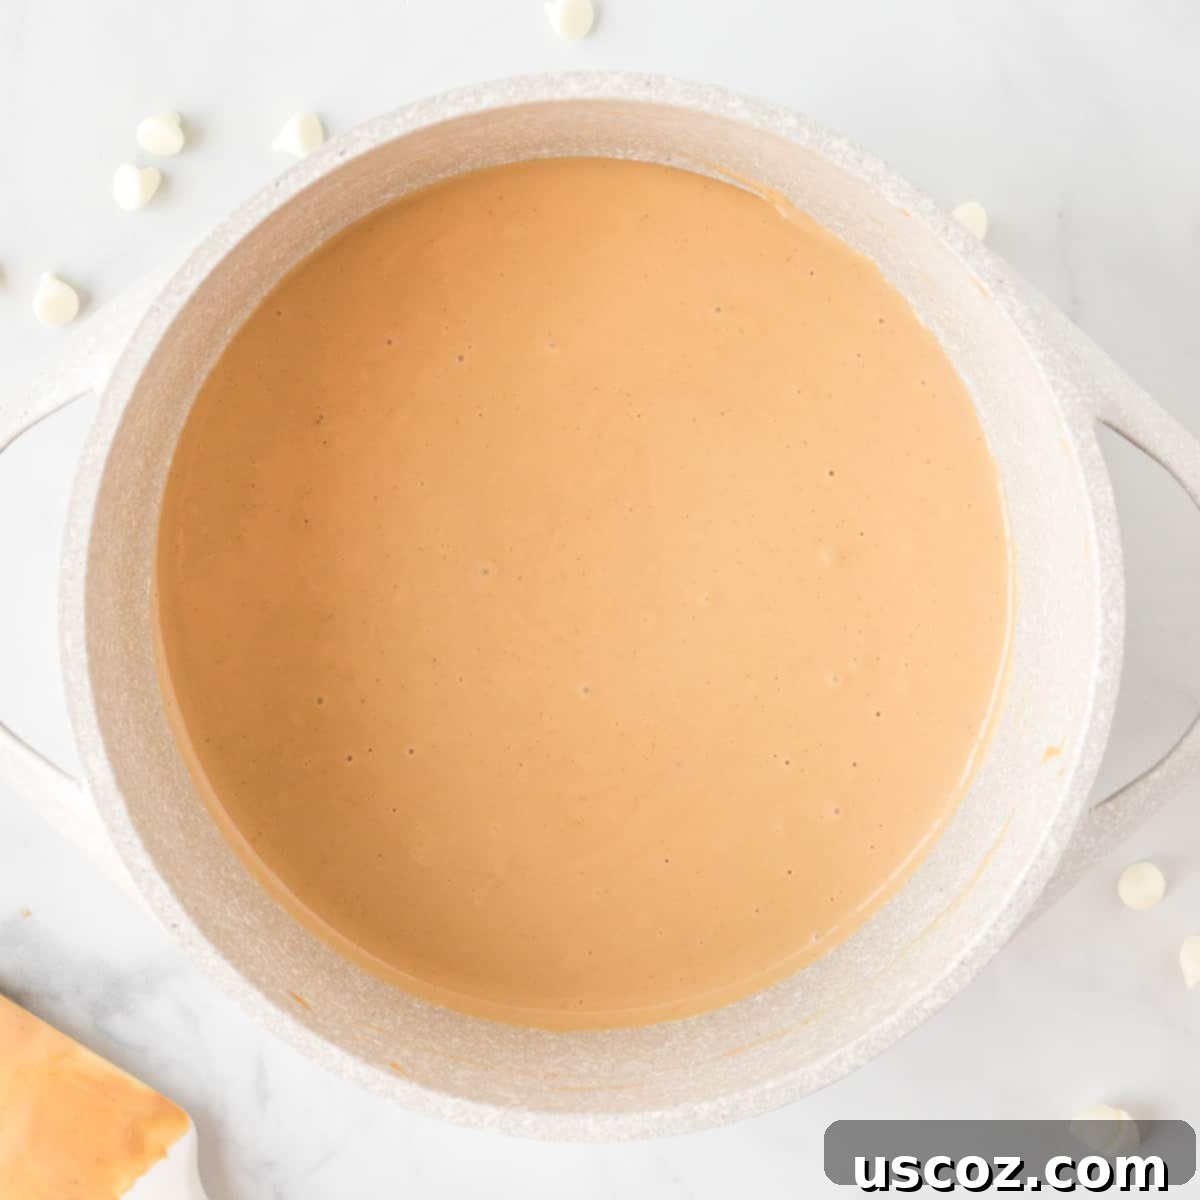
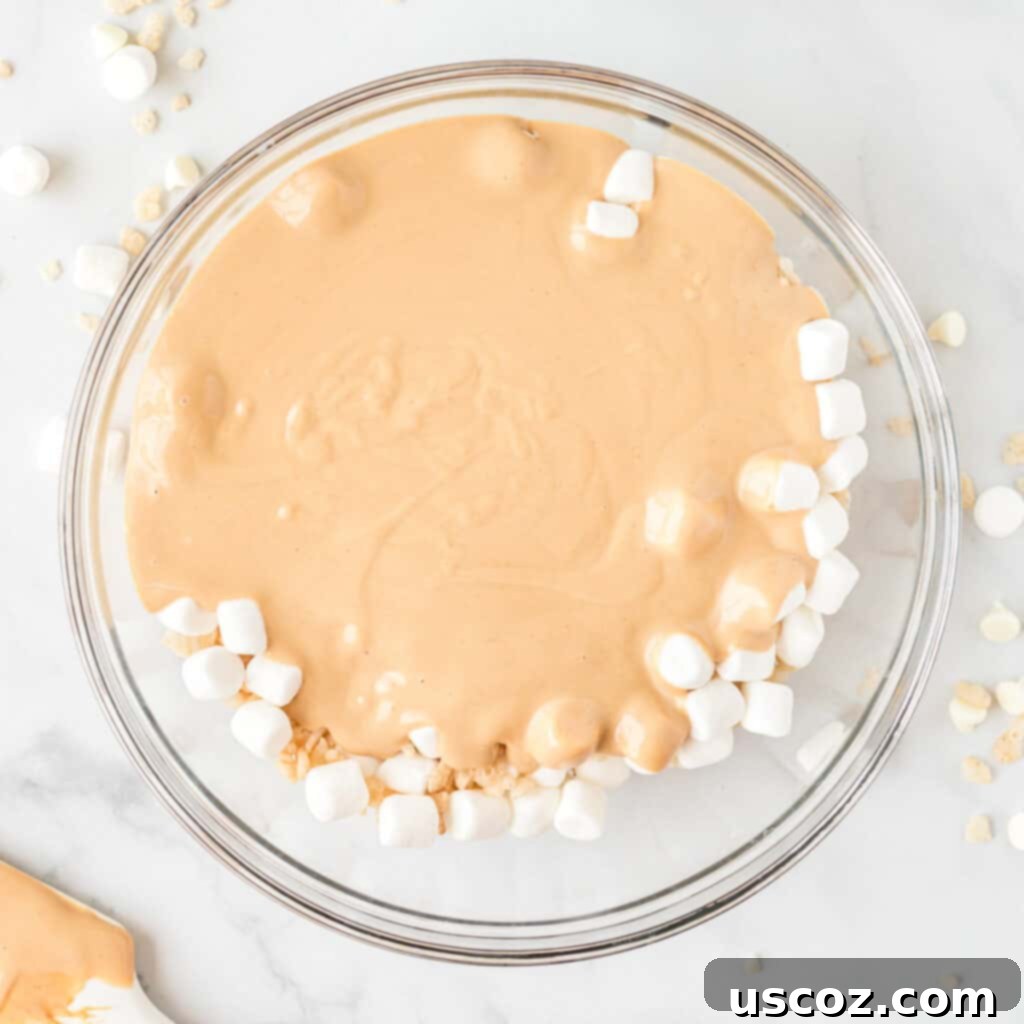
In a medium saucepan, combine the white chocolate chips and creamy peanut butter. Place the saucepan over **very low heat**. This is where patience is key! Stir the mixture constantly to prevent the white chocolate from burning or seizing. It will gradually melt into a smooth, luscious, and aromatic concoction. This process should take about 5-7 minutes. Once completely smooth and well combined, remove it immediately from the heat.
Recipe Tip: Mastering White Chocolate
This is arguably the most critical step in the recipe. White chocolate is notoriously sensitive and will burn or seize quickly if exposed to high heat. Always use low heat and stir continuously. If you’re nervous about direct heat, consider using a double boiler method: place a heat-safe bowl over a saucepan of simmering water, ensuring the bowl doesn’t touch the water. This provides indirect, gentle heat, allowing the white chocolate and peanut butter to melt perfectly smoothly without any risk of burning.
Step 3: Combine All Ingredients
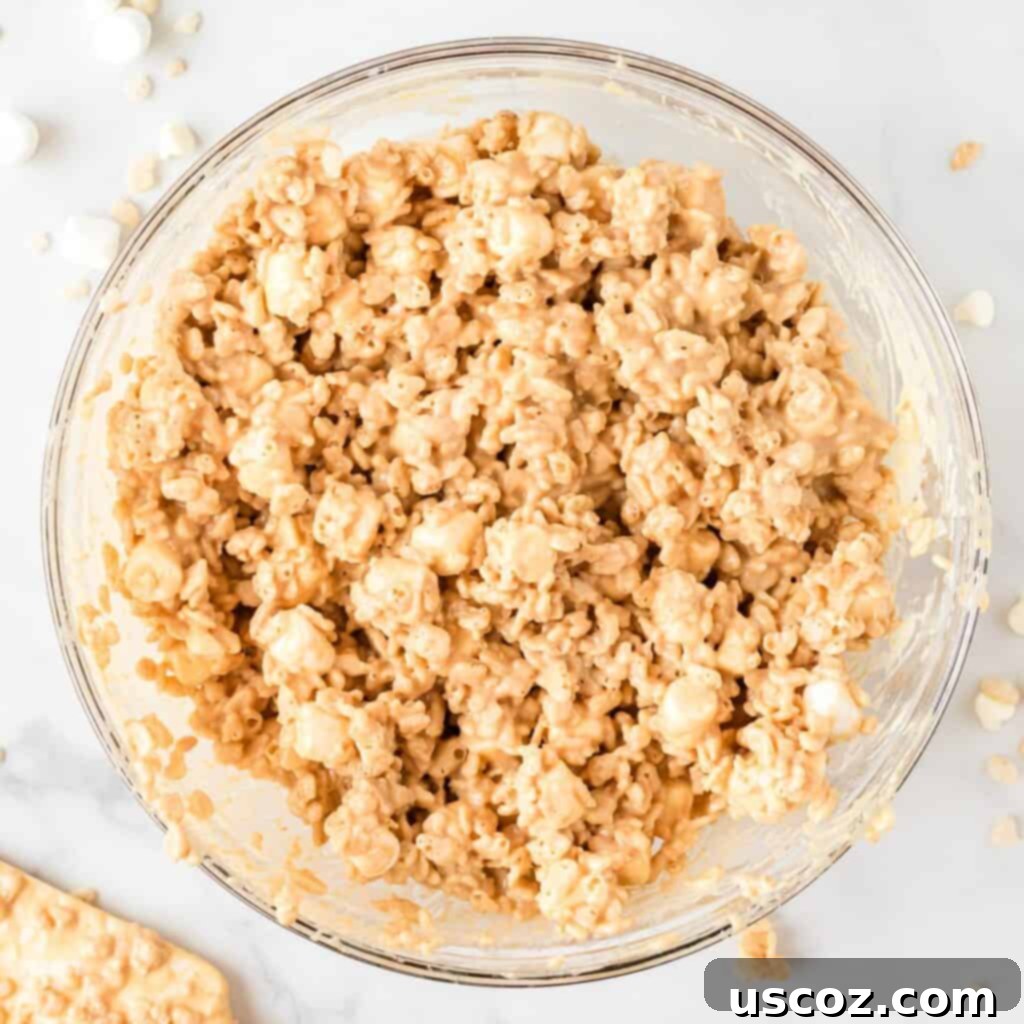
Once the white chocolate and peanut butter mixture is silky smooth, pour it immediately over the rice krispies and mini marshmallows in the large bowl. Working quickly, use a sturdy rubber spatula to gently fold and stir all the ingredients together. Ensure every single krispie and marshmallow piece is thoroughly coated in the delicious white chocolate peanut butter mixture. This step requires a bit of effort as the mixture is quite sticky, but a good spatula will make it manageable.
Step 4: Scoop and Shape Your Cookies
Using a mini cookie scoop (or two spoons), drop rounded spoonfuls of the mixture onto your prepared baking sheets. The mini cookie scoop helps create uniform cookies, which look more professional and ensure even setting. If you don’t have a scoop, you can use your hands (lightly greased with butter or cooking spray) to roll the mixture into small balls. Remember, the wax paper or parchment paper is essential for a non-stick surface, ensuring easy removal later.

Step 5: Garnish and Set
Sprinkle the tops of your freshly scooped no bake avalanche cookies generously with mini chocolate chips. It’s important to **work quickly** during this step! The white chocolate peanut butter mixture begins to harden as it cools, so you need to add the chocolate chips while it’s still warm and sticky to ensure they adhere properly. Don’t be shy with the sprinkles – the more, the merrier!
Step 6: Chill Until Firm
Transfer the baking sheets with your cookies to the refrigerator. Allow them to chill for at least 30 minutes to 1 hour, or until they are completely firm. Chilling is essential for the cookies to set properly and achieve their desired firm yet chewy texture. Once firm, they are ready to be enjoyed!

Expert Tips for Perfect Avalanche Cookies
- Don’t Rush the Melt: As mentioned, white chocolate is delicate. Low and slow is the way to go when melting with peanut butter. High heat will cause it to seize or burn, ruining the texture and flavor.
- Use Fresh Cereal: Stale rice krispies will result in less crunchy cookies. Always use fresh cereal for the best texture.
- The Right Peanut Butter Matters: Stick to creamy, “no-stir” peanut butter. Natural peanut butter, with its separated oils, will not create the same smooth, binding base.
- Work Efficiently: Once the melted mixture is combined with the dry ingredients, it will start to set fairly quickly. Have your baking sheets lined and chocolate chips ready to sprinkle before you start mixing to ensure everything comes together before it hardens too much.
- Uniform Scoops: Using a cookie scoop not only makes the process faster but also ensures all cookies are roughly the same size, which is visually appealing for serving.
- Consider a Double Boiler: If you’re new to melting chocolate, a double boiler is a fail-safe method to prevent scorching.
Fun Variations & Customizations
These no bake avalanche cookies are fantastic as is, but they’re also incredibly versatile. Feel free to get creative with these delicious twists:
- Chocolate Variations: Instead of semi-sweet mini chocolate chips, try milk chocolate chips, dark chocolate chips, or even butterscotch chips for a different flavor profile.
- Add a Salty Crunch: For a delightful sweet and salty contrast, crush some pretzels and mix them into the cereal and marshmallow base, or sprinkle them on top with the chocolate chips.
- Nutty Boost: Add about a quarter cup of finely chopped peanuts or pecans to the mixture for extra crunch and nutty flavor.
- Festive Sprinkles: For holidays or celebrations, add colorful sprinkles on top along with the chocolate chips. This is especially fun for kids!
- Extracts: A tiny drop (1/4 teaspoon) of vanilla extract or almond extract can be stirred into the melted white chocolate and peanut butter mixture for an added layer of flavor.
- Candy Bits: Crush some M&Ms or other small candies and sprinkle them over the top for a fun, colorful, and extra sweet touch.
Storing Your Avalanche Cookies
Proper storage ensures your no bake avalanche cookies remain fresh and delicious for as long as possible:
- In the Refrigerator: Once firm, store leftover cookies in an airtight container in the refrigerator. To prevent them from sticking together, you can place a piece of parchment paper or wax paper between layers. They will stay fresh and maintain their best texture for up to a week.
- In the Freezer: For longer storage, these cookies freeze beautifully. Arrange them in a single layer on a baking sheet and freeze until solid. Then, transfer the frozen cookies to an airtight freezer-safe container or a heavy-duty freezer bag, again using parchment paper between layers. They can be stored in the freezer for 2-3 months. When ready to eat, simply allow the cookies to thaw at room temperature for a few minutes until they reach your desired consistency.
Frequently Asked Questions (FAQ)
- Can I use natural peanut butter for these cookies?
- It’s highly recommended to use creamy, “no-stir” peanut butter. Natural peanut butter tends to separate and can result in a greasier, less cohesive cookie mixture that doesn’t set as well.
- How long do these no bake avalanche cookies take to set?
- Typically, they take about 30 minutes to 1 hour in the refrigerator to become firm. If your kitchen is very warm, it might take a little longer.
- Can I use other cereals instead of Rice Krispies?
- Yes, you can! Any crisp rice cereal will work well. You could also experiment with other small, crunchy cereals, but ensure they don’t have too strong a flavor that would overpower the white chocolate and peanut butter.
- Are these cookies gluten-free?
- If you use certified gluten-free rice krispies cereal, then yes, these cookies can be made gluten-free. Always check the labels of all your ingredients to ensure they meet your dietary needs.
- What if my white chocolate seizes?
- White chocolate seizes when it comes into contact with even a tiny bit of water or is overheated. To prevent this, ensure all your utensils and bowls are completely dry, and melt the chocolate over very low heat, stirring constantly. If it does seize, sometimes adding a teaspoon of vegetable oil or shortening and stirring vigorously can rescue it, but it’s best to avoid it altogether.
These delightful no bake cookies are truly a marvel of simplicity and flavor. Loaded with a heavenly combination of white chocolate, peanut butter, and marshmallow, all with a satisfying rice krispie crunch, they are incredibly easy to make. You’ll be amazed at how quickly these come together, and how much your family and guests will adore them! A truly great simple dessert that can be made and enjoyed any time of year.
More Delicious No-Bake & Easy Holiday Sweets
If you loved these No Bake Avalanche Cookies, you’re in for a treat! Here are more simple and delightful dessert ideas, perfect for holidays or any time you need a quick sweet fix:
- No Rise Cinnamon Rolls (while not no-bake, these are incredibly easy!)
- Christmas Crack
- Graham Cracker Toffee
- Hot Chocolate Dip
- Cookies and Cream Muddy Buddies
- No Bake Peanut Butter Pie
- Chocolate Caramel Pretzel Bars
- Ritz Cracker Toffee
- White Chocolate Peanut Butter Balls
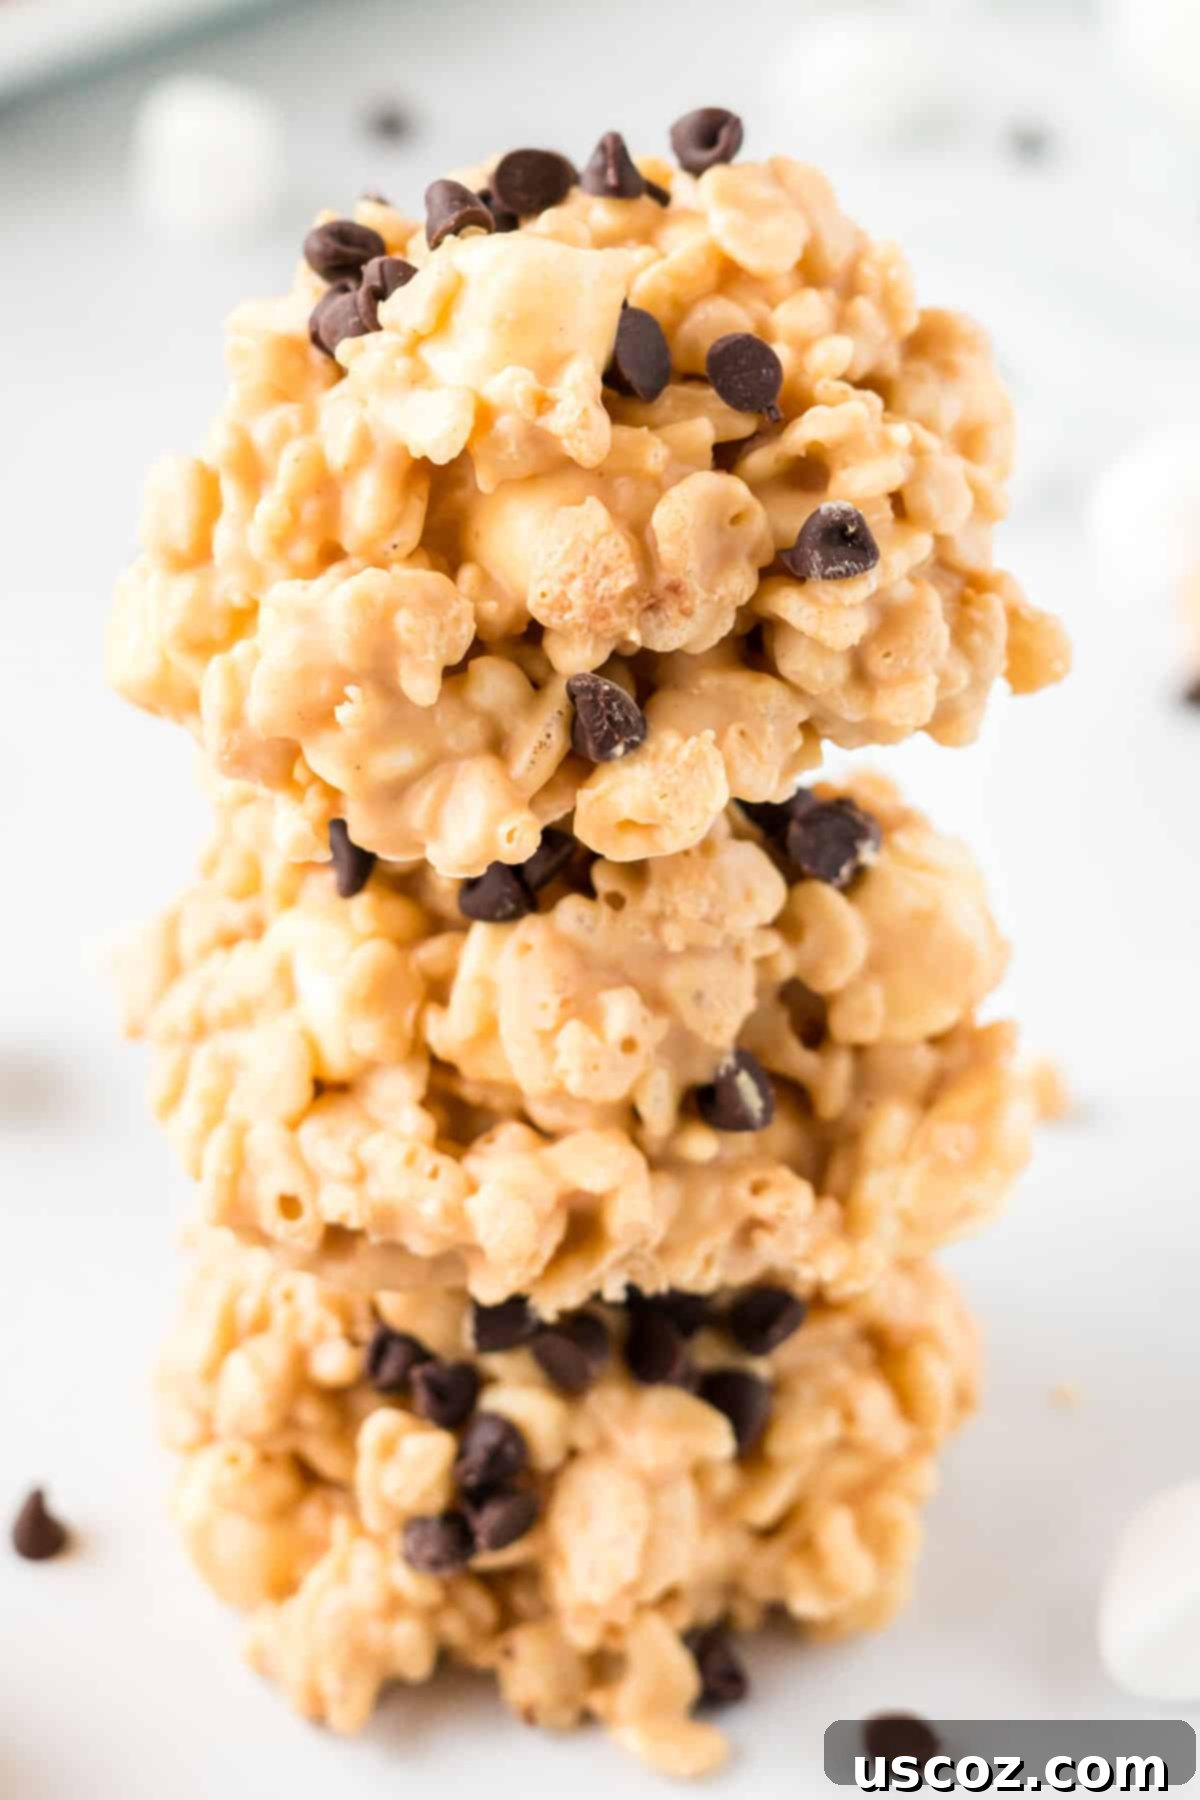

No Bake Avalanche Cookies
Pin Recipe
Rate Recipe
Print Recipe
Ingredients
- 2 ¼ cups rice krispies cereal
- 1 cup mini marshmallows
- 11 oz white chocolate chips, I recommend high-quality brands like Ghirardelli for best results
- ½ cup mini semi-sweet chocolate chips
- ¾ cup creamy no stir peanut butter
Instructions
-
Line two large baking sheets with wax paper or parchment paper to prevent sticking.
-
In a large bowl, thoroughly mix together the rice krispies cereal and mini marshmallows until evenly combined.
-
In a medium saucepan, combine the white chocolate chips and creamy peanut butter. Melt them together over very low heat, stirring constantly with a rubber spatula until the mixture is completely smooth and free of lumps. Be extremely careful not to burn or seize the white chocolate.
-
Immediately pour the warm, melted white chocolate and peanut butter mixture over the rice krispies and mini marshmallows in the large bowl. Stir gently but quickly with your rubber spatula until all the dry ingredients are fully coated.
-
Using a mini cookie scoop or two spoons, drop rounded portions of the sticky no-bake mixture onto the prepared baking sheets.
-
Generously sprinkle the tops of the avalanche cookies with mini chocolate chips. Do this quickly before the cookies begin to set, ensuring the chocolate chips adhere well to the warm mixture.
-
Chill the cookies in the refrigerator for at least 30-60 minutes, or until they are completely firm. Store any leftover cookies in an airtight container in the fridge or freezer for extended freshness.
Nutrition
Like this recipe? Rate and comment below!
