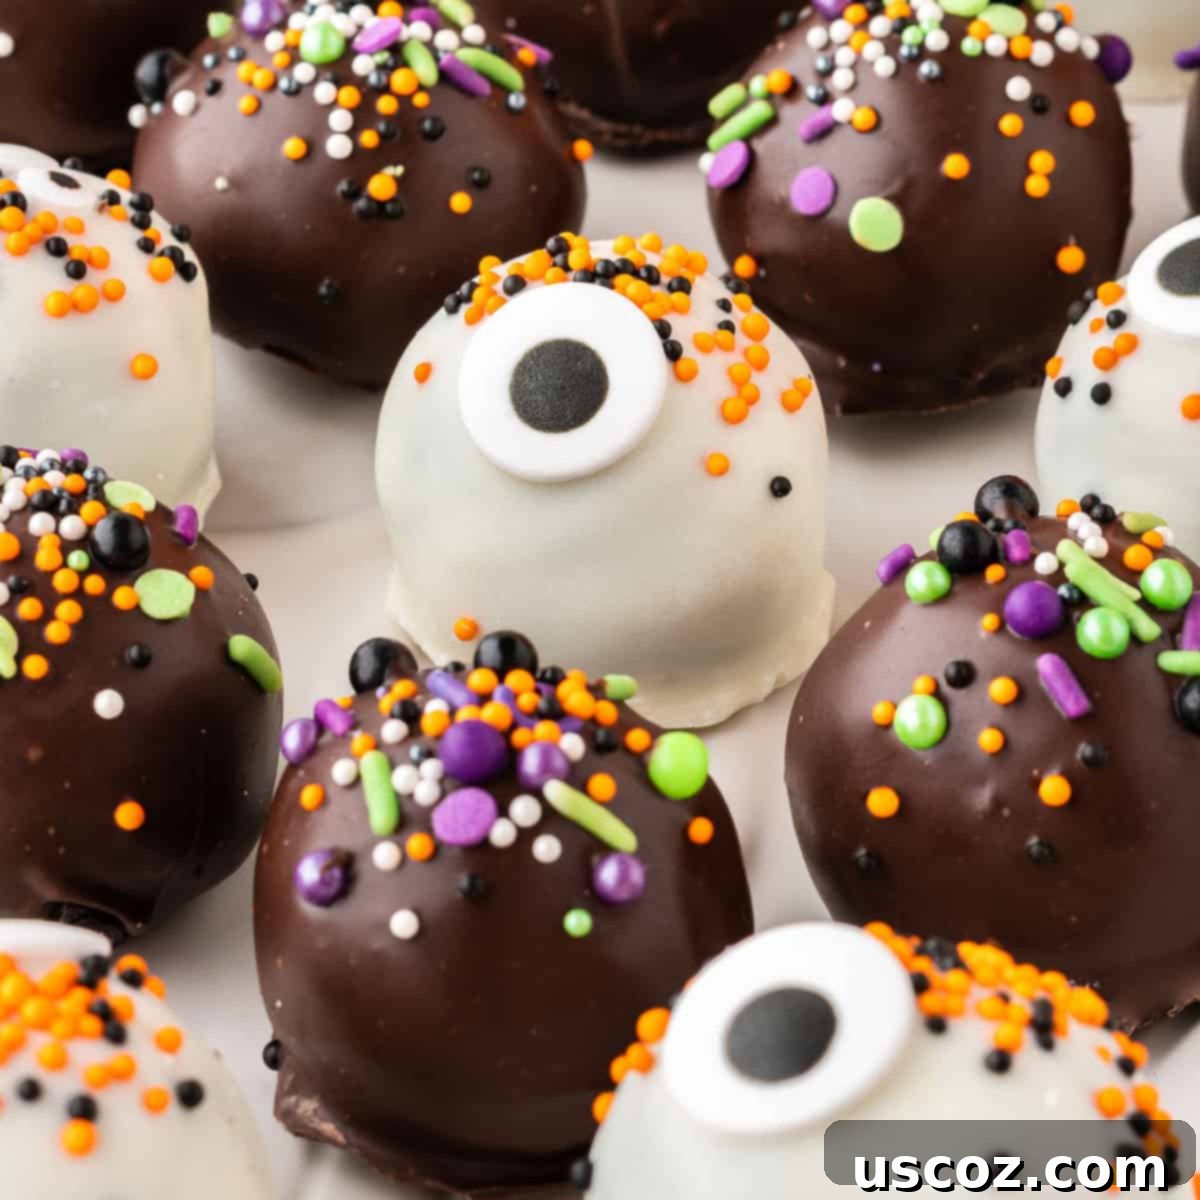
Celebrate the spooky season with these easy no-bake Halloween Oreo balls!

Spooktacularly Simple: The Ultimate Guide to No-Bake Halloween Oreo Balls
As the leaves turn and the air grows crisp, there’s one thing every ghoul and goblin looks forward to: delicious Halloween treats! While costumes and decorations set the mood, no celebration is complete without some truly enchanting desserts. If you’re searching for a bewitchingly easy yet incredibly satisfying treat, look no further than these fantastic No-Bake Halloween Oreo Balls.
Why These Oreo Balls Are the Best Halloween Dessert!
Halloween season is synonymous with fun, spooky snacks, and these Oreo balls perfectly embody that spirit. They are a fan-favorite for a reason: combining the irresistible crunch of America’s favorite cookie with rich, creamy cream cheese, then coated in decadent melting chocolate. The result? A fudgy, truffle-like bite that’s utterly irresistible.
What makes them truly shine for Halloween is how incredibly simple they are to customize. With just a few colorful sprinkles and whimsical candy eyes, you can transform these classic treats into festive, spooky masterpieces. They require absolutely no baking, making them a perfect project for busy parents, budding chefs, or anyone looking for a quick and impressive dessert without the oven. Plus, their small, bite-sized nature makes them ideal for party platters, lunchbox surprises, or a sweet reward after a night of trick-or-treating.
Every single person, from young children to adults, adores a good Oreo ball. The combination of textures and flavors is pure bliss. These Halloween-themed variations take that classic appeal and elevate it with festive colors and decorations, making them the star of any Halloween gathering.
More Spooktacular Halloween Favorites to Try
If you’re looking to expand your repertoire of easy and fun Halloween treats, these other recipes are sure to be a hit. They are perfect companions to your Oreo balls, offering a variety of flavors and textures to delight everyone:
- Halloween Crack: A deliciously addictive candy bark layered with festive colors and candies.
- Oreo Spiders: Another clever and easy Oreo-based treat that’s perfect for little hands to help decorate.
- Strawberry Ghosts: A healthier, fruity option that’s incredibly cute and simple to make.
- Halloween Bark: A versatile and customizable chocolate bark, ideal for showcasing all your favorite Halloween candies.
Essential Ingredients for Your Halloween Oreo Truffles
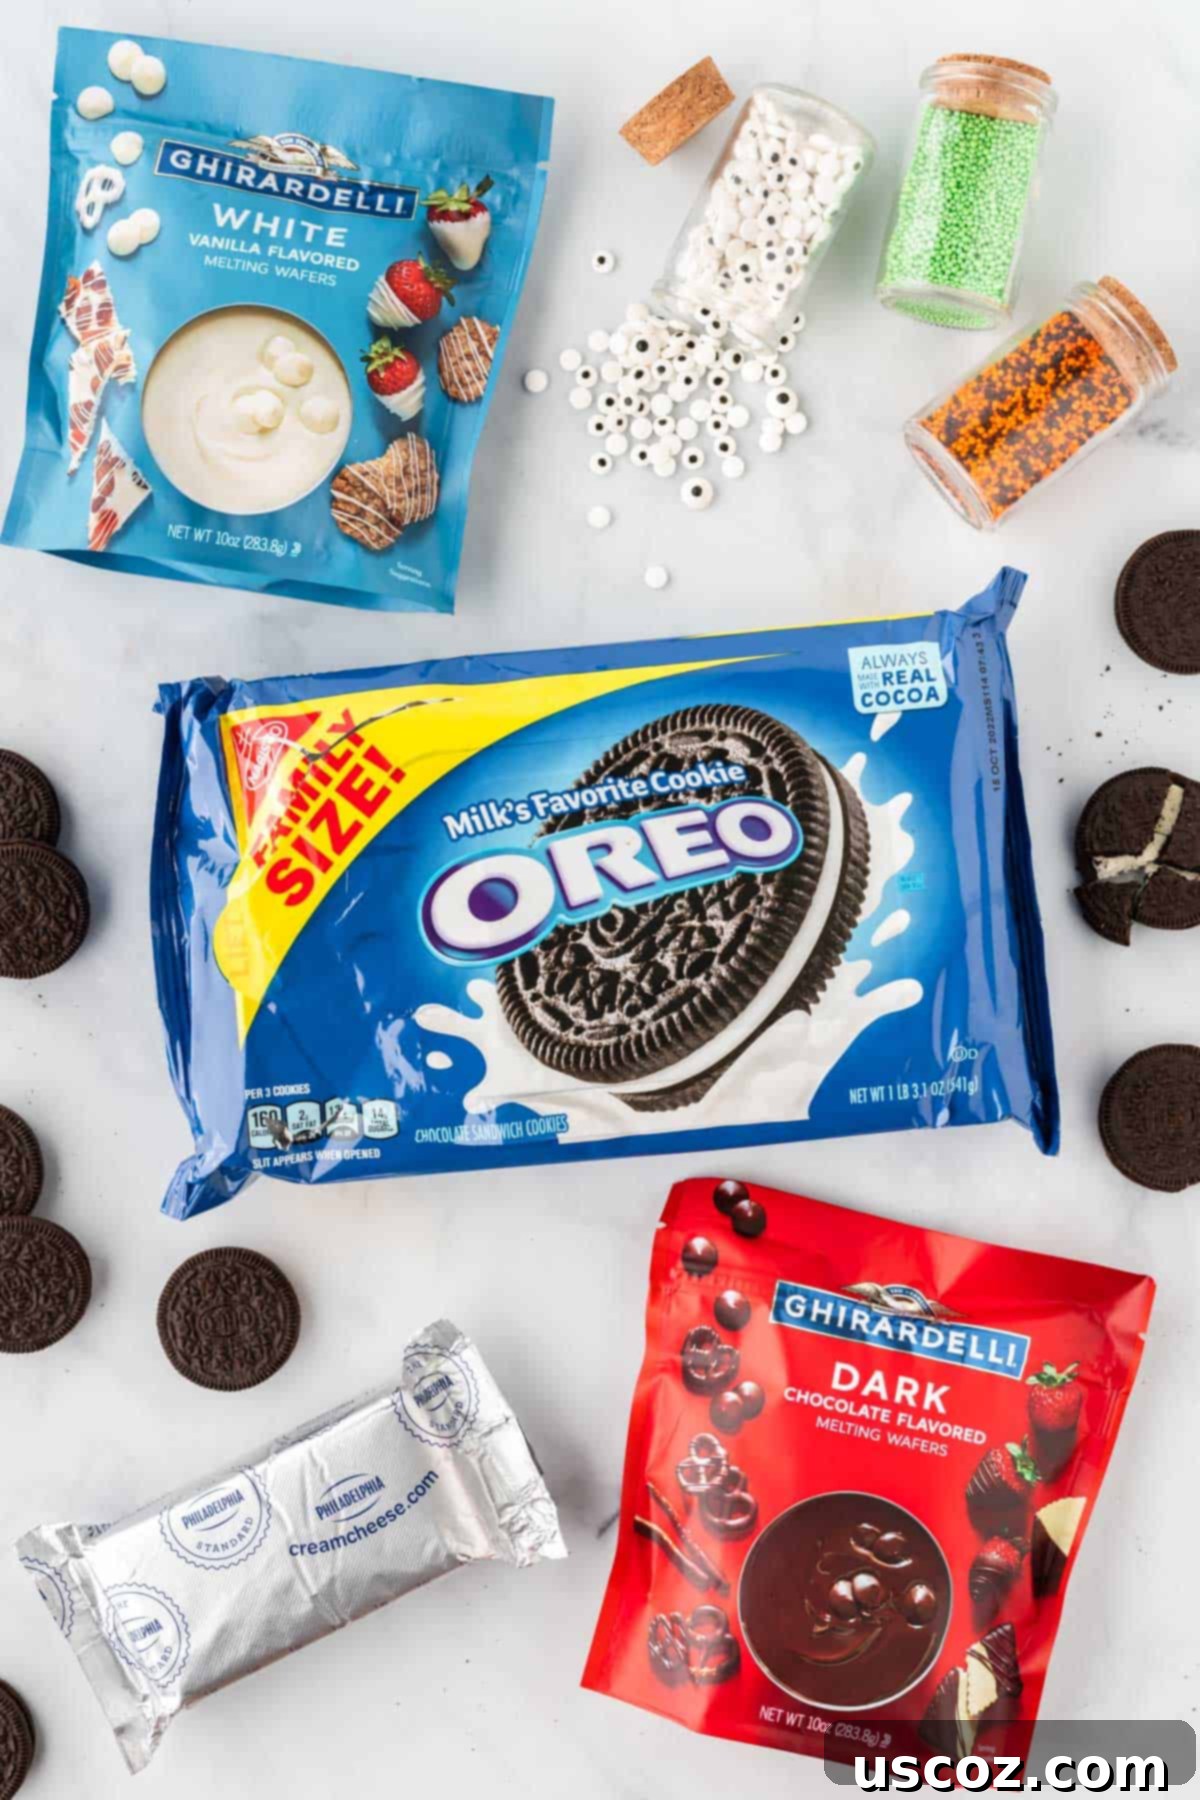
Gathering your ingredients for these delightful no-bake Oreo truffles is quick and straightforward. You’ll only need a handful of items, most of which are readily available at any grocery store.
- Oreos: The star of the show! A standard family-size package works perfectly. You can use classic Oreos or even experiment with Halloween-themed ones if available for extra color in the center.
- Cream Cheese: Softened cream cheese is key for achieving the perfect fudgy texture. Make sure it’s at room temperature before mixing to ensure a smooth, lump-free batter.
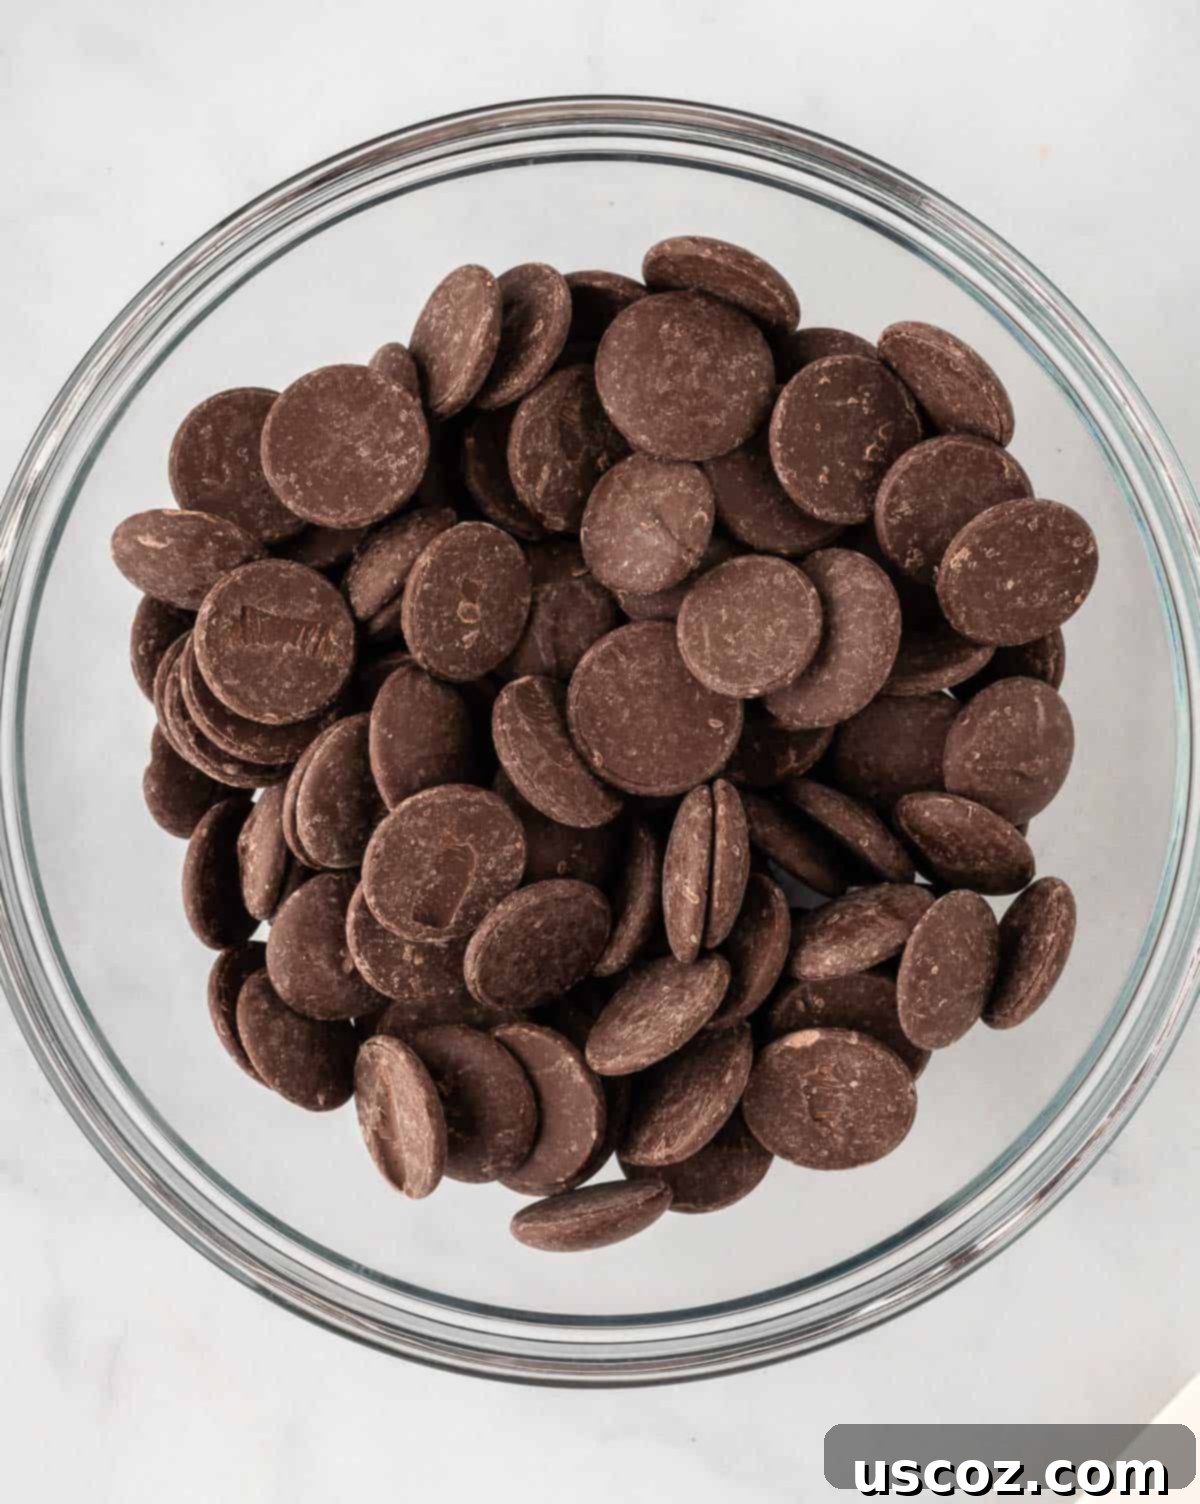
- Dark Chocolate Melting Wafers: These are ideal for coating as they melt smoothly and harden nicely, providing a crisp shell without tempering. Ghirardelli is a great brand known for quality.
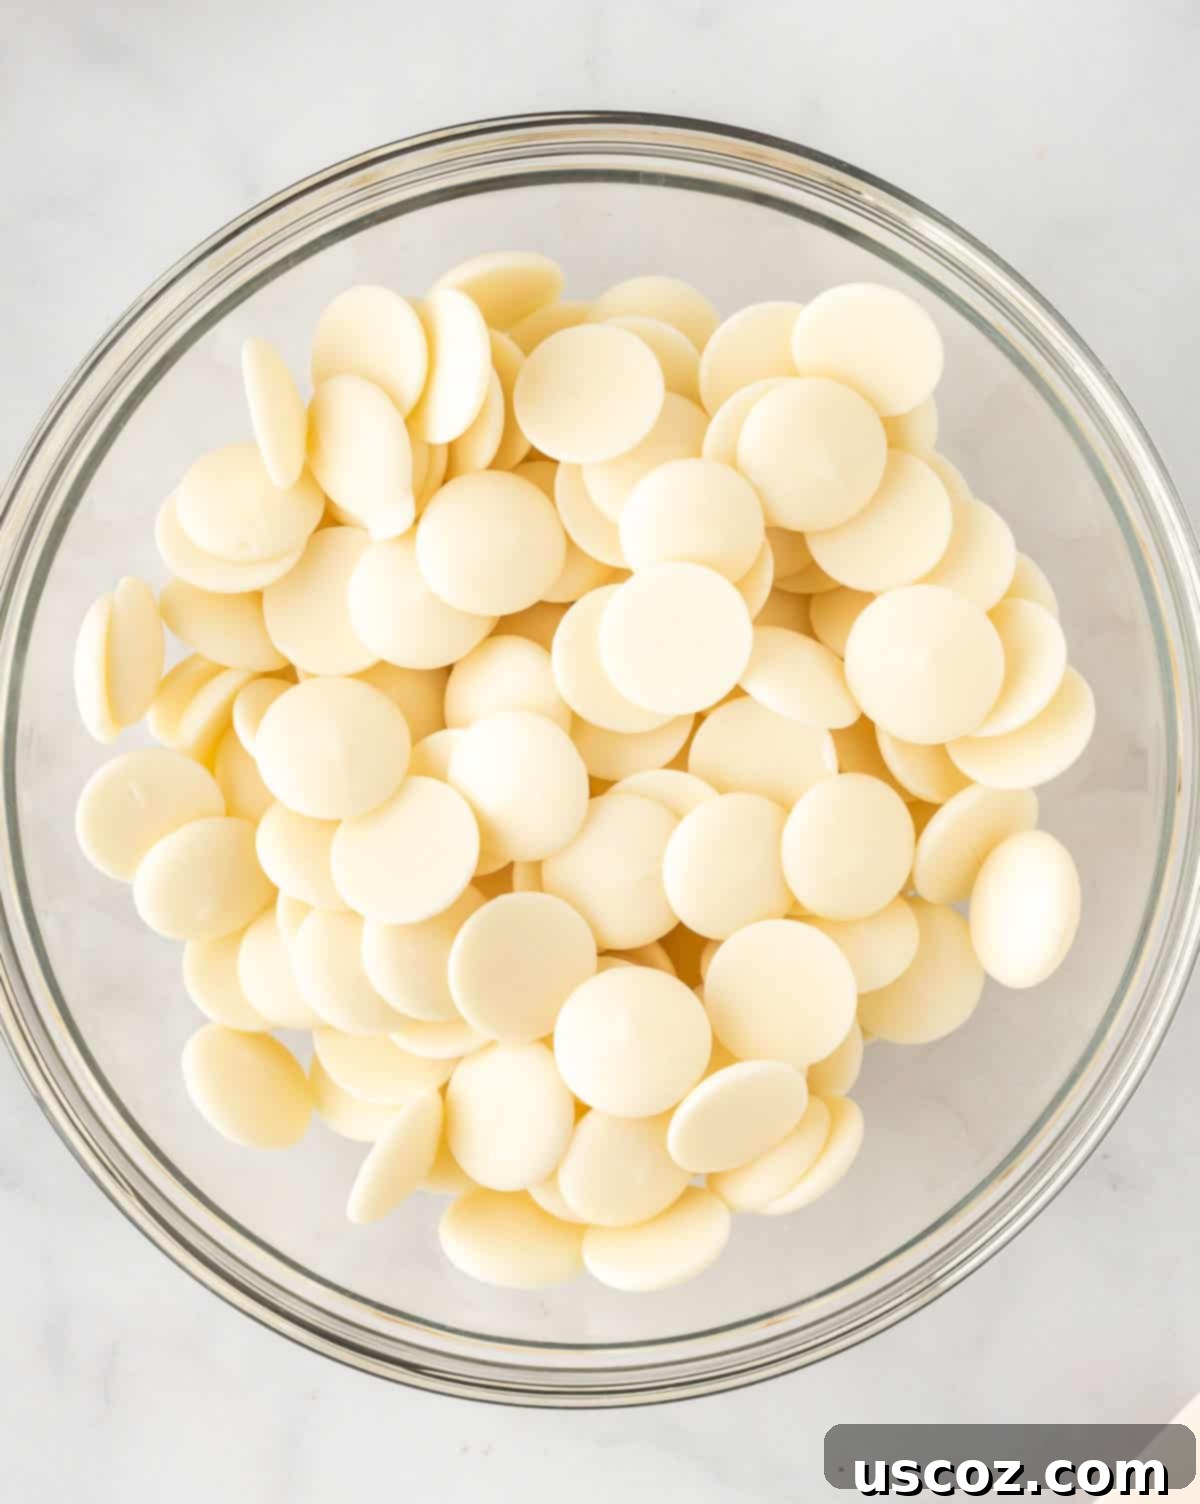
- White Vanilla Melting Wafers: Essential for contrasting colors and a perfect base for vibrant Halloween sprinkles and decorations. Again, melting wafers offer superior results.
- Halloween Colored Sprinkles: Orange, black, purple, and green sprinkles are a must to give your Oreo balls that festive Halloween look.
- Candy Eye Balls: These small, edible eyes instantly add a fun, spooky, and adorable touch, bringing your Oreo truffles to life!
Having these ingredients ready will ensure a smooth and enjoyable truffle-making experience.
Step-by-Step Guide: How to Make Easy Halloween Oreo Balls
Making these Halloween Oreo balls is a breeze. Follow these simple steps, and you’ll have a delightful spooky treat in no time!
Step 1: Crush Your Oreos into Fine Crumbs.
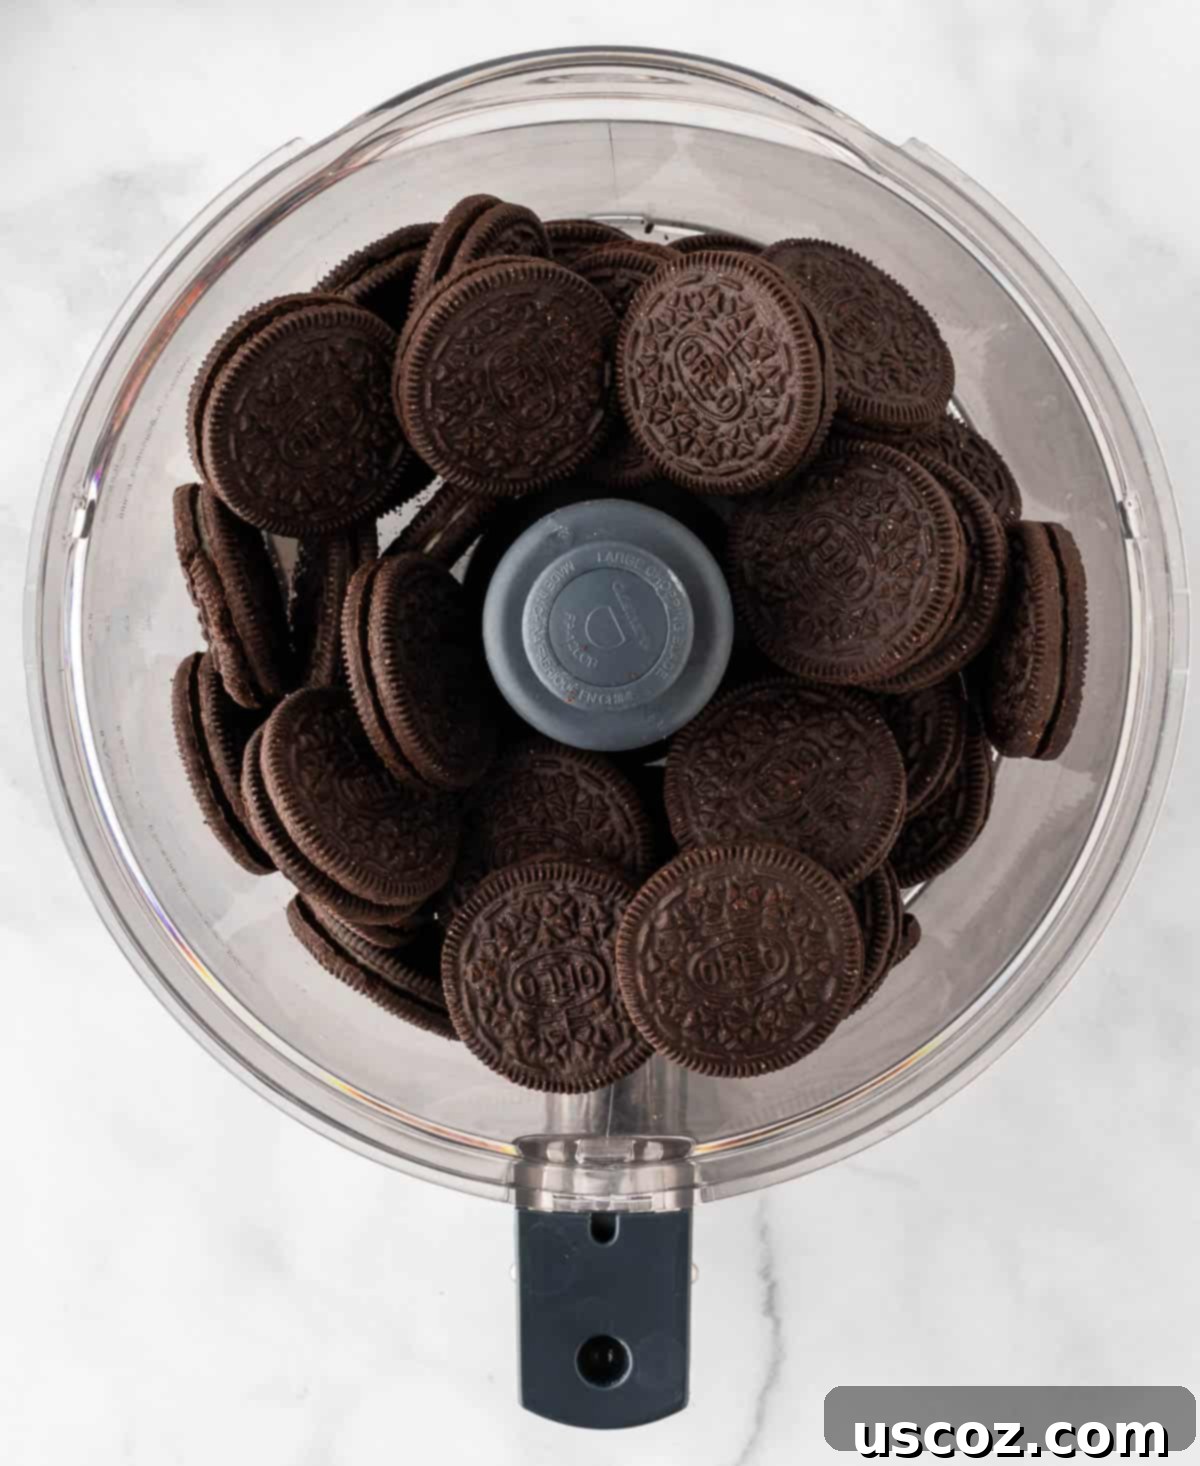
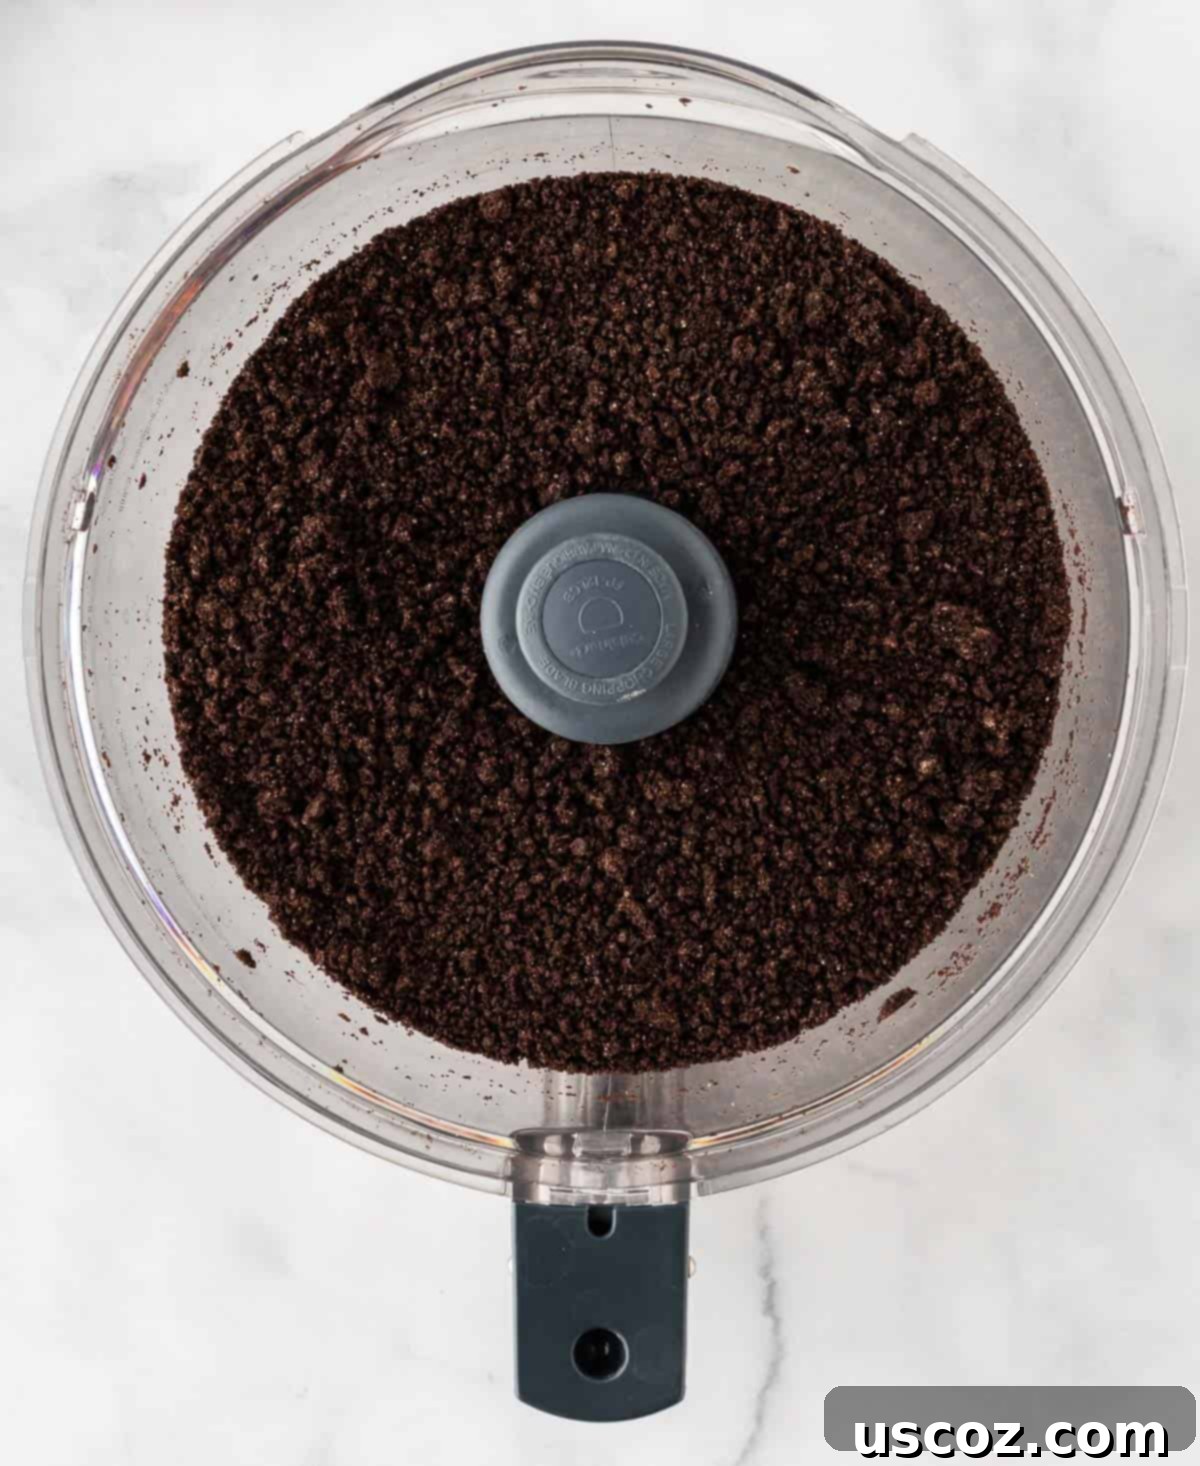
Begin by adding your entire package of Oreos (cookies and cream filling included!) to a food processor. Pulse until they are finely crushed, resembling moist dirt or sand. The goal is to get them as close to dust as possible for a smooth truffle base. If you don’t have a food processor, don’t worry! You can place the Oreos in a gallon-sized Ziploc bag, seal it tightly, and crush them with a rolling pin or the bottom of a heavy pot until very fine. This method can also be a fun way to get some aggression out!
Step 2: Combine with Softened Cream Cheese.
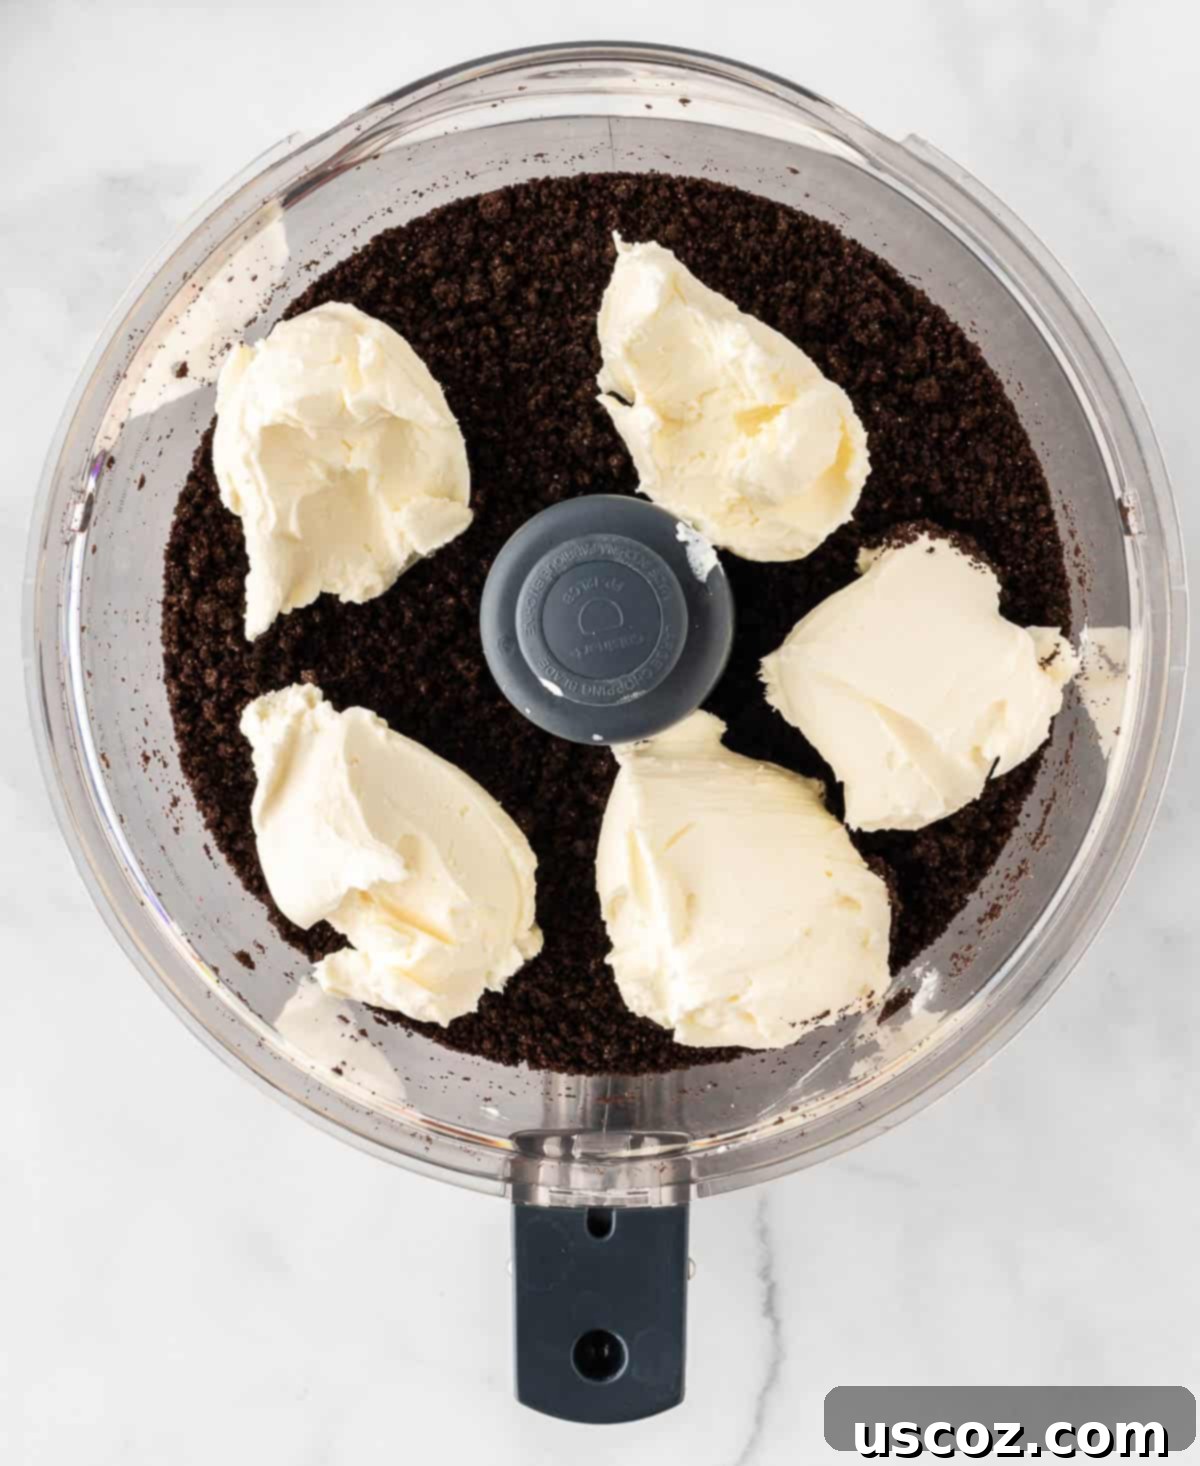
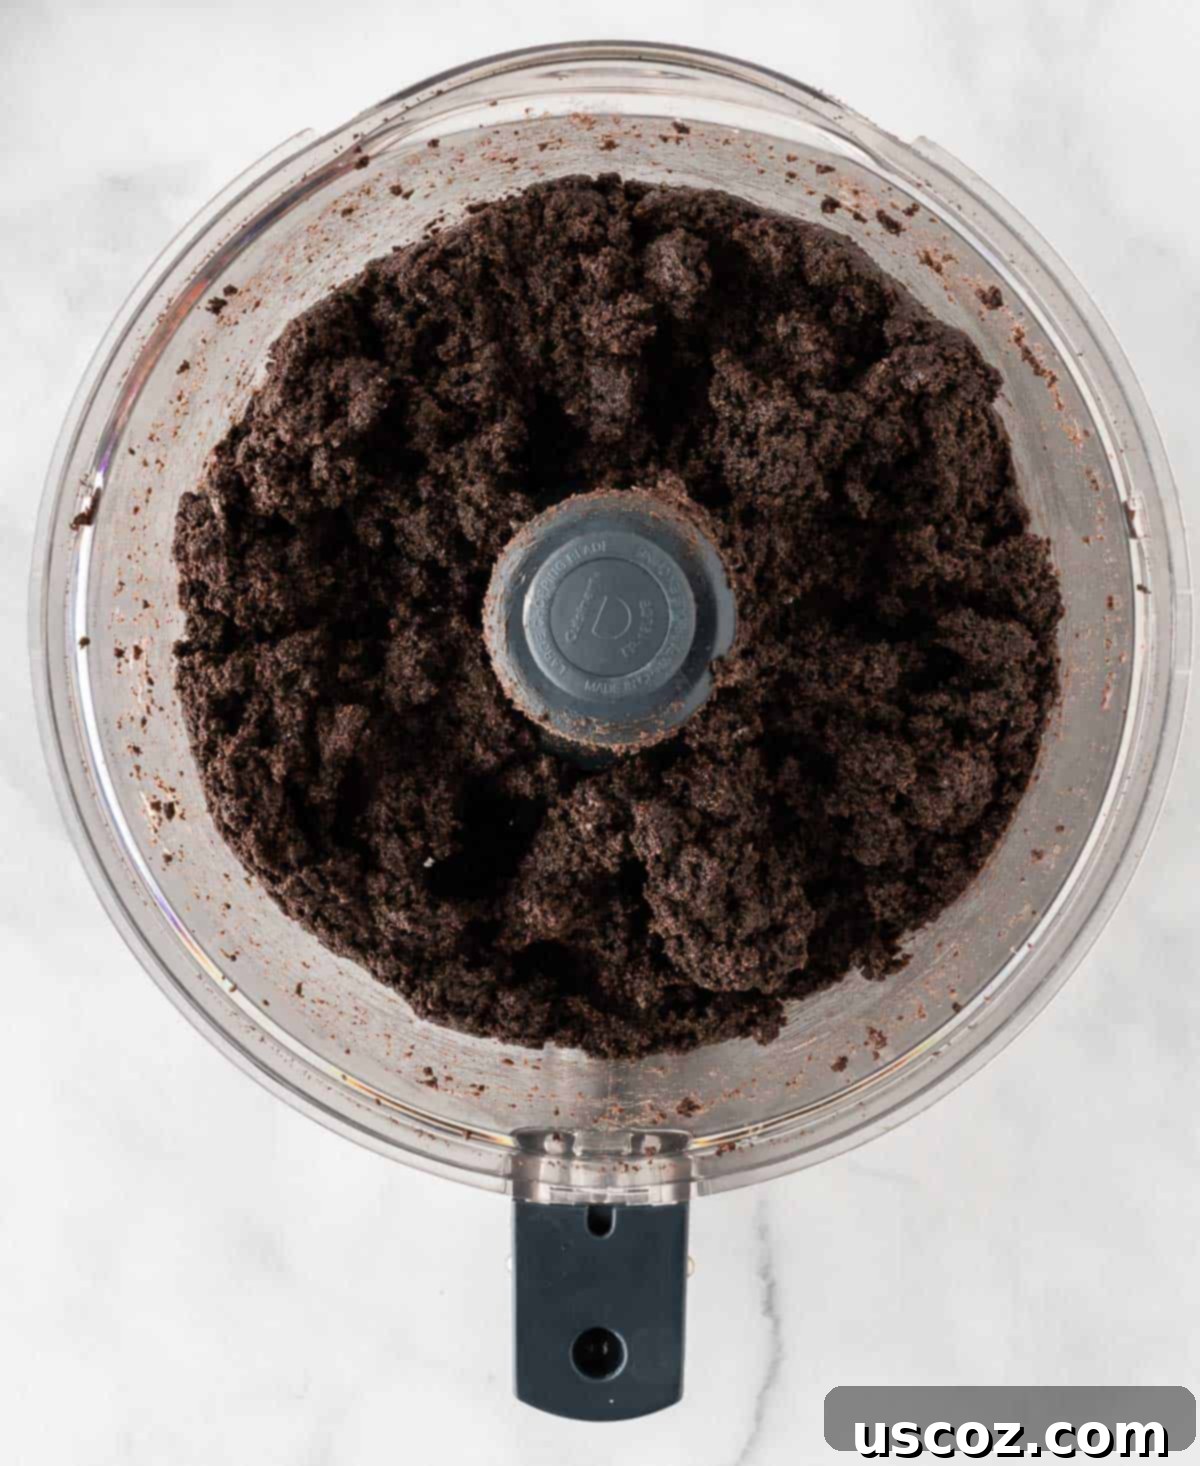
Add the softened cream cheese directly to the food processor with the Oreo crumbs. Pulse a few times until the mixture starts to come together and forms a thick, dough-like consistency. It’s crucial that your cream cheese is at room temperature to prevent lumps and ensure it blends smoothly. Once combined in the food processor, transfer the Oreo ball batter to a mixing bowl. Use a sturdy rubber spatula to thoroughly mix any remaining clumps by hand, ensuring a perfectly uniform and pliable mixture. This step ensures every bite is rich and creamy.
Step 3: Scoop, Roll, and Chill for Firmness.
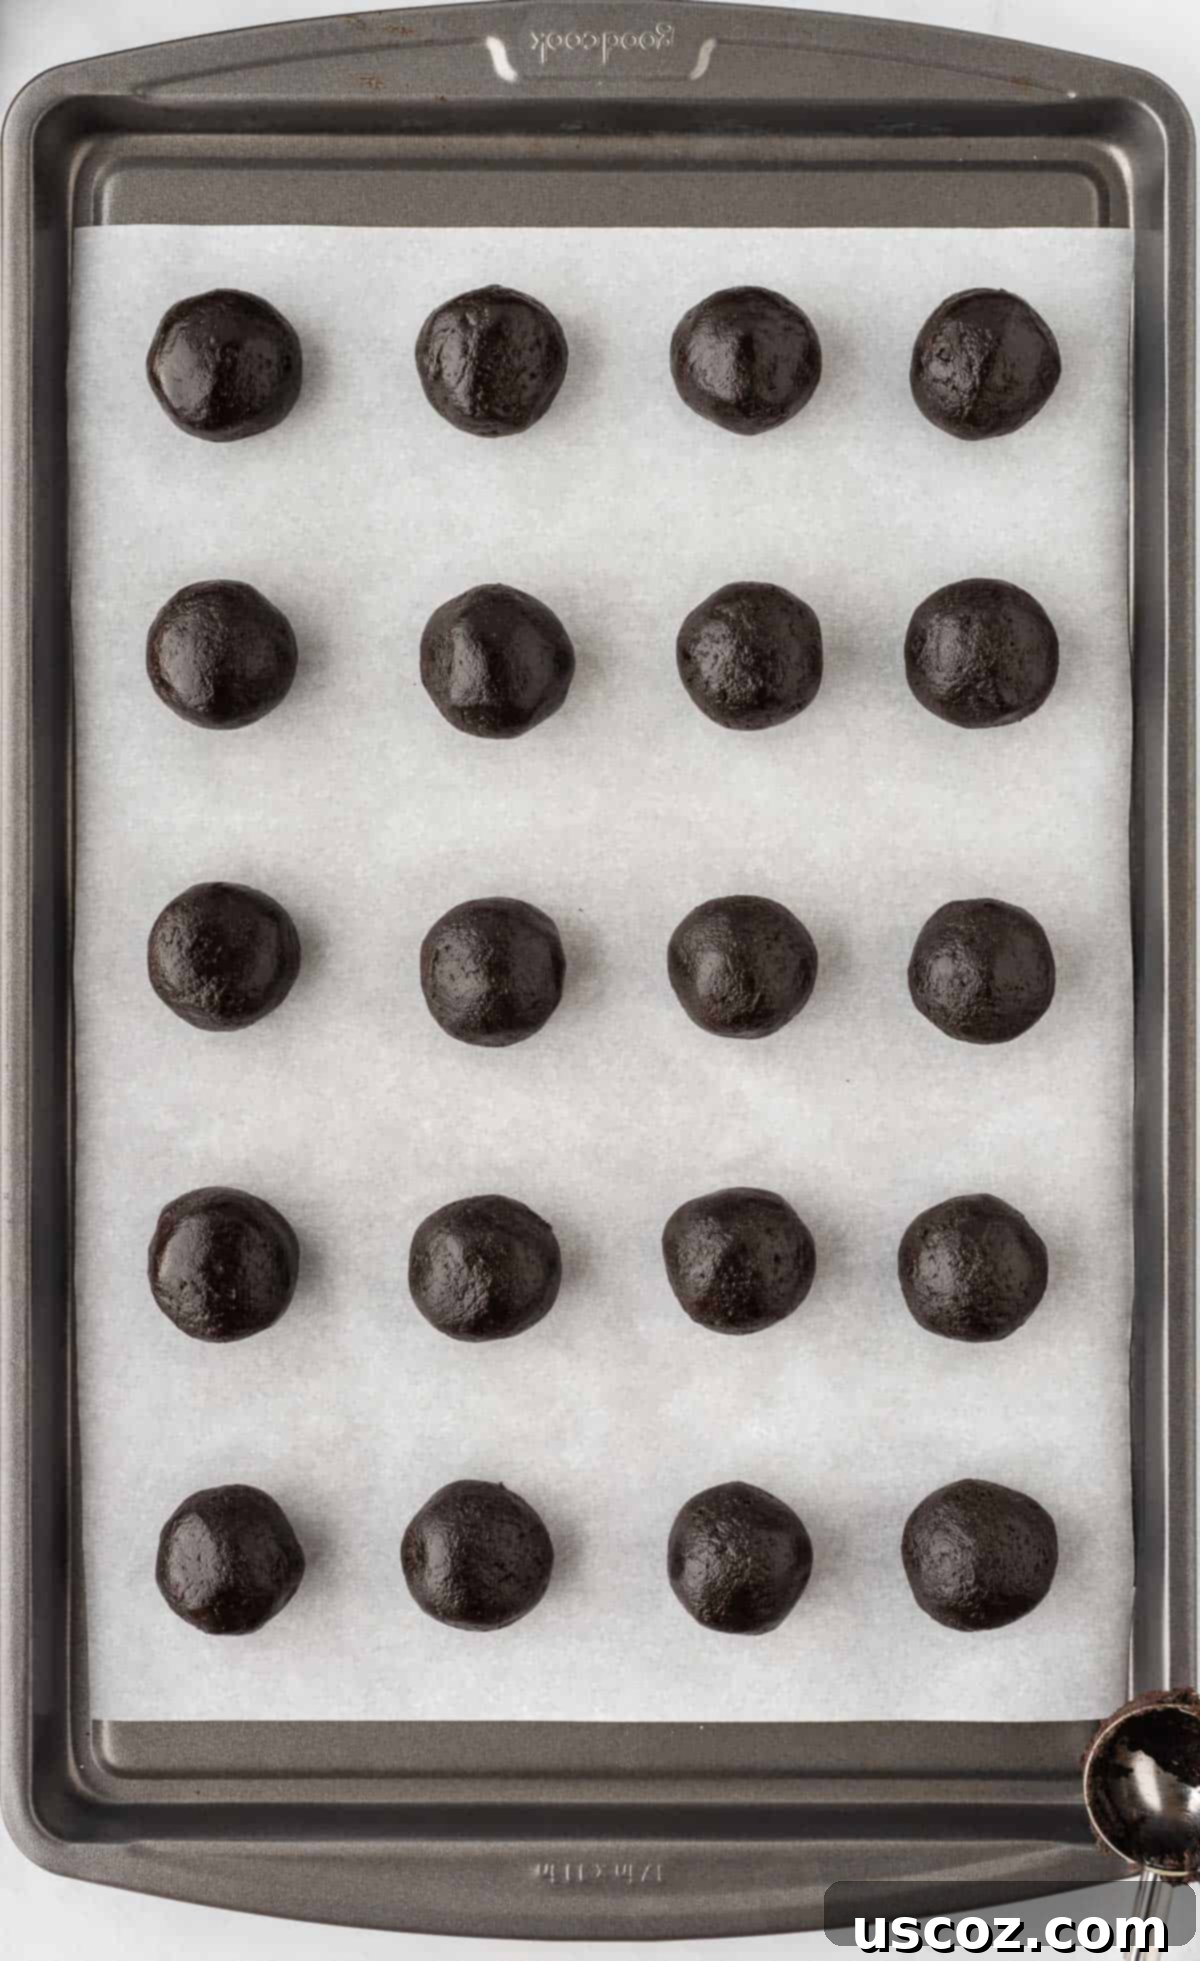
Line a baking sheet with parchment paper – this prevents sticking and makes cleanup a breeze. Use a small cookie scoop (about 1-inch in diameter) to portion out uniform amounts of the Oreo mixture onto the prepared baking sheet. After scooping, gently roll each portion with your hands to form perfectly round, smooth balls. This not only makes them look great but also helps compact the mixture. Once all your Oreo balls are formed, chill them in the fridge or freezer for at least 30 minutes. This crucial step helps them firm up, preventing them from falling apart when you dip them into the melted chocolate. A well-chilled ball holds its shape much better!
Step 4: Dip in Dark Chocolate and Decorate.
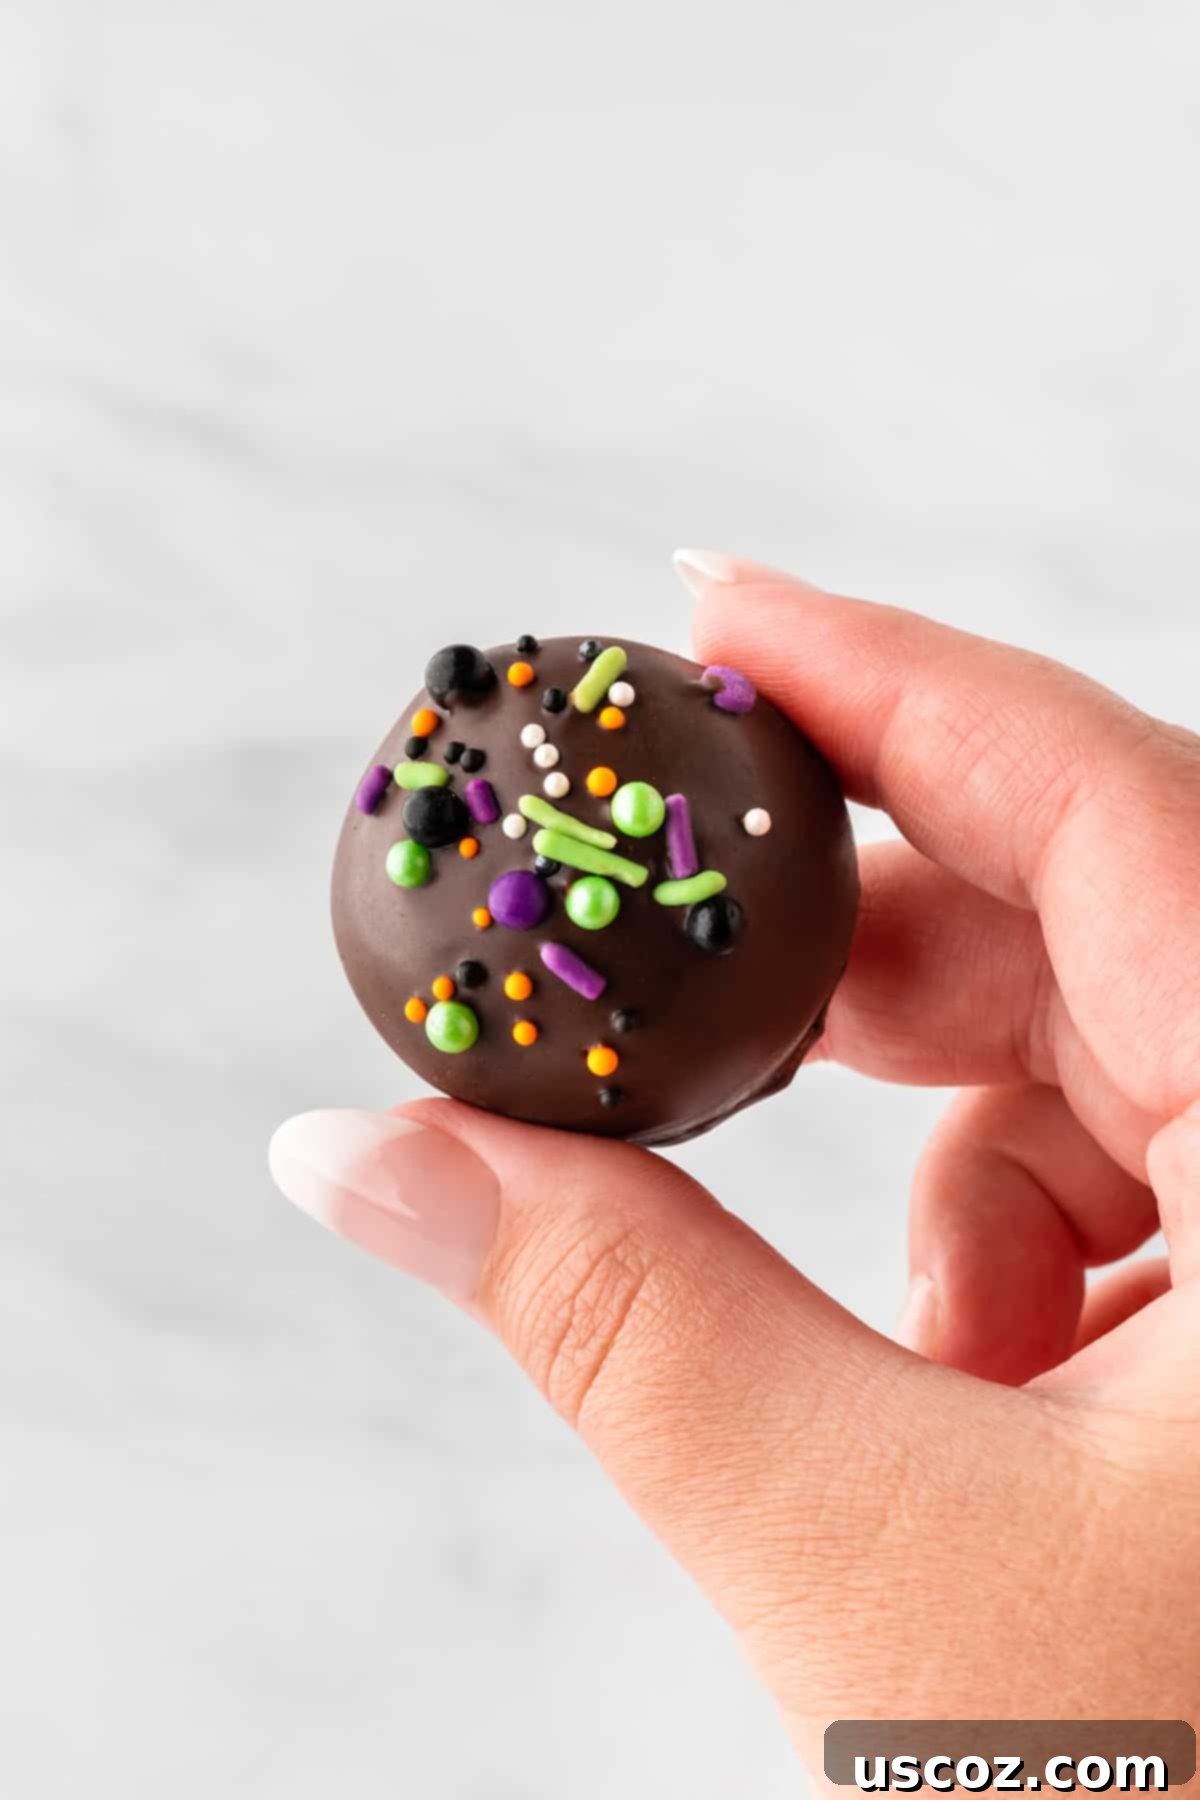
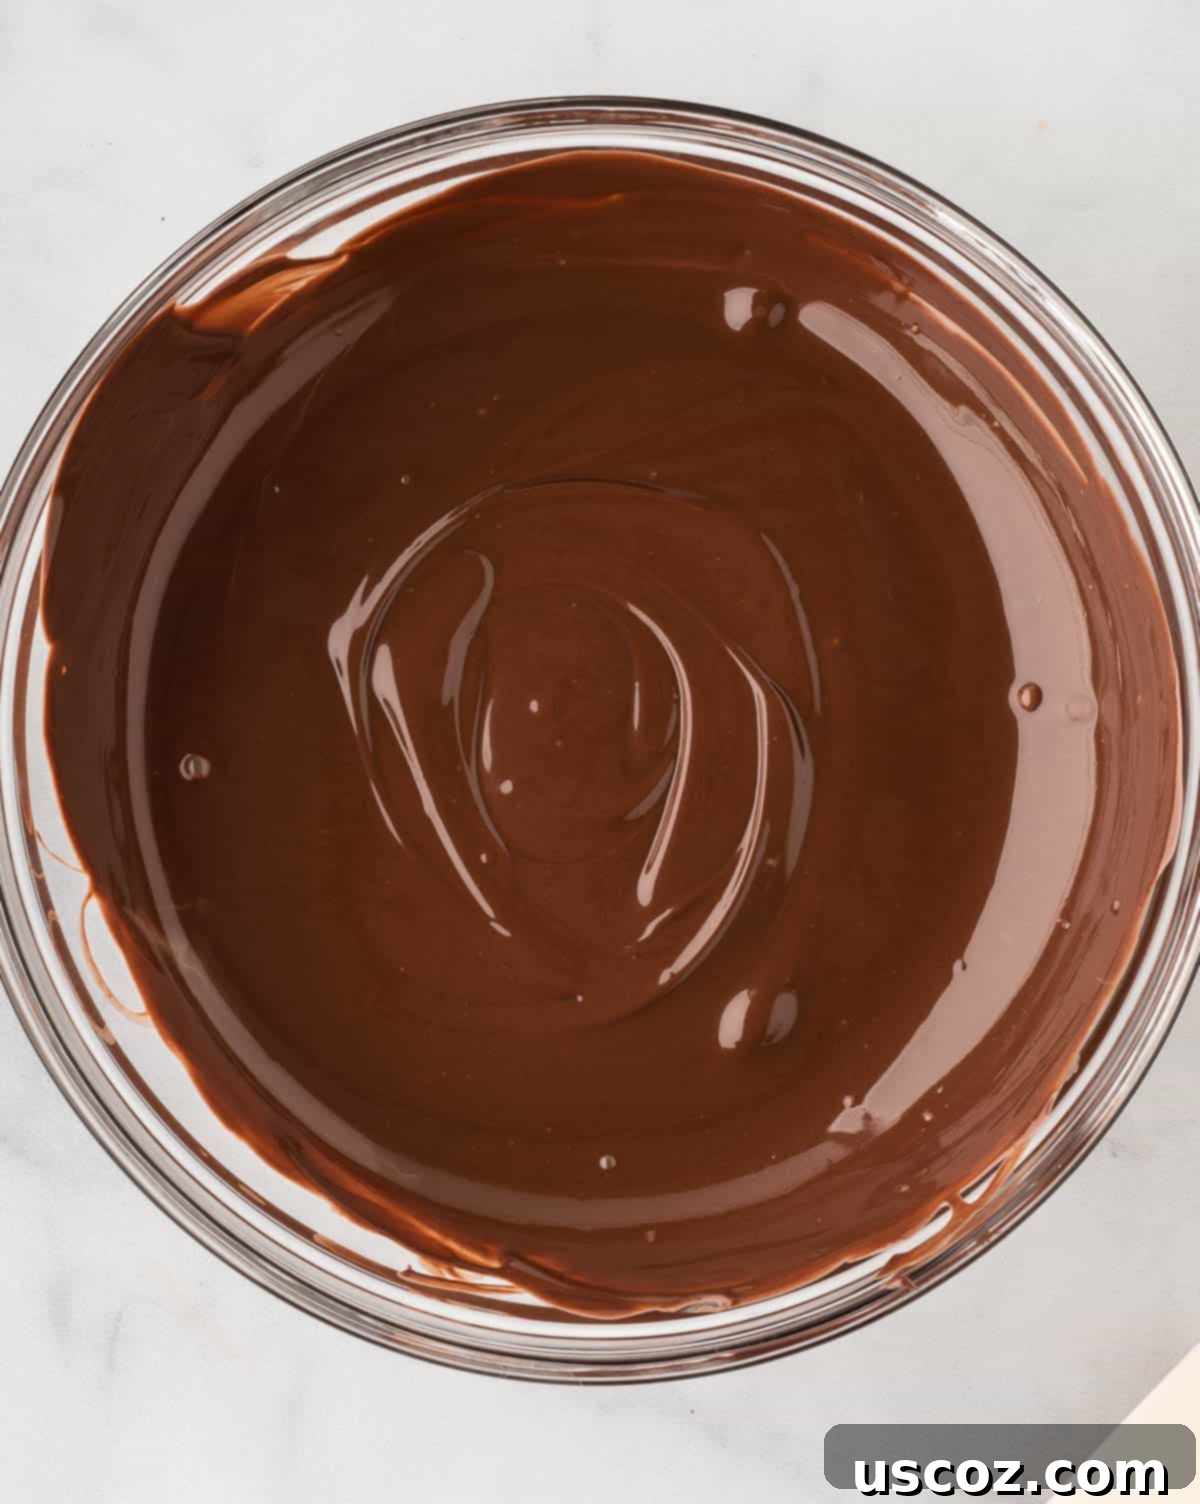
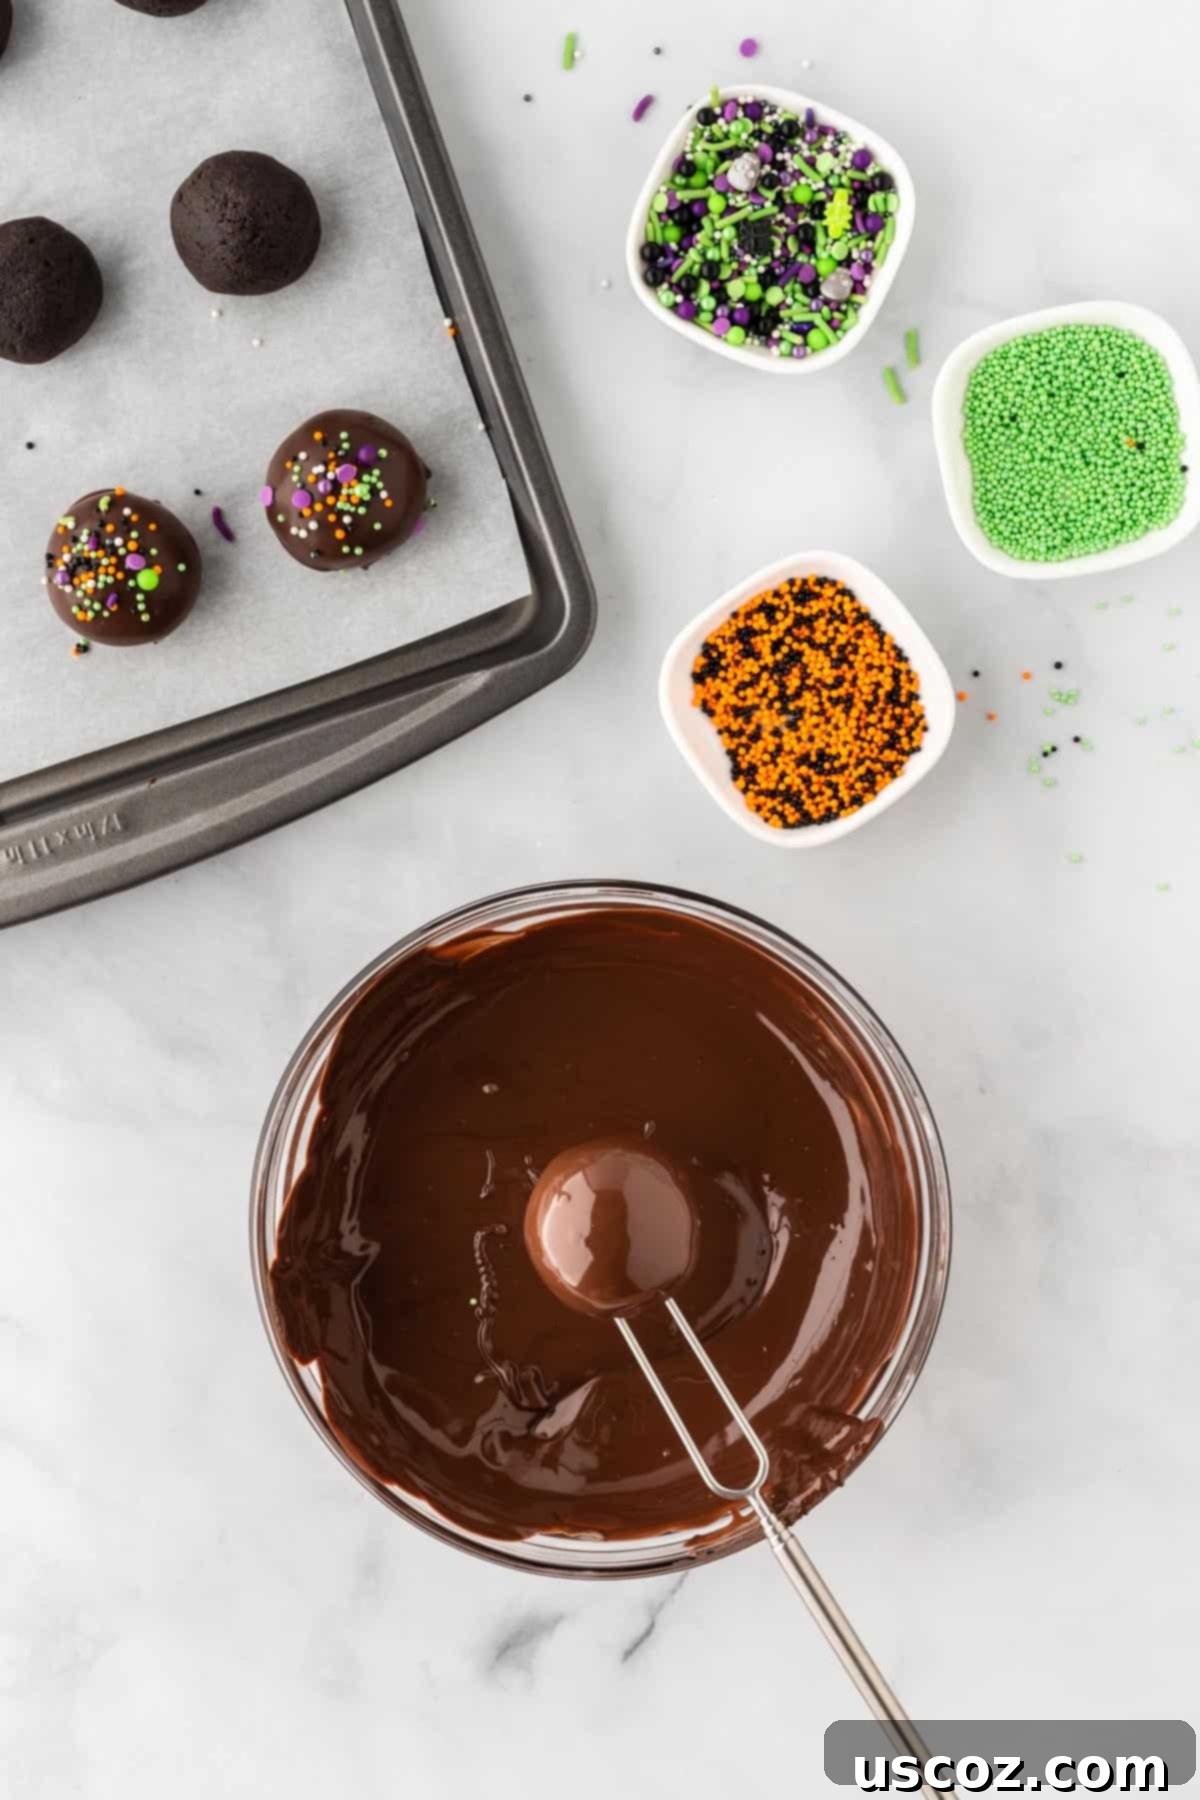
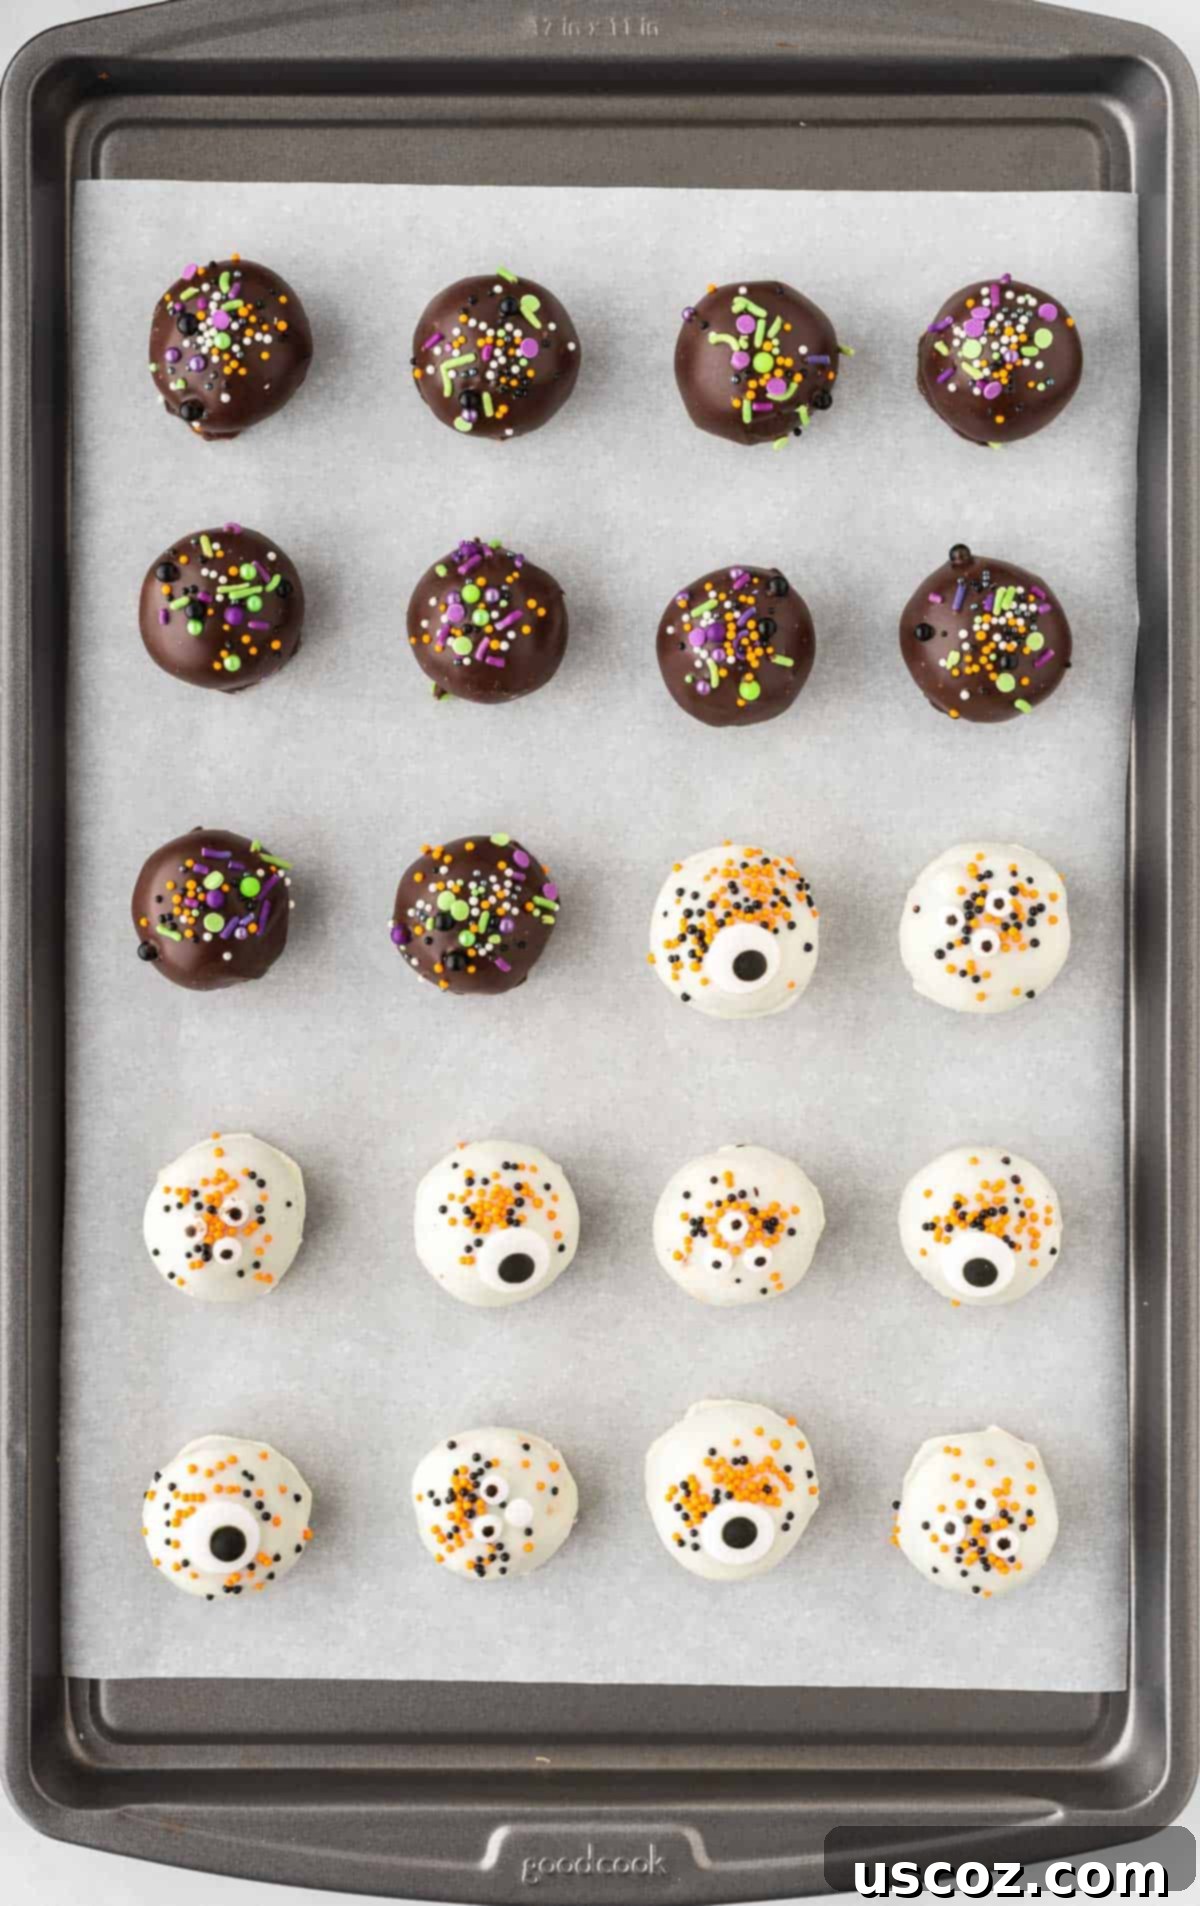
Once chilled, it’s time for the fun part! Melt your dark chocolate melting wafers according to package directions until perfectly smooth. You can do this in the microwave in 30-second intervals, stirring between each, or using a double boiler. Take half of your chilled Oreo balls and dip them entirely into the melted dark chocolate, ensuring a full, even coat. Immediately after dipping, while the chocolate is still wet, sprinkle them generously with your Halloween-colored sprinkles. Place them back on the parchment-lined baking sheet.
**Important Tip:** Do not melt the white chocolate until you have completely finished dipping and decorating all the dark chocolate Oreo balls. Melting wafers cool and harden relatively quickly, so working with one type of chocolate at a time ensures you have enough working time for each batch to decorate perfectly.
Step 5: Dip in White Chocolate and Add Finishing Touches.
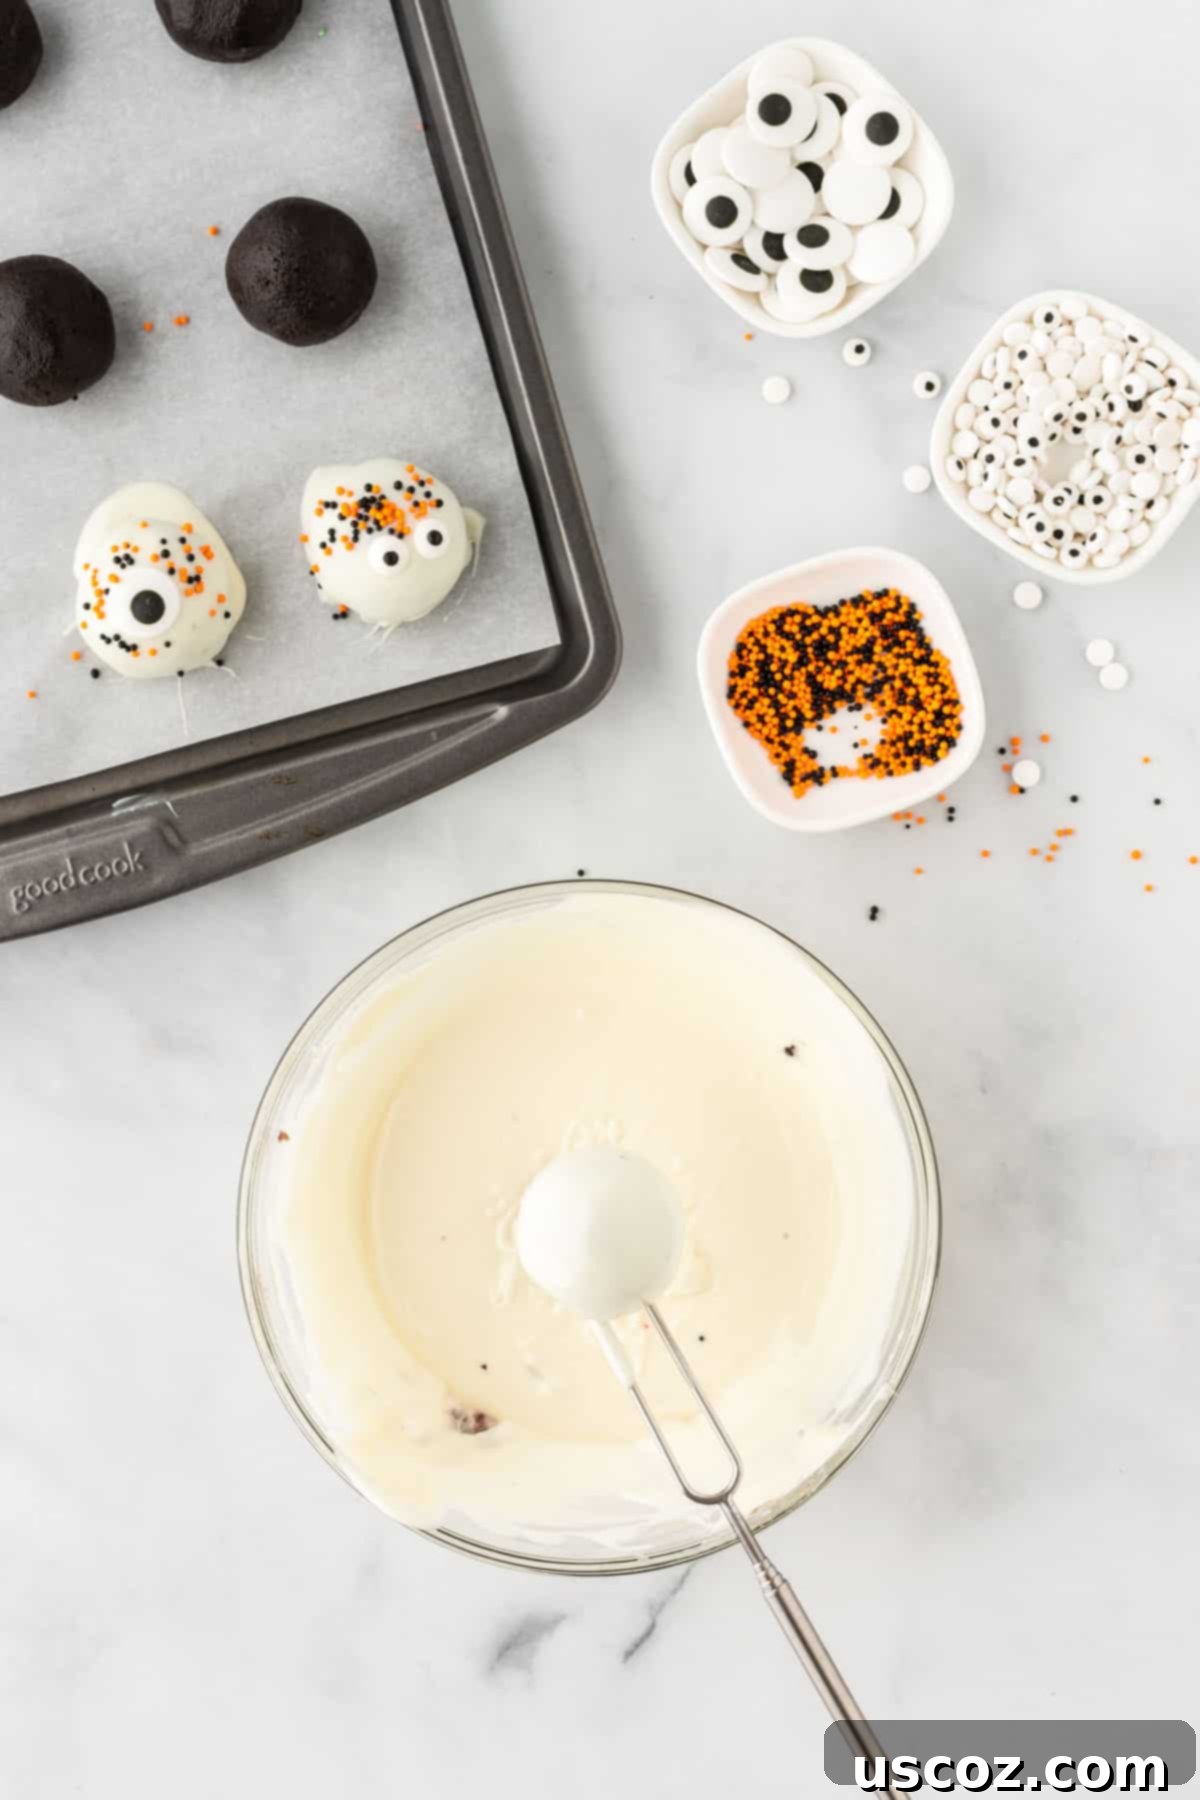
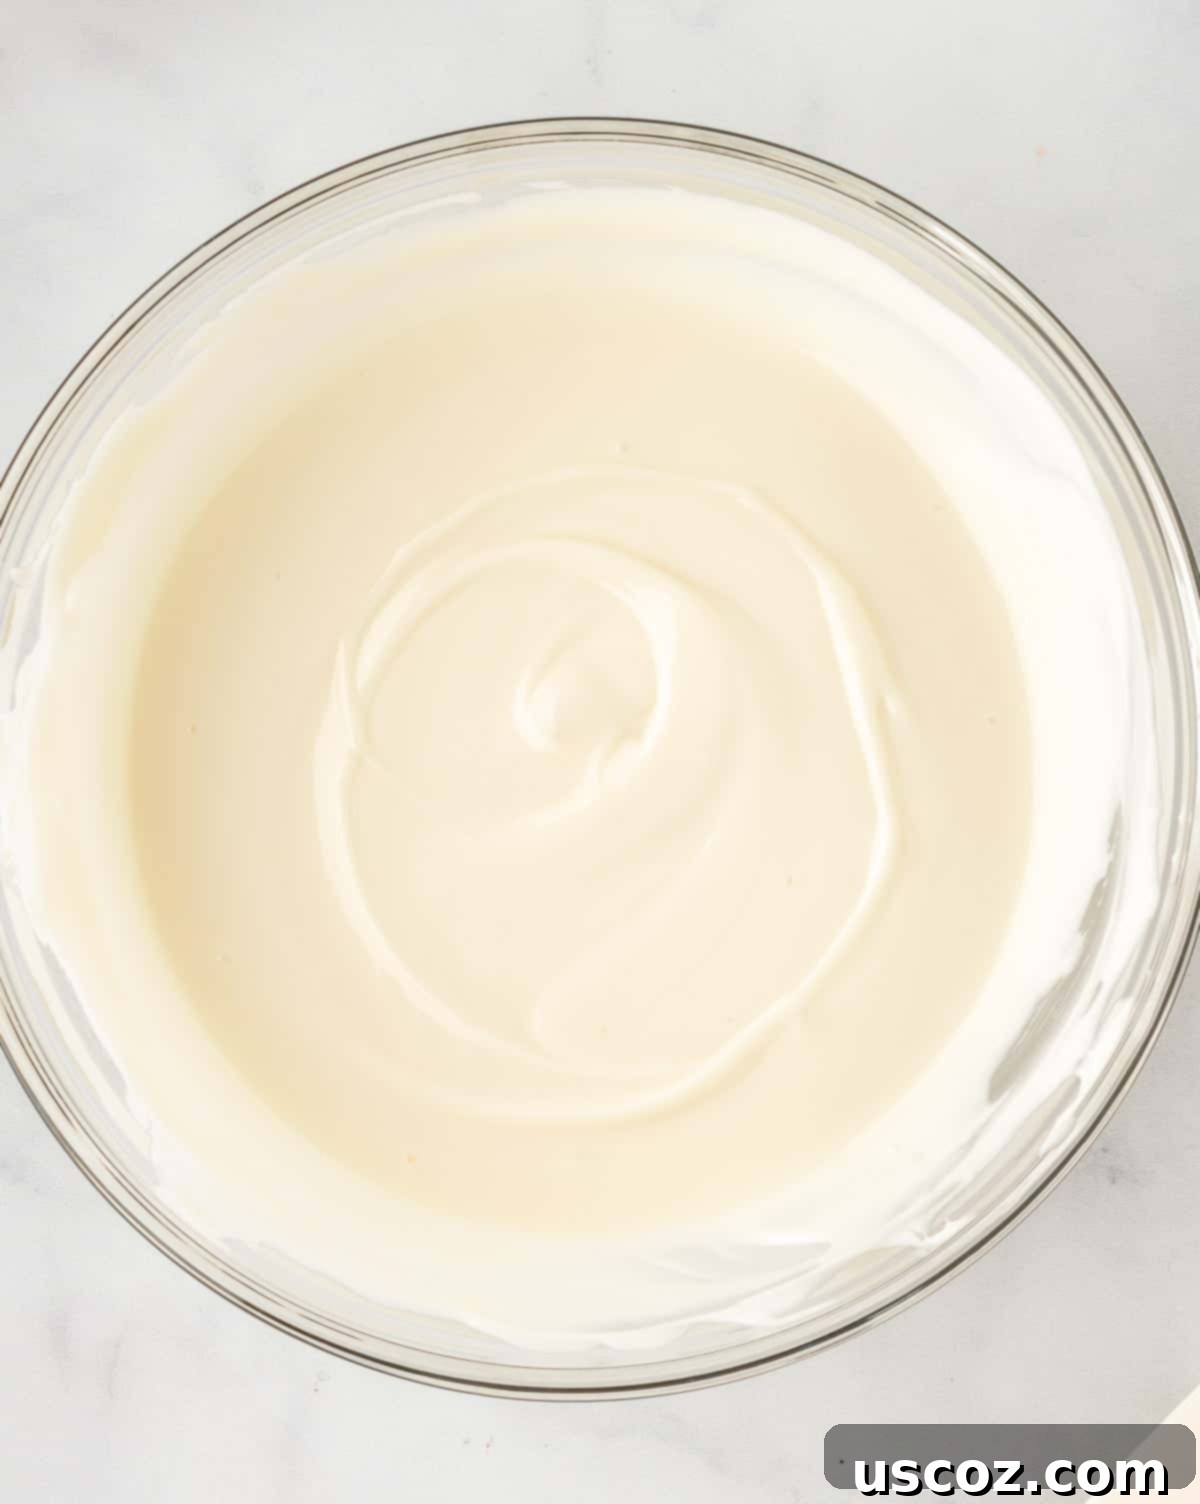
Now, melt your white vanilla melting wafers until smooth, using the same method as the dark chocolate. Dip the remaining half of your chilled Oreo balls into the white chocolate. Once coated, get creative! Top these white-coated balls with another generous sprinkle of Halloween sprinkles. For an extra spooky effect, gently press candy eyeballs onto some of the white Oreo balls while the chocolate is still soft. The white chocolate makes a perfect canvas for these adorable edible eyes, turning your truffles into little monsters or ghosts.
Step 6: Chill to Set and Store for Enjoyment.
Once all your Oreo balls are dipped and decorated, return them to the fridge to chill until the chocolate coating has completely hardened. This usually takes about 15-30 minutes. Once firm to the touch, they are ready to be devoured! For storage, transfer them to an airtight container or a freezer-safe bag. You can store them in the fridge for up to 1-2 weeks or in the freezer for up to 1-2 months.
I personally find that storing them in the freezer is fantastic. They maintain their freshness longer, and you can simply grab one whenever a sweet craving strikes. They thaw quickly at room temperature or can even be enjoyed slightly frozen for a different texture. If you’re planning to serve these at a Halloween party, keep them in the fridge until just before serving. A festive Halloween-themed platter or serving dish would be the perfect way to display these delightful treats and impress your guests!
Expert Tips for Perfect No-Bake Oreo Truffles
Achieving perfect no-bake Oreo balls is simple, but a few insider tips can make all the difference for a truly professional finish:
- Room Temperature Cream Cheese: This is non-negotiable! Cold cream cheese will result in a lumpy mixture that’s hard to work with. Let it sit out for at least an hour before you begin.
- Fine Oreo Crumbs: The finer your Oreo crumbs, the smoother and more uniform your truffle mixture will be. A food processor is best for this, but a strong blender or even a Ziploc bag and rolling pin will work if you put in the effort.
- Don’t Skip the Chill: Chilling the Oreo balls before dipping is critical. It firms them up, preventing them from falling apart or creating a mess in your melted chocolate. Cold balls also help the chocolate set faster.
- Quality Melting Wafers: While regular chocolate chips can be used, melting wafers (like Ghirardelli or Candy Melts) are formulated to melt smoothly and harden beautifully without needing to be tempered. This ensures a shiny, crisp, and professional-looking coating.
- Melt Chocolate Carefully: Whether using a microwave or double boiler, melt chocolate slowly and stir frequently to prevent burning or seizing. If using the microwave, heat in 30-second bursts, stirring well after each.
- Work Quickly with Chocolate: Have your sprinkles and decorations ready before you start dipping. Once an Oreo ball is coated, you need to add decorations immediately before the chocolate sets.
- Use a Fork or Dipping Tools: A fork is a simple and effective tool for dipping. Gently drop the ball into the chocolate, roll it to coat, then lift it out, tapping the fork against the side of the bowl to let excess chocolate drip off before placing it on parchment paper.
- Cleanup: Line your baking sheets with parchment paper or wax paper for easy removal and cleanup.
Fun Variations to Spook Up Your Oreo Balls Even More
These Halloween Oreo balls are already fantastic, but you can easily customize them further to suit your taste or theme:
- Different Oreo Flavors: Try using mint Oreos, golden Oreos, peanut butter Oreos, or even seasonal varieties for unique flavor twists.
- Colored Chocolate: Use colored candy melts (orange, purple, green) instead of or in addition to white chocolate for even more vibrant spooky effects.
- Drizzle Designs: After the main chocolate coating has set, melt a contrasting color of chocolate (or candy melts) and drizzle it over the balls for a professional, artistic look. Think white drizzles on dark chocolate or orange drizzles on white chocolate.
- Crushed Candy Toppings: In addition to sprinkles, roll your dipped Oreo balls in crushed candy corn, mini chocolate chips, crushed peppermints (for a different holiday!), or even more crushed Oreos.
- Ghostly Shapes: Instead of perfect spheres, you can slightly flatten the top of some white-coated balls and add two small candy eyes with a tiny chocolate chip for a “ghost” effect.
- Spiderwebs: Coat the balls in a dark color, then drizzle a spiral of white chocolate on top. Use a toothpick to drag lines from the center outwards to create a spiderweb pattern.
Storage & Make-Ahead Tips
These No-Bake Halloween Oreo Truffles are excellent for making in advance, which is perfect for party planning or just having a delicious stash on hand.
- Refrigeration: Store the finished Oreo balls in an airtight container in the refrigerator for up to 1-2 weeks. Layer them between sheets of parchment paper to prevent them from sticking together.
- Freezing: For longer storage, freeze the Oreo balls in an airtight container for up to 1-2 months. They taste just as good, if not better, straight from the freezer for a chilly treat!
- Serving: If serving at a party, take them out of the fridge about 15-20 minutes before guests arrive. This allows them to soften slightly for a more enjoyable, fudgy texture.
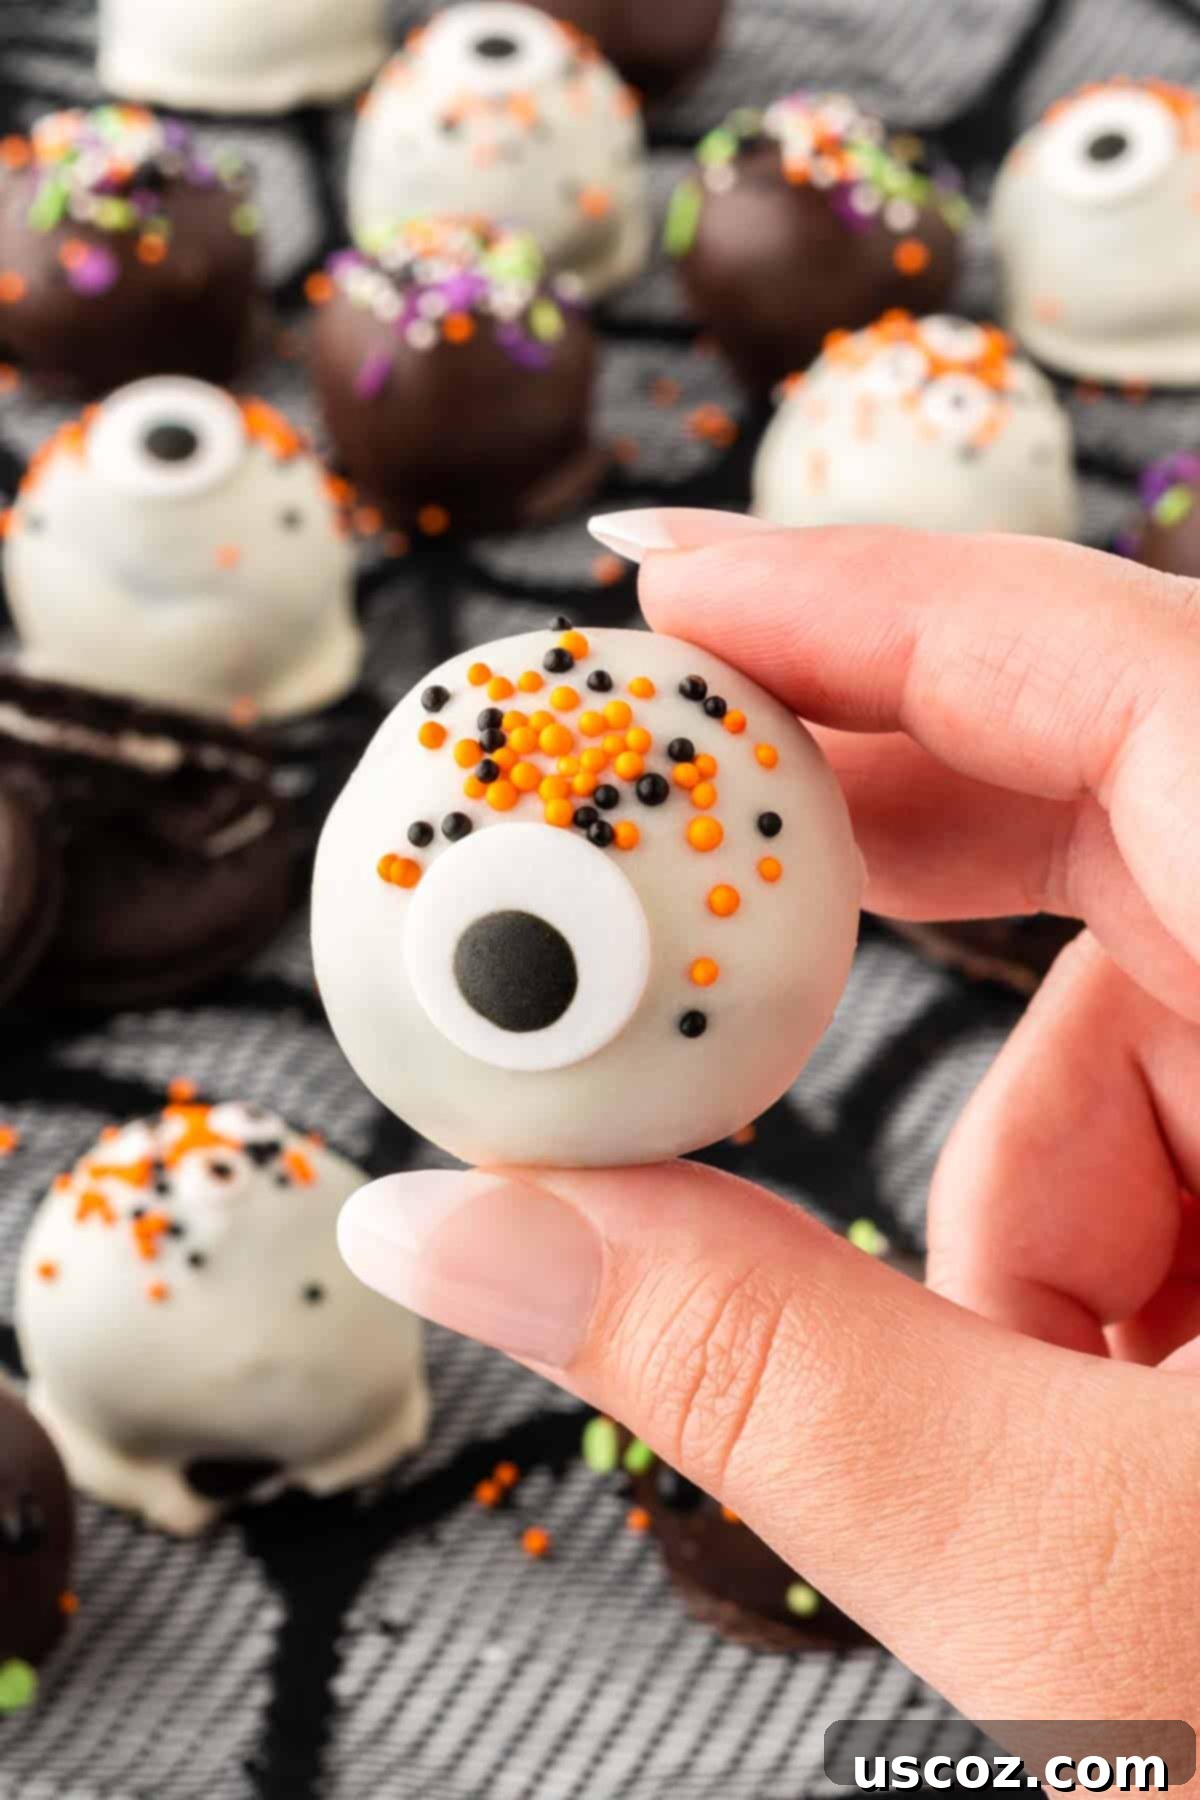
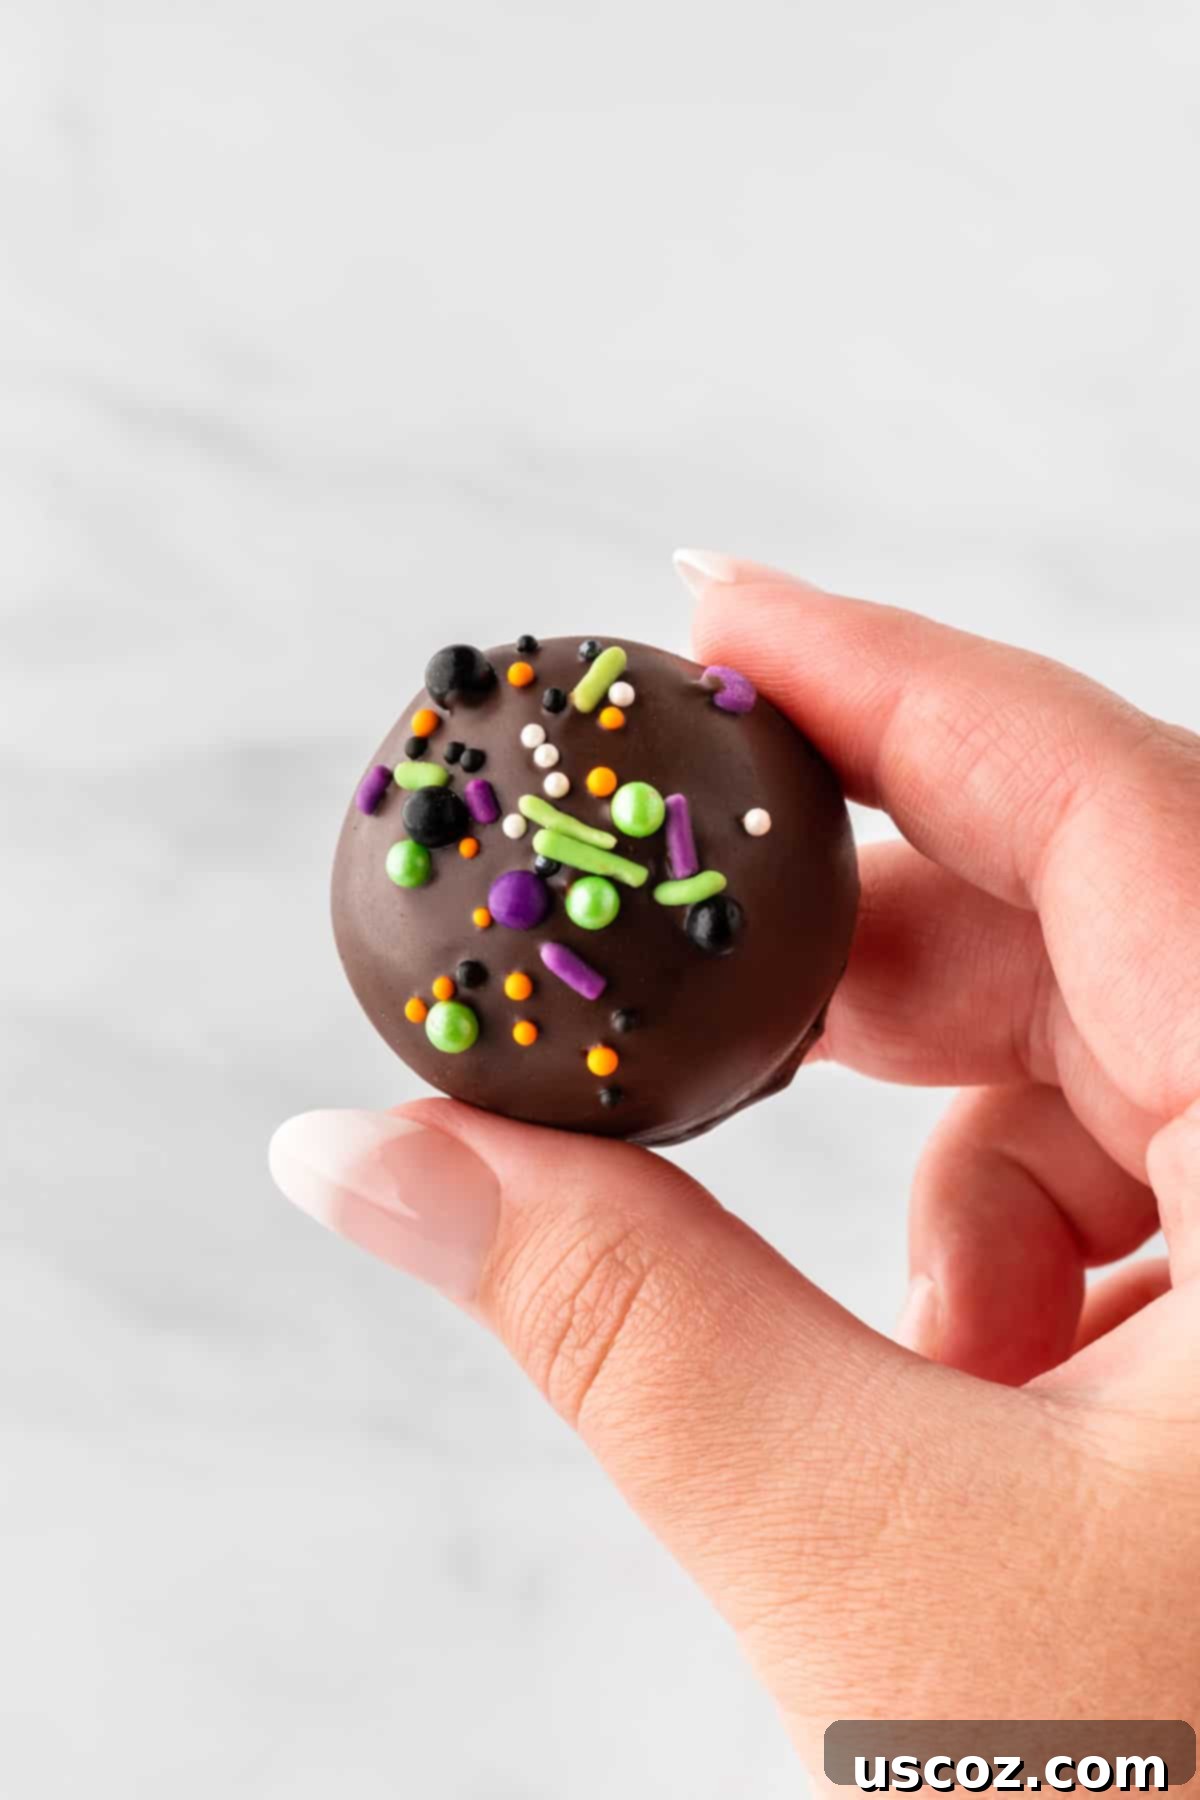
These Halloween truffles might be incredibly easy to make, but their taste is truly extraordinary! Fudgy, rich, and utterly addictive – it’s practically impossible to stop at just one. If you’ve ever had classic Oreo balls before, you already understand the hype. If not, prepare to fall in love!
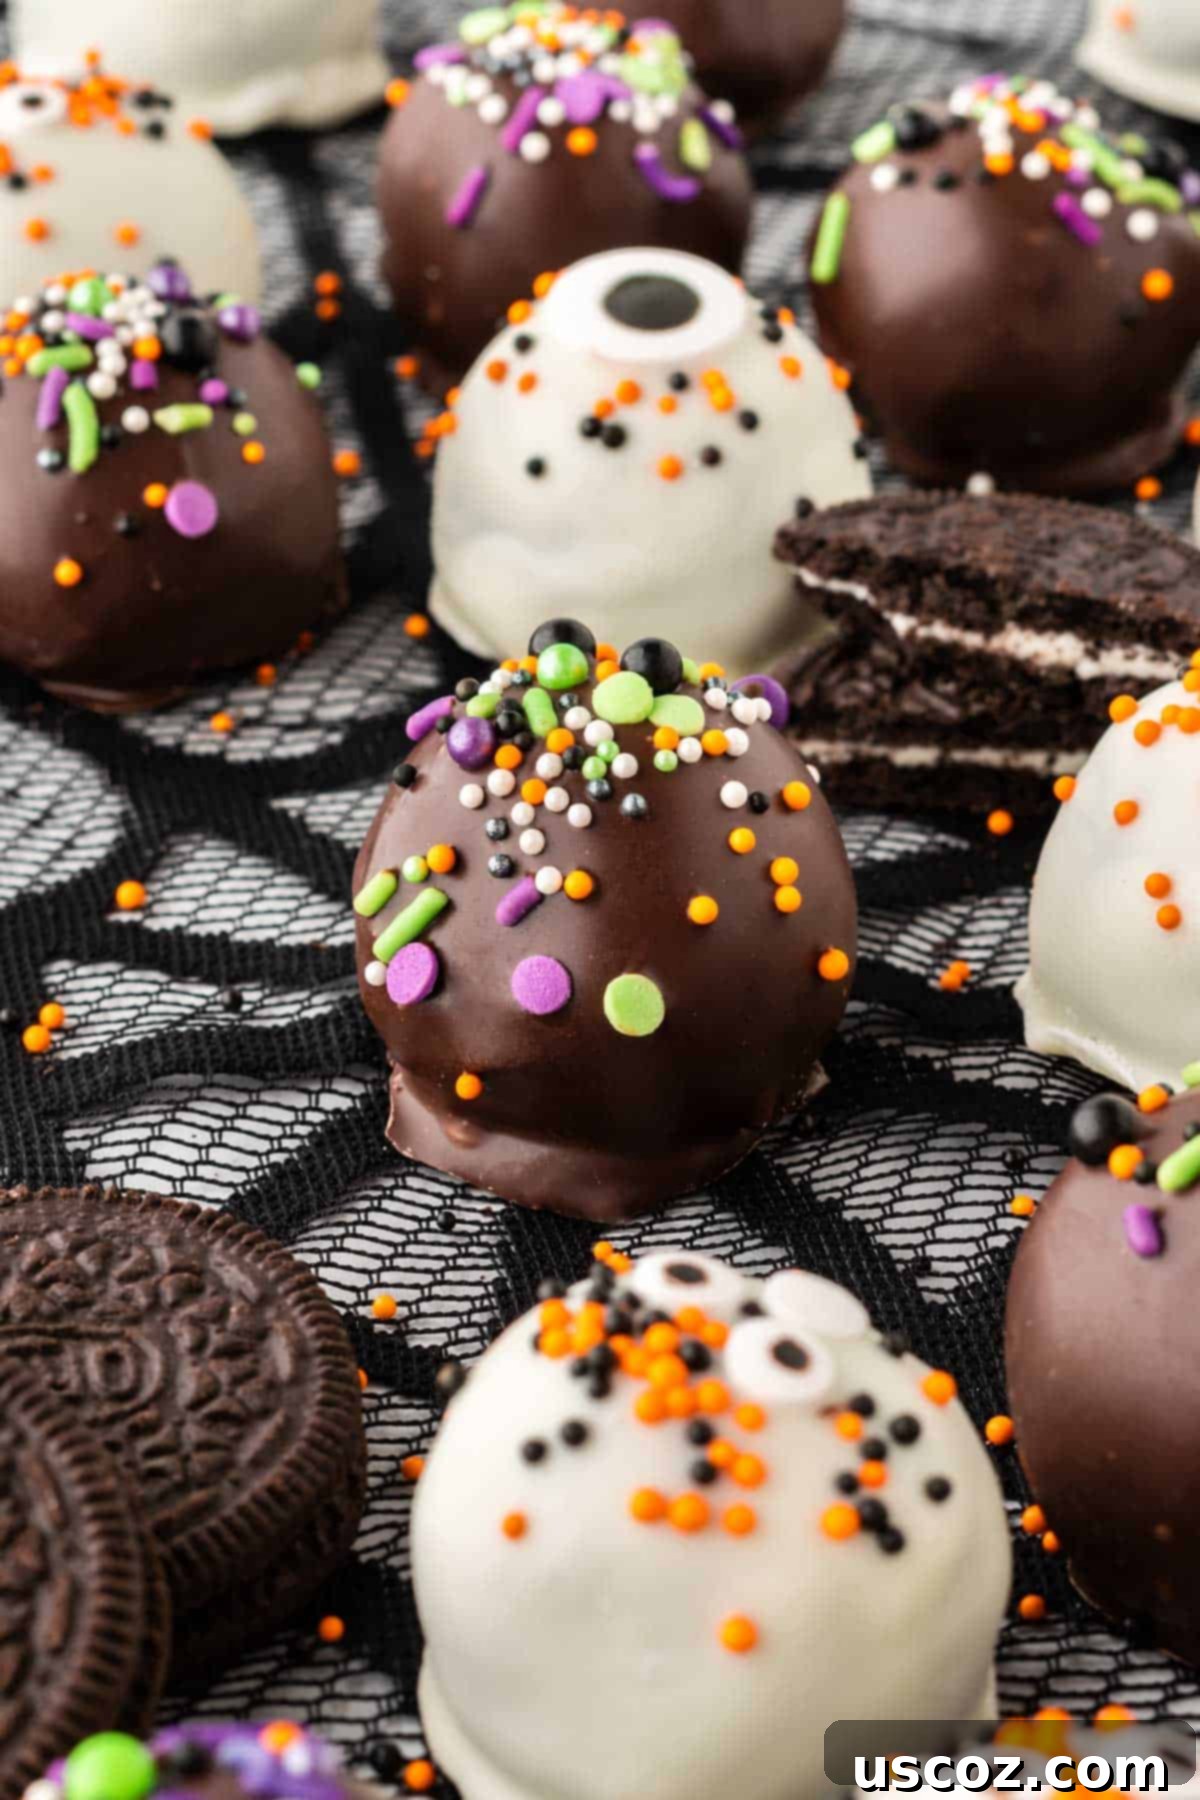
This recipe is also absolutely perfect for involving little hands! Let your kiddos take charge of decorating the dipped Oreo balls with sprinkles and candy eyes. It’s a fantastic, low-mess Halloween activity that allows them to get creative and feel involved in the kitchen. Your kids will adore eating these, and you’ll earn major “fun parent” points!
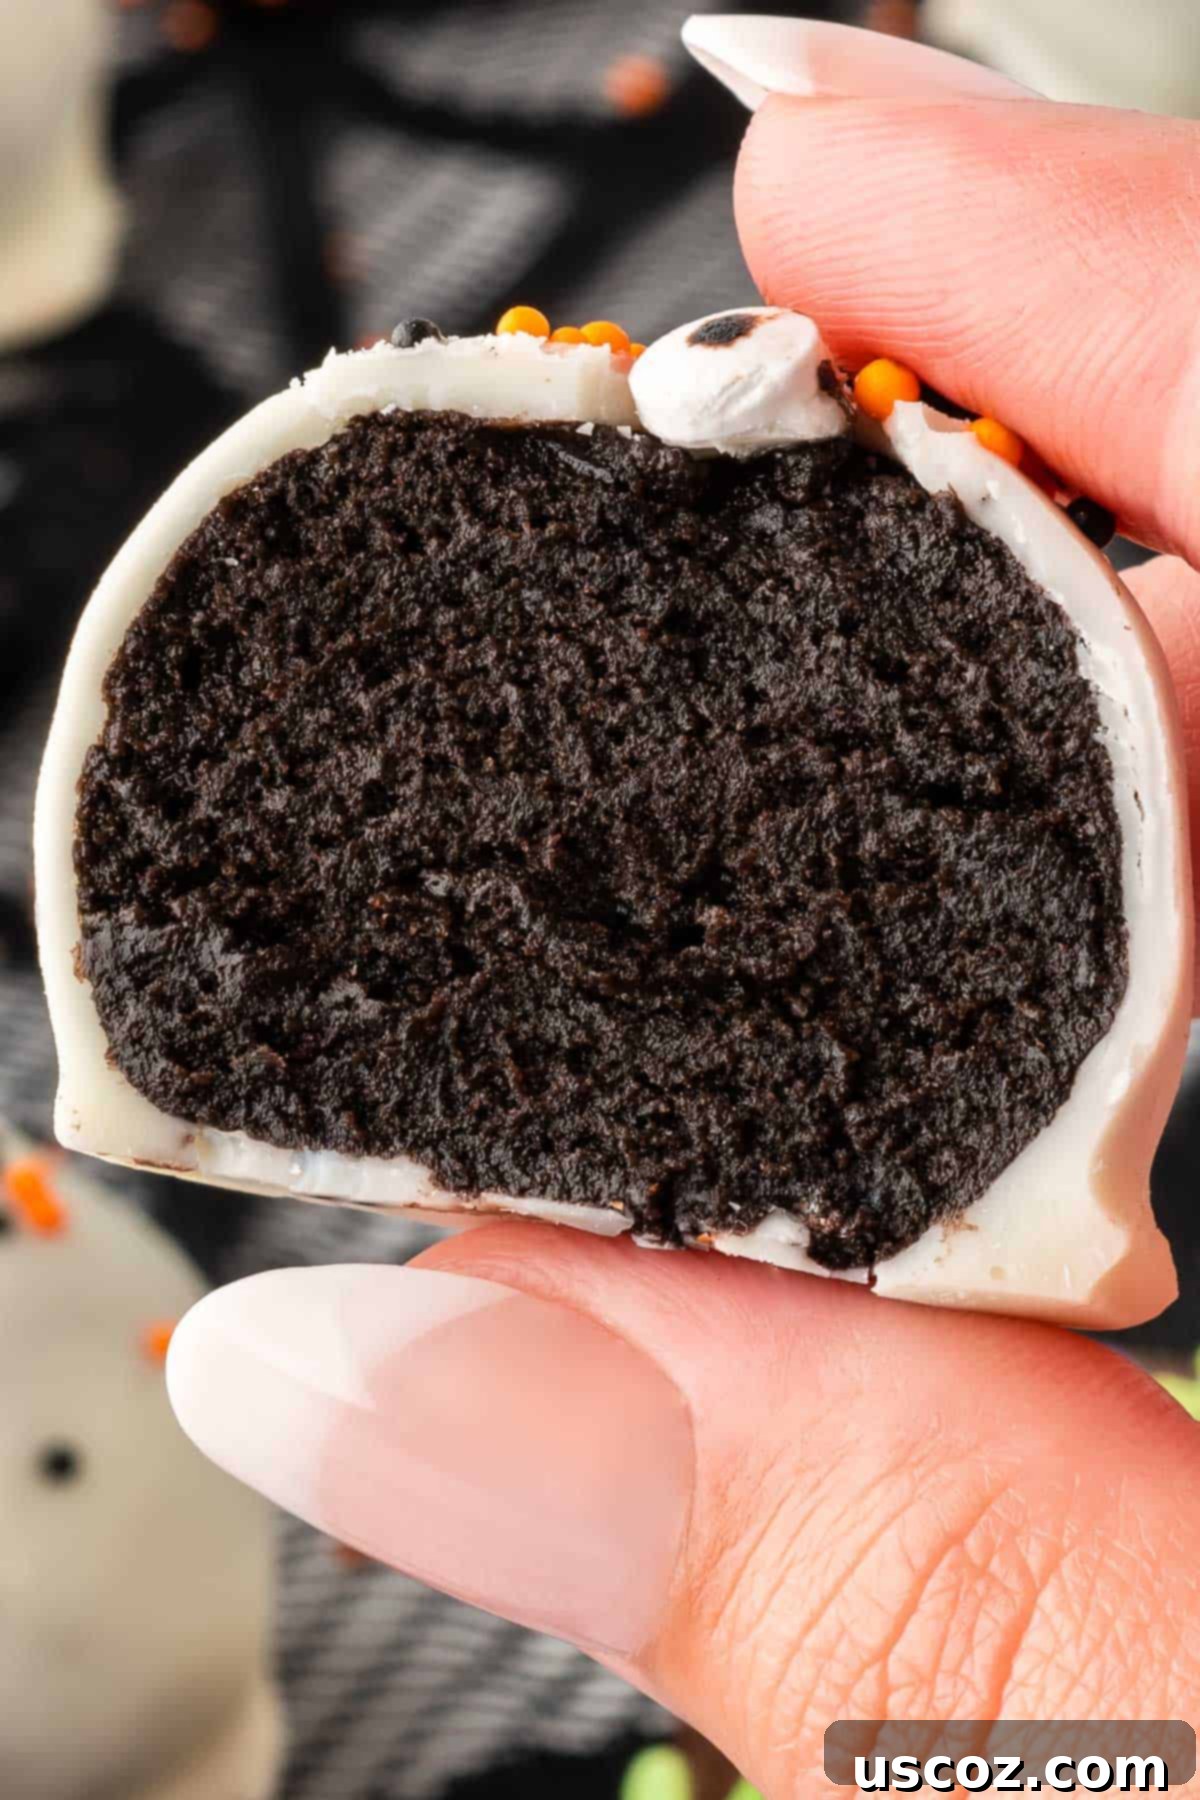
Love Oreos as much as we do? Then you absolutely must try this delectable No-Bake Oreo Pie for a bigger dessert or this incredibly dippable Oreo Dip for a crowd-pleasing snack!
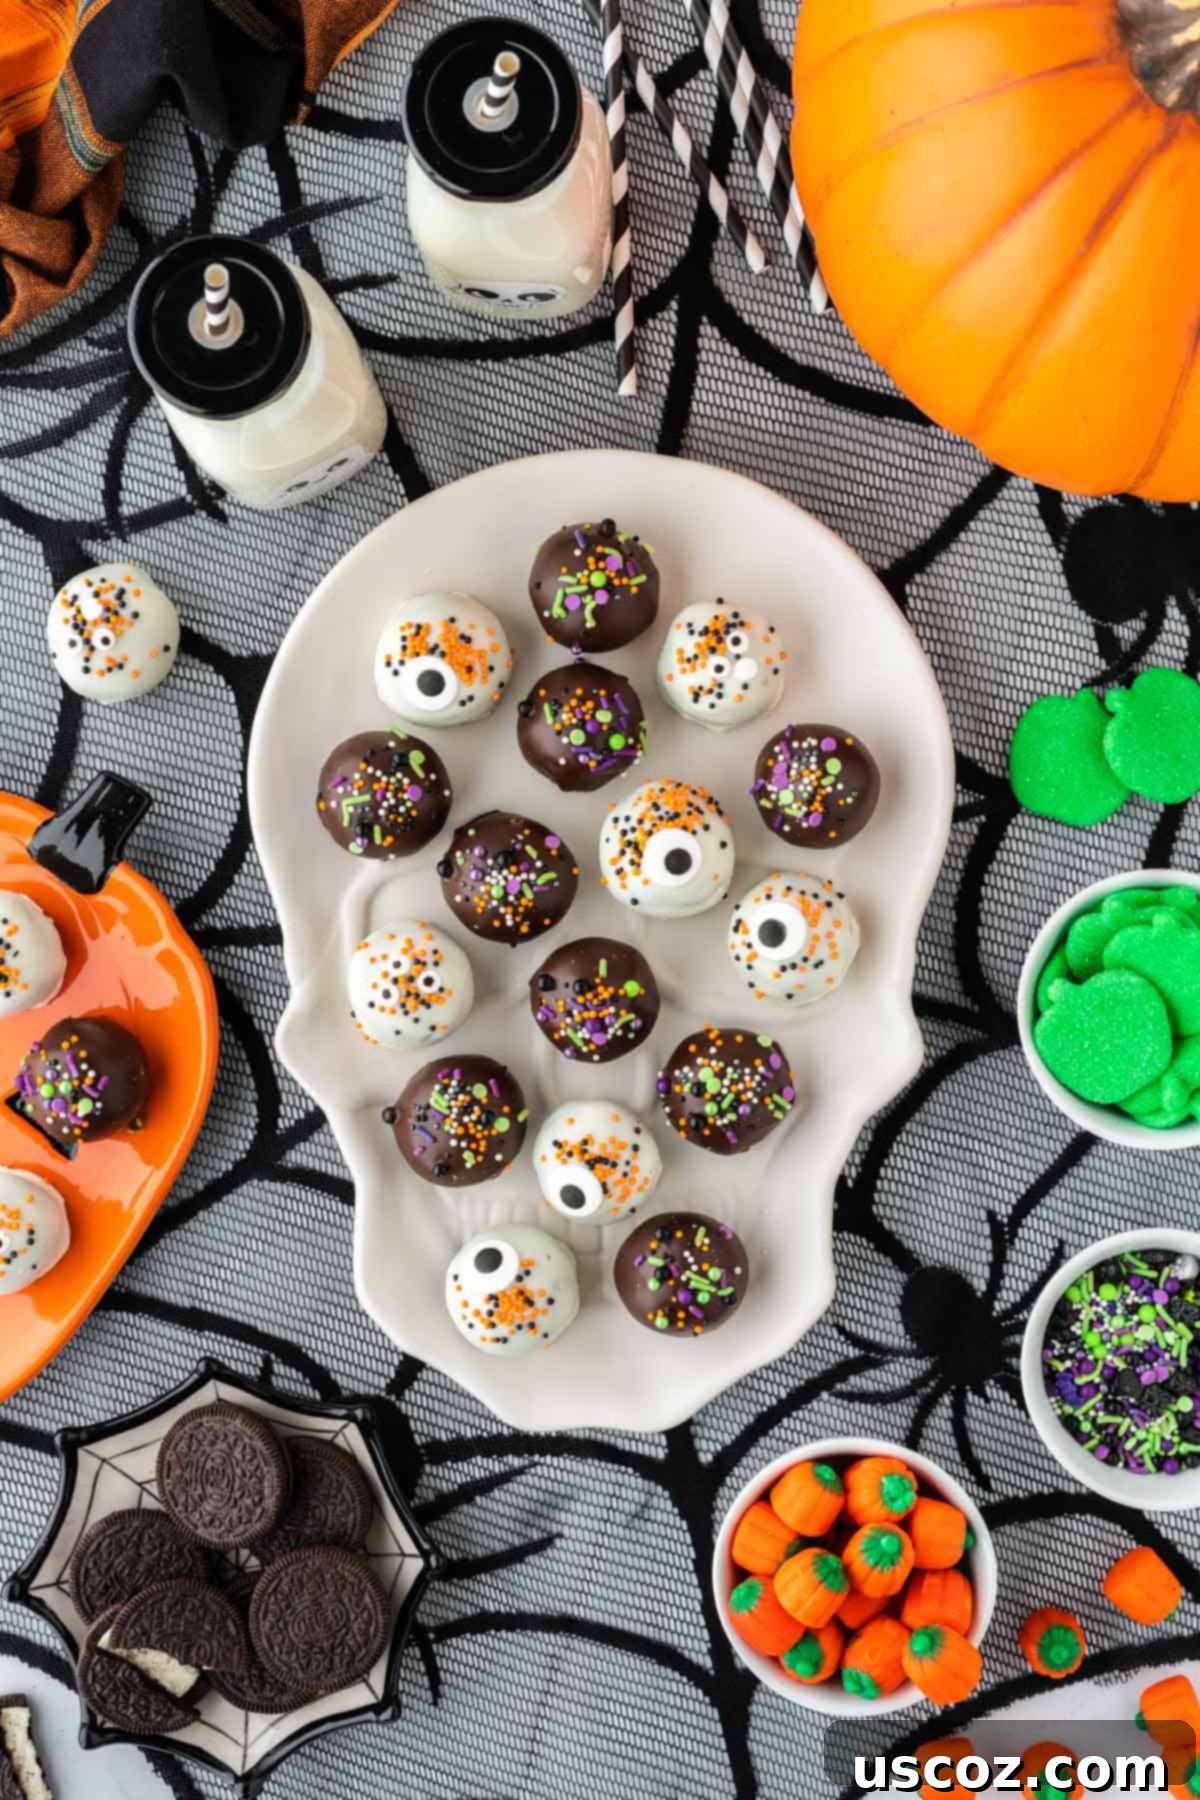
If you’re looking for a last-minute themed Halloween dessert that’s guaranteed to be a hit, these no-bake Oreo balls are your answer!
All you need are just a few basic ingredients to create these delightful Oreo truffles, and they are always a crowd-pleaser. Their simplicity, versatility, and irresistible taste make them a standout. Give these delicious little spooky treats a try this Halloween – your taste buds (and your party guests) will thank you!

Halloween Oreo Balls
Save RecipeSaved!
Pin Recipe
Rate Recipe
Print Recipe
Ingredients
- 36 oreos
- 8 oz cream cheese, softened
- 10 oz Ghiradelli Dark chocolate melting wafers
- 10 oz Ghiradelli White vanilla melting wafers
- Halloween sprinkles and eye ball candies, for decorating
Instructions
-
Add the oreos to a food processor and process into crumbs.
-
Add the softened cream cheese to the food processor and pulse to combine
-
Transfer the oreo ball mixture to a bowl and use a rubber spatula to finish combining the oreos with cream cheese
-
Line a baking sheet with parchment paper
-
Use a cookie scoop to place oreo balls onto the baking sheet
-
Roll the balls with your hands after scooping
-
Chill the oreo balls for 30 minutes in the fridge or freezer
-
Melt the Dark chocolate wafers until smooth
-
Dip half of the oreo balls in dark chocolate melting wafers and top with halloween sprinkles
-
Melt the white vanilla wafers until smooth
-
Dip the other half of the oreo balls in white melting wafers and top with sprinkles and eye candies
-
Chill in the fridge until firm, then transfer to an airtight container and store in the fridge until ready to eat
Nutrition
Like this recipe? Rate and comment below!
