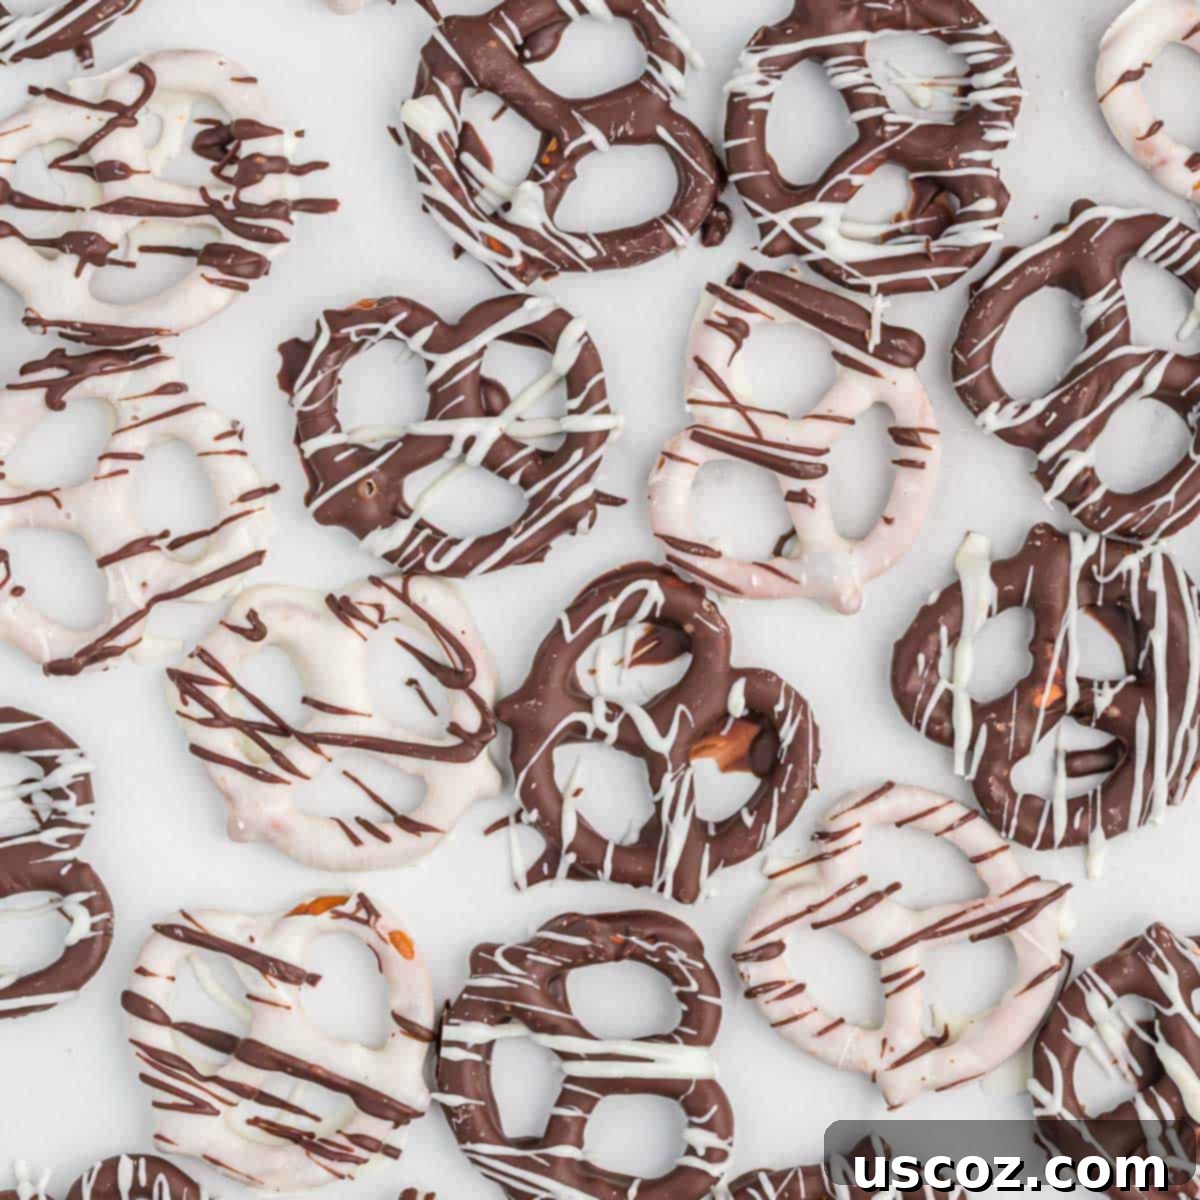
Irresistible Homemade Chocolate Covered Pretzels: The Ultimate Salty-Sweet Treat!
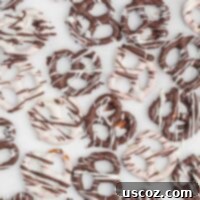
Chocolate Covered Pretzels are an incredibly easy salty-sweet dessert that is perfect for any occasion, from casual snacking to elegant holiday gatherings!
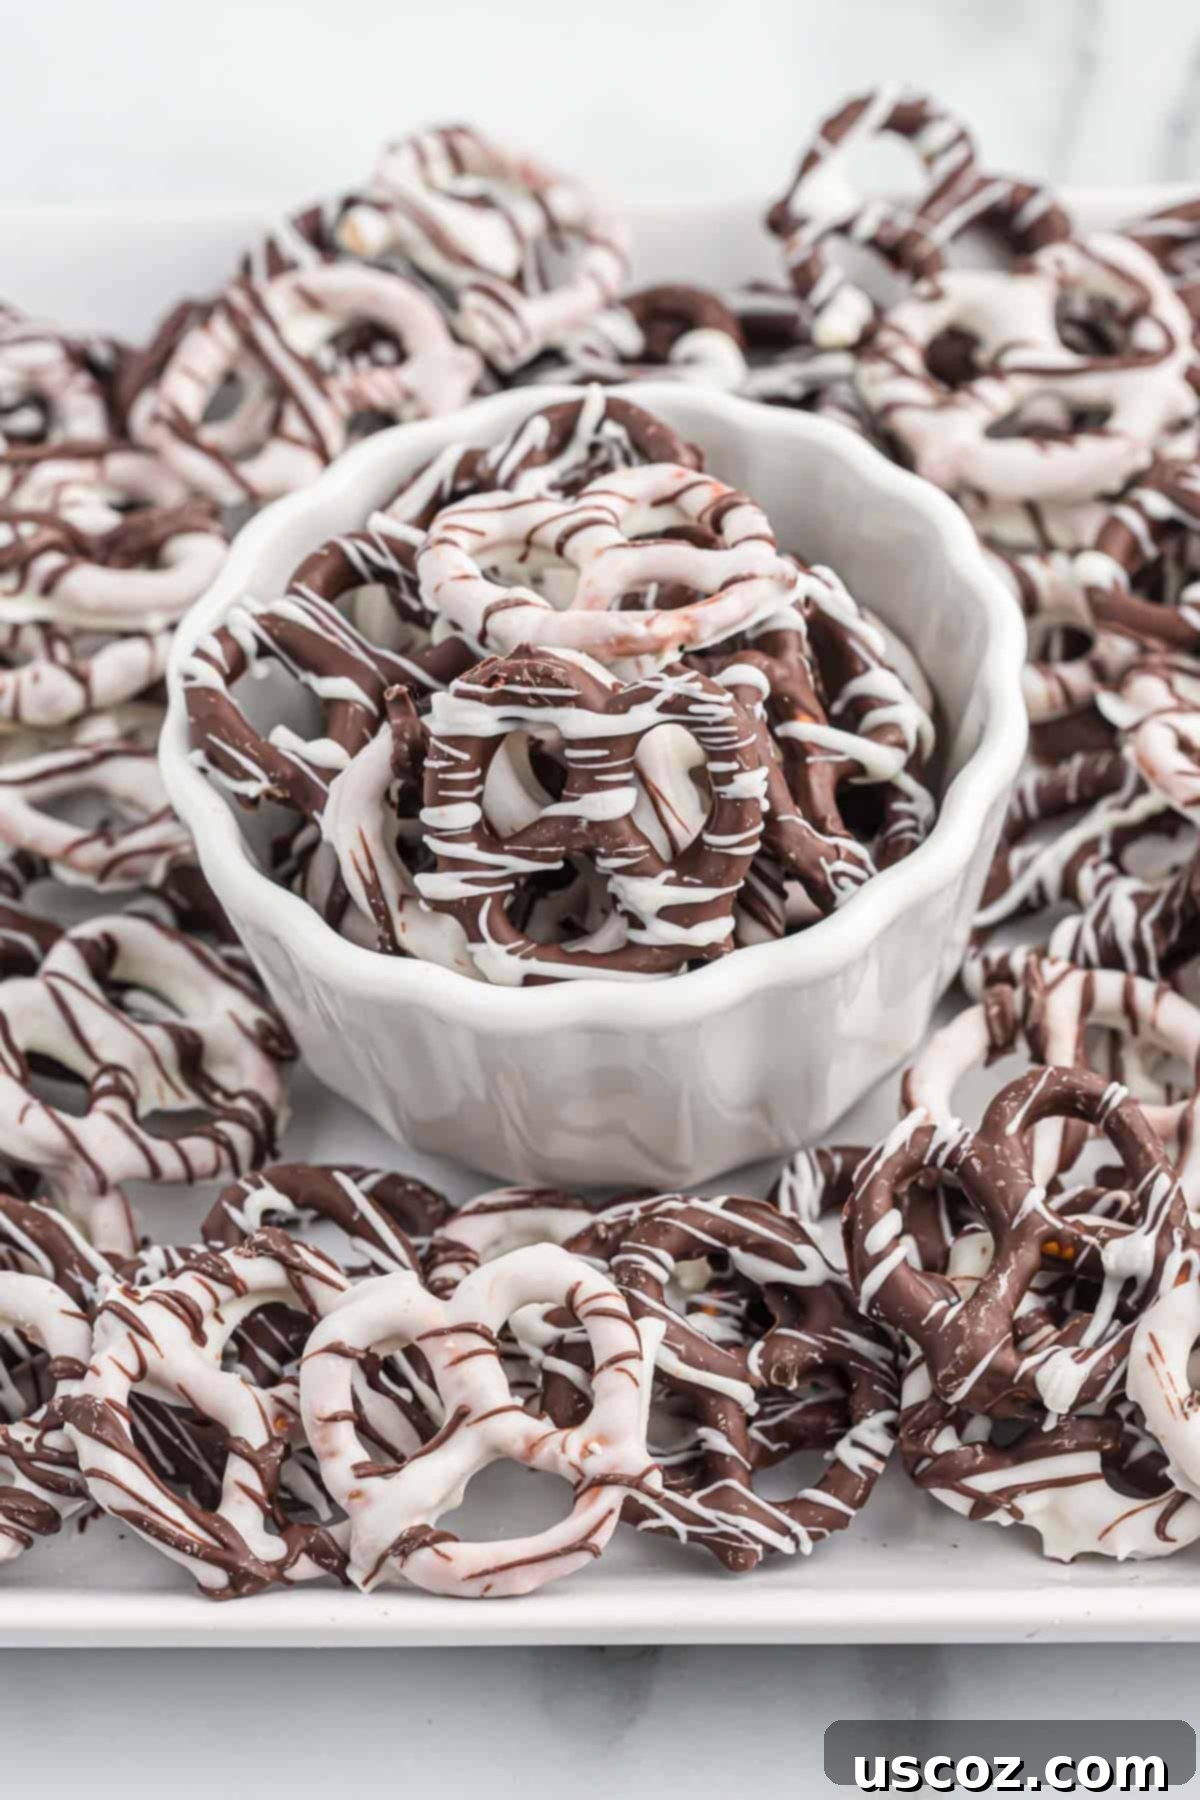
Why Make Homemade Chocolate Covered Pretzels?
There’s something inherently delightful about the combination of salty and sweet, and these homemade chocolate covered pretzels hit all the right notes. In my culinary experience, anything enhanced with chocolate is a winner, and these crunchy pretzels are no exception. They stand shoulder-to-shoulder with my other favorite sweet-and-salty treats like chocolate covered almonds, offering that irresistible crunch and balanced flavor profile.
Beyond their incredible taste, this sweet treat is surprisingly easy to prepare and always looks impressive, making them ideal for any occasion. Whether you’re whipping up a batch for a holiday celebration, preparing thoughtful homemade gifts, or simply satisfying a personal craving, these pretzels are a perfect choice. The beauty of making them yourself lies in the control you have over the ingredients and the endless possibilities for customization, ensuring a fresh and delicious outcome every time.
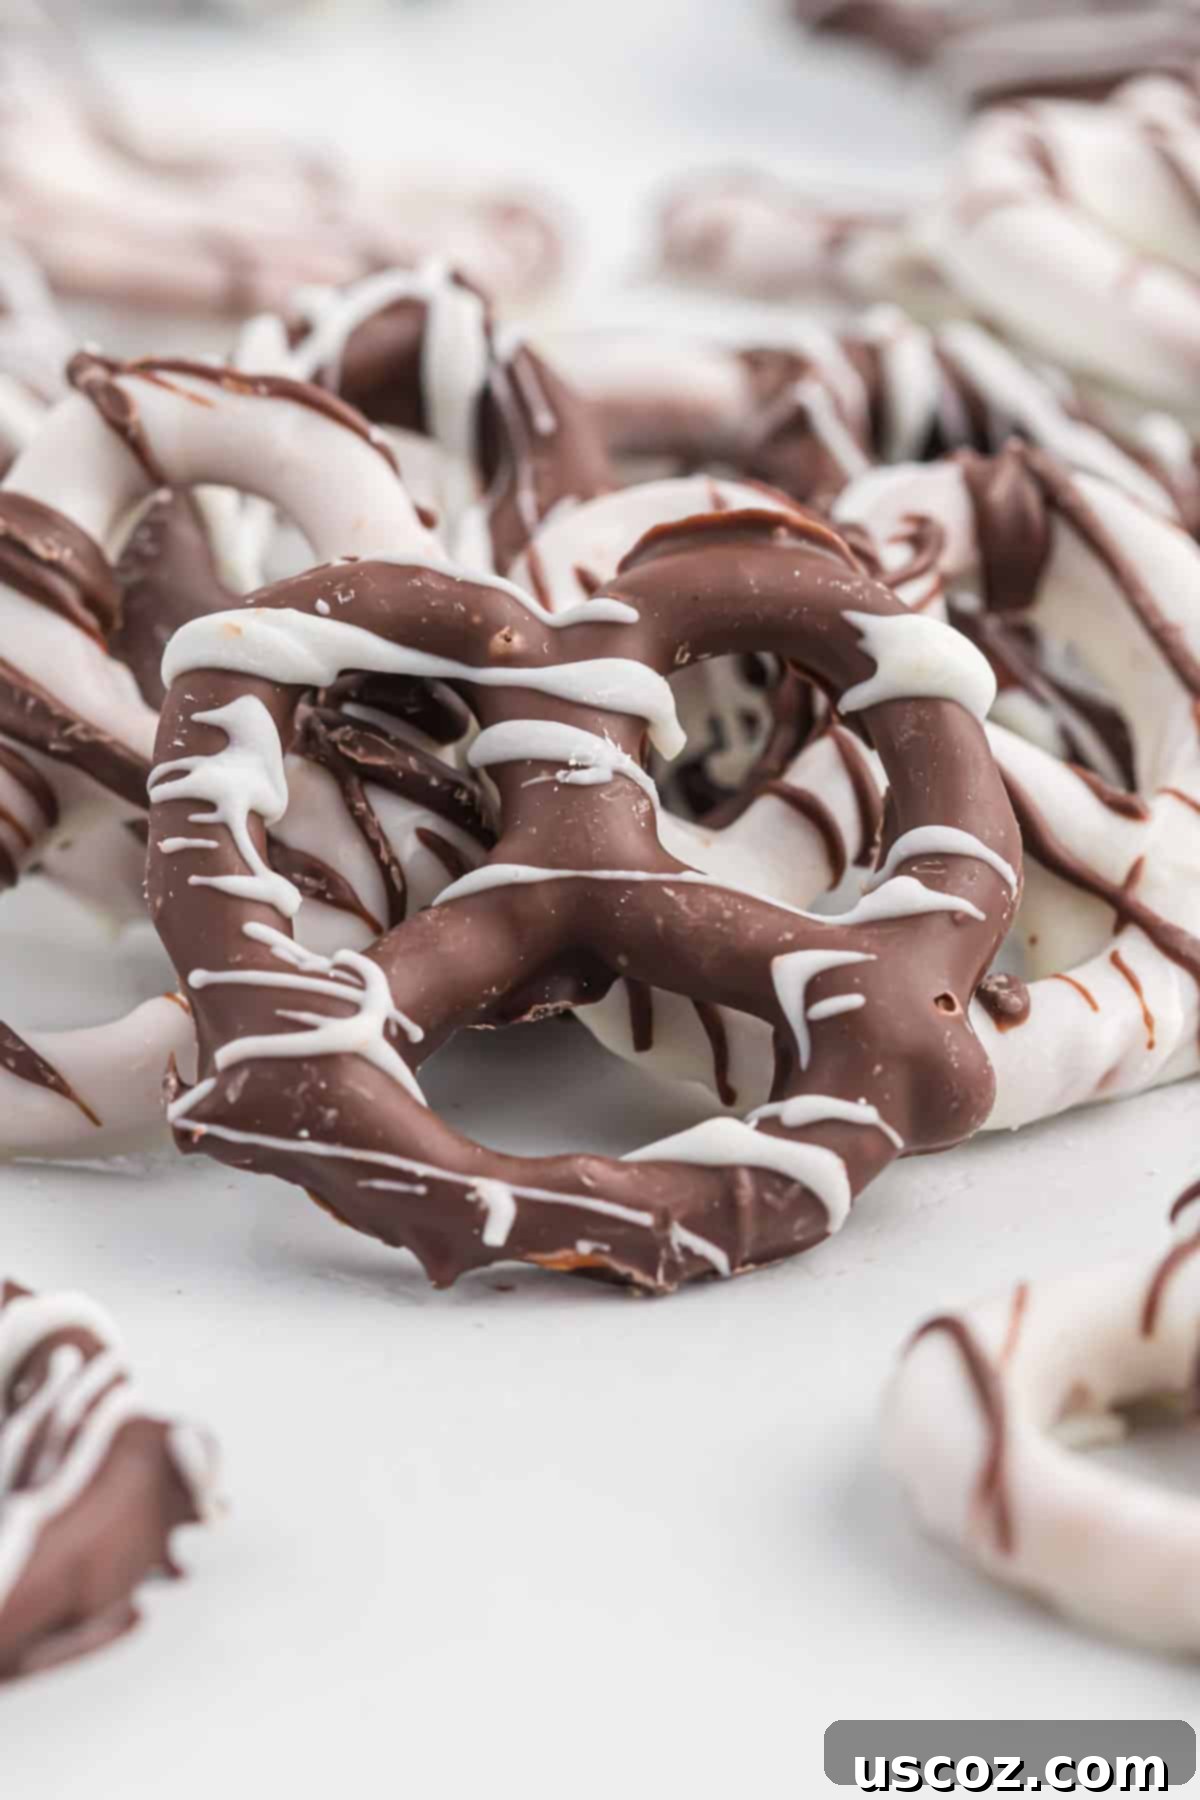
The best part? You only need a few simple ingredients and less than 20 minutes of active prep time to create these delightful chocolate pretzels. The rest is just waiting for the chocolate to set, which is the hardest part!
Essential Ingredients for Perfect Chocolate Covered Pretzels
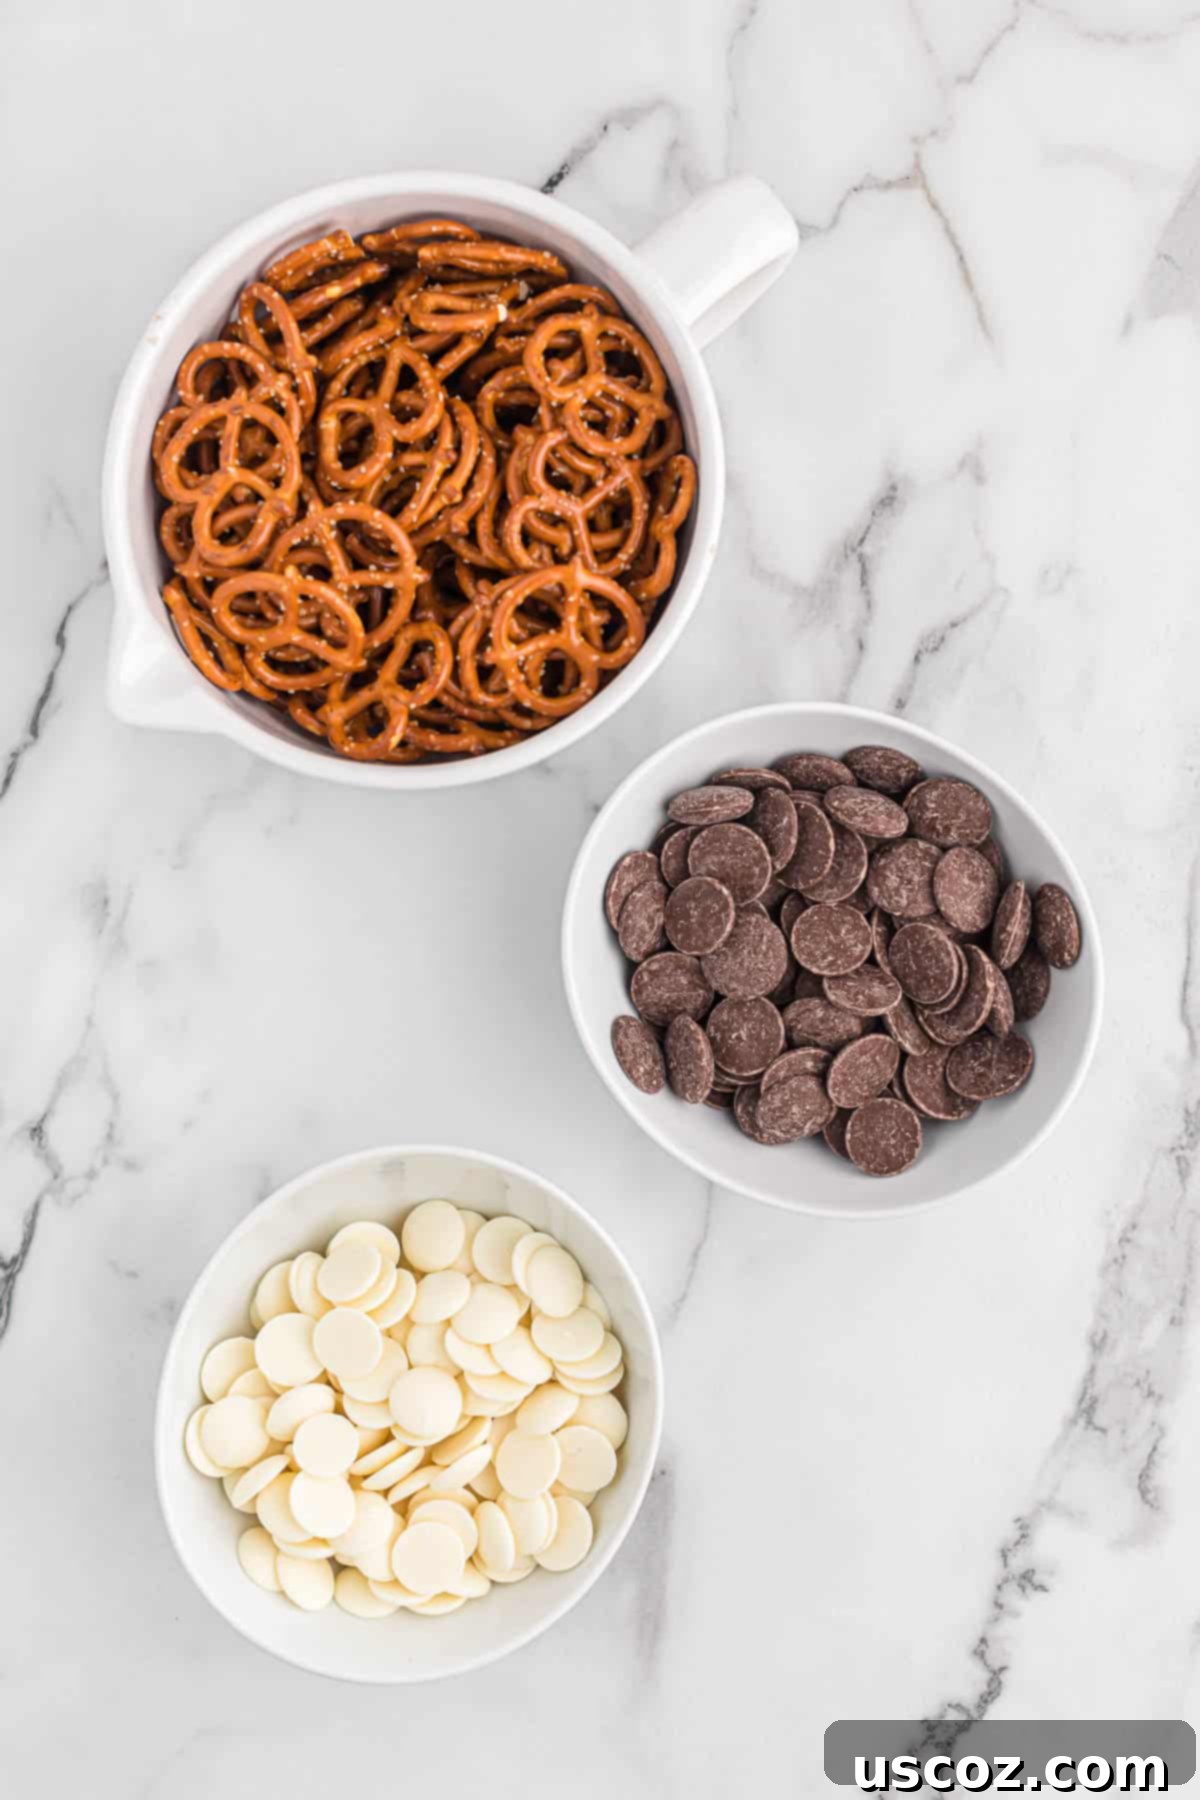
Gathering your ingredients is the first step to creating these delicious treats. You’ll be surprised how few items you need for such a spectacular result!
- Mini Pretzels: We recommend mini twists for optimal dipping, but rods work wonderfully for a different aesthetic. Ensure they are fresh and crunchy for the best texture contrast with the smooth chocolate.
- White Vanilla Melting Wafers: These are specially formulated to melt smoothly and harden beautifully, providing a pristine white coating and a creamy vanilla flavor.
- Dark Chocolate Melting Wafers: For that rich, intense chocolate flavor and a smooth, glossy finish. Their superior melting properties make them a joy to work with.
I highly recommend using melting wafers for this recipe. Unlike standard chocolate chips, melting wafers (or candy melts) are formulated to melt consistently and smoothly, eliminating the need for tempering and making your dipping process much easier and yielding a professional-looking finish. This ensures a flawless, non-streaky coating every time.
Step-by-Step Guide: How to Make Chocolate Covered Pretzels
Making chocolate covered pretzels is a straightforward process that yields impressive results. Follow these simple steps for perfectly coated, delicious treats.
- Prepare Your Workspace: Lay out a sheet of parchment paper on a baking sheet. This will prevent your pretzels from sticking and make cleanup a breeze.
- Reserve Chocolate for Drizzling: Before you begin melting, set aside 1/3 cup of the white vanilla wafers and 1/3 cup of the dark chocolate wafers. These will be used later for an elegant drizzle, adding an extra layer of visual appeal and flavor.
- Melt the Dark Chocolate: Place the remaining dark chocolate wafers into a small, microwave-safe bowl. Microwave in 30-second intervals, stirring well after each interval, until the chocolate is completely smooth and melted. Be careful not to overheat the chocolate, as this can cause it to seize.
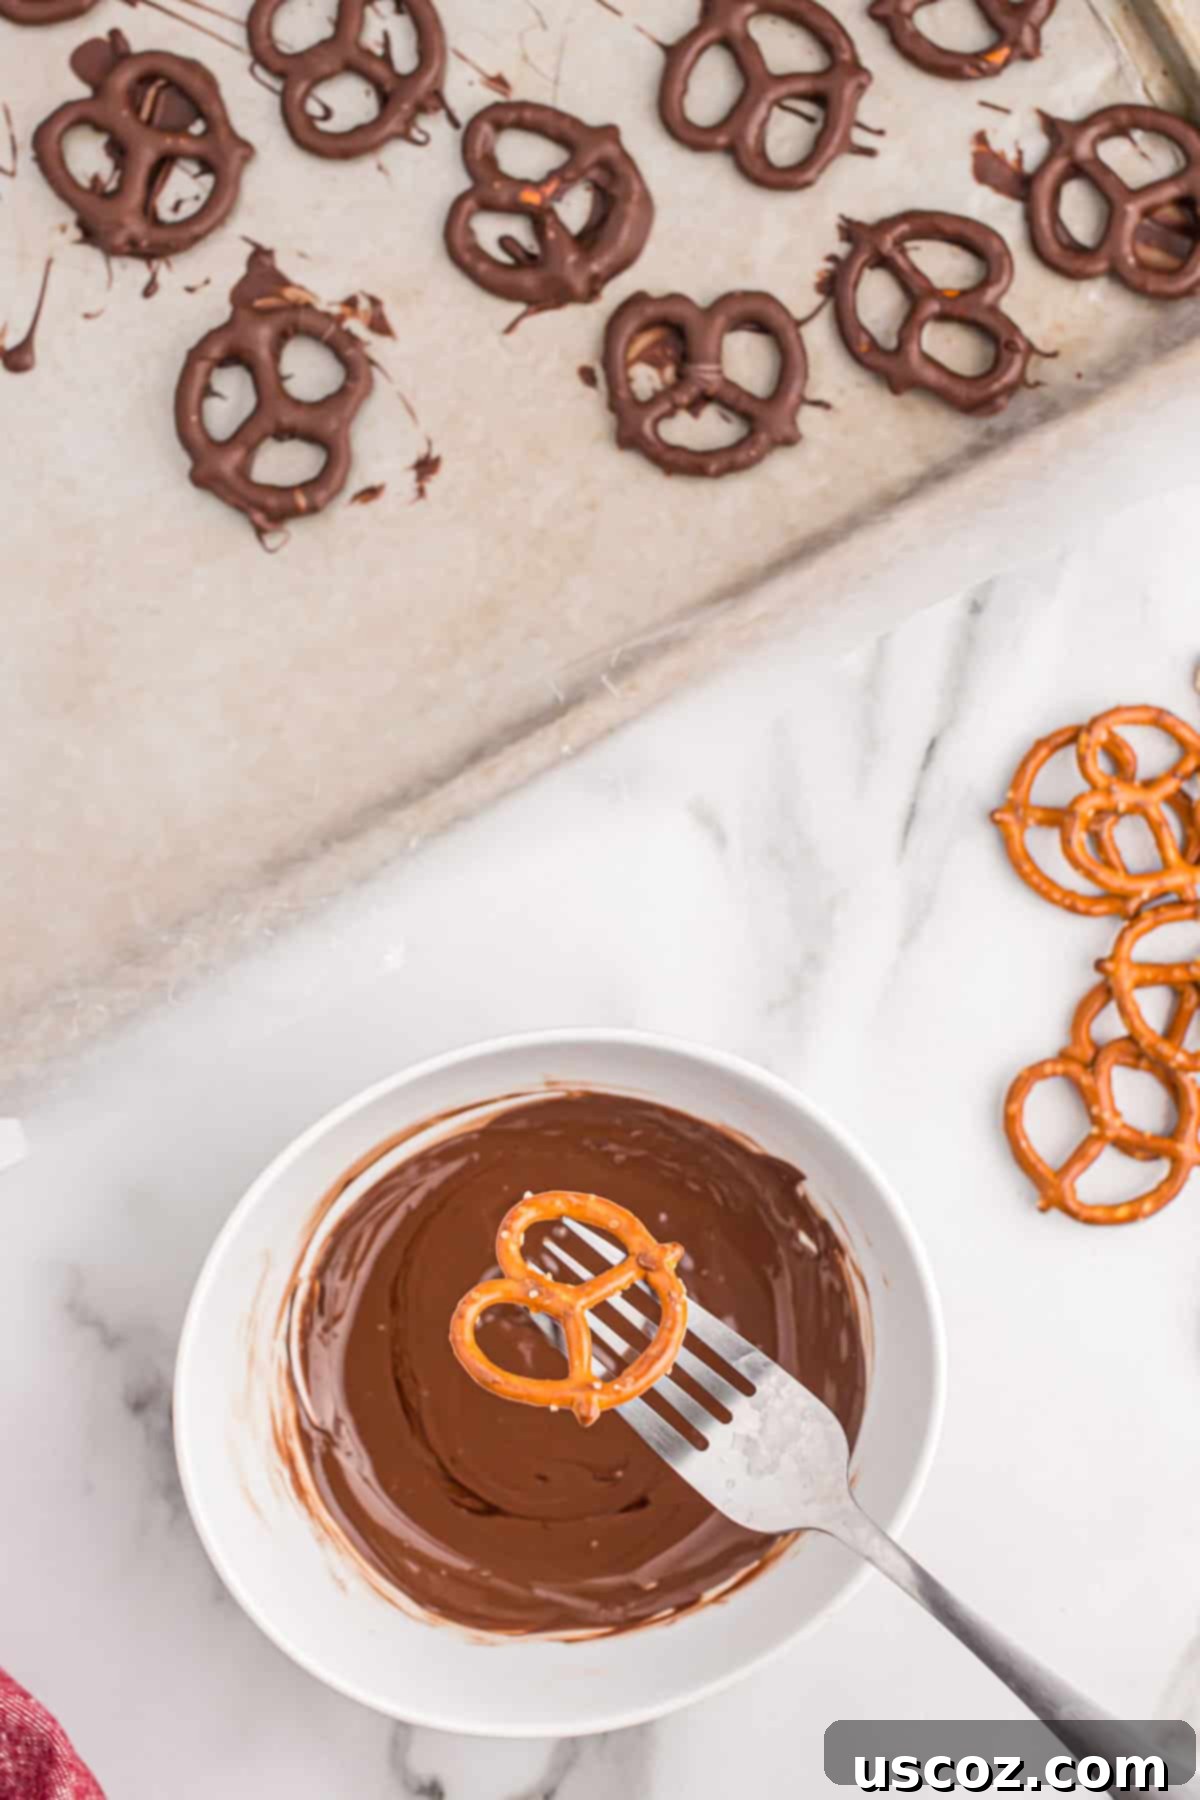
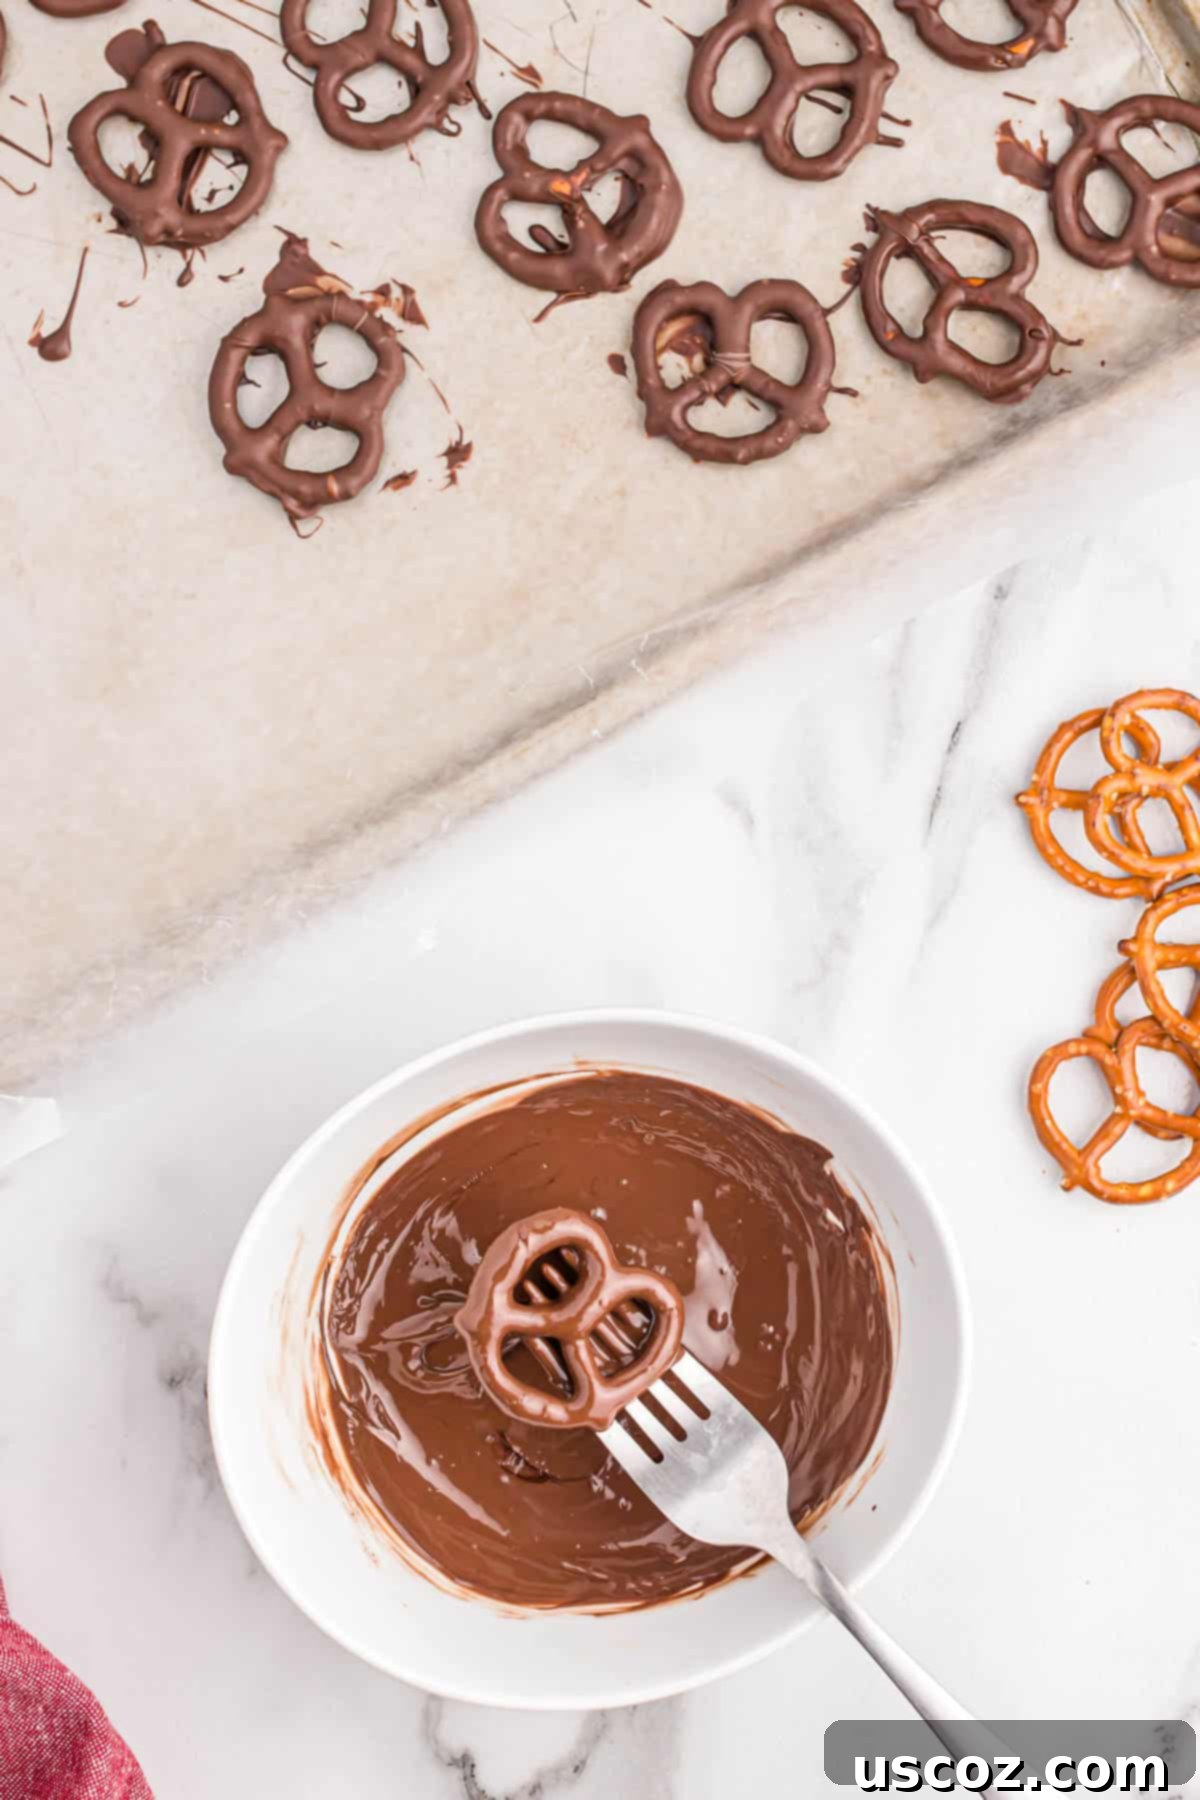
- Dip the Dark Chocolate Pretzels: Take your pretzels, one at a time, and dip them into the melted dark chocolate. You can fully submerge them or dip them partially, depending on your preference. Gently tap off any excess chocolate against the side of the bowl to ensure a clean, even coating. Place each dipped pretzel onto the parchment-lined baking sheet. Aim to dip approximately two cups worth of pretzels in the dark chocolate.
- Melt the White Chocolate: In a separate small, microwave-safe bowl, melt the remaining white vanilla wafers (the ones *not* reserved for drizzling) using the same microwave method as the dark chocolate. Stir until completely smooth.
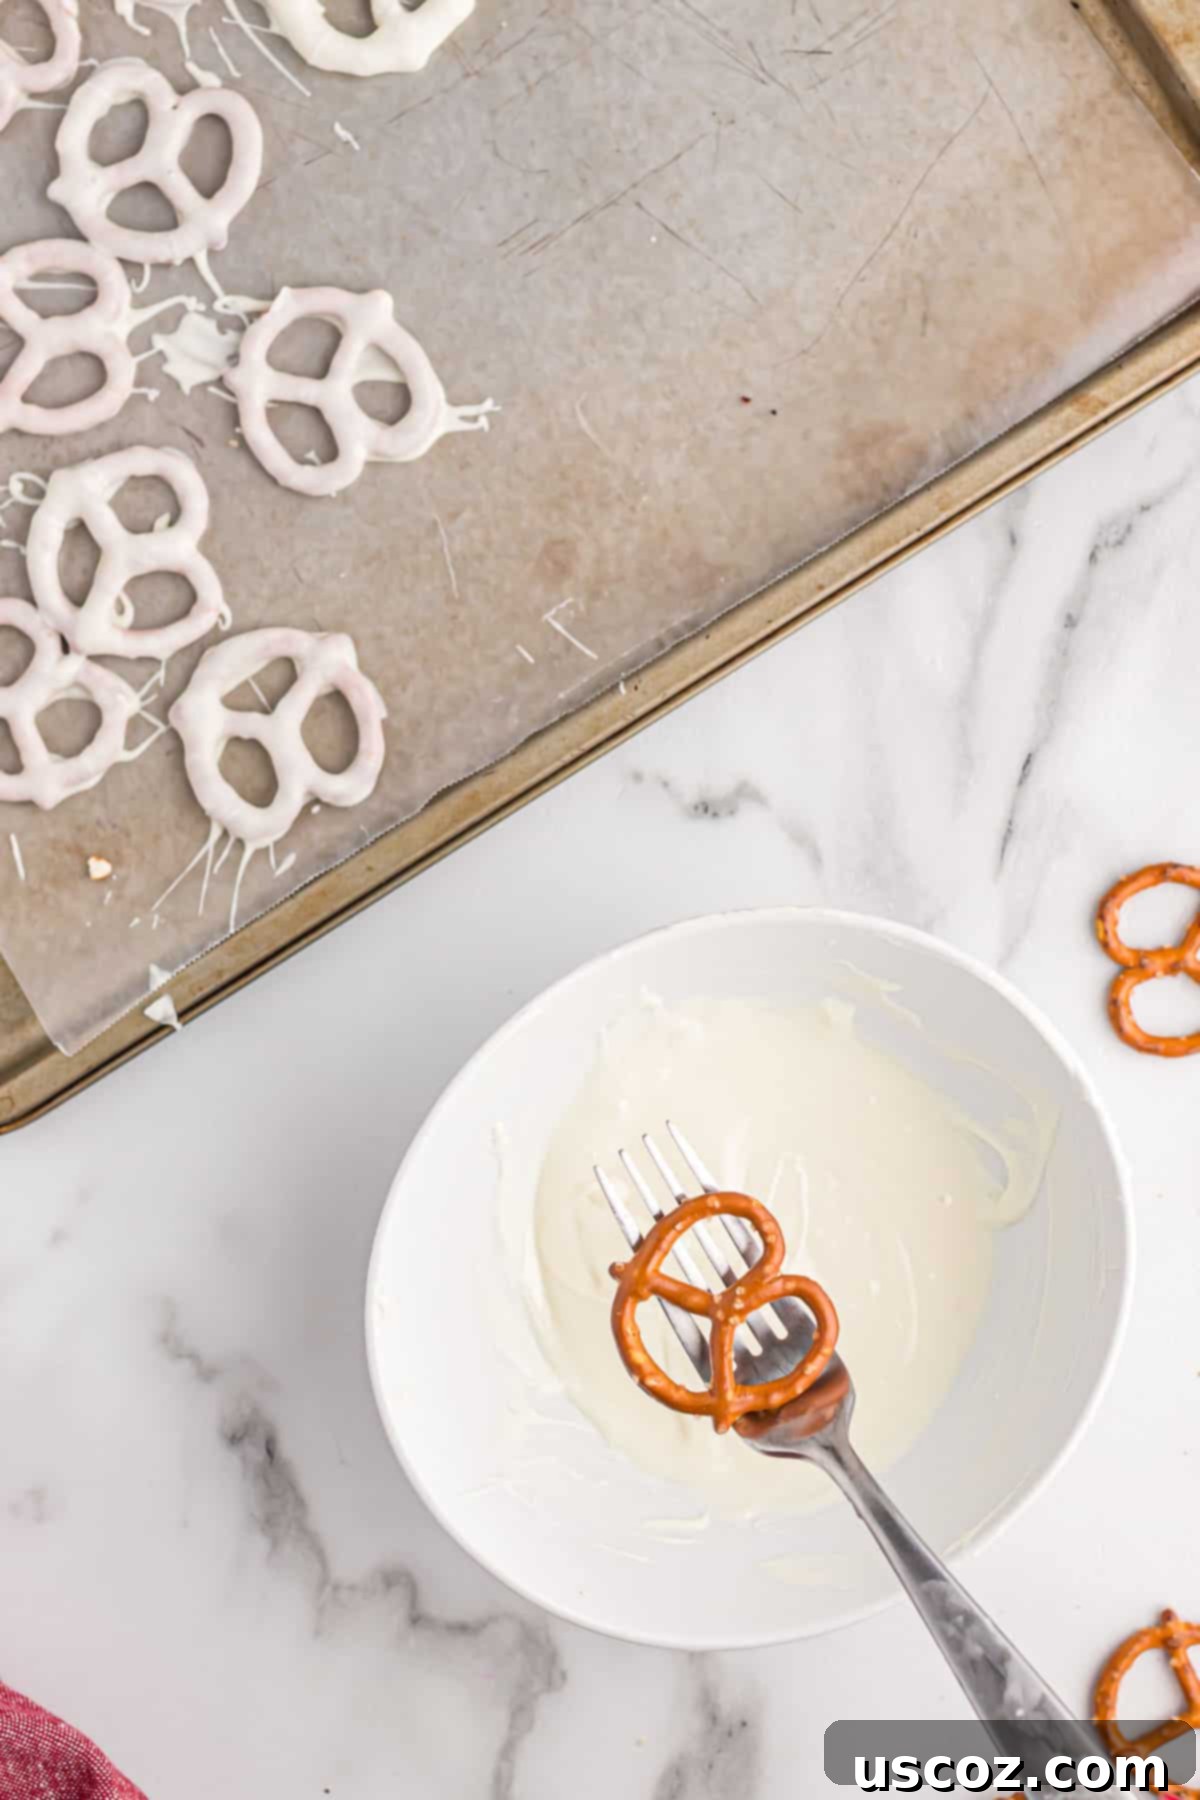
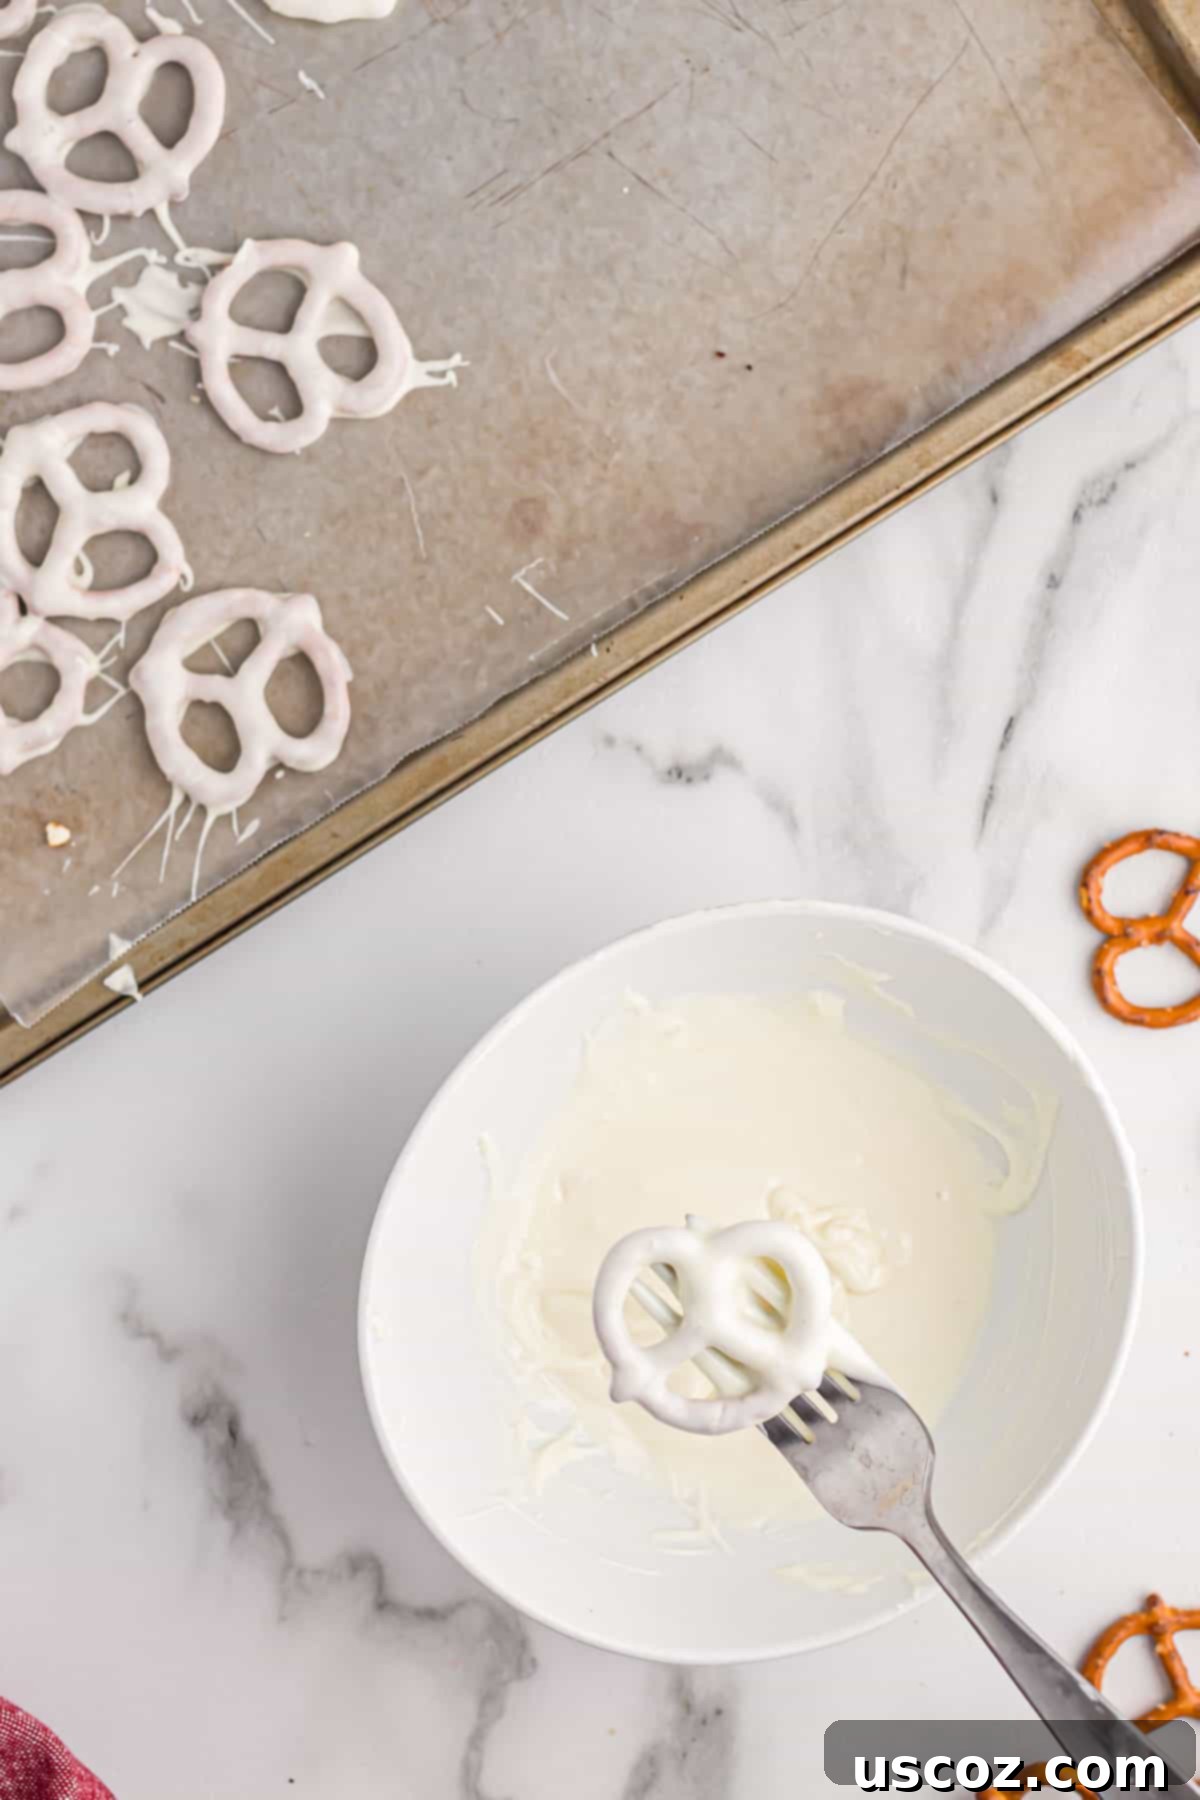
- Dip the White Chocolate Pretzels: Repeat the dipping process with the white chocolate. Dip about 1 ¾ cups of pretzels into the melted white chocolate, tapping off any excess. Place them on the parchment-lined baking sheet alongside the dark chocolate pretzels.
- Initial Chill: Place the baking sheet with all the dipped pretzels into the fridge. This step is crucial to allow the chocolate to harden and set quickly, ensuring a firm base for the drizzles.
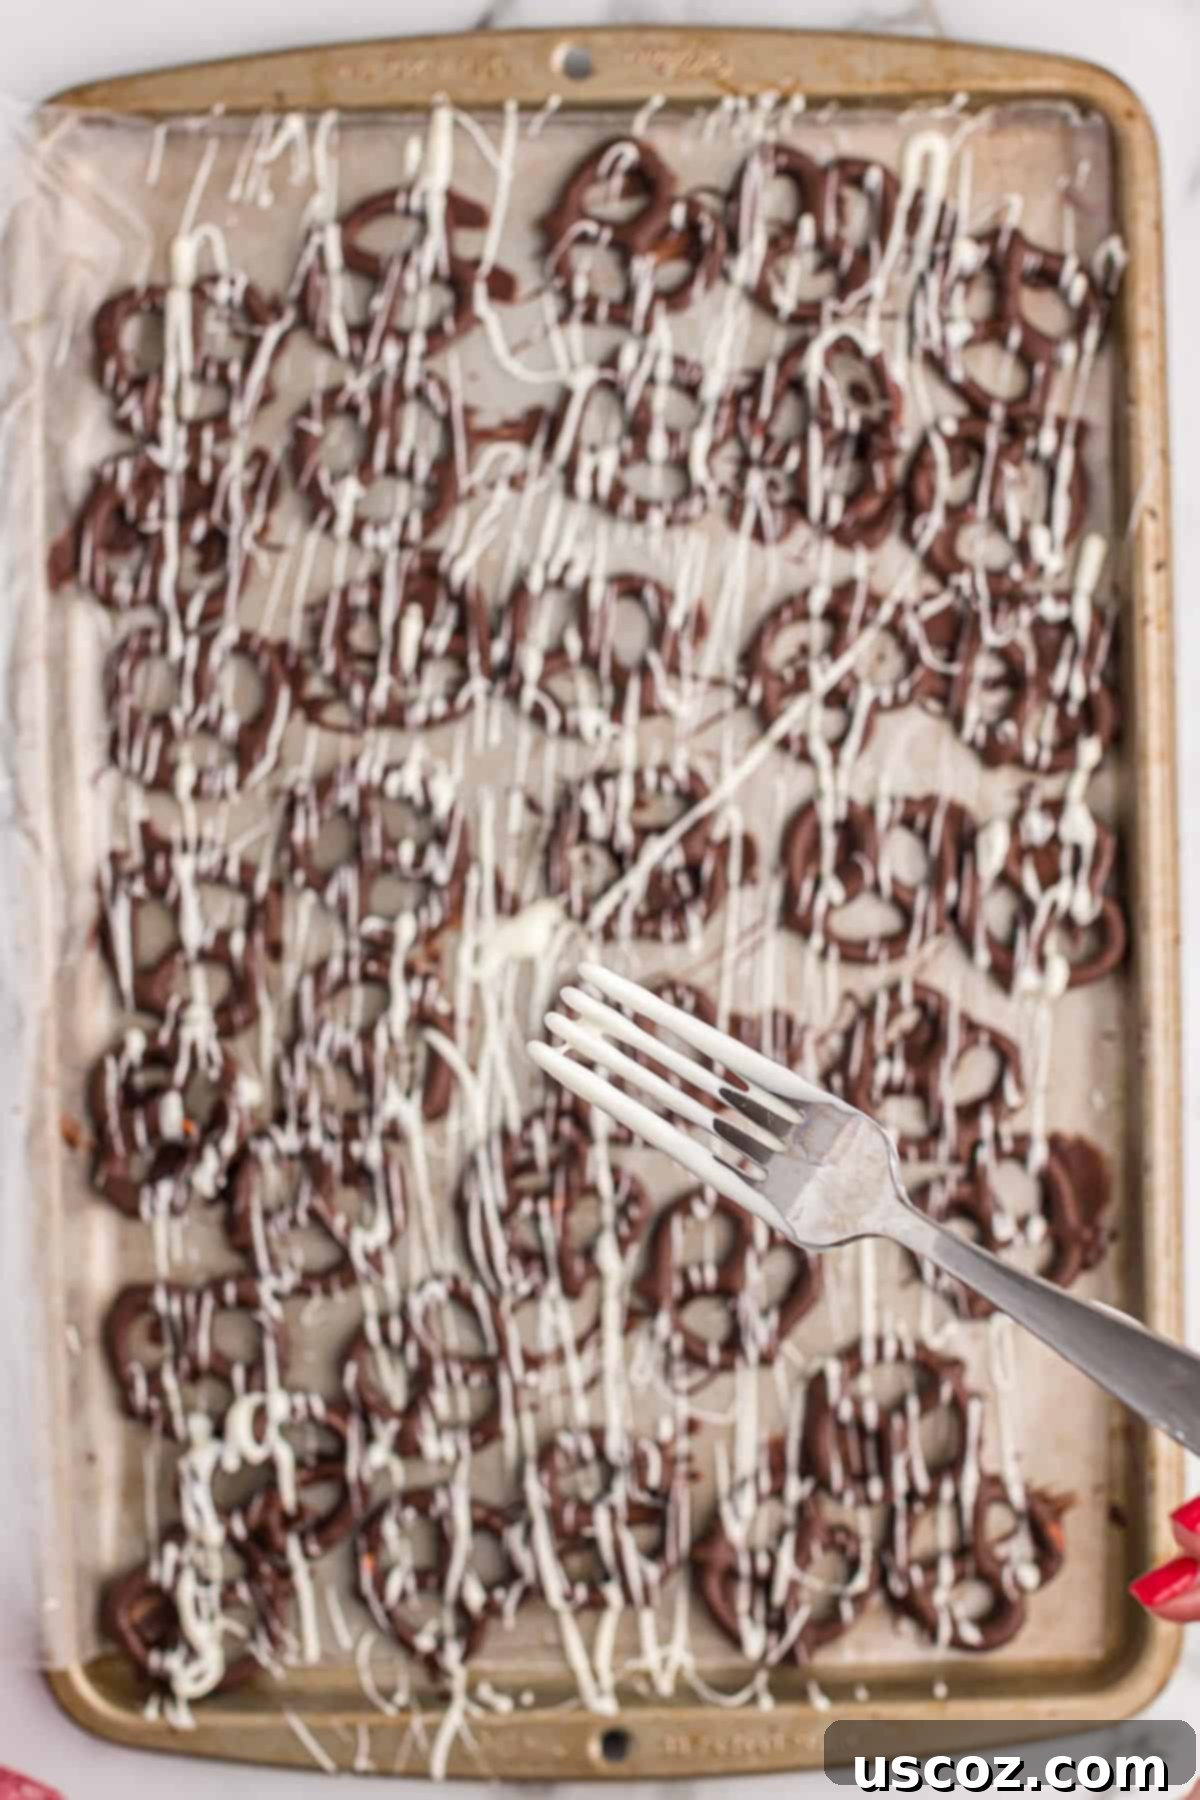
- Drizzle with Dark Chocolate: Once the white chocolate pretzels are firm, melt the reserved 1/3 cup of dark chocolate wafers. Using a spoon or a piping bag with a very small tip, drizzle the melted dark chocolate artfully over the white chocolate-covered pretzels.
- Drizzle with White Chocolate: Similarly, melt the reserved 1/3 cup of white vanilla wafers. Drizzle this melted white chocolate over the dark chocolate-covered pretzels, creating a beautiful contrast.
- Final Chill & Serve: Return the chocolate pretzels to the fridge for a final chill until all the chocolate has completely hardened and set. Once firm, they are ready to serve and enjoy!
Tips for Perfect Chocolate Covered Pretzels Every Time
Achieving perfectly coated pretzels isn’t hard, but a few tips can make all the difference:
- Use Quality Melting Wafers: As mentioned, melting wafers (or candy melts) are your best friend here. They melt smoother and set firmer than regular chocolate chips, giving you that professional look without the hassle of tempering. Brands like Ghirardelli, Wilton, or Candiquik are excellent choices.
- Don’t Overheat Your Chocolate: Chocolate can easily burn or seize if microwaved for too long. Always use short intervals (30 seconds) and stir thoroughly between each, even if the chocolate doesn’t look fully melted yet. Residual heat will continue to melt the wafers. For white chocolate, this is especially important as it’s more delicate.
- Keep Chocolate Warm While Dipping: If your chocolate starts to thicken as you’re dipping, pop it back into the microwave for a few seconds (10-15) and stir. A slightly warm bowl can also help maintain consistency.
- Tap Off Excess Chocolate: This step is key for a smooth, even coating and to avoid puddles of chocolate at the base of your pretzels. A gentle tap on the edge of the bowl or against your wrist works wonders.
- Work in Batches: Especially if you’re making a large quantity, working in smaller batches can prevent your melted chocolate from cooling too much or developing clumps.
- Speed is Your Friend: Once dipped, transfer the pretzels to the parchment paper quickly. If you plan to add sprinkles or other toppings, do so immediately after dipping, before the chocolate sets.
- The Fridge is Your Setting Ally: While chocolate can set at room temperature, placing your pretzels in the fridge significantly speeds up the process, preventing smudges and allowing for quicker drizzling.
Creative Variations & Customization Ideas
While classic chocolate covered pretzels are fantastic on their own, they are also a blank canvas for endless creativity. Here are some ideas to make your pretzels truly unique:
- Toppings Galore:
- Sprinkles: Add festive holiday colored sprinkles for Christmas, red and pink for Valentine’s Day, or team colors for game day.
- Crushed Nuts: Chopped peanuts, almonds, pecans, or walnuts add a delightful crunch and nutty flavor.
- Crushed Candy: Think crushed peppermints, Oreos (chocolate covered Oreos are another favorite!), M&M’s, or toffee bits.
- Coconut Flakes: Toasted or untoasted, coconut adds a tropical twist.
- Sea Salt Flakes: A sprinkle of flaky sea salt on top of the chocolate enhances the salty-sweet dynamic even further.
- Different Chocolate Types: Experiment with milk chocolate, semi-sweet chocolate, or even flavored candy melts (e.g., strawberry, mint) for different tastes and colors.
- Ombre Effect: Create a gradient by dipping pretzels partially in one color, letting it set, then dipping less of the pretzel in another complementary color.
- Double Dip Delight: Dip a pretzel in dark chocolate, let it set, then dip a portion of it in white chocolate for a two-toned treat.
Storage and Shelf Life
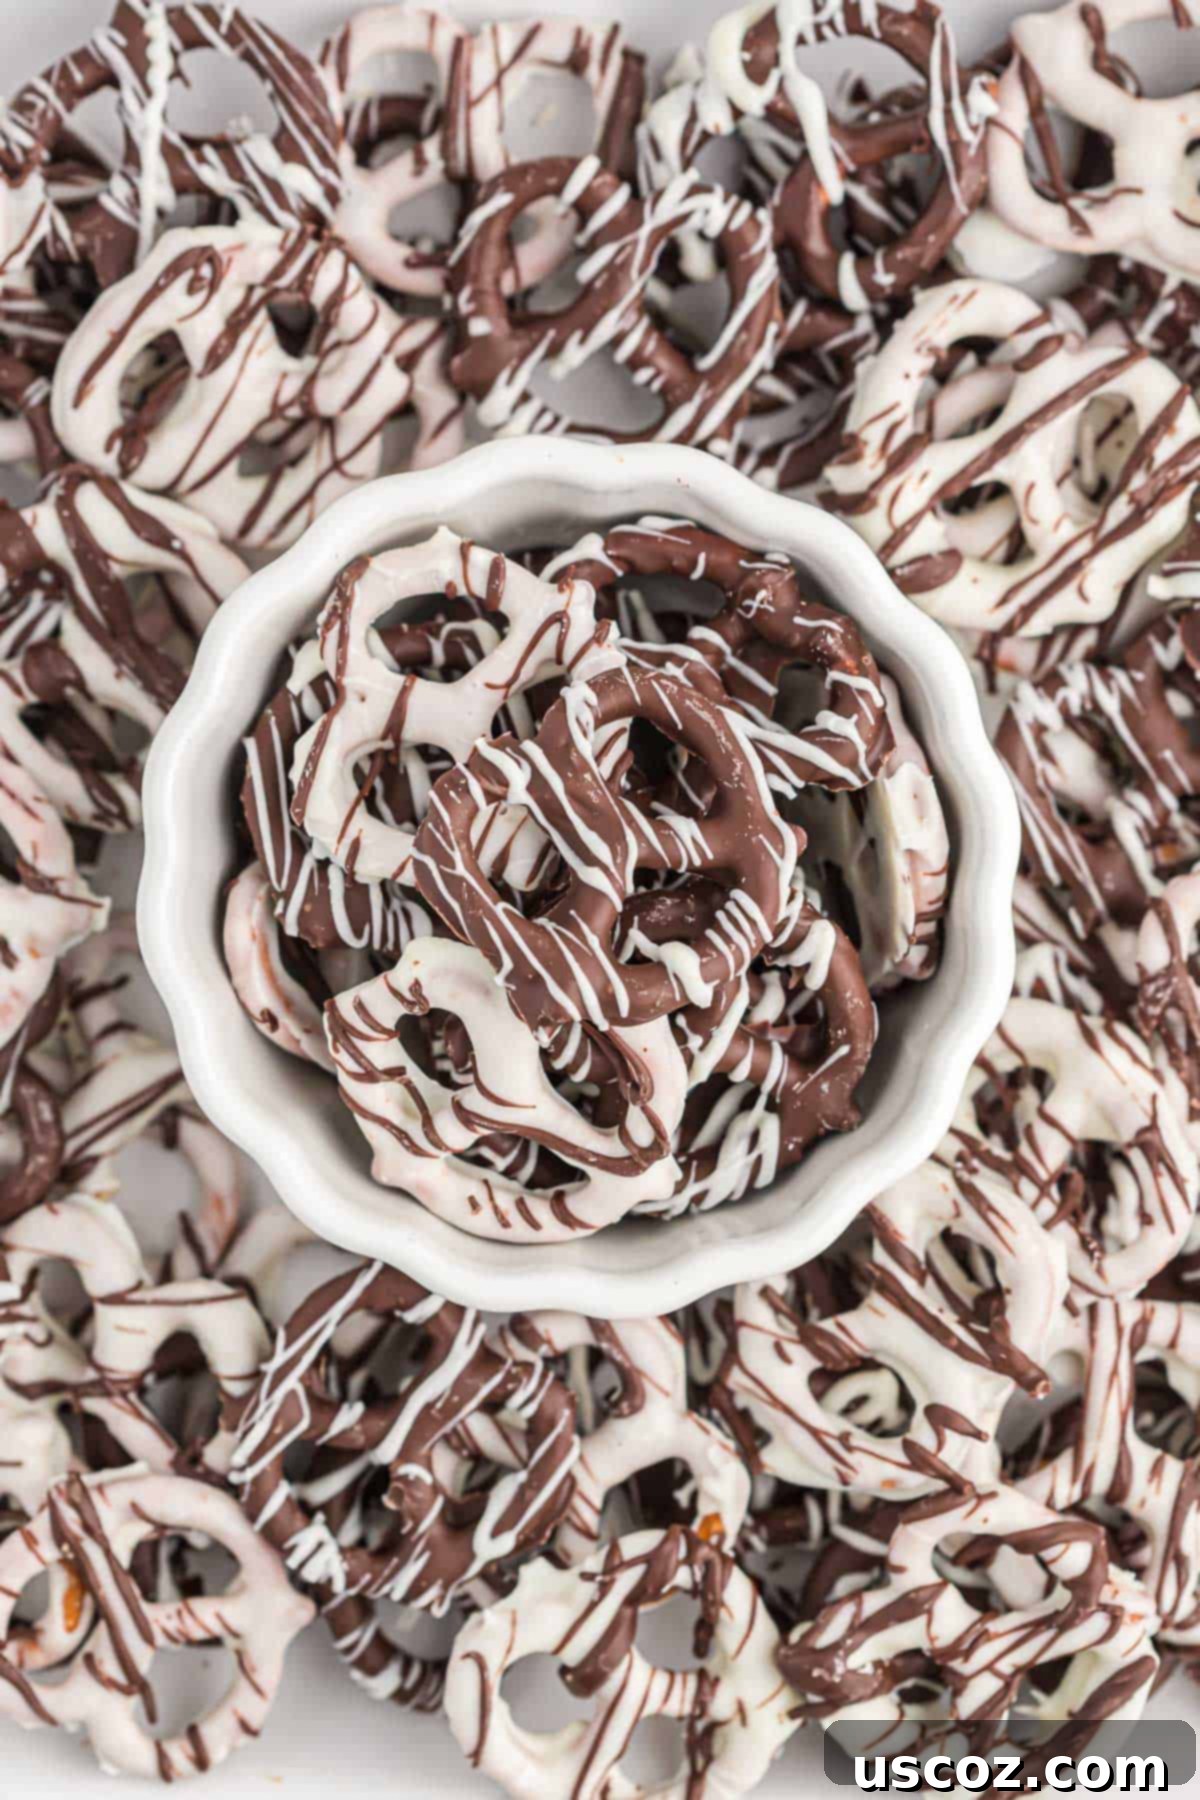
This recipe yields approximately 90-100 mini pretzels, making it perfect for sharing or stocking up! To maintain their freshness and crispness, proper storage is key.
- Refrigeration: I prefer to store mine in an airtight container in the fridge. This keeps the chocolate firm and prevents it from getting sticky, especially in warmer climates. They will stay fresh and delicious for 1-2 weeks when refrigerated.
- Freezing: For longer storage, chocolate covered pretzels freeze beautifully! Simply place them in a single layer on a baking sheet, freeze until solid, then transfer them to an airtight freezer-safe bag or container. They can be stored in the freezer for up to 2-3 months. This is a fantastic way to prepare a large batch in advance or to have a quick, satisfying dessert ready whenever a sweet tooth craving hits. Just let them thaw for a few minutes at room temperature before enjoying.
- Room Temperature: If you live in a cool, dry environment, you can store them at room temperature in an airtight container for a few days, but refrigeration is generally recommended to preserve optimal texture and prevent melting.
More Easy Dessert Recipes You’ll Love
If you’re a fan of simple, delicious treats, be sure to explore these other easy dessert recipes:
- White Chocolate Covered Oreos: Another classic cookie elevated with a sweet white chocolate coating.
- Oreo Balls: No-bake, fudgy, and incredibly addictive, these are always a crowd-pleaser.
- Peanut Clusters: A wonderfully simple slow-cooker dessert for chocolate and peanut lovers.
- Chocolate Covered Oreos: The original chocolate-dipped cookie that started it all!
- Pecan Pie Balls: A delightful, bite-sized twist on the beloved holiday pie.
- Ritz Cracker Cookies: An unexpected combination of salty crackers and sweet peanut butter chocolate.
- Chocolate Caramel Pretzel Bars: For when you want even more salty-sweet goodness in a bar format.
- Christmas Crack: An easy, addictive toffee-cracker candy that’s perfect for the holidays.
- Dark Chocolate Almond Bark: A simple yet elegant treat for dark chocolate enthusiasts.
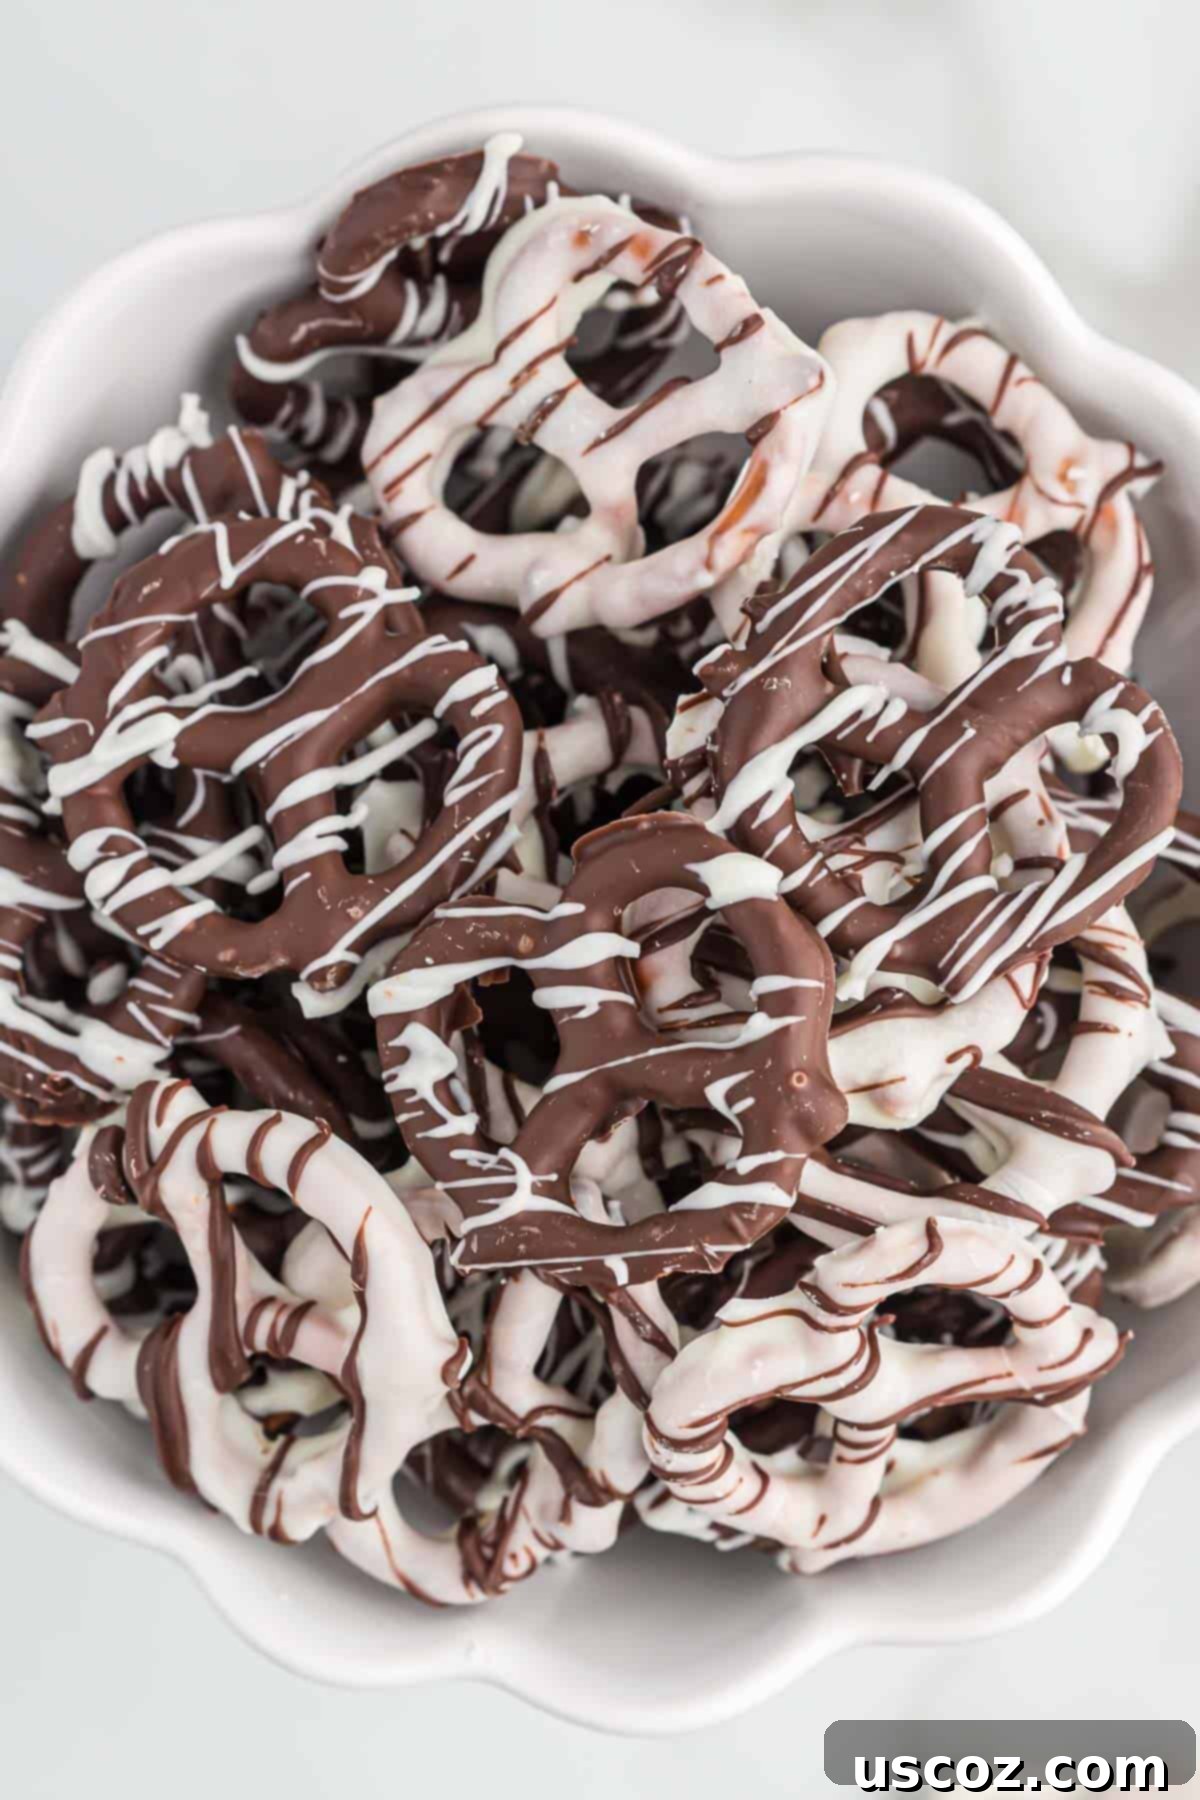
Try making these for the holidays and add festive colored sprinkles for a fun, seasonal twist. This classic dessert is always a hit, bringing smiles to faces with its simple yet addictive charm!
Rated 5 out of 5 stars from 2 votes
Chocolate Covered Pretzels
Joy Shull
These simple chocolate covered pretzels are a delicious salty-sweet dessert and are always a hit!
20 mins
20 mins
30 servings
Pin Recipe
Rate Recipe
Print Recipe
Ingredients
- 3 ¾ cups mini pretzels
- 10 oz dark chocolate melting wafers
- 10 oz white vanilla melting wafers
Instructions
- Reserve 1/3 cup of the white vanilla wafers and 1/3 cup of the dark chocolate wafers and set them aside for drizzling.
- Melt the remaining dark chocolate wafers in a small, microwave-safe bowl. Microwave in 30-second intervals, stirring until smooth.
- One at a time, dip approximately two cups worth of pretzels into the melted dark chocolate, tap off excess chocolate, and place them onto a parchment paper-lined baking sheet.
- Melt the remaining white vanilla wafers (that were not set aside) in a separate small bowl in the microwave until smooth, following the same 30-second interval method.
- One at a time, dip approximately 1 ¾ cups of pretzels in the white chocolate, tap off the excess, and place on the parchment paper-lined baking sheet.
- Place all dipped pretzels in the fridge to set for about 10-15 minutes, or until the chocolate is firm.
- Melt the reserved ⅓ cup of dark chocolate wafers. Drizzle this melted chocolate over the white chocolate pretzels using a spoon or a small piping bag.
- Melt the reserved ⅓ cup of white vanilla wafers. Drizzle this melted chocolate over the dark chocolate pretzels.
- Return the chocolate pretzels to the fridge until all the chocolate has completely hardened, about 15-20 minutes. Serve and enjoy!
Nutrition Information (per serving)
Calories: 62kcal
Carbohydrates: 9g
Protein: 1g
Fat: 2g
Saturated Fat: 2g
Polyunsaturated Fat: 0.1g
Monounsaturated Fat: 0.04g
Sodium: 74mg
Potassium: 12mg
Fiber: 0.2g
Sugar: 5g
Vitamin C: 0.1mg
Calcium: 1mg
Iron: 0.2mg
Like this recipe? We’d love to hear from you!
Please take a moment to rate and leave a comment below with your thoughts and any creative twists you added!
