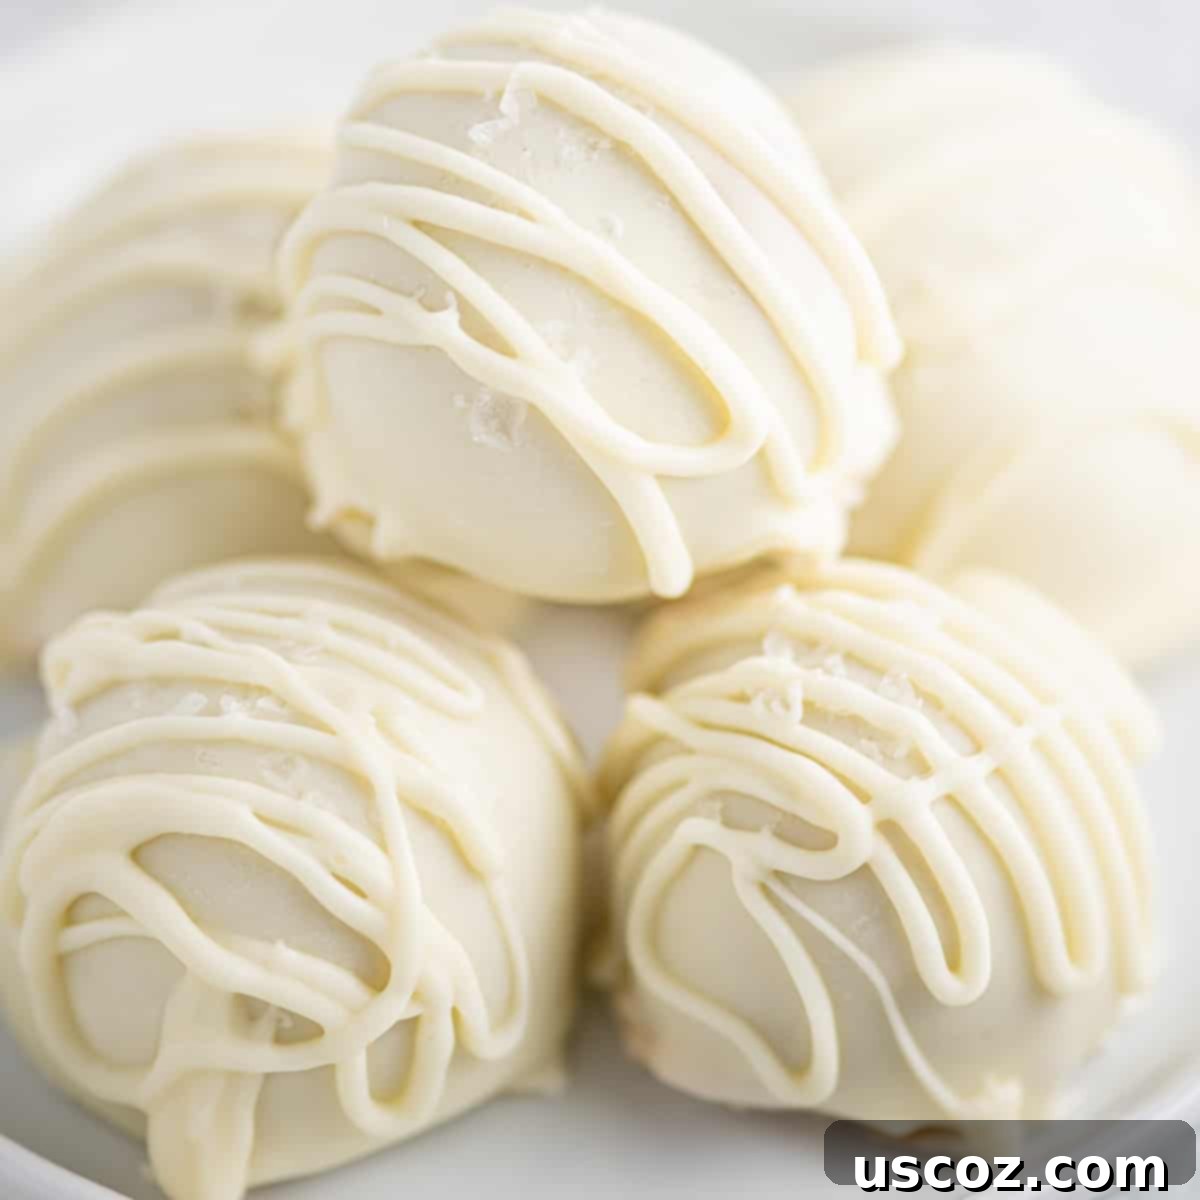
Decadent No-Bake White Chocolate Peanut Butter Balls: Your Ultimate Easy Holiday Treat!
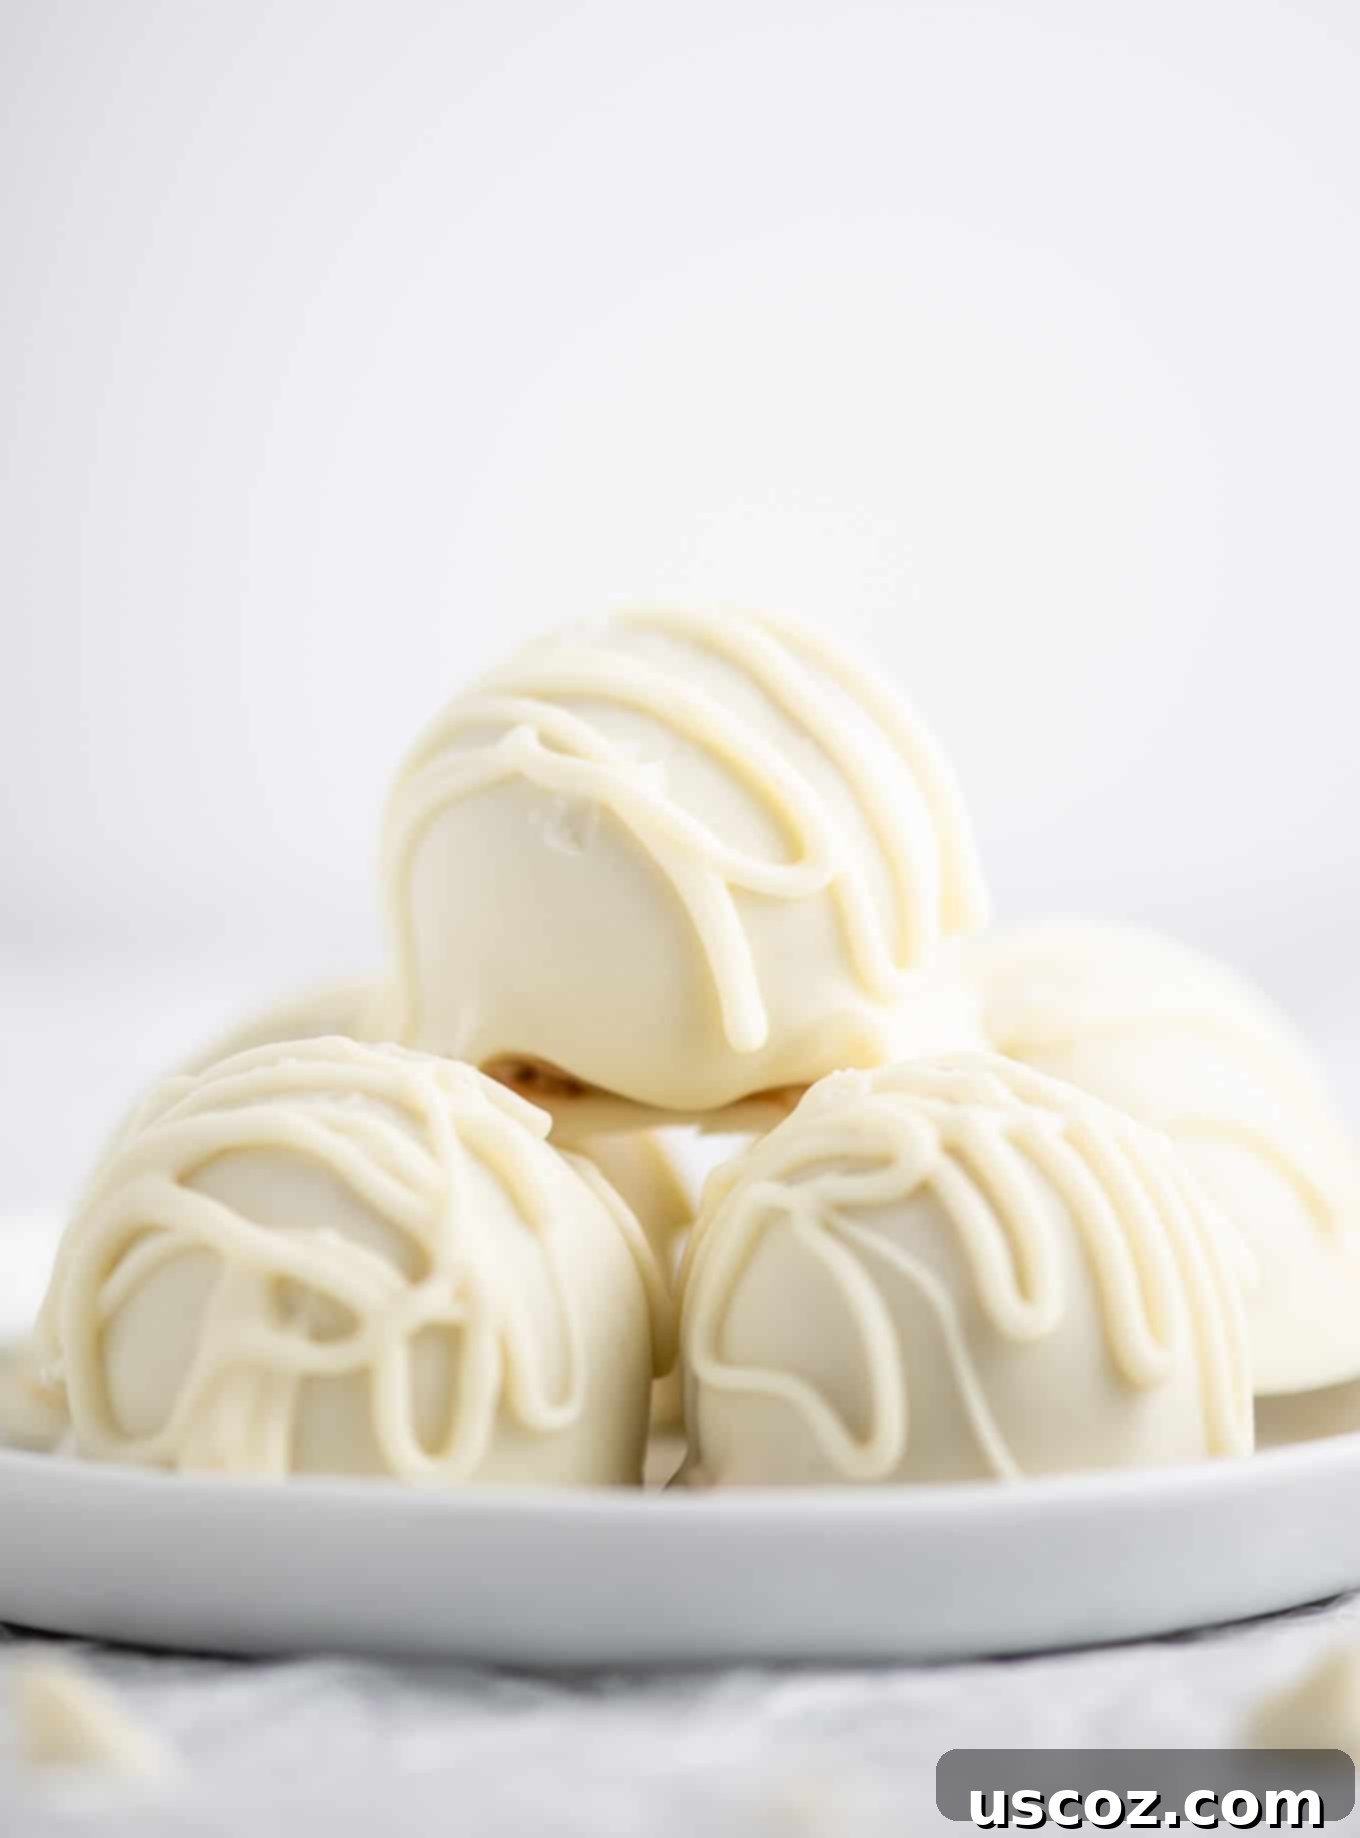
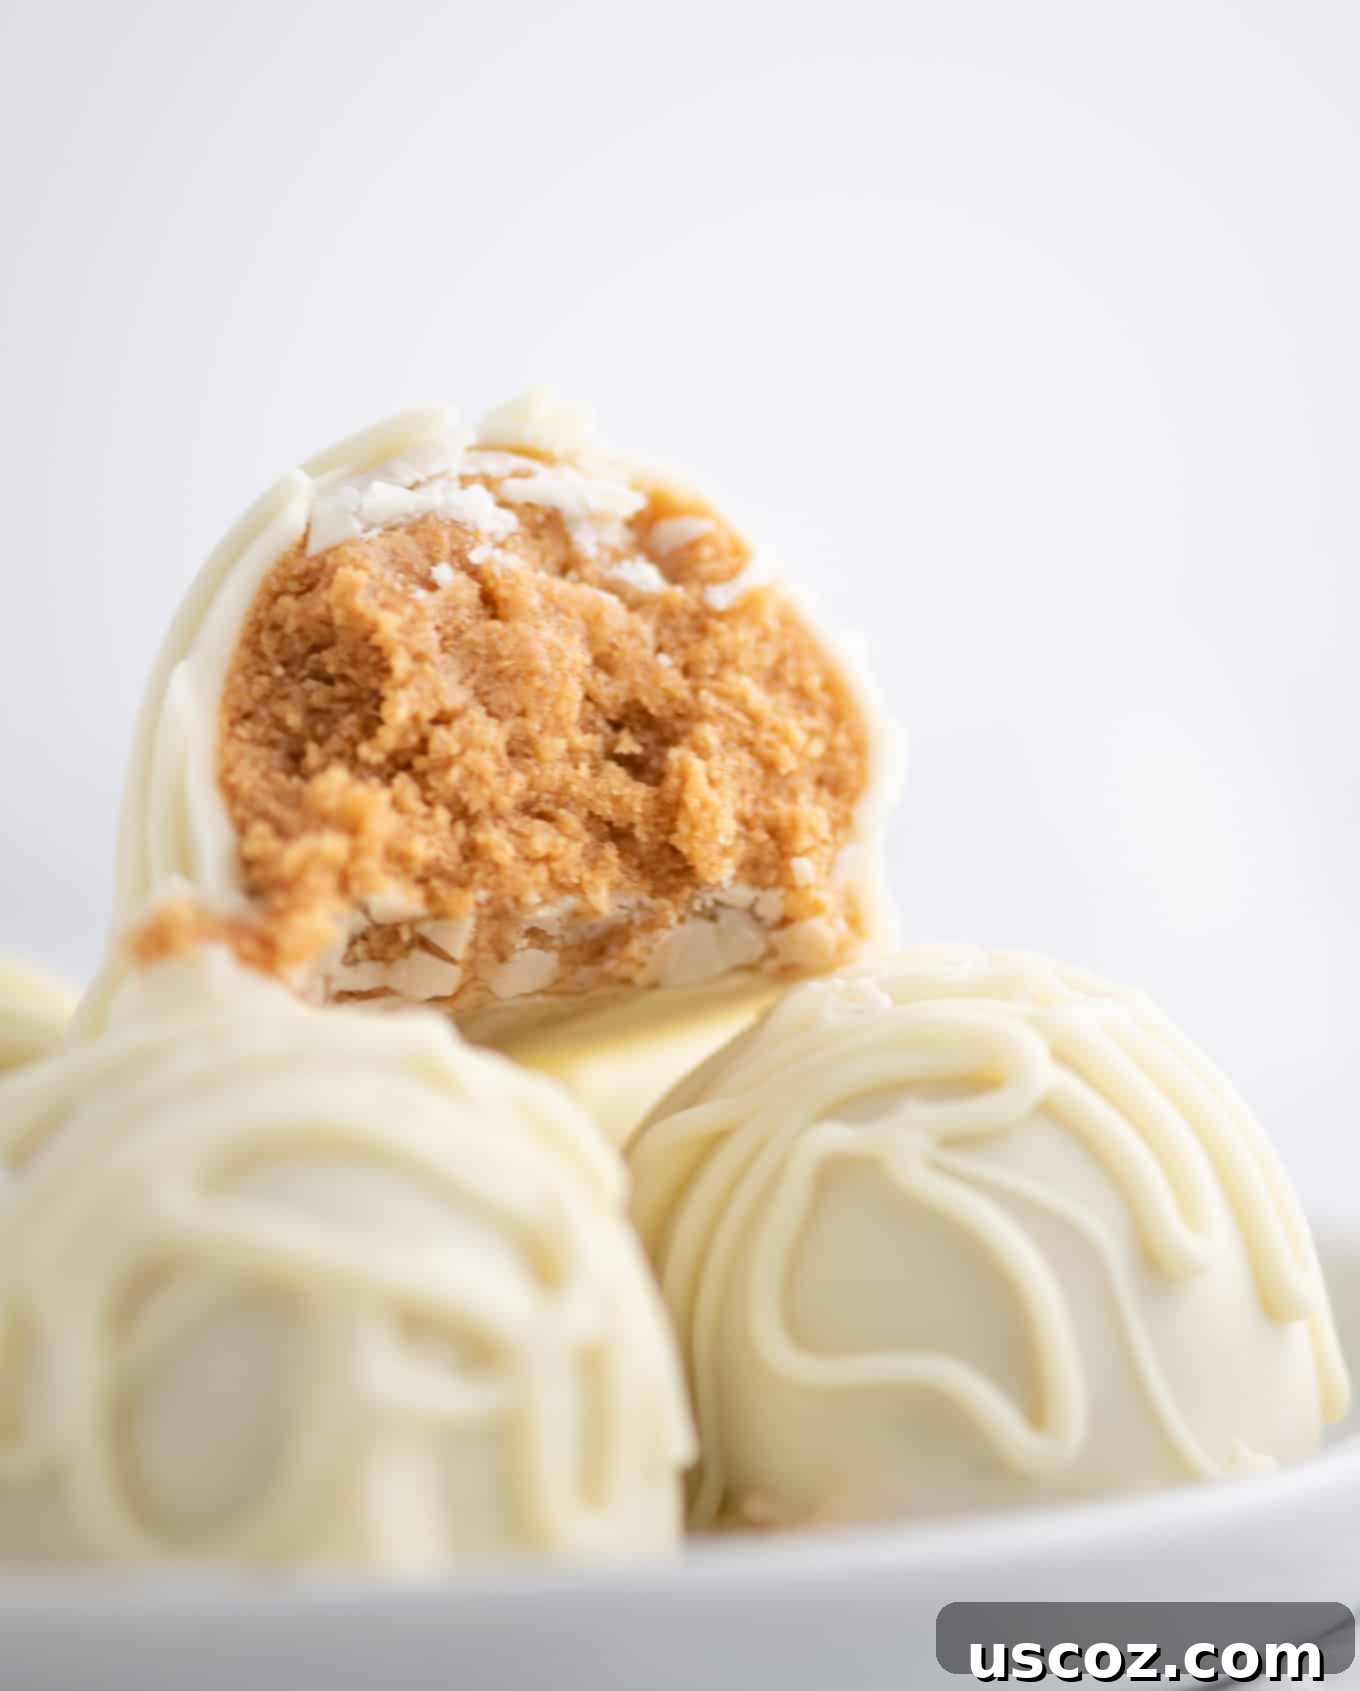
Prepare to fall in love with these utterly decadent white chocolate peanut butter balls! Crafted with just a few simple ingredients, these delightful little bites of heaven are destined to become your favorite holiday treat, perfect for sharing (or not!) during festive gatherings. Their rich, creamy peanut butter center coated in smooth white chocolate makes for an irresistible combination that will vanish from any platter in minutes.
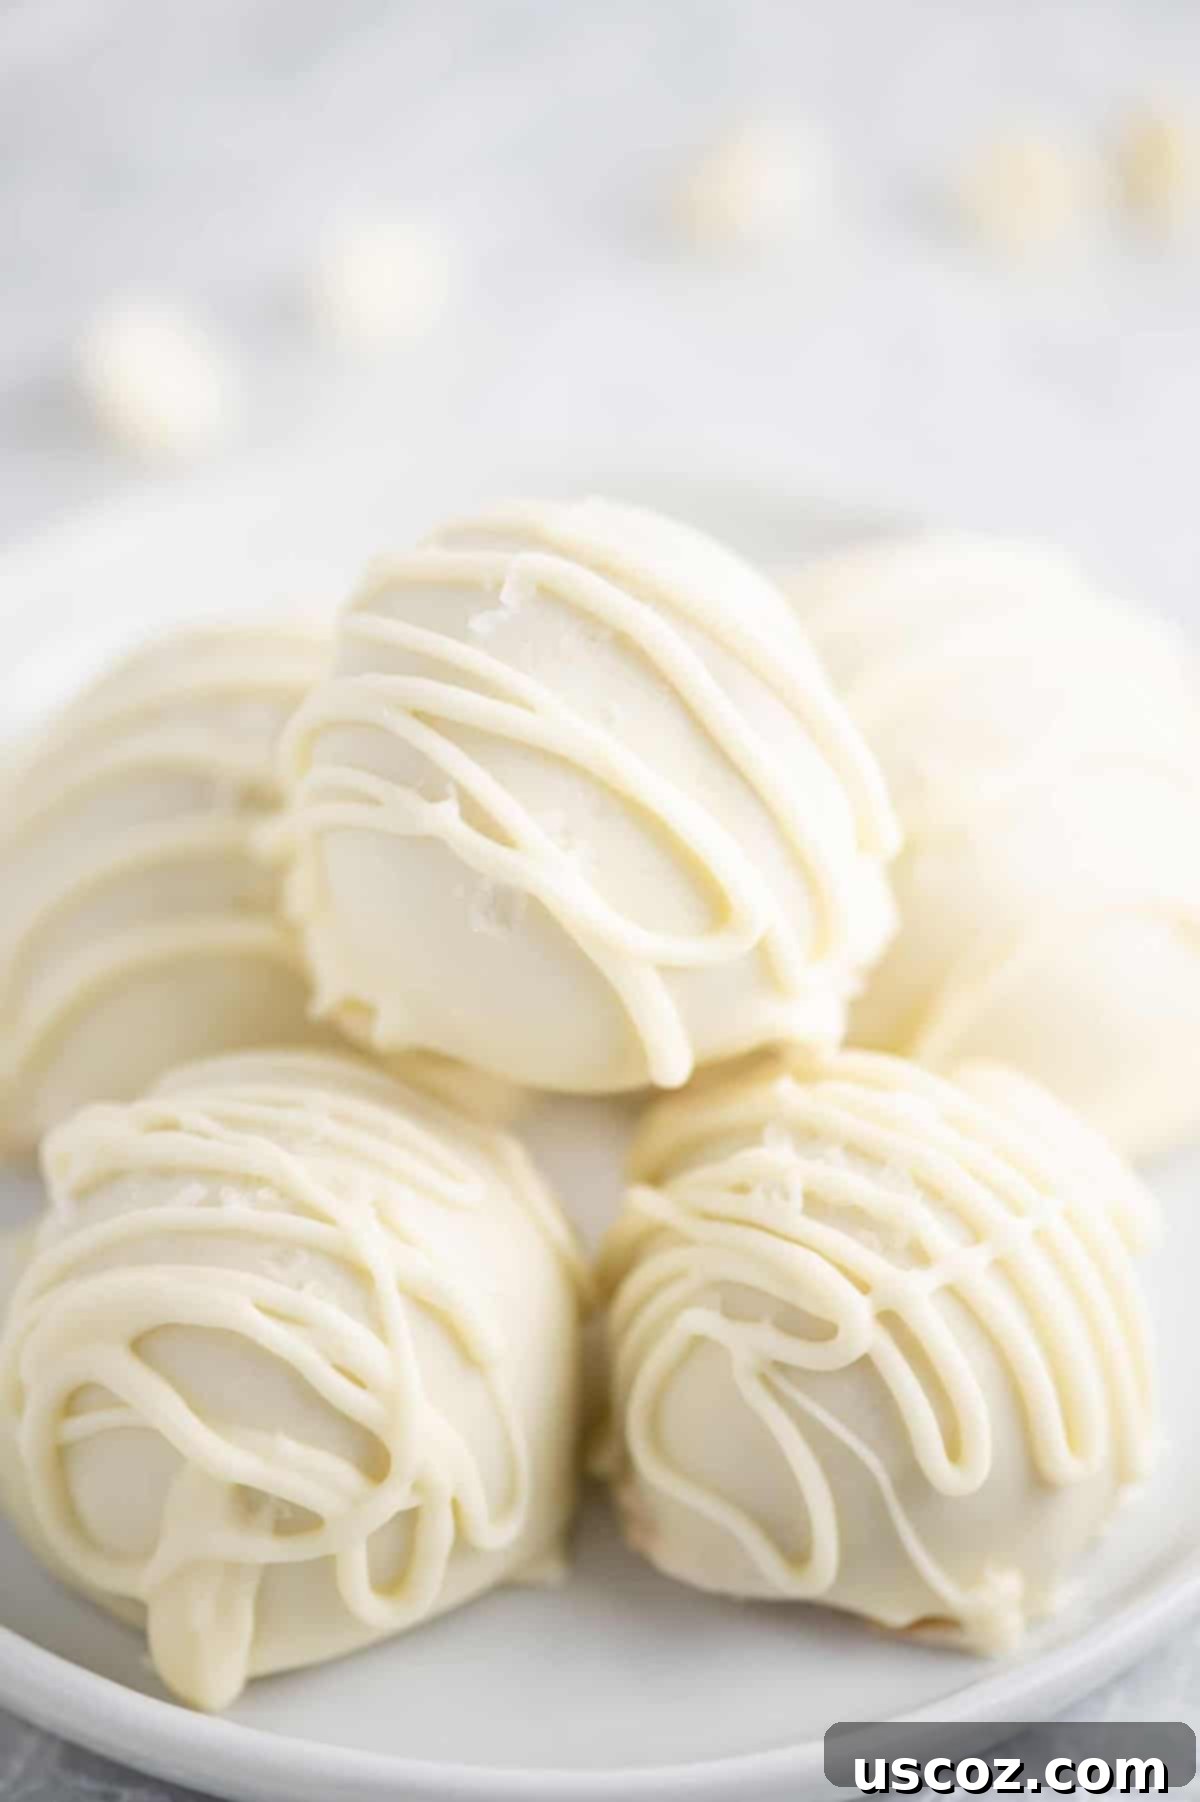
These easy no-bake peanut butter balls are more than just a dessert; they’re a guaranteed crowd-pleaser that brings joy with every bite. The simplicity of this recipe is truly remarkable, allowing you to whip up a batch in mere minutes, yet the finished product looks like a gourmet confection that required hours of effort. They are perfect for holiday parties, potlucks, or simply satisfying that craving for something sweet and satisfying.
Like their beloved truffle cousins, such as the classic Christmas Oreo balls and the delightful pecan pie balls, these white chocolate peanut butter truffles offer a luxurious taste experience without the fuss of baking. This recipe stands out by utilizing coconut flour, which helps achieve that perfect, firm yet melt-in-your-mouth texture without relying heavily on excessive powdered sugar. This clever ingredient substitution makes them a fantastic choice for those looking for a slightly different approach to classic no-bake treats, akin to the effortless charm of our ritz cracker cookies.
The beauty of no-bake desserts lies in their convenience and minimal cleanup. You won’t need to preheat an oven or worry about baking times, making these peanut butter balls an ideal project for busy holidays or a fun activity with kids. The combination of sweet white chocolate and salty peanut butter creates a harmonious flavor profile that is both comforting and exciting, leaving everyone reaching for another.
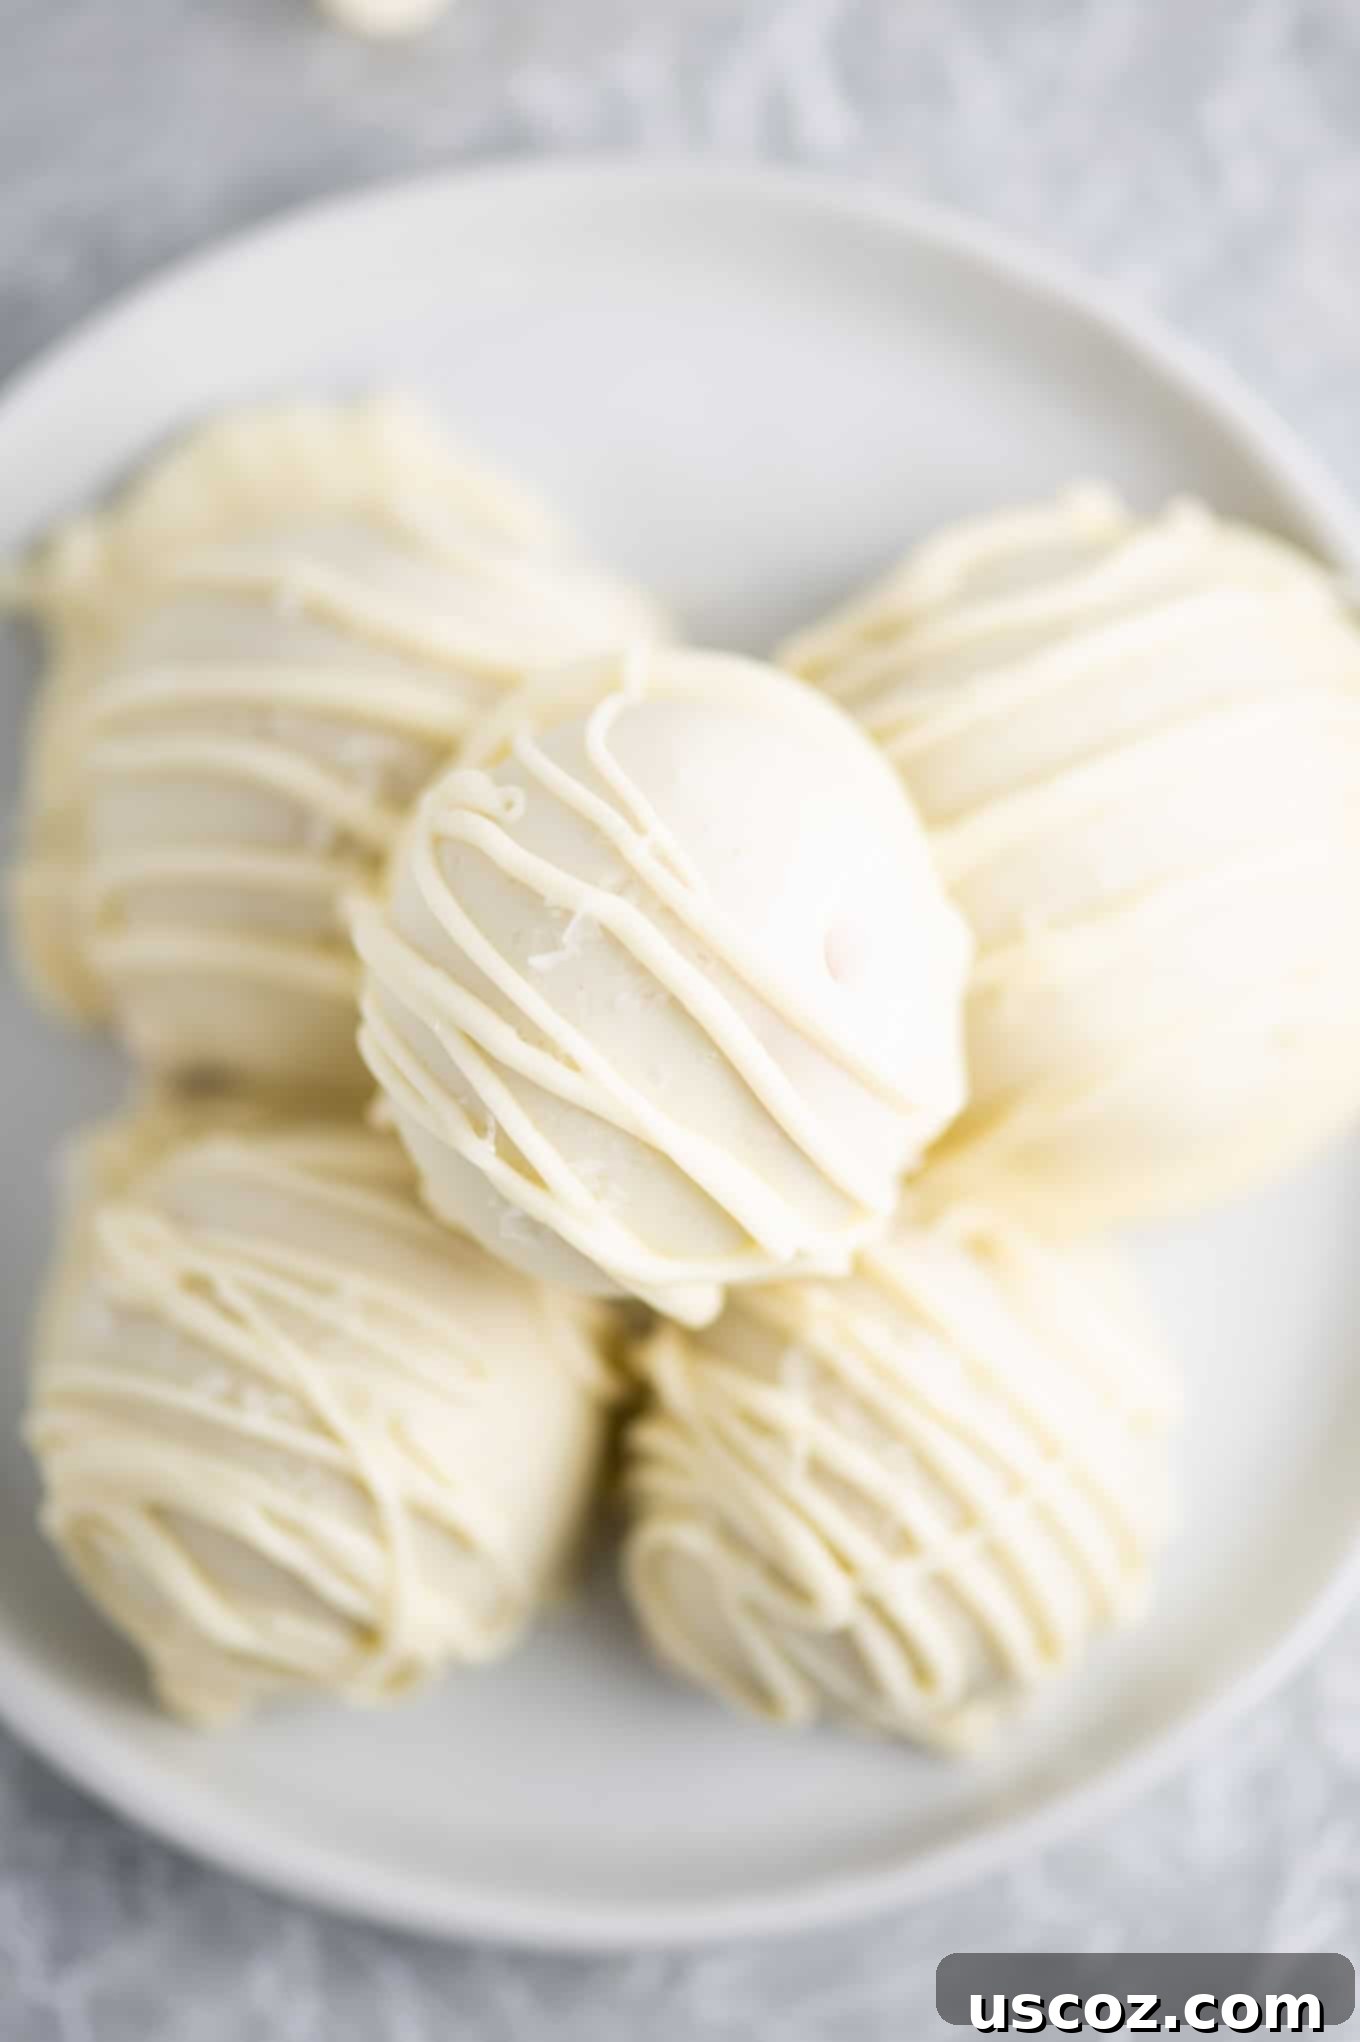
Crafting Your Perfect White Chocolate Peanut Butter Balls: A Step-by-Step Guide
Creating these delightful white chocolate peanut butter balls is a straightforward process, broken down into a few easy steps. The key to success lies in understanding the consistency of your peanut butter mixture and the art of dipping in melted chocolate. Let’s walk through it together.
Step 1: Preparing the Irresistible Peanut Butter Mixture
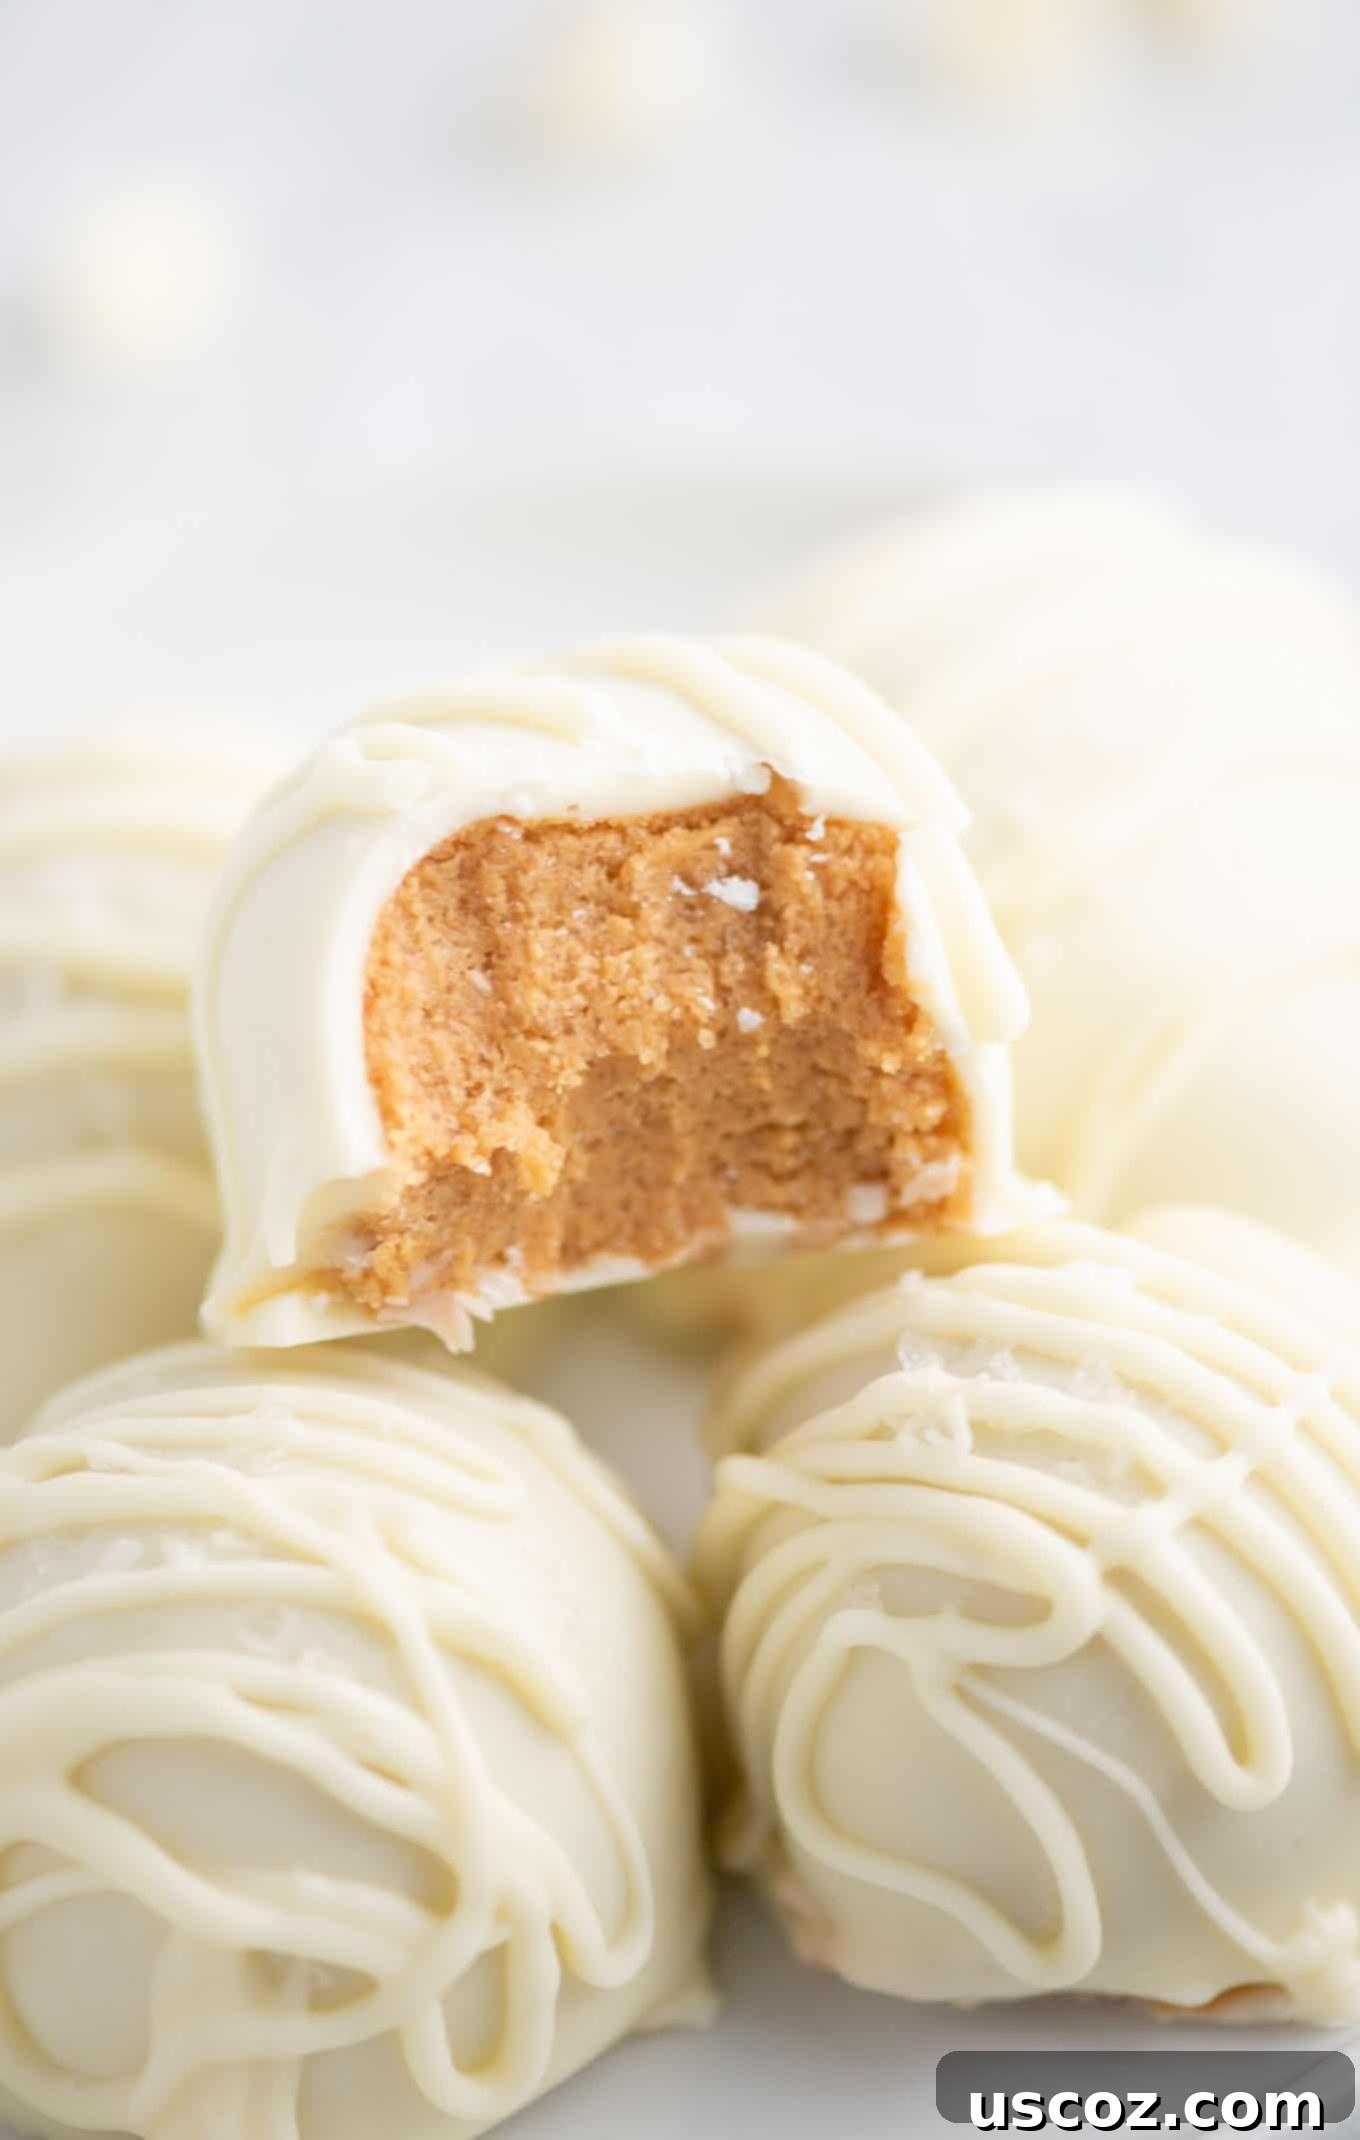
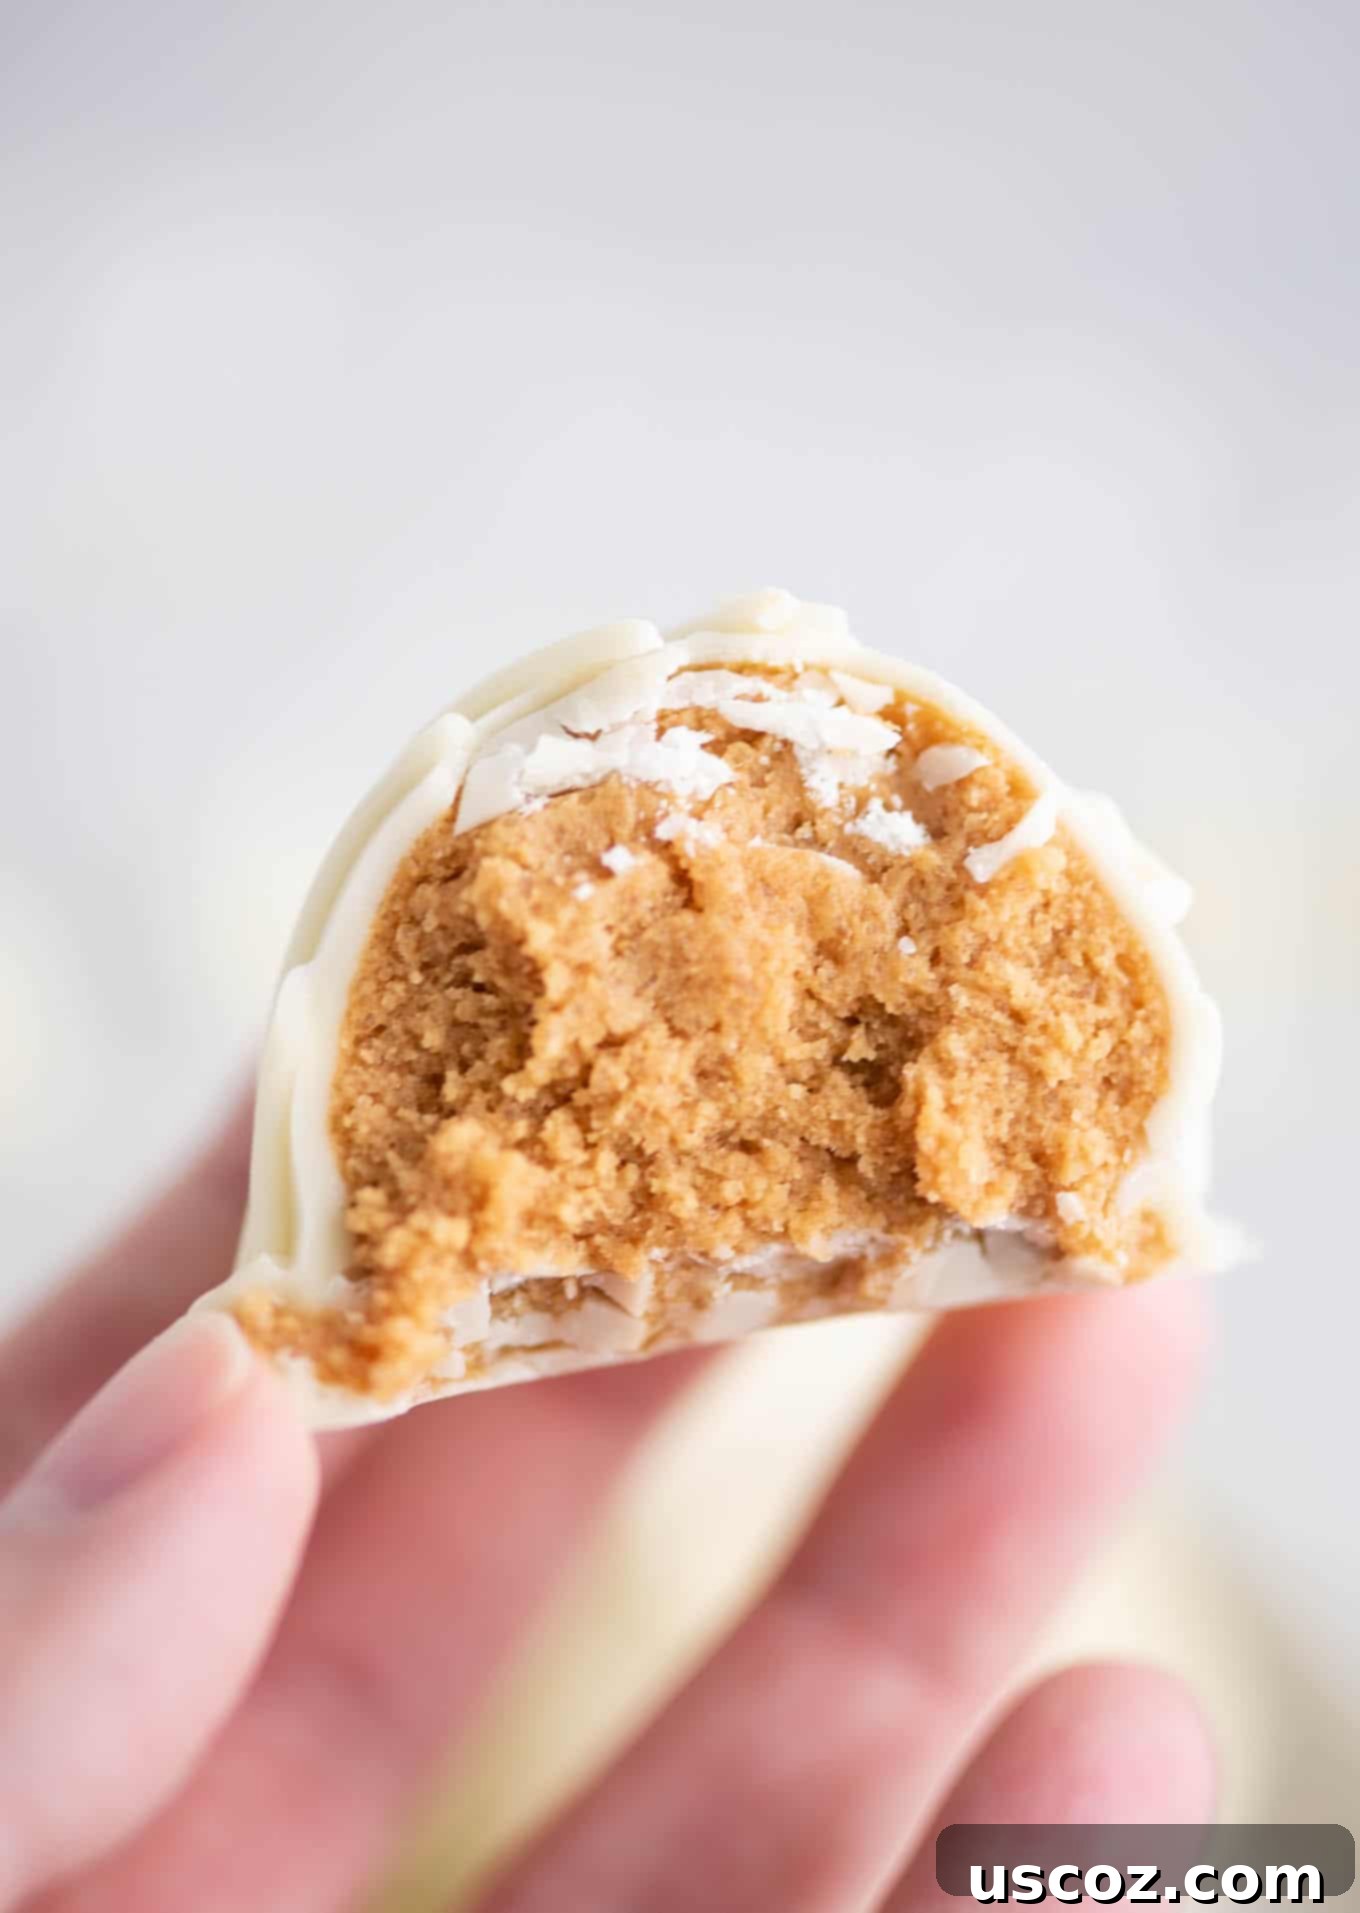
The journey to these amazing treats begins with the heart of the recipe: the peanut butter mixture. In a spacious mixing bowl, you’ll combine creamy no-stir peanut butter, granulated cane sugar, a pinch of salt to balance the sweetness, coconut flour, and a touch of powdered sugar. Beat these ingredients together until they are thoroughly combined and form a cohesive dough. The consistency should be sticky enough to hold together, but still manageable enough to shape into balls without excessive mess. The coconut flour plays a crucial role here, absorbing moisture and providing structure, allowing you to use less powdered sugar than many traditional recipes, resulting in a less overwhelmingly sweet and more balanced flavor.
Pro Tip for Less Mess: To make the shaping process much easier and cleaner, I highly recommend using a mini cookie scoop. This tool helps create uniform balls quickly and efficiently, reducing the stickiness on your hands. If you don’t have one, lightly dust your hands with a little powdered sugar or use disposable gloves.
Step 2: Chilling for Perfect Form
Once your peanut butter mixture is ready, line a baking sheet with wax paper or parchment paper. Using your mini cookie scoop (or your hands), scoop out portions of the peanut butter batter and place each scoop onto the prepared baking sheet. At this stage, don’t stress about creating perfectly round balls. The batter will be softer, and the primary goal is to get them portioned out. After this initial shaping, transfer the baking sheet to the freezer to chill for approximately 20 minutes. This crucial chilling step firms up the peanut butter mixture, making it much easier to roll into perfectly smooth, uniform balls later. It also helps prevent the balls from melting too quickly when they meet the warm melted chocolate.
Step 3: Mastering the White Chocolate Dip
Once your peanut butter balls are perfectly chilled and firm, it’s time for the most exciting part: dipping them in luxurious white chocolate! Melt your white chocolate baking chips until they are beautifully smooth and fluid. The easiest method for this is using a microwave-safe bowl. Heat the chips in 20-30 second intervals, stirring thoroughly after each interval, until the chocolate is completely melted and has a silky consistency. Be extremely careful not to overheat or burn the white chocolate, as it can seize and become unusable. Alternatively, you can use a double boiler method for a more controlled melting process, stirring constantly until smooth.
Step 4: Dipping, Topping, and Drizzling Perfection
With your chocolate melted and your peanut butter balls chilled, it’s assembly time! First, give each chilled peanut butter ball a quick roll between your hands if needed to ensure they are perfectly round and smooth. Then, carefully drop each ball into the melted white chocolate. Use a spoon to completely cover the ball with chocolate, ensuring an even coat. Quickly remove the truffle with a fork, allowing any excess chocolate to drip off by gently tapping the fork against the edge of the mixing bowl. This step is crucial for achieving a clean, professional finish. Use a toothpick to carefully slide the coated peanut butter ball back onto the wax paper-lined baking sheet.
As you dip each ball, immediately sprinkle it with flaked sea salt. Do not wait until you have dipped all the balls, as the chocolate will set quickly, preventing the salt from adhering properly. This flaky sea salt is not just for decoration; it provides an incredible salty-sweet contrast that elevates the flavor of these white chocolate peanut butter balls from simply delicious to truly extraordinary. The touch of salt cuts through the richness of the peanut butter and white chocolate, creating a perfectly balanced bite that will have your taste buds singing.
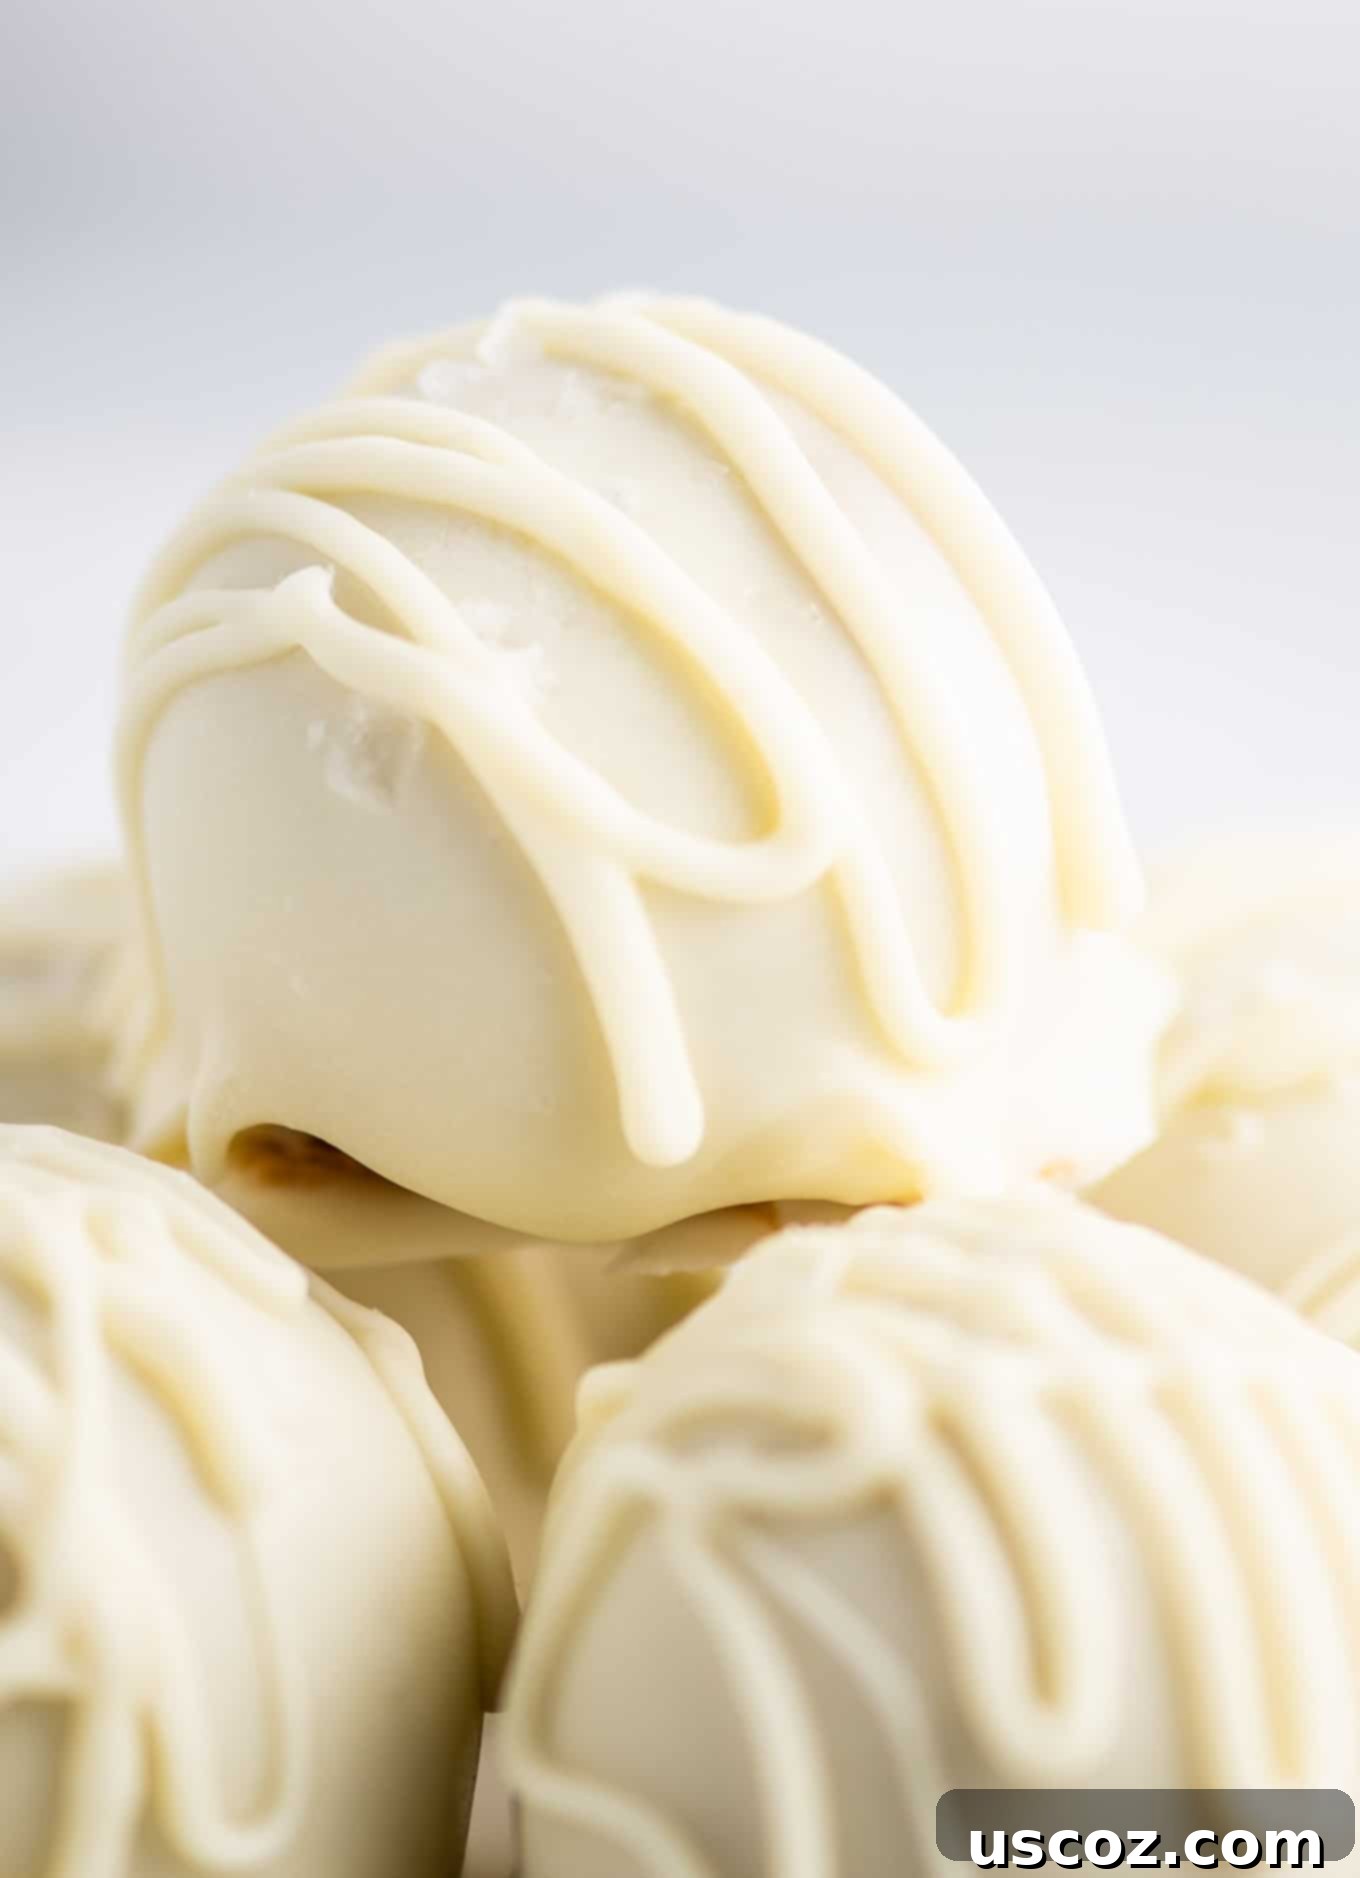
Once all your peanut butter balls have been dipped and salted, you’ll likely have some melted white chocolate remaining. This is perfect for adding that elegant final touch – a beautiful chocolate drizzle! Let the dipped peanut butter balls chill in the fridge for about 15 minutes, allowing the chocolate coating to set firmly. While they are chilling, gently re-warm your leftover white chocolate if it has started to firm up. Transfer the melted chocolate to a small Ziploc bag, snip a tiny hole in one corner, and artfully drizzle the white chocolate over the tops of your peanut butter balls. This adds both visual appeal and an extra layer of chocolatey goodness. Finally, return the decorated balls to the fridge until the drizzle is completely hardened, ensuring a stable and delicious treat ready for serving.
Tips for Success with Your White Chocolate Peanut Butter Truffles
- Peanut Butter Choice: For best results and consistent texture, opt for a creamy, “no-stir” peanut butter. Natural peanut butter (the kind that separates) tends to be too oily and can make the mixture difficult to work with.
- Perfectly Melted Chocolate: White chocolate is notoriously finicky. Always melt it slowly, either in short bursts in the microwave or over a double boiler. Stir frequently to prevent burning or seizing. If your chocolate seems too thick, you can add a tiny bit of coconut oil or vegetable shortening (about ½ teaspoon per cup of chocolate chips) to thin it slightly, but be careful not to add too much or it will prevent the chocolate from setting properly.
- Chilling is Key: Don’t skip the chilling steps! They are essential for both shaping the peanut butter balls and ensuring the chocolate coating sets quickly and smoothly without creating a melty mess.
- Working Quickly: Once the chocolate is melted, work efficiently. The colder your peanut butter balls are, the longer you have before they start to soften in the warm chocolate.
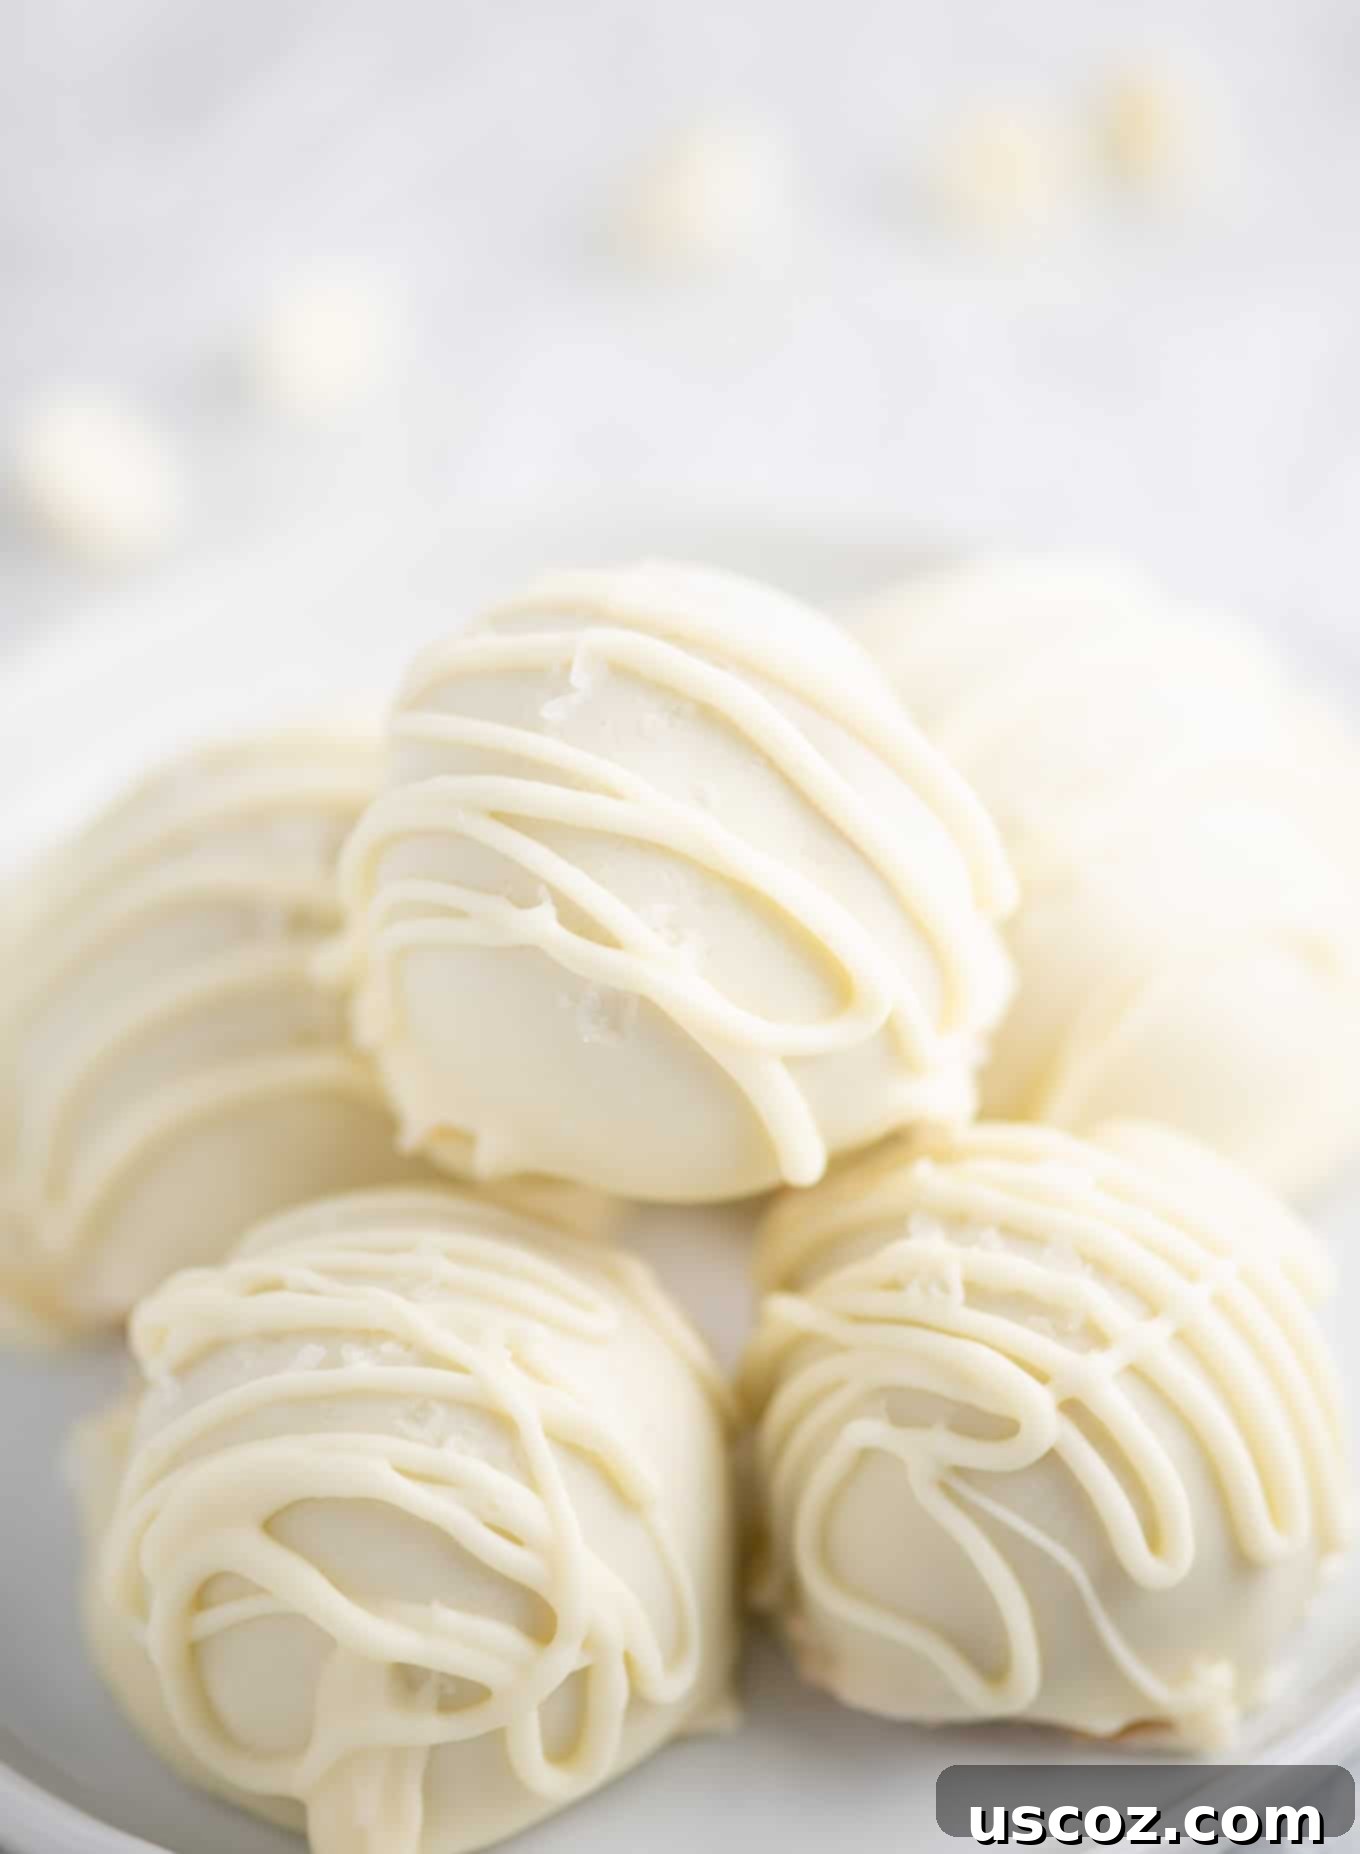
Creative Topping Ideas for Your Peanut Butter Truffles
While flaked sea salt adds a wonderful savory touch, don’t hesitate to customize these truffles with your favorite toppings! Personalizing them makes them even more special, especially when serving them for different occasions. Remember to sprinkle your chosen toppings immediately after dipping each ball, while the chocolate is still wet, ensuring they stick perfectly before hardening.
- Crushed Oreos: For an extra layer of cookie crunch and chocolate flavor.
- Chopped Nuts: Finely chopped peanuts, pecans, or walnuts can add a delightful texture and nutty depth.
- Sprinkles: Festive sprinkles are perfect for holidays, birthdays, or any celebration where you want to add a pop of color and fun.
- Flaked Coconut: Toasted or untoasted coconut flakes offer a tropical twist and appealing texture.
- Dark or Milk Chocolate Drizzle: Instead of white chocolate, try drizzling with melted dark or milk chocolate for a striking contrast and different flavor profile.
- Mini Chocolate Chips: A few mini chocolate chips pressed onto the top add visual appeal and extra chocolate.
How to Store Your Delicious Peanut Butter Balls
These white chocolate peanut butter balls are excellent for making ahead, and they store beautifully! To keep any leftover peanut butter balls fresh and delicious, store them in an airtight container. They will maintain their quality in the refrigerator for up to a week, making them perfect for enjoying throughout the week or preparing in advance for an event. For longer storage, you can freeze them for up to a month. Simply thaw them in the refrigerator for a few hours before serving for a perfectly fresh-tasting treat. Freezing them can also be a great way to ensure you always have a delightful sweet treat on hand for unexpected guests or sudden cravings!
More Irresistible Holiday & No-Bake Recipes You’ll Love
If you’re a fan of easy, delicious, and often no-bake treats like these white chocolate peanut butter balls, you’re in for a treat! Explore some of our other fantastic recipes that are perfect for holidays, parties, or simply satisfying your sweet tooth any time of year.
- No Bake Peanut Butter Truffles: A classic for a reason, these are pure peanut butter bliss.
- No Bake Avalanche Cookies: Crunchy, chewy, and loaded with goodness, these are a snowy delight.
- Pumpkin Cheesecake Truffles: A seasonal favorite, bringing the flavors of autumn into bite-sized form.
- Christmas Cookie Bars: Perfect for feeding a crowd, these festive bars are as easy as they are delicious.
- Peanut Clusters: A simple, addictive combination of chocolate and peanuts.
- Christmas Crack Recipe: Beware, this salty-sweet caramel cracker candy is incredibly addictive!
Have you whipped up a batch of these glorious White Chocolate Peanut Butter Balls? We can’t wait to see your creations! Don’t forget to tag me on Instagram @buildyourbite and use the hashtag #buildyourbite with your delicious recipe photos!
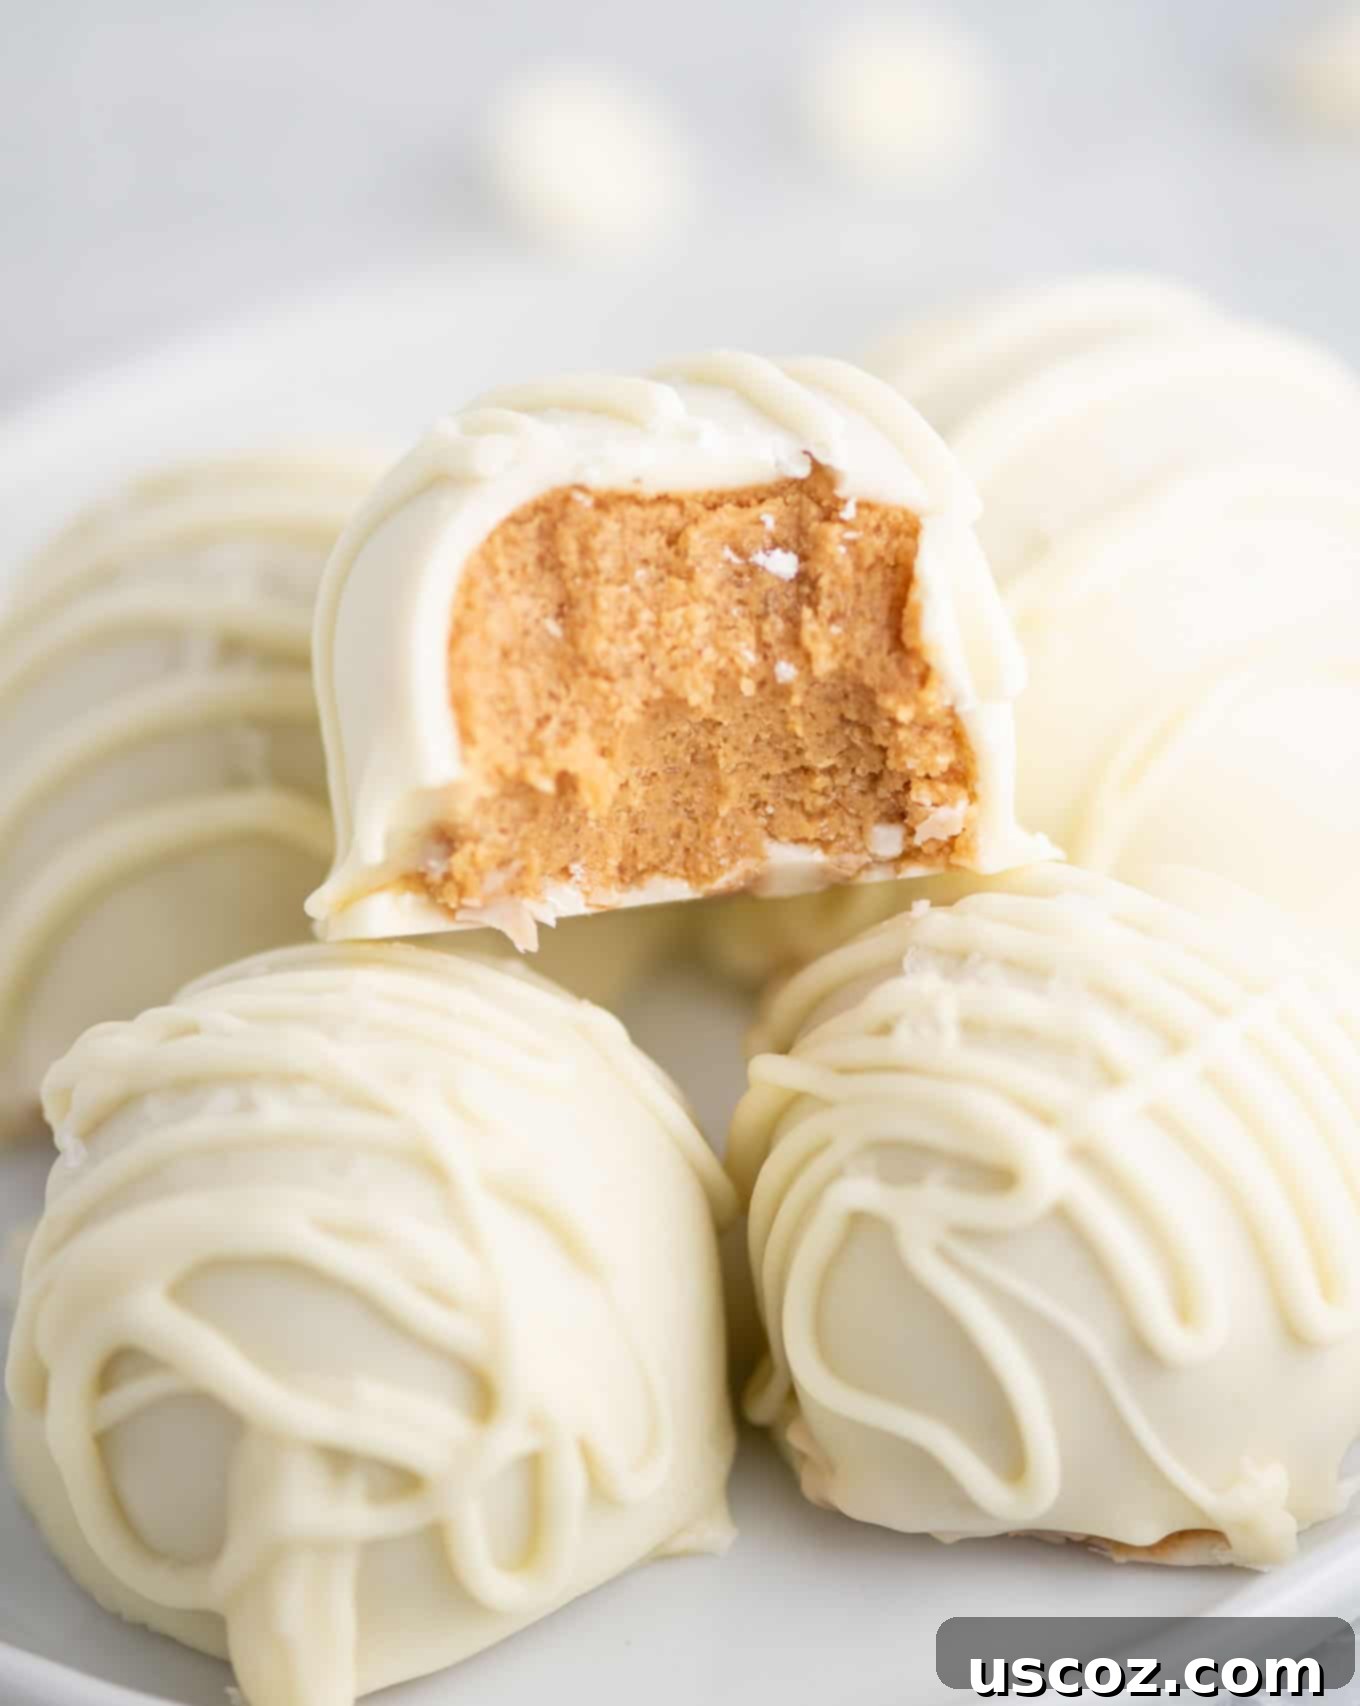
Be sure to pin this incredibly easy and delicious recipe for later reference and follow Build Your Bite on Pinterest for all the latest delicious recipes and dessert inspiration! You won’t want to miss out on our constant stream of delightful culinary creations.
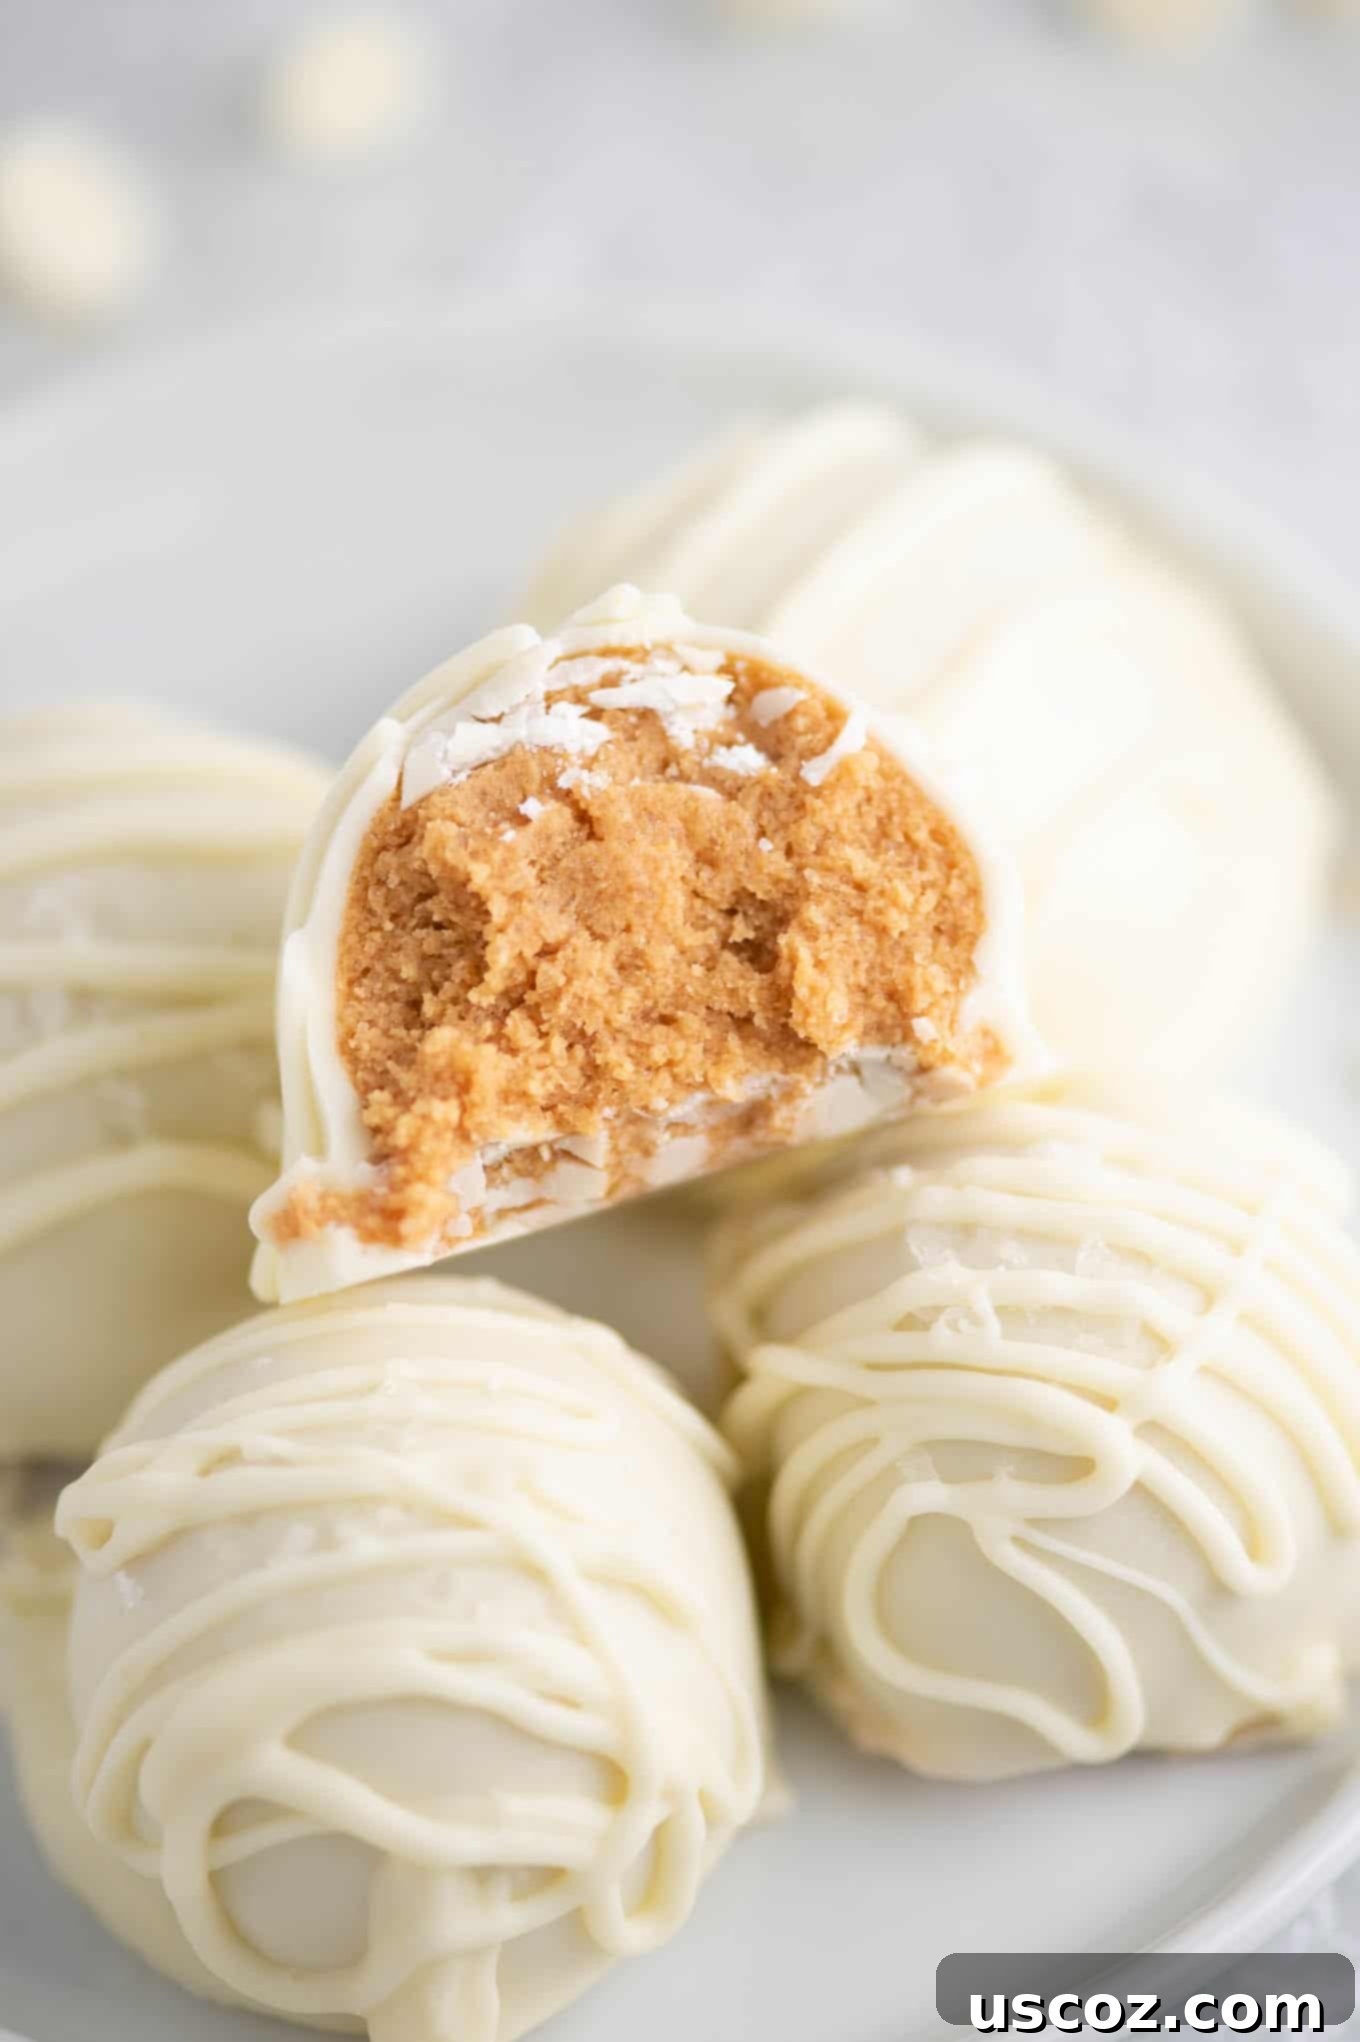
Did you enjoy crafting these delectable treats? Your feedback helps us grow! Be sure to leave a star rating below and share your thoughts in the comments. We love hearing from you!
White Chocolate Peanut Butter Balls
Save RecipeSaved!
Pin Recipe
Rate Recipe
Print Recipe
Ingredients
- 3/4 cup creamy no stir peanut butter
- 1/2 cup cane sugar
- 1/8 teaspoon salt
- 1/4 cup coconut flour
- 2 tablespoons powdered sugar
- 2 cups white chocolate baking chips
- flaked sea salt, for topping
Instructions
-
In a large mixing bowl, beat together the creamy no-stir peanut butter, cane sugar, salt, coconut flour, and powdered sugar until all ingredients are well combined and a firm, slightly sticky dough forms.
-
Using a mini cookie scoop for uniform size or your hands (lightly dusted with powdered sugar), form the peanut butter truffle batter into small balls. Place each ball onto a baking sheet lined with wax paper or parchment paper. This recipe typically yields 10-12 truffles.
-
Transfer the baking sheet with the peanut butter balls to the freezer and chill for a minimum of 20 minutes. This step is crucial for firming them up, making them easier to handle and dip.
-
While the peanut butter balls are chilling, melt the white chocolate chips. Place them in a microwave-safe bowl and heat in 20-30 second increments, stirring thoroughly after each interval, until the chocolate is completely smooth and fluid. Be very careful not to overheat the chocolate, as white chocolate can easily burn or seize.
-
Remove the chilled peanut butter balls from the freezer. If desired, quickly roll them once more with your hands to perfect their spherical shape. Begin the dipping process immediately.
-
Place one peanut butter ball into the melted white chocolate. Use a spoon to drizzle chocolate over the ball, ensuring it is fully coated.
-
Carefully lift the truffle out of the chocolate with a fork. Gently tap the fork on the edge of the mixing bowl to remove any excess chocolate, ensuring a smooth coating.
-
Using a toothpick, carefully slide the coated peanut butter ball from the fork back onto the wax paper-lined baking sheet.
-
Immediately, while the chocolate is still wet, sprinkle the top of each dipped ball with flaked sea salt. This creates a beautiful contrast and ensures the salt adheres properly.
-
Once all peanut butter balls are dipped and salted, place the baking sheet back into the fridge for at least 15 minutes to allow the white chocolate coating to fully set.
-
For an extra decorative touch and added texture, take any remaining melted white chocolate and gently re-warm it if needed. Transfer this chocolate to a small Ziploc bag.
-
Snip a tiny piece off the corner tip of the Ziploc bag, creating a small opening. Drizzle the warm white chocolate artfully over the tops of the now-set peanut butter balls.
-
Return the decorated peanut butter balls to the refrigerator and chill until the drizzle is completely hardened, ensuring they are perfectly set and ready to enjoy.
Nutrition
Like this recipe? Rate and comment below!
