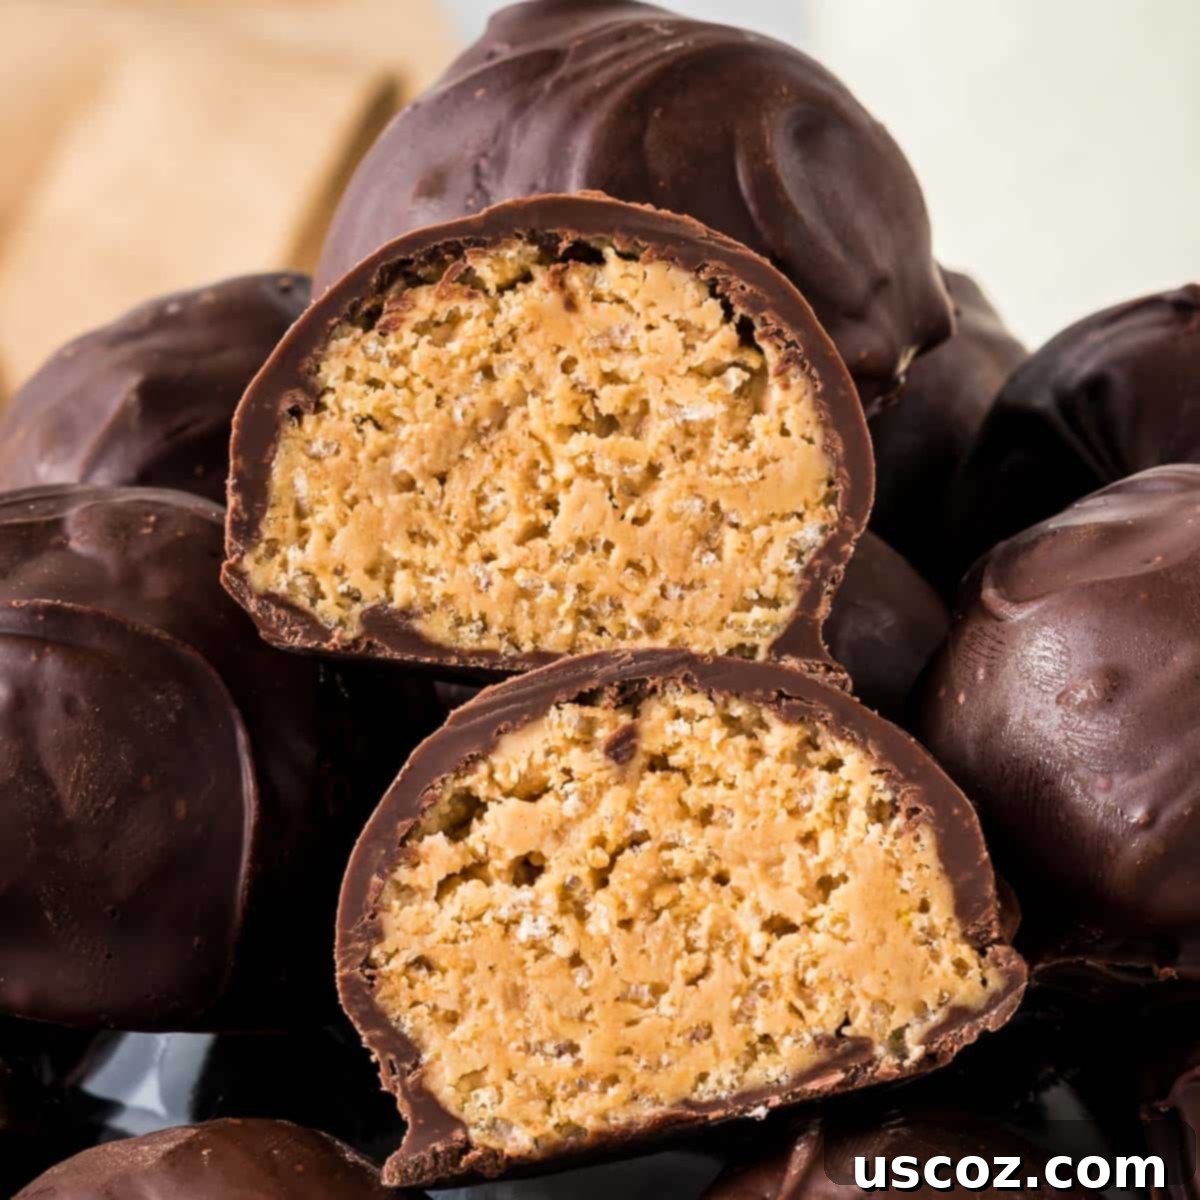
Crunchy Peanut Butter Balls with Rice Krispies: The Ultimate No-Bake Holiday Treat
These Peanut Butter Balls With Rice Krispies are a holiday must-make dessert! The addition of crispy Rice Krispies cereal elevates this classic no-bake candy, adding an irresistible crunch and texture that makes them truly special. If you’re looking for an easy, delicious, and crowd-pleasing treat for any festive occasion, look no further.
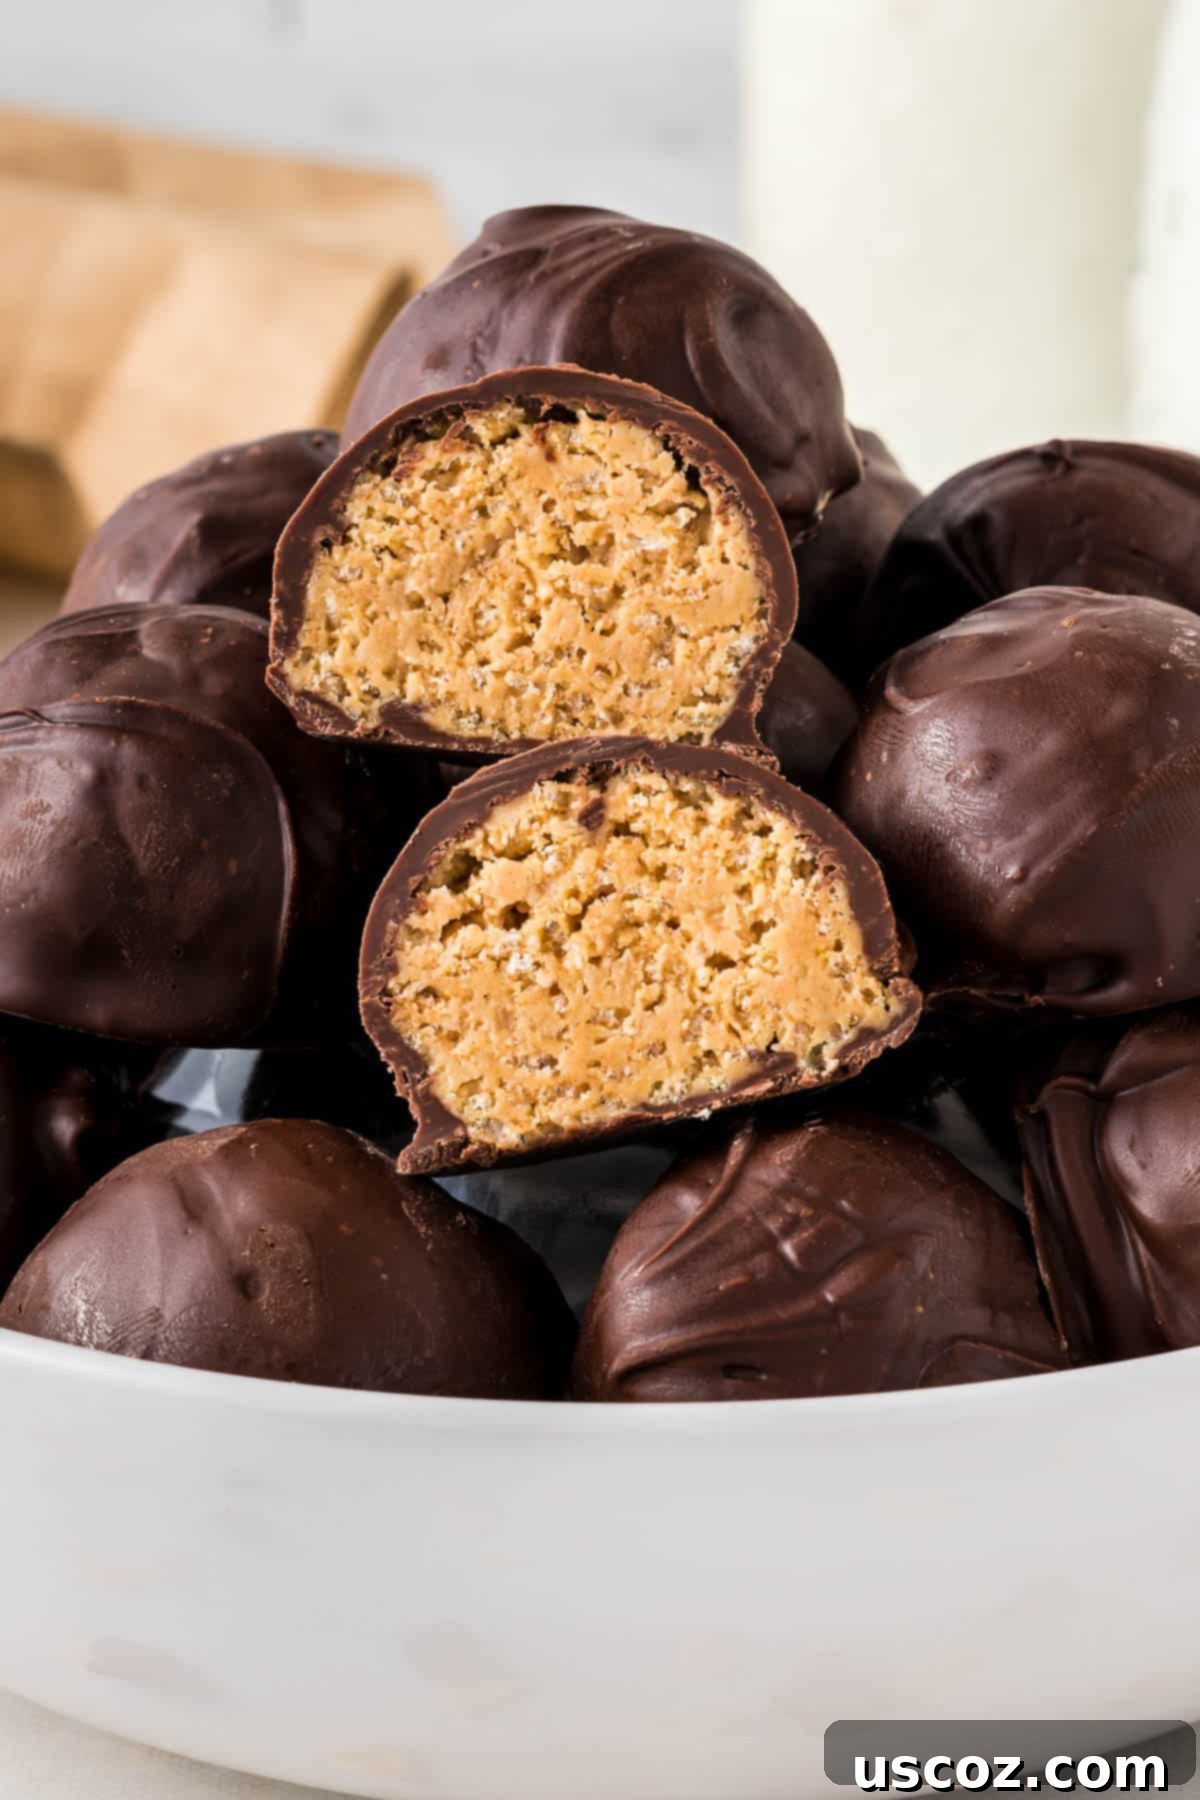
Why These Are The Best Peanut Butter Balls!
Peanut butter balls are more than just a dessert; they’re a cherished holiday tradition in many homes, including mine. Every year, I look forward to whipping up a fresh batch of these delectable treats. But today, I’m sharing my absolute favorite variation of this classic Christmas dessert, taking it to a whole new level of deliciousness.
What makes these peanut butter balls truly stand out is the inclusion of Rice Krispies cereal. This simple addition introduces a delightful crunch and a unique texture that contrasts beautifully with the smooth, rich peanut butter filling and the decadent chocolate coating. It transforms a simple candy into a sophisticated, yet still incredibly easy, no-bake delight that consistently earns rave reviews from everyone who tries them.
Forget complicated baking or long ingredient lists. All you need is just 5 simple ingredients to create this super easy and incredibly tasty dessert. It’s a recipe that promises minimal effort for maximum holiday cheer. Our family absolutely adores this recipe; it’s always a huge hit, and I often find myself making a double batch to keep up with the demand!
Imagine the joy of creating a festive, homemade treat with just a few basic pantry staples. These chocolate-dipped Rice Krispies peanut butter balls are not only easy to prepare but also perfect for gifting, adding to holiday cookie platters, or simply enjoying with a warm cup of coffee. Their simplicity and irresistible flavor make them a staple in our holiday repertoire, and I’m confident they’ll become one in yours too.
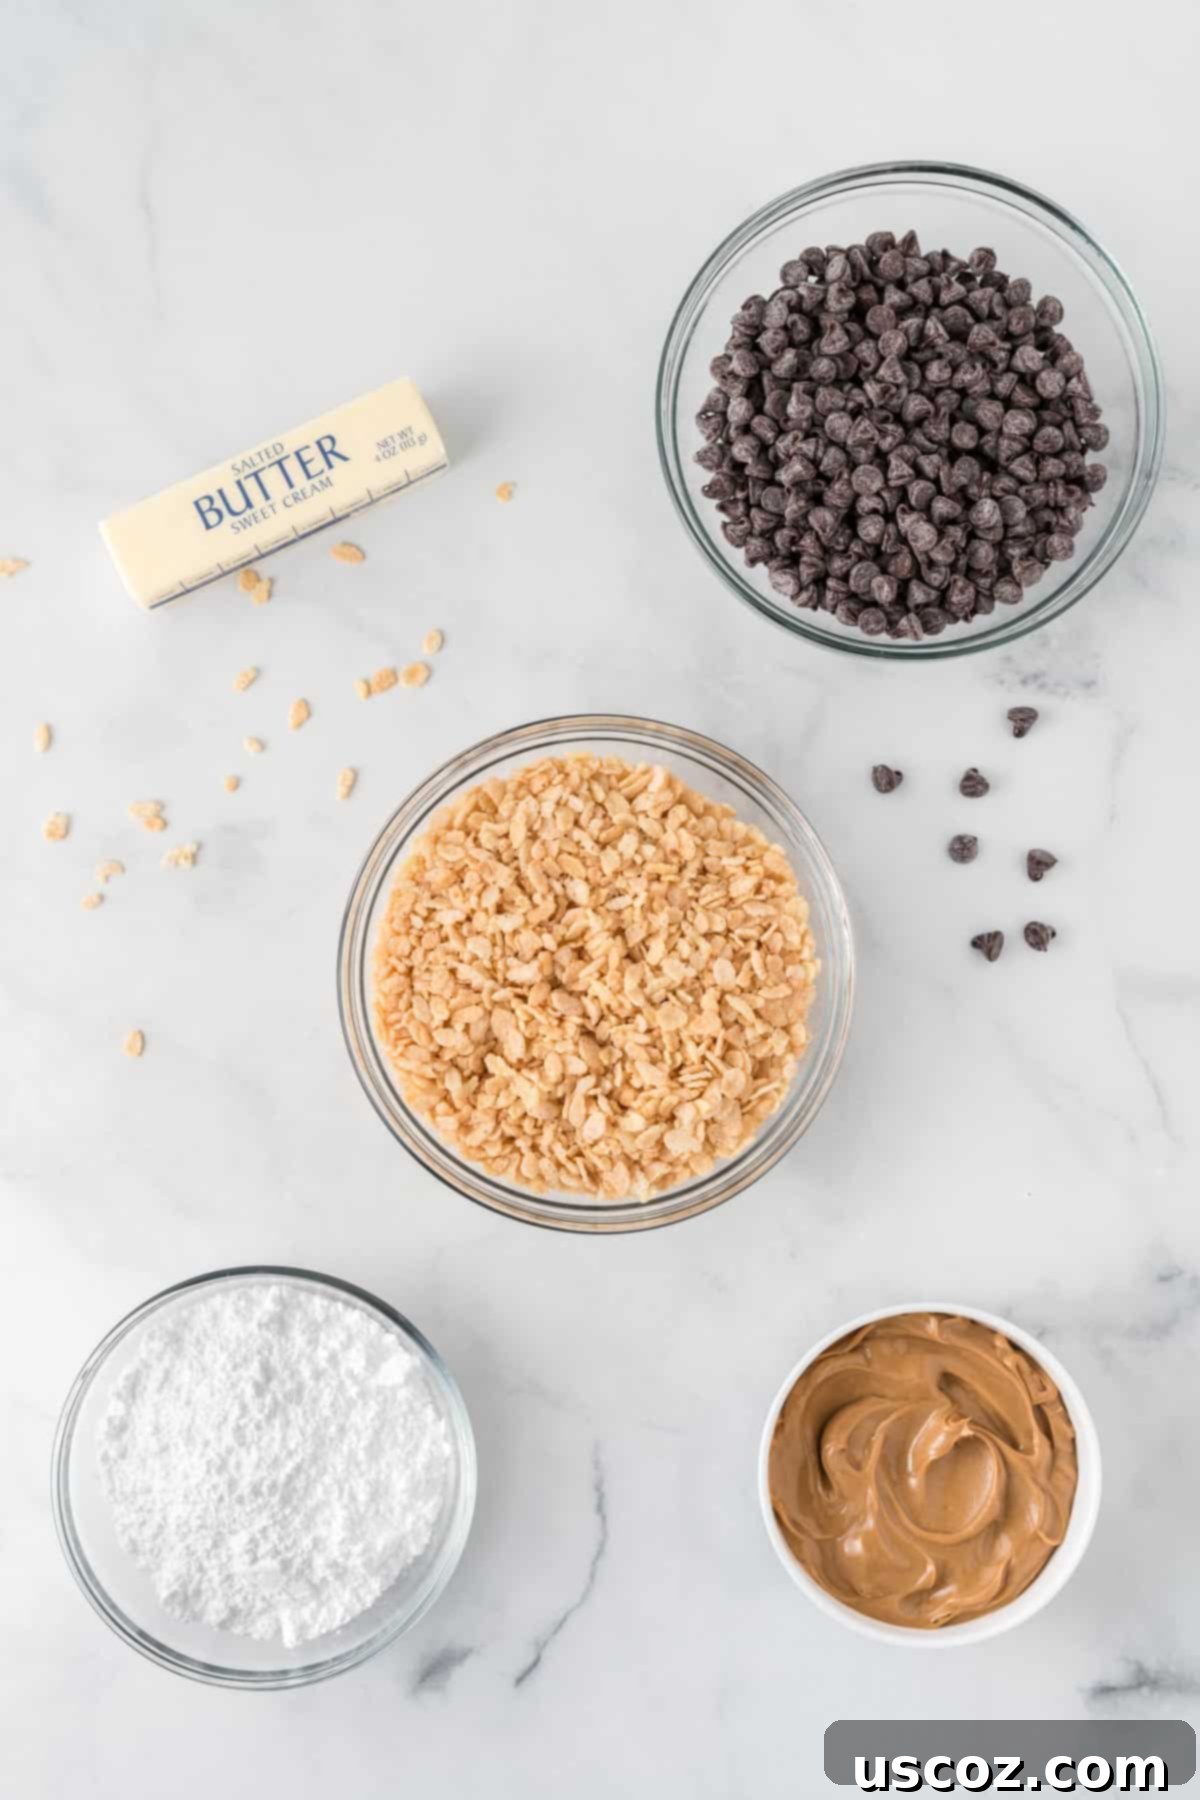
Essential Ingredients for Your Crunchy Peanut Butter Balls
Creating these delightful no-bake peanut butter balls with Rice Krispies requires just a handful of common ingredients. Each plays a crucial role in achieving that perfect balance of sweet, salty, creamy, and crunchy.
- Salted Butter: A key ingredient that provides richness and helps bind the mixture. The subtle saltiness also perfectly complements the sweet peanut butter and chocolate.
- Creamy No-Stir Peanut Butter: Opt for a good quality, creamy peanut butter that doesn’t require stirring. This ensures a consistent texture for your balls. Avoid natural peanut butter that separates, as it can make the mixture oily.
- Rice Krispies Cereal: The star ingredient for that incredible crunchy texture! Don’t skip these; they truly transform the candy.
- Semi-Sweet Chocolate Chips: These will form the delicious coating. You can also use milk chocolate for a sweeter profile or dark chocolate for a more intense flavor.
- Powdered Sugar: Also known as confectioners’ sugar, this fine sugar blends seamlessly into the mixture, creating a smooth, sweet base for the peanut butter balls.
How to Make Peanut Butter Balls with Rice Krispies: Step-by-Step Guide
Making these crunchy peanut butter balls is a straightforward process, perfect for even beginner bakers (or no-bakers!). Follow these simple steps for a perfect batch every time.
Step 1: Combine Peanut Butter and Melted Butter
In a large mixing bowl, combine the creamy no-stir peanut butter and the melted salted butter. Use either a stand mixer fitted with a paddle attachment or a hand mixer on medium speed. Beat until the mixture is completely smooth and well-incorporated. This initial step is crucial for achieving a uniform base for your peanut butter balls, ensuring no lumps of butter remain. Scrape down the sides of the bowl as needed to ensure everything is thoroughly mixed.
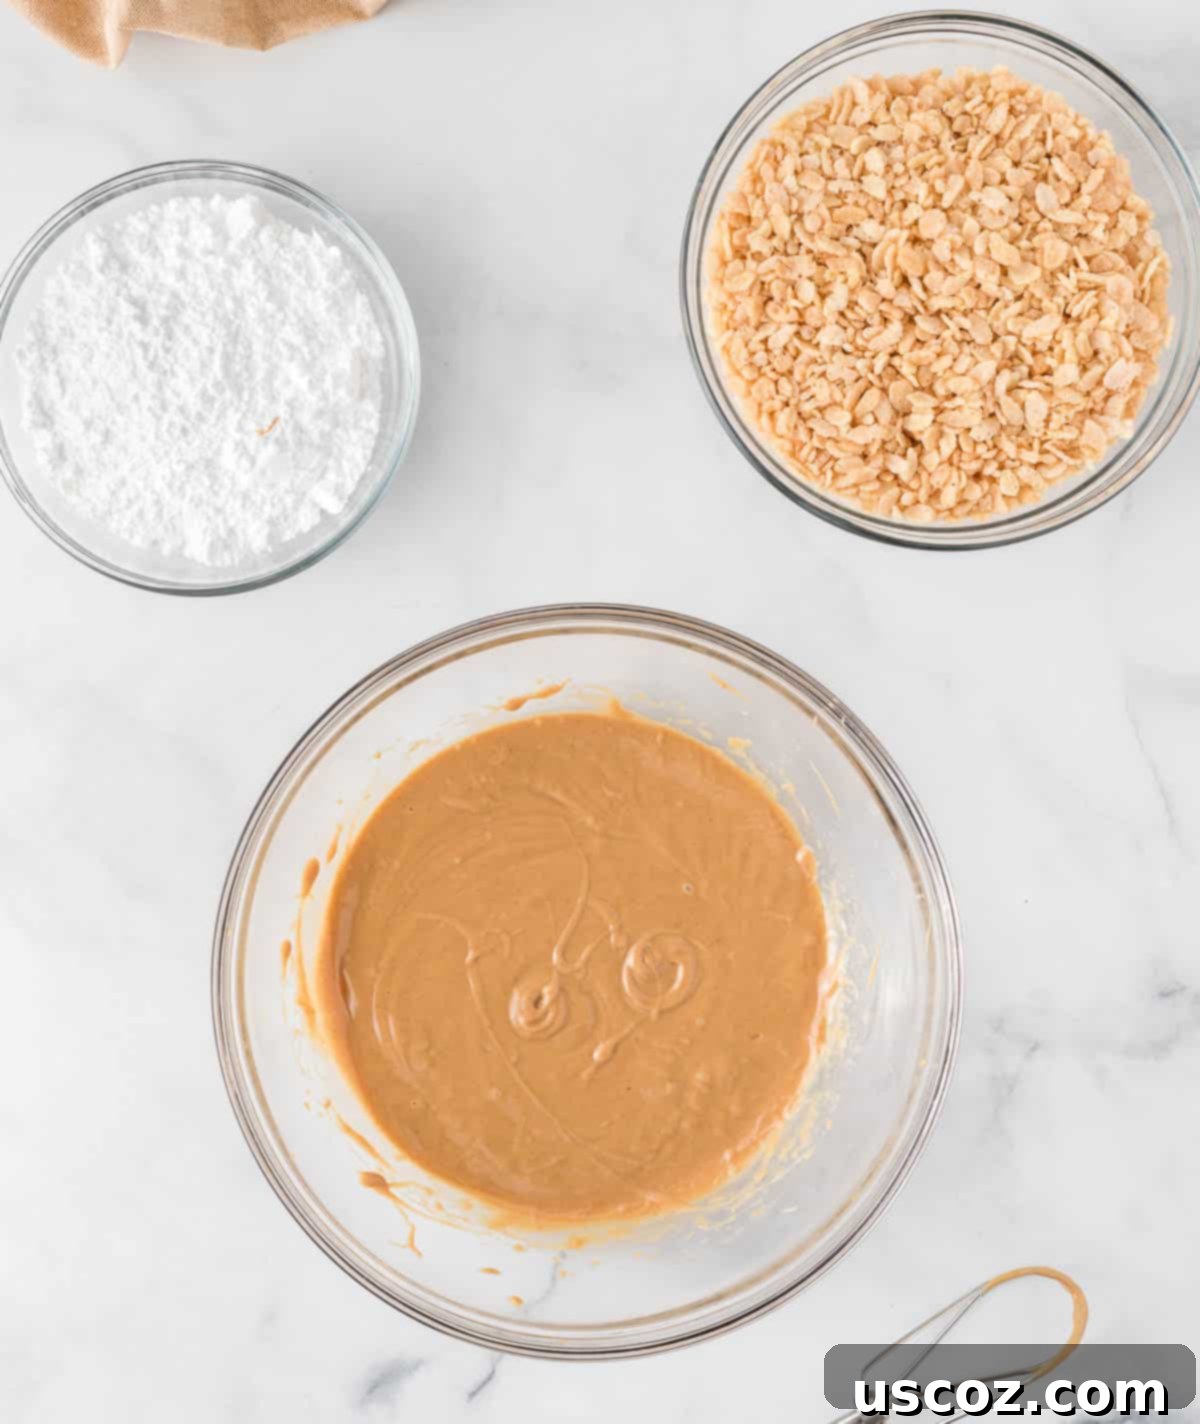
Step 2: Incorporate Rice Krispies and Powdered Sugar
Once your peanut butter and butter mixture is smooth, gently fold in the Rice Krispies cereal. Mix until they are just combined, being careful not to crush them too much – you want to preserve that delightful crunch! Next, gradually add the powdered sugar, mixing on low speed until it starts to come together. As the mixture becomes thicker and harder for the mixer to handle, switch to mixing by hand using a sturdy rubber spatula. This prevents overmixing and ensures the texture remains perfect. Continue mixing until all the powdered sugar is fully incorporated and you have a thick, pliable dough.
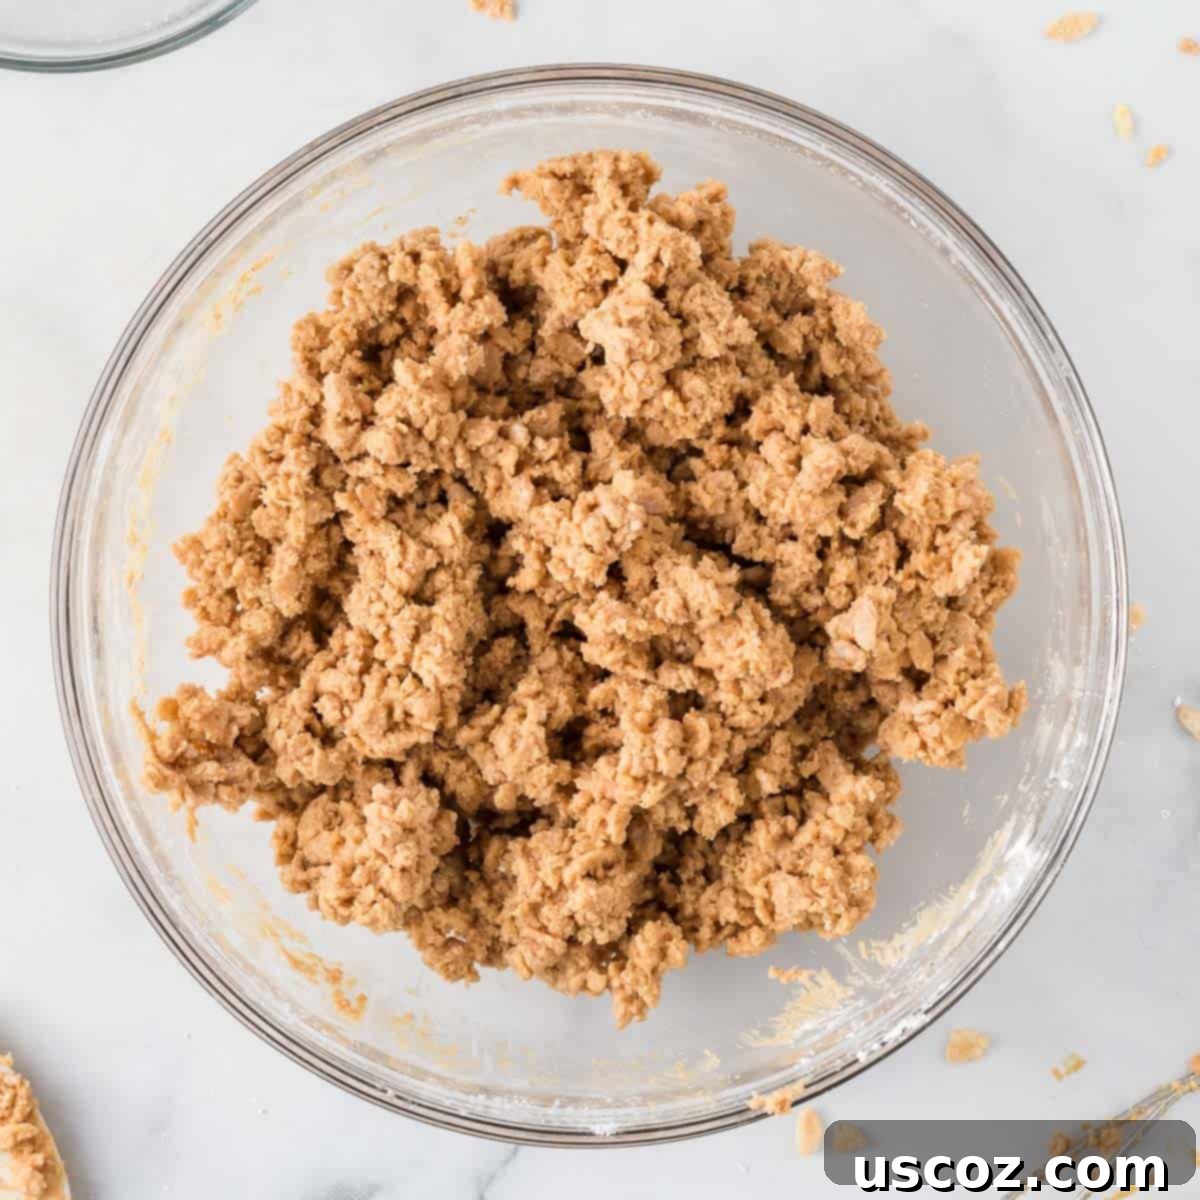
Step 3: Form and Chill the Peanut Butter Balls
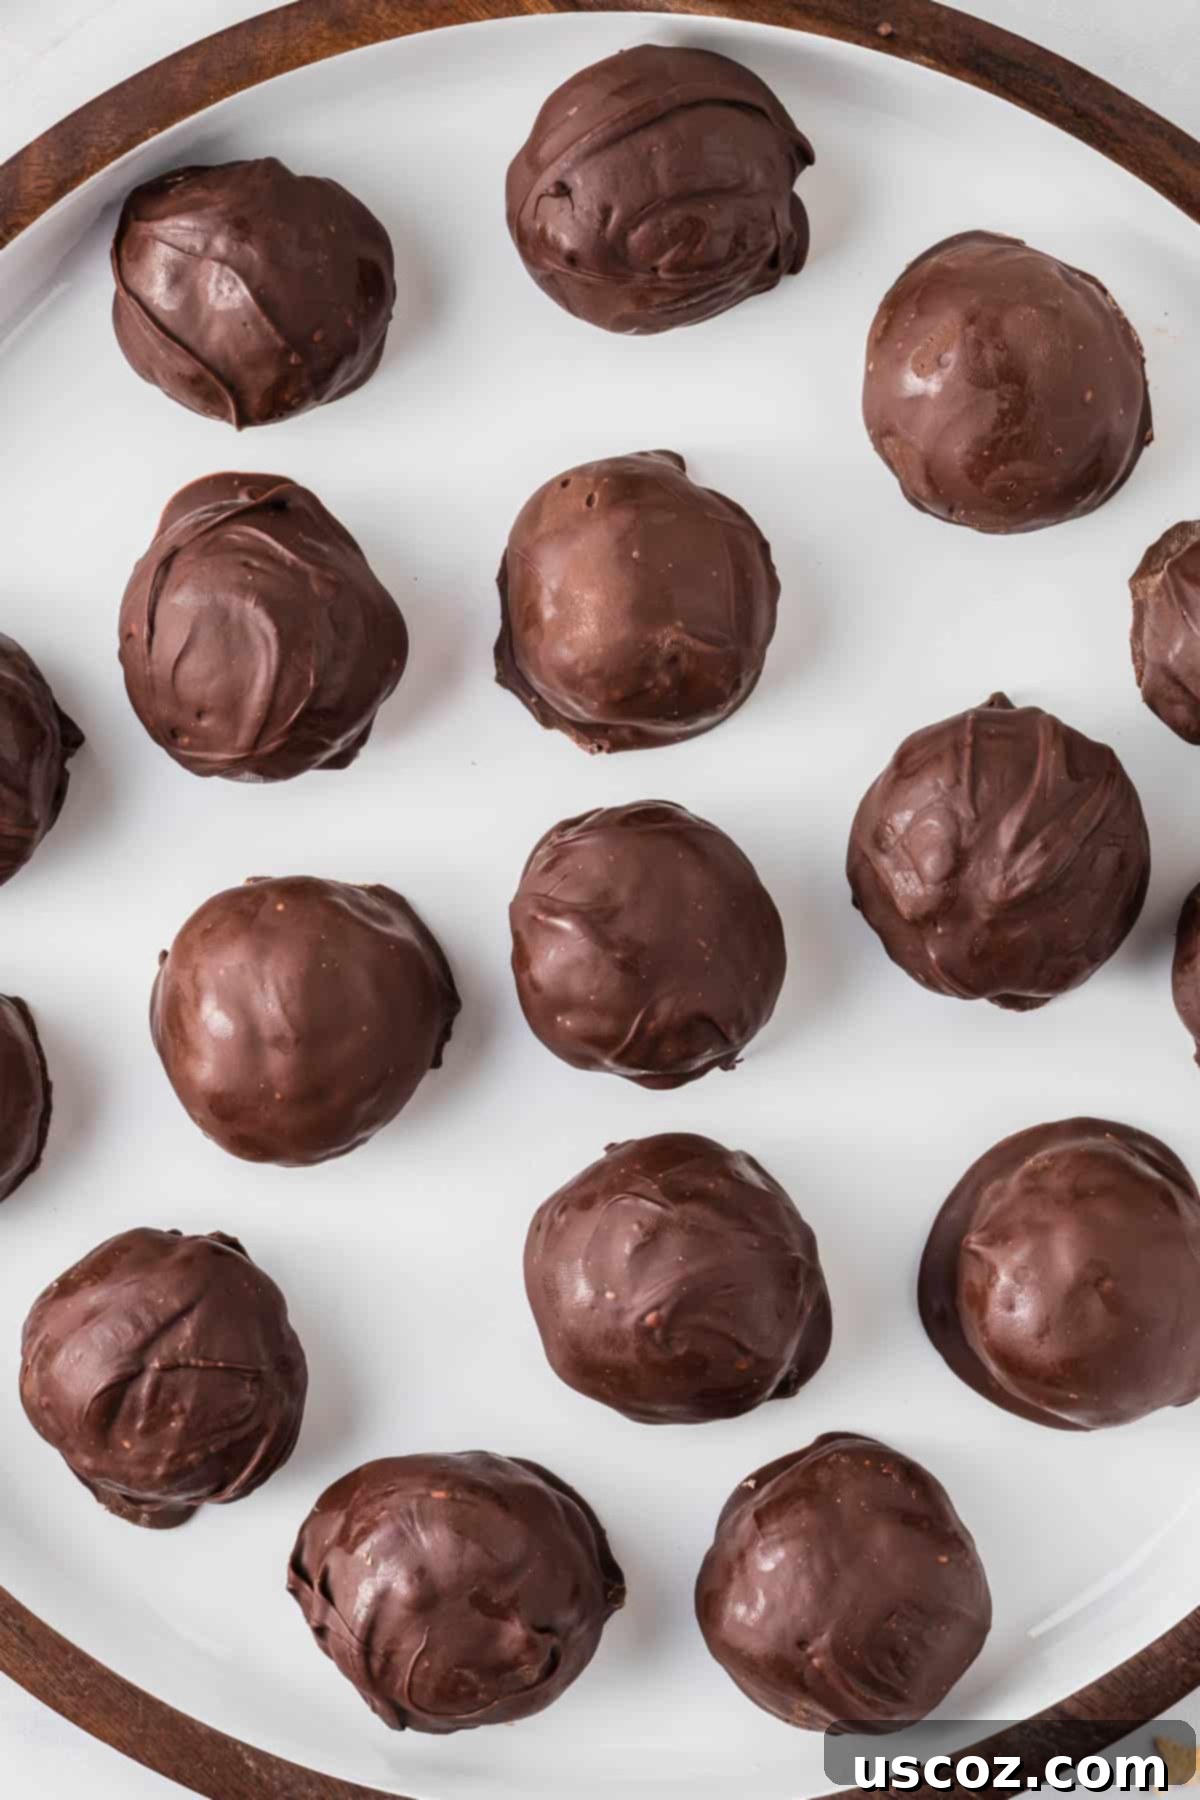
Line a large baking sheet with parchment paper. This will prevent the balls from sticking and make cleanup much easier. Use a small cookie scoop (about 1.5-2 tablespoons) to portion out the peanut butter mixture onto the prepared baking sheet. Once portioned, roll the batter between your hands to form smooth, round balls. Aim for a consistent size for even chilling and dipping. After rolling, place the Rice Krispies peanut butter balls in the refrigerator to chill for at least 30 minutes. This chilling step is absolutely essential; it will firm them up, making them less sticky and much easier to dip into the melted chocolate without falling apart.
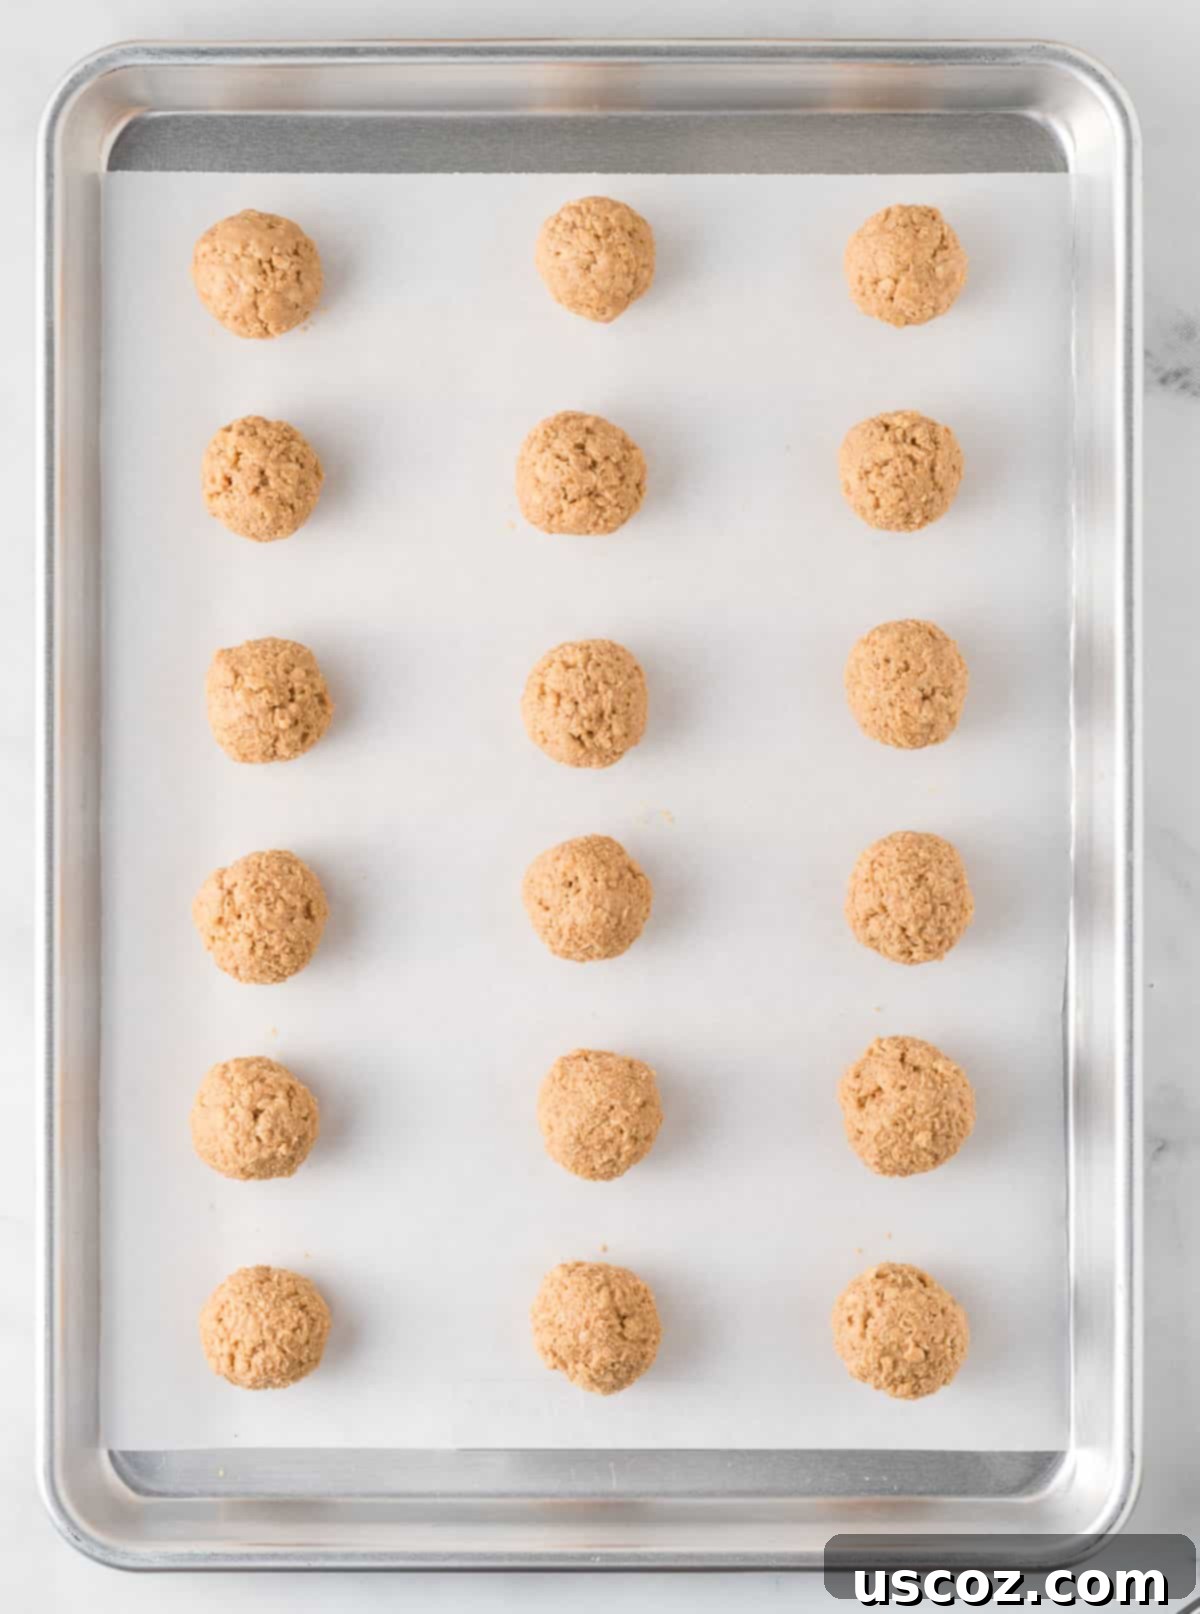
Step 4: Melt Chocolate and Dip the Balls
While the peanut butter balls are chilling, prepare your chocolate coating. Place the semi-sweet chocolate chips in a microwave-safe bowl. Melt the chocolate in 20-30 second increments, stirring well after each interval, until it is completely smooth and fluid. Alternatively, you can use a double boiler method for melting chocolate, which provides a more gentle heat. Ensure no water gets into the chocolate, as this can cause it to seize.
Recipe Tip: Choosing Your Chocolate for Dipping
While semi-sweet chocolate chips work wonderfully, you can also use chocolate melting wafers (often labeled as candy melts). These are specifically designed for melting and dipping, offering a very smooth, glossy finish that sets quickly and firmly, making your peanut butter balls look professionally made. They come in various colors too, perfect for festive variations!
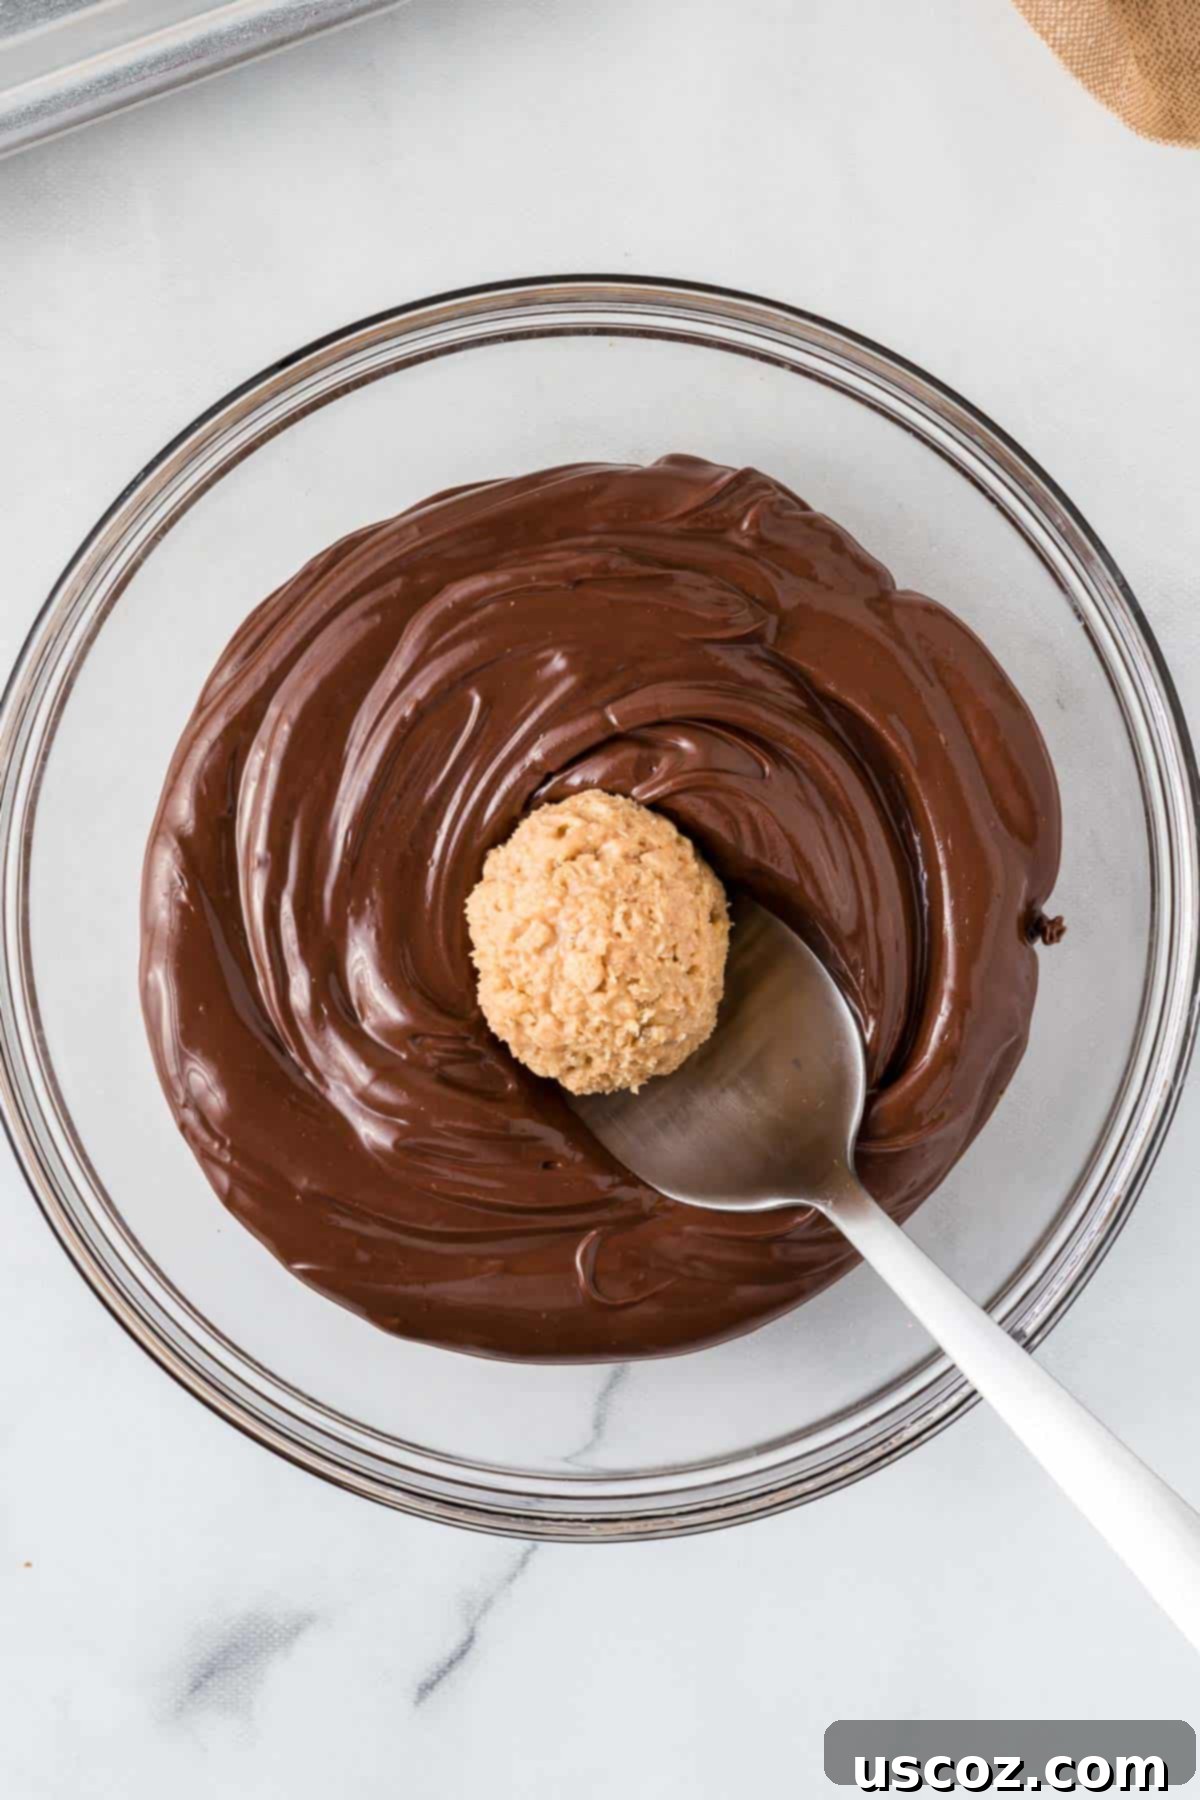
Once the chocolate is melted and the peanut butter balls are firm, carefully dip each ball into the melted chocolate, ensuring it’s fully coated. A fork or a dipping tool can be very helpful here to allow excess chocolate to drip off. Gently place the chocolate-dipped peanut butter balls back onto the parchment-lined baking sheet. For an extra touch of flair, you can sprinkle them with sea salt, festive sprinkles, or even a contrasting chocolate drizzle before the chocolate sets.
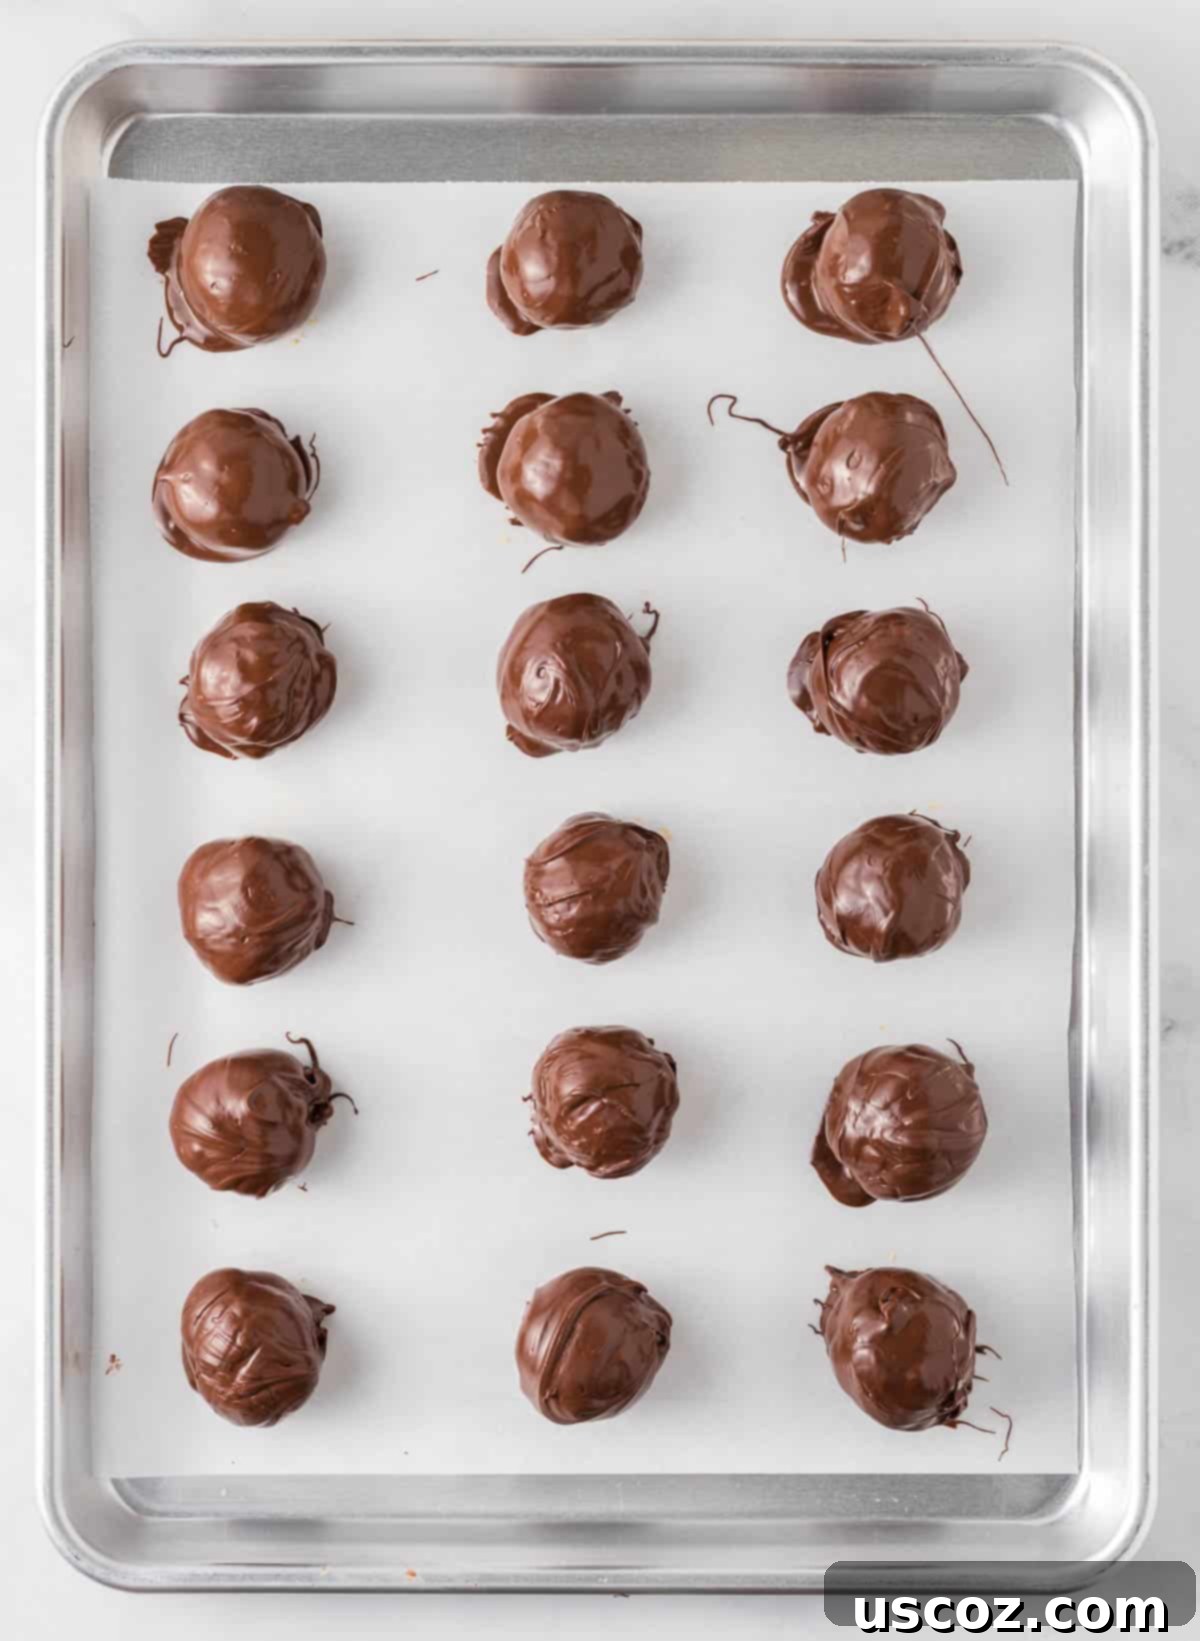
Step 5: Chill Until Firm
Finally, return the chocolate-dipped balls to the refrigerator. Allow them to chill for another 15-30 minutes, or until the chocolate coating has fully hardened and is firm to the touch. This ensures a clean, non-messy treat ready for enjoyment.
How to Store Your Peanut Butter Balls and Make Ahead Tips
Proper storage is key to keeping these delicious treats fresh and enjoyable. Once the chocolate coating has hardened completely, transfer the peanut butter balls to an airtight bag or container. Store them in the refrigerator for up to 1-2 weeks. The cool temperature helps maintain their firm texture and prevents the chocolate from melting.
This recipe is also incredibly freezer-friendly, making it a perfect make-ahead option for busy holiday seasons. If you find yourself with extra peanut butter balls, or if you want to get a head start on your holiday baking, simply place them in a single layer on a baking sheet to freeze until solid (about 1-2 hours). Then, transfer them to a freezer-safe bag or container, separating layers with parchment paper to prevent sticking. They can be stored in the freezer for up to 2-3 months. When you’re ready to serve, just thaw them in the refrigerator for a few hours or at room temperature for about 30 minutes, and they’ll be as good as new!
Preparing these a week or two ahead of your Christmas gathering and freezing them is an excellent way to reduce stress during the holidays, ensuring you have a delicious homemade treat ready to go!
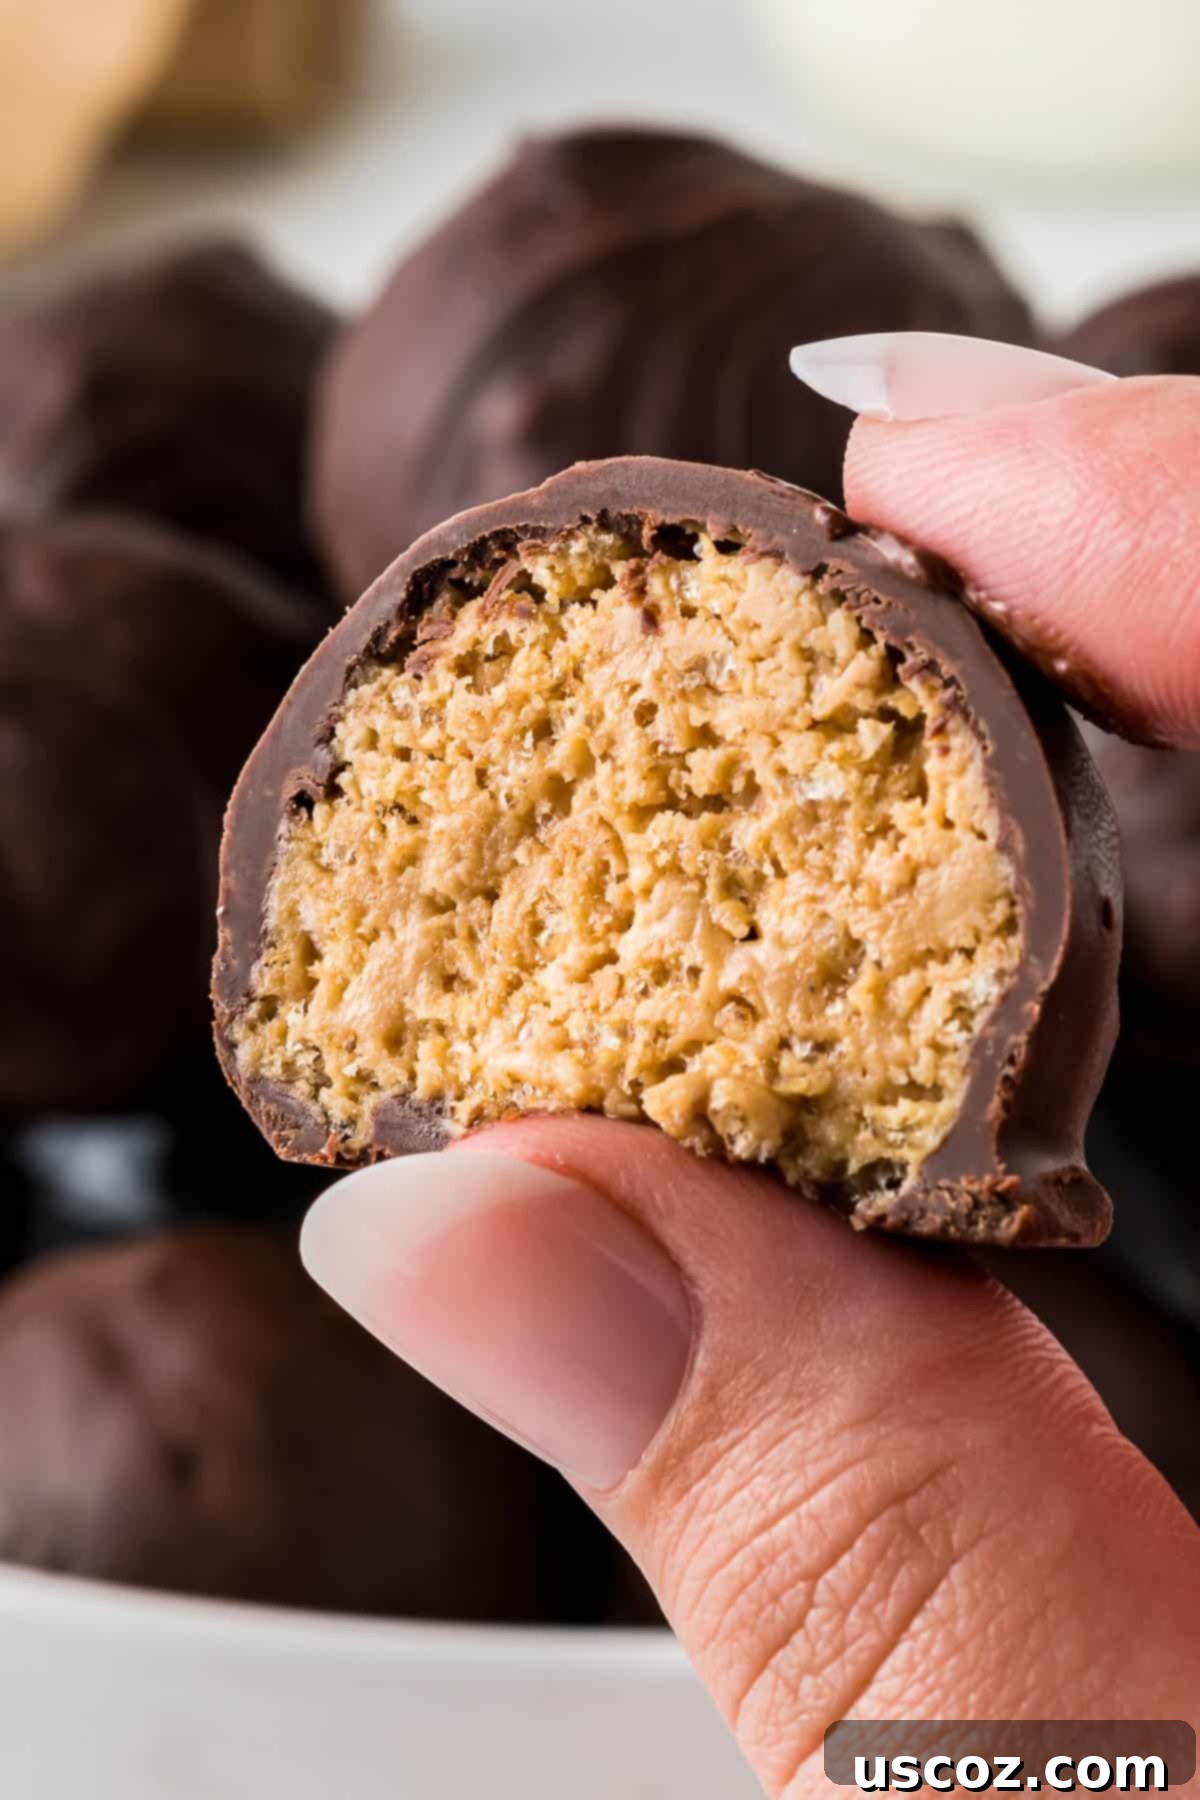
Why These Peanut Butter Truffles are a Must-Try!
As a huge fan of all things peanut butter and chocolate, I can confidently say that these Rice Krispies-infused peanut butter truffles are an absolute winner and certainly did not disappoint! The combination of creamy peanut butter, crunchy cereal, and smooth chocolate creates a textural symphony that is simply addictive.
Not only are they incredibly easy to make, but their taste is truly amazing. There’s just something inherently satisfying about the classic pairing of peanut butter and chocolate, and the added crunch from the Rice Krispies takes this familiar favorite to an exciting new level. These make fantastic edible gifts, impressive additions to any dessert table, or a simple indulgence for yourself.
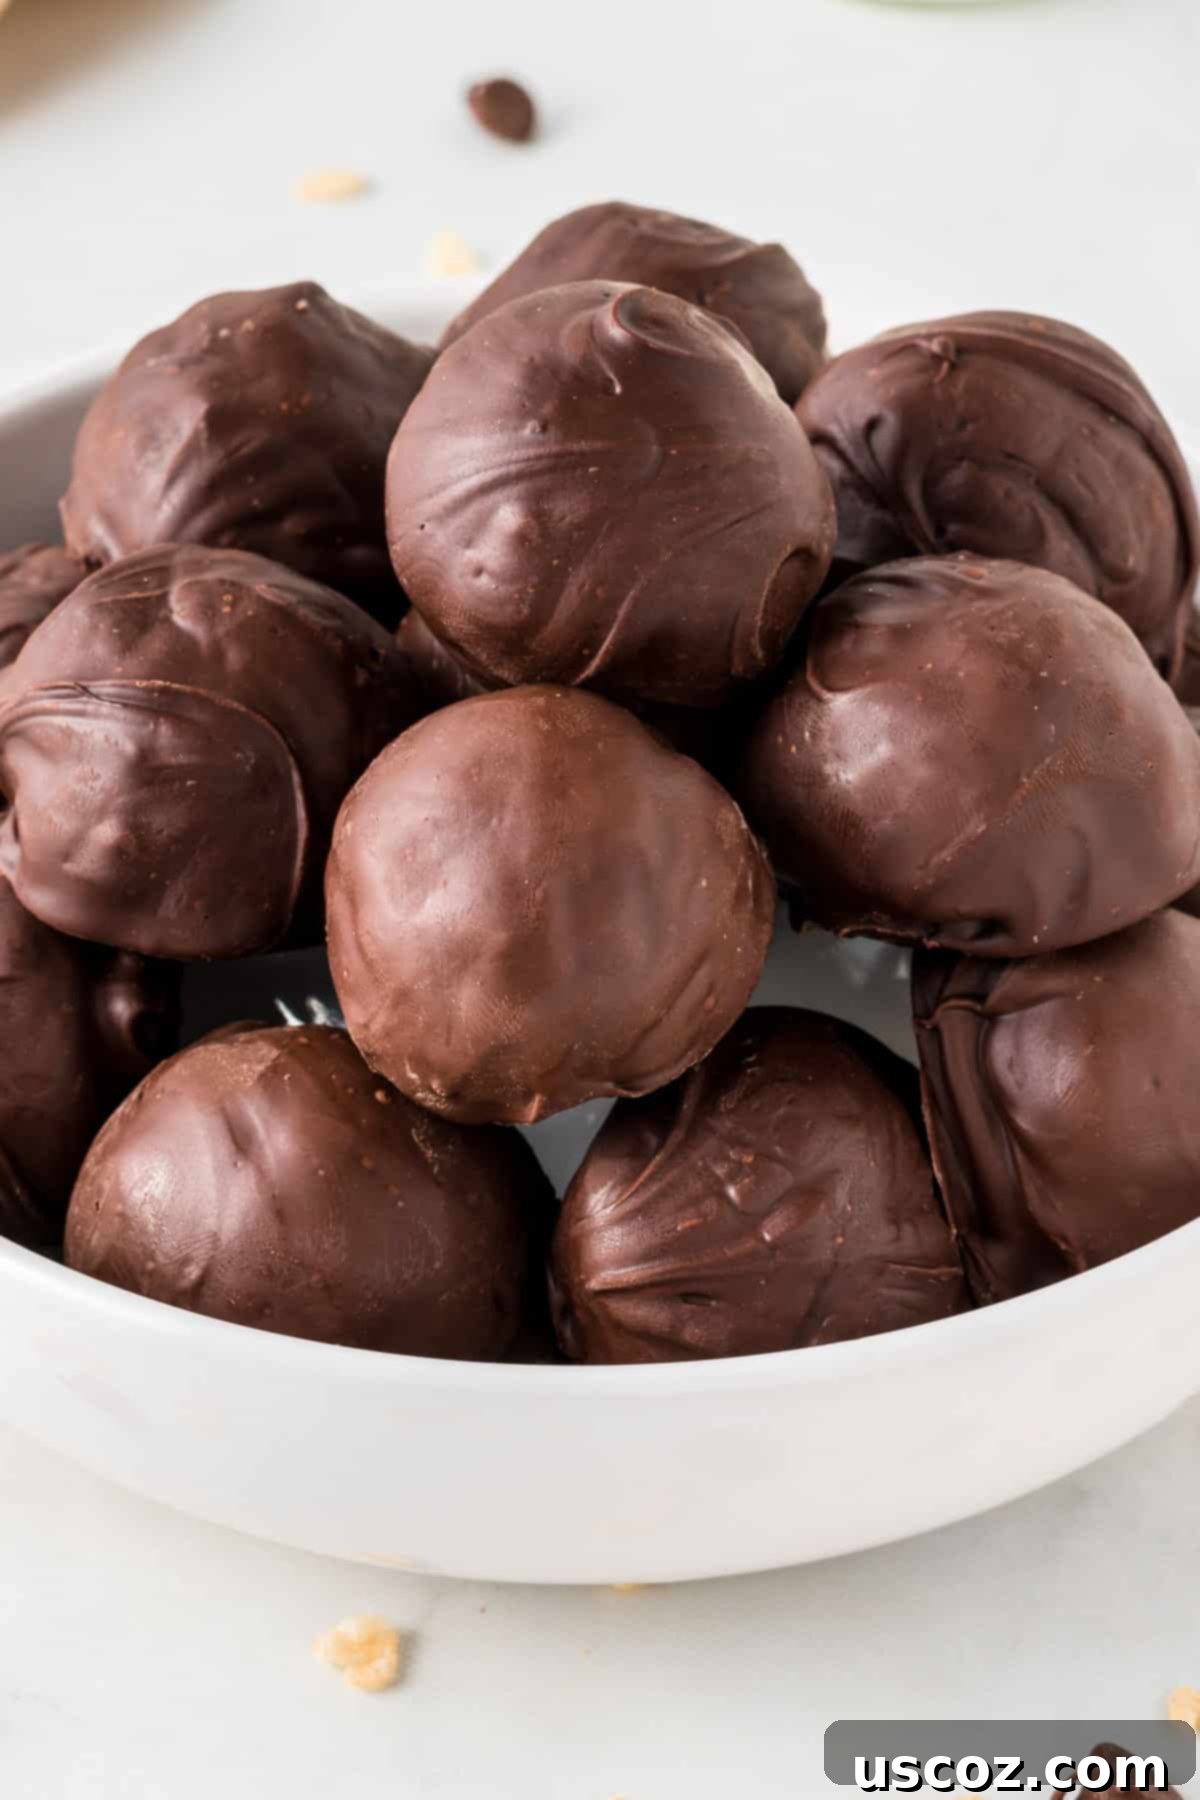
Tips for Perfect Peanut Butter Balls Every Time
- Don’t Skip the Chill Time: The refrigeration steps are crucial. Chilling the peanut butter mixture makes it firm and easier to roll, preventing sticky hands. Chilling after dipping ensures the chocolate sets properly, giving you a clean, firm coating.
- Use Good Quality Ingredients: A good quality no-stir creamy peanut butter makes a big difference in the final texture and flavor. Similarly, choose a chocolate you love to eat on its own, as it will be a prominent flavor.
- Uniform Size: Using a cookie scoop helps ensure all your peanut butter balls are the same size. This not only makes them look nicer but also ensures they chill and dip evenly.
- Smooth Chocolate Coating: When melting chocolate, do it slowly and stir frequently to avoid scorching. If your chocolate is too thick for dipping, you can add a tiny bit of coconut oil or vegetable shortening (about ½-1 teaspoon per cup of chocolate chips) to thin it out for a smoother coating.
- Get Creative with Toppings: Before the chocolate sets, you can add various toppings like festive sprinkles, chopped nuts (peanuts, pecans), a sprinkle of flaky sea salt, or a contrasting white chocolate drizzle for a beautiful finish.
These are so delicious and easy enough to make a batch (or two) any time the holiday mood strikes, or simply when you’re craving a satisfying no-bake dessert!
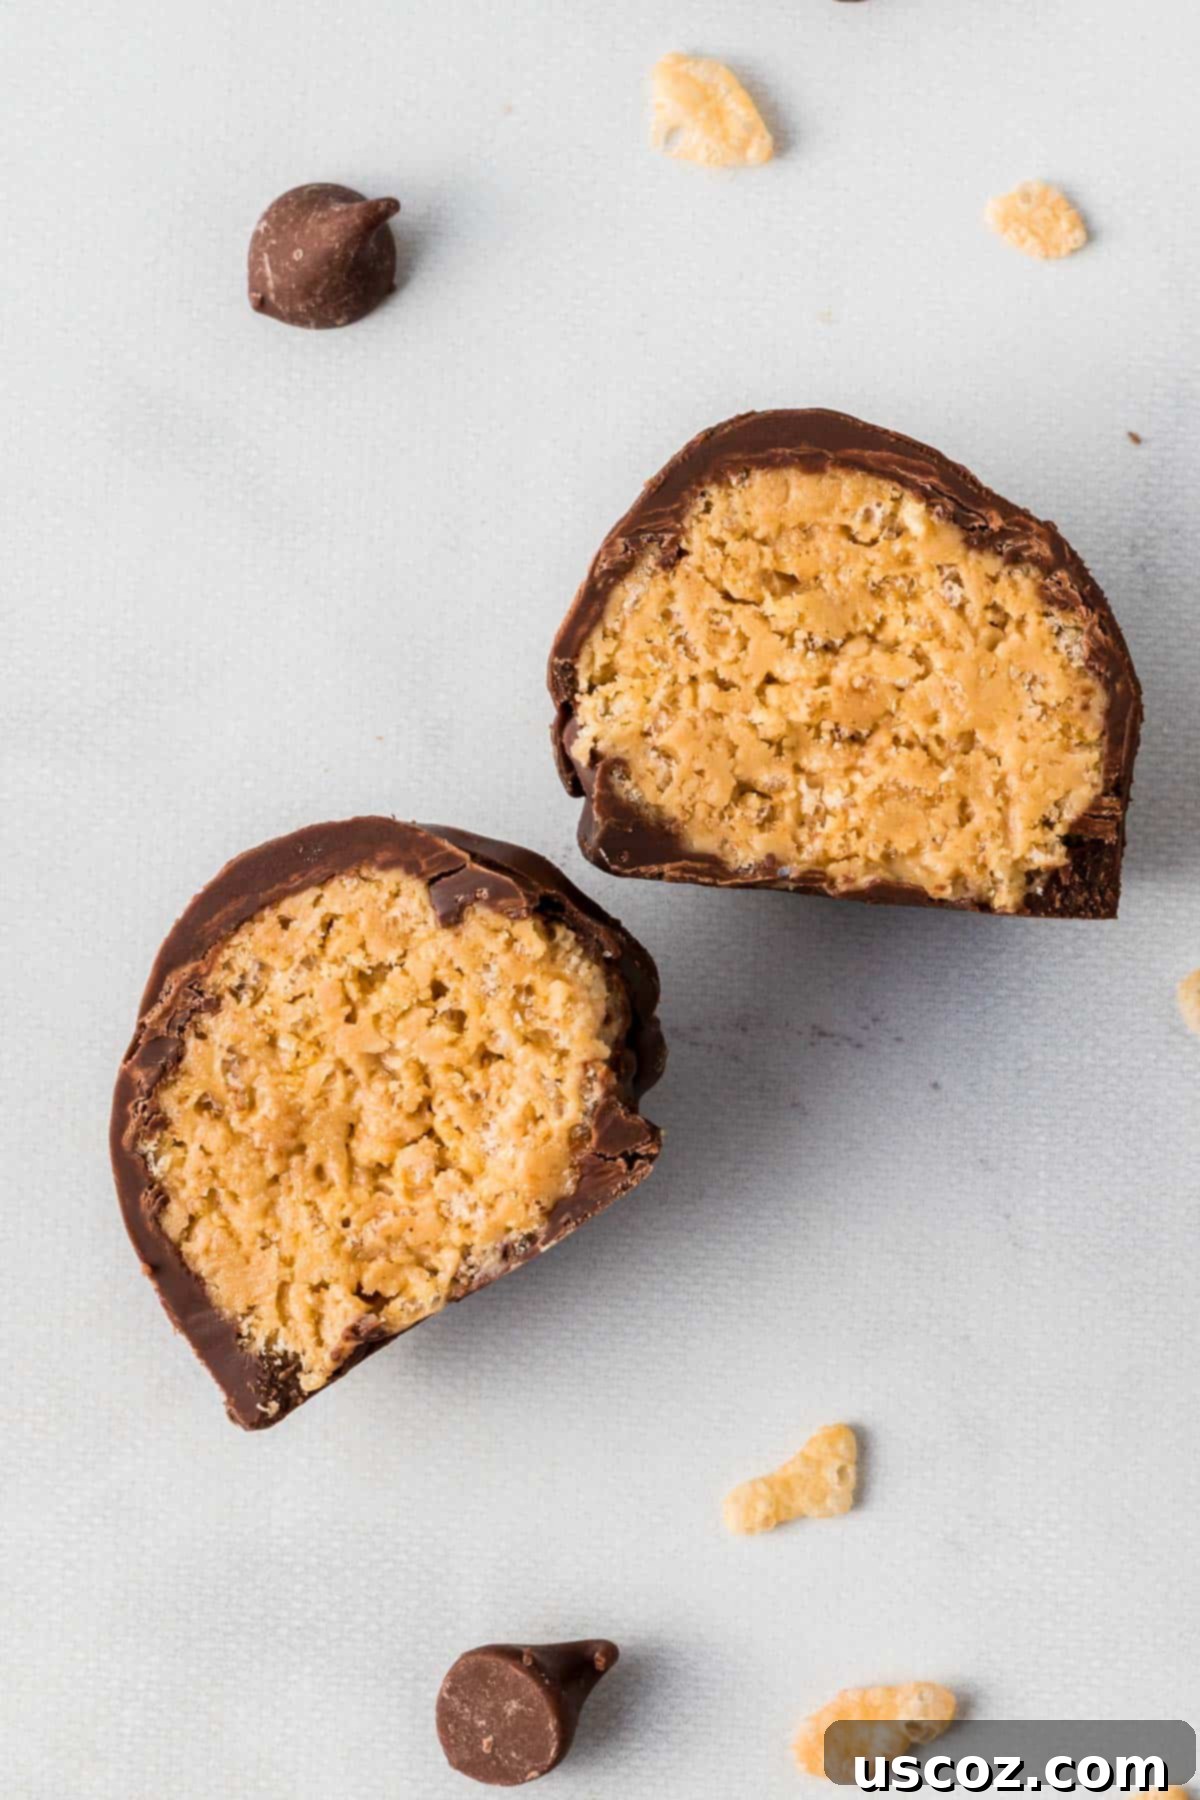
More Irresistible Holiday Desserts to Try
If you loved these crunchy peanut butter balls, you’re sure to enjoy these other festive and easy-to-make holiday treats!
- Christmas Cookie Bars
- Pecan Pie Balls
- Christmas Crack
- Avalanche Cookies
- Peanut Clusters
- Christmas Oreo balls
- Ritz Cracker Cookies
- Mint Oreo Truffles
- Peanut Butter Balls with Graham Crackers
- Cake Mix Christmas Cookies
- Chocolate Peppermint Bark
- Graham Cracker Toffee
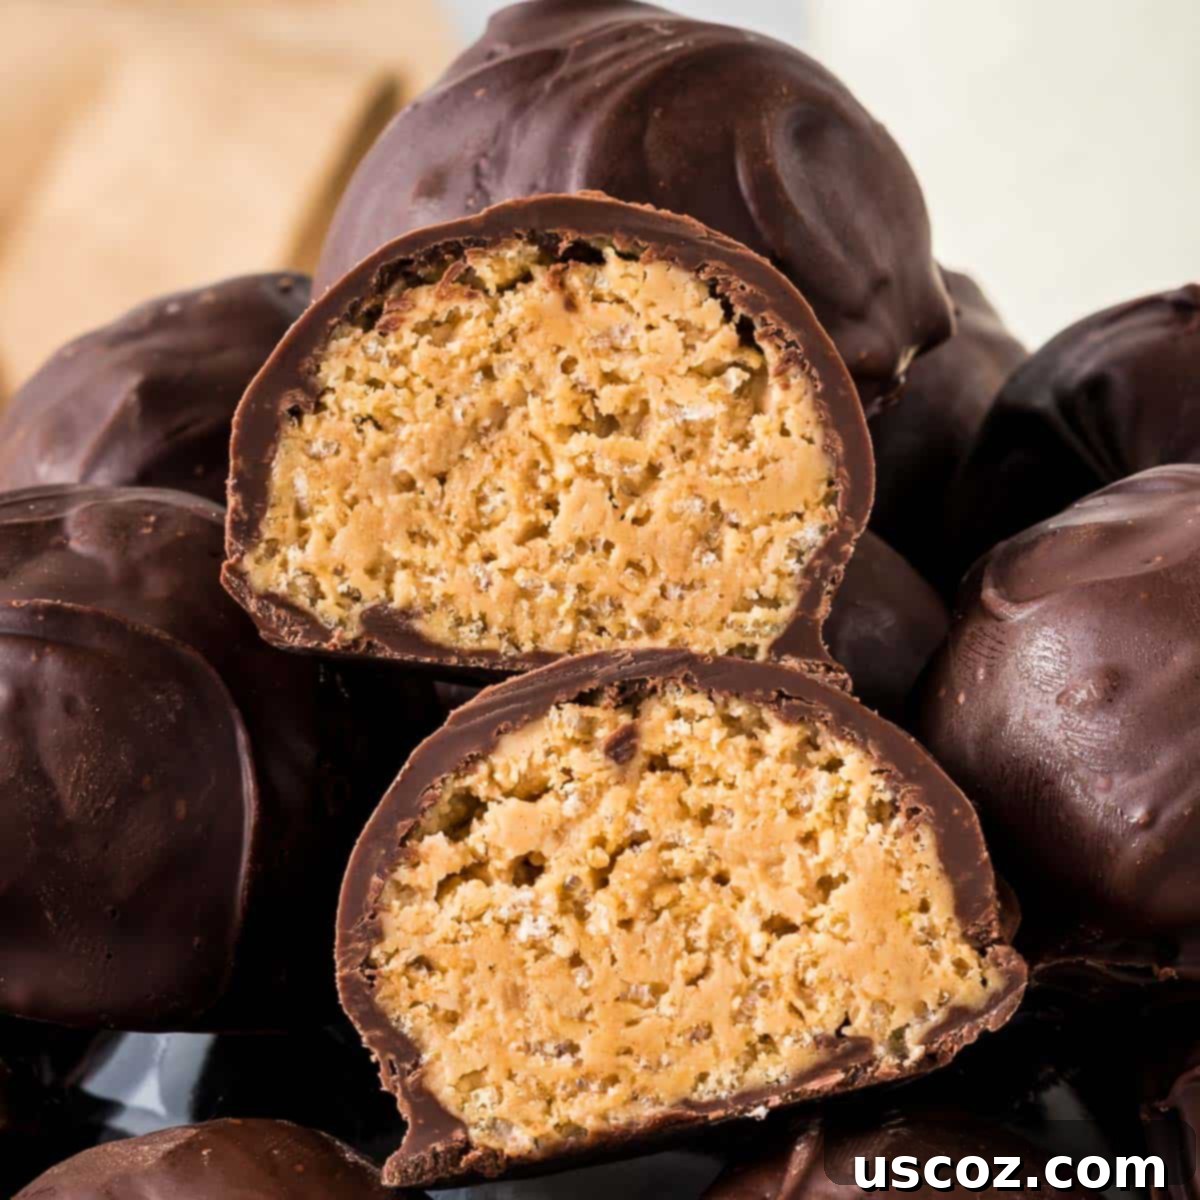

Peanut Butter Balls with Rice Krispies
Save RecipeSaved!
Pin Recipe
Rate Recipe
Print Recipe
Ingredients
- 1 cup creamy no stir peanut butter
- 3 tablespoons salted butter, melted
- 1 cup powdered sugar
- 2 ½ cups rice krispies cereal
- 12 oz Semi sweet chocolate chips , or chocolate melting wafers
Instructions
-
Use a KitchenAid stand mixer or a hand mixer to combine the creamy peanut butter and melted butter until perfectly smooth.
-
Gently add the Rice Krispies cereal to the peanut butter mixture and mix until just combined, being careful not to crush them.
-
Gradually add the powdered sugar and mix until the mixture becomes very thick.
-
Once it becomes too hard for the mixer, finish combining it thoroughly by hand with a sturdy rubber spatula.
-
Line a baking sheet with parchment paper to prevent sticking.
-
Use a cookie scoop to portion out the peanut butter mixture onto the baking sheet.
-
Roll the portions into smooth, round balls with your hands and place them in the fridge for at least 30 minutes to thoroughly chill and firm up. This step is essential for easy dipping.
-
Melt the chocolate chips (or wafers) in the microwave in 20-30 second intervals, stirring well after each, until completely smooth and melted.
-
Dip each chilled Rice Krispies peanut butter ball into the melted chocolate, ensuring it’s fully coated. Let any excess chocolate drip off before placing them back onto the lined baking sheet. Add optional toppings if desired.
-
Return the chocolate-dipped balls to the fridge and chill until the chocolate coating is firm and set.
-
Store leftover peanut butter balls in an airtight container in the refrigerator for up to two weeks, or in the freezer for several weeks.
Nutrition
Like this recipe? Rate and comment below!
