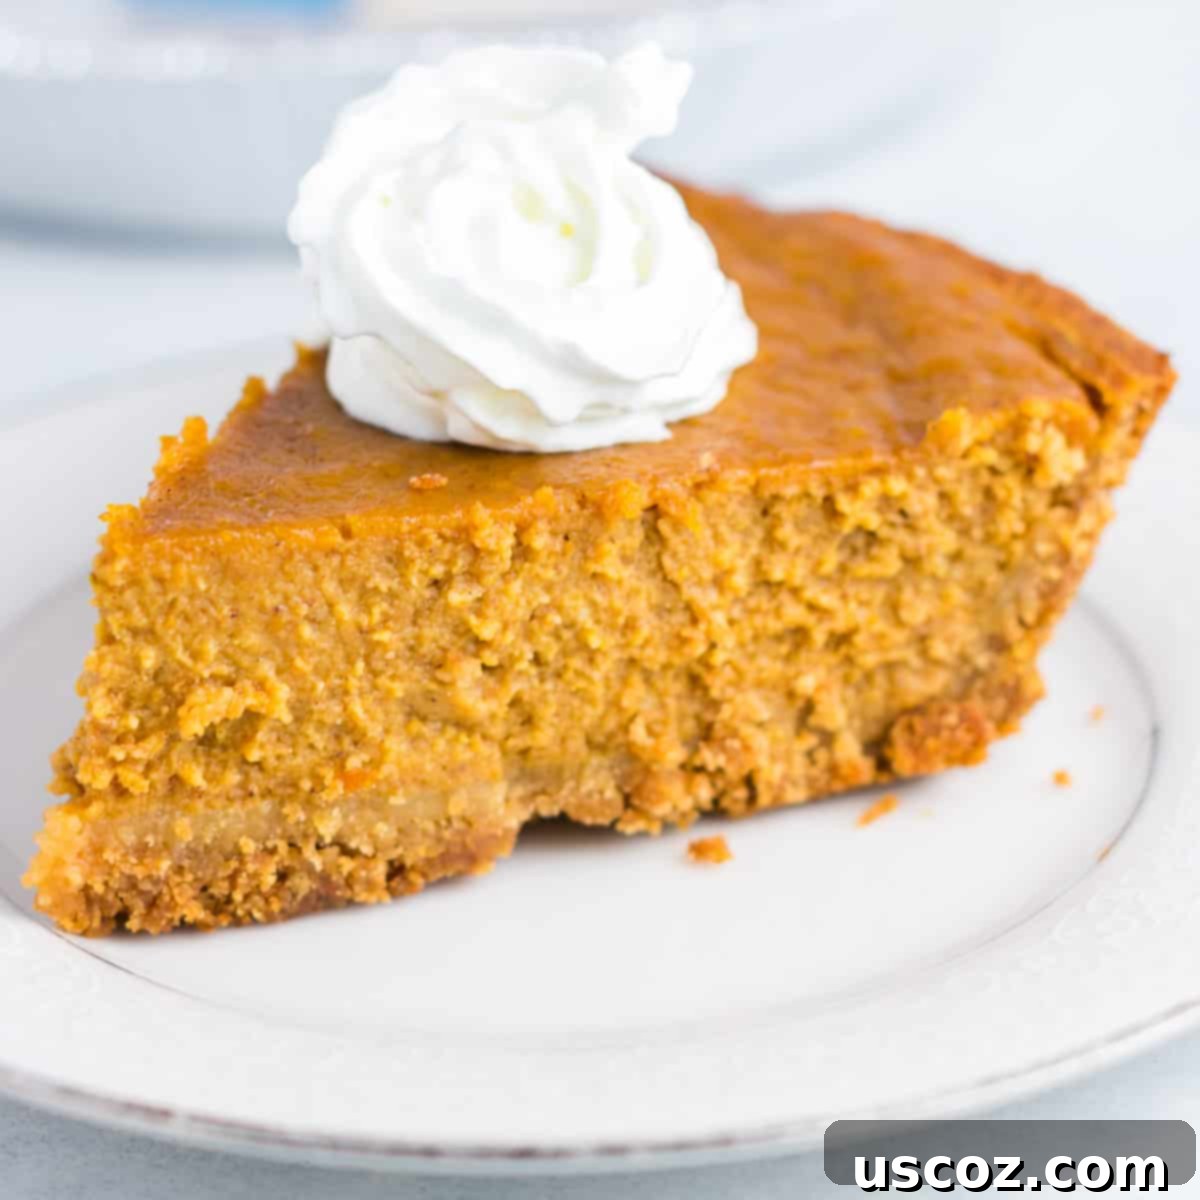
The Ultimate Easy Gluten-Free Pumpkin Pie with Graham Cracker Crust: Your Perfect Holiday Dessert
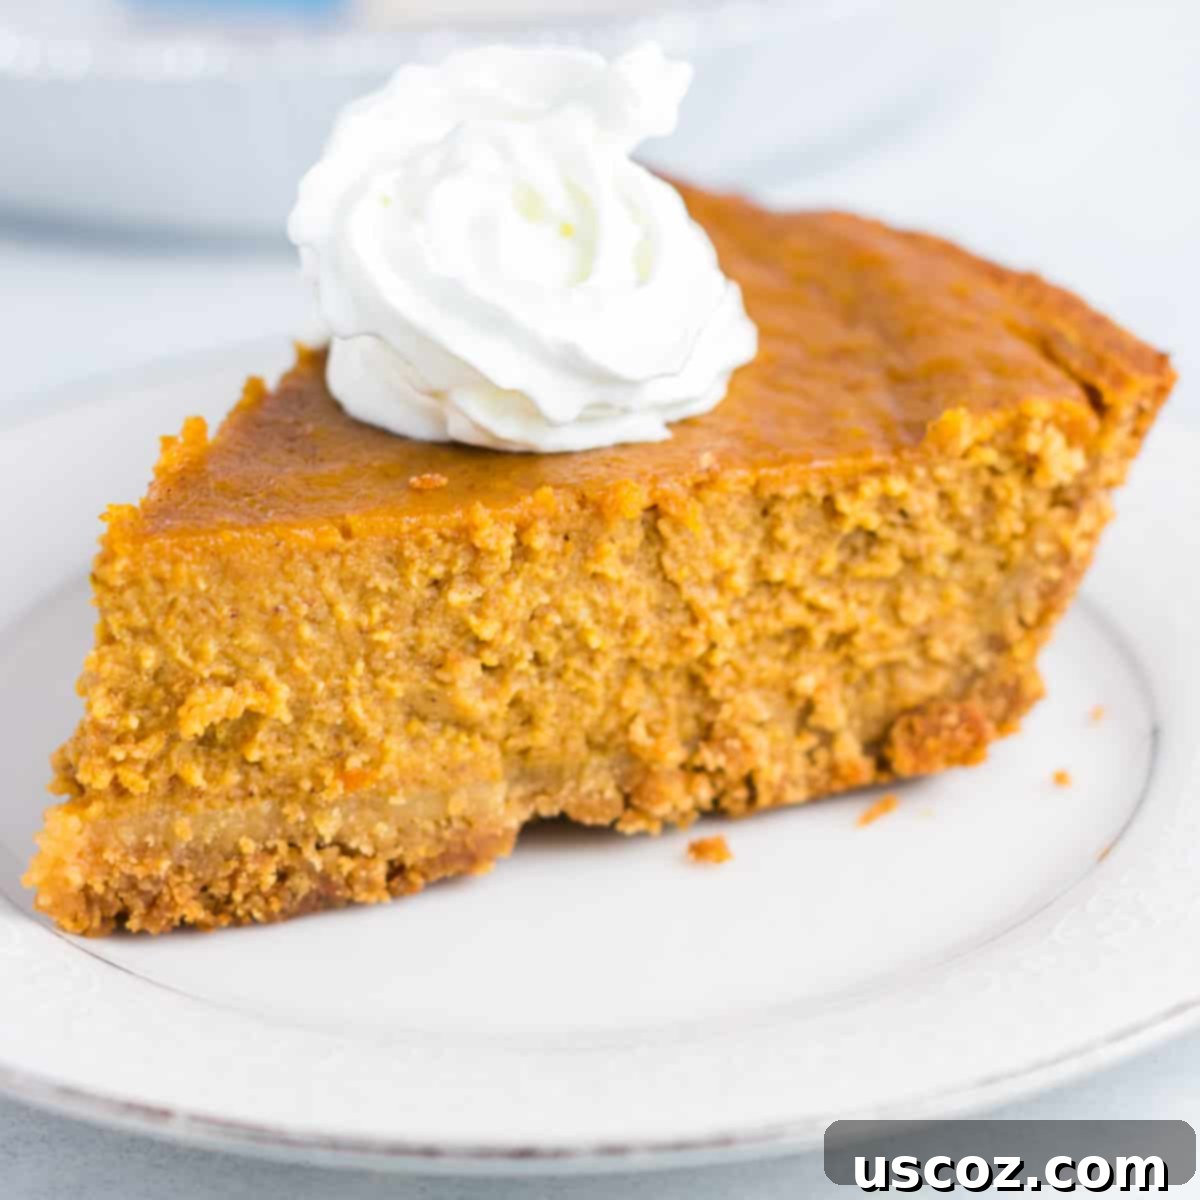
Discover the magic of a homemade-tasting **Gluten-Free Pumpkin Pie** that’s incredibly easy to make! Featuring a delightful graham cracker crust, this recipe is guaranteed to become a cherished family favorite for Thanksgiving and beyond. Say goodbye to complicated baking and hello to a simply delicious, crowd-pleasing dessert that everyone can enjoy.
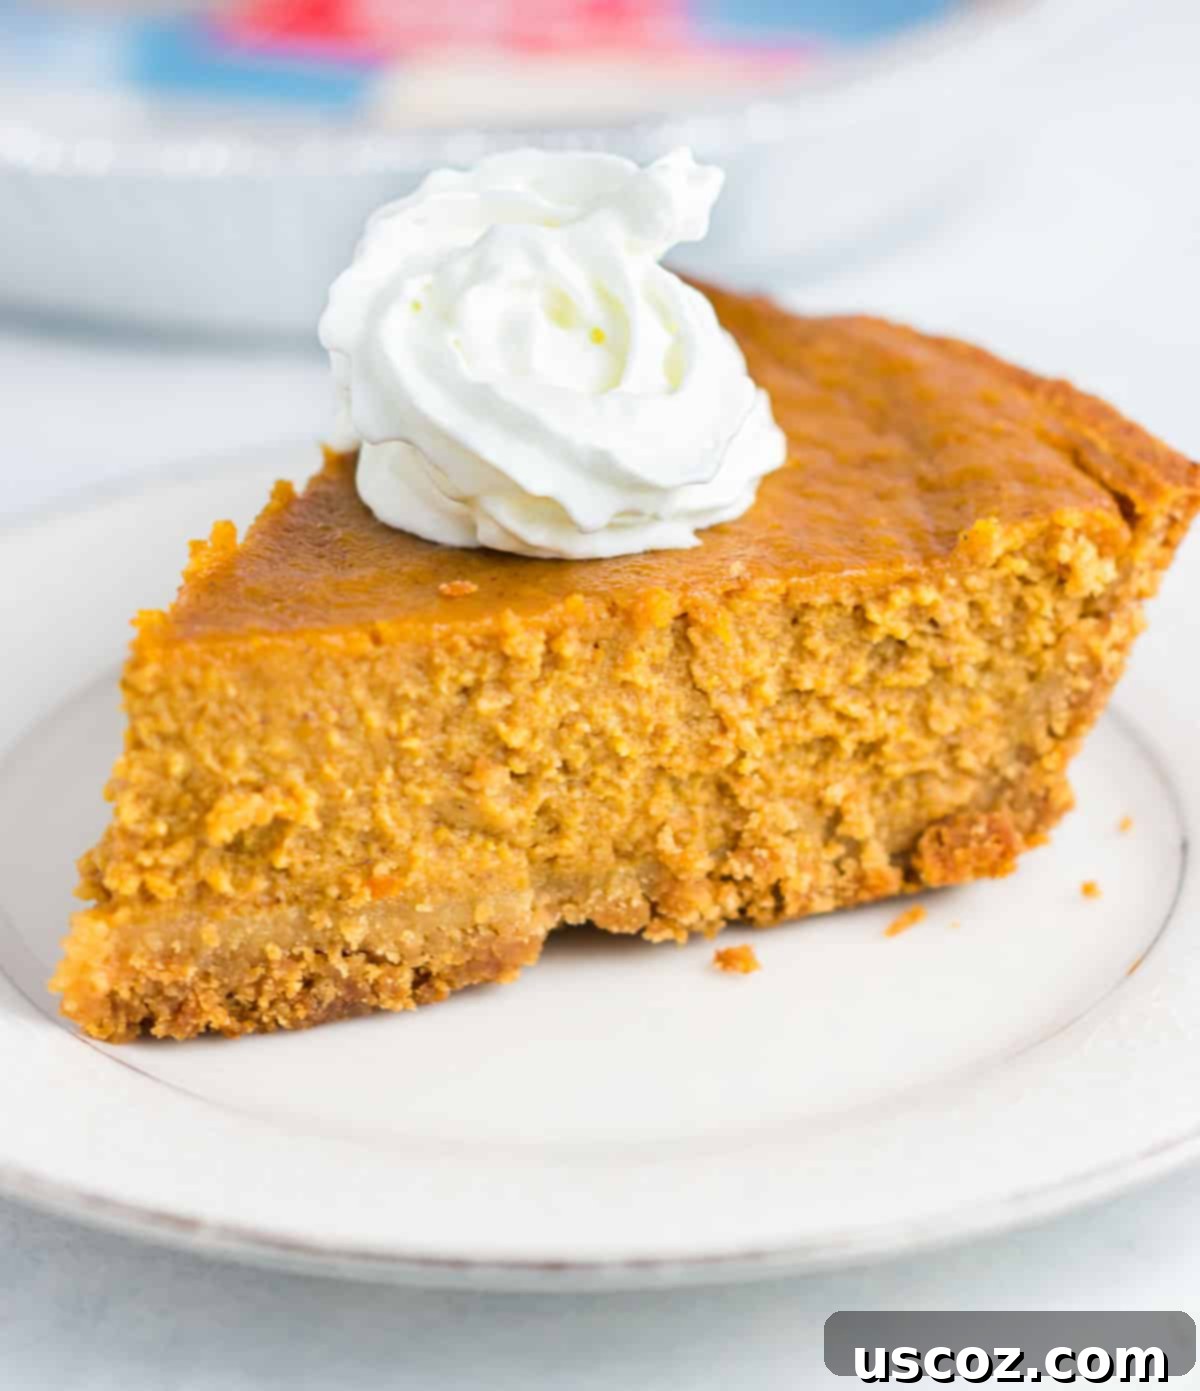
Why This Is the Easiest & Best Gluten-Free Pumpkin Pie Recipe!
Pumpkin pie is undeniably a staple of the holiday season, a comforting dessert that evokes warmth and tradition. For those navigating gluten sensitivities, finding a truly delicious and authentic-tasting gluten-free version can be a challenge. Many recipes often fall short, sacrificing texture or flavor in the process. But what if we told you that creating a show-stopping gluten-free pumpkin pie is not only possible but incredibly simple?
This particular recipe for gluten-free pumpkin pie, complete with a classic graham cracker crust, masterfully checks all the boxes for a delicious and hassle-free holiday dessert. It’s designed to be straightforward, minimizing prep time without compromising on the rich, spiced flavor and creamy texture you expect from a traditional pumpkin pie.
The beauty of this recipe lies in its simplicity: it truly **tastes just like traditional pumpkin pie**, making it a fantastic option for everyone at your holiday table, regardless of dietary needs. No one will guess it’s gluten-free! This ease of preparation and incredible taste have made it one of our go-to desserts that we proudly make every holiday season.
Imagine the smiles on your family’s faces as they bite into a slice of this heavenly pie. It’s a dessert that brings joy and celebration, making it a staple for any festive gathering. The positive feedback from our readers speaks volumes:
“My kids flipped for this pie. They said it was the best they’ve ever had. I have to agree. Thanks for sharing!” -Reader Tabitha
This endorsement highlights not just the deliciousness, but also its appeal to even the pickiest eaters. When a recipe becomes a family favorite, it’s a testament to its exceptional quality and ease.
Essential Ingredients for a Perfect Gluten-Free Pumpkin Pie
Crafting this incredible gluten-free pumpkin pie requires a thoughtful selection of ingredients that come together to create a harmonious balance of flavor and texture. We’ve chosen components that are both readily available and crucial for achieving that authentic pumpkin pie experience. Let’s delve into what you’ll need and why each ingredient plays a vital role:
List of Ingredients:
- Gluten-Free Ready-Made Graham Style Pie Crust: This is your secret weapon for speed and convenience. Opt for a high-quality, pre-made gluten-free graham cracker crust to save significant time. Alternatively, if you prefer a homemade touch, you can easily prepare your own gluten-free graham cracker crust using crushed gluten-free graham crackers, melted butter, and a touch of sugar.
- Canned Pumpkin: It’s crucial to use 100% pure canned pumpkin puree, not pumpkin pie filling. Pumpkin pie filling already contains sweeteners and spices, which would throw off the balance of this recipe. Look for cans labeled “100% Pure Pumpkin” or “Pumpkin Puree.”
- Milk: Any type of milk will work here. For a classic creamy texture, whole milk is excellent. If you’re looking to make this pie dairy-free, simply substitute with your favorite unsweetened dairy-free milk, such as almond milk, oat milk, or coconut milk.
- Pure Maple Syrup: This natural sweetener not only adds a wonderful depth of flavor but also keeps the pie naturally sweetened, avoiding refined sugars. Ensure you’re using pure maple syrup for the best results, not pancake syrup.
- Coconut Flour: A small amount of coconut flour acts as a brilliant thickener for the pie filling. It’s gluten-free, adds a subtle richness, and helps absorb excess moisture, contributing to the perfect custardy consistency. Because it’s highly absorbent, a little goes a long way.
- Pumpkin Pie Spice: This blend of cinnamon, nutmeg, ginger, and cloves is the heart of pumpkin pie flavor. It infuses the filling with that quintessential warm, aromatic taste of the holidays.
- Cinnamon: An extra dash of ground cinnamon enhances the overall spice profile, complementing the pumpkin pie spice and adding another layer of comforting flavor.
- Salt: A pinch of salt is essential for balancing the sweetness and enhancing all the other flavors in the pie. Don’t skip it!
- Vanilla Extract: Pure vanilla extract adds a lovely aromatic note that rounds out the flavors and adds a hint of sweetness.
- Eggs: Eggs are critical for binding the filling ingredients together and giving the pie its smooth, custardy texture. They help the pie set beautifully as it bakes.
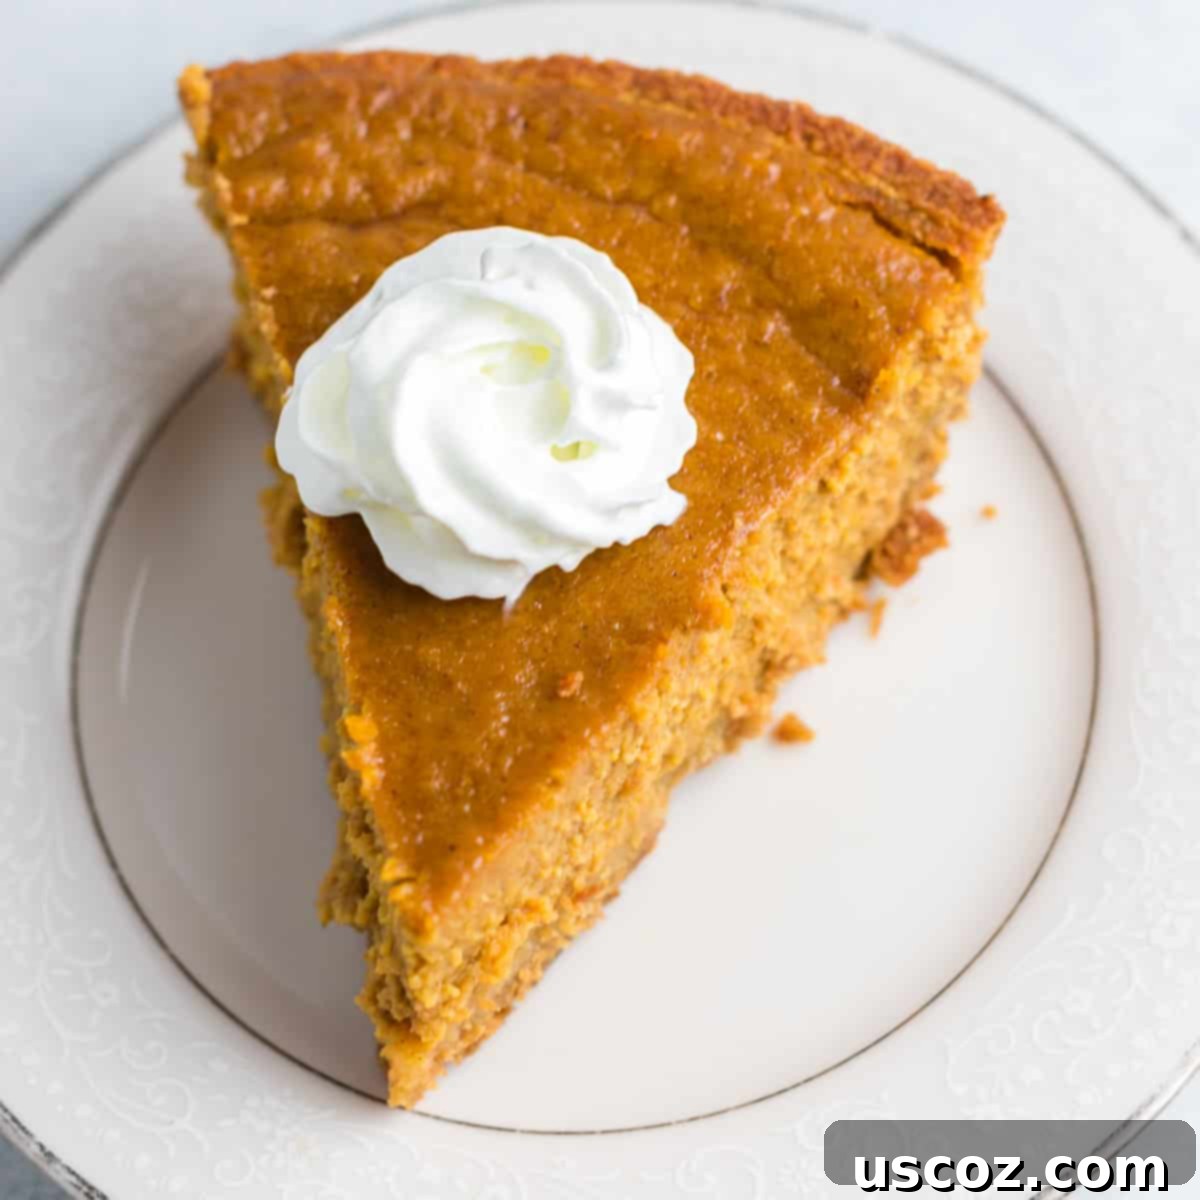
How to Make the Best Gluten-Free Pumpkin Pie: A Simple Step-by-Step Guide
Preparing this gluten-free pumpkin pie is surprisingly straightforward, proving that creating an impressive holiday dessert doesn’t have to be complicated. Follow these simple steps to bake a pie that will earn rave reviews from all who taste it:
Step 1: Prepare the Irresistible Pumpkin Pie Filling.
In a large mixing bowl, combine all the filling ingredients: the canned pumpkin puree, milk, pure maple syrup, coconut flour, pumpkin pie spice, cinnamon, salt, vanilla extract, and eggs. Using an electric mixer on medium speed, or a sturdy whisk for a good arm workout, beat the mixture thoroughly until it is completely smooth and well combined. Ensure there are no lumps of coconut flour and that the eggs are fully incorporated. The consistency should be uniform and velvety. Avoid overmixing; once smooth, you’re good to go.
Step 2: Assemble and Bake Your Masterpiece.
Carefully pour the creamy pumpkin pie filling into your ready-made gluten-free graham style pie crust. Gently tap the pie plate on the counter a few times to release any air bubbles and ensure the filling settles evenly. Place the pie into a preheated oven at 350 degrees Fahrenheit (175 degrees Celsius). Bake for approximately 55 to 65 minutes. The pie is done when the edges appear set and slightly cracked, and the center still has a slight jiggle when gently shaken, indicating a perfect custardy texture. If the crust starts to brown too quickly, you can loosely cover the edges with aluminum foil.
Step 3: Cool, Chill, and Serve for Optimal Flavor.
Once baked, remove the pie from the oven and allow it to cool completely on a wire rack at room temperature for at least 1-2 hours. This gradual cooling is crucial for the pie to set properly and prevent cracking. After it has cooled to room temperature, transfer the pie to the refrigerator and chill for a minimum of 3-4 hours, or preferably overnight. Pumpkin pie is always best served cold, as chilling allows the flavors to meld beautifully and the texture to firm up to perfection. Before serving, top each slice generously with a dollop of freshly whipped cream. For an extra touch, you can sprinkle a dash of cinnamon or nutmeg.
This recipe truly lives up to its easy-to-prep reputation. It’s simply a matter of “dump, mix, pour, and bake!” The minimal effort yields maximum reward, making it an ideal choice for busy holiday schedules.
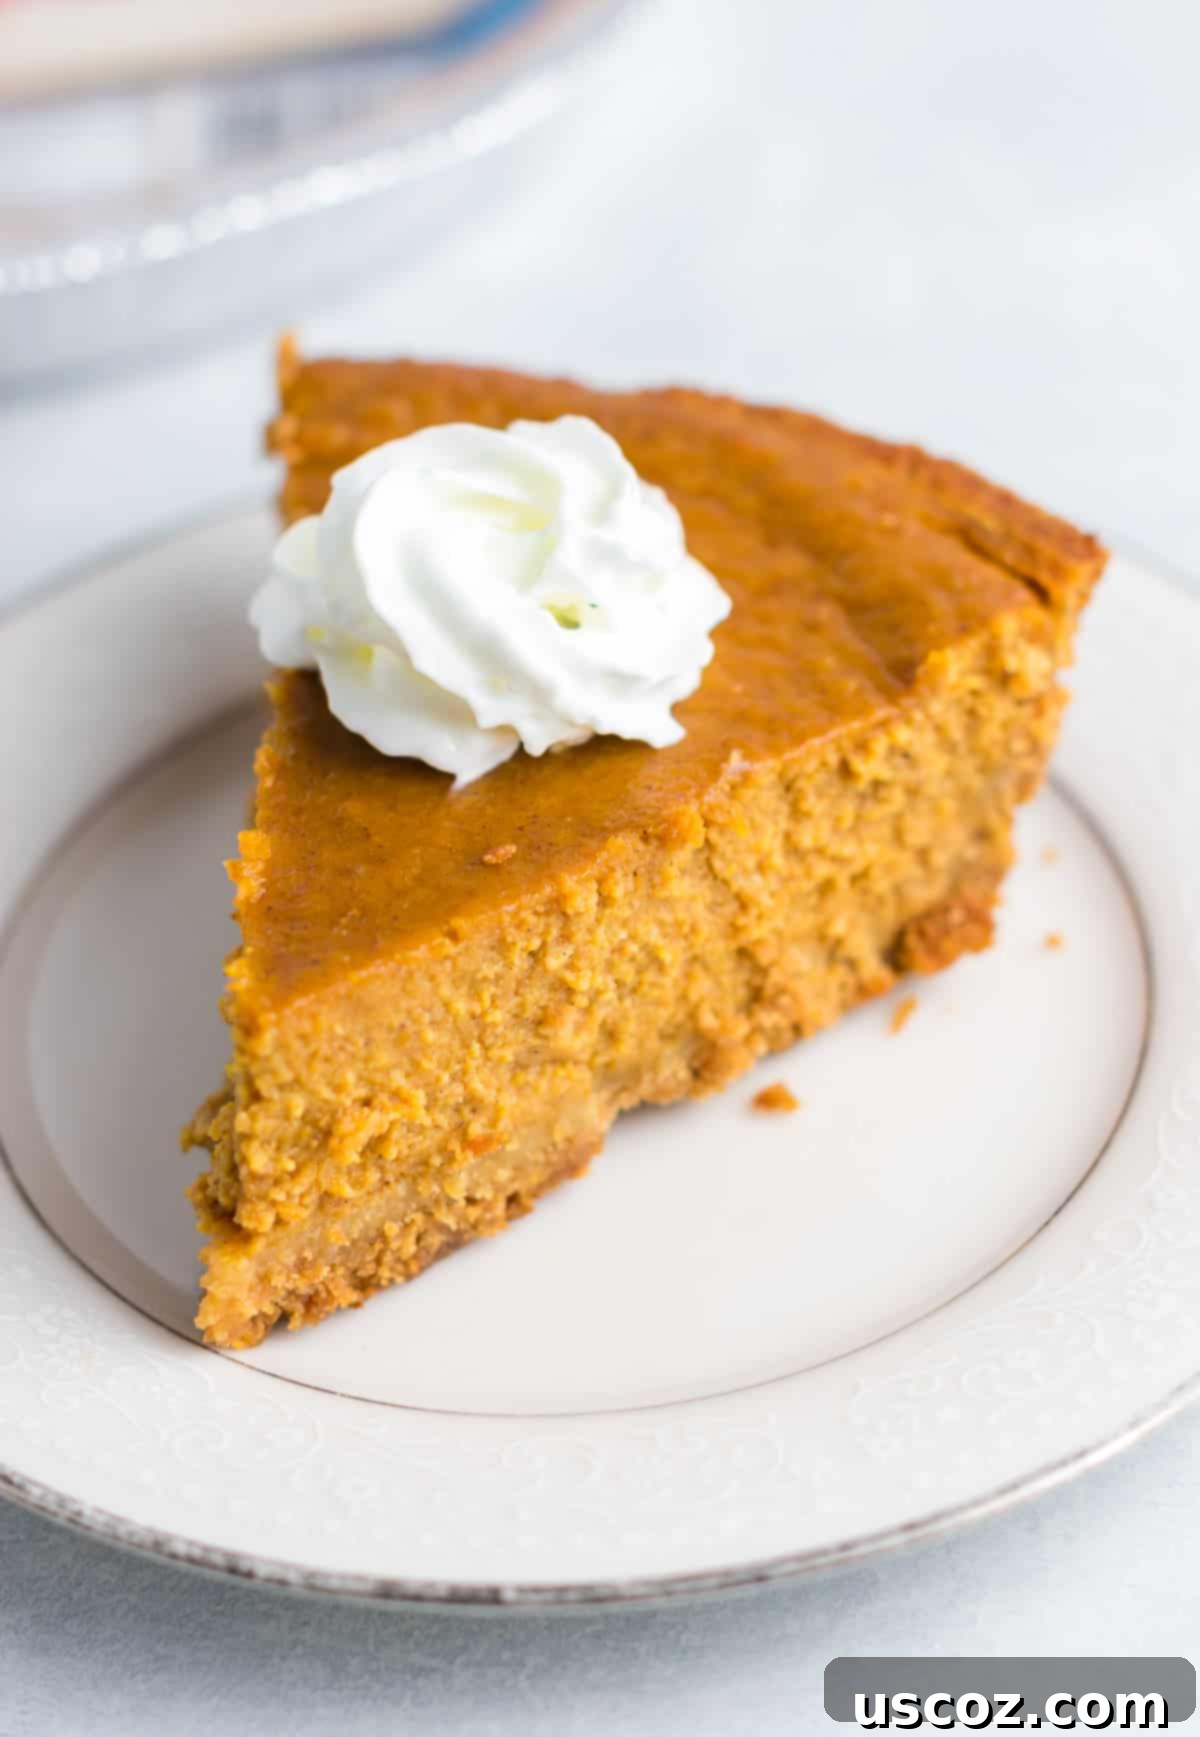
Tips for a Flawless Gluten-Free Pumpkin Pie
To ensure your gluten-free pumpkin pie turns out perfectly every time, consider these helpful tips:
- Use 100% Pure Pumpkin: As mentioned, avoid pumpkin pie filling. The purity of canned pumpkin puree allows you to control the spice and sweetness precisely.
- Don’t Skip the Chilling: This step is non-negotiable for achieving the ideal firm, yet creamy, texture. Rushing it will result in a pie that is too soft and less flavorful.
- Prevent Cracks: Overbaking is a common cause of cracks in pumpkin pie. Keep an eye on the pie towards the end of the baking time. A slight jiggle in the center is desirable. Rapid temperature changes during cooling can also cause cracks; always cool on a wire rack at room temperature before refrigerating.
- Customize Your Spices: While our recipe offers a balanced blend, feel free to adjust the pumpkin pie spice and cinnamon to your personal preference. A little extra ginger or a pinch of cloves can deepen the flavor profile.
- Make Ahead for Convenience: This pie is an excellent make-ahead dessert. You can bake and chill it up to 2-3 days in advance, freeing up your oven and time during busy holiday preparations.
- Storage: Store any leftover pumpkin pie tightly covered in the refrigerator for up to 3-4 days.
Nothing quite captures the essence of holiday baking like a generous slice of melt-in-your-mouth pumpkin pie. This recipe not only delivers on that promise but ensures you’ll be a favorite with all your gluten-free friends and family members. It’s a testament to how easy and rewarding gluten-free baking can be.
You truly don’t need any fancy ingredients or advanced baking skills to create this masterpiece. The use of pure maple syrup also ensures it’s naturally sweetened, offering a wholesome alternative to pies loaded with refined sugars. Serve it up with endless whipped cream, a sprinkle of extra cinnamon, or even a drizzle of caramel sauce to make all your pumpkin pie dreams come true!
Frequently Asked Questions (FAQ)
Can I make this pie dairy-free?
Absolutely! To make this gluten-free pumpkin pie dairy-free, simply substitute regular milk with an unsweetened dairy-free alternative such as almond milk, oat milk, or full-fat canned coconut milk. The coconut milk will add a slightly richer texture. Ensure your graham cracker crust is also dairy-free if purchasing pre-made.
Can I prepare this pie ahead of time?
Yes, and it’s highly recommended, especially for holiday gatherings! Pumpkin pie actually benefits from chilling for several hours, allowing it to fully set and for the flavors to deepen. You can bake and chill the pie up to 2-3 days in advance. Just cover it loosely with plastic wrap once completely cooled and store it in the refrigerator. Add whipped cream just before serving.
What if I don’t have a gluten-free graham cracker crust?
If you can’t find a ready-made gluten-free graham cracker crust or prefer to make your own, you’ll need gluten-free graham crackers, melted butter (or a dairy-free alternative), and a little sugar. Crush the graham crackers into fine crumbs, mix with melted butter and sugar, then press firmly into a pie plate. Bake for 8-10 minutes at 350°F (175°C) before adding the filling. Alternatively, you can use a store-bought gluten-free shortbread or traditional pie crust.
How do I know when my pumpkin pie is done baking?
The pie is ready when the edges are set and lightly puffed, and the center still has a slight jiggle when you gently shake the pie plate. An inserted knife near the edge should come out clean. Avoid baking until the entire center is firm, as this can lead to a dry, cracked pie.
Can I freeze gluten-free pumpkin pie?
Yes, you can freeze this pie. Bake and cool the pie completely as directed, but do not add any toppings like whipped cream. Wrap the cooled pie tightly in plastic wrap, then again in aluminum foil. Freeze for up to 1 month. To serve, thaw overnight in the refrigerator, then add toppings.
More Delightful Thanksgiving Recipes
Planning your full holiday feast? Here are more fantastic recipes that pair beautifully with your gluten-free pumpkin pie:
- Creamed Corn
- No Bake Peanut Butter Pie
- Pecan Pie Bars
- Pecan Cream Pie
- Honey Brown Sugar Glazed Carrots
- No Bake Pumpkin Cheesecake Bars
- Oreo Pie
- Pumpkin Cream Pie
- Green Bean Casserole
- Pumpkin Cheese Ball
Gluten Free Pumpkin Pie
Joy Shull
It’s a delightful, naturally sweetened dessert that brings all the traditional flavors of the holidays without any gluten, making it perfect for everyone to enjoy.
10
1 5
1 15
8
Ingredients
For the Gluten Free Graham Crust
- 1 Gluten Free Graham Style Pie Crust (ready-made, or your favorite homemade GF graham crust)
For the Pumpkin Pie Filling
- 2 cups canned pumpkin (100% pure pumpkin puree, not pie filling)
- 1/2 cup milk (dairy or unsweetened dairy-free alternative)
- 3/4 cup pure maple syrup
- 3 tablespoons coconut flour
- 1 1/2 teaspoons pumpkin pie spice
- 1/2 teaspoon cinnamon
- 1/4 teaspoon sea salt
- 1 tablespoon vanilla extract
- 3 large eggs
Instructions
-
Prepare the Filling: In a large mixing bowl, combine the canned pumpkin, milk, maple syrup, coconut flour, pumpkin pie spice, cinnamon, salt, vanilla extract, and eggs. Beat thoroughly with an electric mixer or whisk until the mixture is completely smooth and all ingredients are well combined.
-
Pour into Crust: Pour the smooth pumpkin pie filling into your ready-made gluten-free graham cracker pie crust.
-
Bake the Pie: Bake the gluten-free pumpkin pie in a preheated oven at 350 degrees Fahrenheit (175°C) for 55 – 65 minutes. The pie is done when the edges are set and begin to pull slightly away from the crust, and the center still has a slight jiggle. If the crust browns too quickly, cover the edges with foil.
-
Cool and Chill: Allow the pie to cool completely on a wire rack for at least 1 hour, or until it’s no longer hot. Then, transfer it to the refrigerator to chill for a minimum of 3-4 hours, or ideally overnight, until completely cold and set.
-
Serve: Slice and serve the chilled pumpkin pie with a generous dollop of whipped cream on top. Enjoy!
Notes
For the best flavor and texture, ensure your pie is thoroughly chilled before serving. This pie can be made 1-2 days in advance, making it perfect for holiday meal prep. Store leftovers covered in the refrigerator.
Nutrition Information
Approximate nutritional values per serving (based on 8 servings):
- Calories: 259 kcal
- Carbohydrates: 42 g
- Protein: 5 g
- Fat: 8 g
- Saturated Fat: 2 g
- Polyunsaturated Fat: 1 g
- Monounsaturated Fat: 4 g
- Trans Fat: 0.01 g
- Cholesterol: 63 mg
- Sodium: 214 mg
- Potassium: 269 mg
- Fiber: 3 g
- Sugar: 25 g
- Vitamin A: 9648 IU
- Vitamin C: 3 mg
- Calcium: 87 mg
- Iron: 2 mg
(Nutrition information is an estimate and may vary depending on specific ingredients and brands used.)
Like this recipe? Rate and comment below!
Your feedback helps us create more delicious recipes!
