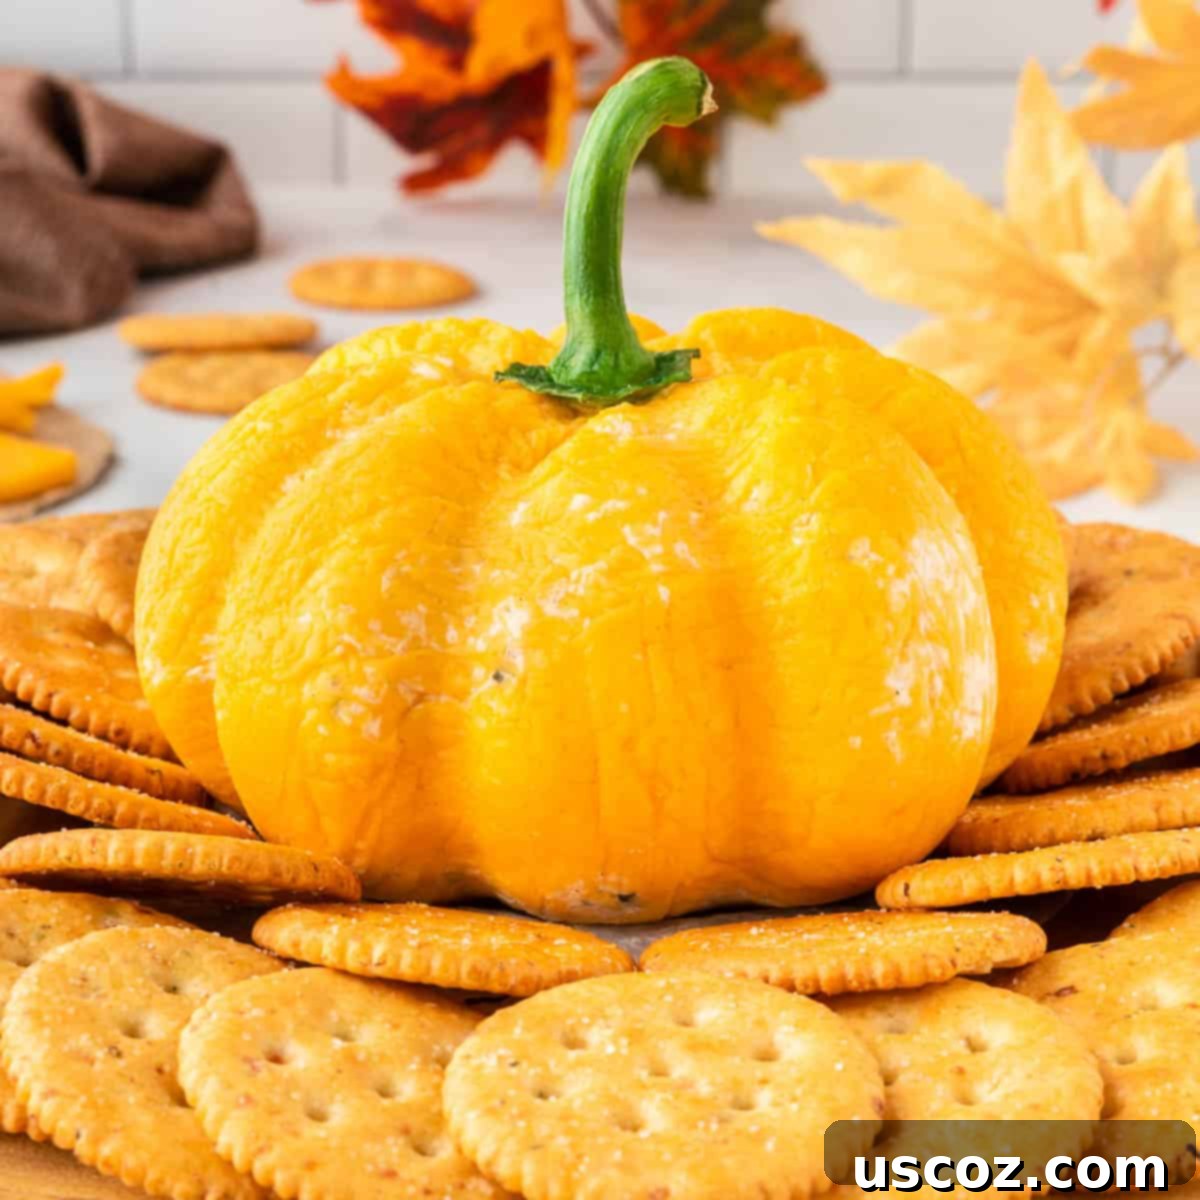
Easy & Festive Pumpkin Cheese Ball: The Ultimate Fall Appetizer Recipe
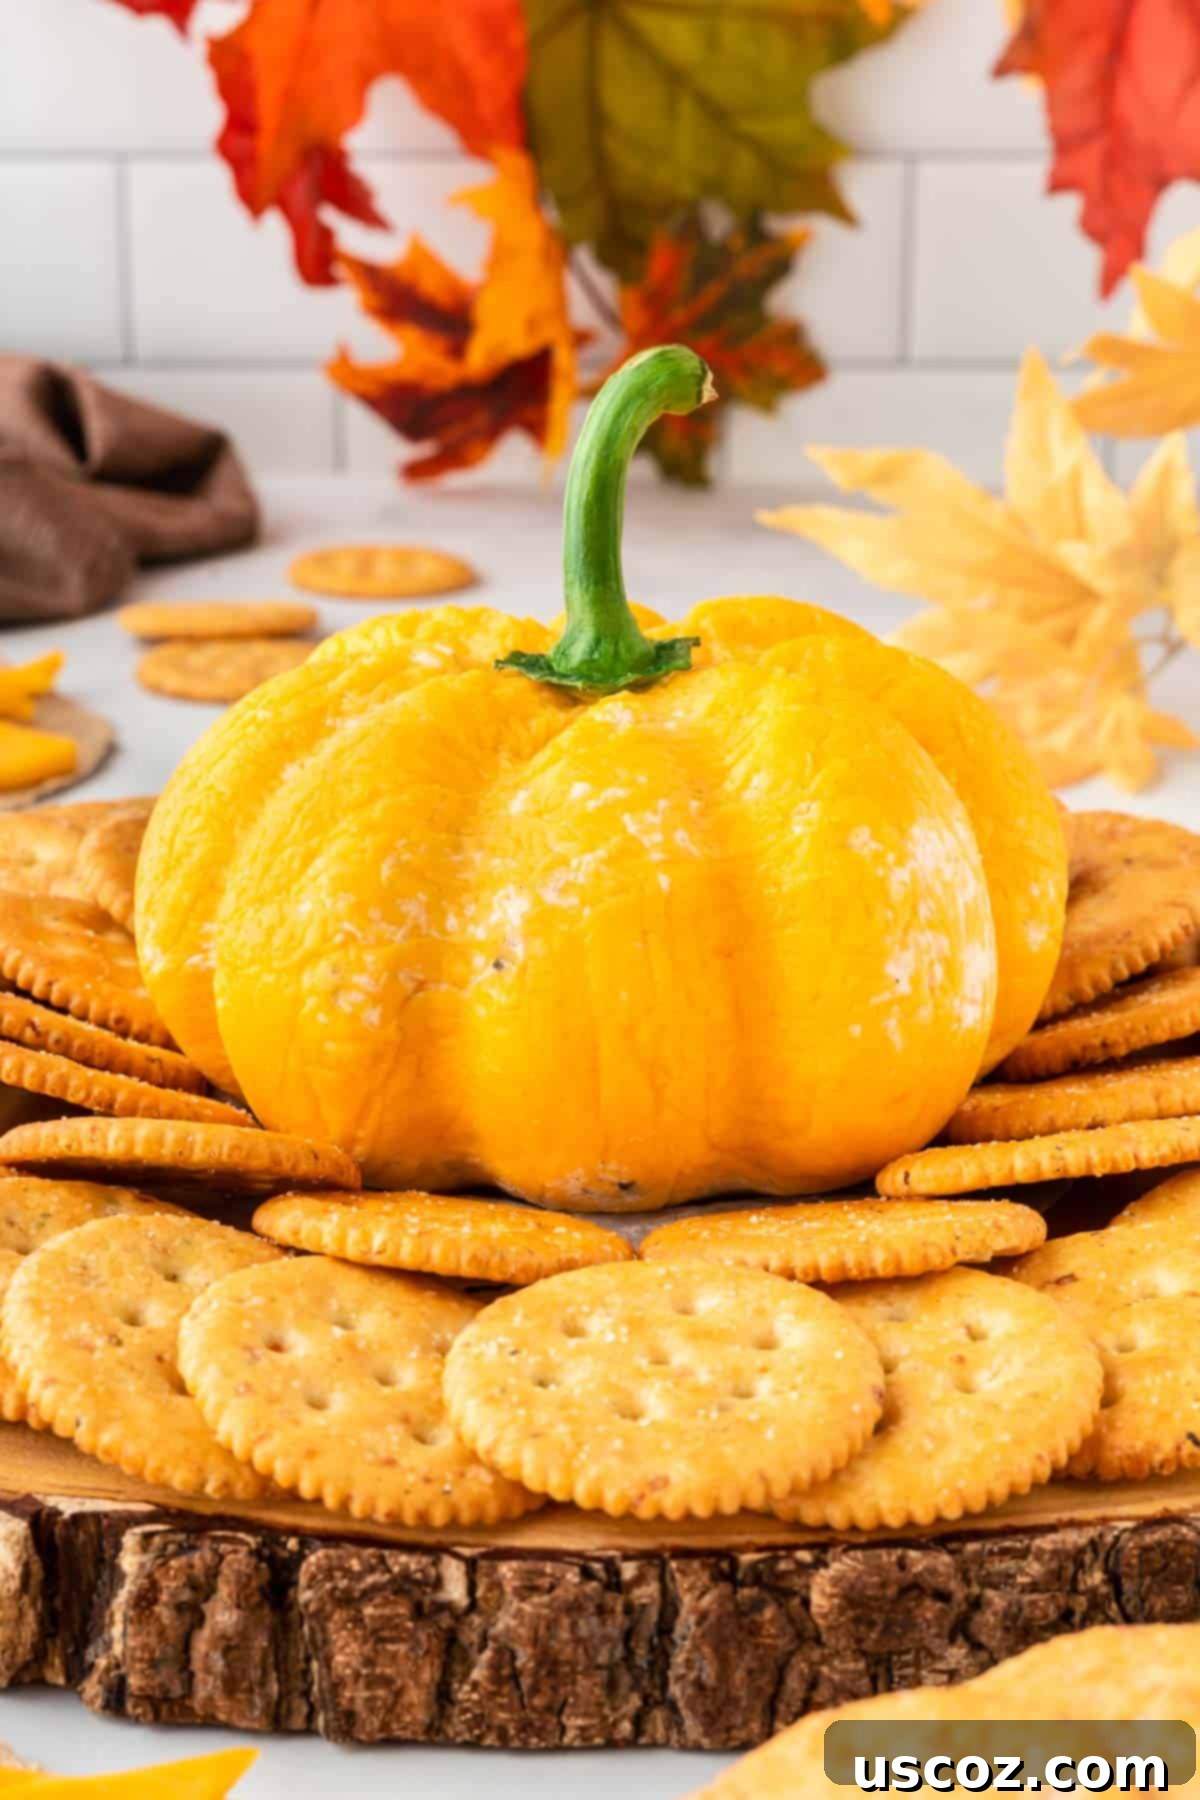
Embrace the autumn season with this delightful Pumpkin Cheese Ball recipe! It’s the perfect, crowd-pleasing appetizer for any fall occasion, from cozy gatherings to lively holiday parties. Super easy to prepare and impressively festive, this savory cheese ball is guaranteed to be a sensational hit!
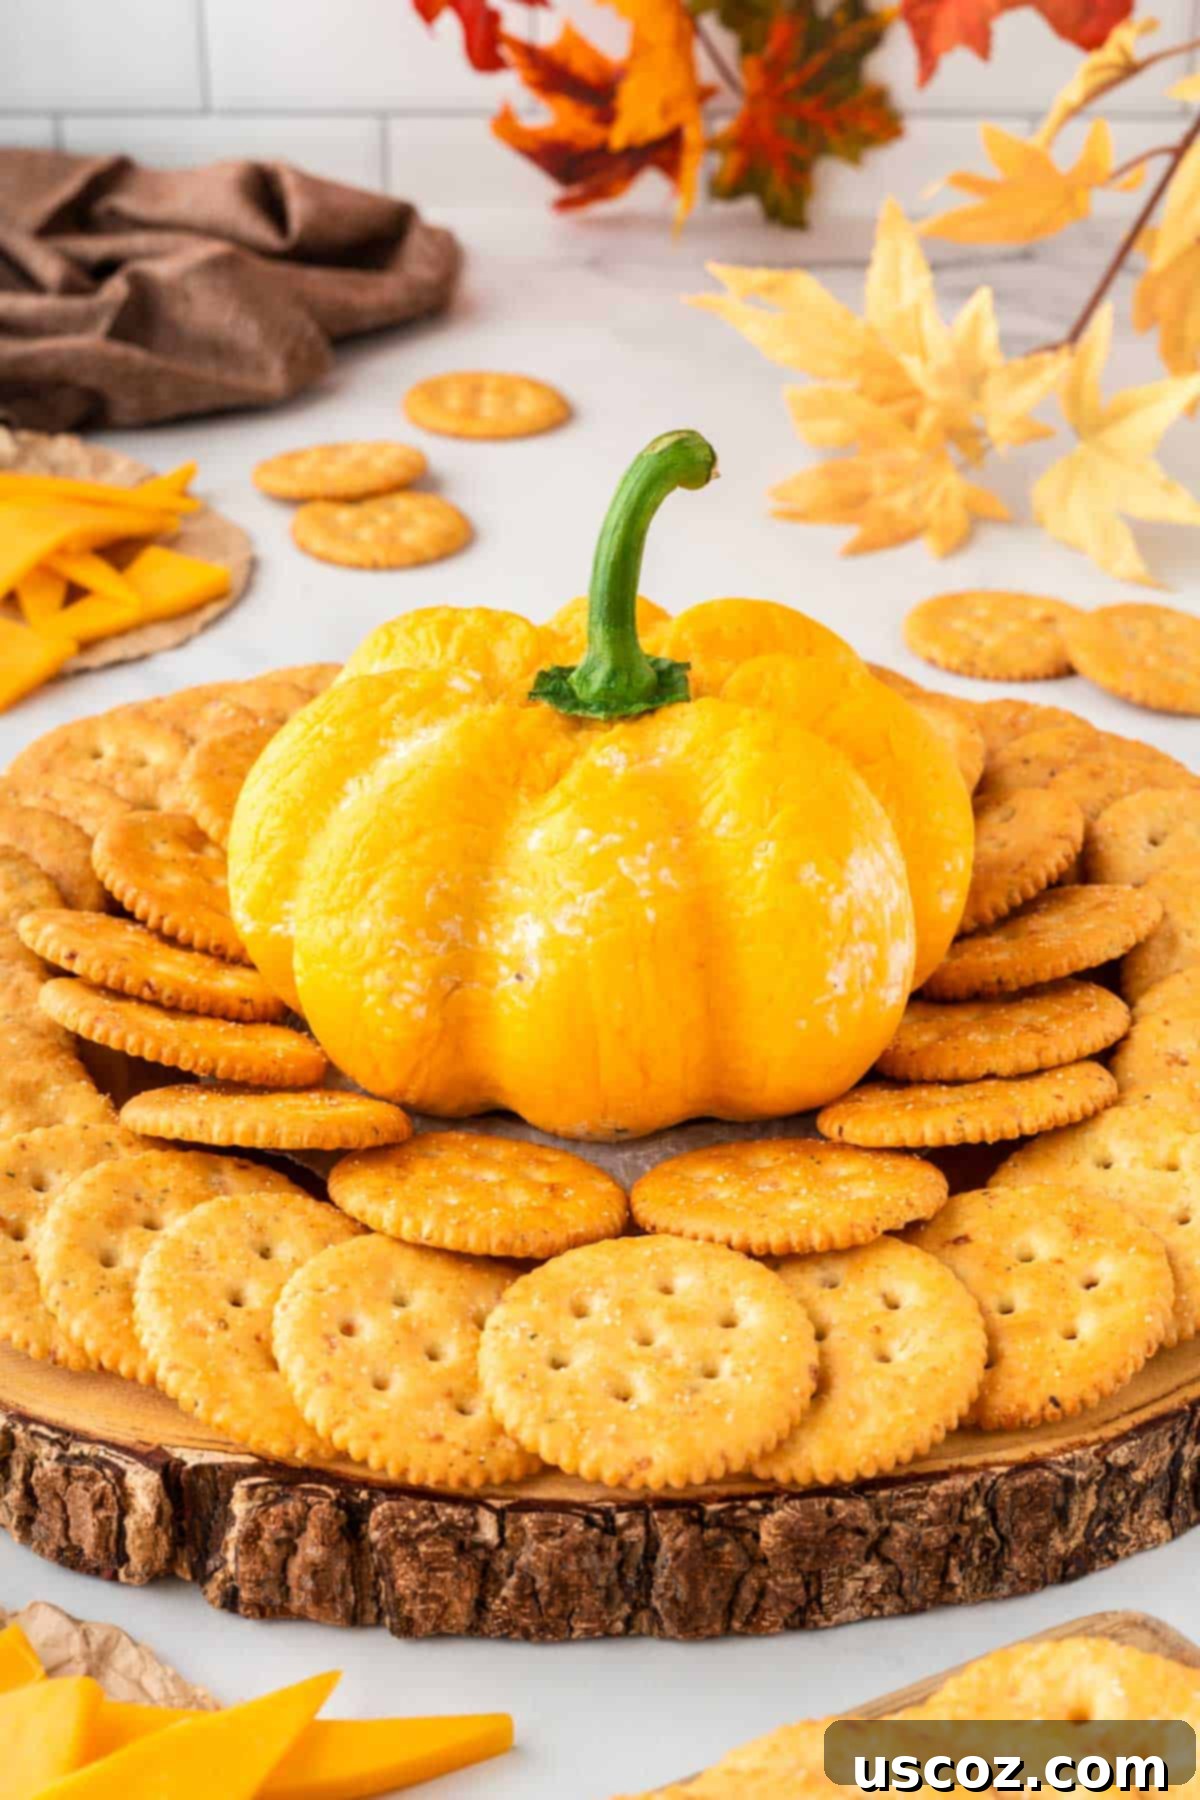
This adorable pumpkin-shaped cheese ball isn’t just charming to look at; it’s incredibly simple to create. You’ll need nothing more than a few classic cheese ball ingredients and some rubber bands to craft this fun and flavorful appetizer that perfectly captures the spirit of fall!
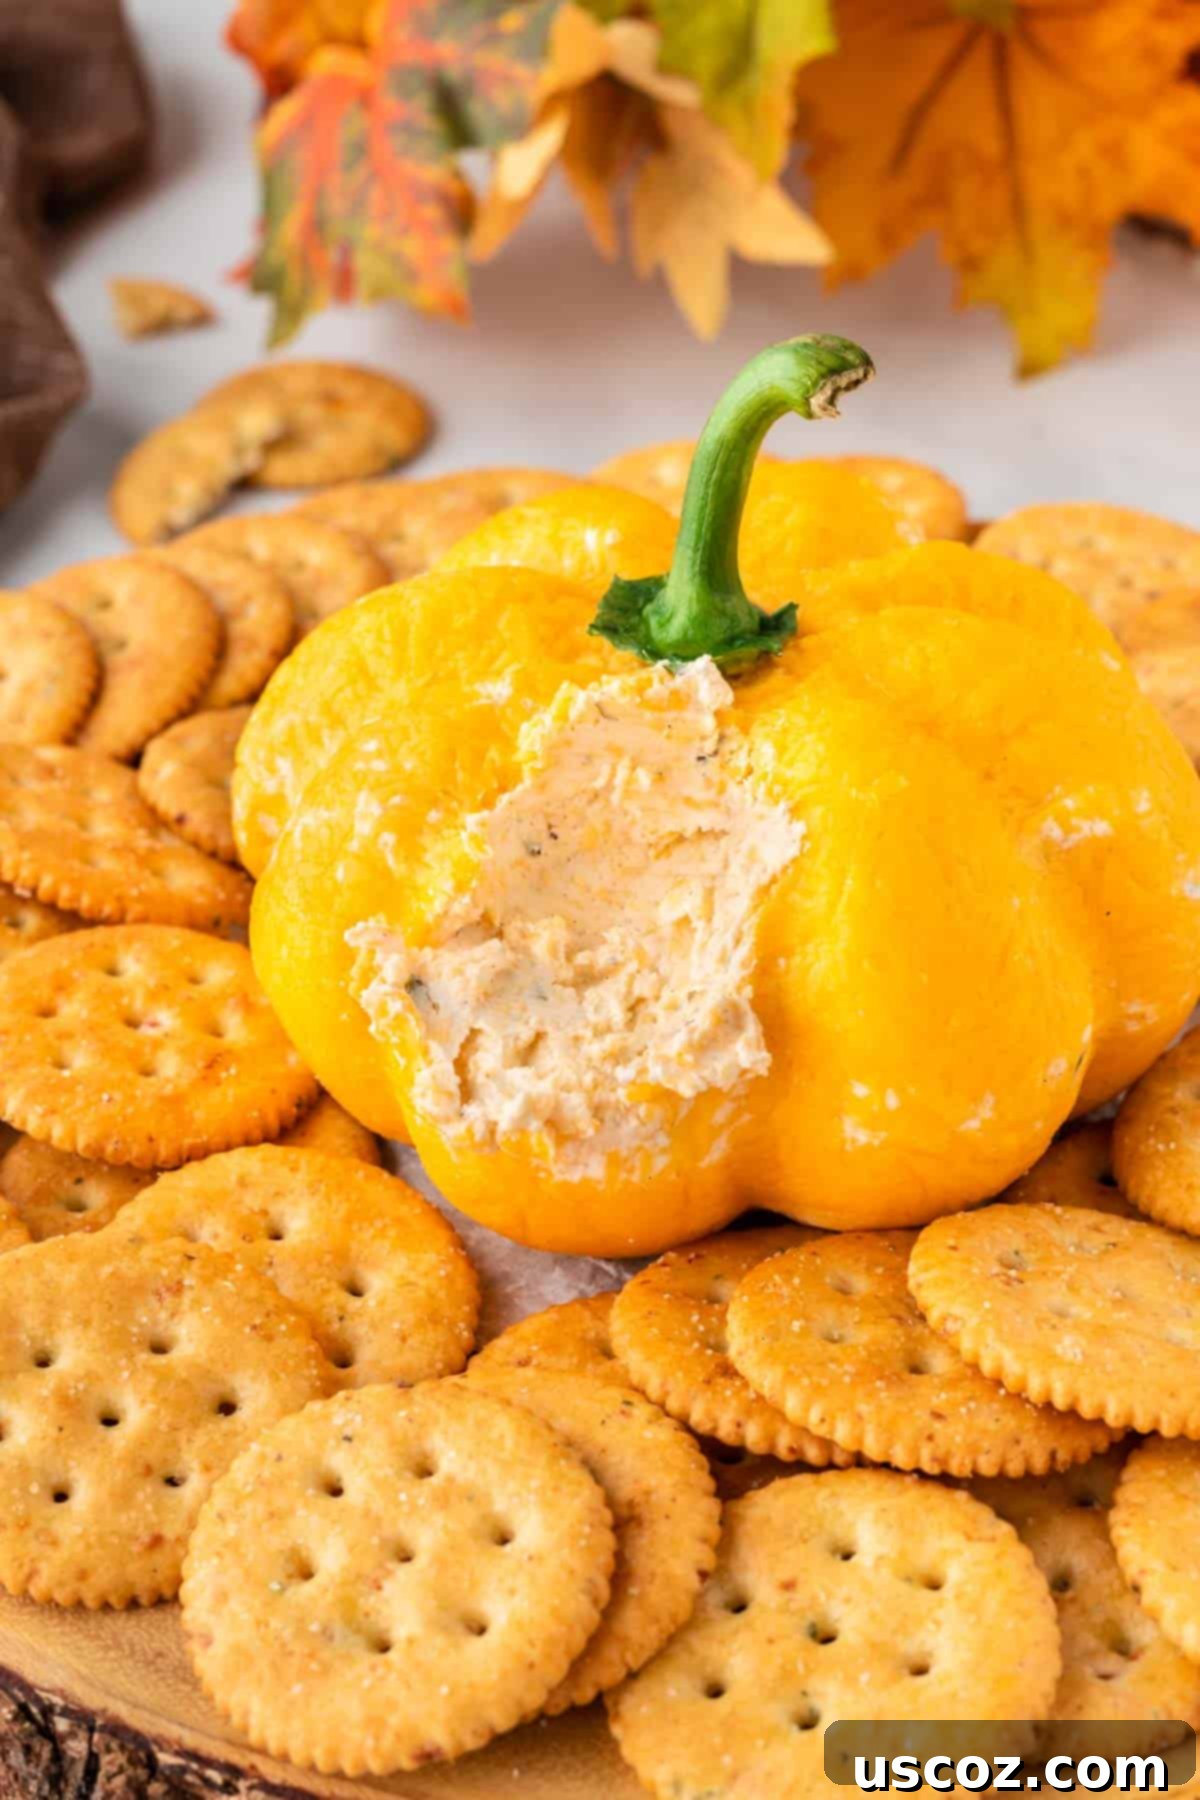
Creating a homemade cheese ball has become one of my favorite holiday traditions. The first time I ventured into making one from scratch, I was instantly captivated by its creamy texture and rich flavor. It’s so irresistibly good that you truly won’t be able to stop at just one dip!
As autumn arrives, we’re all about savoring everything pumpkin-related. So, why not extend that festive theme to your appetizers with a charming pumpkin-shaped treat? This recipe offers all the visual appeal of a pumpkin without any actual pumpkin in the ingredients, making it a delicious savory option for those who prefer cheese over pumpkin spice.
Don’t worry, while it beautifully mimics the look of a pumpkin, there’s no pumpkin in this savory cheese ball – just pure, delicious cheesy goodness!
For your convenience, you’ll find the complete printable recipe card towards the bottom of this post.
Essential Ingredients for Your Pumpkin Cheese Ball
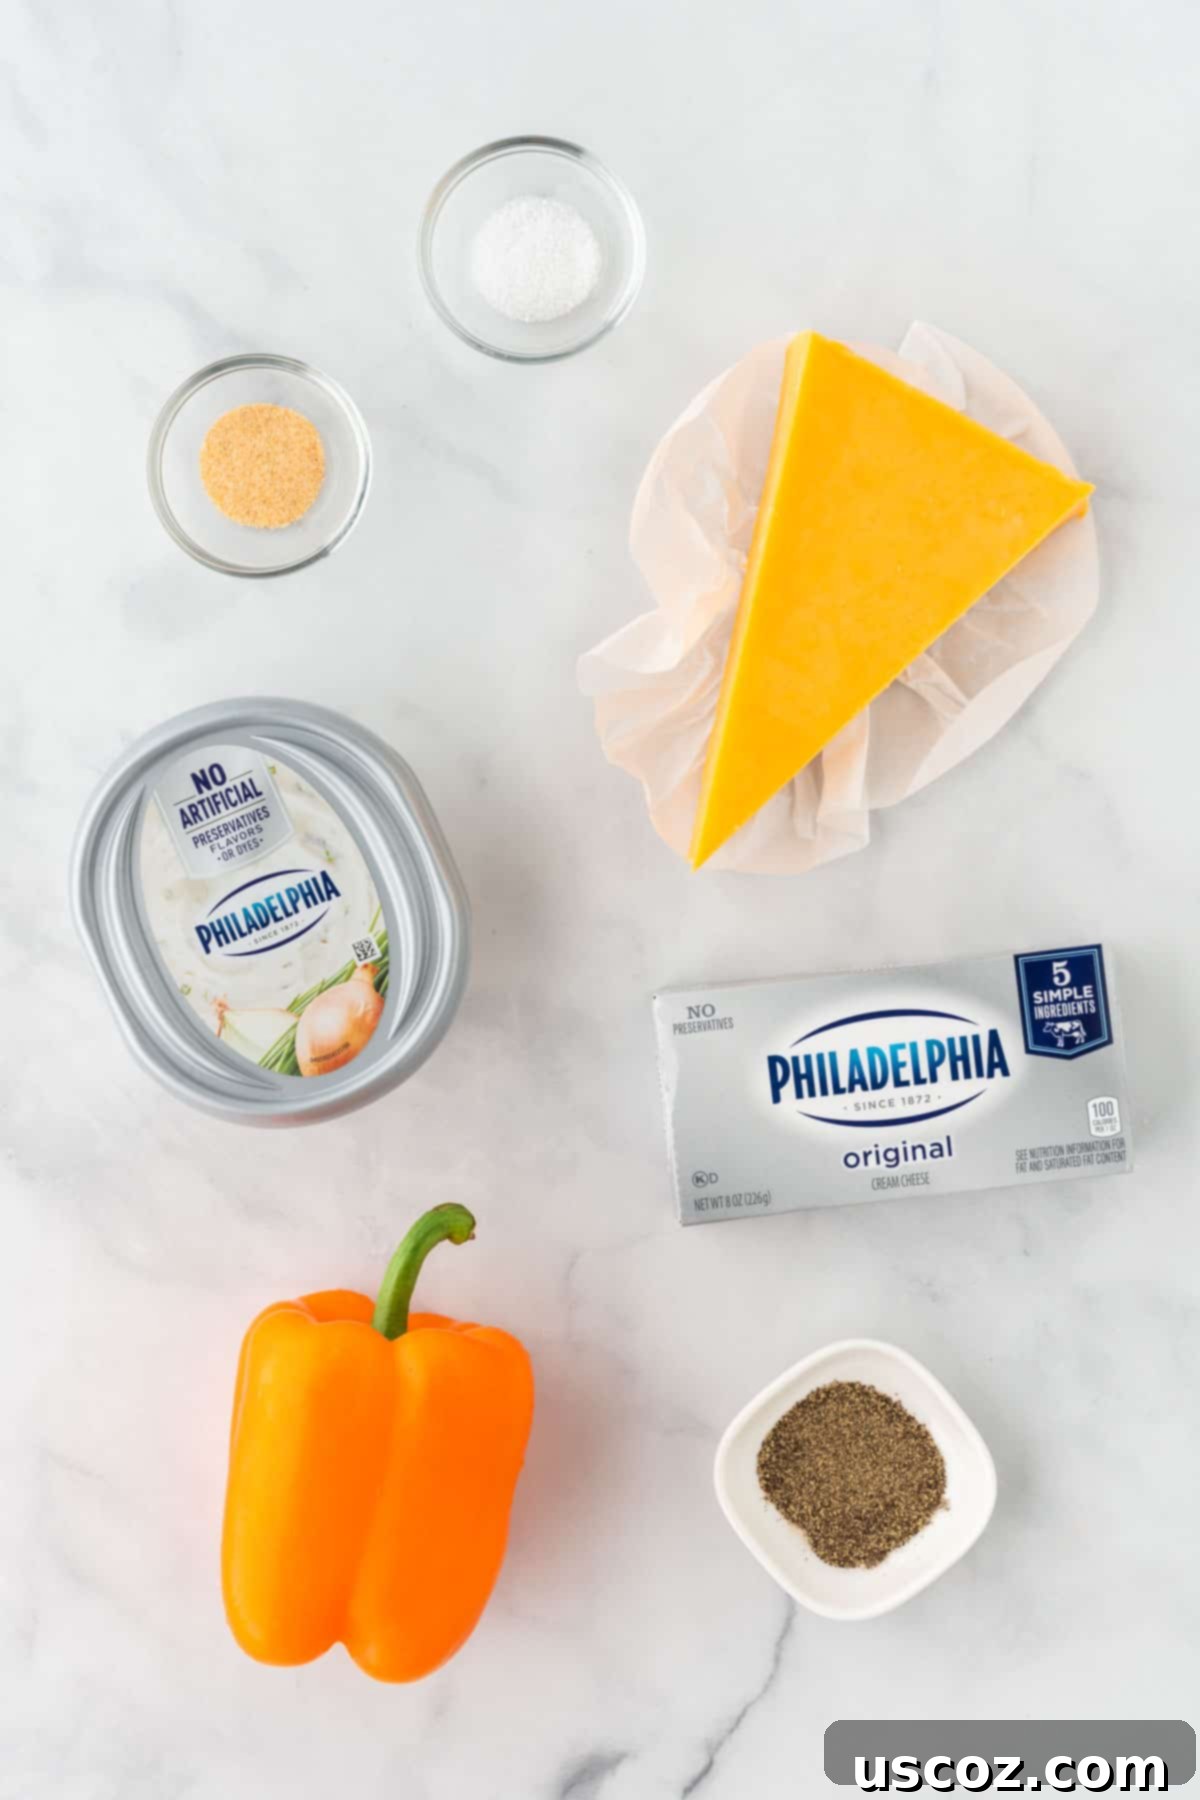
Crafting this delightful pumpkin cheese ball requires a handful of simple, readily available ingredients. The key to its creamy texture and rich flavor lies in the quality and freshness of these components.
- Cream cheese: Softened to room temperature, this forms the rich and creamy base of our cheese ball. Full-fat cream cheese is recommended for the best texture and flavor.
- Chive and onion cream cheese spread: This ingredient is a secret weapon, adding an instant boost of savory flavor and aromatic depth without needing to chop fresh herbs.
- Spices: A classic trio of salt, black pepper, and garlic powder enhances the overall savory profile, perfectly complementing the cheeses.
- Sharp cheddar cheese: Freshly grated sharp cheddar is crucial! Grating your own cheese ensures a superior texture that melts beautifully and adheres better to the exterior, providing a much richer flavor than pre-shredded varieties.
- Stem from a bell pepper: This is our simple yet effective natural “pumpkin stem” to complete the festive look.
These ingredients combine to create a cheese ball that’s not only visually appealing but also bursting with a savory, herbaceous, and cheesy taste that everyone will adore.
How to Make a Pumpkin Cheese Ball: Step-by-Step Guide
Creating this eye-catching appetizer is surprisingly straightforward. Follow these steps for a perfectly shaped and incredibly delicious pumpkin cheese ball.
Step 1: Prepare the Cheese Ball Mixture
In a large mixing bowl, combine the softened cream cheese block, the chive & onion cream cheese spread, salt, pepper, garlic powder, and 1 ¼ cups of your freshly shredded sharp cheddar cheese. Using an electric mixer (or a sturdy spoon), beat these ingredients together until they are well combined and smooth. Ensure there are no lumps of cream cheese for a consistently creamy texture.
Recipe Tip: The Secret to Superior Cheese Balls
For the absolute best results and a truly professional-looking cheese ball, **do not use pre-packaged shredded cheese**. The anti-caking agents in pre-shredded cheese prevent it from sticking properly to the cheese ball and can alter the texture. When you grate the cheese yourself, it will meld seamlessly with the creamy base and create that perfect exterior coating, enhancing both flavor and presentation.
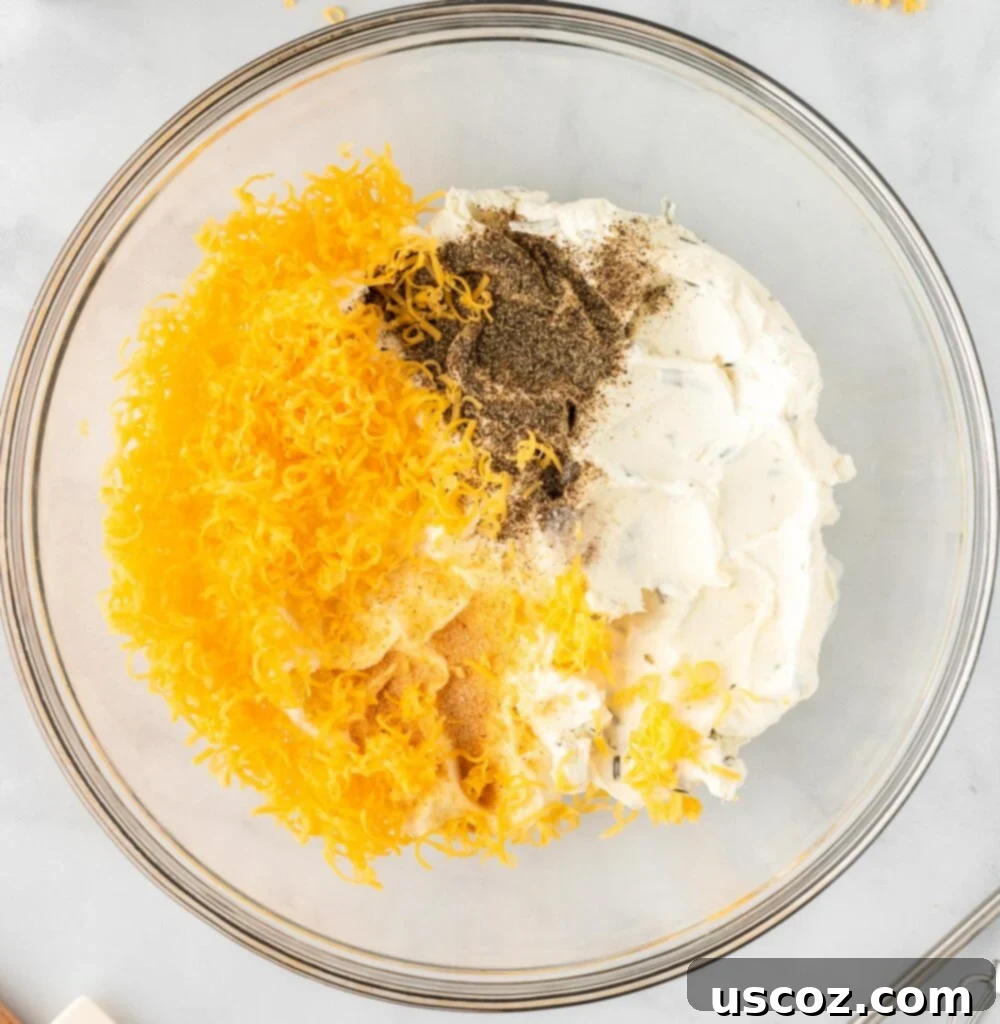
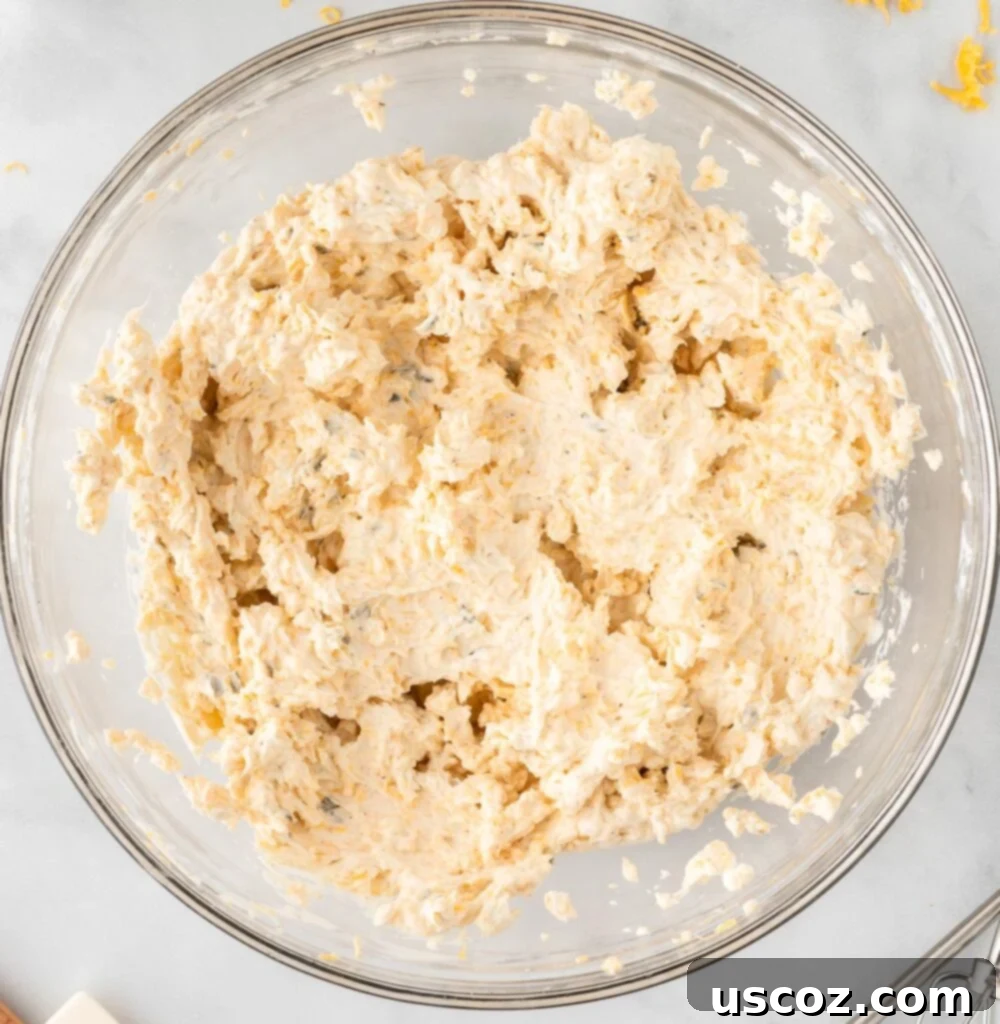
Step 2: Start the Cheese Coating
Lay out a double layer of cling wrap on a clean counter surface. Make sure it’s long enough to fully encase your cheese ball. Evenly sprinkle about ⅓ cup of the remaining shredded sharp cheddar cheese onto the center of the cling wrap. This will form the initial coating on the bottom of your cheese ball. Carefully place the prepared cheese ball batter directly onto this bed of shredded cheese.
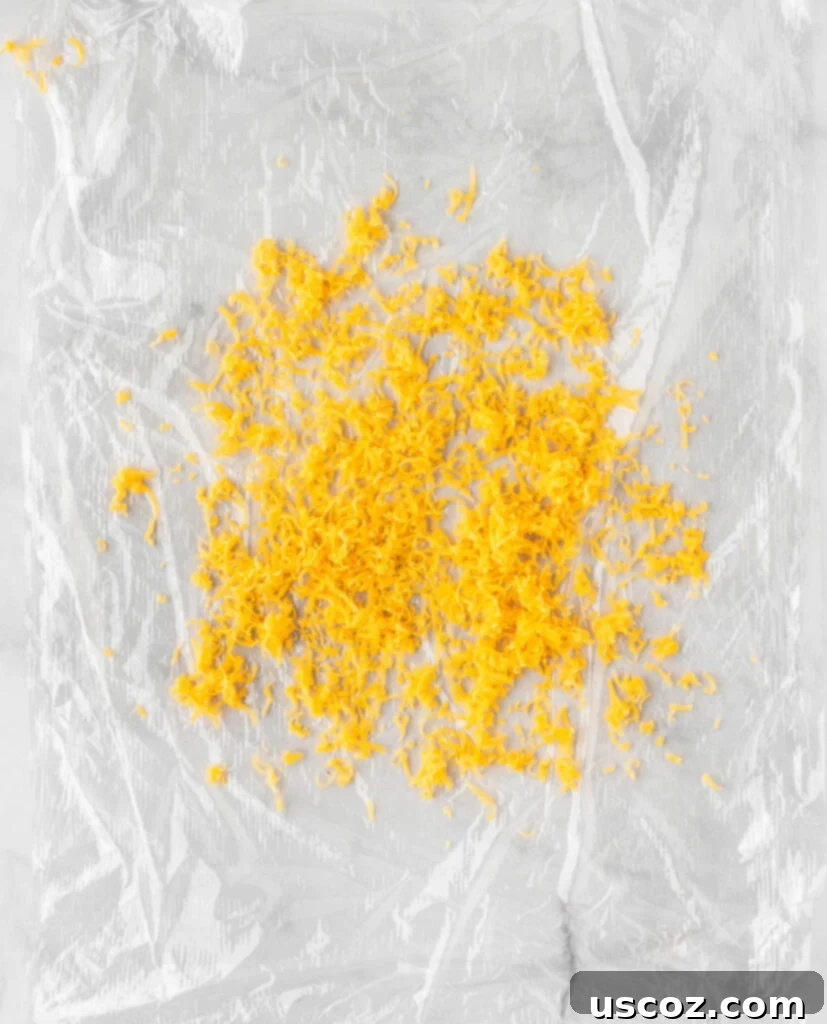
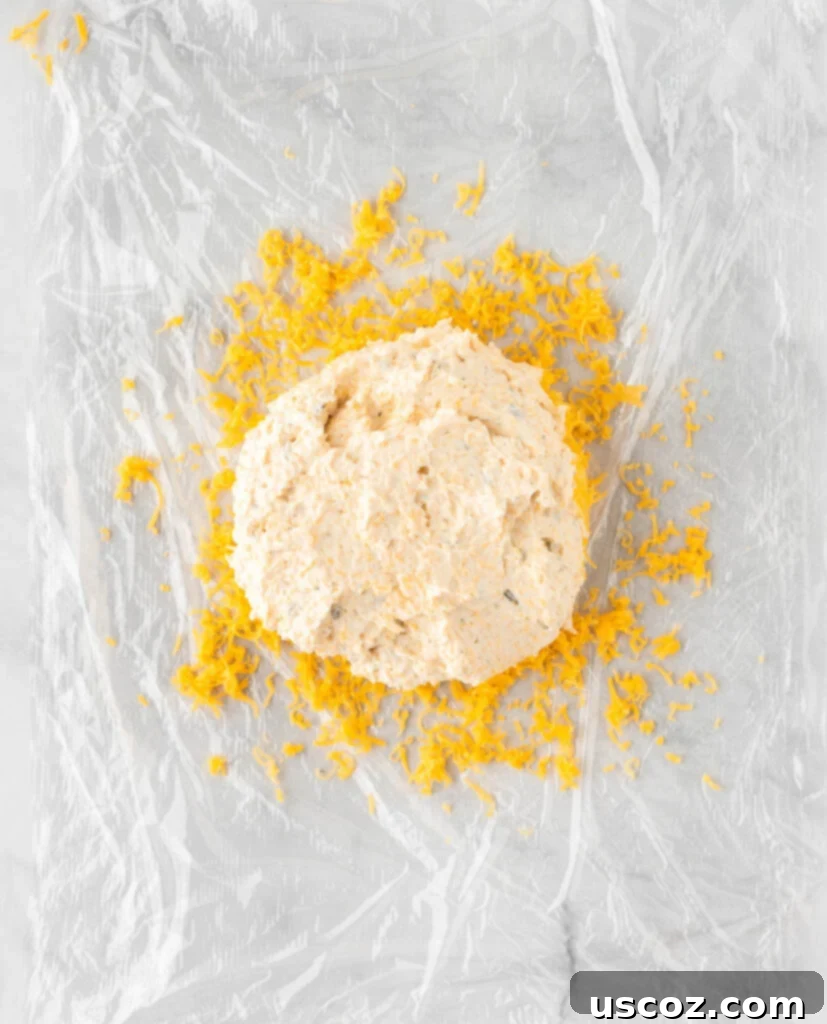
Step 3: Complete the Coating and Wrap
Sprinkle the rest of your shredded cheddar cheese over the top and sides of the cheese ball mixture, ensuring it’s completely covered. Gently bring up the cling wrap around the cheese ball, carefully pressing the shredded cheese onto the surface to ensure it adheres well. Form the mixture into a neat, round ball shape within the cling wrap, twisting the top to secure it tightly.
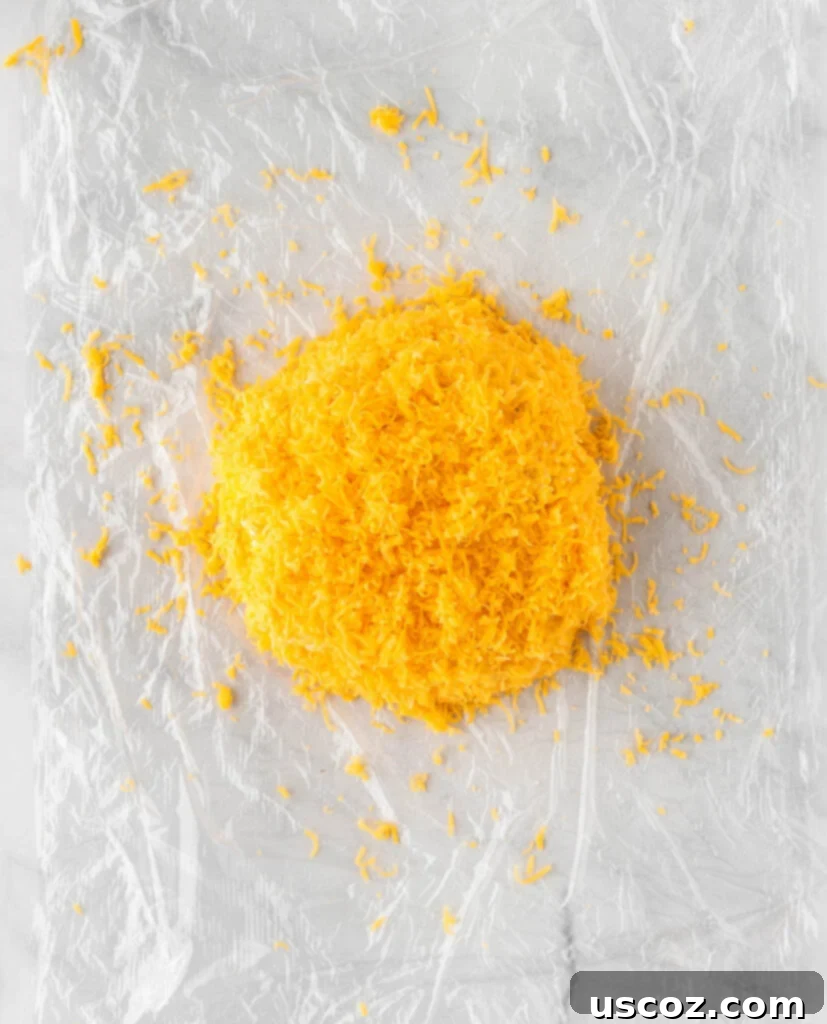
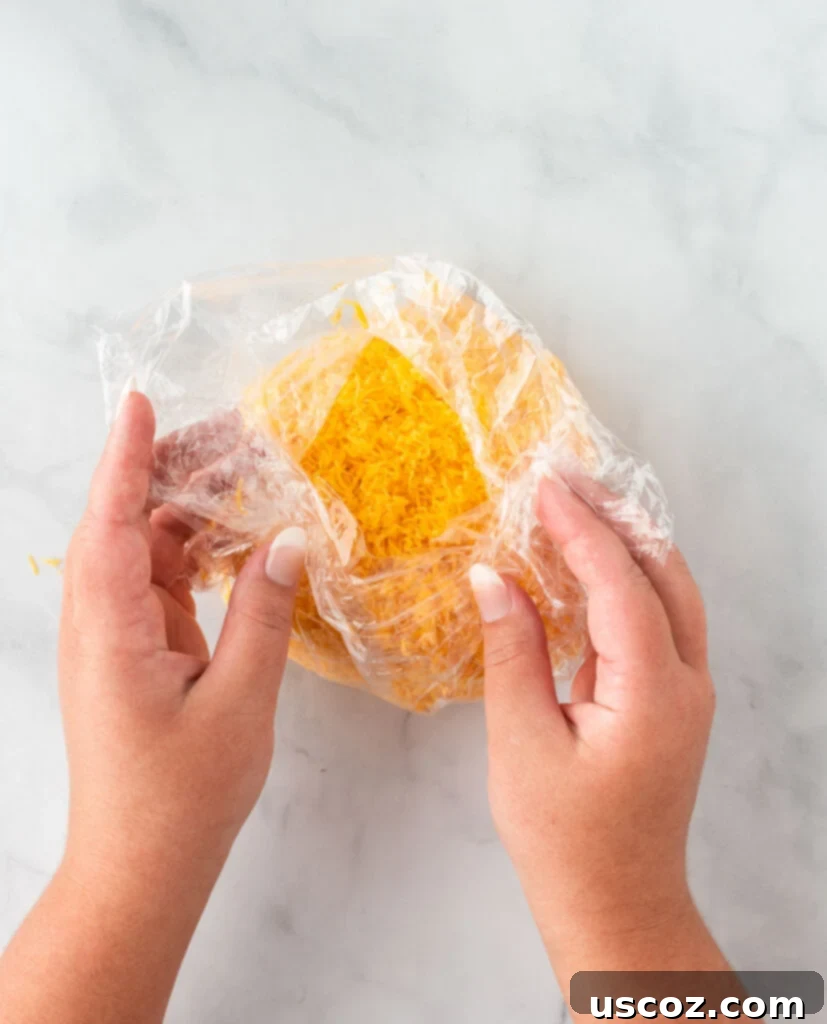
Step 4: Create the Pumpkin Shape with Rubber Bands
Now for the fun part! Take several thick, sturdy rubber bands. Start by placing one rubber band around the center of the wrapped cheese ball, creating a slight indent. Then, crisscross additional rubber bands around the ball, aiming for a total of 6-8 sections, evenly spaced, to mimic the natural ridges of a pumpkin. You will want to make sure they are sturdy rubber bands to ensure the ball gets deep, defined indents. Adjust them firmly but carefully to achieve your desired pumpkin shape. Refer to the pictures below for visual guidance on how to effectively position the rubber bands.
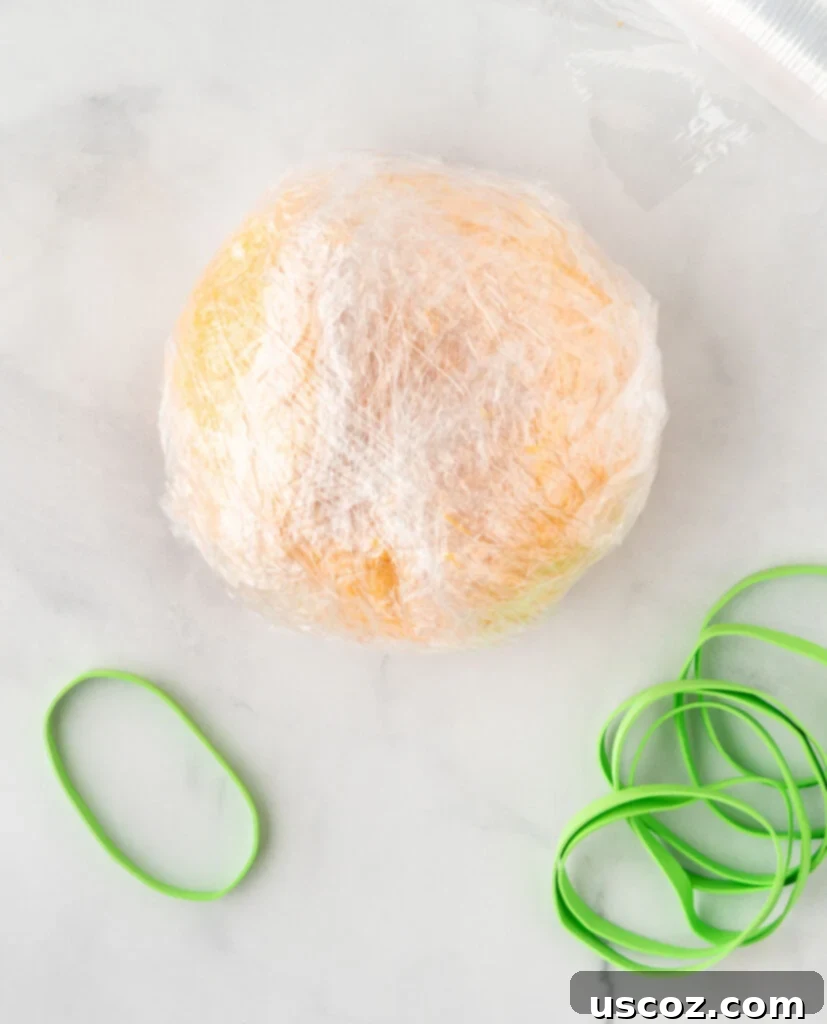
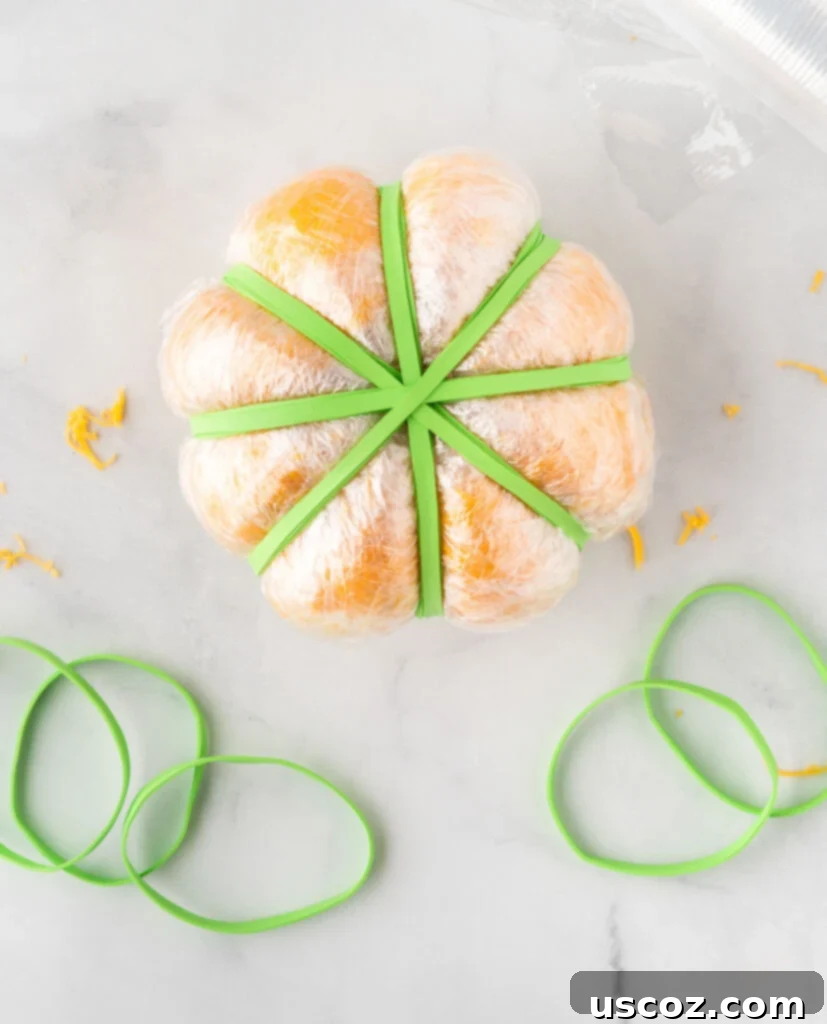
Step 5: Chill and Garnish
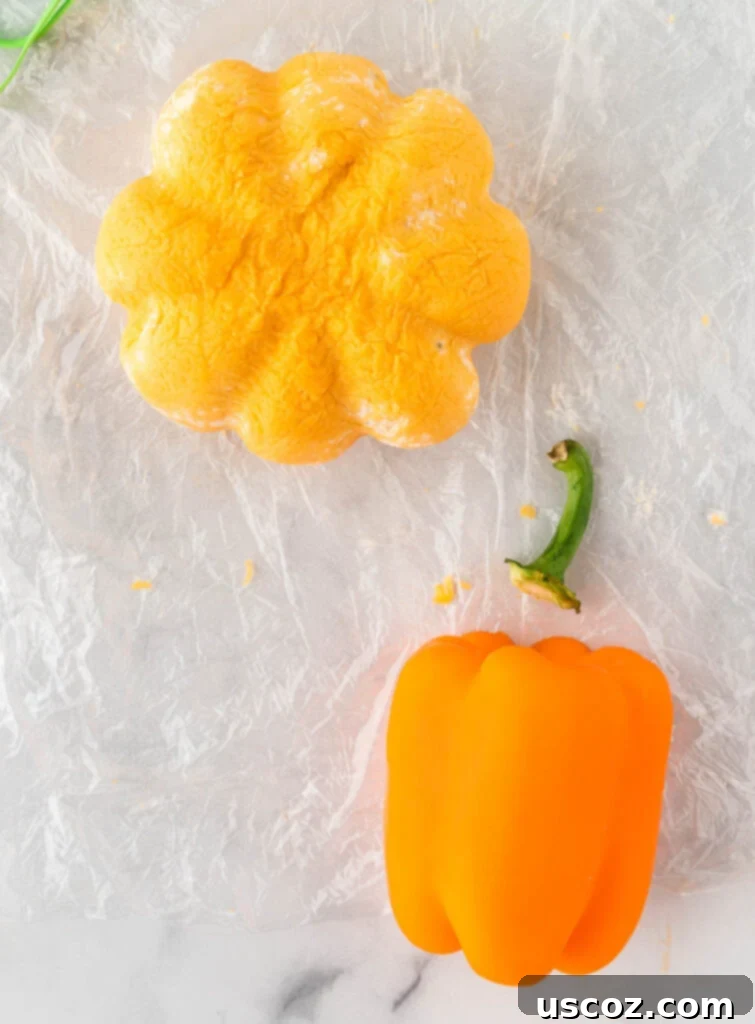
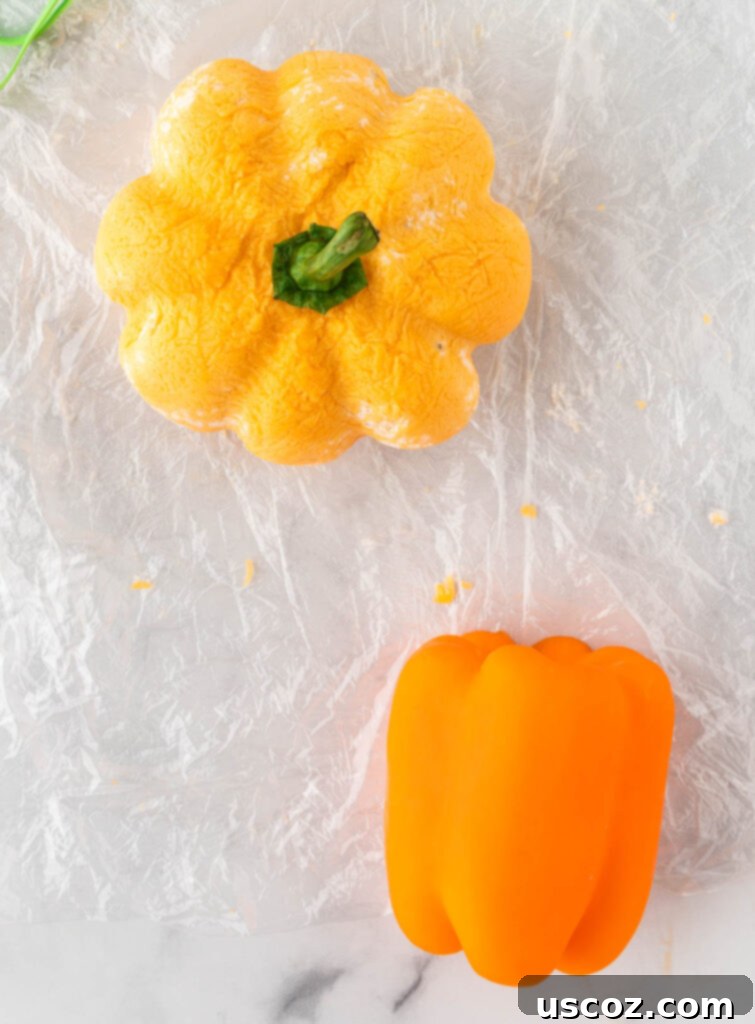
Place the rubber-banded cheese ball into the refrigerator to chill for at least 2 hours. Chilling is essential as it allows the cheese ball to firm up and the flavors to meld beautifully, ensuring the pumpkin shape holds once the bands are removed. For best results, you can even chill it overnight. Once thoroughly chilled, carefully remove the rubber bands. The indentations will now permanently create your pumpkin shape. Finally, cut a small stem from a bell pepper and place it gently on top of the cheese ball to serve as the pumpkin’s stem, completing its festive transformation.
How to Serve Your Festive Pumpkin Cheese Ball
Presentation is key for this charming appetizer! To serve your pumpkin cheese ball, arrange it on a platter surrounded by a variety of dippers. The key is to choose sturdy options that can handle a generous scoop of the creamy cheese. Offering a selection ensures there’s something for everyone!
- Ritz crackers: A classic choice, offering a buttery, slightly salty complement.
- Club crackers: Another popular, mild-flavored cracker that allows the cheese ball’s taste to shine.
- Triscuits: For those who prefer a heartier, whole-wheat option with a satisfying crunch.
- Wheat Thins: A lighter, subtly sweet cracker that pairs wonderfully.
- Pita crisps: Offering a thicker, more substantial scoop, often with a hint of garlic or herb flavor.
- Vegetable sticks: Carrot sticks, celery stalks, cucumber slices, or bell pepper strips for a fresh, healthy alternative.
- Pretzel crisps or mini pretzels: Their salty crunch provides a delightful contrast to the creamy cheese.
- Thinly sliced baguette: Toasted or fresh, baguette slices are elegant and sturdy dippers.
Arrange your dippers artfully around the pumpkin cheese ball to create an inviting spread. A few sprigs of fresh parsley or chives scattered around can add an extra pop of color and freshness to your fall-themed display.
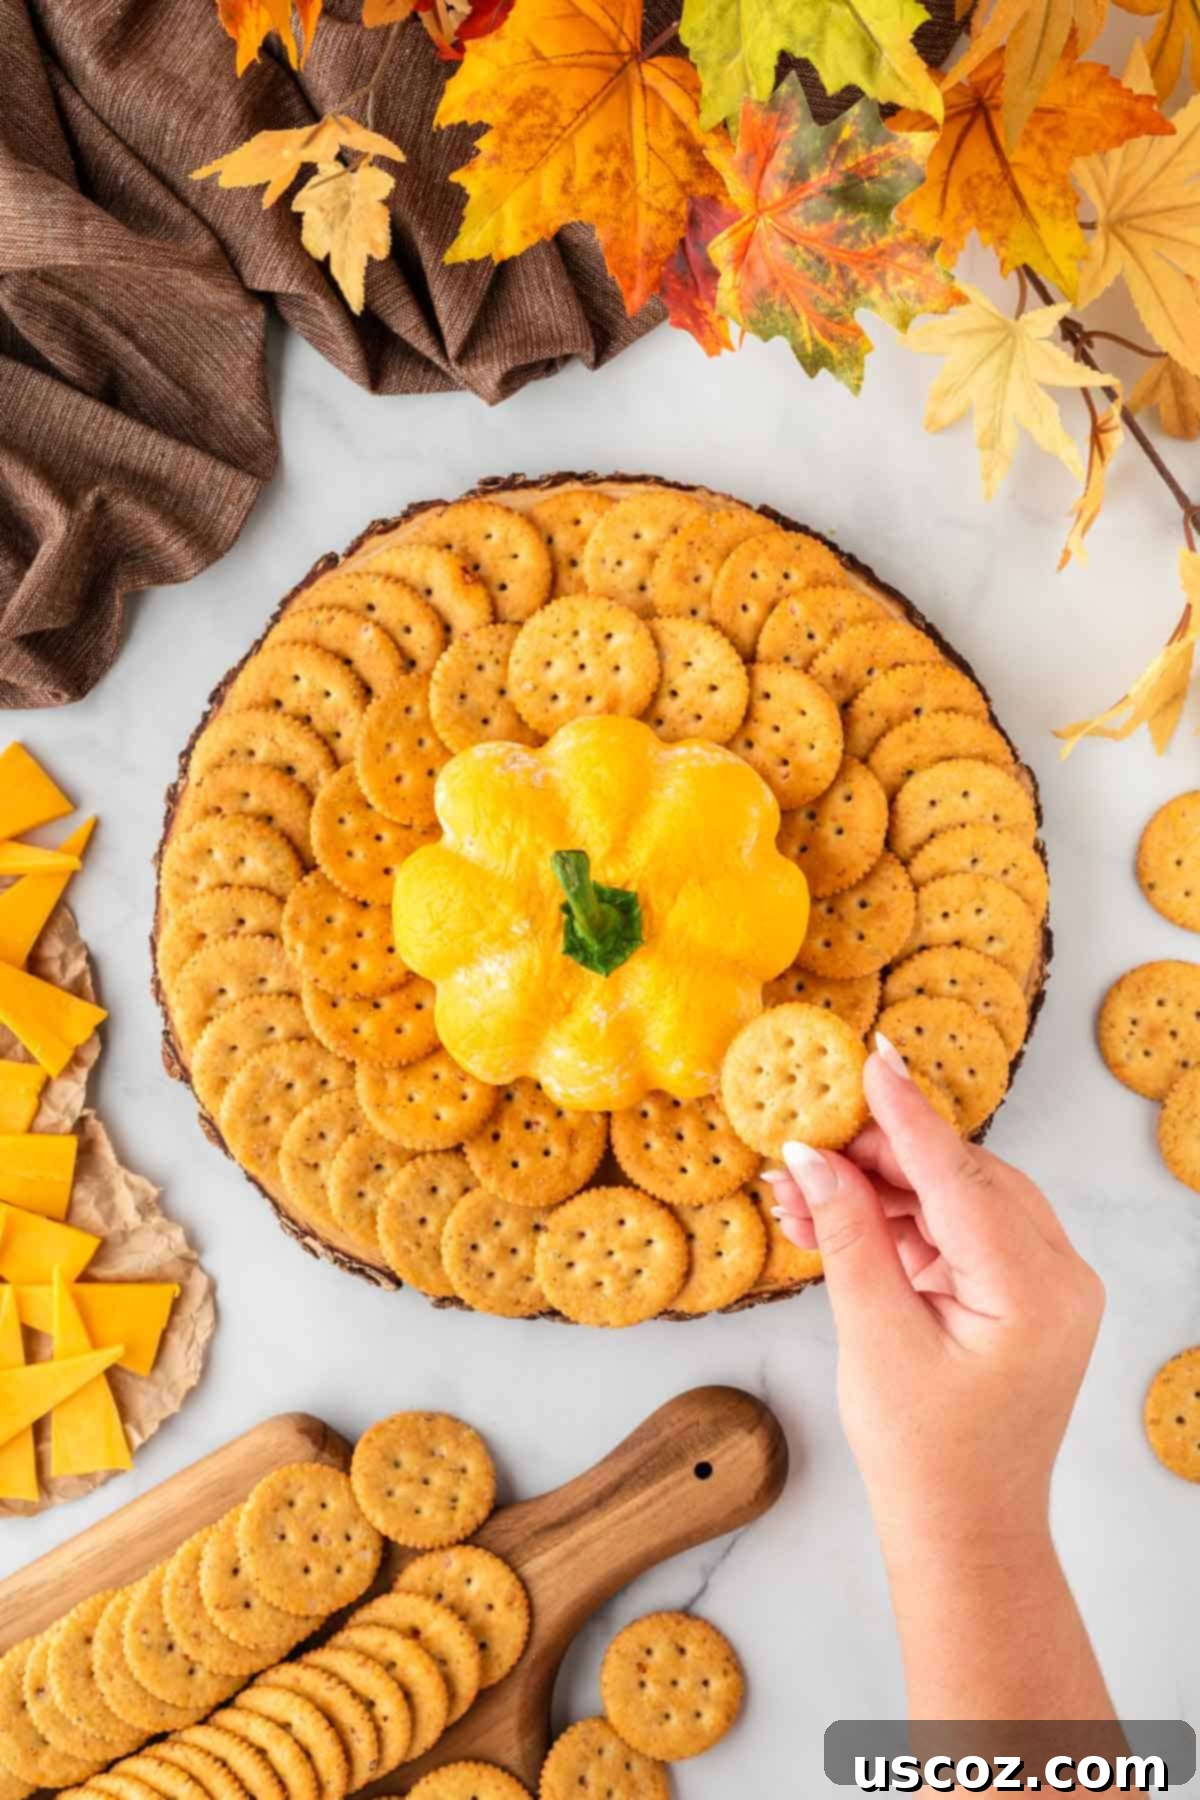
This pumpkin cheese ball is truly one of my favorite appetizers. It boasts an impressive presentation, making it look like you spent hours in the kitchen, when in reality, it’s incredibly easy to make. This recipe is absolutely perfect for the crisp, cool weather months and is guaranteed to charm and impress all your guests!
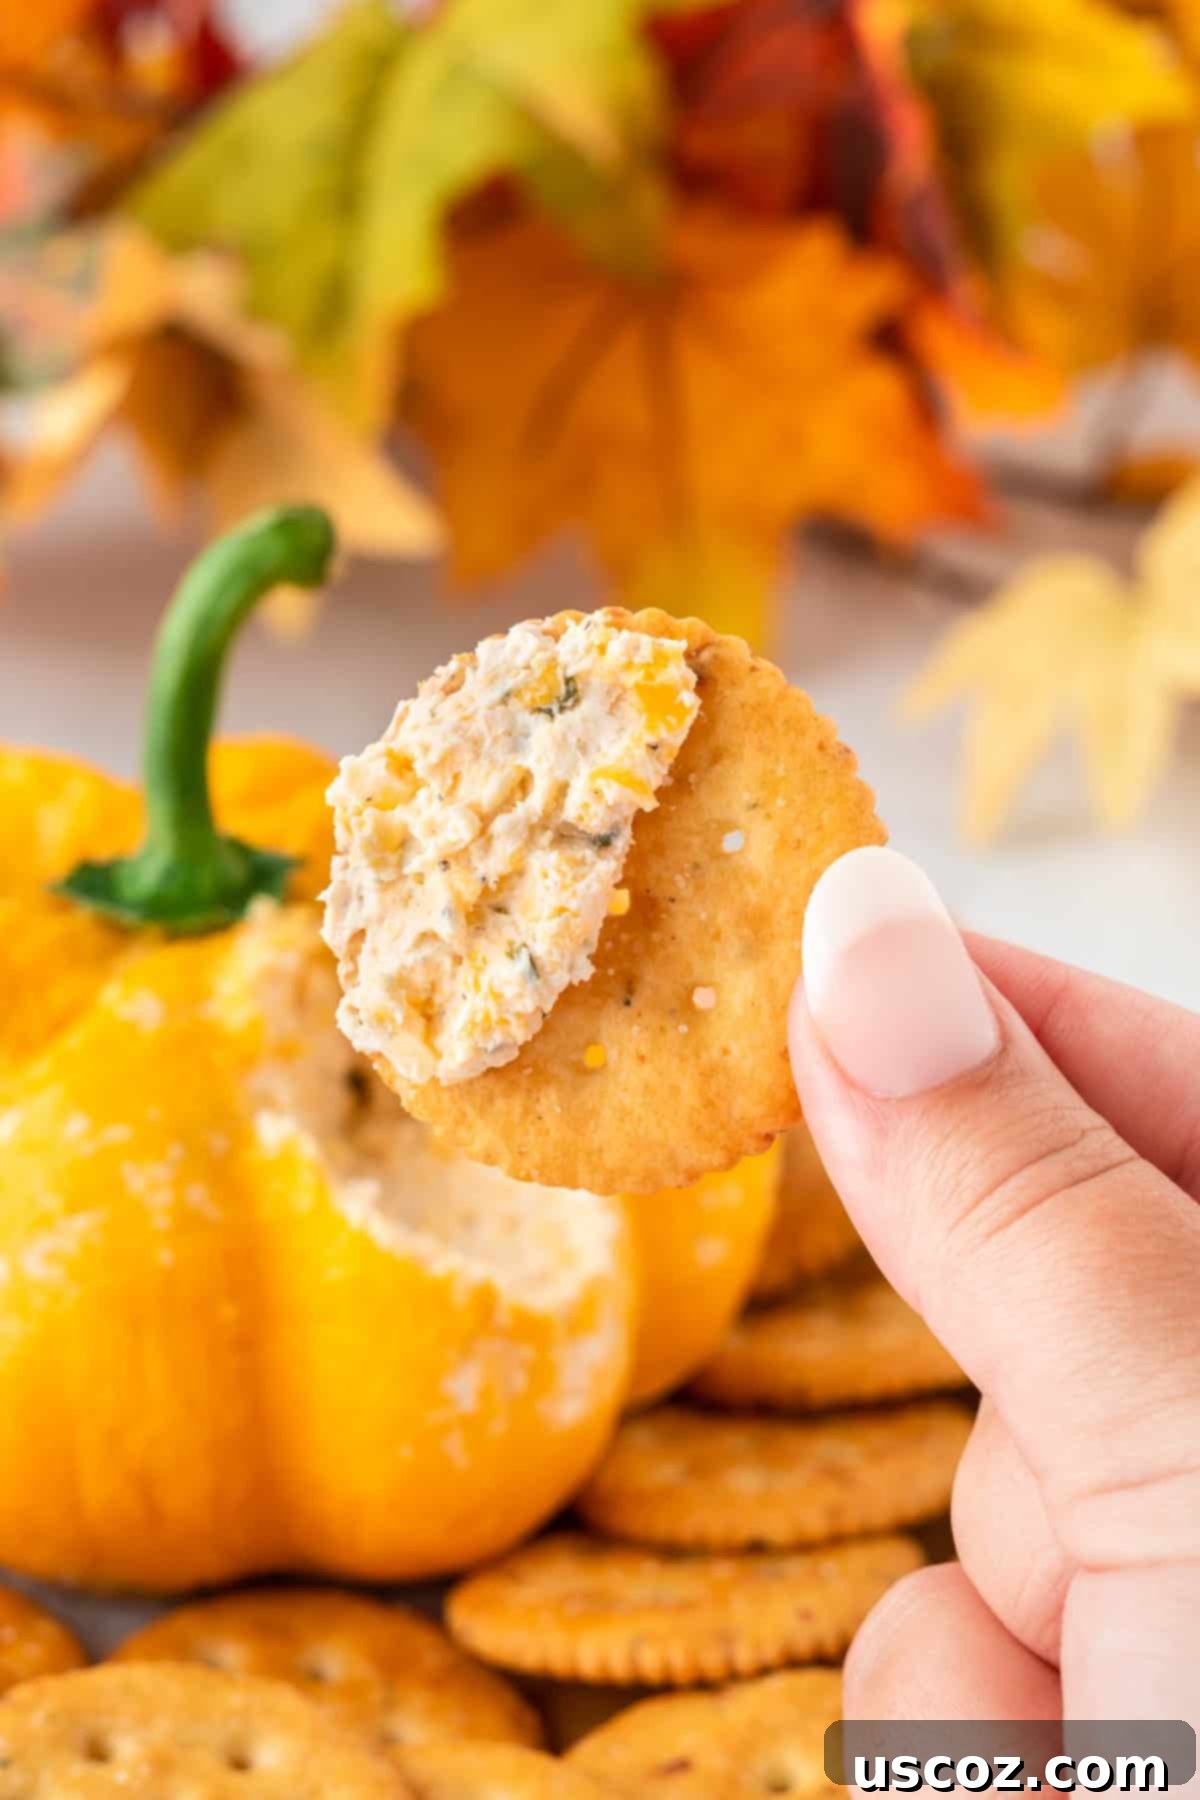
Not to mention, it is absolutely delicious. The blend of creamy and sharp cheeses with savory seasonings creates an unforgettable flavor profile. If you haven’t had the pleasure of trying a fresh, homemade cheese ball before, you are truly in for a treat that will elevate your appetizer game!
Make-Ahead Tips & Storage Instructions
One of the many advantages of this pumpkin cheese ball is its make-ahead friendly nature. This allows you to prepare it in advance, freeing up your time on the day of your event.
- In the refrigerator (make-ahead): You can prepare the entire cheese ball, including shaping it with the rubber bands and chilling it, up to 3-4 days in advance. Keep it tightly wrapped in plastic wrap in the refrigerator until about 30 minutes before you plan to serve. This allows it to soften slightly, making it easier to spread.
- In the refrigerator (leftovers): Any leftover cheese ball should be stored tightly wrapped in plastic wrap or in an airtight container in the refrigerator. It will remain fresh and delicious for 3-4 days. For optimal freshness, remove the bell pepper stem before storing leftovers, as it can wilt.
- At room temperature: When serving this cheese ball, do not leave it out at room temperature for more than two hours. Dairy products can spoil quickly, so it’s best to return it to the refrigerator if not actively being consumed.
- Freezing: While technically possible, freezing is generally not recommended for cheese balls, especially those with a creamy texture like this one. Freezing can alter the texture of cream cheese and cheddar, making it crumbly or watery upon thawing. For the best quality, enjoy it fresh or within a few days of refrigeration.
Creative Variations & Flavor Enhancements
While this classic pumpkin cheese ball recipe is delicious on its own, don’t hesitate to get creative with variations to suit your taste or occasion. Here are a few ideas to inspire you:
- Spice it up: Add a pinch of cayenne pepper or a dash of hot sauce to the mixture for a spicy kick.
- Nutty crunch: Roll the finished cheese ball in finely chopped pecans or walnuts (after removing the rubber bands) for added texture and nutty flavor.
- Herbaceous delight: Mix in finely chopped fresh parsley, dill, or a combination of your favorite herbs into the cheese mixture.
- Garlic Lover’s Dream: Increase the garlic powder or add a teaspoon of fresh minced garlic for an extra garlicky punch.
- Bacon bliss: Fold in crispy, crumbled bacon bits into the cheese mixture for a smoky, savory addition.
- Different Cheeses: Experiment with other shredded cheeses like Monterey Jack, Colby, or a spicy Pepper Jack for a different flavor profile.
- Visual flair: For a slightly different color and added flavor, dust the outside of the cheese ball with paprika before serving.
More Easy Appetizers for Your Gatherings
If you loved this cheese ball, you’ll be thrilled to discover more of our effortlessly delicious appetizer recipes that are perfect for any occasion:
- Pimento Cheese Ball
- Slow Cooker Spinach Artichoke Dip
- Creamy Veggie Dip
- Sweet Chocolate Chip Cheese Ball
- Classic Creamy Spinach Dip
- Ultimate Chip Dip
Why This Pumpkin Cheese Ball is Your Go-To Fall Appetizer
The next time you’re searching for the perfect dish to bring to a fall potluck, a Halloween party, or a festive Thanksgiving gathering, look no further than this incredible pumpkin-shaped cheese ball! It’s not just an appetizer; it’s a conversation starter and a delightful centerpiece.
I absolutely adore that it’s a fantastic make-ahead recipe. You can effortlessly whip it together in just a few minutes, shape it, and tuck it into the fridge, ready to be unveiled when your guests arrive. Its simplicity, combined with its undeniable deliciousness and charming festive appearance, guarantees it will be the undisputed hit of any party. Get ready for compliments and requests for the recipe – it’s truly a fall entertaining essential!
Pumpkin Cheese Ball
Saved!
Pin Recipe
Rate Recipe
Print Recipe
Ingredients
- 8 oz cream cheese, softened
- 7.5 oz container of chive & onion cream cheese spread
- ¼ teaspoon salt
- ¼ teaspoon pepper
- ¼ teaspoon garlic powder
- 8 oz sharp cheddar cheese, freshly grated, divided
- 1 stem from a bell pepper
Instructions
-
Beat together the softened cream cheese, chive & onion spread, salt, pepper, garlic powder, and 1 ¼ cups of the shredded sharp cheddar cheese until smooth and well combined.
-
Place a double layer of cling wrap out on the counter, ensuring it’s long enough to fully wrap the cheese ball.
-
Sprinkle ⅓ cup of the remaining shredded cheddar cheese onto the center of the cling wrap, where the bottom of the cheese ball will rest.
-
Carefully place the prepared cheese ball mixture over the cheese. Then, use the rest of the shredded cheese to cover the top and sides of the cheese ball, pressing gently to adhere.
-
Wrap the cheese ball securely in the cling wrap, twisting the ends, and gently press to form a round ball shape.
-
Using several thick, sturdy rubber bands, double wrap the cheese ball to create distinct pumpkin-like ridges. (Refer to the images in the post for visual guidance on placement).
-
Chill the cheese ball in the refrigerator for a minimum of 2 hours, or ideally overnight, to allow it to firm up and for flavors to meld. Once chilled, carefully remove the rubber bands and cling wrap.
-
To finish, place a bell pepper stem on top of your pumpkin cheese ball and serve immediately with your favorite crackers or dippers.
Nutrition
Carbohydrates: 3g,
Protein: 8g,
Fat: 20g,
Saturated Fat: 12g,
Polyunsaturated Fat: 1g,
Monounsaturated Fat: 4g,
Cholesterol: 59mg,
Sodium: 376mg,
Potassium: 49mg,
Fiber: 0.02g,
Sugar: 2g,
Vitamin A: 734IU,
Vitamin C: 0.001mg,
Calcium: 208mg,
Iron: 0.1mg
Like this recipe? Rate and comment below!
