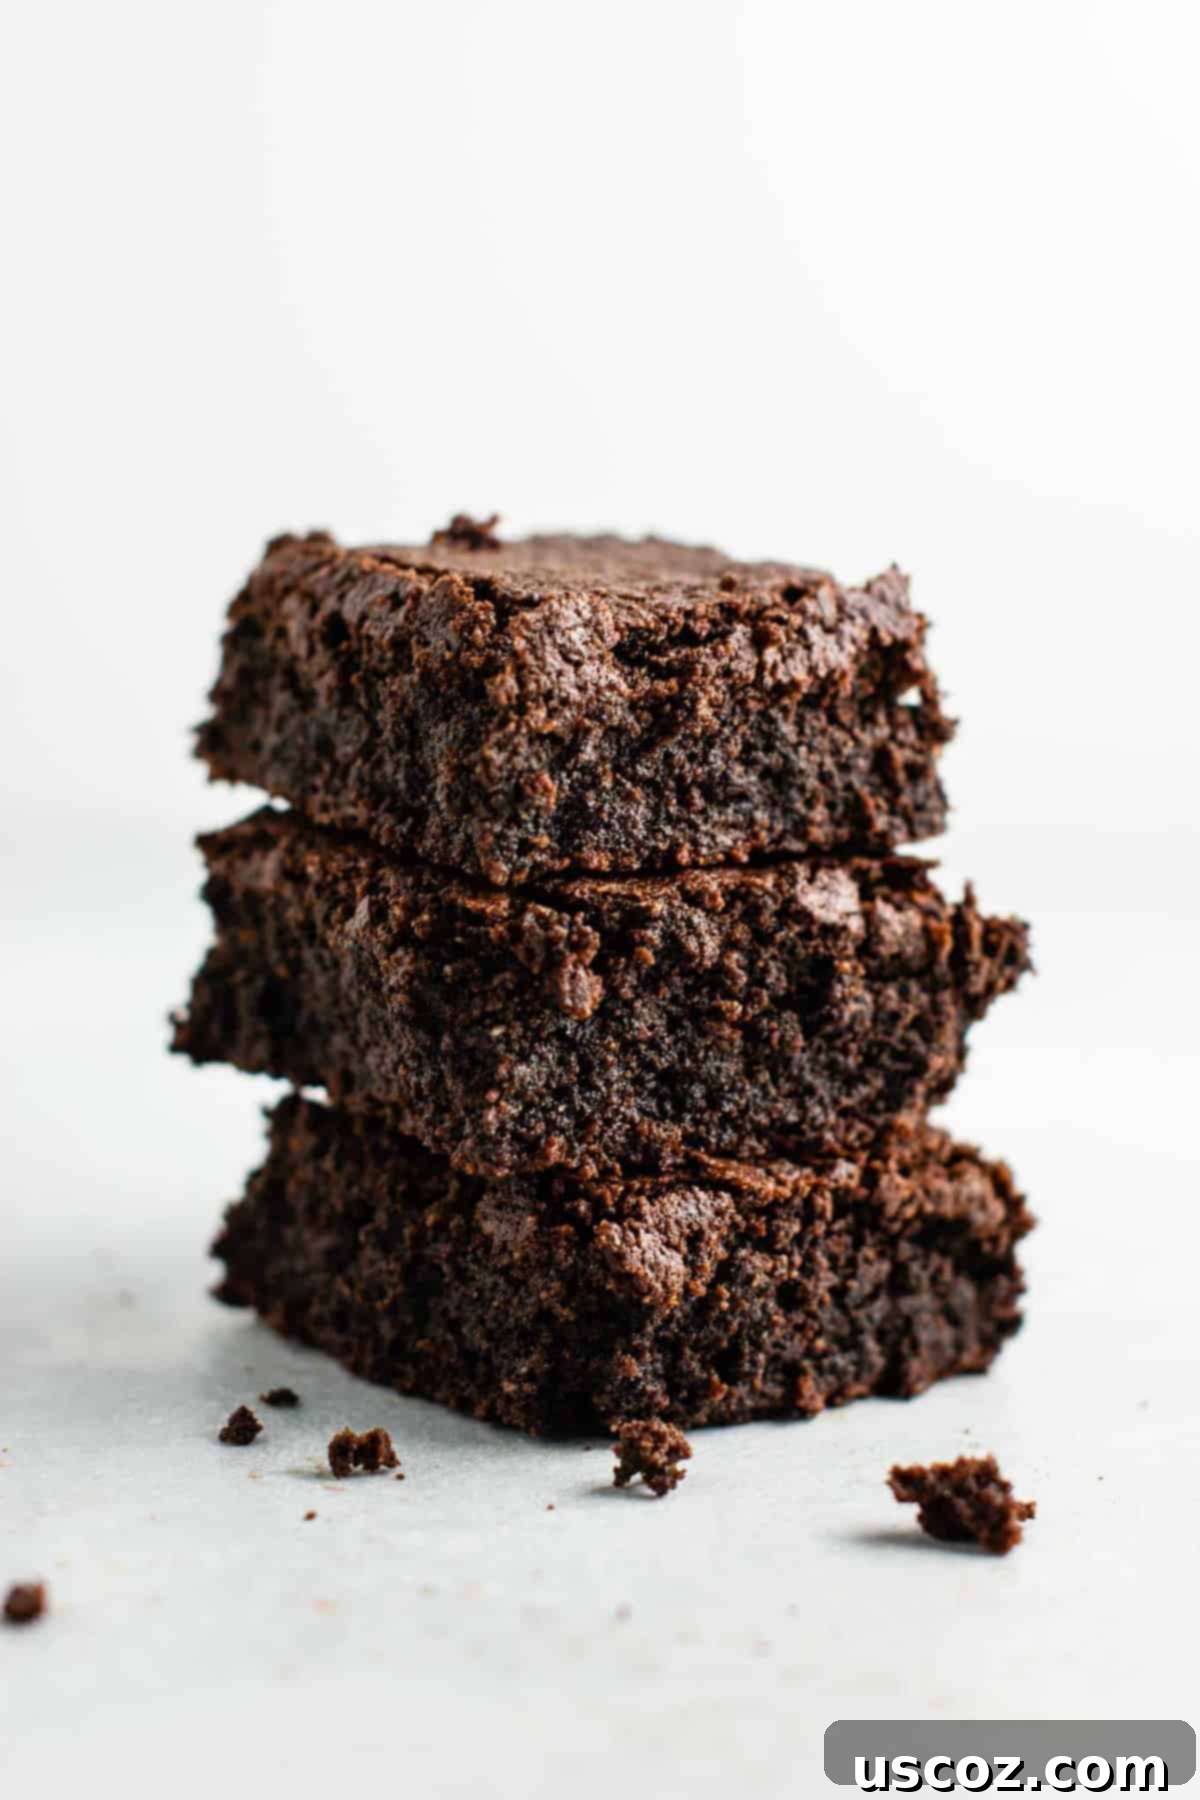
The Best Fudgy Gluten-Free Dairy-Free Brownies: An Easy Oat & Coconut Flour Recipe
Prepare yourself for a dessert experience that defies expectations! These gluten-free brownies are everything you dream of: incredibly fudgy, wonderfully thick, and bursting with rich chocolate flavor. What’s even better? They’re also completely dairy-free, making them suitable for a wider range of dietary needs without sacrificing an ounce of taste or texture. This easy recipe, featuring a smart blend of oat and coconut flour, is set to become your new favorite for a truly satisfying treat.
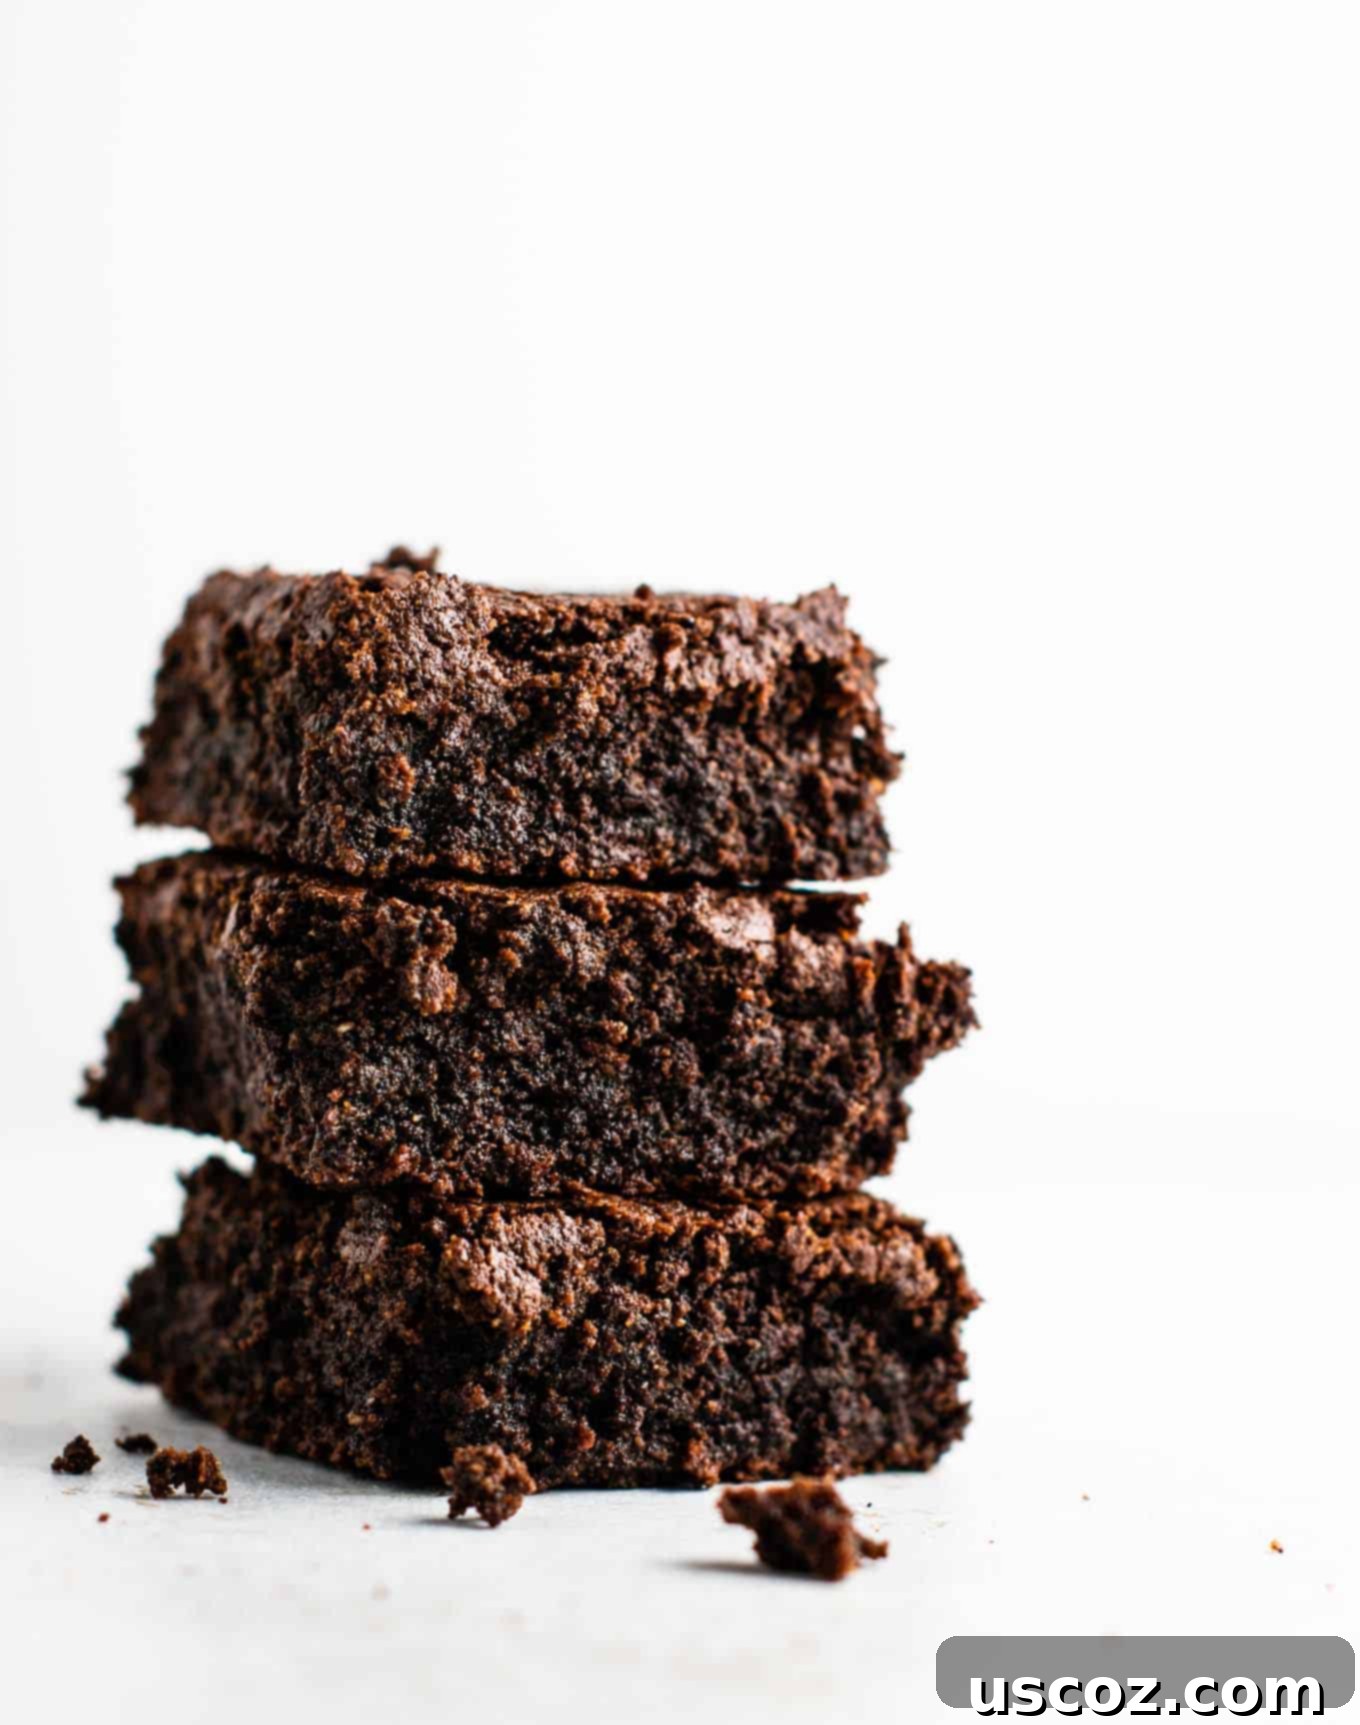
Why These Gluten-Free Brownies Are a Game-Changer
Developing delicious gluten-free recipes is a passion, and these brownies are the culmination of extensive testing. While I personally enjoy all types of desserts, my commitment to posting exceptional gluten-free options on my blog means they must meet strict criteria: they need to be incredibly easy to make and should never require obscure or expensive ingredients. This philosophy led me to a winning combination of gluten-free oat flour and coconut flour, which has proven to be a versatile and reliable foundation for many of my most popular gluten-free dessert recipes.
Oat flour and coconut flour are not just easy to find; they are also remarkably affordable and incredibly versatile. I’ve successfully incorporated this dynamic duo into everything from my beloved gluten-free carrot cake recipe to my quick gluten-free chocolate mug cake. Today, they are the secret behind these irresistibly fudgy and delightfully simple gluten-free brownies!
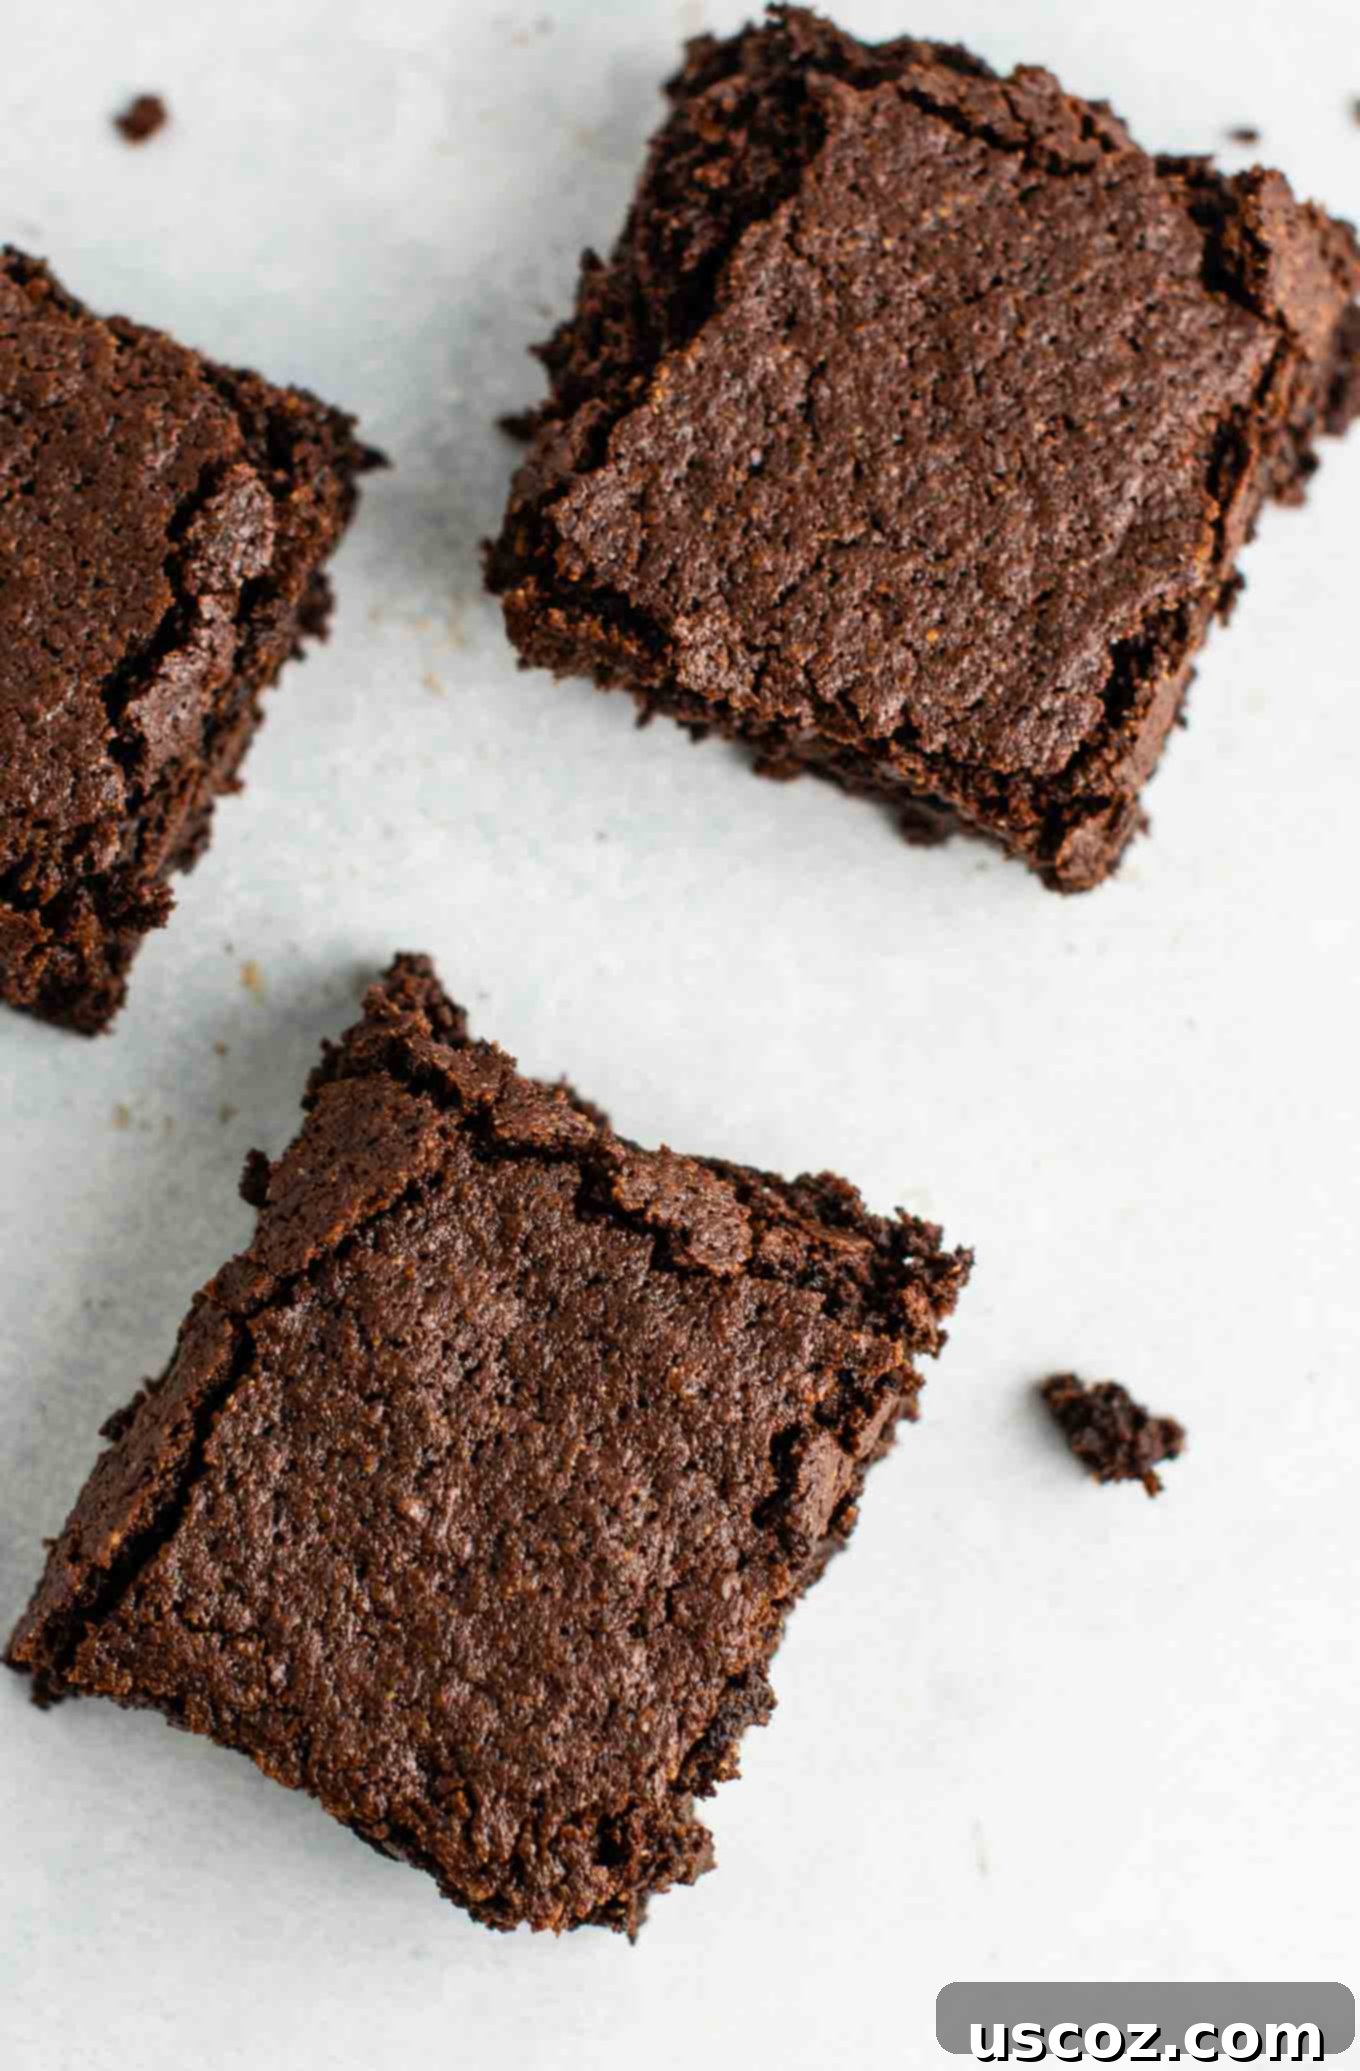
Crafting the Perfect Fudgy Gluten-Free Brownie
What sets these gluten-free brownies apart is their profound chocolate flavor and luxuriously fudgy texture. We don’t just rely on cocoa powder; melted chocolate chips are incorporated directly into the batter. This strategic addition is my favorite method for achieving that extra-fudgy interior that brownie connoisseurs crave. The combination of both cocoa powder and melted chocolate creates a depth of flavor that is truly remarkable.
The Wet Ingredients: Building a Rich Base
The journey to fudgy perfection begins by melting coconut oil and dairy-free chocolate chips together until they form a smooth, glossy mixture. This step is crucial for the brownies’ richness and moistness. Once melted, we’ll whisk in olive oil, vanilla extract, granulated sugar, and brown sugar. The olive oil contributes to the brownies’ incredible texture without imparting an overwhelming flavor, while the sugars provide sweetness and further enhance the fudginess. After the sugars are fully incorporated, we’ll whisk in three eggs, one at a time, ensuring each egg is fully blended before adding the next. This step helps create a smooth emulsion and contributes to the brownies’ signature chewiness.
The Dry Ingredients: Our Gluten-Free Flour Blend
In a separate bowl, we prepare our dry ingredient blend. This includes gluten-free oat flour, coconut flour, rich cocoa powder, a touch of baking soda for lift, and salt to balance the sweetness and deepen the chocolate flavor. The oat flour provides a soft, cake-like texture, while the coconut flour contributes to the fudginess and absorbs moisture beautifully, preventing a gummy result often associated with gluten-free baking.
Combining and Baking for Optimal Results
The final step before baking involves gently combining the wet and dry ingredients. Using a rubber spatula, mix until just combined – it’s vital not to overmix, as this can lead to a tougher brownie. Overmixing develops gluten (even in gluten-free flours, if handled too aggressively, though less of an issue here) and can make your brownies dense rather than tender and fudgy.
For effortless cleanup and perfect slices, line an 8×8 inch baking dish with parchment paper, leaving an overhang on the sides. Alternatively, you can spray the dish with cooking spray, but parchment paper makes it incredibly easy to lift the entire batch of brownies out of the pan for cooling and cutting. Pour the luscious batter into the prepared dish and spread it evenly.
Bake the brownies until the middle is set and no longer jiggly, which usually takes around 30 to 35 minutes. A toothpick inserted into the center should come out with moist crumbs, not wet batter. Overbaking can lead to dry brownies, so keep an eye on them!
The Golden Rule: Cool Before You Cut!
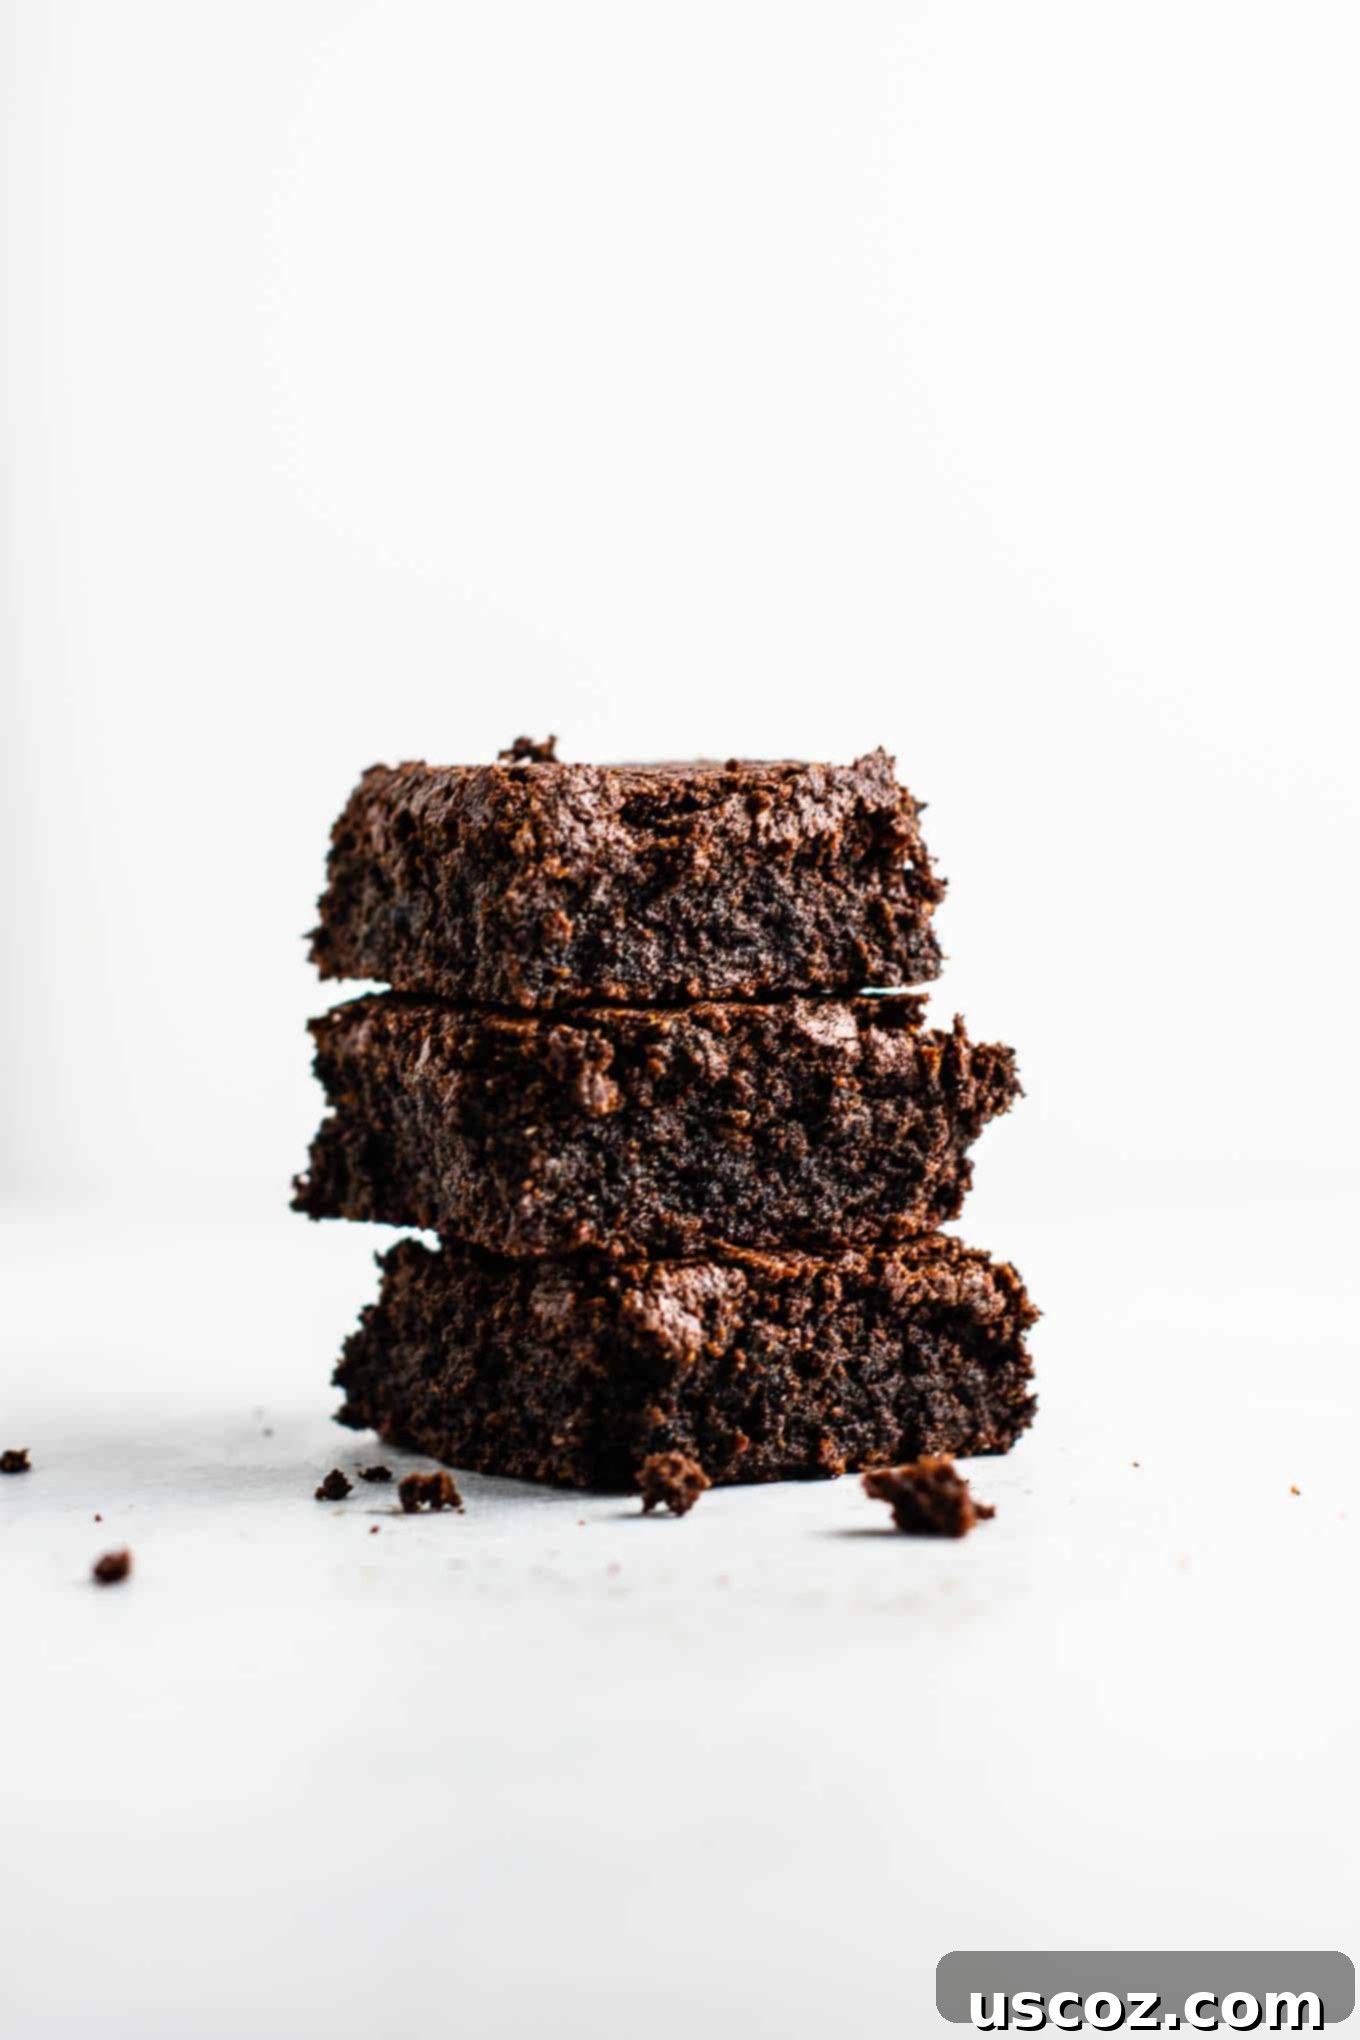
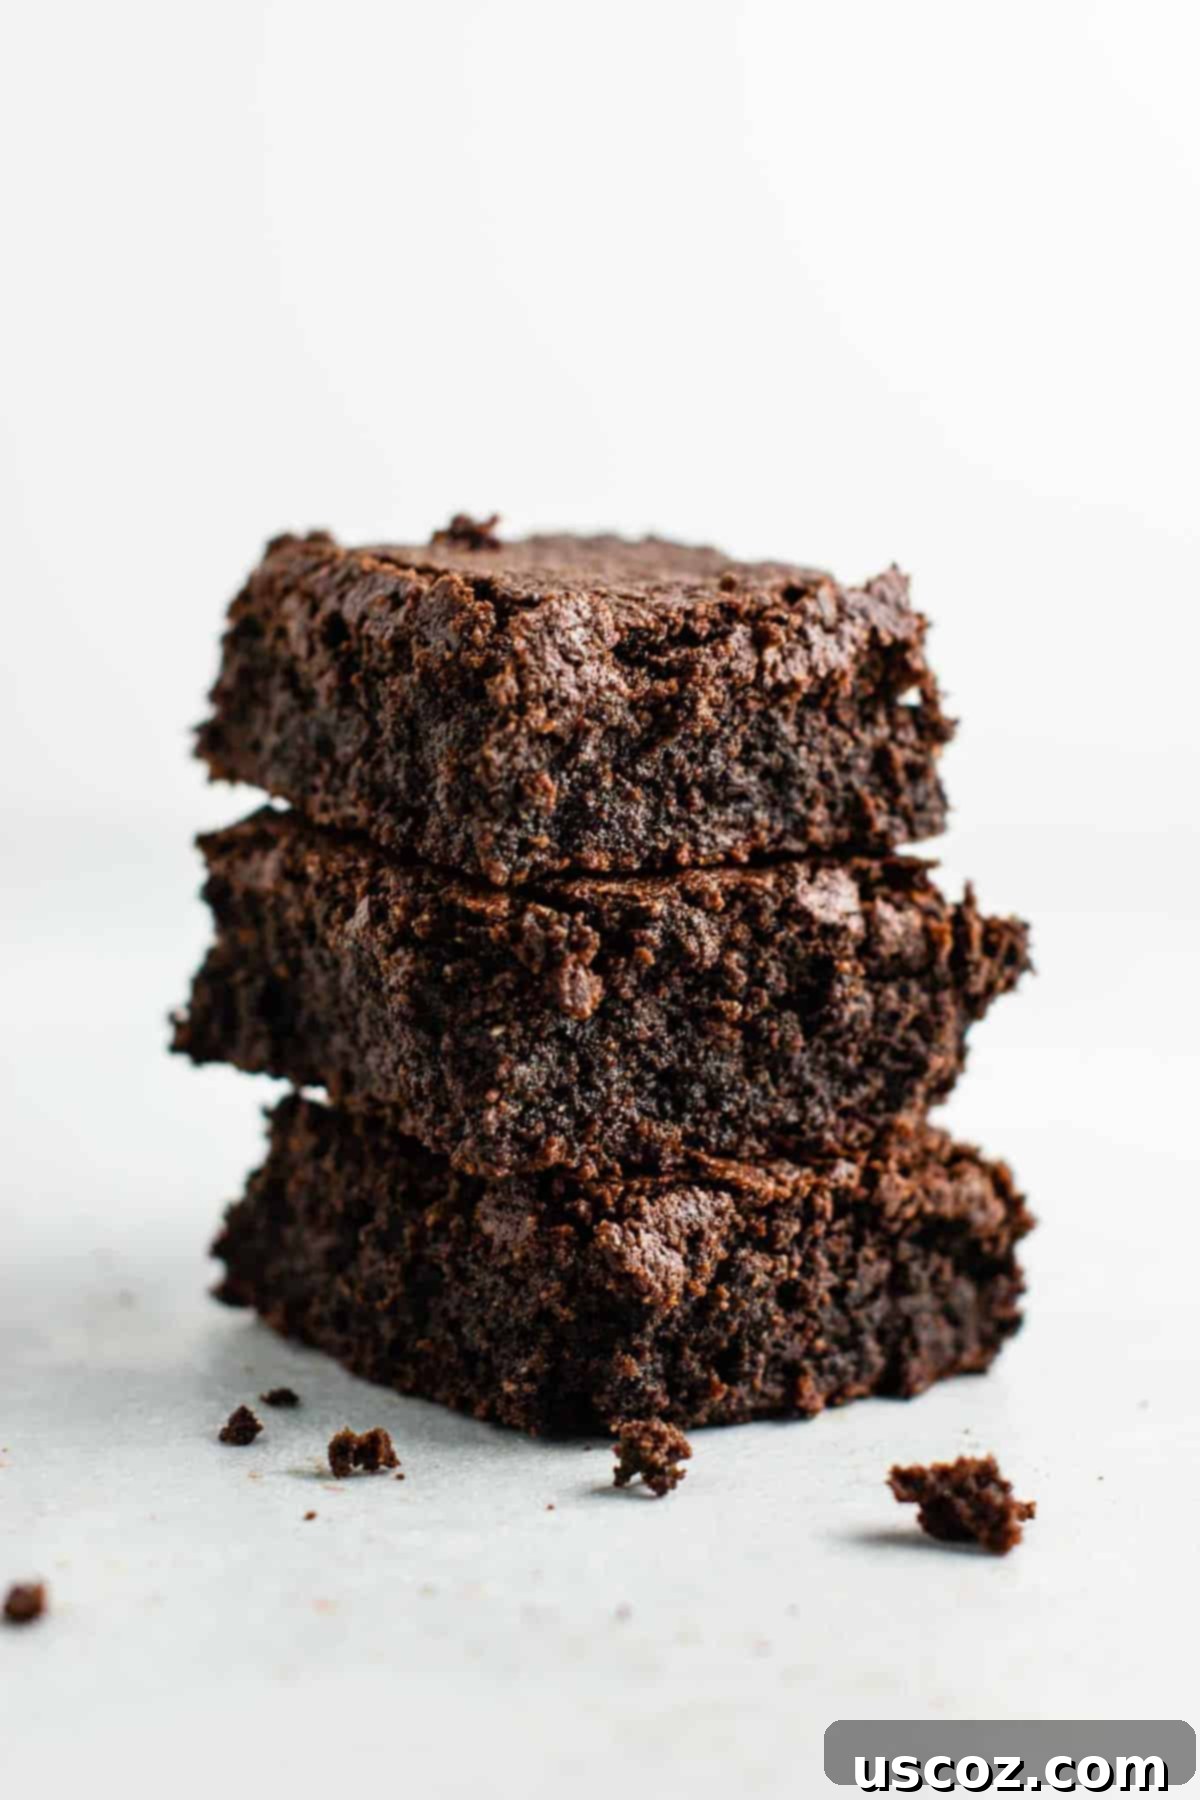
Once baked, allow the brownies to cool for at least 10 minutes in the pan. Then, use the parchment paper overhang to lift them out and transfer them to a wire rack to cool completely. This cooling period is absolutely critical for gluten-free brownies. I speak from experience: I once made the mistake of cutting mine too warm, and they crumbled apart. At first, I worried the recipe was flawed, but once they fully cooled, they transformed into the perfect fudgy texture, holding together beautifully.
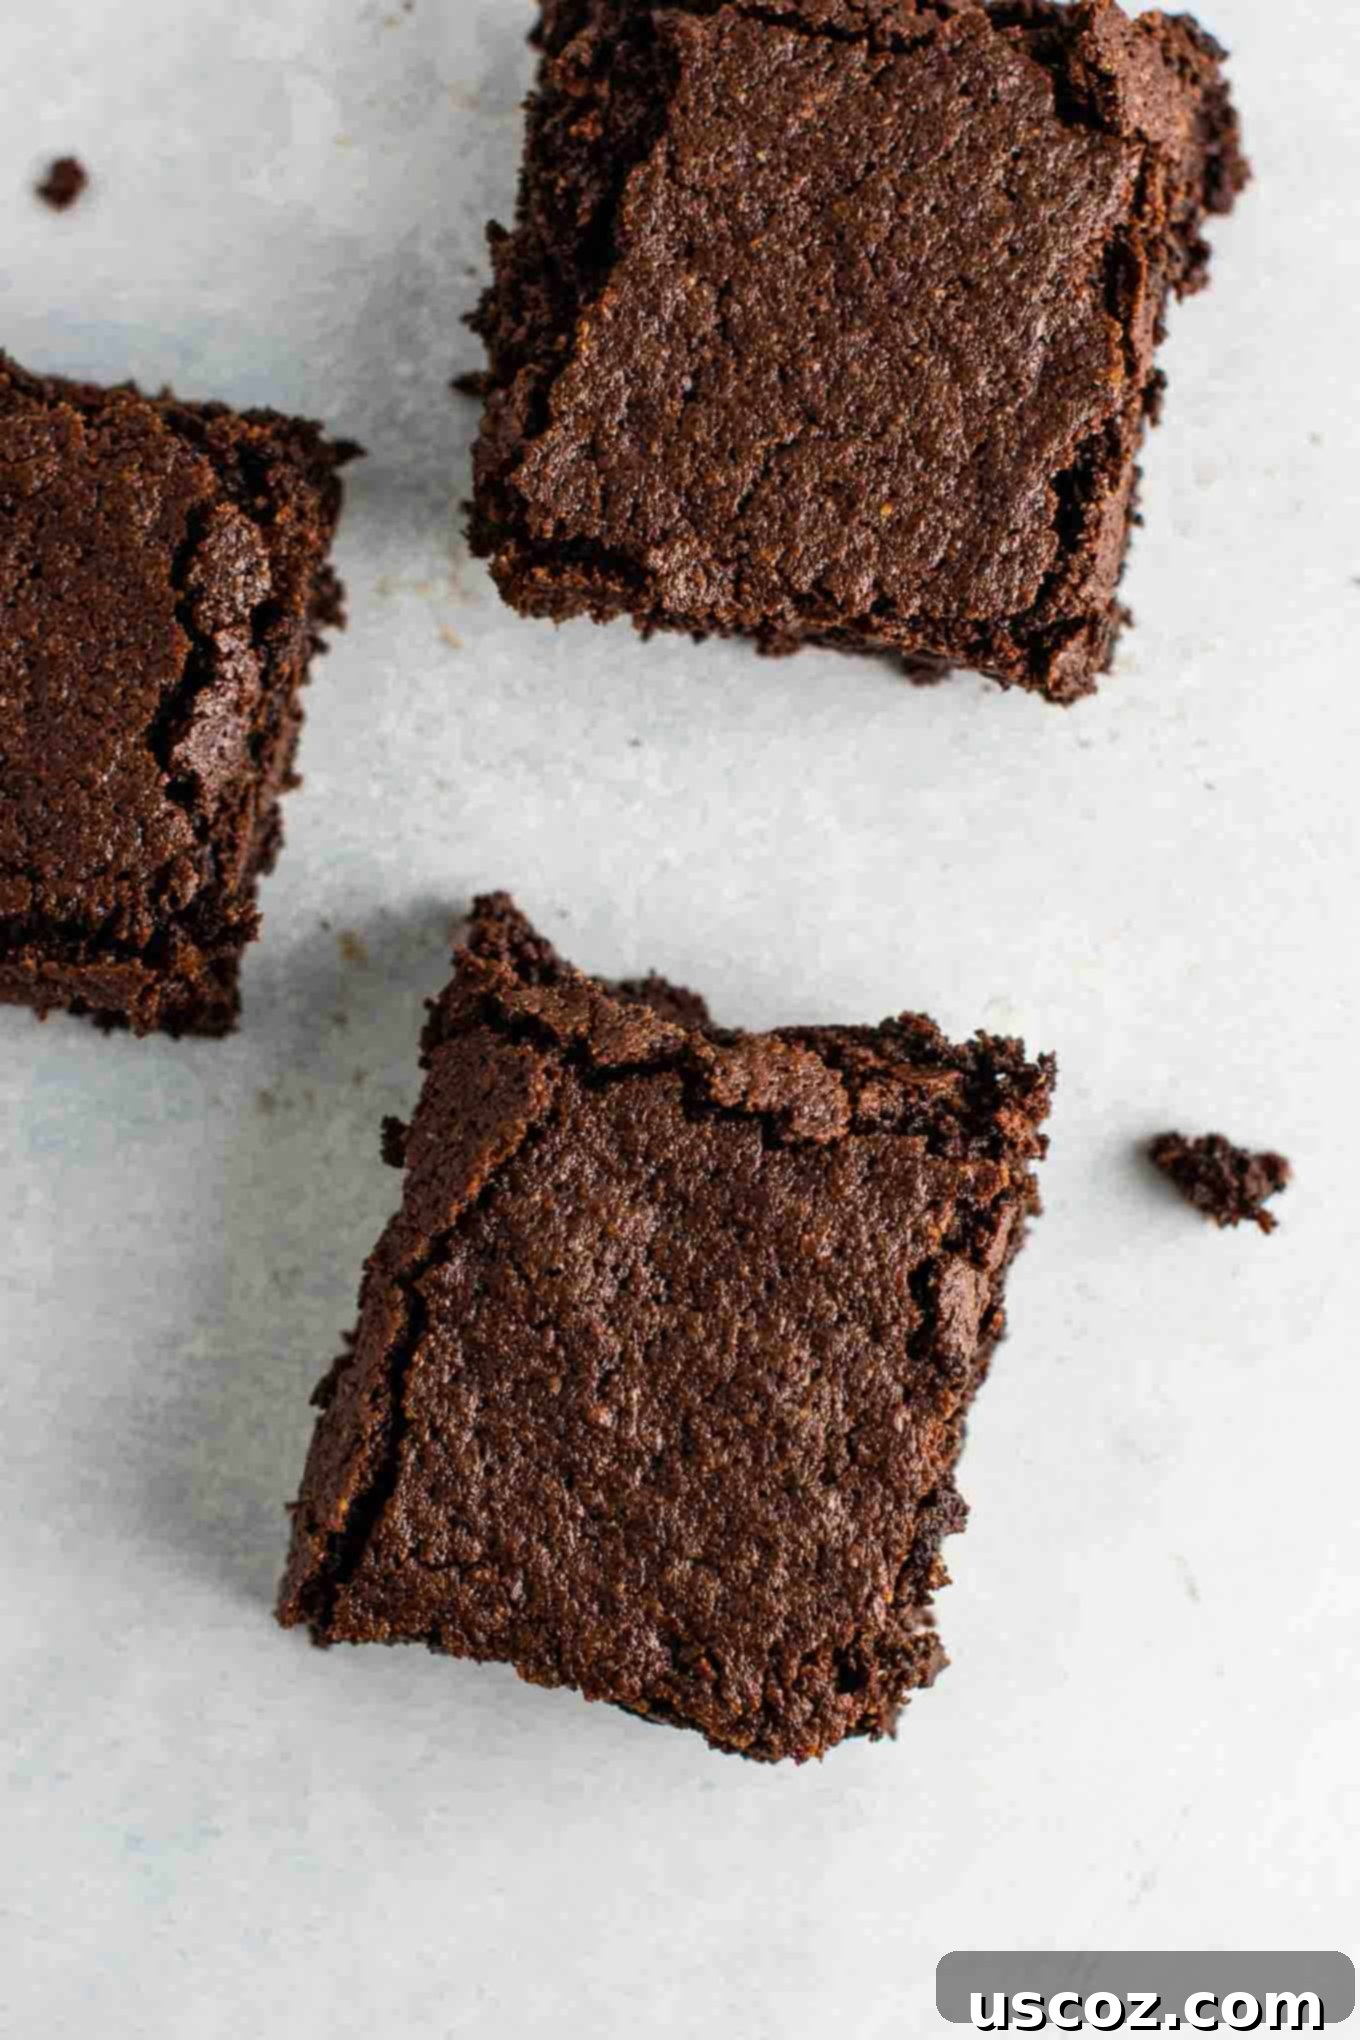
With gluten-free desserts, texture is everything. Patience truly is a virtue here! Once cooled, use a plastic knife or a sharp, warm knife (wiped clean between cuts) to achieve neat slices. The result will be rich, decadent squares that absolutely do not taste gluten-free. I am so excited for you to try this recipe and experience the magic for yourself!
Tips for Perfect Fudgy Gluten-Free Brownies Every Time
- Measure Flours Accurately: Especially with gluten-free flours like oat and coconut, precise measurement is key. Use a kitchen scale for best results, or spoon the flour into your measuring cup and level it off without packing.
- Don’t Overmix: As mentioned, mixing only until just combined will keep your brownies tender and fudgy. Overmixing can lead to a tougher, cake-like texture.
- Cool Completely: This cannot be stressed enough! Warm gluten-free brownies are prone to crumbling. For clean cuts and perfect fudginess, allow them to cool fully at room temperature or even chill them slightly in the refrigerator before slicing.
- Use Good Quality Chocolate: Since chocolate is a star ingredient here, opt for a good quality dairy-free semi-sweet chocolate chip brand that you enjoy.
- Parchment Paper is Your Friend: It truly makes removing the brownies from the pan and cleaning up a breeze.
Variations & Customizations
While these brownies are incredible as is, feel free to get creative with additions:
- Nutty Crunch: Fold in 1/2 cup of chopped walnuts or pecans for added texture.
- Extra Chocolate: Stir in an extra 1/2 cup of chocolate chips (dairy-free) just before pouring the batter into the pan.
- Swirls of Flavor: Drizzle a tablespoon of dairy-free caramel or peanut butter over the top of the batter before baking for a delicious swirl.
- Minty Fresh: Add a teaspoon of mint extract along with the vanilla for a refreshing mint chocolate brownie.
Storage Instructions
Store these fudgy gluten-free brownies in an airtight container at room temperature for up to 3-4 days. For longer storage, you can refrigerate them for up to a week. They also freeze beautifully! Wrap individual brownies tightly in plastic wrap, then place them in a freezer-safe bag or container for up to 2-3 months. Thaw at room temperature or gently warm in the microwave for a fresh-baked feel.
More Delicious Gluten-Free Desserts to Explore
If you loved these brownies, you’ll definitely want to check out these other highly-rated gluten-free treats from my collection:
- This gluten-free carrot cake consistently receives rave reviews and is a personal favorite for a reason!
- Flourless peanut butter oatmeal chocolate chip cookies are always a hit – simple to make and incredibly satisfying.
- For a delightful snack or dessert, these gluten-free cookie bars are perfect for any occasion.
- Whip up a batch of no-bake peanut butter truffles in minutes; they taste just like a classic buckeye candy!
Be sure to pin this recipe and save for later, so you can easily find it whenever a chocolate craving strikes!
Did you make this recipe? We’d love to hear your thoughts! Be sure to leave a star rating and comment below!
Gluten Free Brownies Recipe Card:
Gluten Free Brownies
Save RecipeSaved!
Pin Recipe
Rate Recipe
Print Recipe
Ingredients
- 1/2 cup coconut oil, measured solid
- 1/4 cup olive oil
- 10 oz dairy free semi sweet chocolate chips
- 3 eggs
- 1 tablespoon vanilla extract
- 3/4 cup gluten free oat flour
- 1/4 cup coconut flour
- 1/3 cup cocoa powder
- 1/2 cup sugar
- 1/2 cup brown sugar
- 3/4 teaspoon baking soda
- 1/4 teaspoon salt
Instructions
-
In a microwave-safe mixing bowl, gently melt the chocolate chips and coconut oil together until smooth. This usually takes around 90 seconds in the microwave, but be careful not to burn the chocolate. Stir every 30 seconds until fully combined.
-
Once the coconut oil and chocolate are melted and smooth, add in the olive oil, vanilla extract, granulated sugar, and brown sugar.
-
Use a whisk to combine all the wet ingredients thoroughly until well blended and smooth.
-
Whisk in the 3 eggs one at a time, ensuring each egg is fully incorporated before adding the next. This creates a smooth and stable batter.
-
In a separate, medium-sized bowl, whisk together all the dry ingredients: oat flour, coconut flour, cocoa powder, baking soda, and salt. Make sure there are no clumps.
-
Add the whisked dry ingredients to the wet mixture. Use a rubber spatula to gently fold and mix until just combined. Be careful not to overmix; a few streaks of flour are okay.
-
Line an 8×8 inch baking dish with parchment paper, leaving an overhang on two sides for easy removal.
-
Pour the brownie batter into the prepared baking dish and spread it out evenly with your spatula.
-
Bake at 350 degrees Fahrenheit (175°C) for 28-33 minutes, or until the center is set and no longer jiggly. A toothpick inserted near the center should come out with moist crumbs, not wet batter.
-
Allow the brownies to cool in the pan for at least 10 minutes. This initial cooling helps them set.
-
Using the parchment paper overhang, carefully lift the brownies out of the pan and transfer them to a wire rack.
-
Allow the brownies to cool completely on the wire rack before cutting. This crucial step prevents crumbling and ensures perfectly fudgy, neat slices.
Nutrition
Like this recipe? Rate and comment below!
