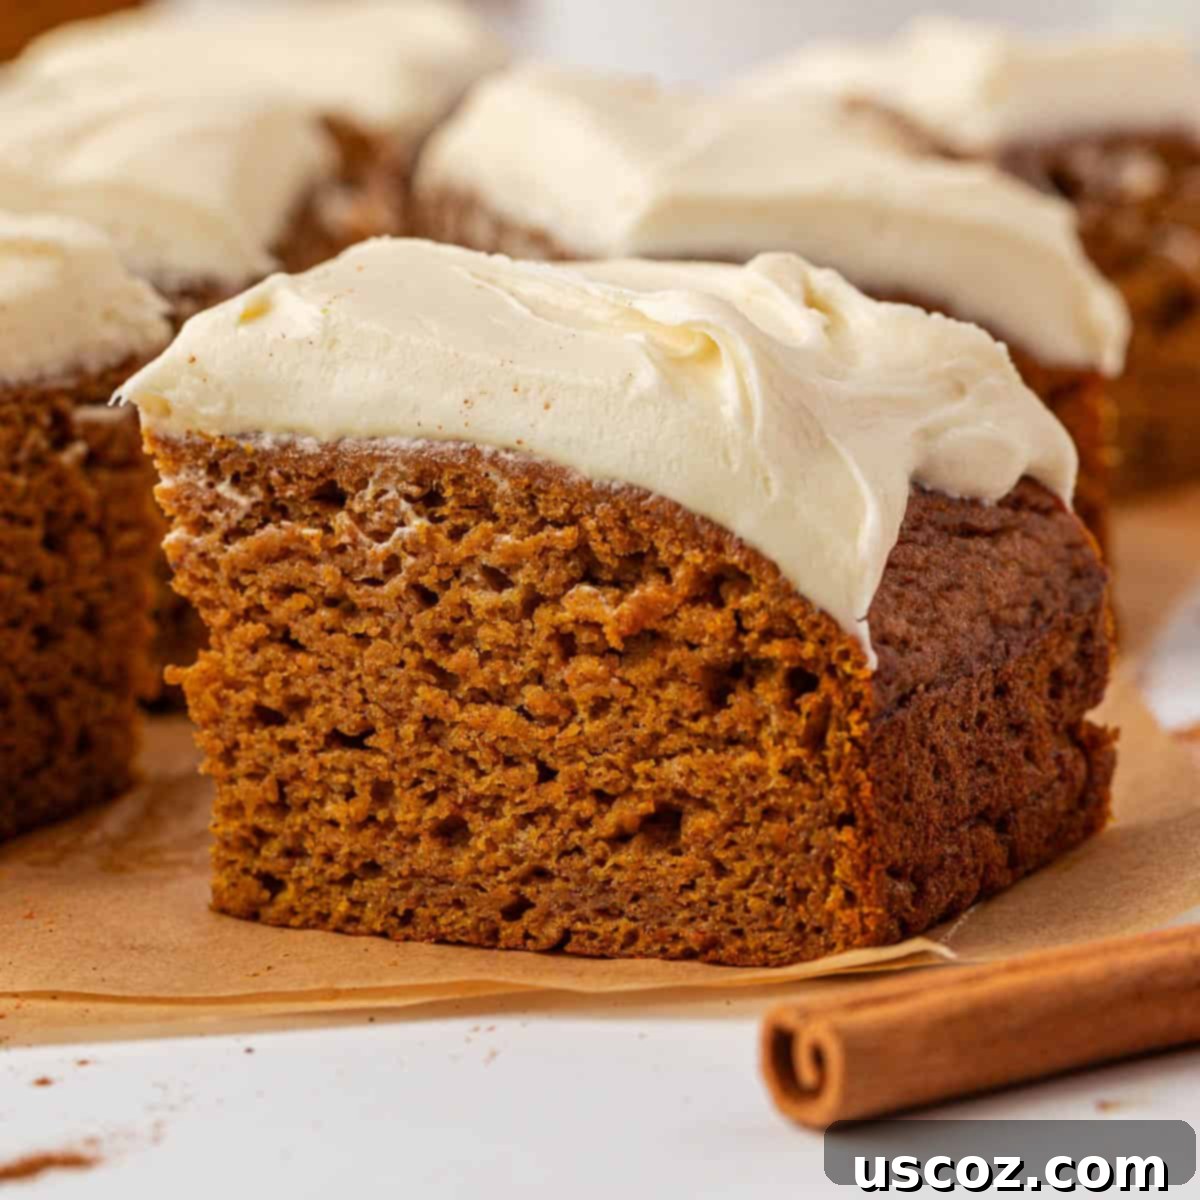
Irresistible Pumpkin Snack Cake with Cream Cheese Frosting: Your Ultimate Fall Treat
This Pumpkin Snack Cake is more than just a recipe; it’s a celebration of autumn flavors, perfectly spiced and topped with a luscious homemade cream cheese frosting. Whether you’re looking for a simple snack, a delightful dessert, or a cozy breakfast indulgence, this easy pumpkin cake recipe is sure to become one of your absolute favorite fall traditions.
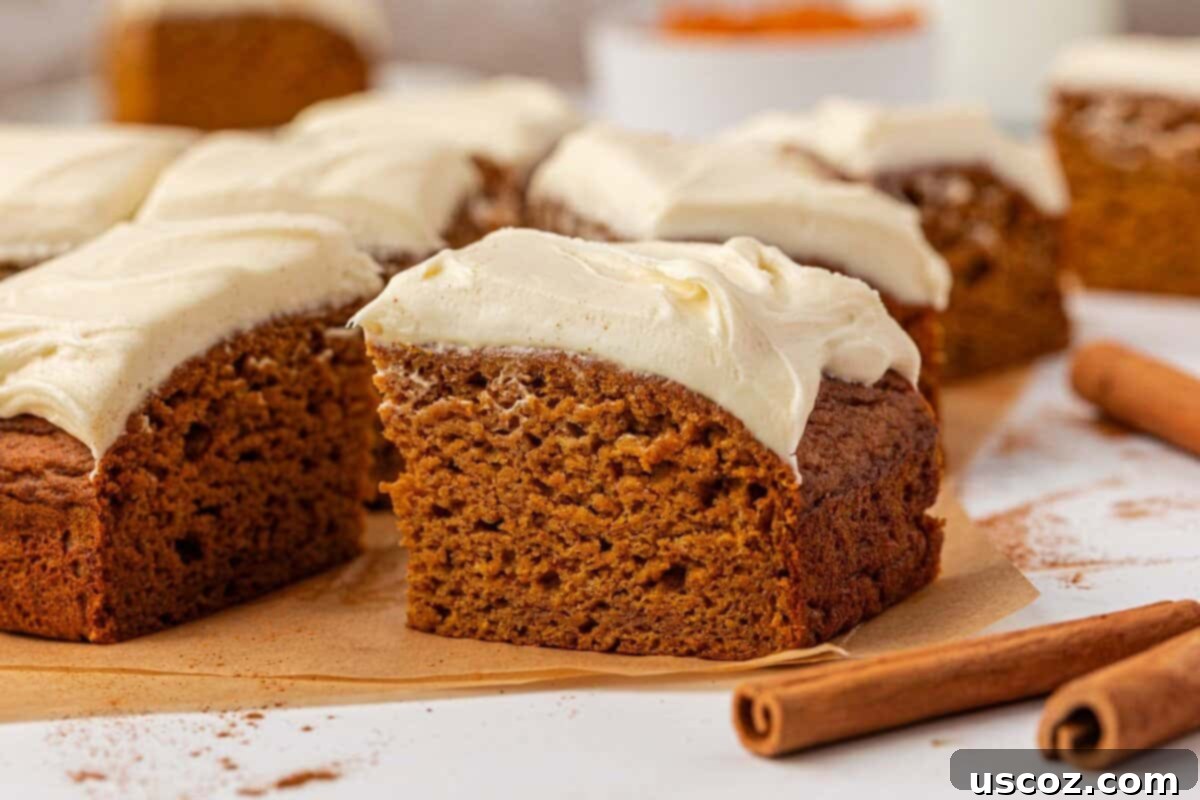
Welcome to the ultimate autumn indulgence: the pumpkin snack cake! This incredibly simple yet profoundly satisfying pumpkin cake recipe, crowned with a homemade cream cheese frosting, embodies everything we adore about the cooler months. It’s the kind of sweet treat that brings warmth and comfort with every bite, making it the perfect companion for a crisp fall evening or a lazy Sunday morning. Forget complicated bakes; this recipe is designed for ease without compromising on flavor.
Why This Pumpkin Cake Will Be Your New Favorite
There are countless reasons to fall in love with this pumpkin snack cake, but here are a few that truly make it stand out:
- Unbelievably Versatile: This isn’t just a dessert; it’s a chameleon of baked goods! Serve a slice as a delightful afternoon snack for the kids after school, a sophisticated dessert to round off a festive meal, or even a surprisingly satisfying breakfast alongside your morning coffee. Its moist texture and balanced sweetness make it suitable for any time of day, fulfilling cravings from dawn till dusk. It’s perfect for potlucks, holiday gatherings, or simply enjoying by yourself.
- Perfectly Balanced Sweetness: Many cakes can be overly sweet, overpowering the natural flavors of their main ingredients. Not this one! We’ve meticulously crafted this recipe so that the rich, earthy notes of pumpkin and the aromatic warmth of autumn spices truly shine through. The frosting, while deliciously creamy, provides a subtle tang that beautifully complements the cake without making it cloying. It’s sweet enough to feel like a treat, but mild enough that you won’t feel overwhelmed.
- Exceptional Storage Qualities: One of the best features of this pumpkin cake is how wonderfully it stores. Its inherent moisture ensures it doesn’t dry out quickly, remaining tender and delicious for days in the refrigerator. This makes it an ideal make-ahead recipe for busy weeks or when you want to have a ready supply of deliciousness on hand. Bake a batch, store it, and enjoy a piece whenever the craving strikes without any loss of quality.
- Effortlessly Simple to Make: Don’t let its impressive flavor fool you – this pumpkin snack cake is incredibly straightforward to prepare. With clear, easy-to-follow steps and readily available ingredients, even novice bakers can achieve perfect results. It’s designed to be a stress-free baking experience, allowing you to enjoy the process as much as the finished product.
Essential Ingredients for Your Pumpkin Snack Cake
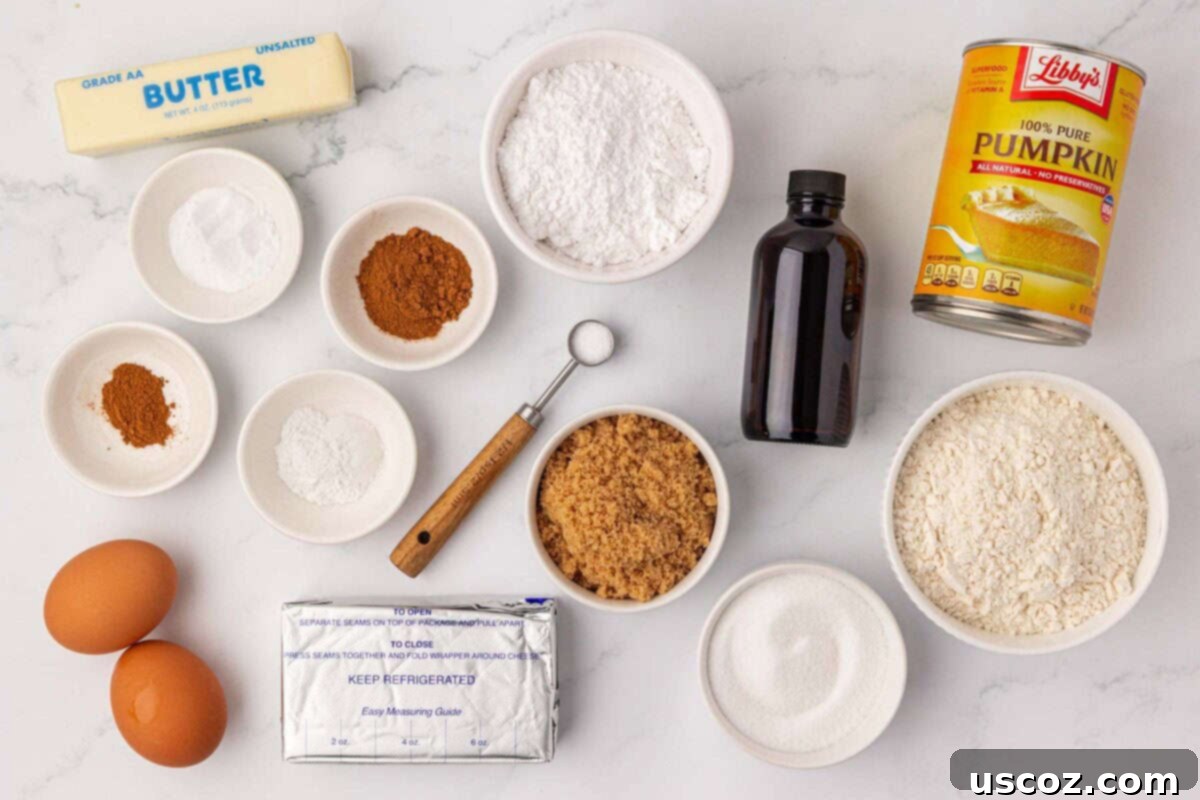
Crafting this delightful pumpkin cake requires a few key ingredients, each playing a crucial role in its irresistible flavor and texture. Here’s a closer look at what you’ll need:
- Canned Pumpkin: This is the star of our show! Ensure you grab pure canned pumpkin puree, not pumpkin pie filling. Pumpkin pie filling contains added sugars and spices, which will alter the flavor and sweetness of your cake. Brands like Libby’s are reliable for their consistent quality and flavor.
- Butter: We use melted butter for the cake batter, contributing to its rich flavor and moist crumb. Make sure it’s slightly cooled before adding to your wet ingredients to prevent it from scrambling the eggs. For the frosting, softened butter is key to achieving a smooth, creamy texture.
- Eggs: Large eggs provide structure and moisture to the cake, binding the ingredients together for a tender crumb.
- Vanilla Extract: A touch of vanilla enhances all the other flavors, adding depth and warmth to both the cake and the frosting. Use a good quality pure vanilla extract for the best results.
- Sugar and Brown Sugar: The combination of granulated white sugar and brown sugar is essential. White sugar provides sweetness and helps with tenderness, while brown sugar adds a deeper, molasses-like flavor and extra moisture, contributing to the cake’s soft, chewy texture.
- Baking Powder and Baking Soda: These are our leavening agents. Baking powder provides lift, making the cake light and airy. Baking soda reacts with the acidic pumpkin and brown sugar to further aid in rising and tenderizing the crumb. Ensuring they are fresh is vital for a properly risen cake.
- All-Purpose Flour: The foundation of our cake’s structure. Make sure to measure your flour correctly – spoon it into the measuring cup and then level it off with a straight edge, rather than scooping directly from the bag, which can lead to a denser cake.
- Warm Spices: This blend is what truly makes it a “pumpkin” cake. We use a generous amount of pumpkin pie spice, which typically includes cinnamon, nutmeg, ginger, and cloves, along with additional cinnamon for extra warmth. A pinch of salt is crucial for balancing the sweetness and enhancing all the other flavors. Don’t skip it!
- For the Cream Cheese Frosting:
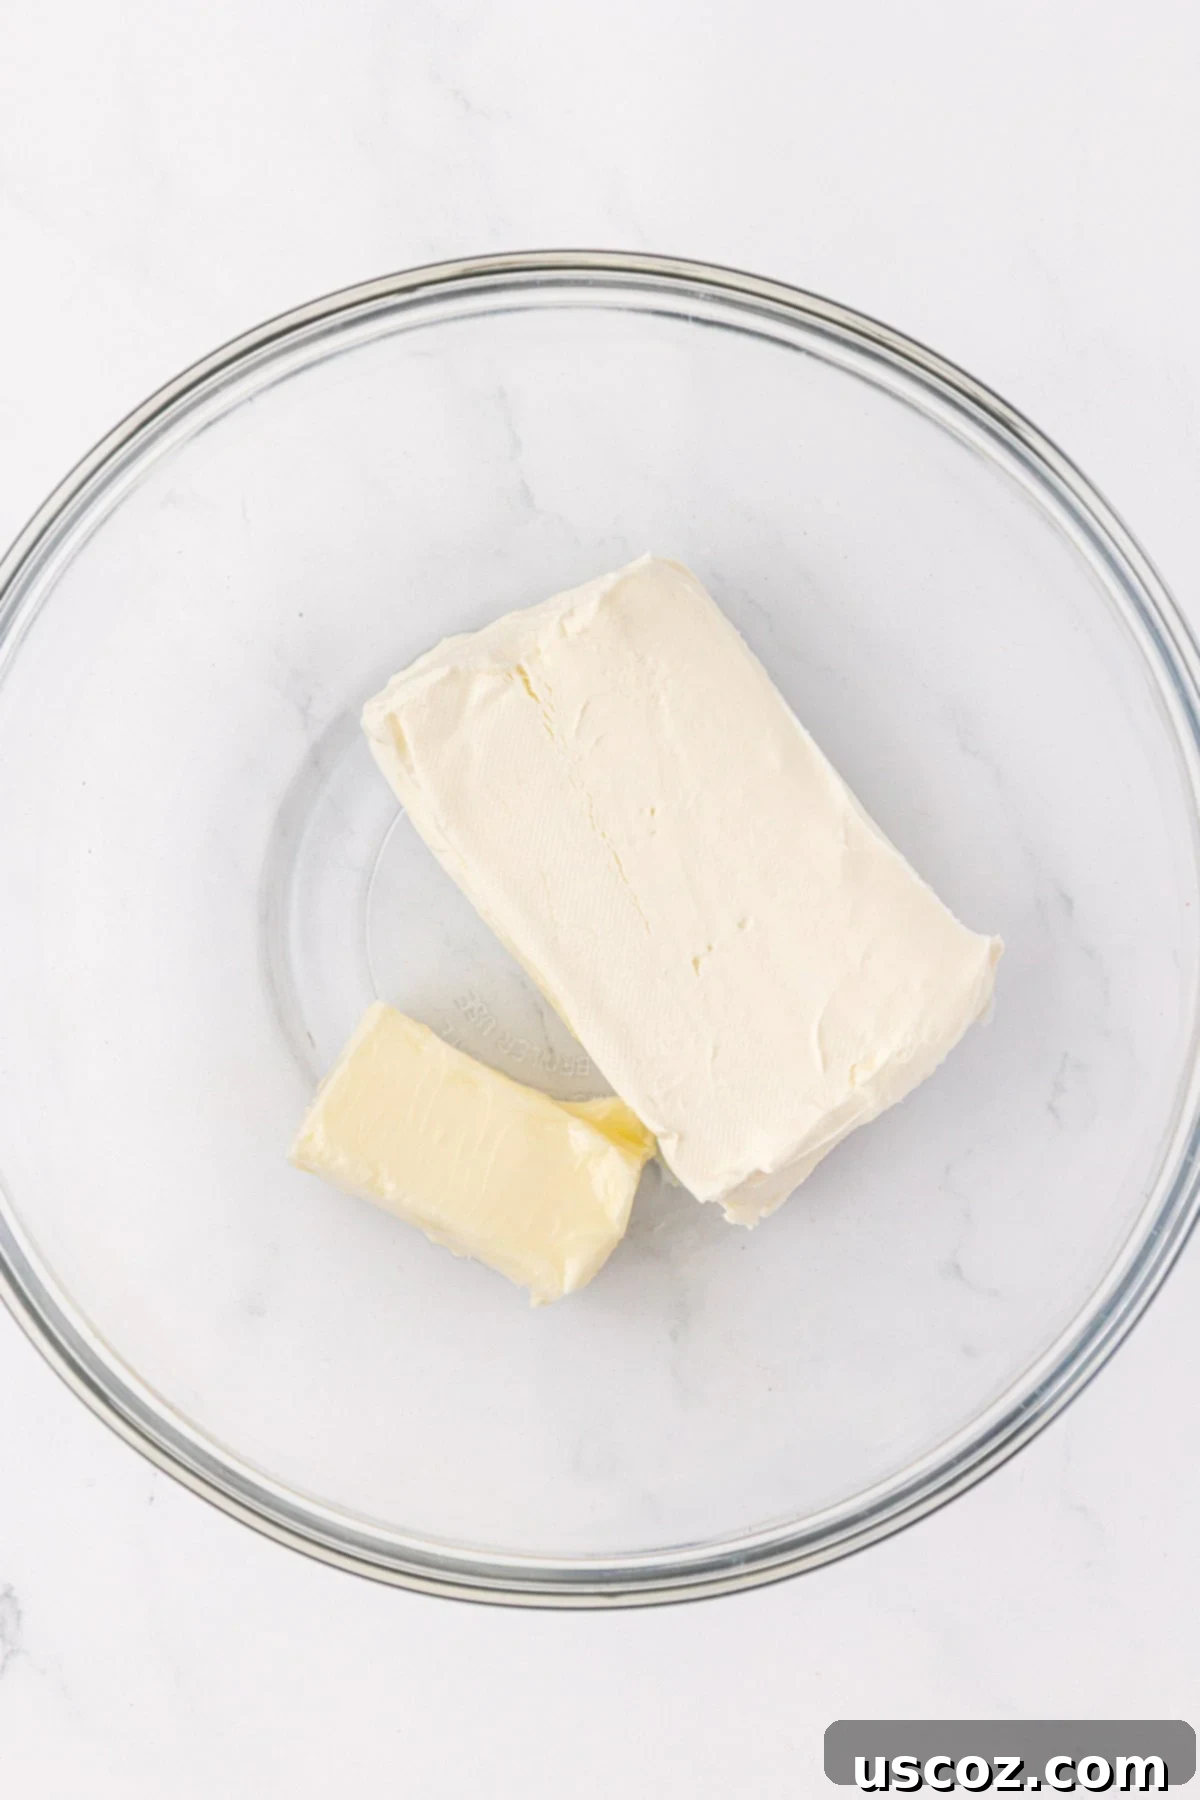
- Cream Cheese: Softened to room temperature is paramount for a smooth, lump-free frosting. Choose full-fat cream cheese for the best flavor and texture.
- Butter: Unsalted butter, also softened to room temperature, works with the cream cheese to create a rich, spreadable frosting.
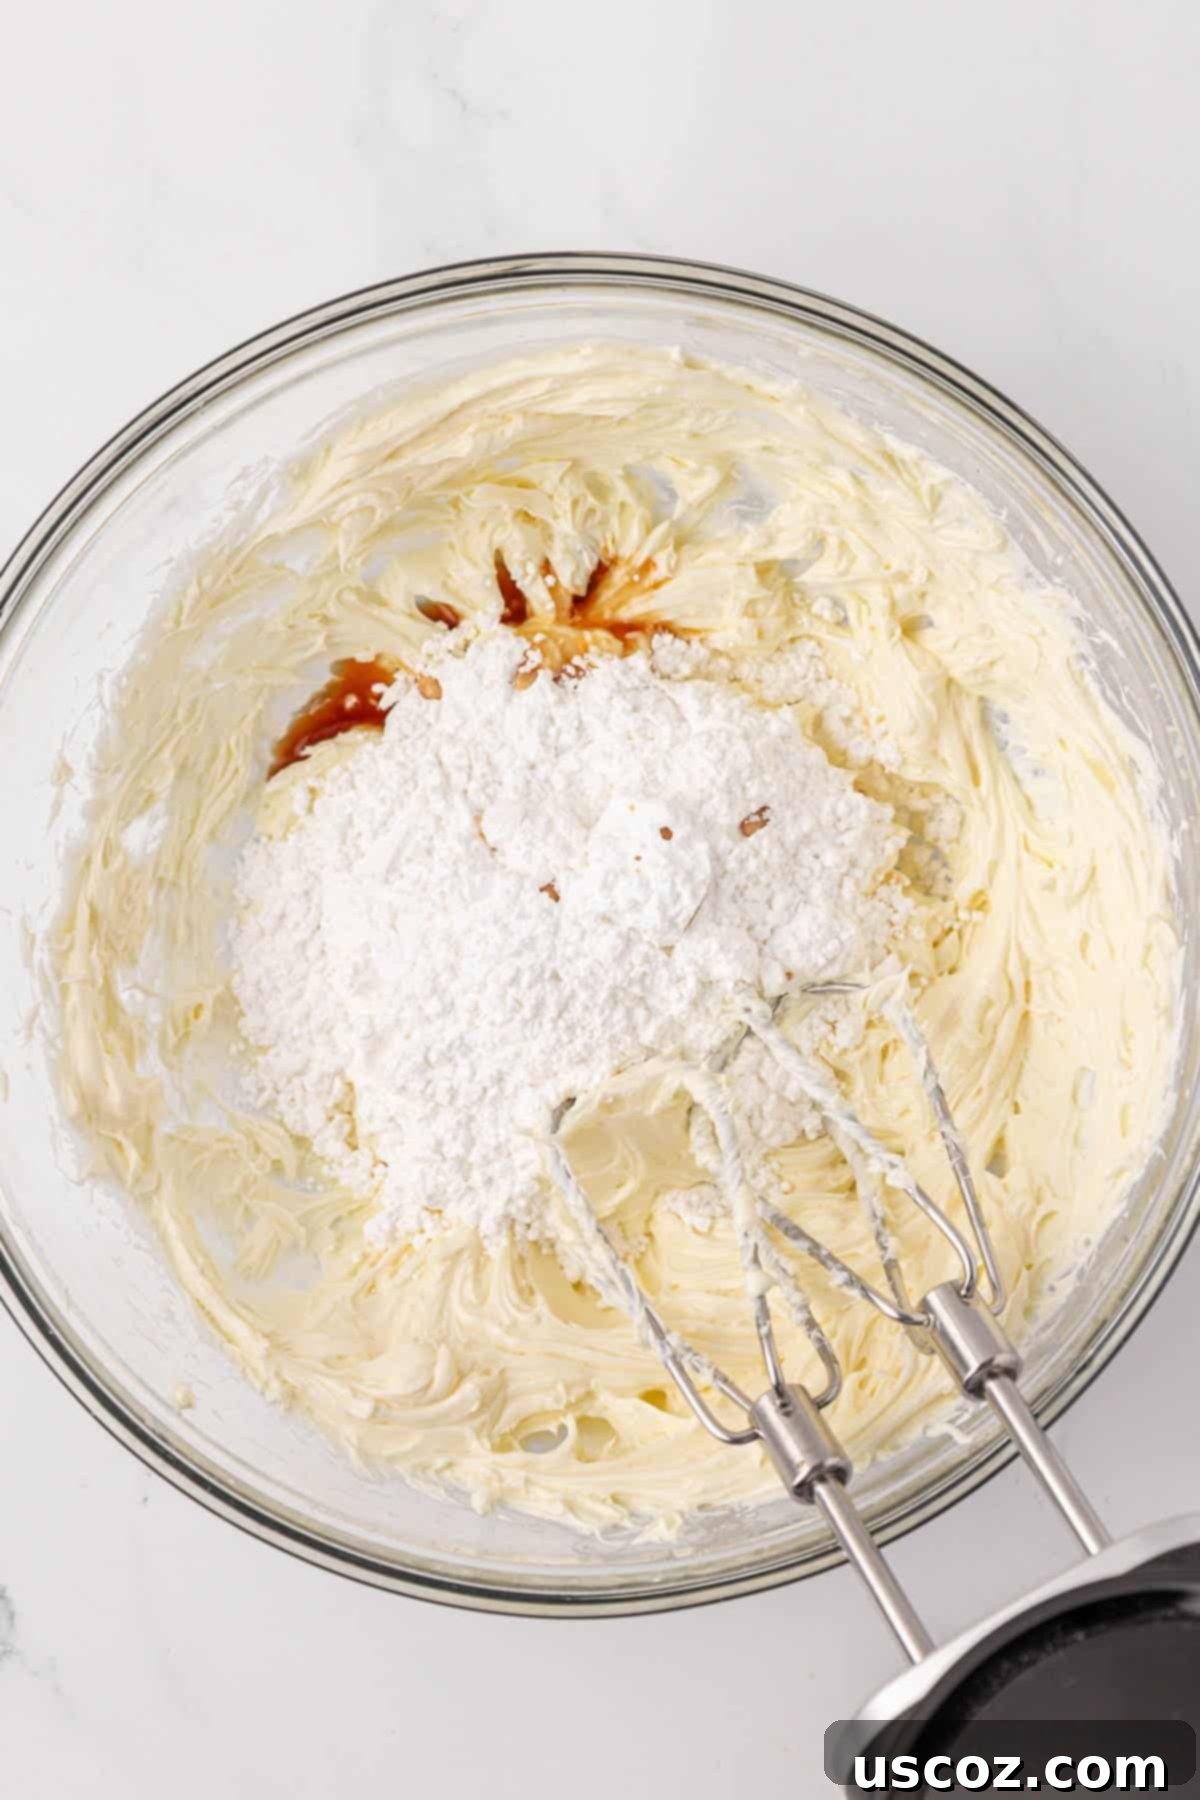
- Powdered Sugar: Also known as confectioners’ sugar, this provides sweetness and structure to the frosting. Its fine texture ensures a silky-smooth finish. You can adjust the amount to your preferred sweetness level.
- Vanilla Extract: A final touch of vanilla elevates the frosting, complementing the pumpkin cake beautifully.
Step-by-Step Guide: How to Bake Your Perfect Pumpkin Snack Cake
Making this pumpkin snack cake is a straightforward process, designed for delicious results every time. Follow these steps carefully to ensure a perfectly moist and flavorful cake:
Step 1: Prepare Your Dry Ingredients
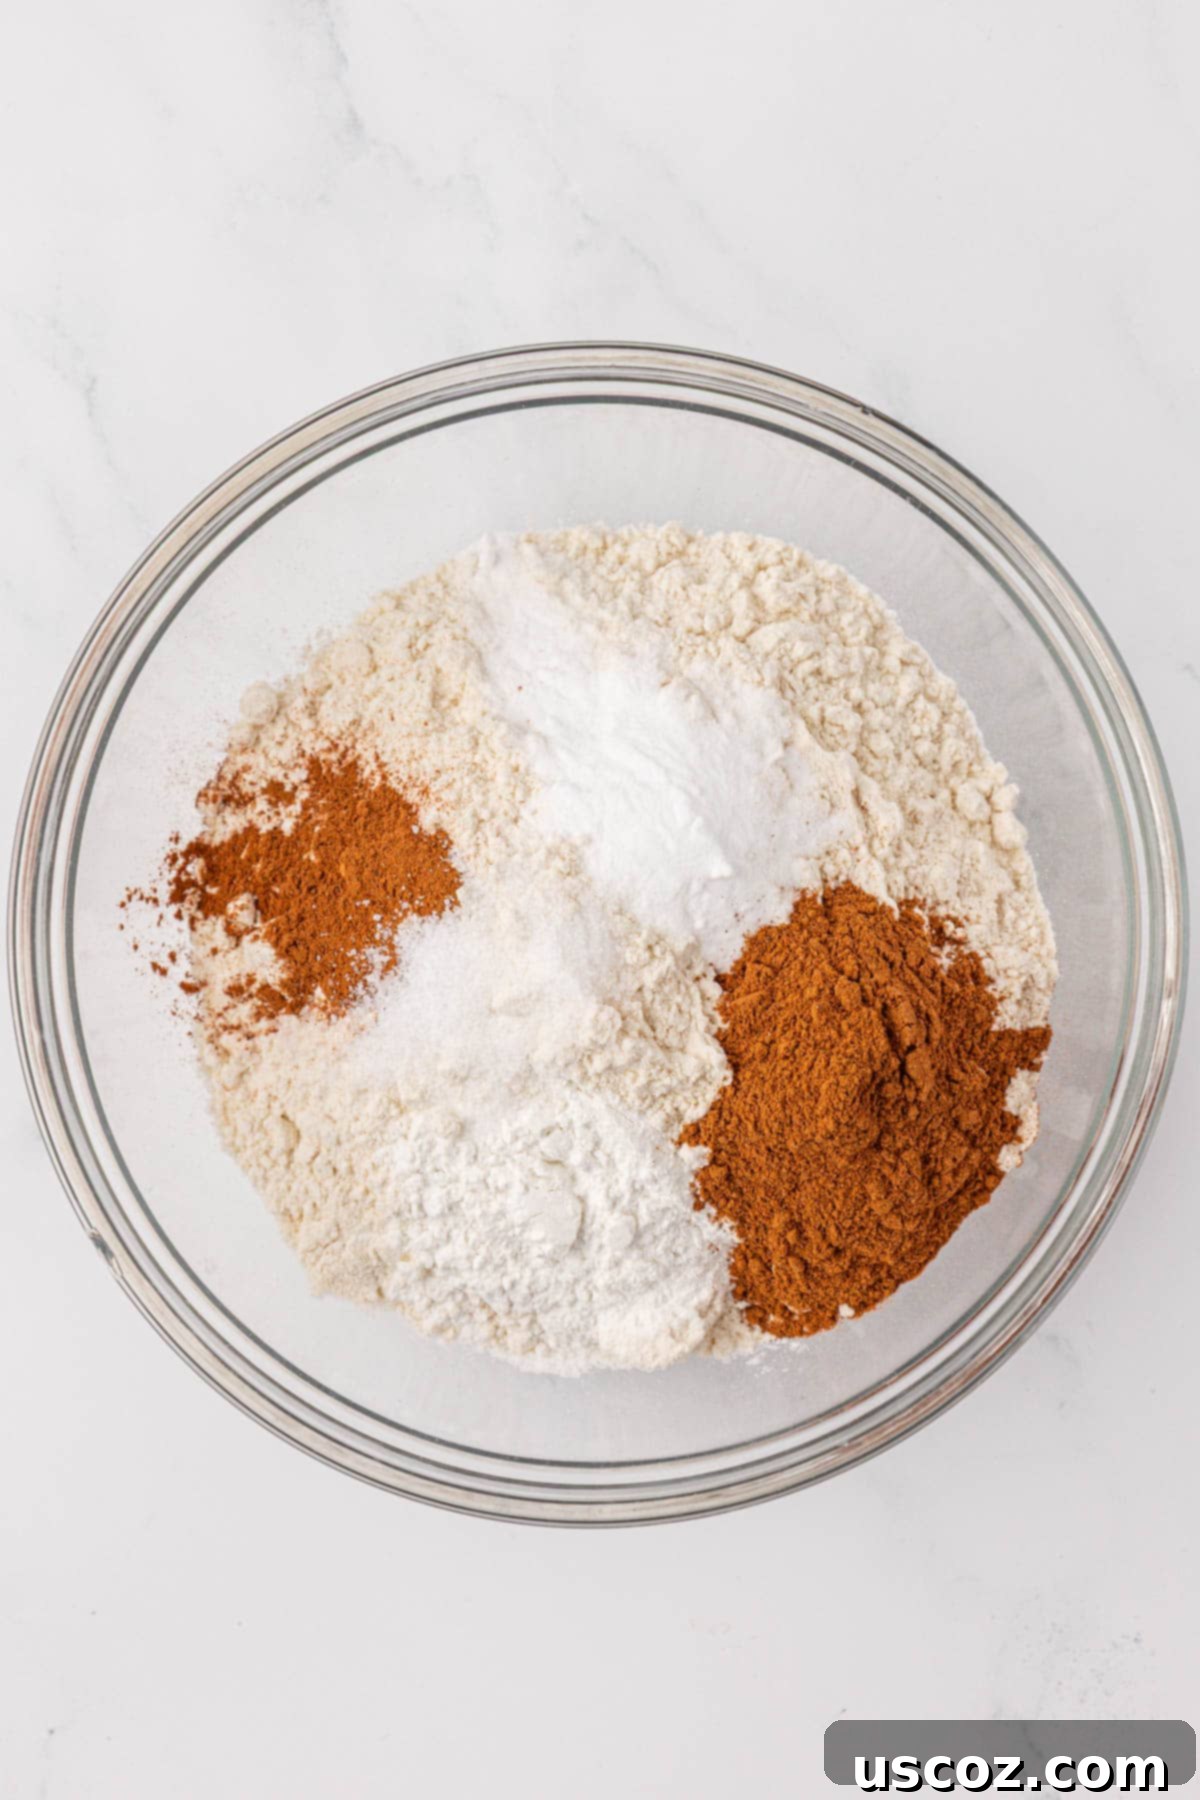
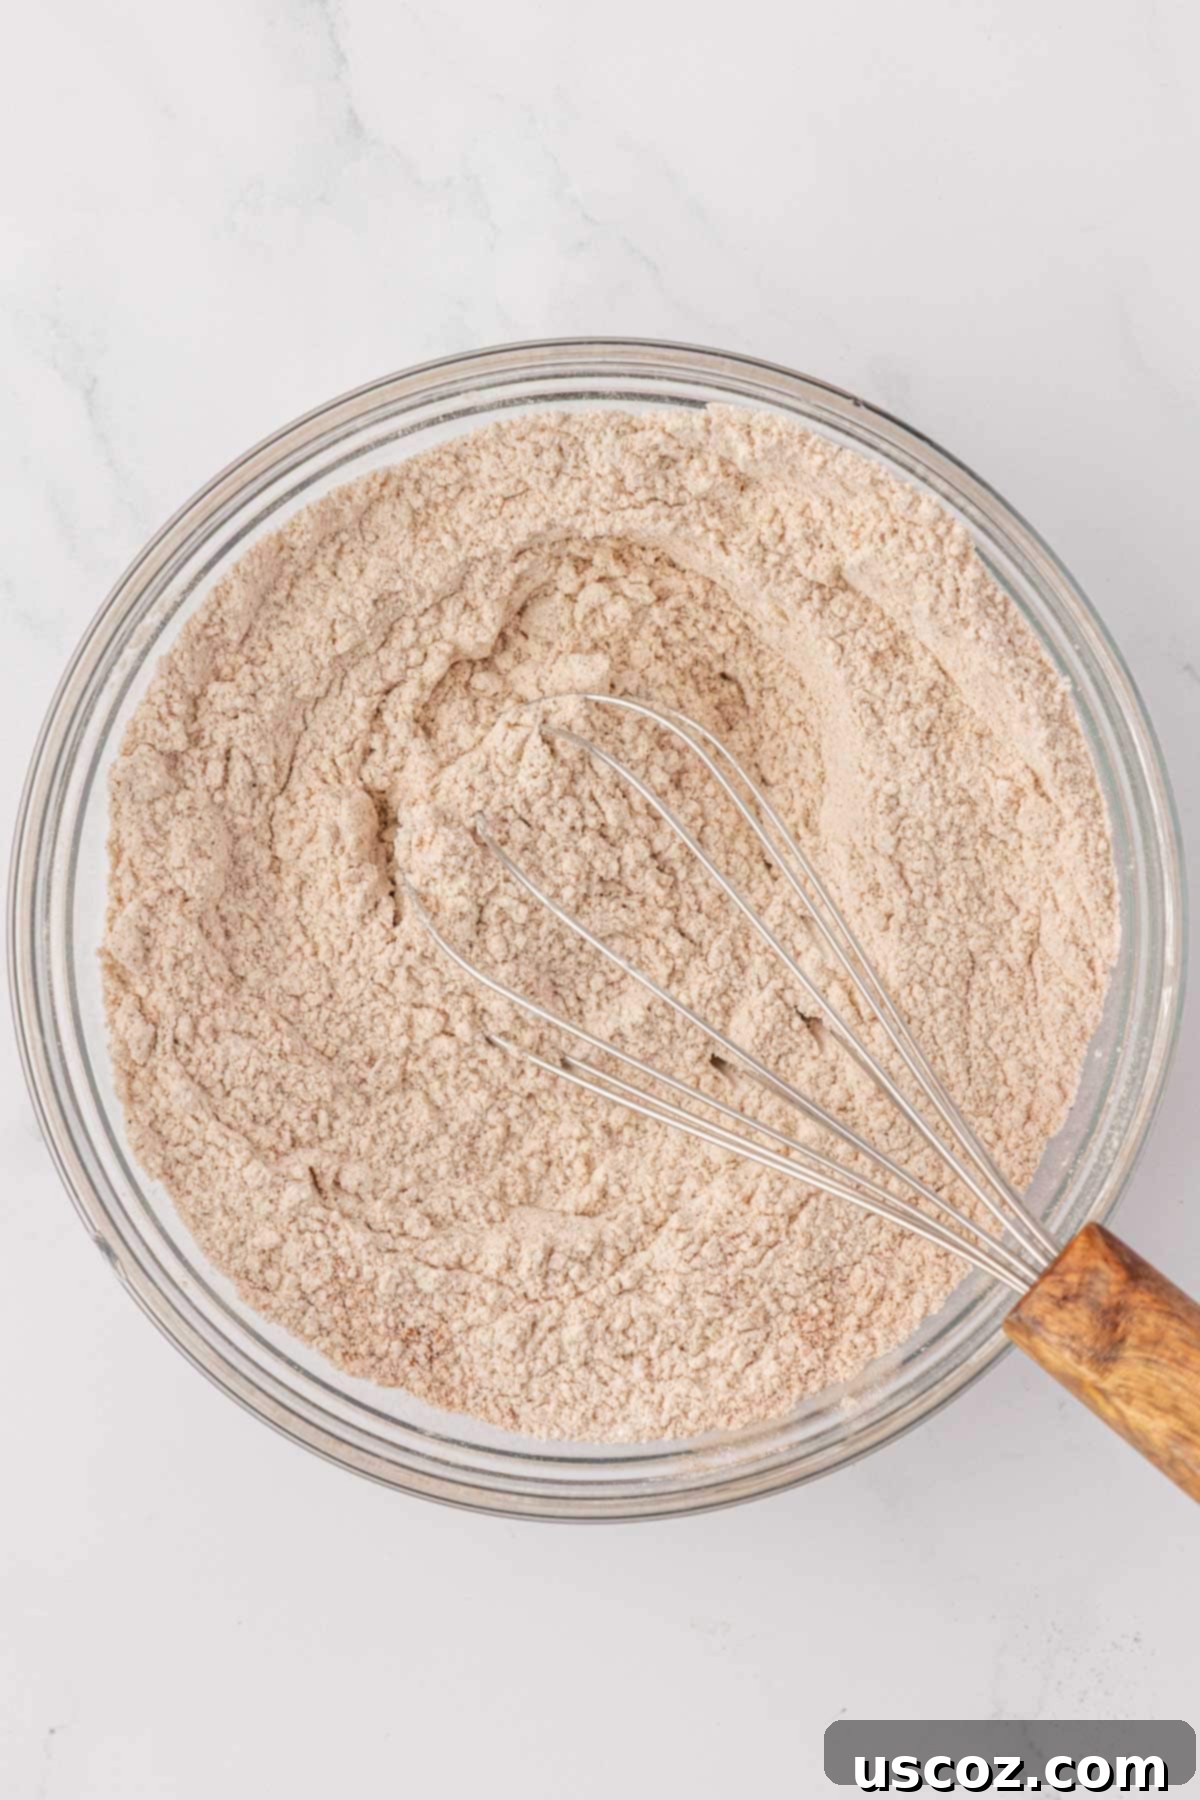
In a large mixing bowl, thoroughly whisk together all your dry ingredients: the all-purpose flour, baking powder, baking soda, salt, pumpkin pie spice, and cinnamon. Whisking ensures that the leavening agents and spices are evenly distributed throughout the flour, which is essential for uniform rising and consistent flavor in your cake. Set this bowl aside.
Step 2: Combine the Wet Ingredients
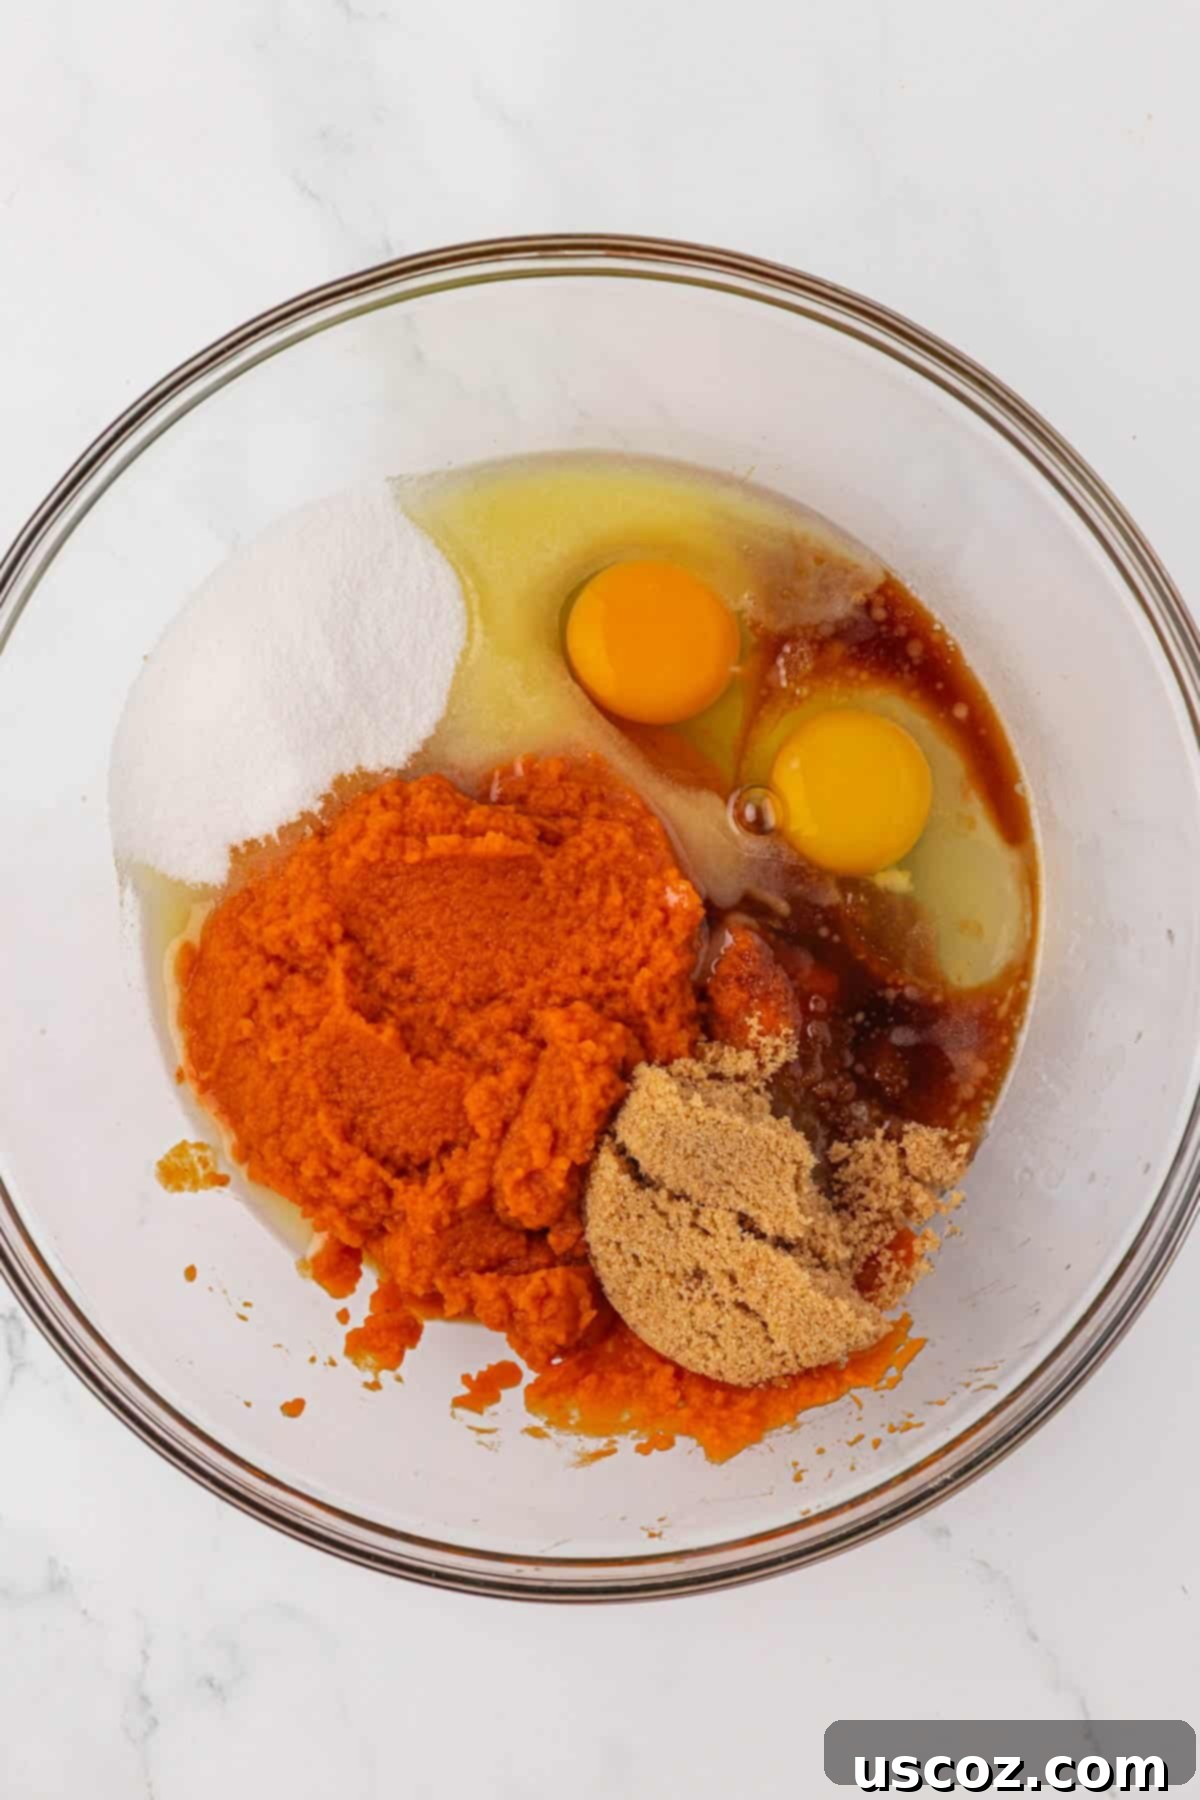
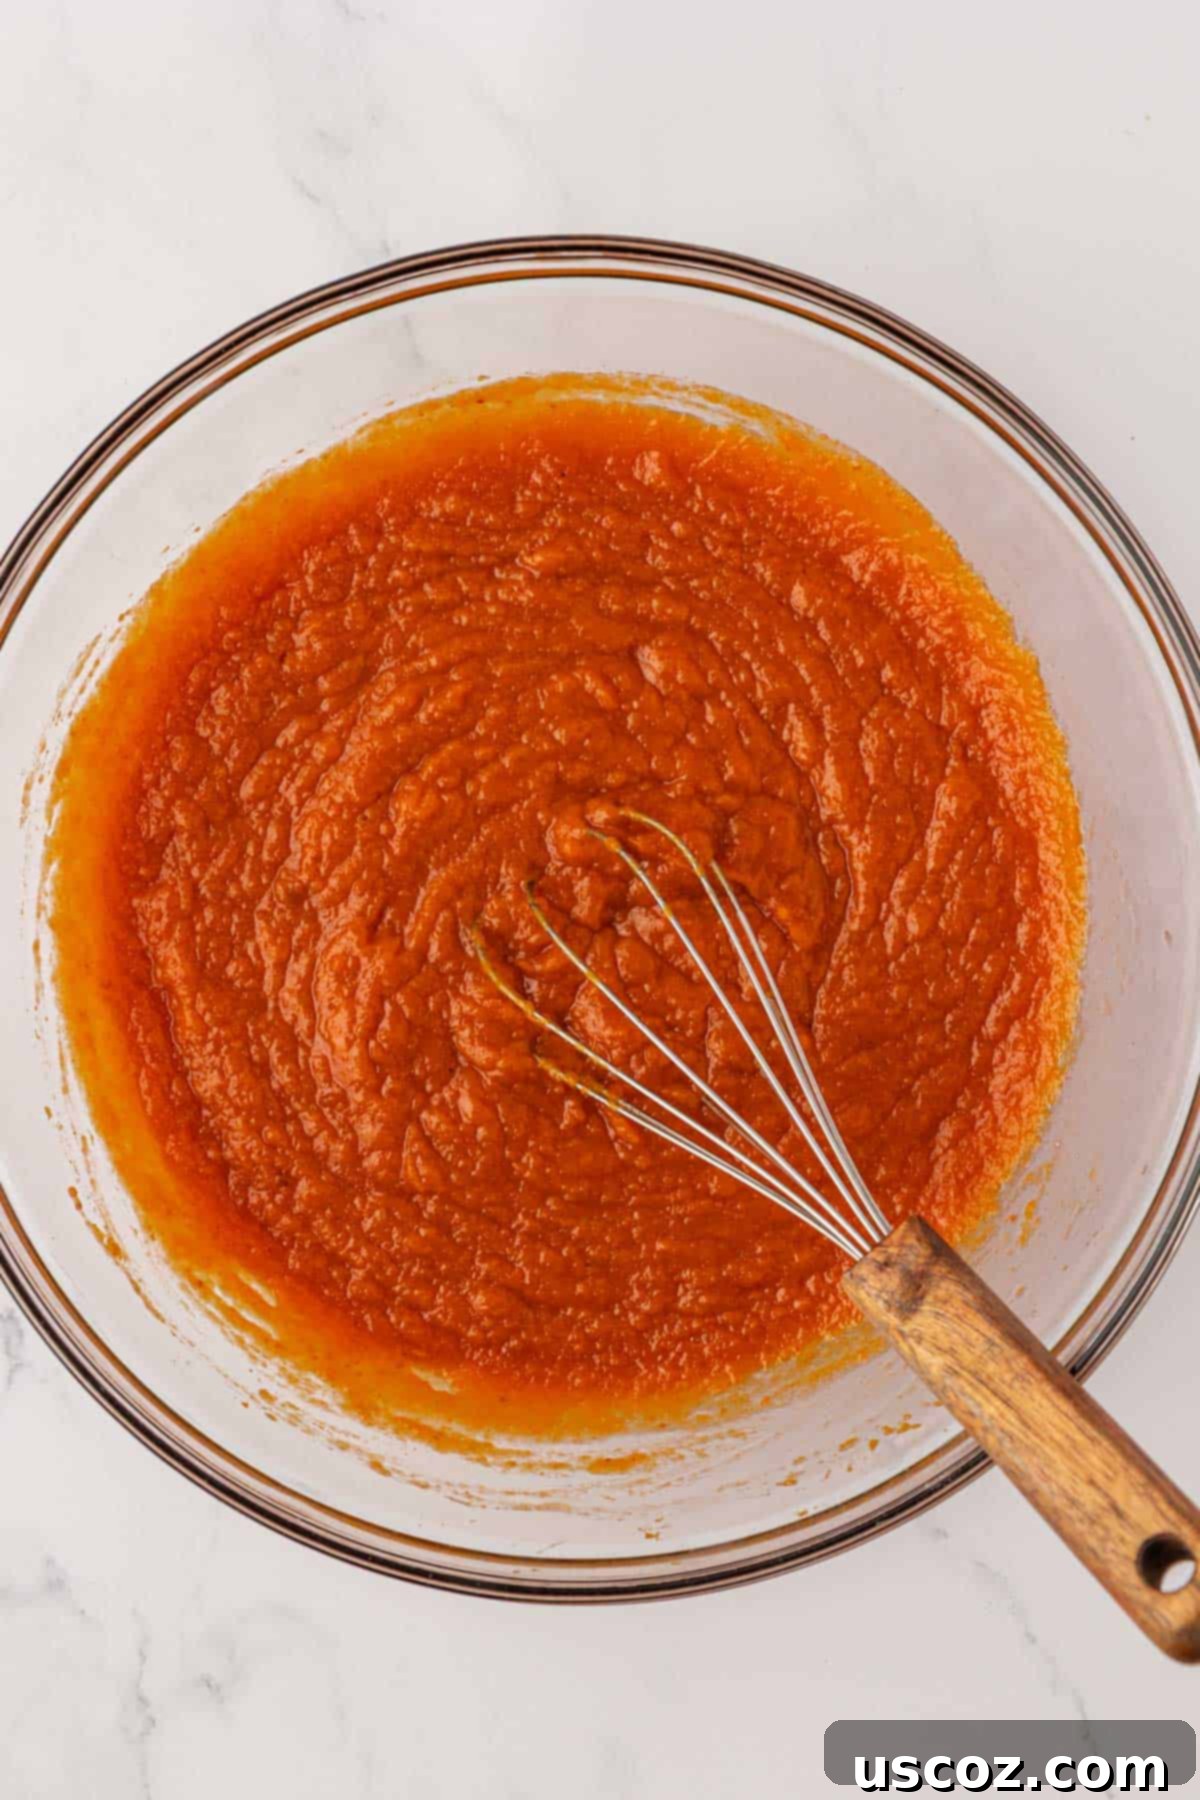
In a separate, medium-sized bowl, whisk together the wet ingredients until smooth and well combined. This includes the canned pumpkin puree, melted butter (ensure it’s slightly cooled), eggs, vanilla extract, granulated sugar, and brown sugar. Beat them thoroughly until the mixture is light orange, creamy, and uniform in color and texture. This ensures that the sugars are dissolving and all flavors are integrating well.
Step 3: Gently Combine Wet and Dry Mixtures
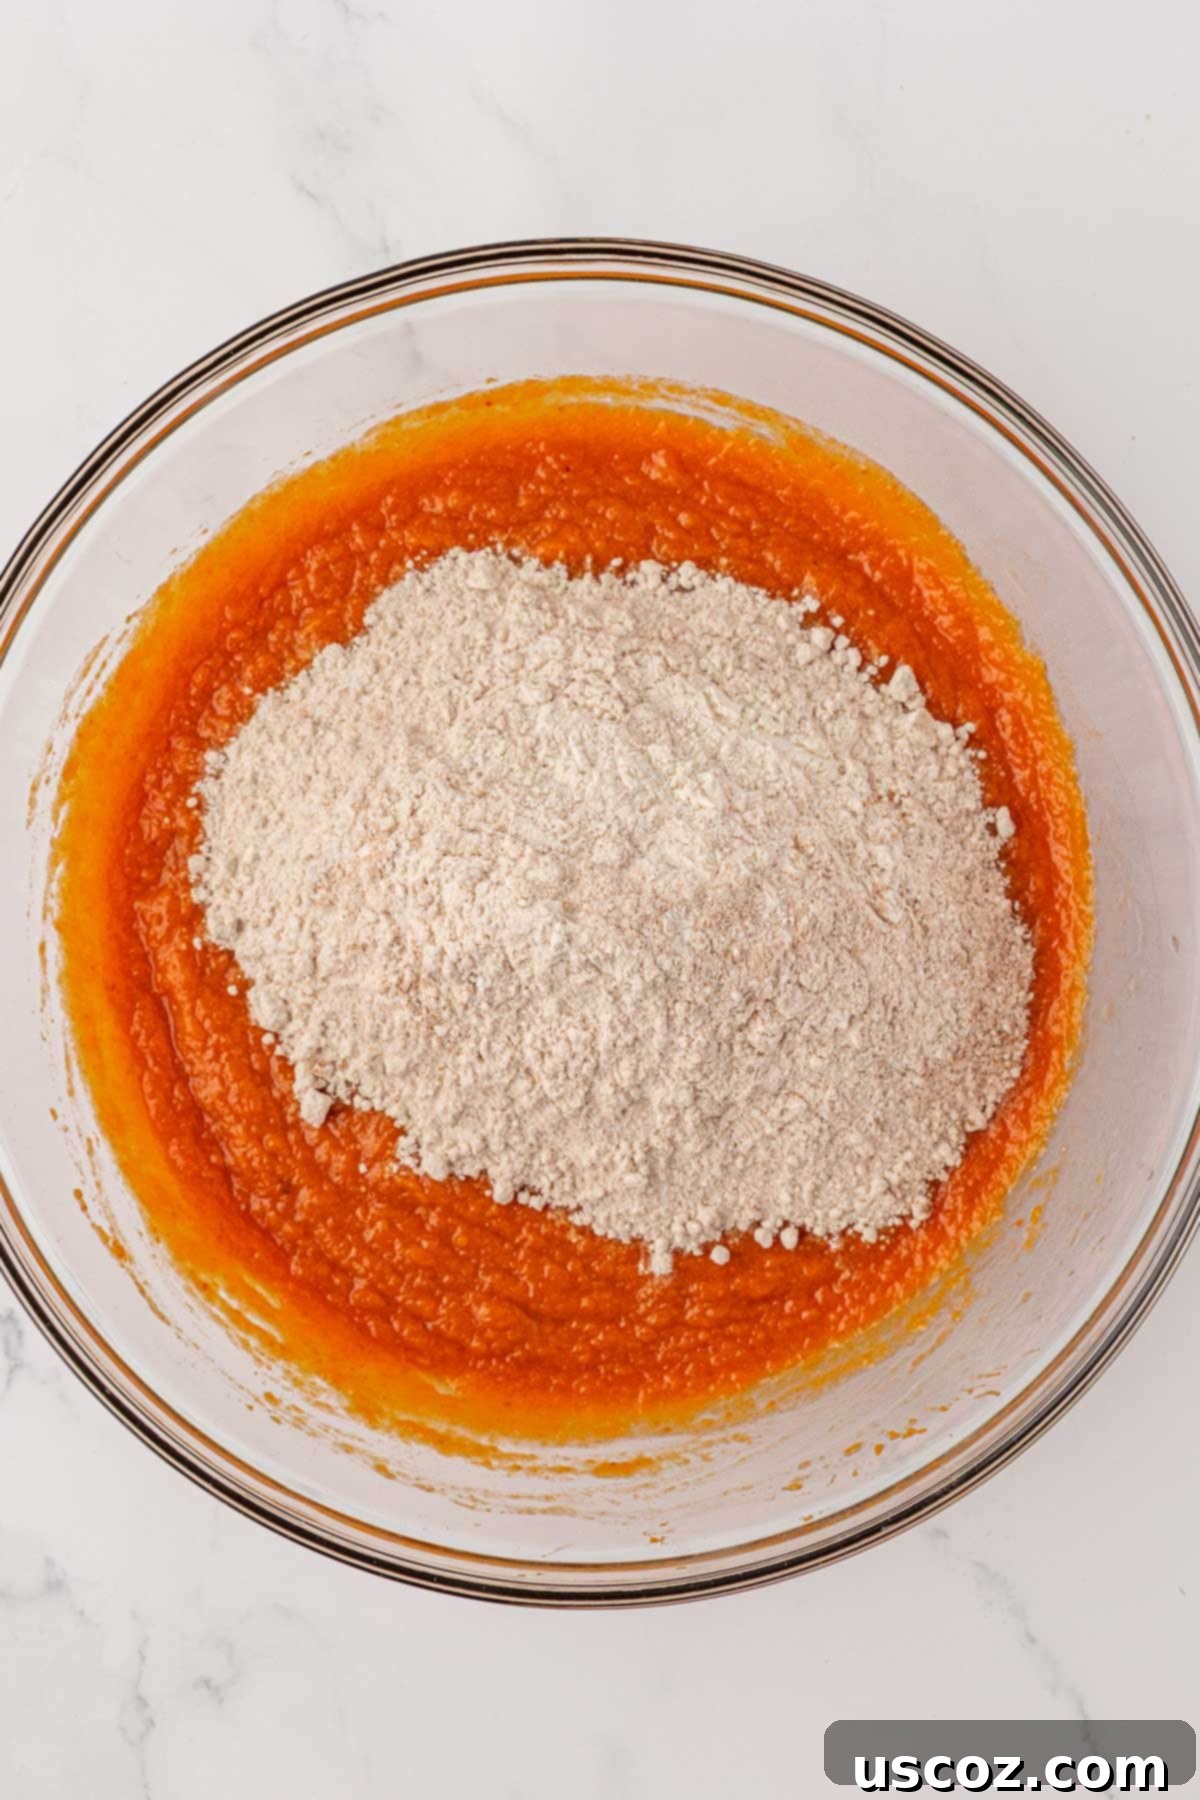
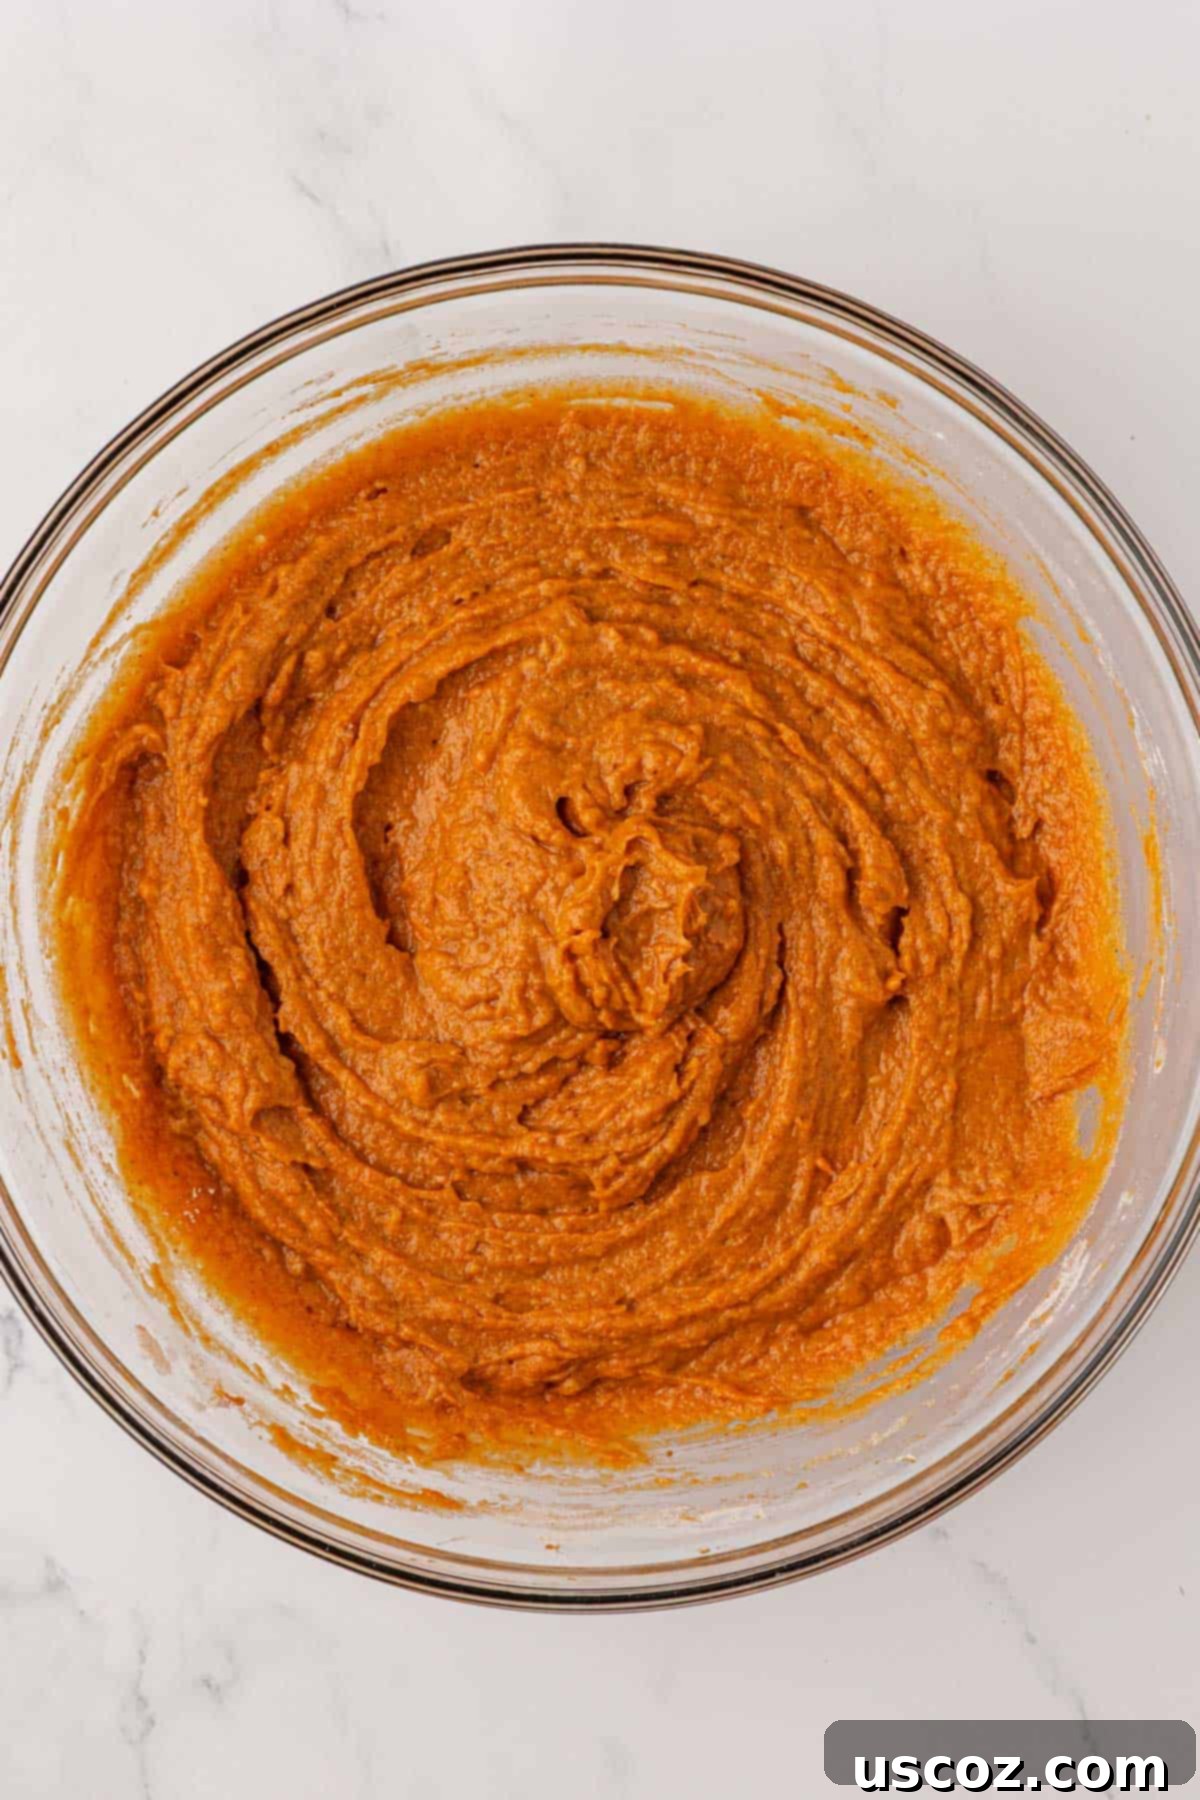
Pour the dry ingredients mixture into the bowl with the wet ingredients. Mix until they are just combined. It’s crucial not to overmix the batter at this stage. Overmixing can develop the gluten in the flour too much, leading to a tough and dense cake. Mix until no streaks of dry flour remain, but stop as soon as it’s incorporated. A few lumps are perfectly fine!
Joy’s Pro Baking Tip
For this step, I highly recommend using a sturdy rubber spatula. It allows for gentle folding, which is key to avoiding overmixing, and helps you scrape down the sides of the bowl effectively to ensure all ingredients are incorporated evenly. This small detail makes a big difference in the final texture of your cake.
Step 4: Prepare for Baking
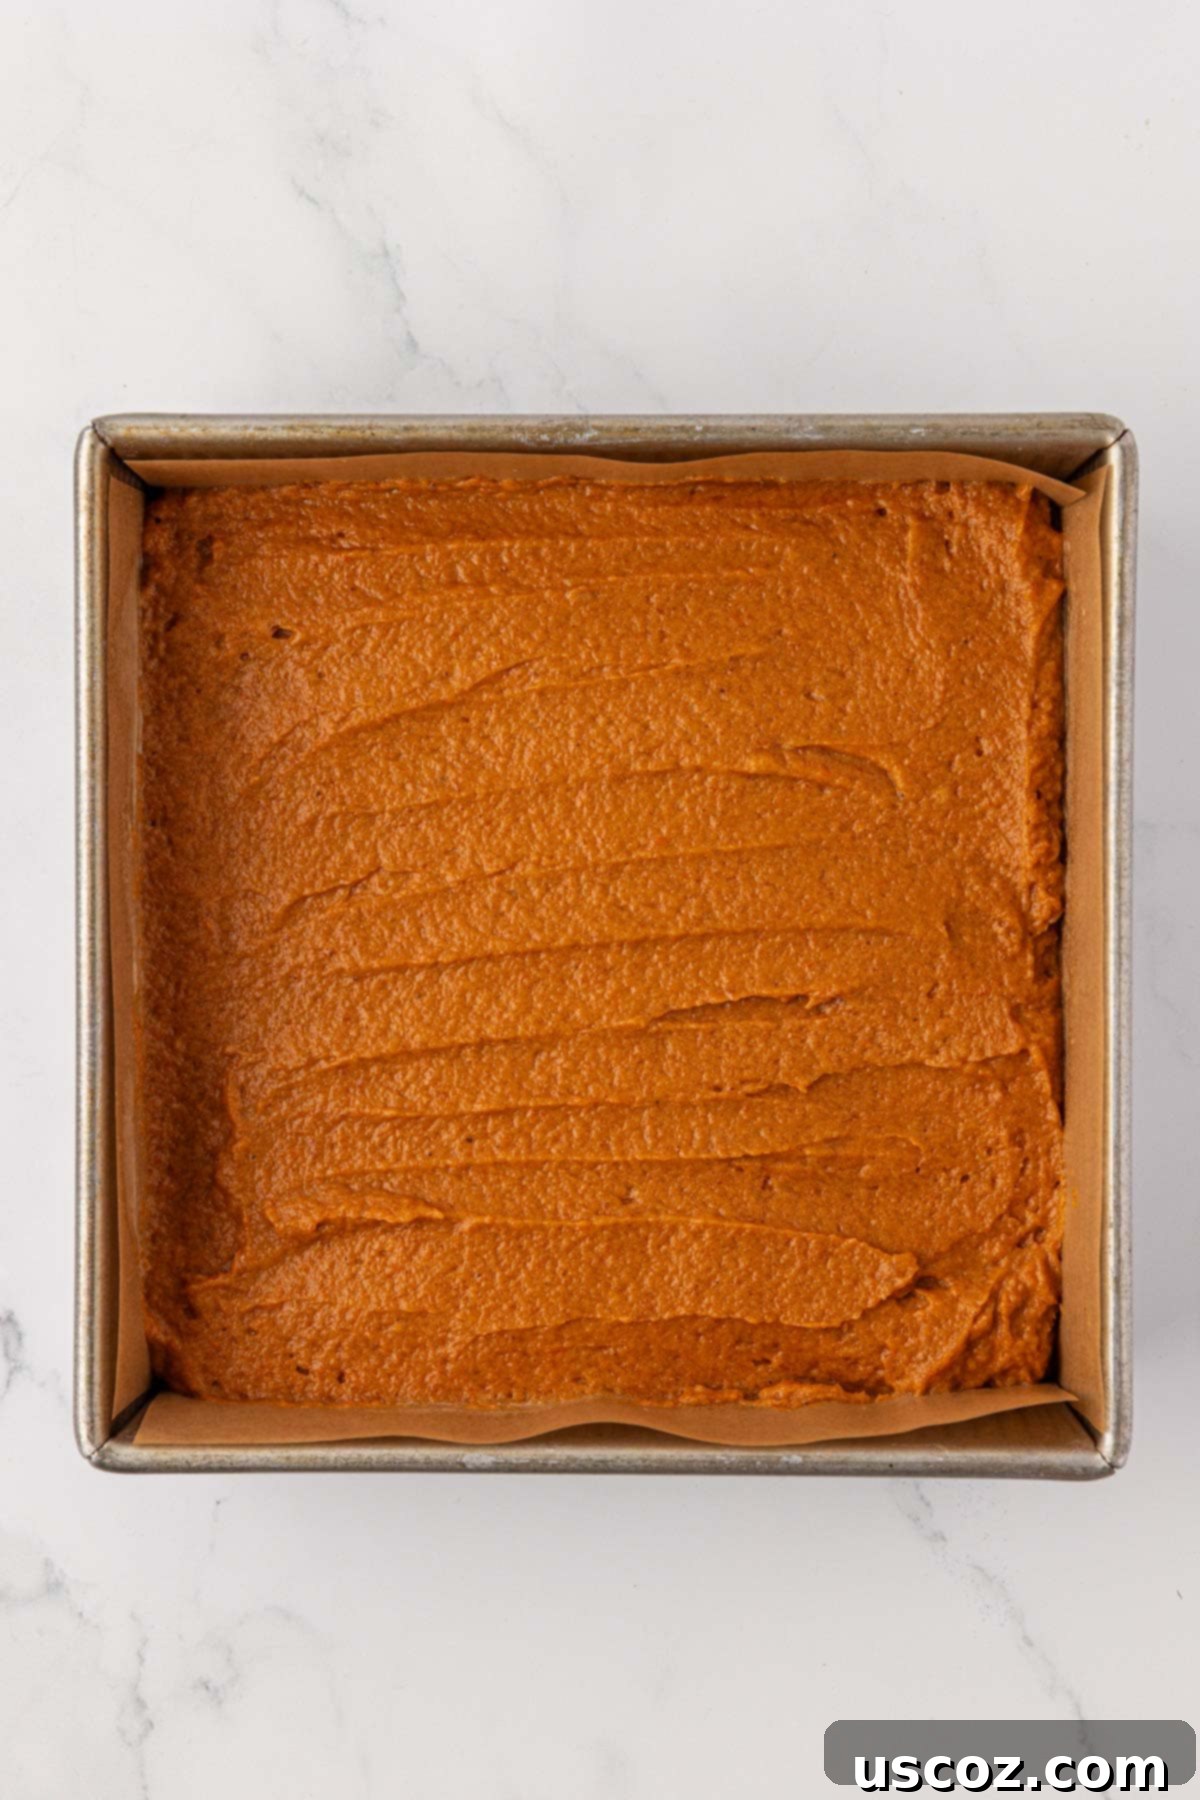
Pour the prepared pumpkin cake batter evenly into an 8×8 inch baking dish. For easy removal and cleanup, you can either grease and flour the dish thoroughly or, for an even simpler solution, line it with parchment paper, leaving an overhang on the sides to use as “handles” later. This prevents sticking and ensures your cake comes out perfectly.
Step 5: Bake to Golden Perfection
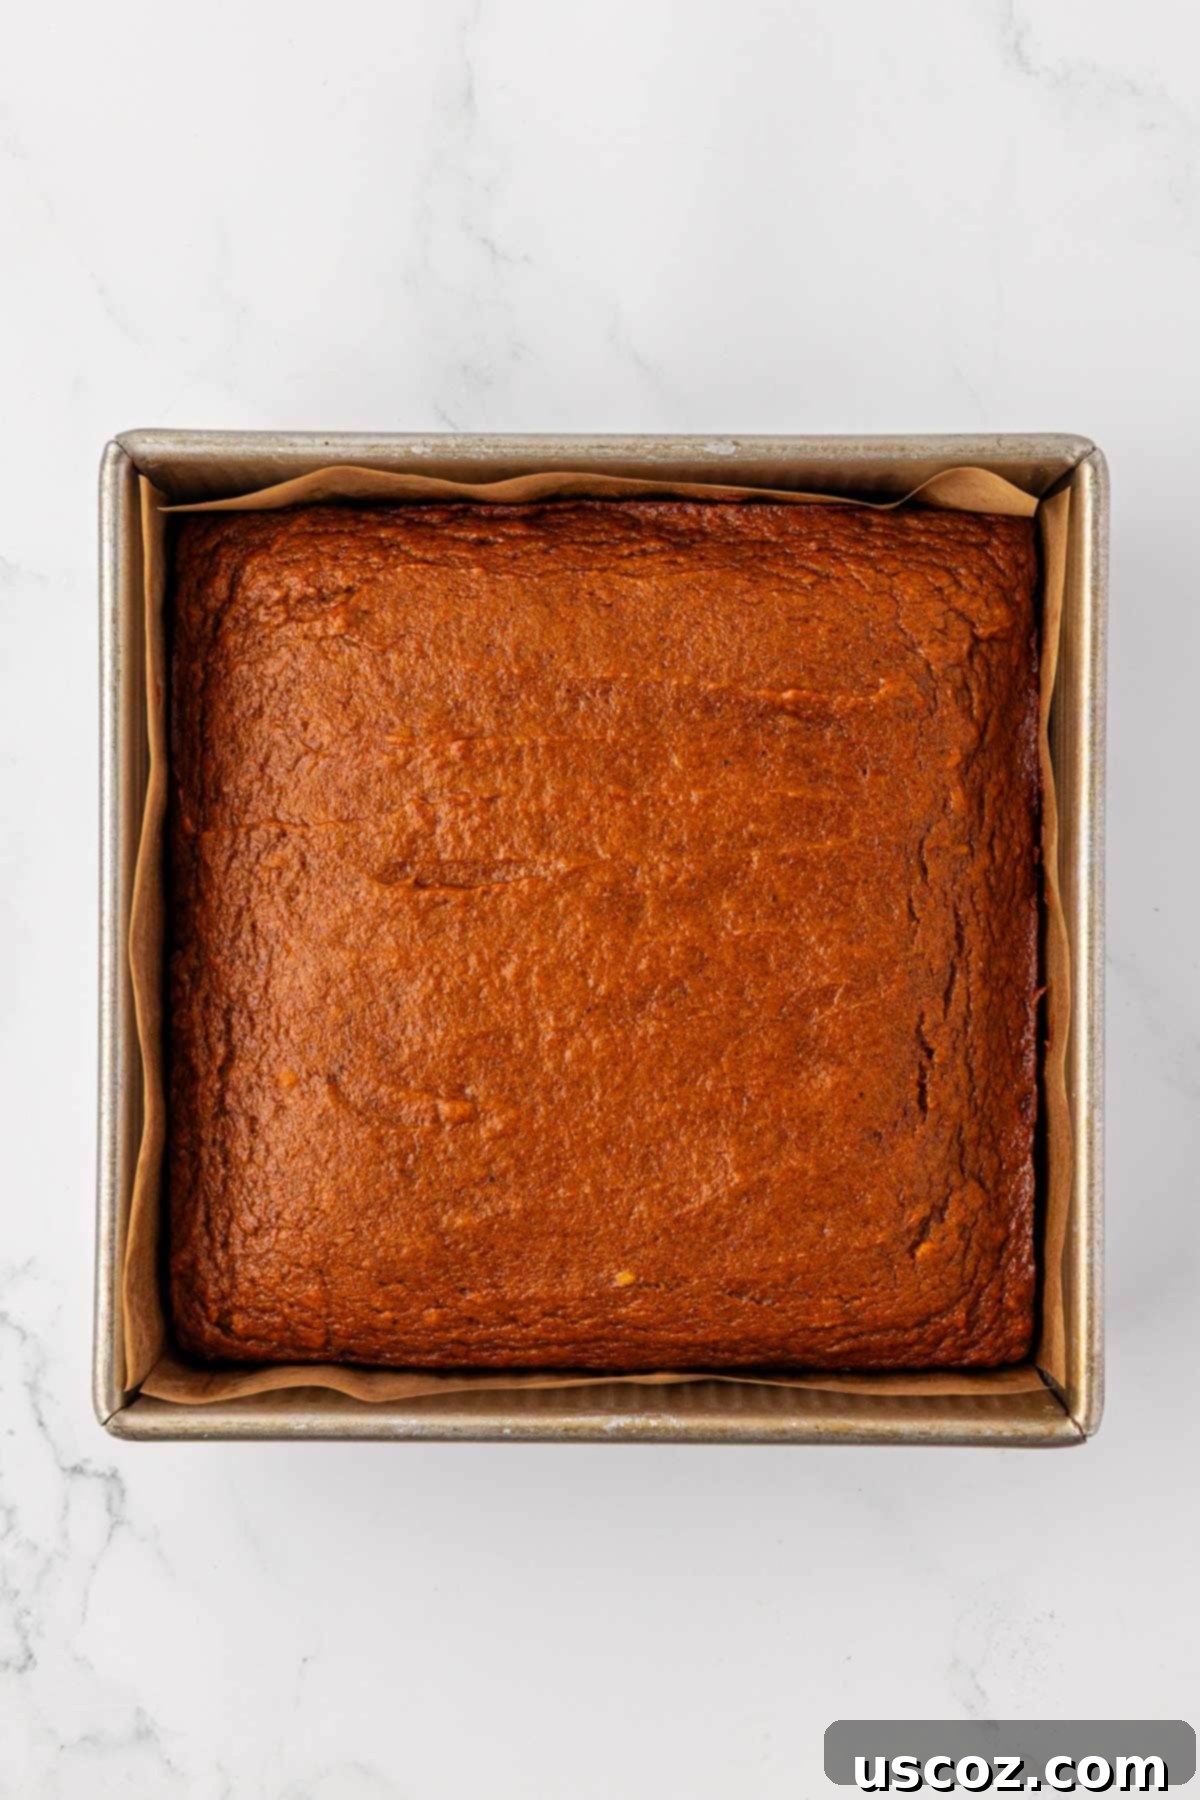
Preheat your oven to 375°F (190°C). Once hot, place the baking dish in the oven and bake for 30-35 minutes. The cake is done when a wooden toothpick or cake tester inserted into the center comes out clean or with only a few moist crumbs attached. Avoid opening the oven door too often during baking to prevent the cake from sinking.
Step 6: Cool Completely
Once baked, remove the pumpkin cake from the oven and allow it to cool completely on a wire rack before you even think about frosting it. This step is crucial! Attempting to frost a warm cake will result in a melted, runny mess, as the heat will cause the butter and cream cheese in the frosting to separate. Patience here will be rewarded with perfectly set frosting.
Step 7: Prepare the Cream Cheese Frosting
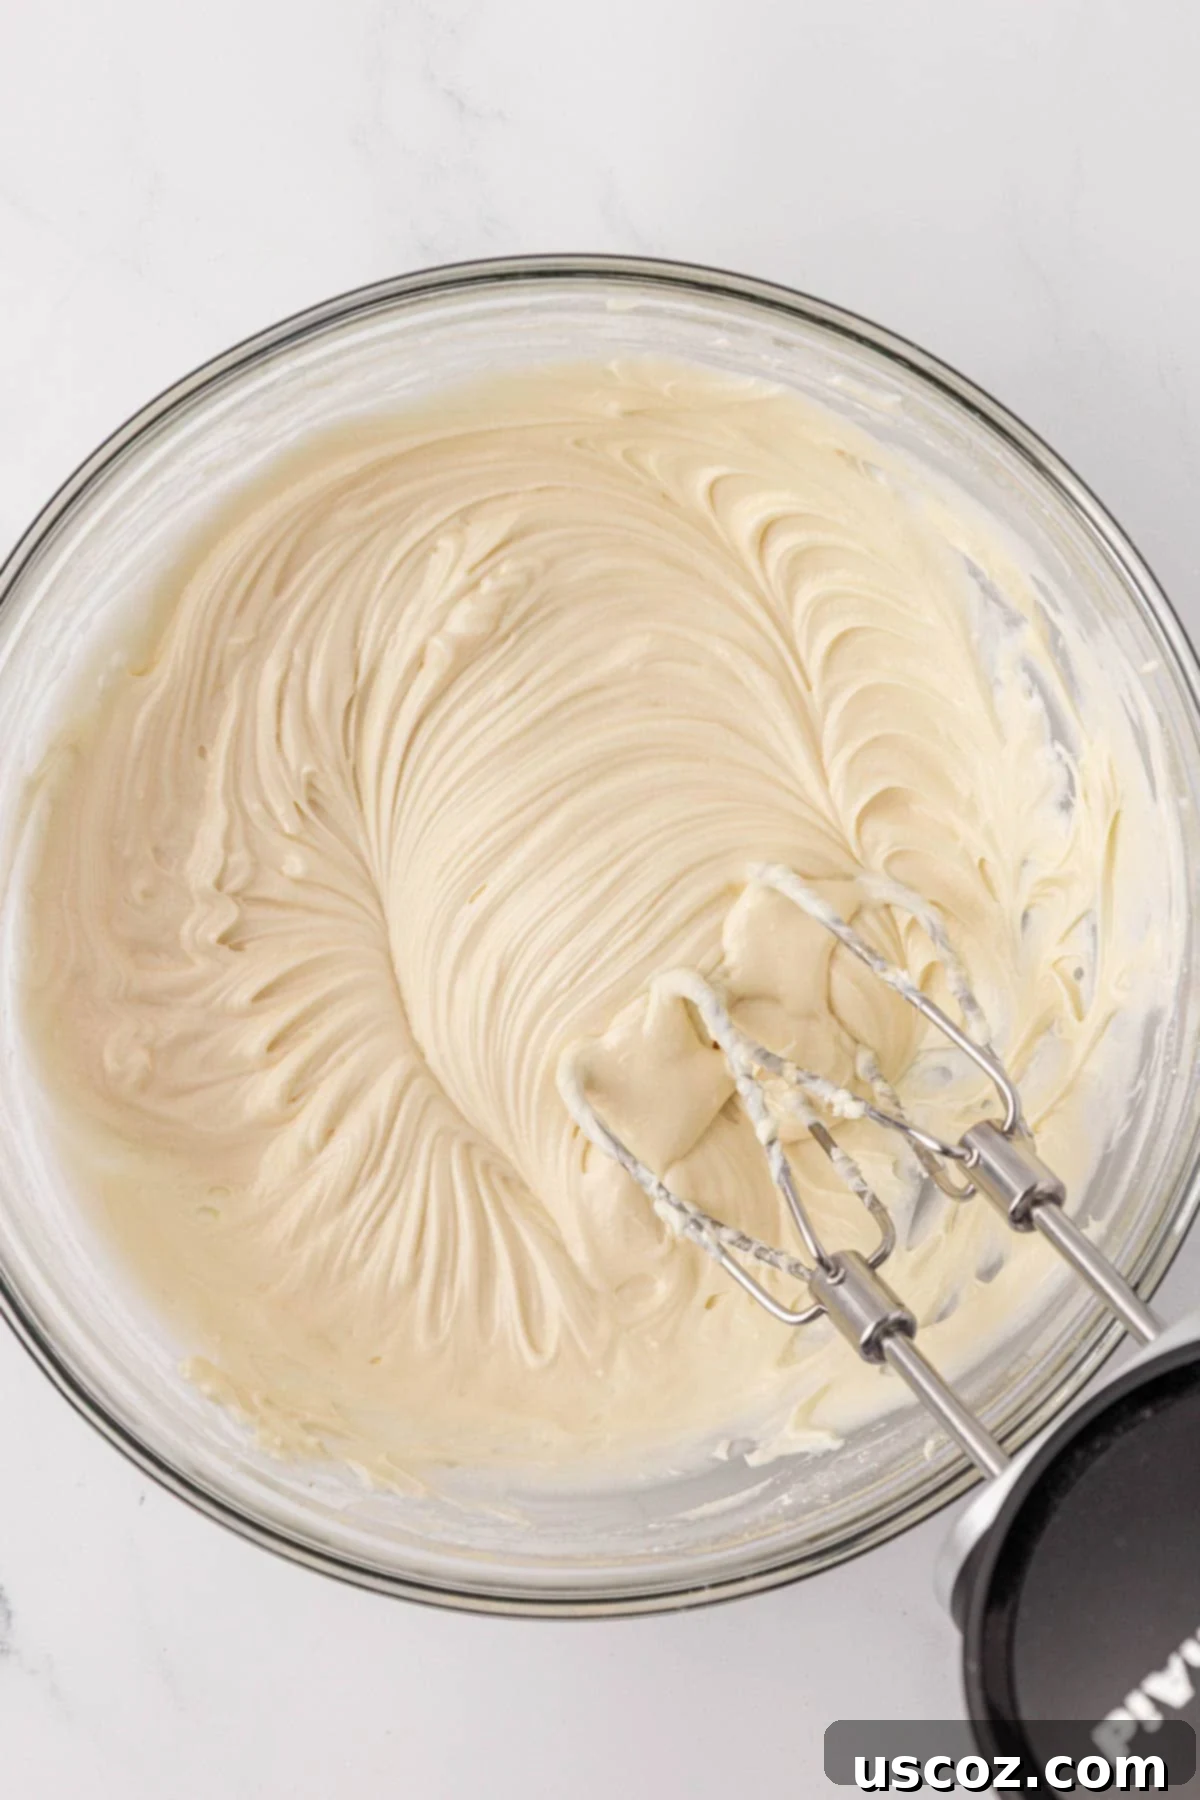
While the cake cools, prepare your irresistible cream cheese frosting. In a medium bowl, use an electric mixer to beat together the softened cream cheese and softened butter until they are light, fluffy, and completely smooth. Gradually add the powdered sugar, a half cup at a time, mixing well after each addition until fully incorporated. Finally, beat in the vanilla extract. Continue mixing until the frosting is smooth, creamy, and has a spreadable consistency. If it’s too thick, add a tiny splash of milk; if too thin, add a bit more powdered sugar.
Step 8: Frost and Serve
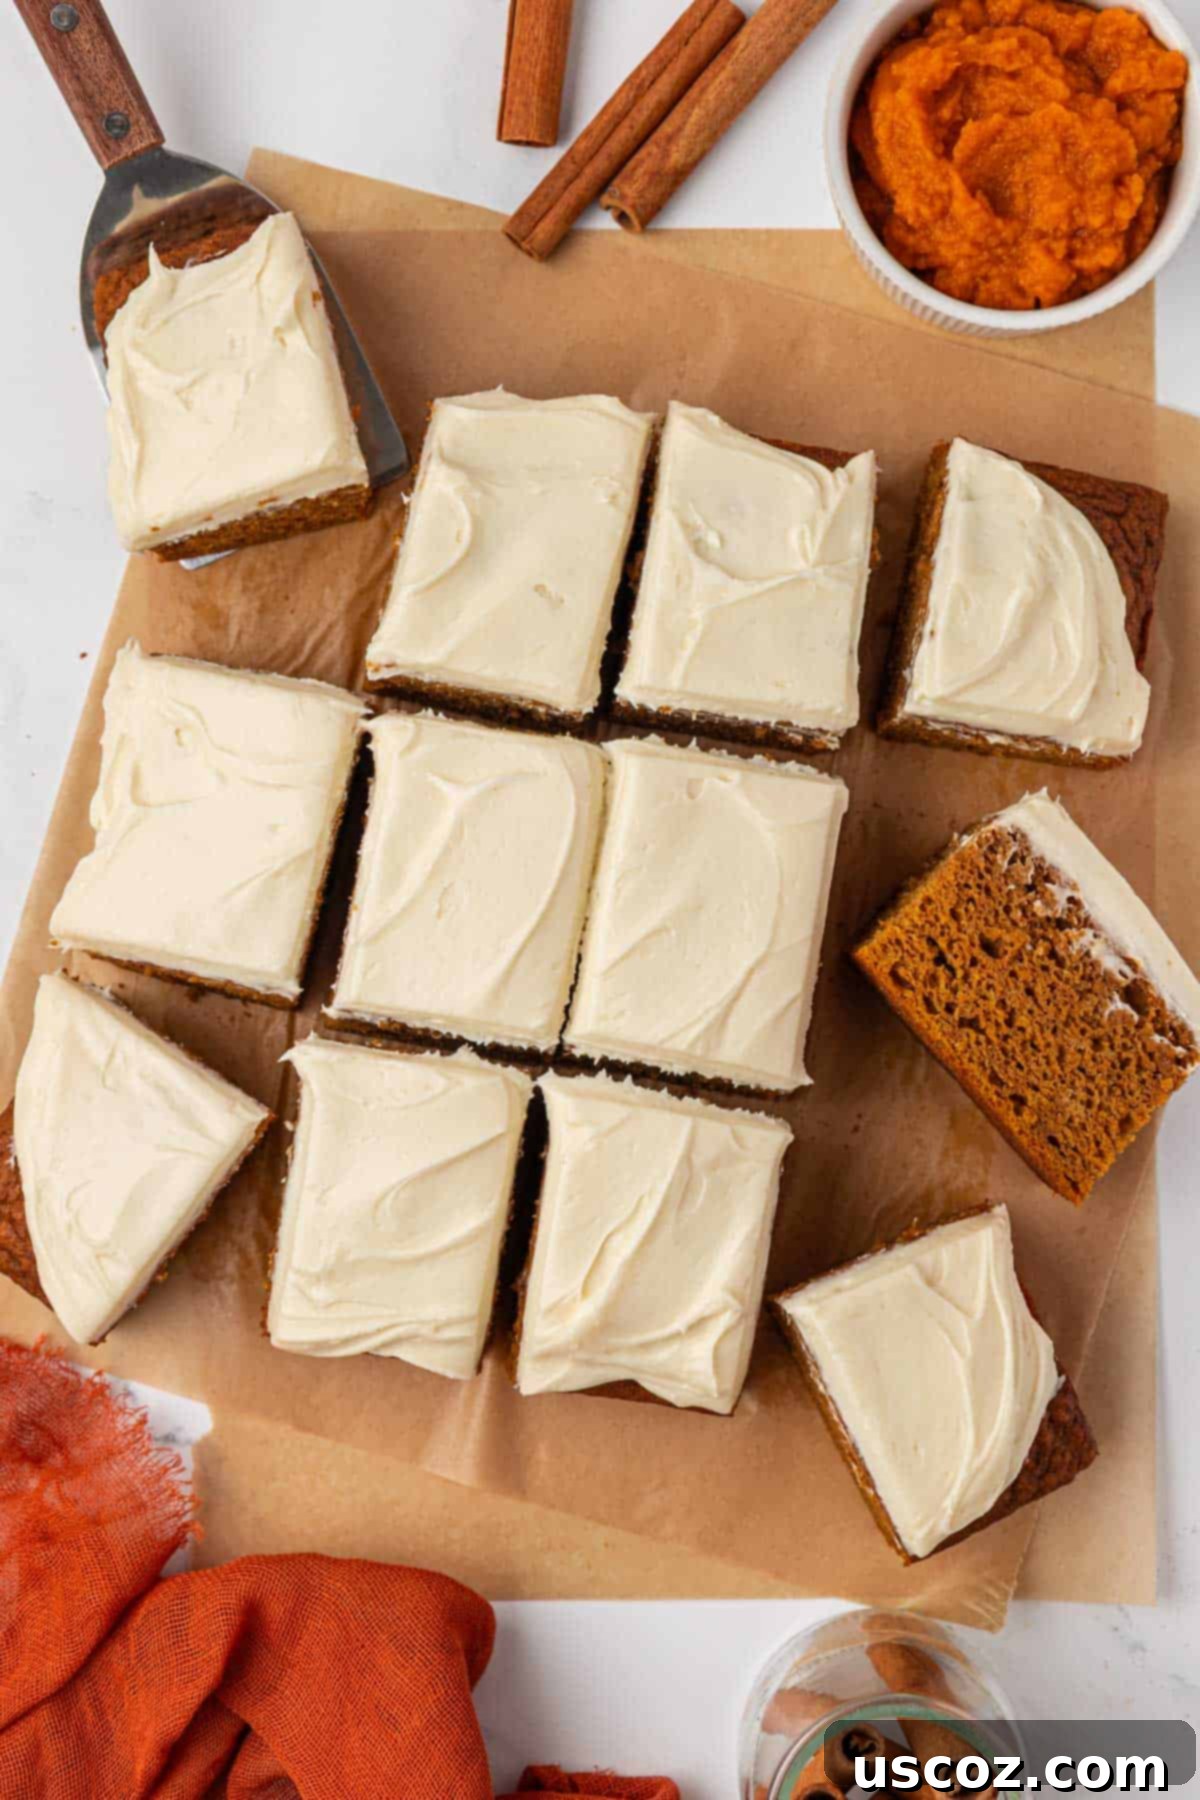
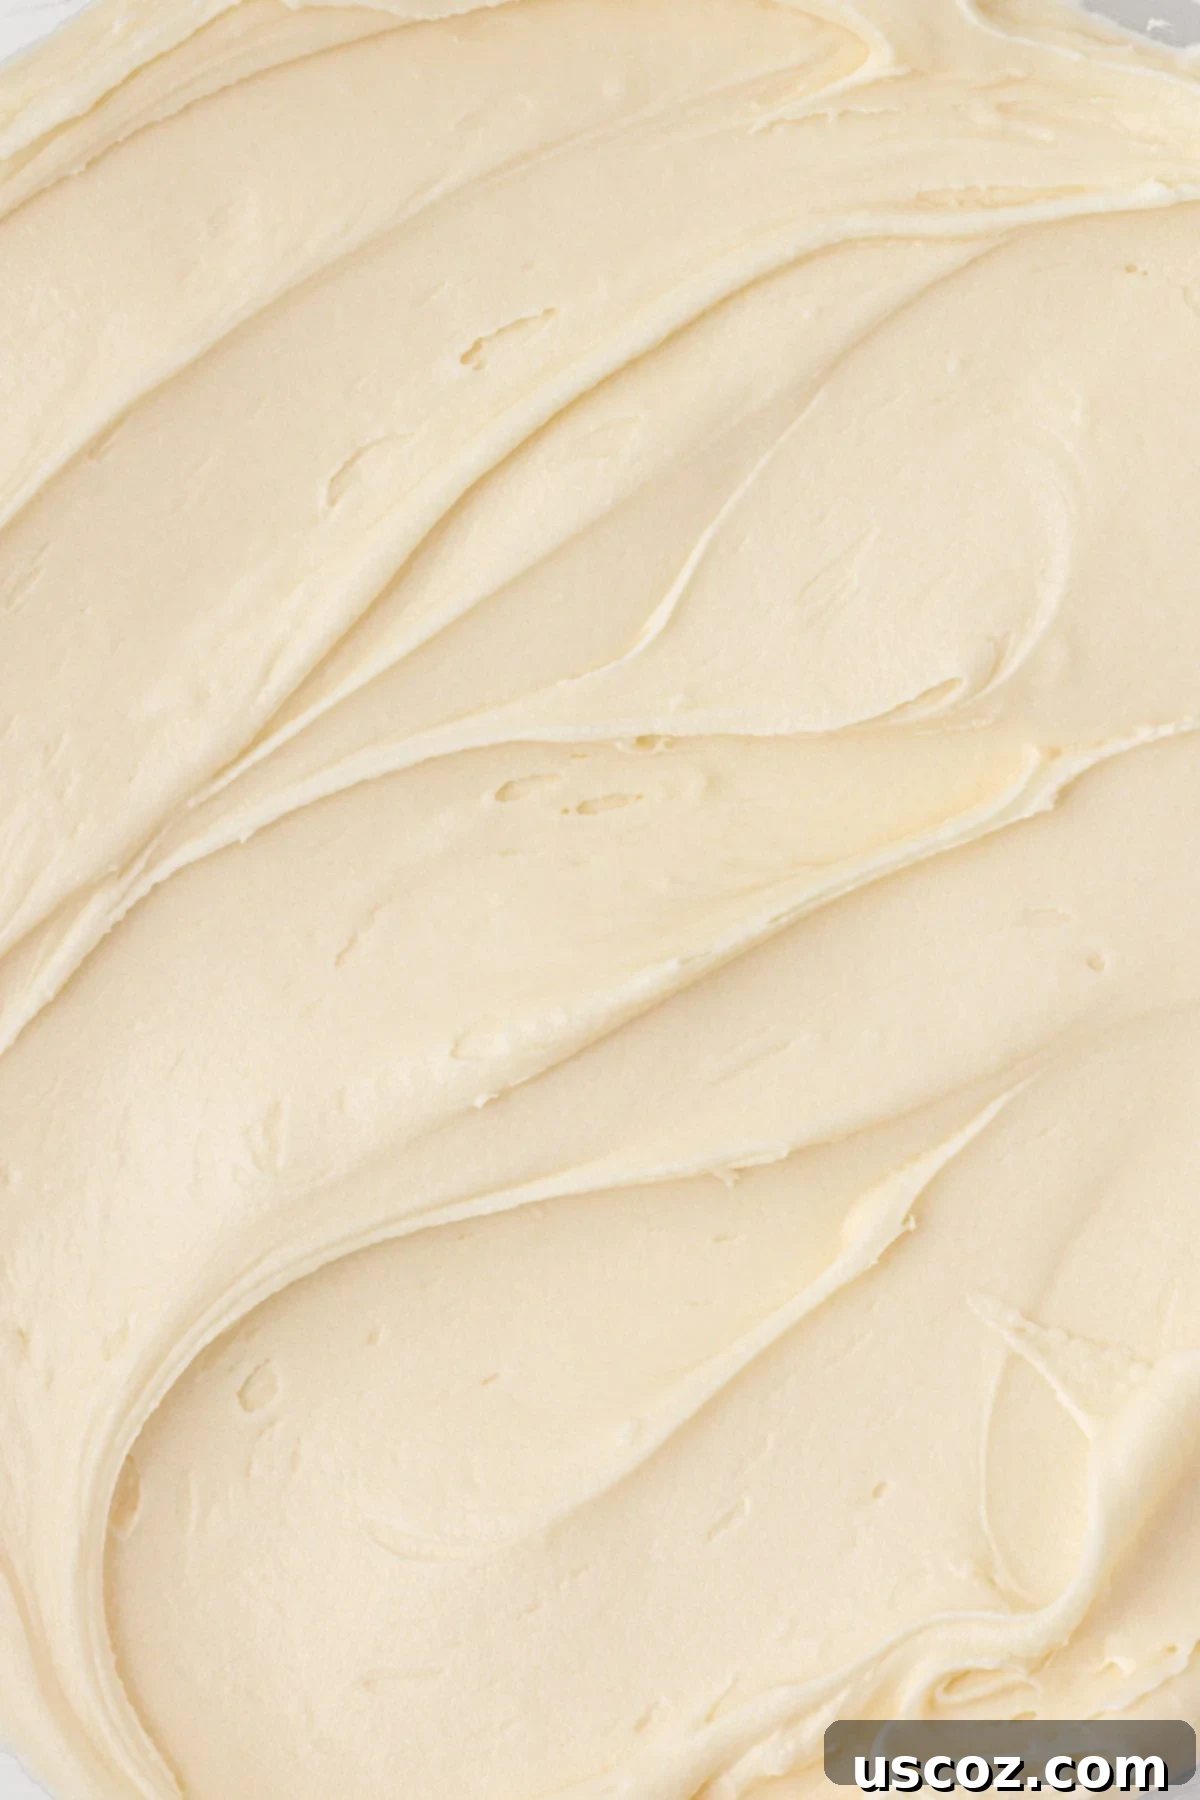
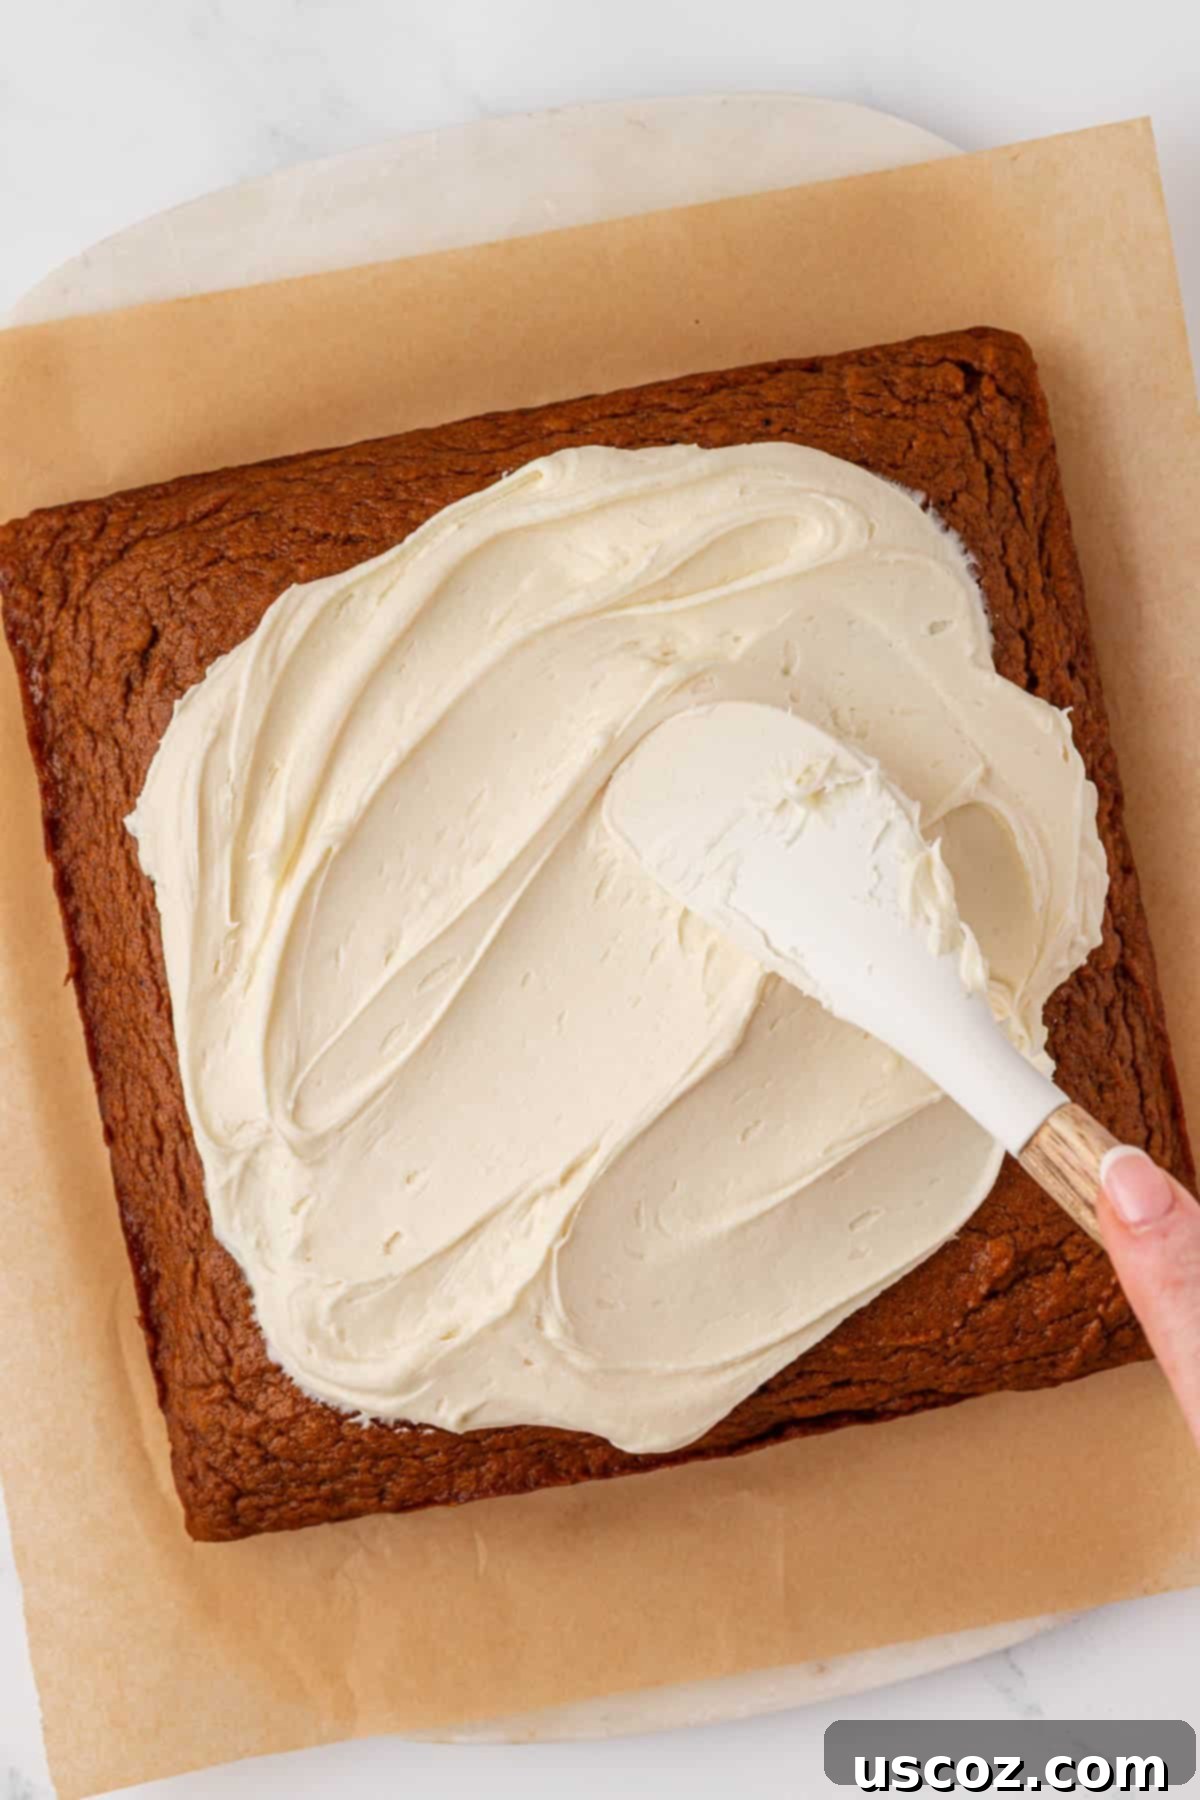
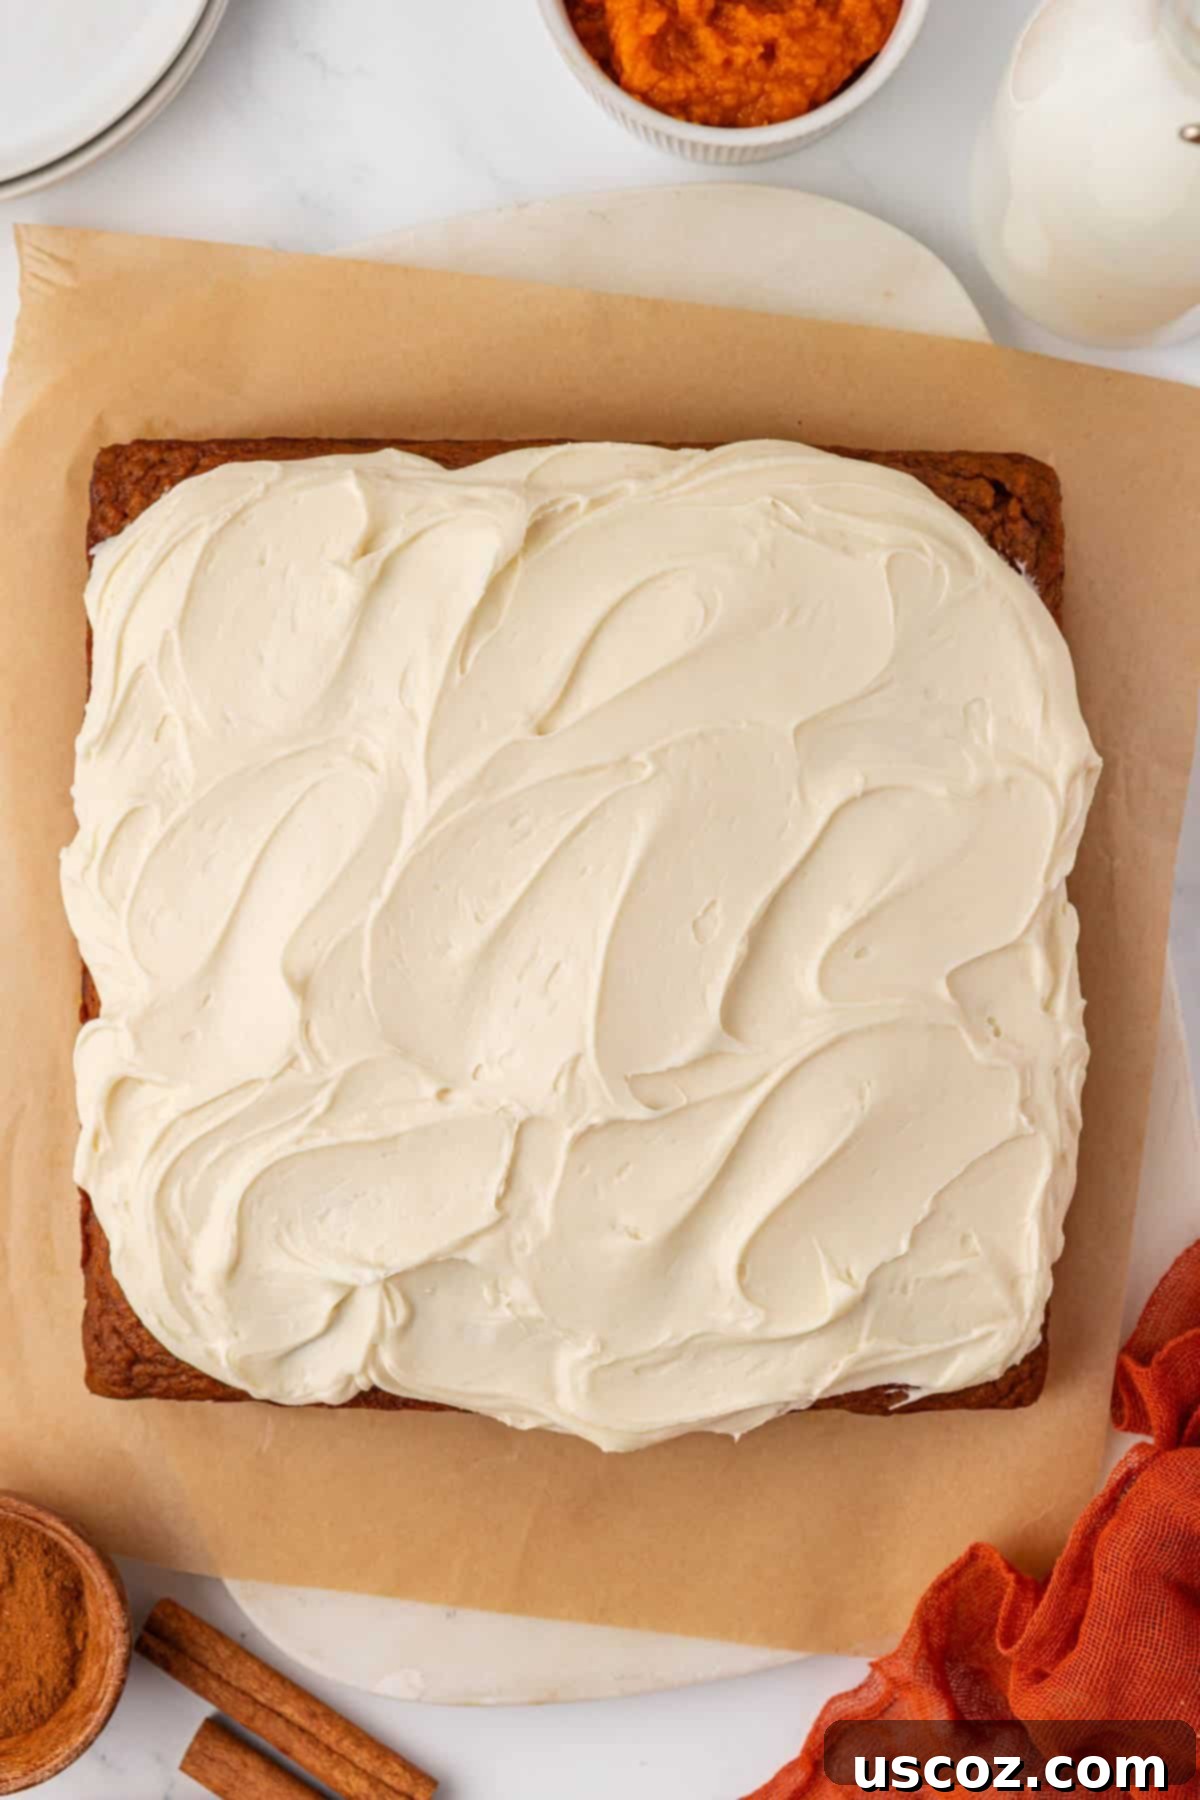
Once the pumpkin cake has cooled completely, evenly spread the rich cream cheese frosting over the top. Use an offset spatula or the back of a spoon to create an appealing swirl pattern. For an extra touch, you can sprinkle a little cinnamon or pumpkin pie spice on top. Then, cut the cake into 12 even squares, ready to be enjoyed.
Step 9: Enjoy!
Your perfectly frosted pumpkin snack cake is now ready! Cut it into 12 individual squares, making it easy to serve and enjoy. Each piece offers a delightful combination of moist, spiced pumpkin cake and tangy, sweet cream cheese frosting – a truly divine experience that embodies the spirit of autumn.
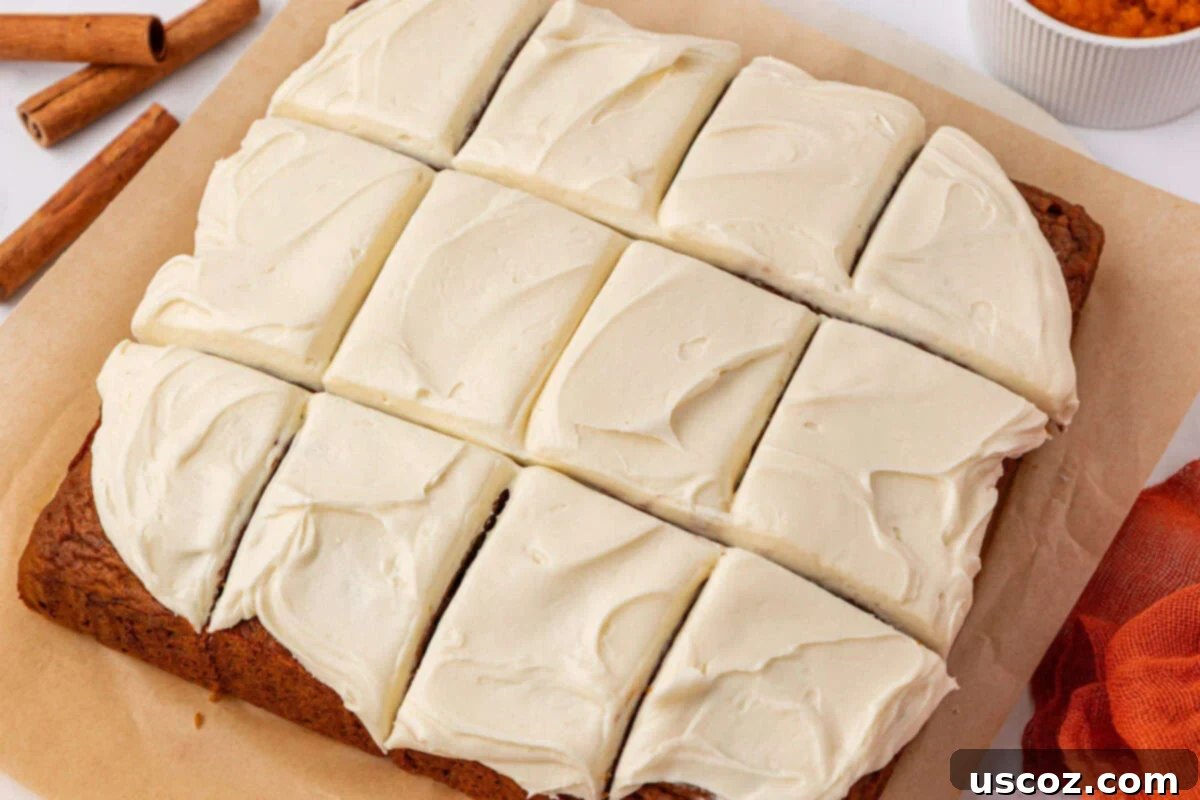
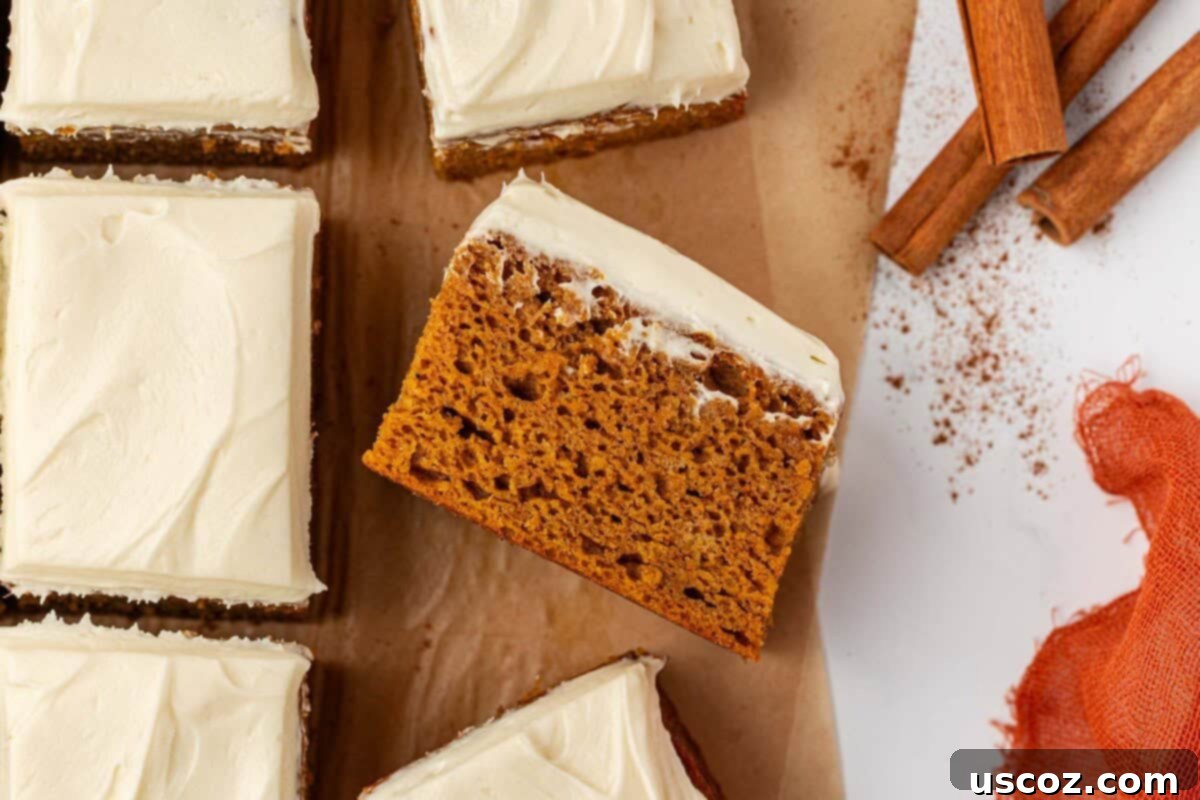
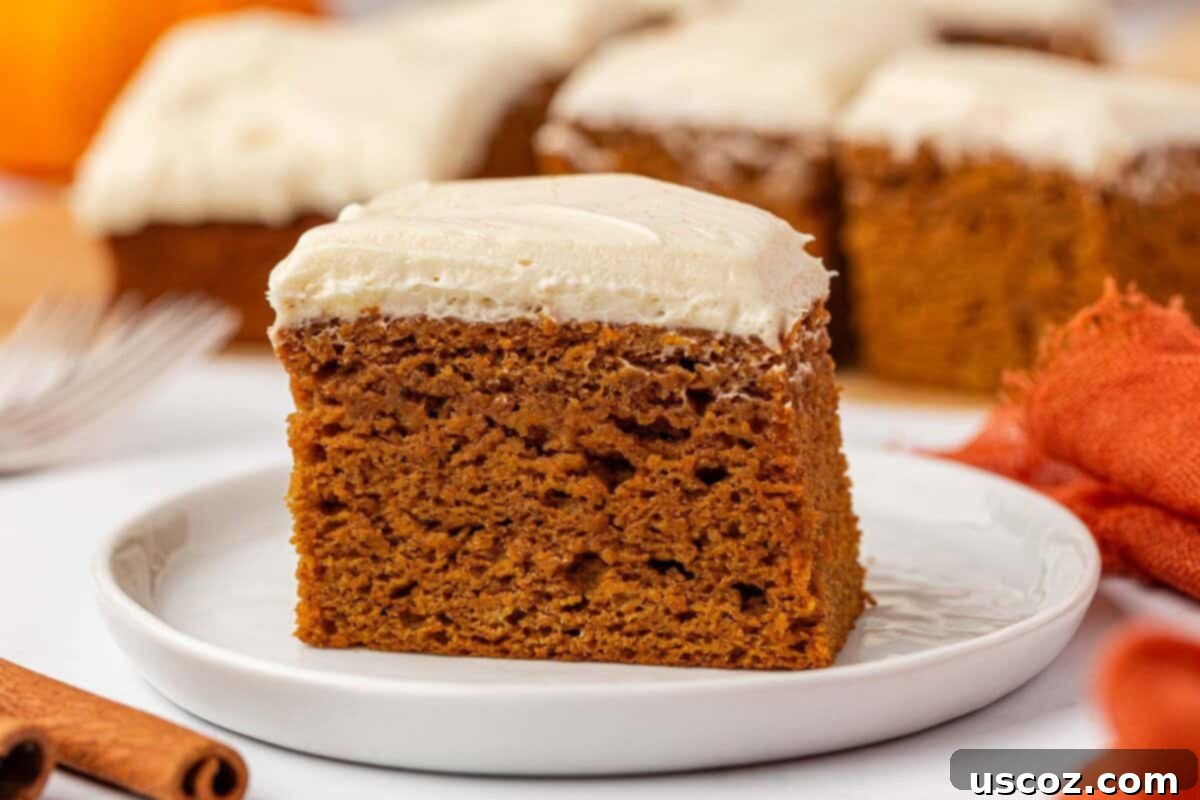
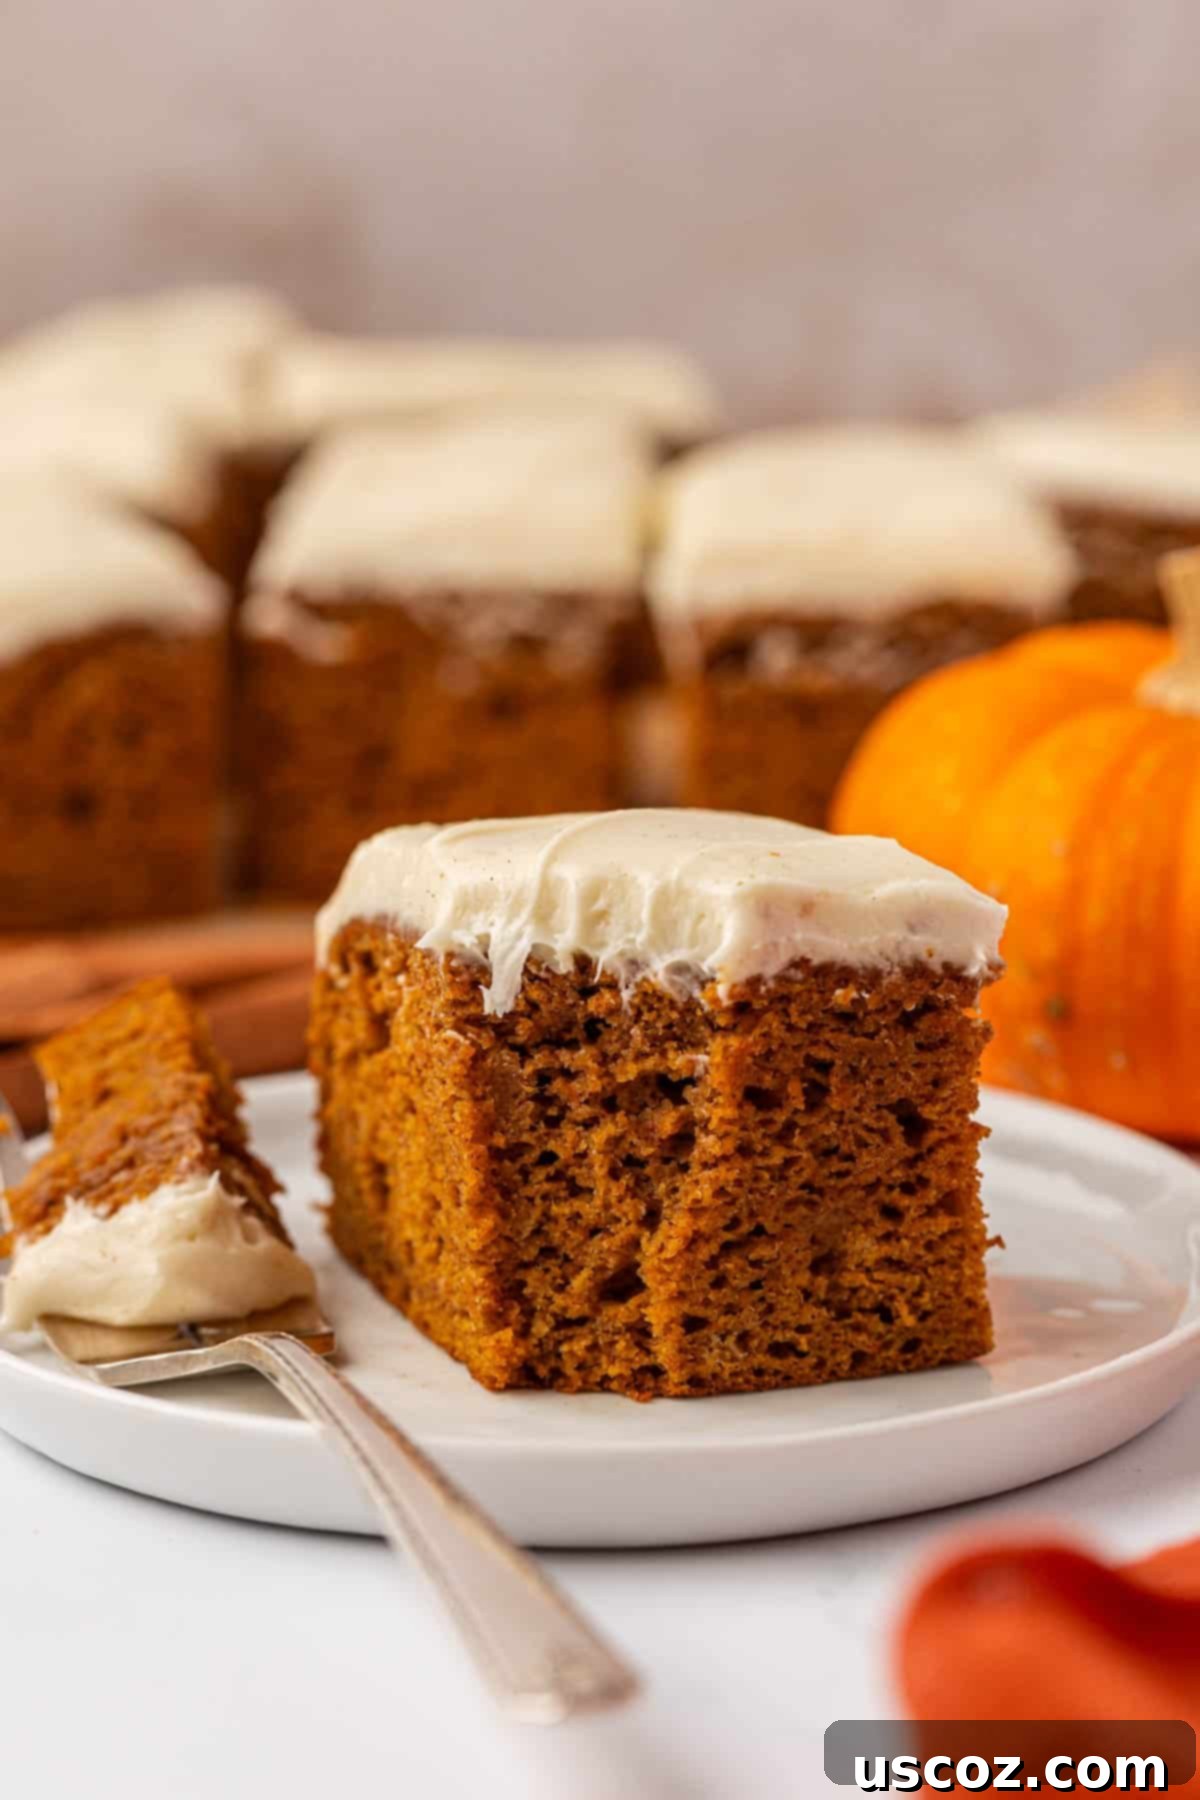
Just looking at these pictures, I can almost taste the rich pumpkin spice and feel the tender crumb of this cake. I’m absolutely craving a slice right now! This truly is such a yummy pumpkin treat, making it the perfect fall baking project. The slightly tangy and sweet cream cheese frosting creates an exquisite contrast with the deep, aromatic pumpkin flavor of the cake, elevating it from a simple cake to an unforgettable culinary experience.
Baking Tips for the Perfect Pumpkin Snack Cake
- Room Temperature Ingredients for Frosting: Always ensure your cream cheese and butter for the frosting are at room temperature. This is the secret to a smooth, lump-free, and perfectly spreadable frosting.
- Don’t Overmix: When combining wet and dry ingredients for the cake, mix only until just combined. Overmixing develops gluten, which can lead to a tough, dry cake.
- Measure Flour Correctly: Use the “spoon and level” method for flour. Spoon flour into your measuring cup, then level it off with a straight edge. Don’t pack it down or scoop directly from the bag.
- Check for Doneness: The toothpick test is reliable. If it comes out clean, your cake is done. If it has wet batter, it needs more time.
- Cool Completely: Patience is key! Frosting a warm cake will melt the frosting and create a mess.
Storing Your Delicious Pumpkin Snack Cake
Proper storage is essential to keep your pumpkin snack cake fresh and moist. Because of the cream cheese frosting, this cake must be refrigerated. Store any leftover pumpkin cake in an airtight container in the refrigerator for up to 4-5 days. This will prevent it from drying out and keep the frosting perfectly intact. For best flavor, allow the cake to come closer to room temperature for about 15-20 minutes before serving.
Freezing Instructions:
If you wish to store the cake for longer, you can freeze individual slices or the entire cake (unfrosted is best for freezing, but frosted works too if carefully wrapped). Wrap slices tightly in plastic wrap, then place them in an airtight freezer-safe container or freezer bag. It can be frozen for up to 2-3 months. Thaw in the refrigerator overnight before serving.
Frequently Asked Questions (FAQs) About Pumpkin Snack Cake
Can I use fresh pumpkin puree instead of canned?
While you can use homemade pumpkin puree, canned pumpkin is often preferred for baking due to its consistent moisture content and texture. If using fresh, ensure it’s very thick and well-drained to avoid adding too much moisture to the batter, which could make the cake dense.
Can I make this cake gluten-free?
Yes, you can often substitute all-purpose flour with a 1:1 gluten-free baking flour blend that contains xanthan gum. Results may vary slightly in texture, but it generally works well for moist cakes like this one.
How can I prevent my cake from being dry?
Several factors contribute to a moist cake: don’t overmix the batter, measure your flour accurately (using the spoon and level method), and avoid overbaking. Start checking for doneness at the lower end of the baking time range.
My cream cheese frosting is lumpy. What went wrong?
Lumpy frosting is usually due to cold cream cheese or butter. Ensure both ingredients are at true room temperature (soft enough to easily dent with a finger) before you start beating them. Also, sift your powdered sugar to break up any clumps before adding it.
Can I add other mix-ins to the cake batter?
Absolutely! Feel free to customize. Chocolate chips (dark, milk, or white), chopped nuts (pecans or walnuts), or dried cranberries would all be delicious additions. Add about ½ cup of your chosen mix-in to the dry ingredients before combining with the wet.
Explore More Delicious Pumpkin Recipes
If you’re as enchanted by pumpkin as we are, you’ll love these other fantastic pumpkin recipes that are perfect for fall and beyond. From breakfast treats to decadent desserts, there’s a pumpkin delight for every craving:
- Classic Pumpkin Bread: A moist, spiced loaf perfect for breakfast or a snack.
- Pumpkin Donut Mini Muffins: Bite-sized treats reminiscent of your favorite pumpkin donuts.
- Chewy Pumpkin Chocolate Chip Cookies: The ultimate blend of pumpkin spice and chocolate.
- Decadent Pumpkin Cream Pie: A creamy, dreamy twist on a traditional fall pie.
- Easy No-Bake Pumpkin Cheesecake Bars: A simple, refreshing dessert with all the fall flavors.
- Healthy Greek Yogurt Pumpkin Bread: A lighter version of pumpkin bread, packed with protein.
- Nutritious Pumpkin Protein Balls: A quick and healthy energy boost on the go.
- Adorable Mini Pumpkin Muffins: Perfect for small hands or portion control.
- Pumpkin Chocolate Chip Muffins: A favorite combination in a portable muffin form.
Pumpkin Snack Cake
Save RecipeSaved!
Pin Recipe
Rate Recipe
Print Recipe
Ingredients
- 15 oz canned pumpkin, I like Libby’s
- ¼ cup butter, melted and slightly cooled
- 2 eggs
- 2 teaspoons vanilla extract
- 1/3 cup sugar
- 1/3 cup brown sugar
- ½ teaspoon salt
- 1 ½ teaspoons baking powder
- 1 teaspoon baking soda
- 1 ½ cups all-purpose flour
- 1 ½ teaspoons pumpkin pie spice
- ¼ teaspoon cinnamon
For the Frosting
- 8 oz cream cheese, softened to room temperature
- ¼ cup unsalted butter, softened to room temperature
- ½ cup powdered sugar, see notes
- 1 teaspoon vanilla extract
Instructions
-
Whisk together the salt, baking powder, baking soda, all-purpose flour, pumpkin pie spice, and cinnamon in a mixing bowl.
-
In a separate bowl, whisk together the pumpkin, melted butter, eggs, vanilla extract, sugar, and brown sugar.
-
Add the dry ingredients to the wet and mix until just combined using a rubber spatula.
-
Pour the batter into a greased 8 by 8 baking dish.
-
Bake the snack cake at 375 degrees for 30-35 minutes, or until a toothpick inserted comes out clean.
-
Cool the cake completely before frosting it.
-
To make the frosting, beat together the softened cream cheese and butter, powdered sugar, and vanilla extract until smooth. See notes
-
Spread the frosting over the cooled cake and cut it into 12 squares.
Notes
Frosting
This frosting is intended to be lightly sweet. For a sweeter frosting, add more powdered sugar to taste.
Storing leftovers
Leftover pumpkin cake can be stored in an airtight container in the refrigerator for 4-5 days.
Nutrition
Like this recipe? Rate and comment below!
