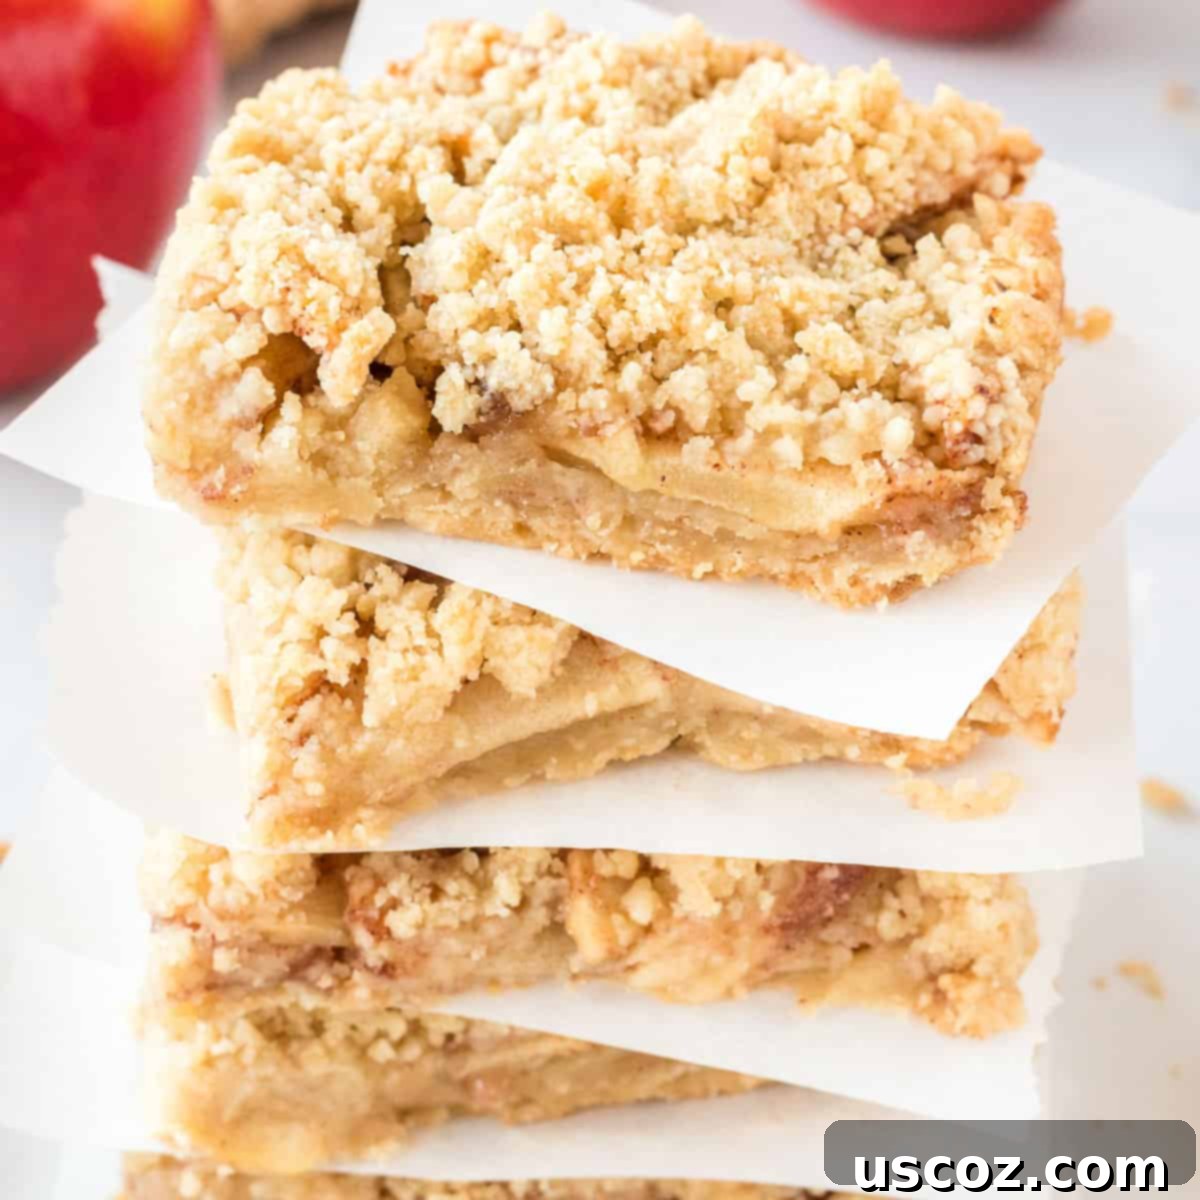
Easy Homemade Apple Crisp Bars: Your Ultimate Fall Dessert Recipe
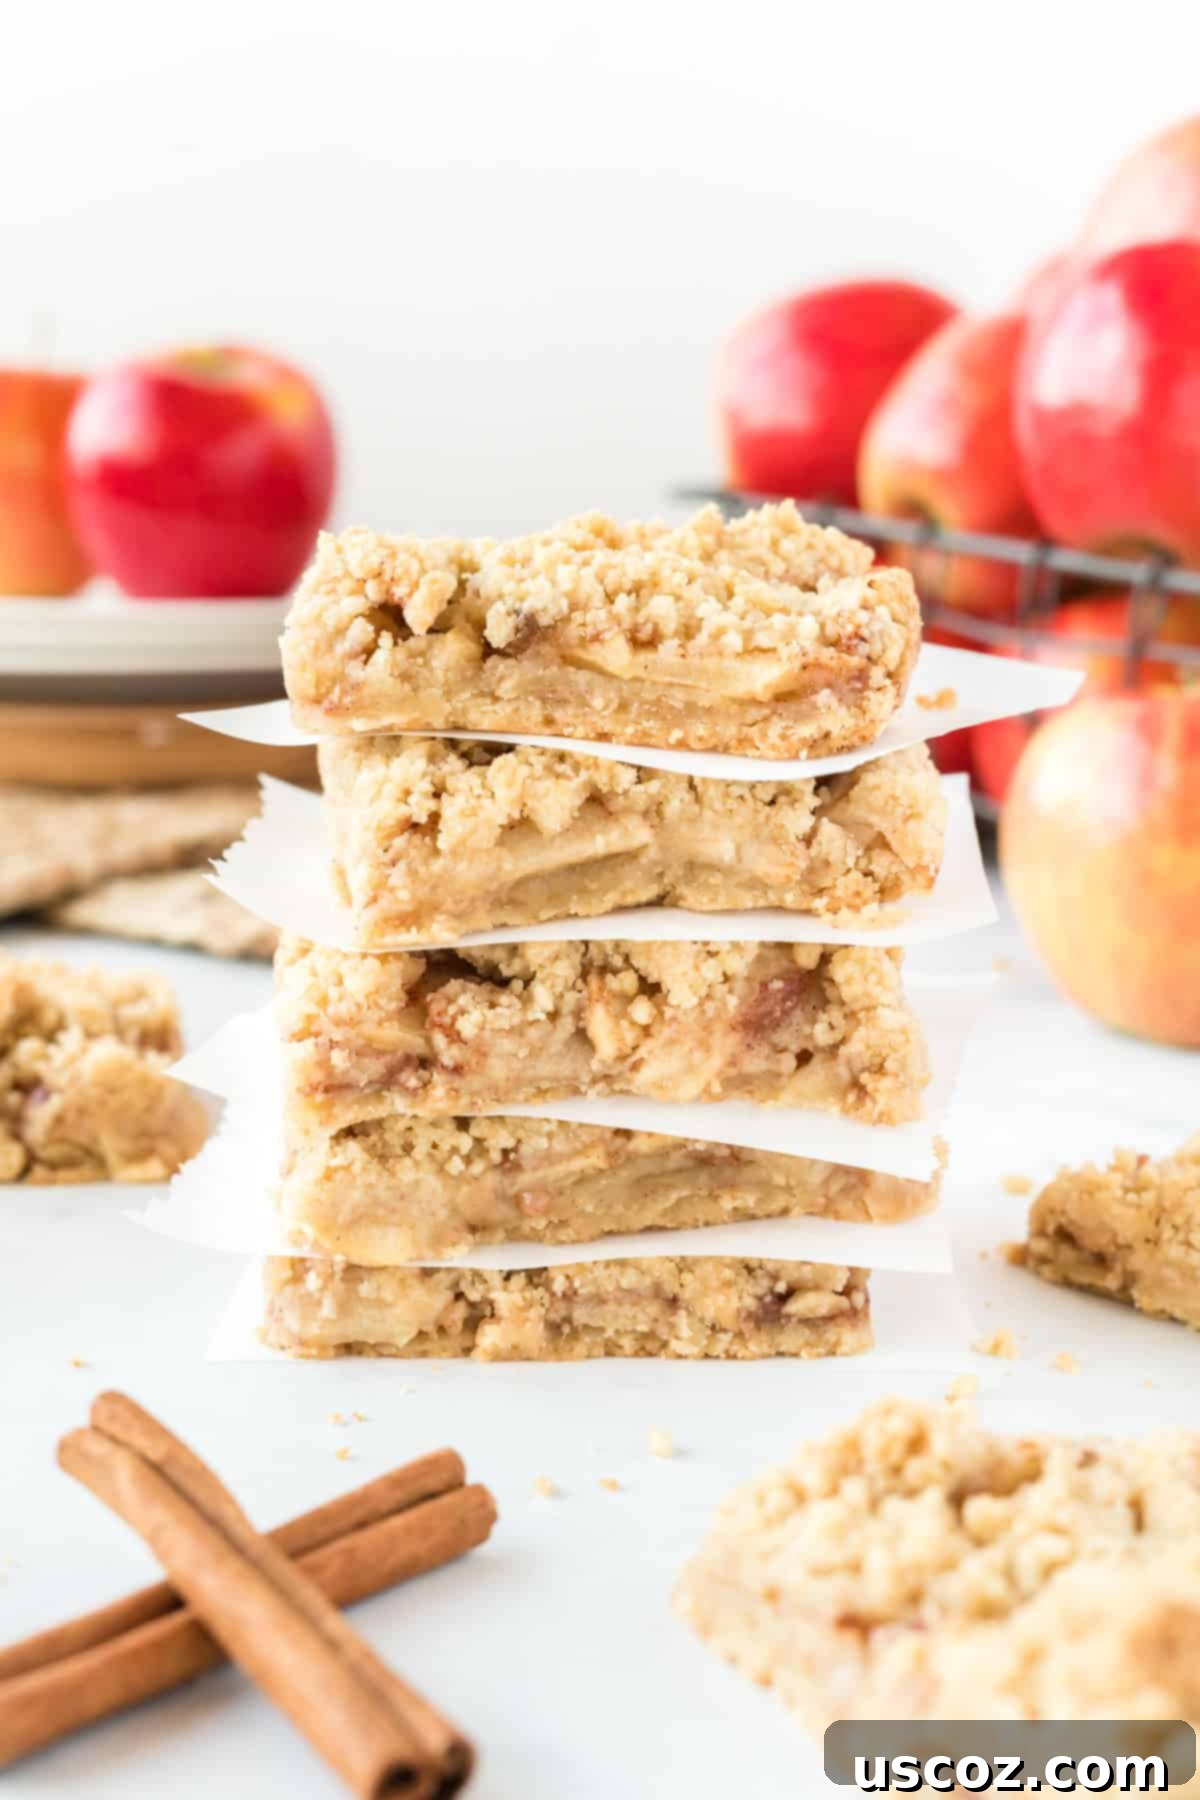
Homemade apple crisp bars are the fall dessert of your dreams, transforming a beloved classic into a convenient, delightful treat. With a rich, buttery shortbread crust, a luscious layer of warmly spiced apples, and a perfectly crumbly crisp topping, these apple bars are destined to become your new go-to dessert. Get ready to impress with this simple yet sensational recipe!
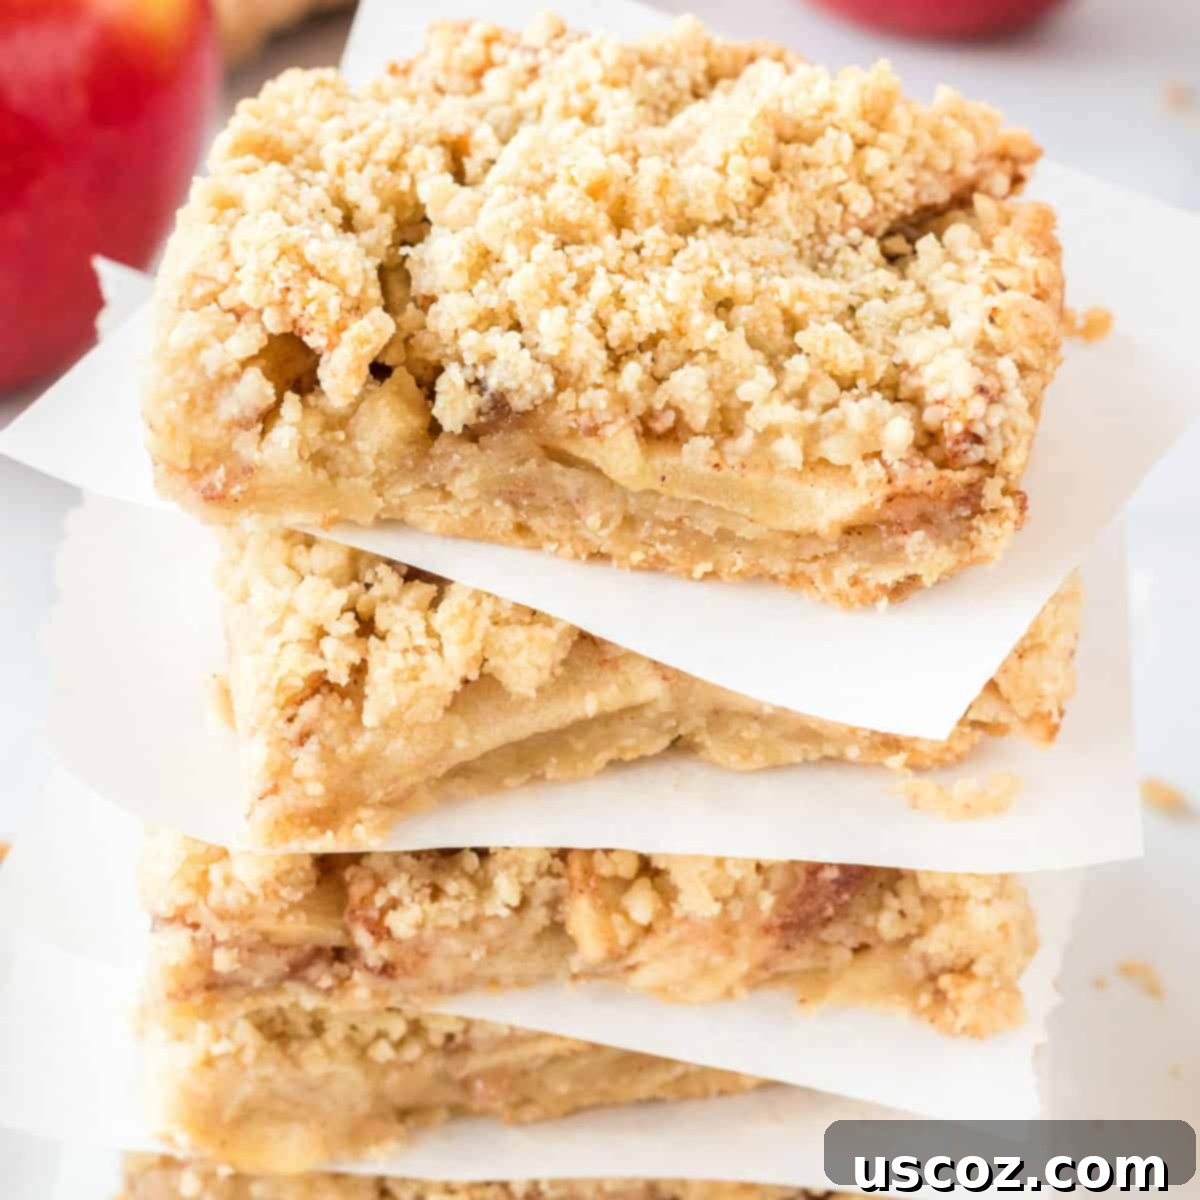
Why You’ll Love These Homemade Apple Crisp Bars
While classic apple crisp is a cherished dessert year-round, these innovative apple crisp bars take everything you love about the traditional recipe and elevate it to a new level. Imagine warm, tender, spiced apples baked to perfection, crowned with a delightfully crumbly oat topping, and then served not in a bowl, but as an easily shareable bar. What makes these even more special? The addition of a rich, buttery shortbread crust that adds an incredible depth of flavor and a satisfying texture to every single bite.
These bars offer all the comforting flavors of the classic apple dessert but are designed for convenience. You can effortlessly slice them into individual pieces, making them perfect for gatherings, lunchboxes, or simply enjoying on the go. During the crisp autumn months, our kitchen is always filled with the aroma of apple desserts, from cake mix apple cobbler to baked cinnamon apples. But these apple crisp bars have quickly become a seasonal favorite for their irresistible combination of textures and flavors.
The Anatomy of a Perfect Apple Crisp Bar
Achieving the ultimate apple crisp bar involves a harmonious blend of three distinct layers, each contributing its unique magic to create a dessert that’s greater than the sum of its parts. Let’s delve into what makes each component essential:
The Buttery Shortbread Crust
The foundation of these bars is a tender, golden-brown shortbread crust. Made with simple ingredients like flour, butter, brown sugar, and vanilla, this crust offers a sweet, rich base that stands up beautifully to the apple filling. It’s a delightful contrast to the softer layers above, providing a slight chew and a burst of buttery goodness that sets these bars apart from a traditional crisp served in a dish.
The Spiced Apple Filling
Nestled atop the shortbread is a generous layer of thinly sliced apples. We’ll toss them with lemon juice to prevent browning and brighten their flavor, then coat them in a mixture of sugar, cinnamon, and a touch of flour. This ensures the apples soften perfectly during baking, releasing their sweet juices to create a warm, aromatic, and slightly jammy filling that’s bursting with classic fall flavors. The cinnamon is key here, infusing the apples with that unmistakable cozy spice.
The Irresistible Crumb Topping
No crisp would be complete without its signature crumbly topping! Our recipe features a simple yet delicious combination of brown sugar, salt, flour, and cold butter. When baked, this mixture transforms into a golden, crunchy layer that provides a delightful texture contrast to the soft apples and tender crust. It’s the perfect finish, adding a rustic charm and an extra layer of sweetness and crunch to every bite.
Essential Ingredients for Homemade Apple Crisp Bars
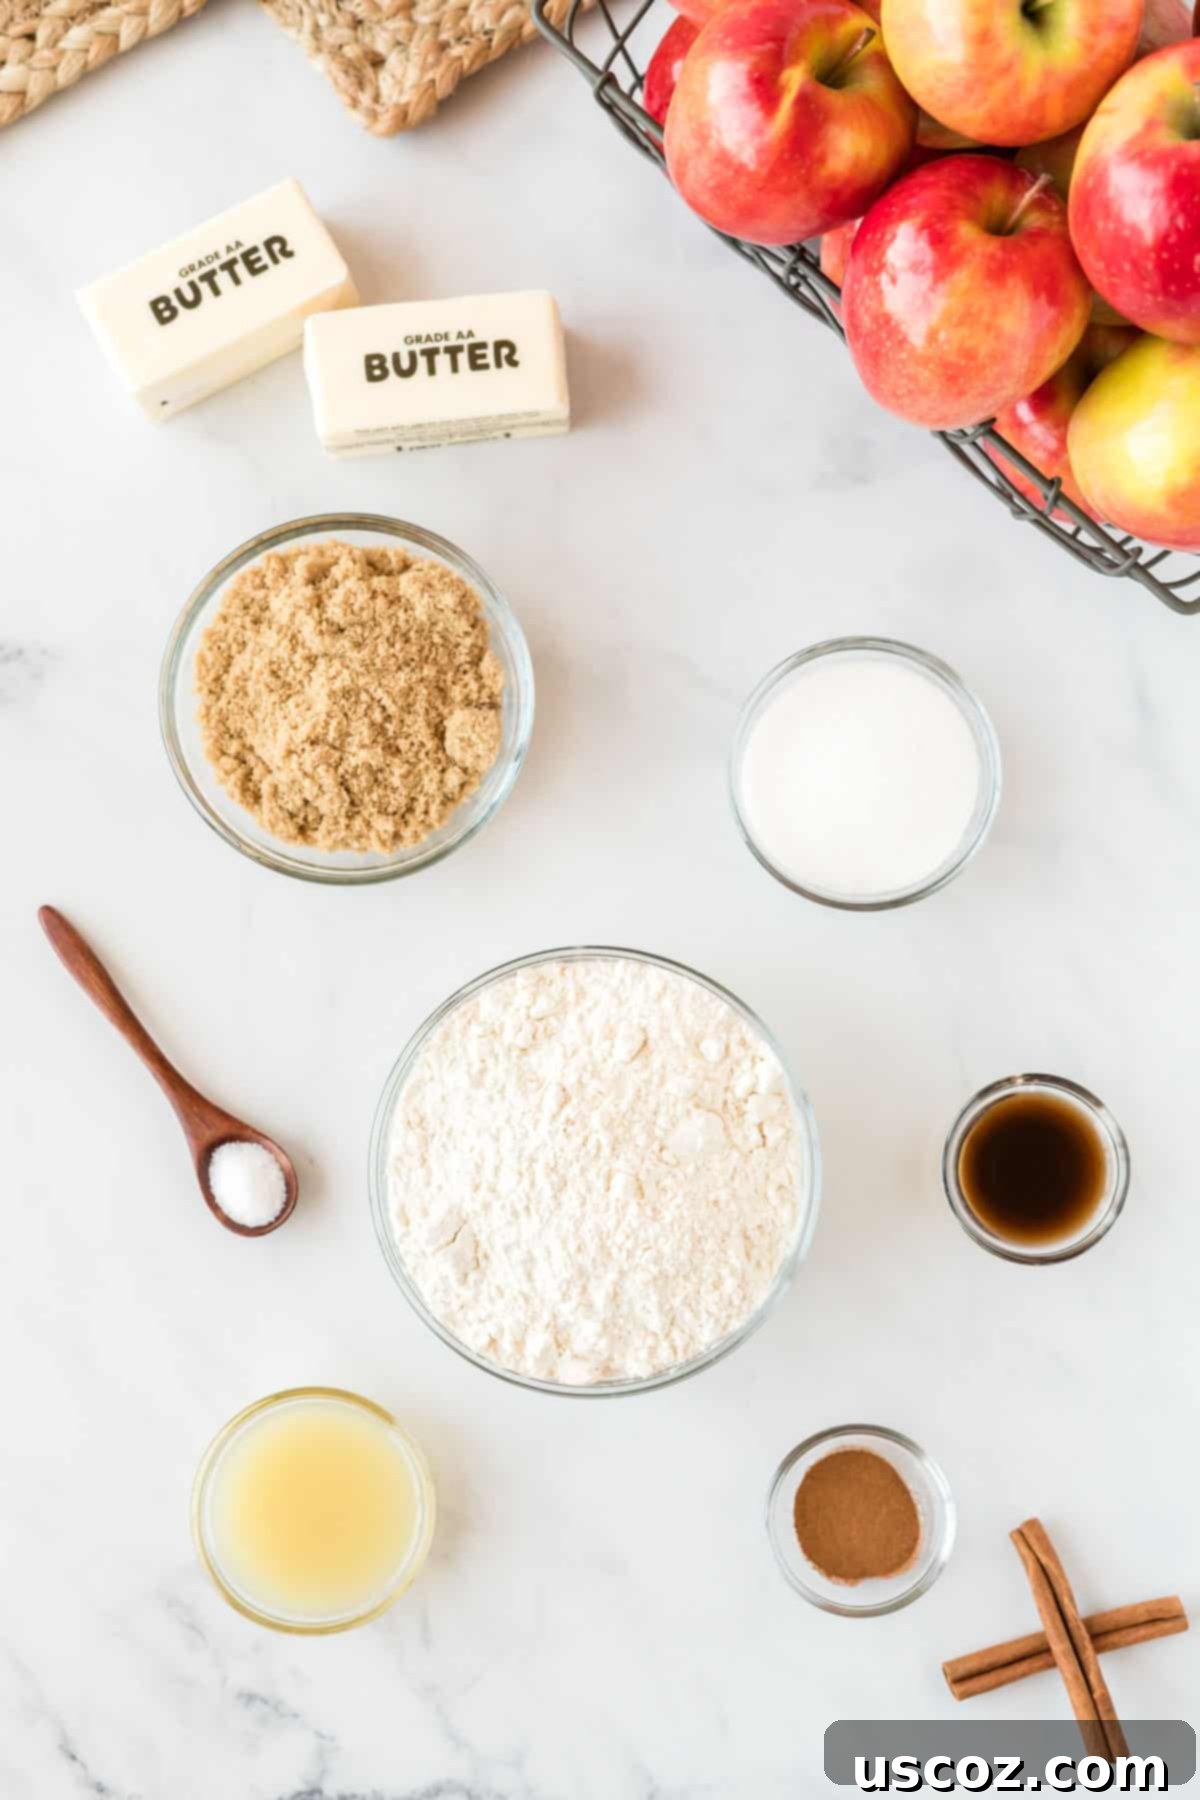
Crafting these delectable apple crisp bars requires a few pantry staples, ensuring that you can whip up this fall favorite anytime a craving strikes. Here’s a detailed look at what you’ll need:
- All-Purpose Flour: Forms the structure of both the shortbread crust and the crisp topping, and also helps to thicken the apple filling slightly.
- Butter: Crucial for the rich, tender shortbread crust and the crumbly crisp topping. For the crust, use softened butter to cream easily with sugar. For the topping, cold butter is essential to create those distinct, flaky crumbs. To make these bars dairy-free, you can substitute a high-quality plant-based butter alternative like Earth Balance.
- Brown Sugar: Adds a deeper, molasses-rich sweetness and moisture to both the crust and the crisp topping, enhancing the overall caramel-like flavor profile.
- Granulated Sugar: Provides a clean sweetness to the spiced apple filling, balancing the tartness of the apples.
- Apples: The star of the show! Choose firm, slightly tart apples that hold their shape well during baking, such as Granny Smith, Honeycrisp, Fuji, or Braeburn. You’ll need about 3-4 medium apples, thinly sliced.
- Cinnamon: The quintessential spice for apple desserts, infusing the filling with warm, inviting aroma and flavor.
- Vanilla Extract: Enhances the sweetness and depth of flavor in the shortbread crust. Use pure vanilla extract for the best results.
- Lemon Juice: A small amount tossed with the apples brightens their flavor and helps prevent them from browning before baking.
- Salt: Just a pinch in the crisp topping brings out all the other flavors, balancing the sweetness.
Gathering these simple ingredients is the first step towards enjoying a truly exceptional homemade treat that celebrates the comforting flavors of autumn.
Step-by-Step Guide: How to Make Apple Crisp Bars
Creating these delightful apple crisp bars is straightforward and incredibly rewarding. Follow these steps for a perfect autumn treat:
Step 1: Prepare Your Baking Dish & Oven
Preheat your oven to a cozy 350°F (175°C). This ensures your oven is at the optimal temperature for even baking. Next, line an 8×8-inch baking dish with parchment paper. It’s helpful to leave an overhang on two sides; this creates convenient “handles” that will allow for easy removal of the baked bars later on, making cutting and serving a breeze.
Step 2: Craft the Buttery Shortbread Crust
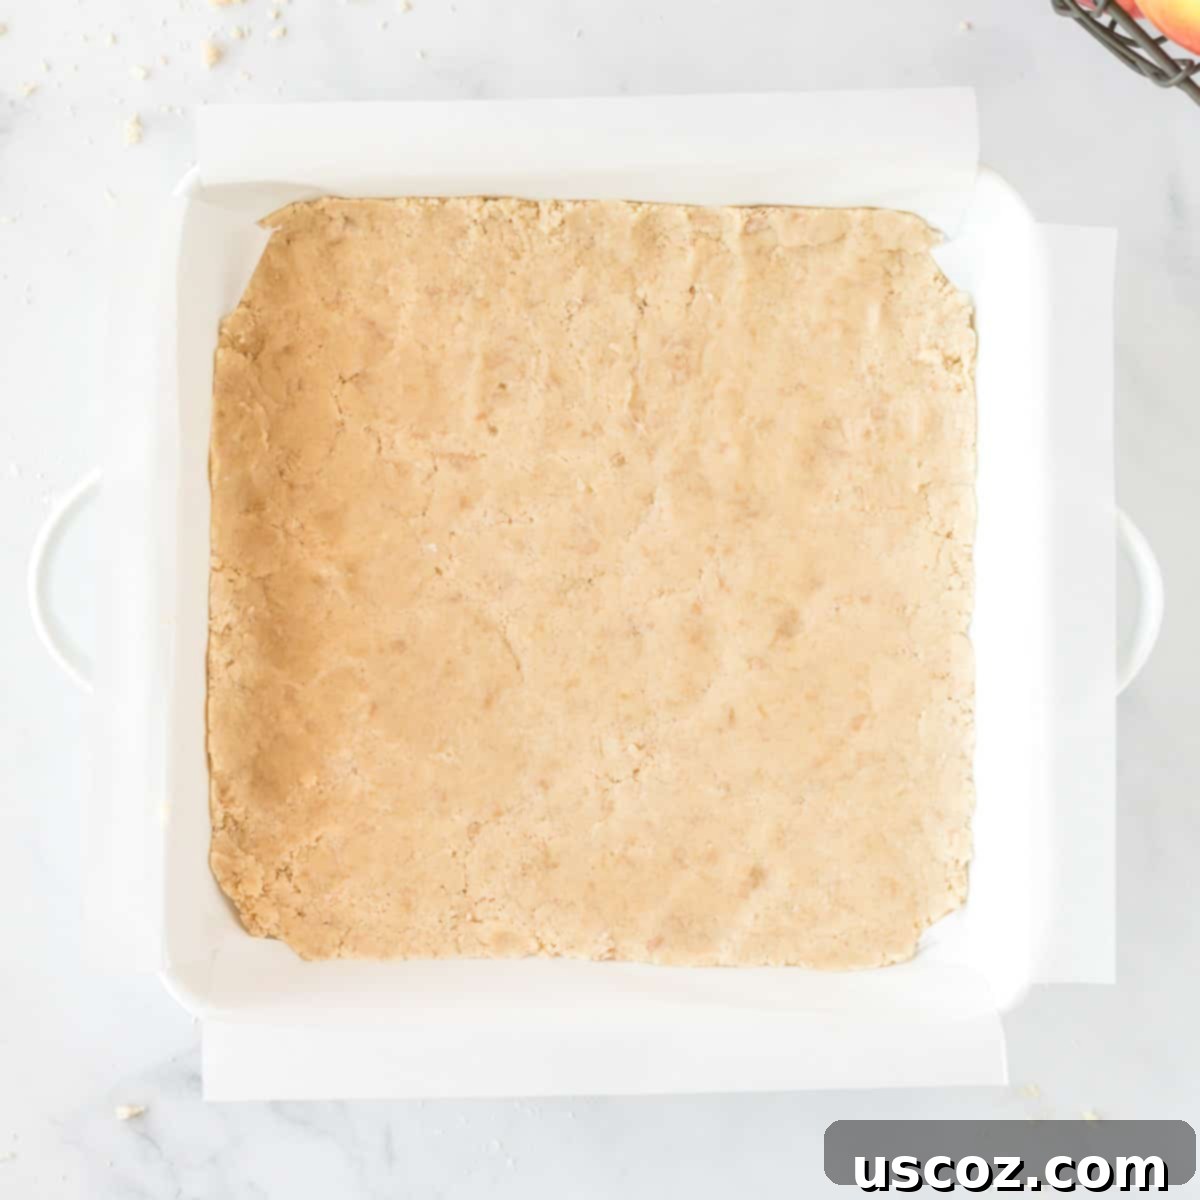
In a medium bowl, combine the softened butter and granulated sugar. Beat them together until light and fluffy – this incorporates air and makes for a tender crust. Stir in the vanilla extract, then gradually add the all-purpose flour, mixing until just combined and a soft dough forms. Avoid overmixing to keep the crust tender. Evenly press this dough into the bottom of your prepared, parchment-lined pan. Bake this crust for 15 minutes, until it’s lightly golden around the edges and set.
Step 3: Prepare the Flavorful Apple Filling
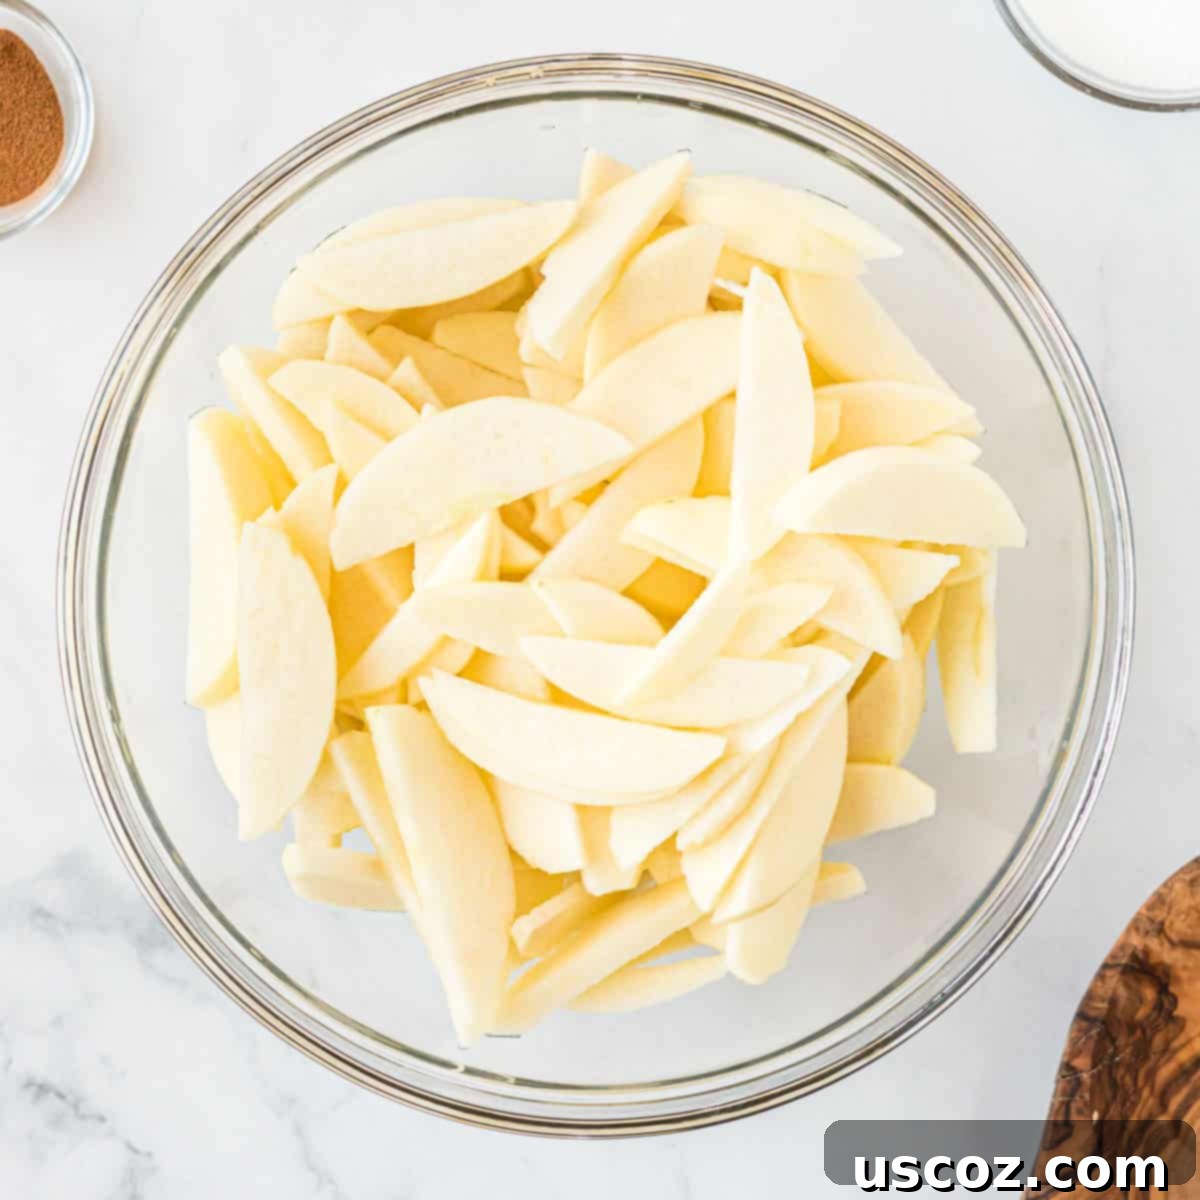
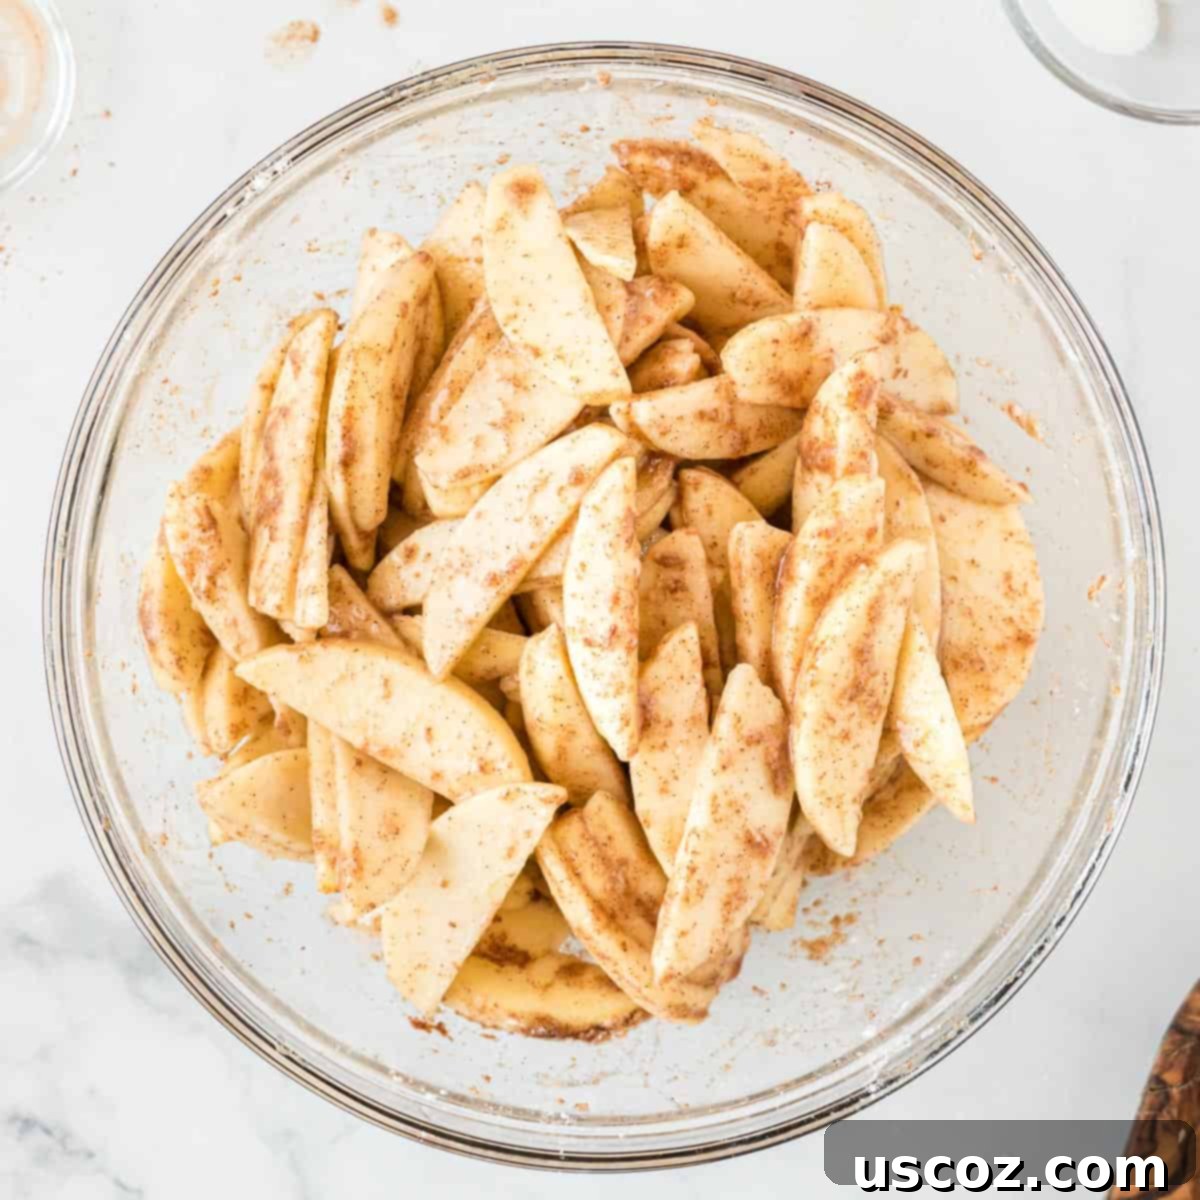
While your crust is par-baking, prepare the delicious apple crisp bar filling. In a large bowl, combine the thinly sliced apples (aim for about ⅛-inch thick slices for even cooking), fresh lemon juice, granulated sugar, aromatic cinnamon, and a couple of tablespoons of all-purpose flour. The flour helps to slightly thicken the juices released by the apples during baking, ensuring a perfectly set filling. Toss everything together until the apples are thoroughly coated.
Step 4: Create the Perfect Crumb Topping
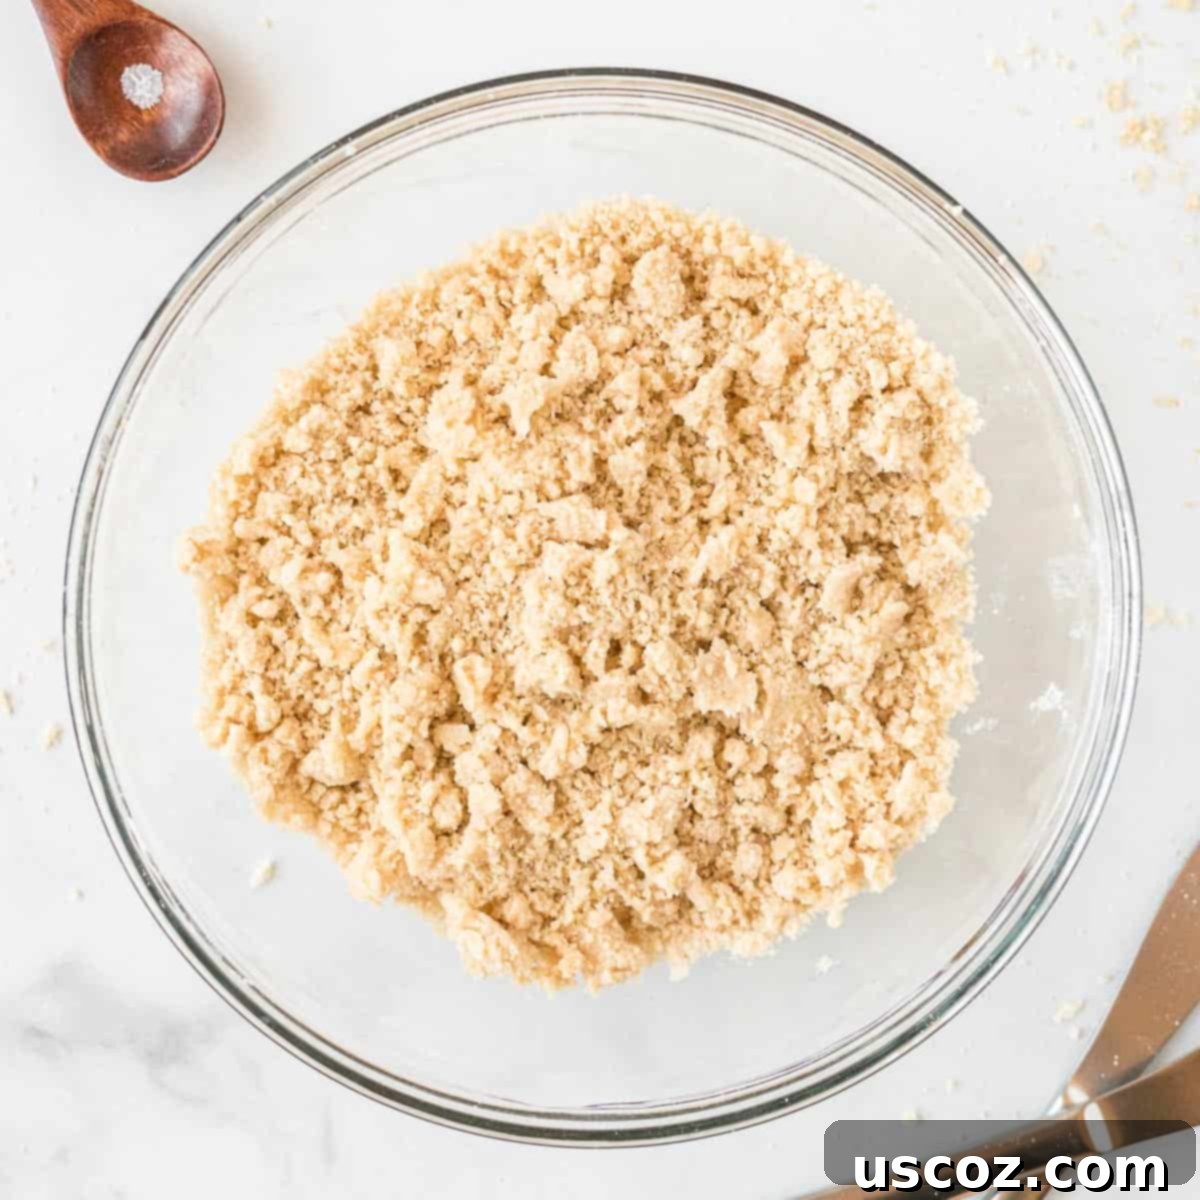
Now, for the signature crisp topping. In a separate bowl, whisk together the brown sugar, a pinch of salt, and all-purpose flour. Add the cold butter, cut into small cubes. Using a pastry cutter, two knives, or even your fingertips, work the cold butter into the flour mixture until it resembles coarse crumbs. The key here is to keep the butter cold, which creates that desirable crumbly texture when baked. This mixture will form a golden, crunchy layer on top.
Step 5: Assemble the Apple Crisp Bars
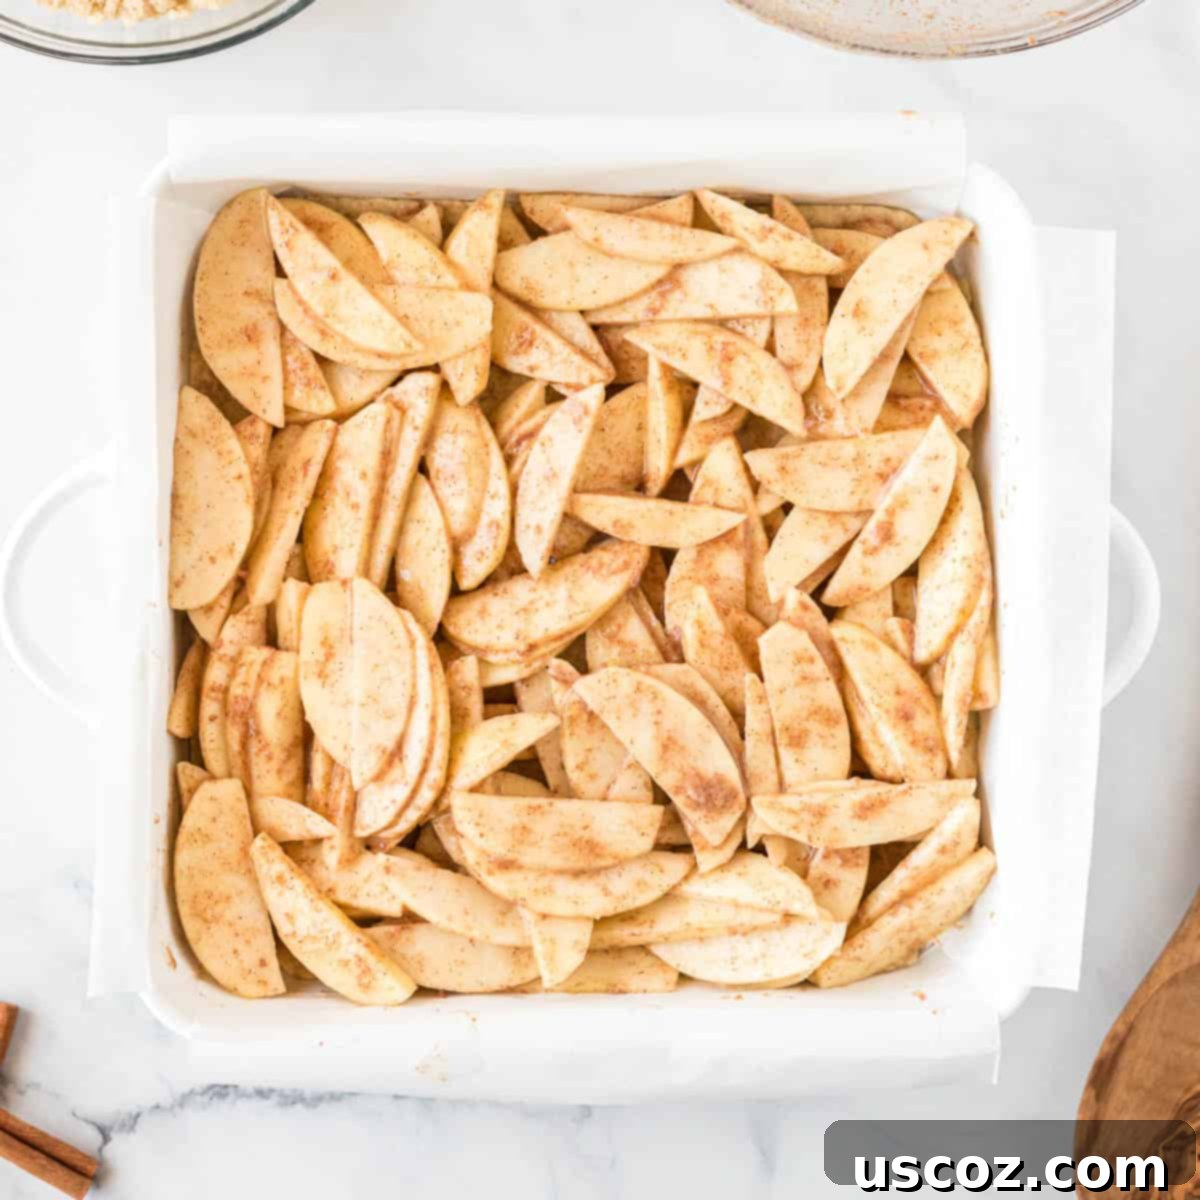
Once the shortbread crust finishes its initial bake, carefully remove it from the oven. Evenly spread the prepared apple filling over the warm crust. Make sure the apples are distributed in a single, relatively even layer. Finally, generously sprinkle the crumb topping over the entire apple layer. Don’t press it down too much; allow the crumbs to remain loose for maximum crispiness.
Step 6: Bake to Golden Perfection & Cool
Return the baking dish to the oven and bake for 45 to 55 minutes, or until the topping is beautifully golden brown and the apple filling is visibly bubbly around the edges. This indicates the apples are tender and the flavors have melded. Once baked, it’s crucial to let the bars cool in the pan for at least 30 to 45 minutes. This cooling period allows the bars to set properly, making them much easier to lift out and slice. Once cooled slightly, gently use the parchment paper overhangs to lift the entire slab of bars out of the pan. Place them on a cutting board, slice into your desired square sizes, and serve!
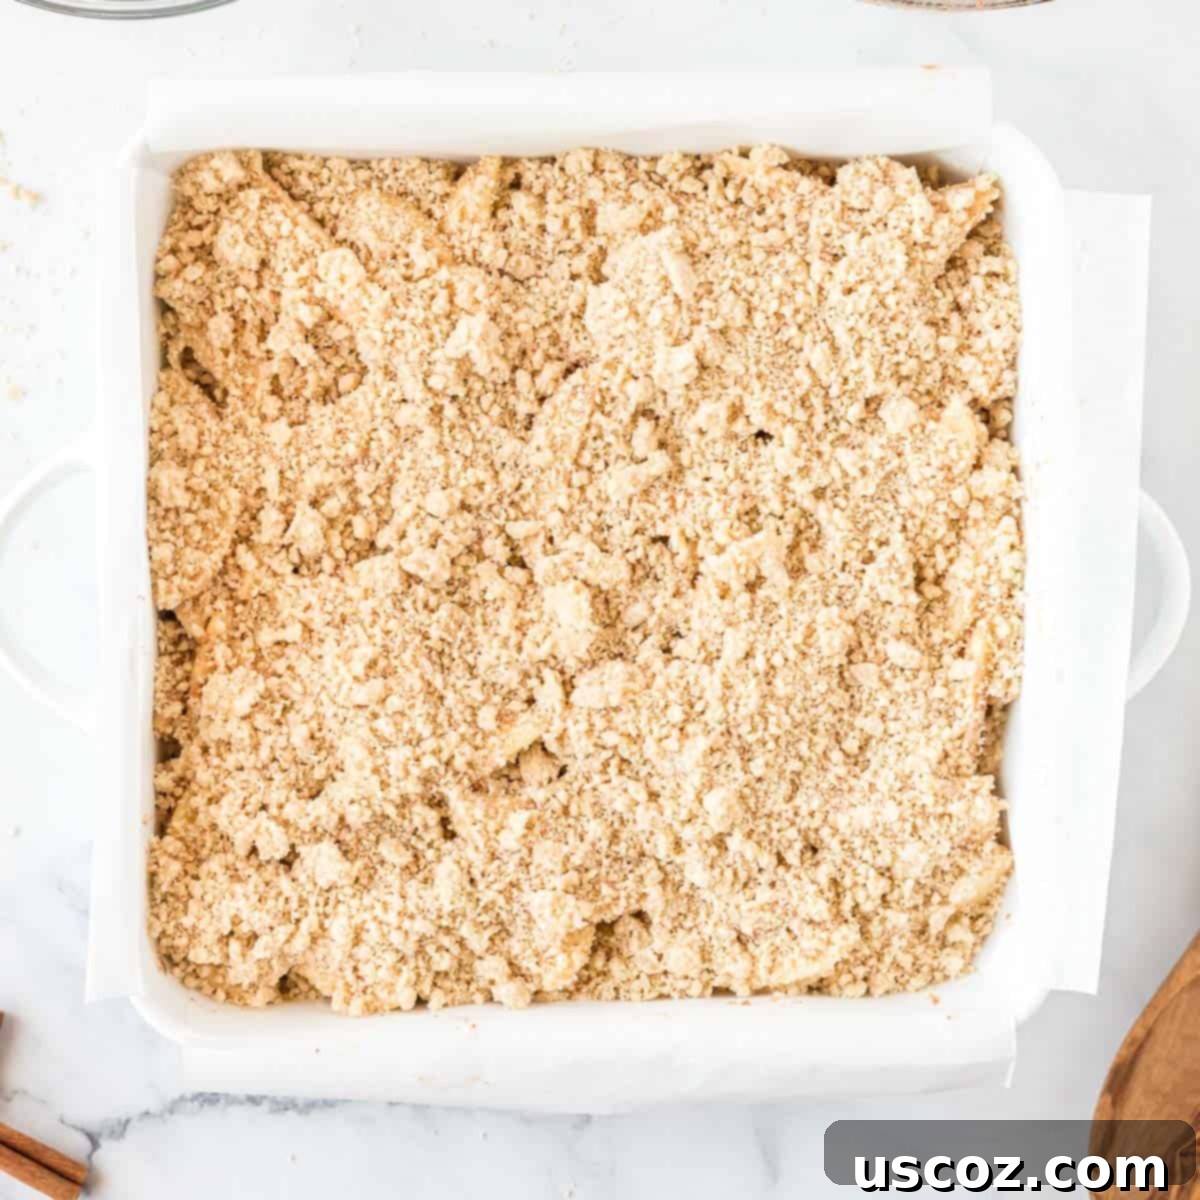
Tips for Making the Best Apple Crisp Bars
While this recipe is straightforward, a few key tips can elevate your apple crisp bars from great to absolutely exceptional:
- Choose the Right Apples: The type of apple significantly impacts the final texture and flavor. Opt for firm, slightly tart apples that hold their shape when baked. Granny Smith is a classic choice for its tartness, which balances the sweetness of the dessert. Other excellent options include Honeycrisp, Fuji, Braeburn, or a mix of two varieties for a more complex flavor. Avoid overly soft or mealy apples.
- Thin Slices are Key: Slice your apples thinly, about ⅛-inch thick. This ensures they cook evenly and become perfectly tender without turning into mush. A mandoline slicer can make this process quick and consistent, but a sharp knife works just as well.
- Don’t Overmix the Crust: For a tender shortbread crust, mix the flour into the butter and sugar mixture only until just combined. Overmixing develops the gluten in the flour, which can lead to a tough crust.
- Keep Butter Cold for Topping: When making the crisp topping, ensure your butter is very cold and cut into small cubes. This creates distinct pockets of butter that melt slowly in the oven, resulting in a perfectly crumbly and crunchy topping. If your kitchen is warm, you can even chill the topping mixture for 10-15 minutes before sprinkling it over the apples.
- Cool Completely (or Almost): Resist the urge to cut into the bars immediately after they come out of the oven. Allowing them to cool in the pan for at least 30-45 minutes gives the apple filling time to set, which prevents a gooey mess when slicing. For neatest squares, you can even let them cool completely.
- Dairy-Free Option: As mentioned in the ingredients, feel free to substitute a good quality dairy-free butter alternative (like Earth Balance sticks) for both the crust and the topping to make these delicious bars suitable for those with dairy sensitivities.
Serving Suggestions for Your Apple Crisp Bars
These homemade apple crisp bars are incredibly versatile and delicious on their own, but a few additions can make them an even more indulgent experience. You can either cut them into big, generous slices as shown in some of our photos, or into 16 smaller squares for a crowd.
Our absolute favorite way to enjoy these is warm, fresh from the oven, with a generous scoop of creamy vanilla ice cream melting slowly over the spiced apples. The contrast of warm and cold, soft and crisp, is simply divine! A dollop of fresh whipped cream or a drizzle of warm caramel sauce also makes for a fantastic pairing. But honestly, we’d happily eat them cold out of the fridge too – they’re that good! These apple crisp bars from scratch will always be a fall must-have in our house. They really are so simple to make and everyone loves them!
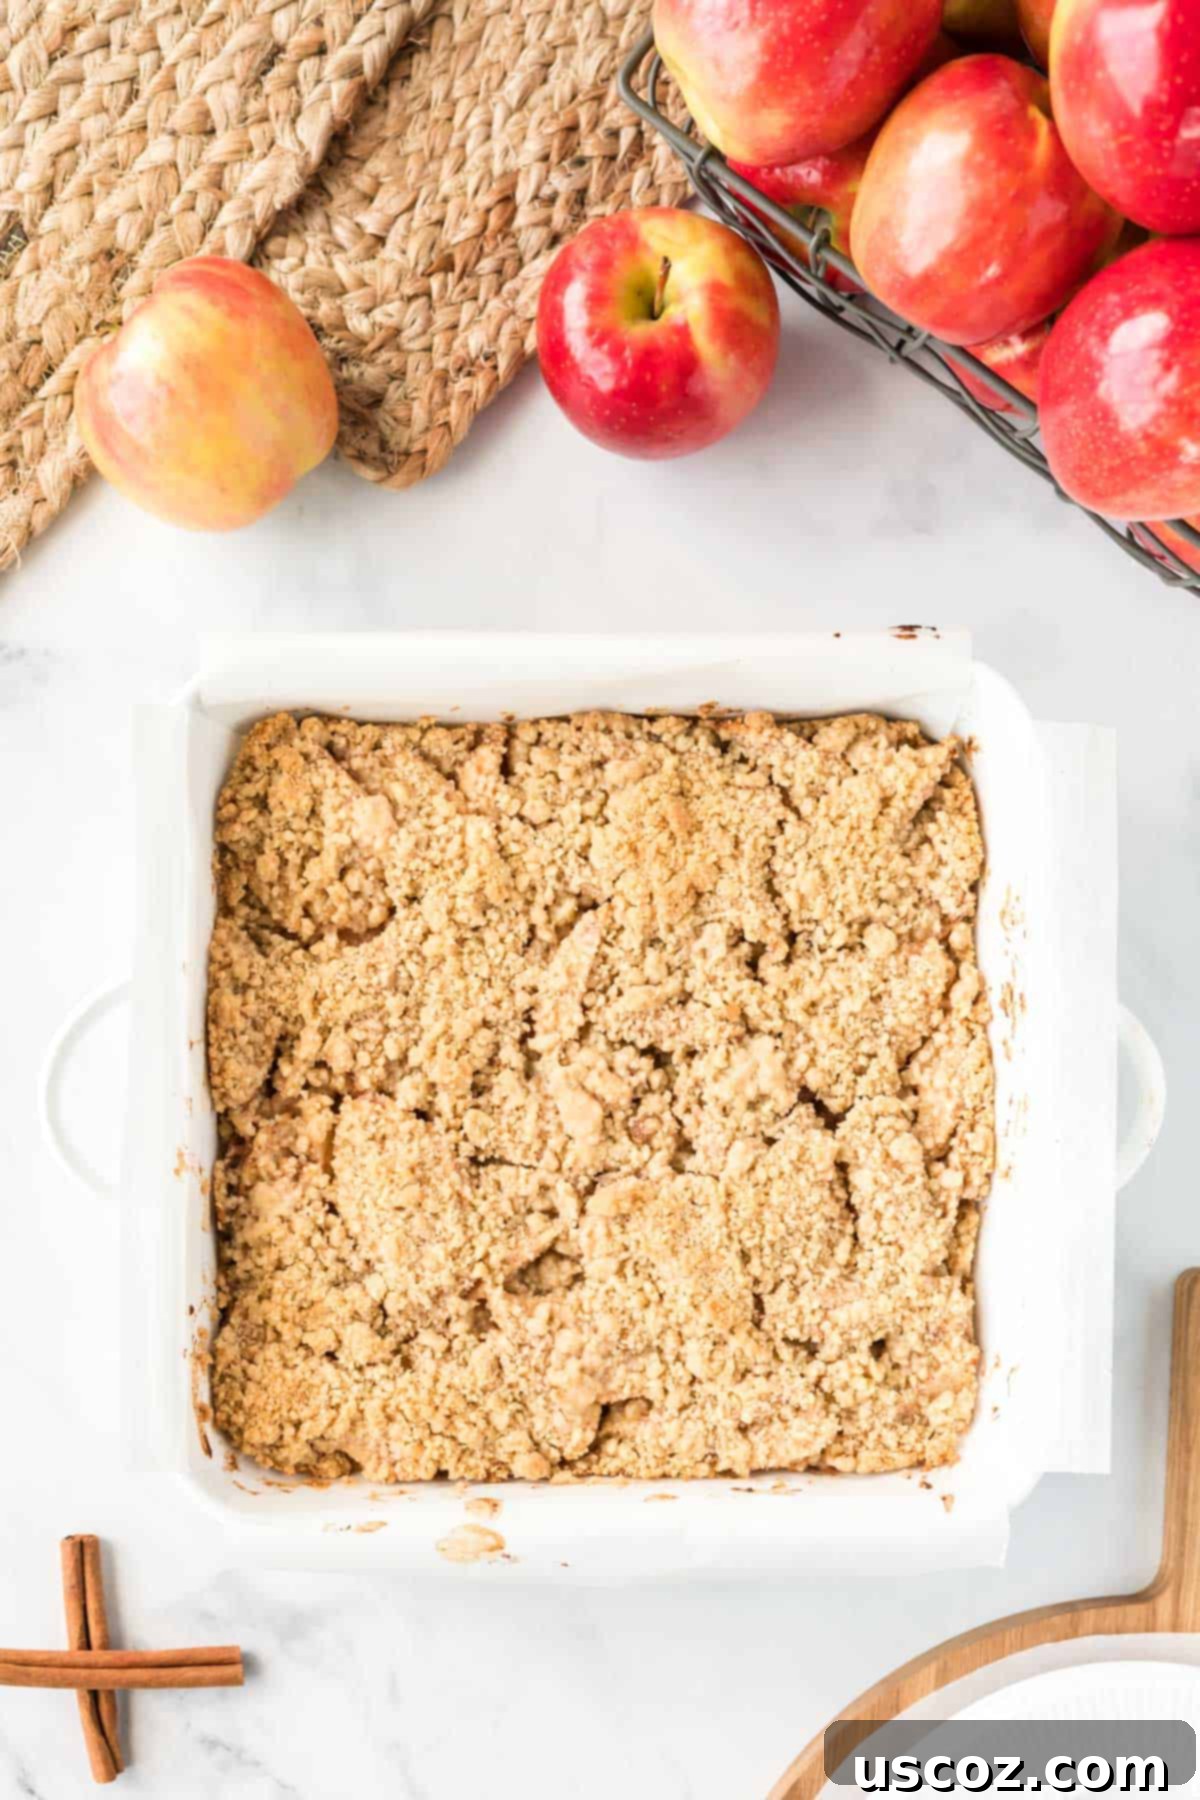
Storage & Make-Ahead Tips
These apple crisp bars are wonderful to make ahead or store for later enjoyment:
- At Room Temperature: Once completely cooled, store the bars in an airtight container at room temperature for up to 2-3 days.
- In the Refrigerator: For longer freshness, place the bars in an airtight container and store them in the refrigerator for up to 5 days. You can gently warm them in the microwave or oven before serving if desired.
- Freezing: These bars freeze beautifully! Once cooled completely, cut them into individual squares. Wrap each bar tightly in plastic wrap, then place them in a freezer-safe bag or container. They can be frozen for up to 2-3 months. Thaw them at room temperature or warm them gently in the oven.
If you’re planning an apple picking adventure this year, be sure to add this recipe to your list of must-makes! Your house will be filled with the most incredible aroma of cinnamon apple goodness, promising a truly delightful treat for everyone.
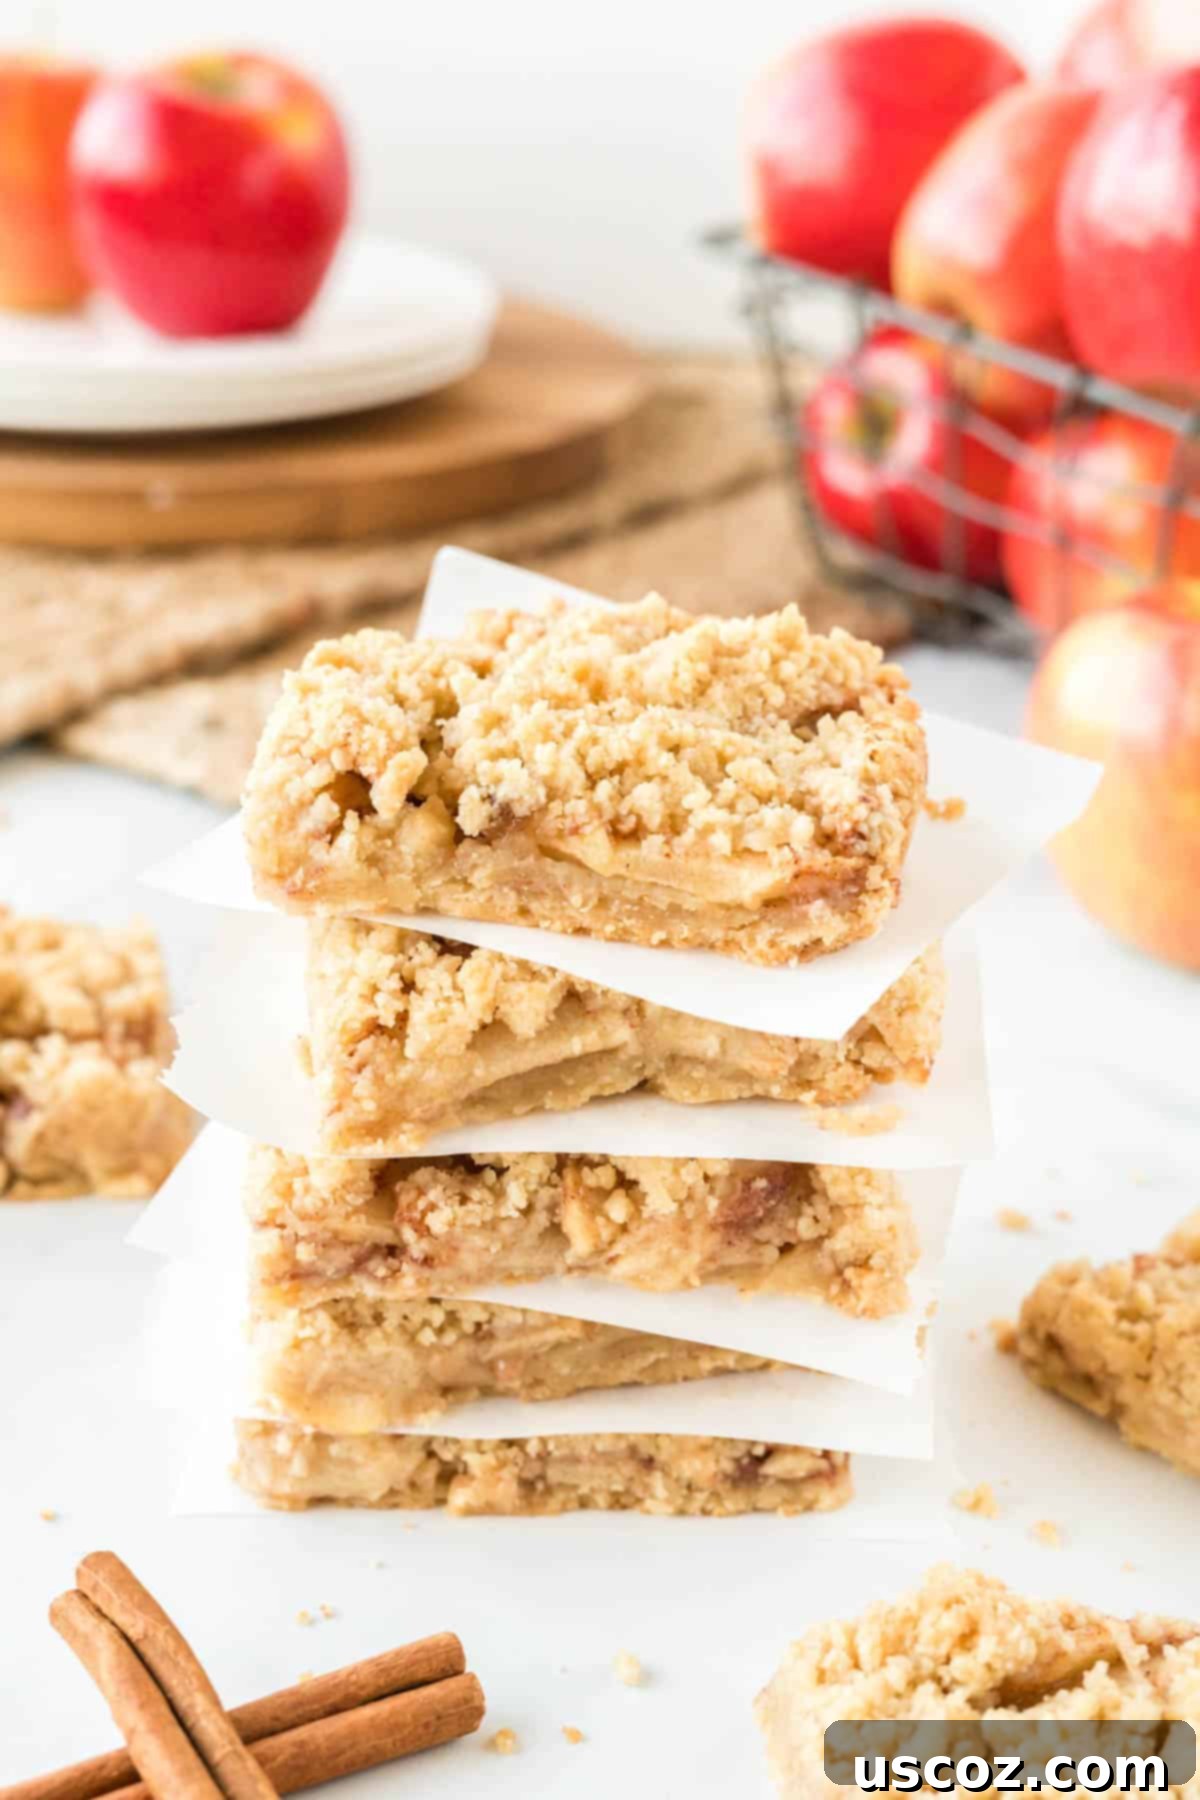
More Delicious Apple Recipes to Try
- Cranberry Apple Crisp: A festive twist on the classic, perfect for holidays.
- Cinnamon Apple Muffins: Start your day with these warm, spiced delights.
- Slow Cooker Cranberry Apple Butter: A spreadable treat that’s ideal for gifting or enjoying on toast.
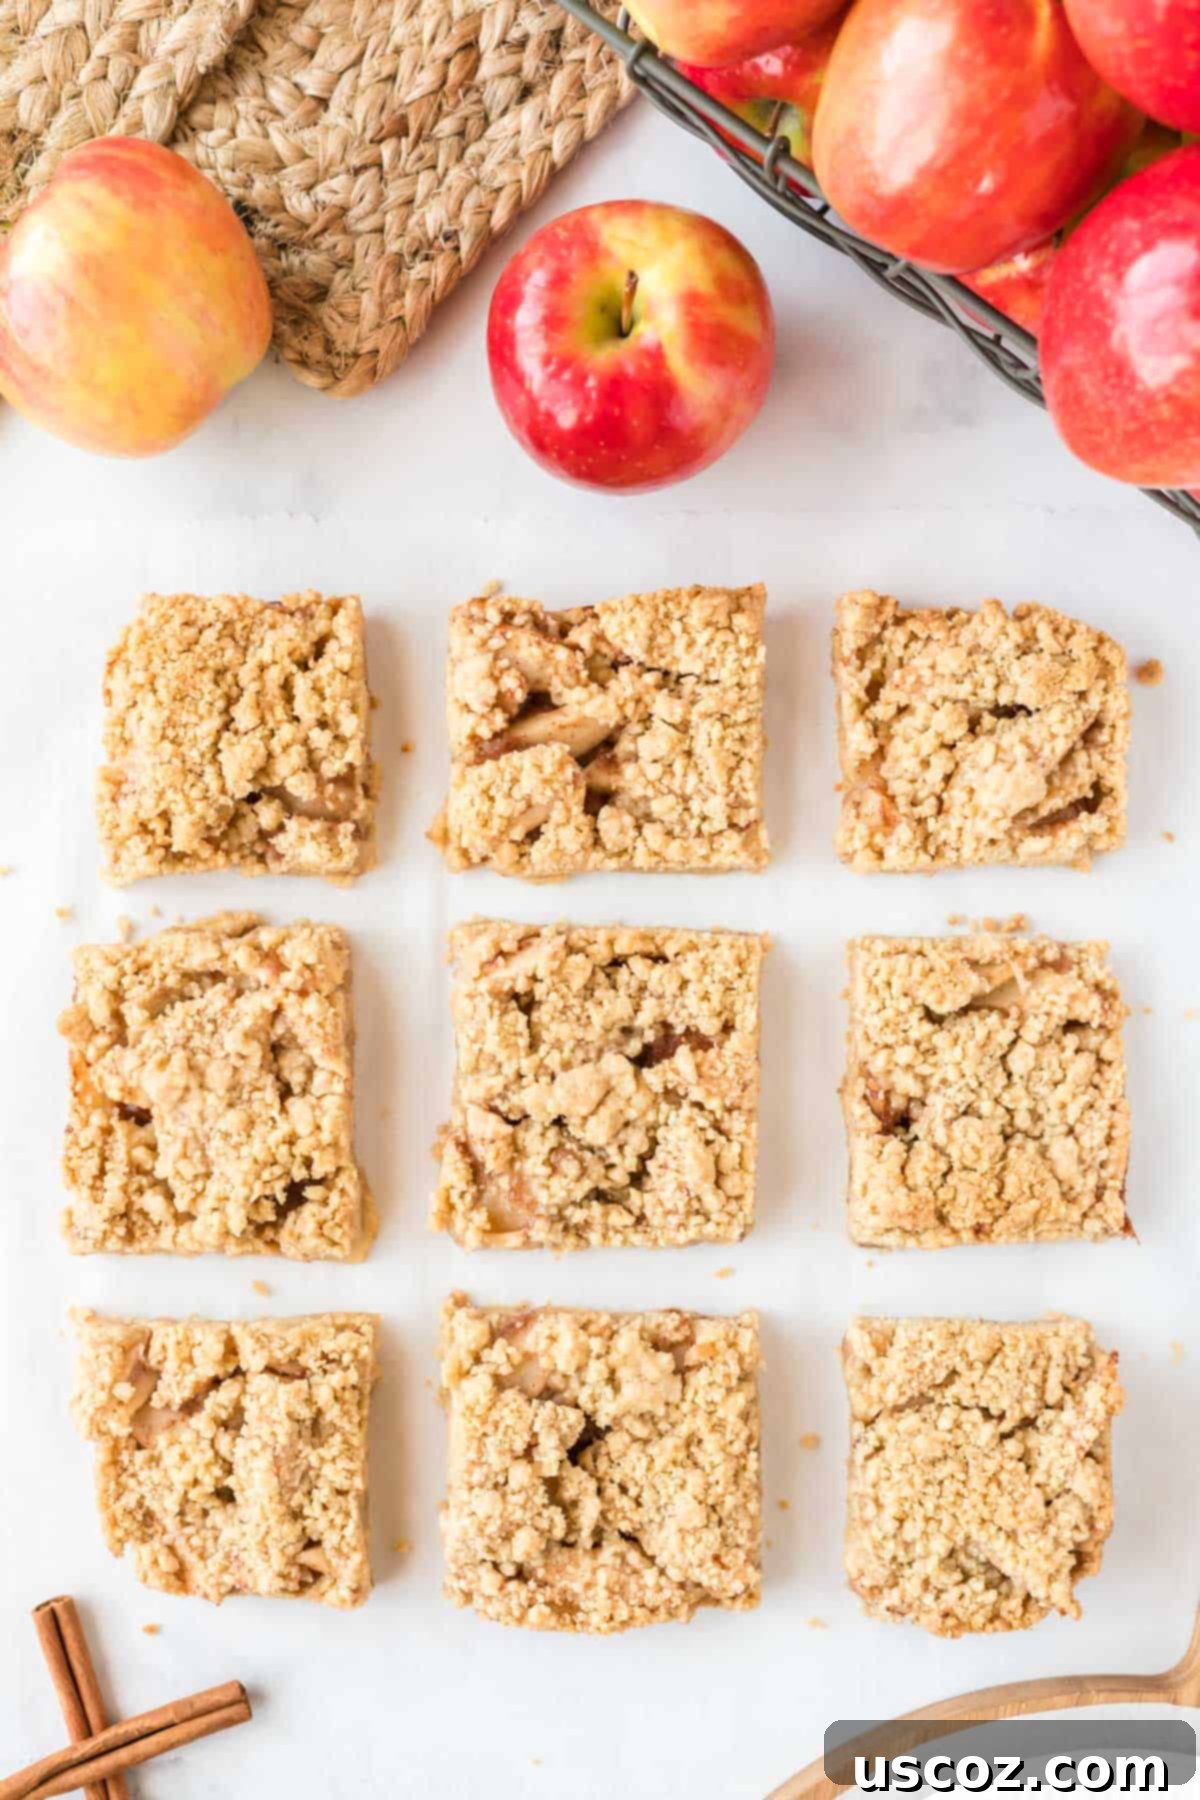
Apple Crisp Bars
Joy Shull
15 minutes
1 hour
5 minutes
1 hour
20 minutes
12
servings
Saved!
Pin Recipe
Rate Recipe
Print Recipe
Ingredients
For the Shortbread Crust
-
1
cup
all purpose flour -
½
cup
salted butter,
softened -
¼
cup
brown sugar -
1
teaspoon
vanilla extract
For the Filling
-
4
cups
thinly sliced apples -
2
teaspoons
lemon juice -
¼
cup
sugar -
½
teaspoon
cinnamon -
2
tablespoons
all purpose flour
For the Crisp Topping
-
⅓
cup
brown sugar -
¼
teaspoon
salt -
½
cup
all purpose flour -
4
tablespoons
cold salted butter,
cut into cubes
Instructions
-
Preheat oven to 350 degrees F (175°C). Line an 8 by 8-inch baking dish with parchment paper, allowing the sides to overhang for easy removal of the bars once cooked.
-
First, prepare the shortbread crust. In a mixing bowl, beat together the softened butter and brown sugar until light and creamy. Stir in the vanilla extract, then gradually add the all-purpose flour, mixing until just combined and a soft dough forms.
-
Press the prepared dough evenly into the bottom of the lined baking pan.
-
Bake the crust for 15 minutes at 350 degrees F (175°C), until slightly golden.
-
While the crust is baking, use this time to prepare both the apple filling and the crumb topping.
-
For the filling, in a separate bowl, stir together the thinly sliced apples, lemon juice, granulated sugar, ground cinnamon, and the 2 tablespoons of all-purpose flour until the apples are well coated.
-
To make the crisp topping, combine the brown sugar, salt, and ½ cup all-purpose flour in a bowl. Using a pastry cutter or two knives, cut the cold, cubed butter into the flour mixture until a coarse, crumbly texture is achieved.
-
Once the crust is done baking, carefully remove it from the oven. Evenly spread the prepared apple filling over the warm crust.
-
Distribute the crumb topping generously over the apple filling, ensuring an even layer.
-
Return the pan to the oven and bake at 350 degrees F (175°C) for 45 – 55 minutes, or until the top is golden brown, and the apple filling is bubbly around the edges.
-
Allow the bars to cool in the pan for at least 30 – 45 minutes to set properly. Then, gently use the parchment paper overhangs to pull the entire slab of bars out of the pan. Cut into desired squares and serve.
Nutrition
Serving:
1
g
,
Calories:
235
kcal
,
Carbohydrates:
31
g
,
Protein:
2
g
,
Fat:
12
g
,
Saturated Fat:
7
g
,
Polyunsaturated Fat:
4
g
,
Cholesterol:
31
mg
,
Sodium:
139
mg
,
Fiber:
1
g
,
Sugar:
17
g
Like this recipe? Rate and comment below!
