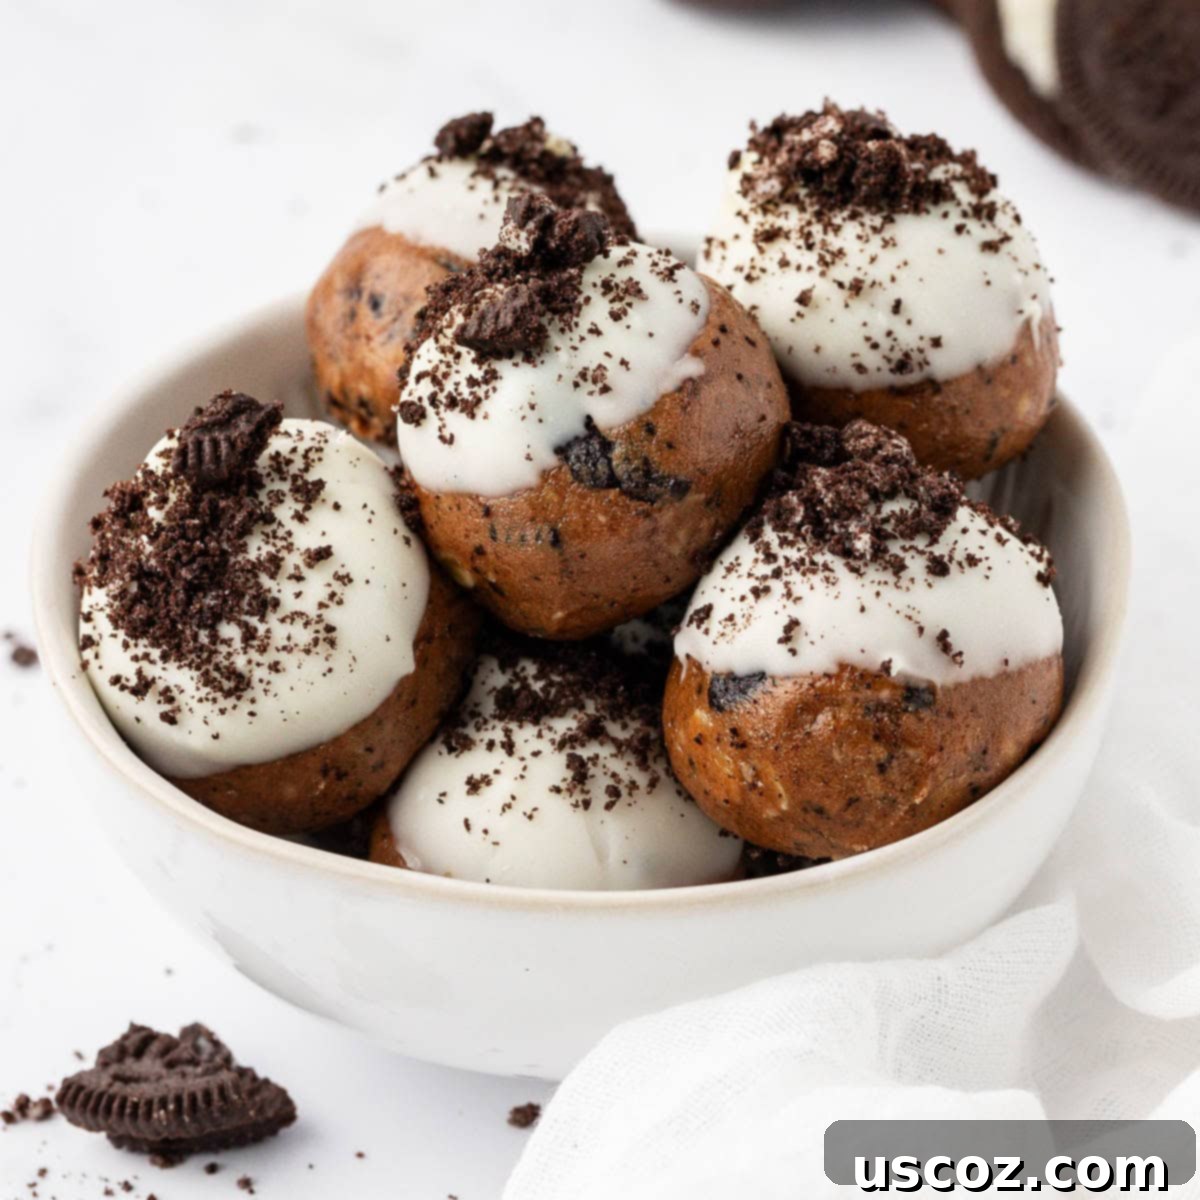
Irresistible No-Bake Cookies and Cream Protein Balls: Your New Favorite Healthy Snack!
Say goodbye to unhealthy cravings and hello to your new go-to snack! These no-bake Cookies and Cream Protein Balls are not only incredibly quick and easy to make but are also a deliciously satisfying treat that the entire family, from toddlers to adults, will absolutely adore. Perfectly balanced for energy and packed with flavor, they are designed to fit seamlessly into your busy lifestyle.
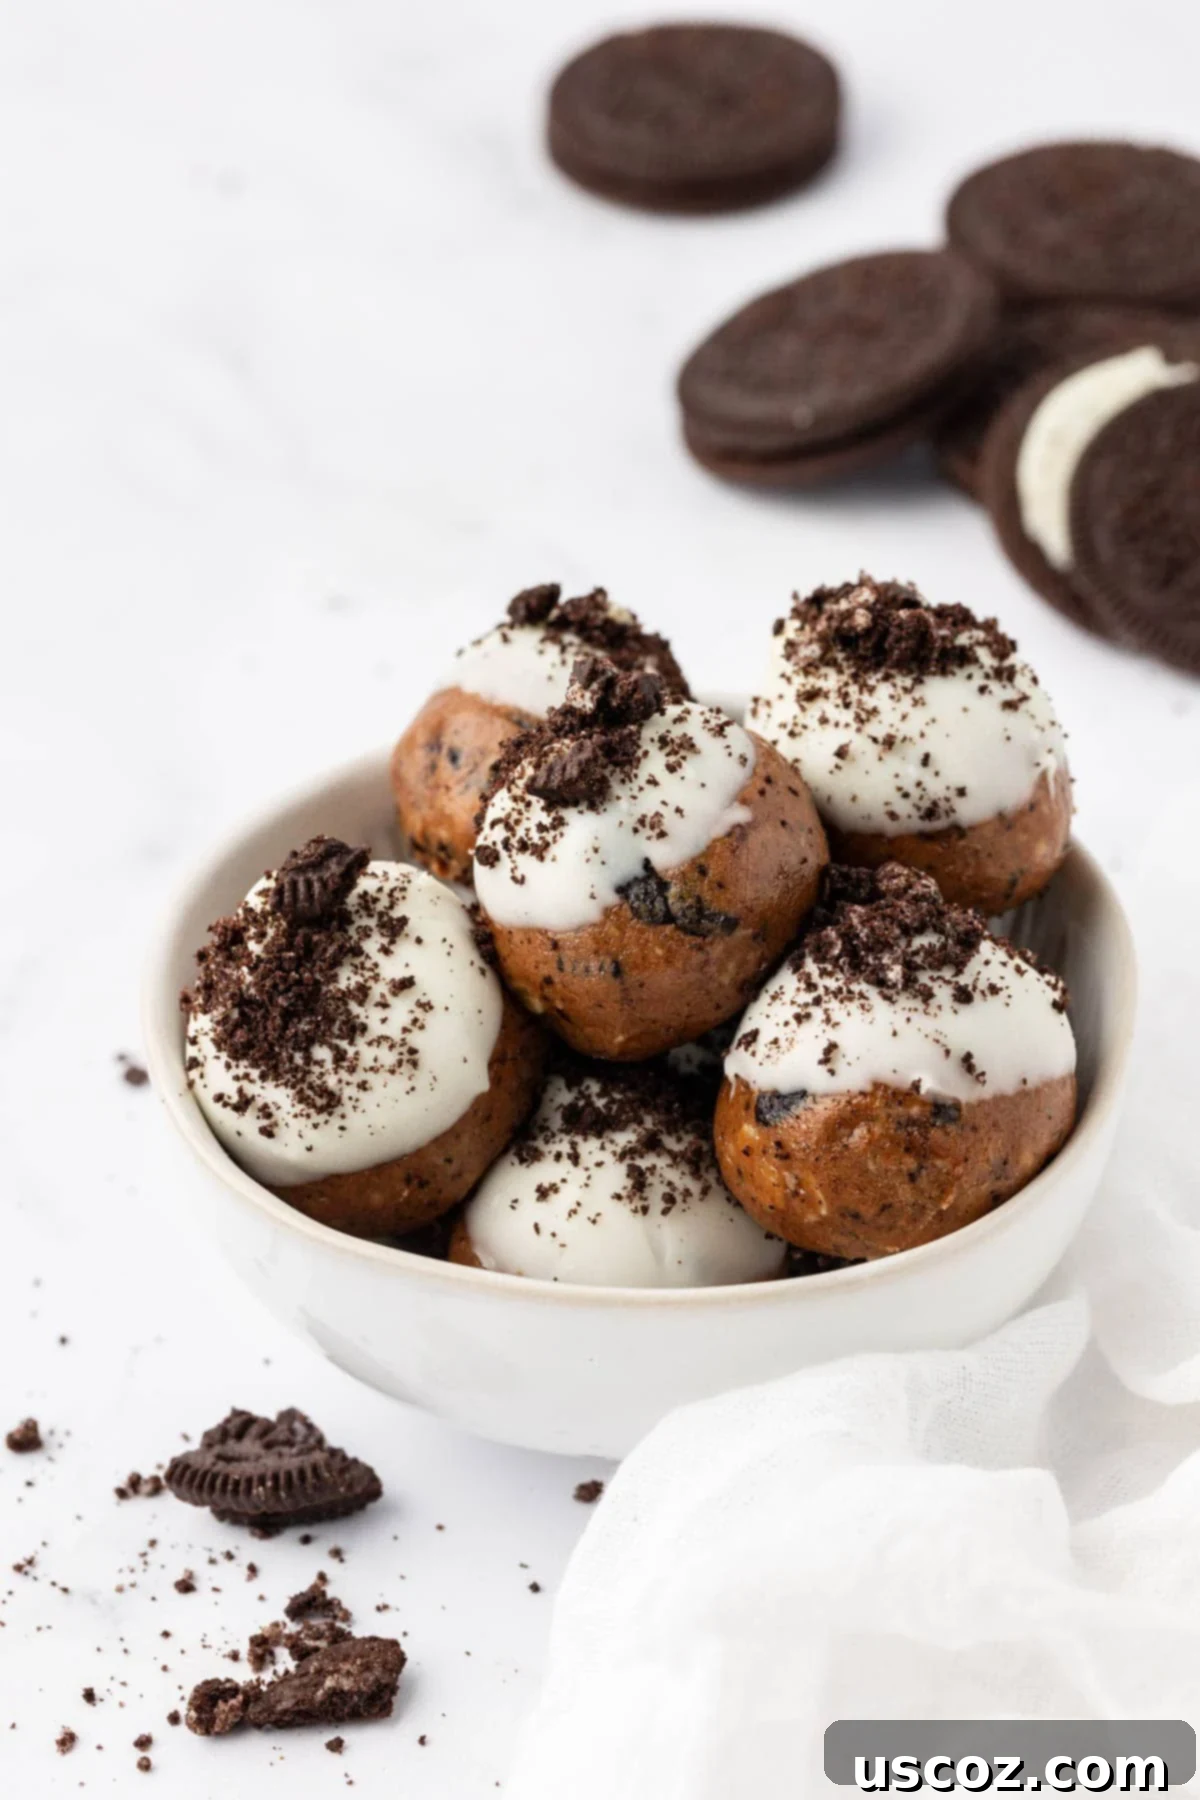
Why You’ll Fall in Love with These Protein Balls!
In the whirlwind of busy weekdays, having a stash of healthy, delicious snacks on hand is an absolute game-changer. That’s precisely where these protein balls shine. They are one of my top choices for meal prepping, ensuring I always have something wholesome and satisfying ready to grab and go. Forget about reaching for processed snacks when hunger strikes – these protein-packed bites are here to save the day!
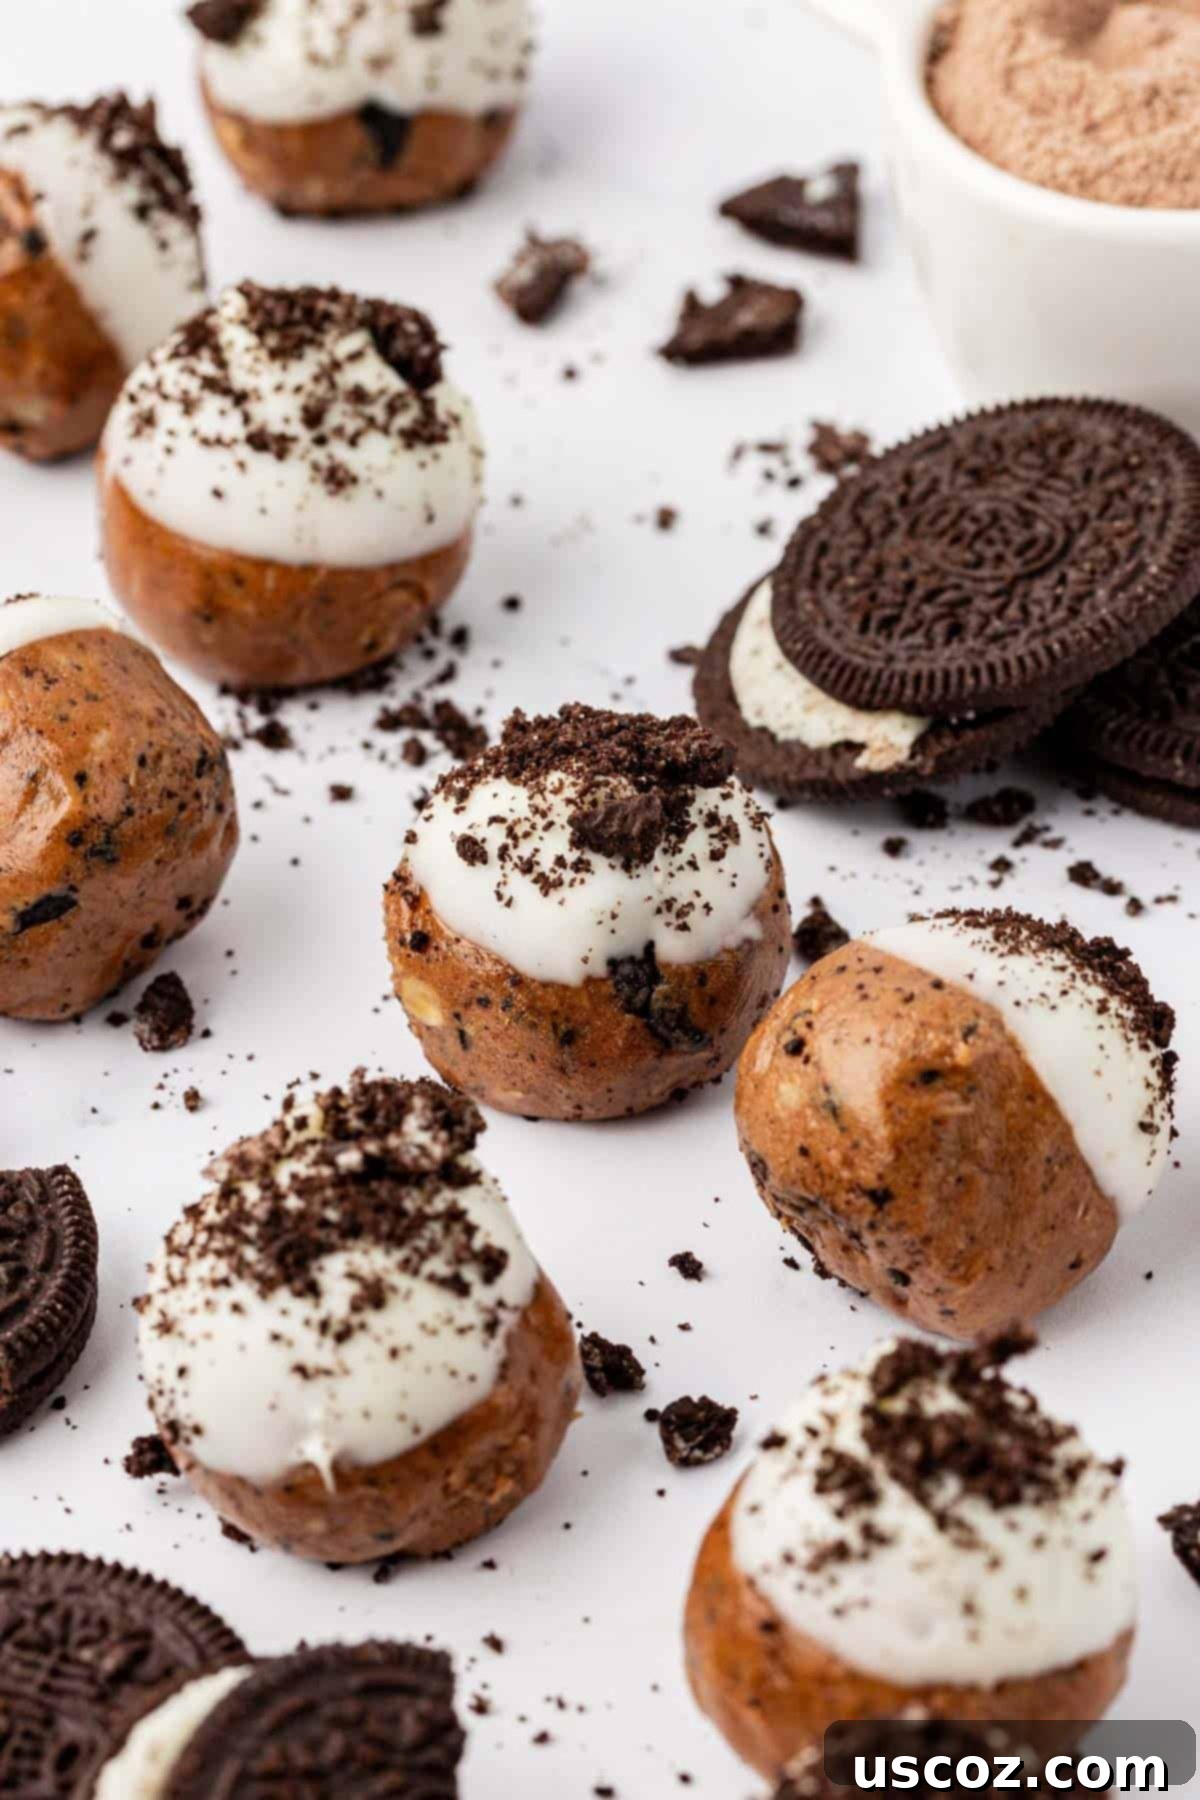
What makes these Cookies and Cream Protein Balls truly special is that they don’t just curb your hunger; they genuinely taste like a decadent treat. Imagine the delightful flavor of your favorite cookies and cream dessert, but in a nutrient-dense format that actually fuels your body. Each bite is meticulously crafted to deliver a powerful punch of protein, complex carbohydrates, and healthy fats, designed to keep you feeling full and energized much longer than most conventional snacks.
My three boys, in particular, are obsessed with these Oreo-flavored protein balls. They disappear from the fridge almost as soon as I make them, which is always a great sign! This recipe is a proven winner, even for the pickiest eaters, making it an ideal choice for school lunches, after-school snacks, or a guilt-free evening indulgence.
This incredible recipe is a treasured gem from my new cookbook, and I’m absolutely thrilled to share it with you today! If you love convenient, tasty, and healthy treats, make sure to grab your copy of The Energy Bites Cookbook here before they’re all gone. It’s packed with even more recipes designed to power your day!
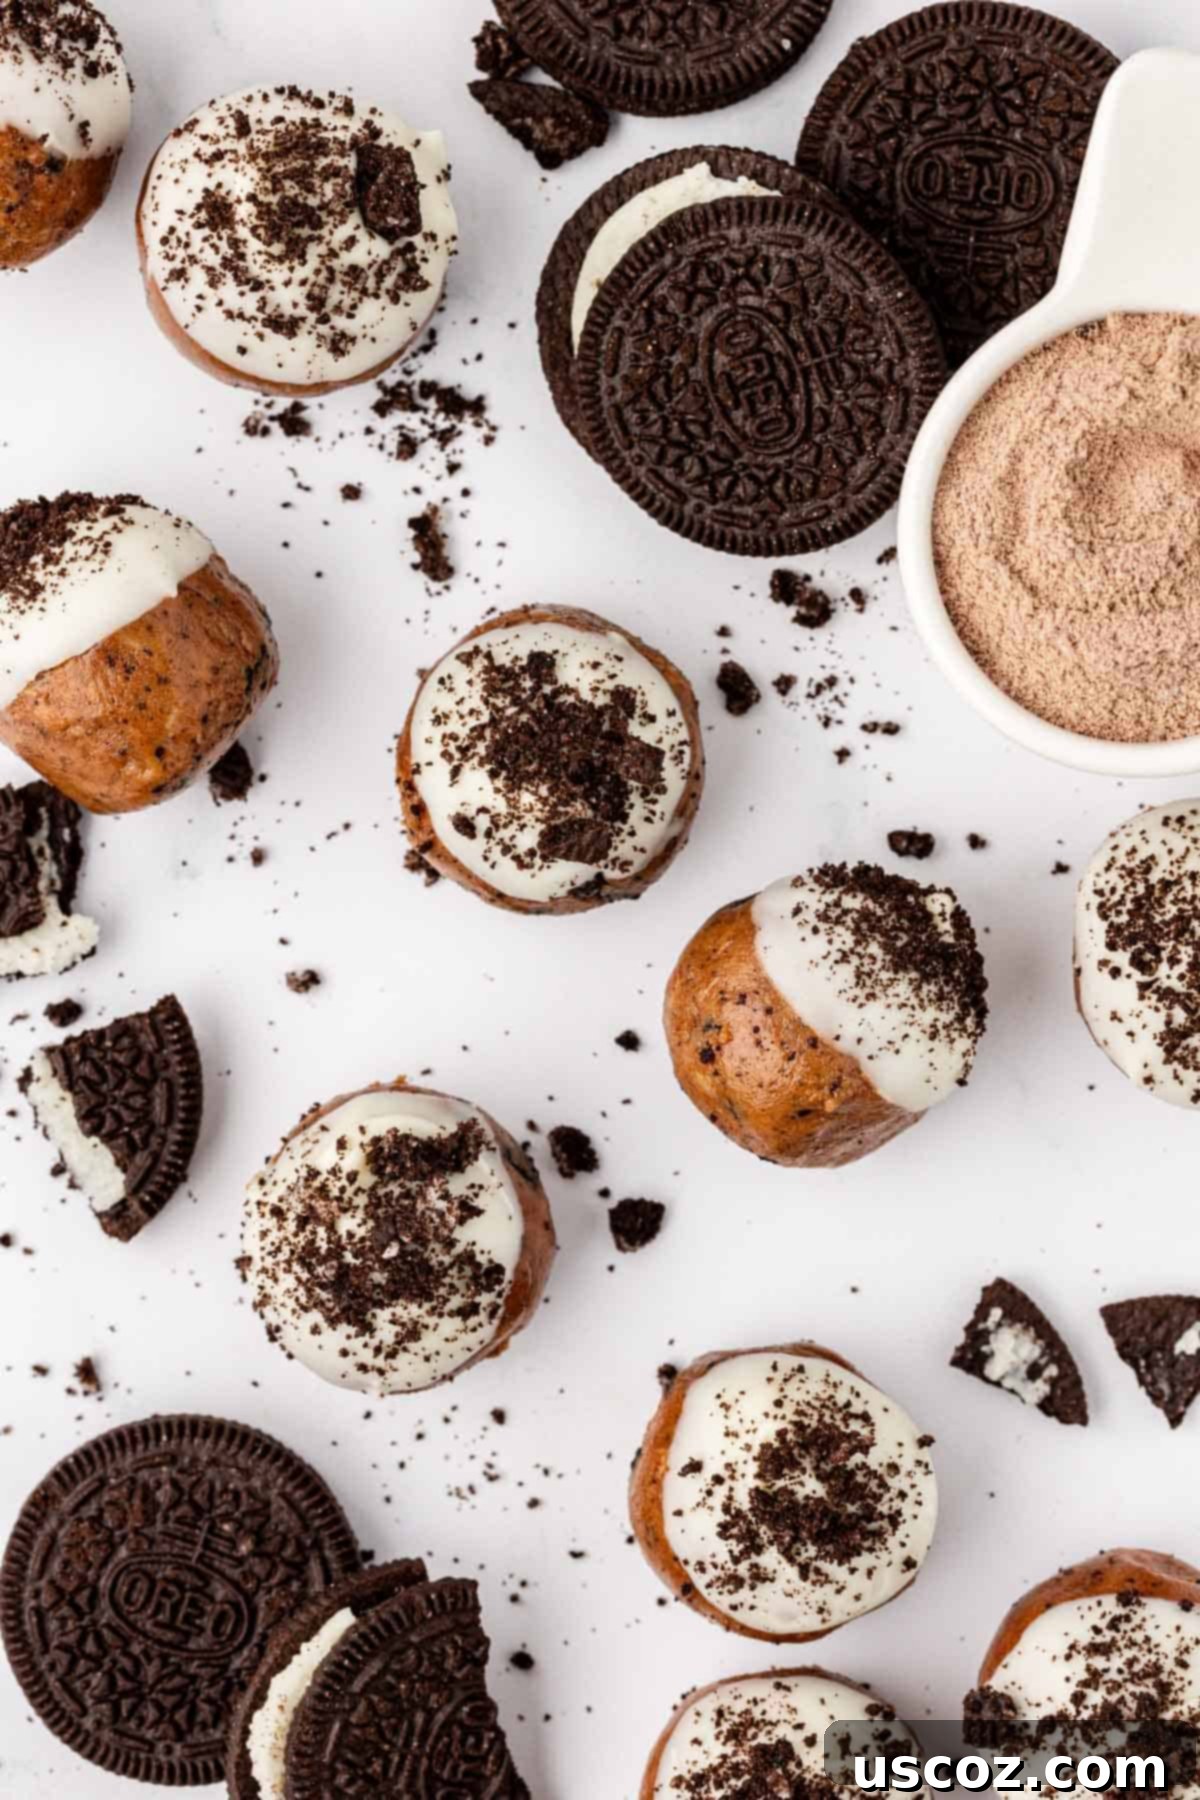
Essential Ingredients for Your Cookies and Cream Protein Balls
Creating these delightful protein balls requires a handful of simple, wholesome ingredients. Each component plays a crucial role in achieving the perfect flavor and texture, making these no-bake protein balls truly exceptional.
- No-stir creamy peanut butter: This is the foundational binder and flavor powerhouse. No-stir varieties ensure a smooth consistency, which is key for a uniform batter. The classic pairing of peanut butter and Oreos creates an irresistible flavor profile that truly sets these protein balls apart. You can also experiment with almond or cashew butter, though you might need to adjust the consistency slightly.
- Chocolate protein powder: The hero ingredient for a protein boost! It contributes to the rich chocolate flavor and ensures these snacks are truly satisfying. Feel free to use your preferred type – whey, casein, or a plant-based protein powder will all work, though minor adjustments to liquid might be needed depending on how absorbent your powder is.
- Unsweetened cocoa powder: To deepen the chocolate flavor and add a touch of sophisticated richness without extra sweetness. This enhances the “cookies” aspect of our cookies and cream profile.
- Honey: This natural sticky sweetener acts as a vital binding agent, holding all the ingredients together to form perfectly shaped balls. It also provides a lovely hint of natural sweetness. Maple syrup or agave nectar can be used as alternatives for a vegan option, again, watching the batter’s consistency.
- Quick oats: A fantastic source of fiber and complex carbohydrates, quick oats help to absorb moisture and provide structure to the protein balls. Their finer texture blends seamlessly into the batter. If you only have old-fashioned rolled oats, a quick pulse in a food processor can achieve a similar consistency.
- Salt: Just a tiny pinch makes a big difference! Salt is a crucial flavor enhancer, balancing the sweetness and making all the other flavors truly pop.
- Vanilla extract: A touch of vanilla rounds out the flavors beautifully, adding warmth and depth to the chocolate and peanut butter base.
- Oreos: The undisputed star of our Oreo protein balls! We use both chopped Oreos (for delightful textural crunch within the balls) and crushed Oreos (for the iconic cookies and cream topping). This dual application ensures every bite delivers that authentic flavor.
- White chocolate chips & Coconut oil: These two come together to create the smooth, dippable white chocolate coating. The coconut oil helps the white chocolate melt more smoothly and achieve a perfect consistency for dipping, ensuring an even, glossy finish.
Crafting Your Delicious Cookies & Cream Protein Balls: A Step-by-Step Guide
Making these no-bake cookies and cream protein balls is incredibly straightforward, requiring no baking and minimal effort. Follow these simple steps for perfect results every time:
Step 1: Prepare the Base Batter
In a spacious mixing bowl, combine the no-stir creamy peanut butter, chocolate protein powder, unsweetened cocoa powder, honey, quick oats, salt, and vanilla extract. Using a sturdy rubber spatula or a wooden spoon, stir vigorously until all ingredients are thoroughly combined and a thick, cohesive batter begins to form. This step requires a bit of arm work, but it’s essential for ensuring an even distribution of flavors and a consistent texture for your energy bites. Ensure there are no dry pockets of protein powder or oats.
Step 2: Fold in the Chopped Oreos
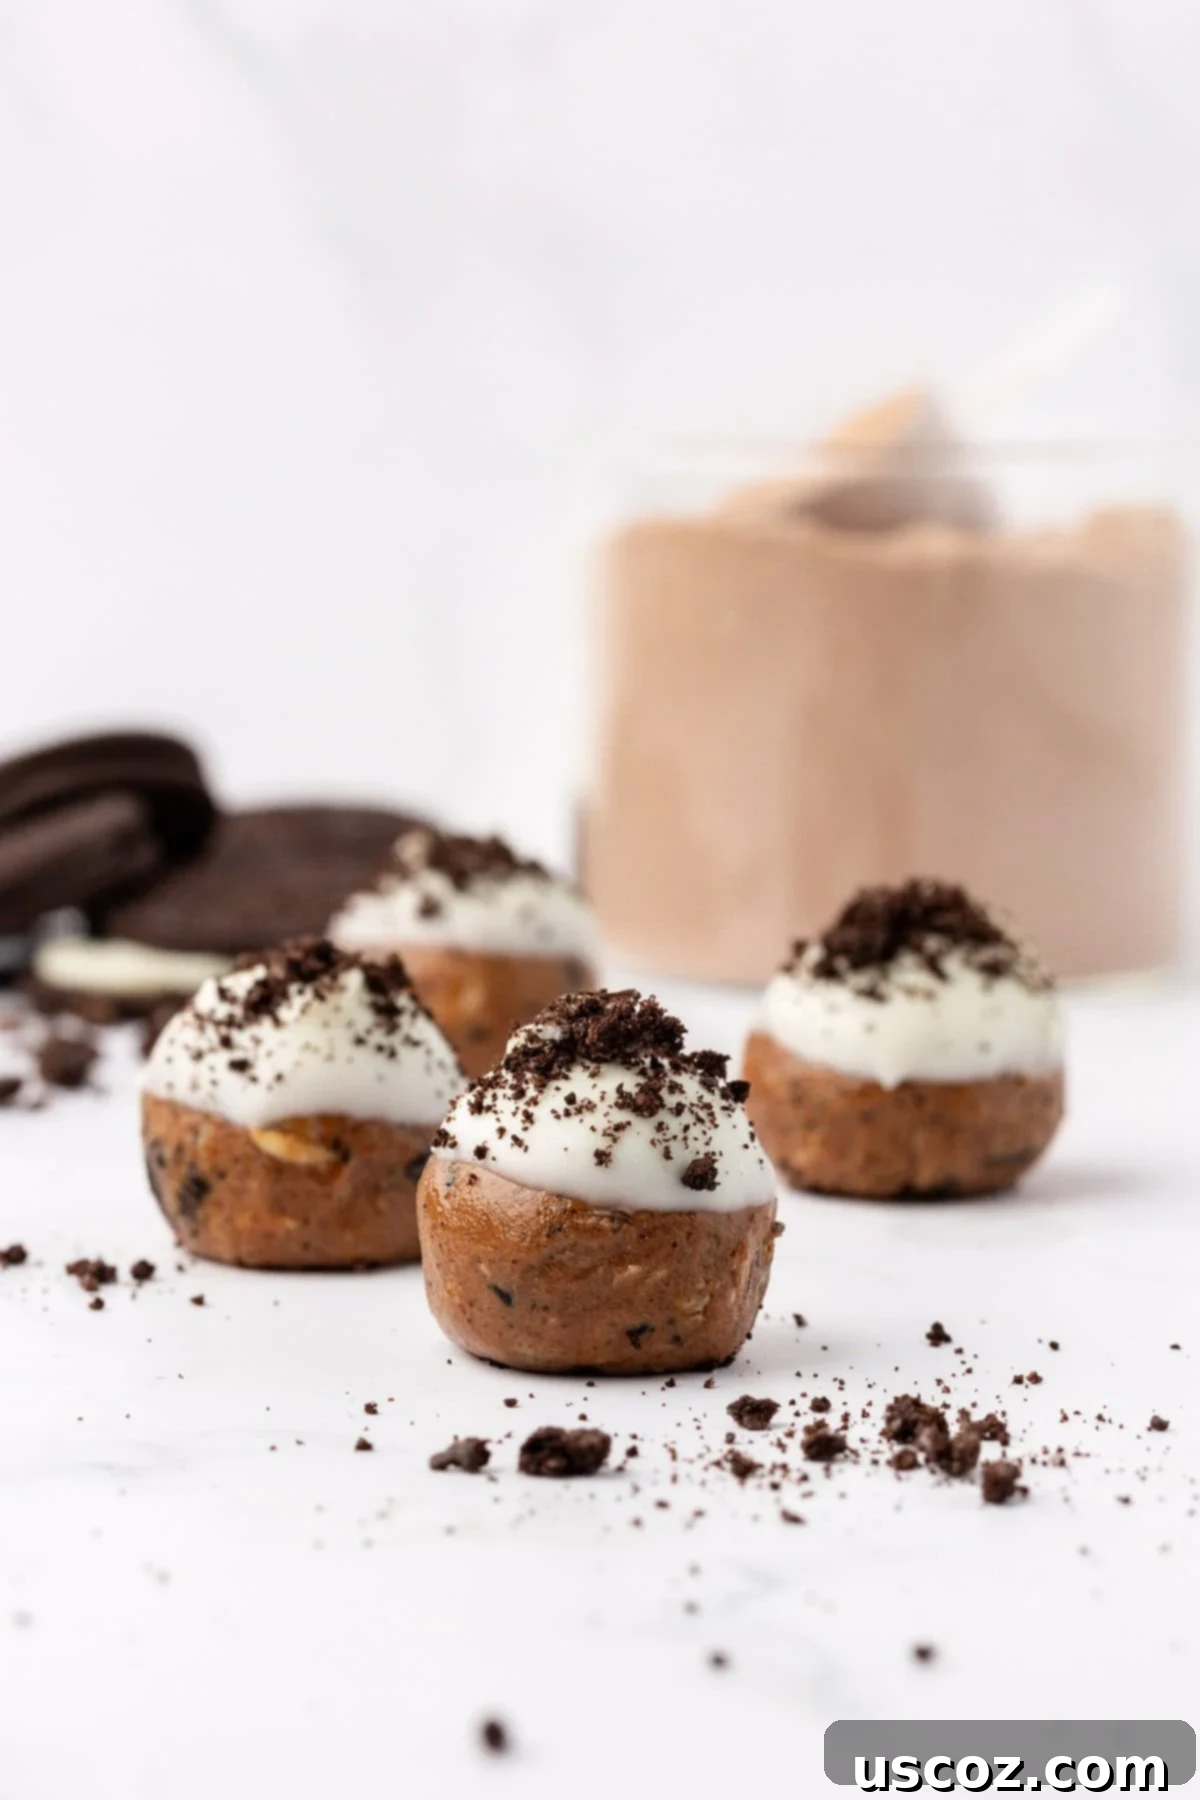
Take 6 of your Oreos and chop them into small, bite-sized chunks. These pieces will add a fantastic textural element and bursts of classic Oreo flavor throughout your protein balls. Gently fold these chopped Oreo pieces into the prepared batter until they are evenly distributed. Be careful not to overmix, as you want to maintain some of their crunch.
Step 3: Form the Protein Balls
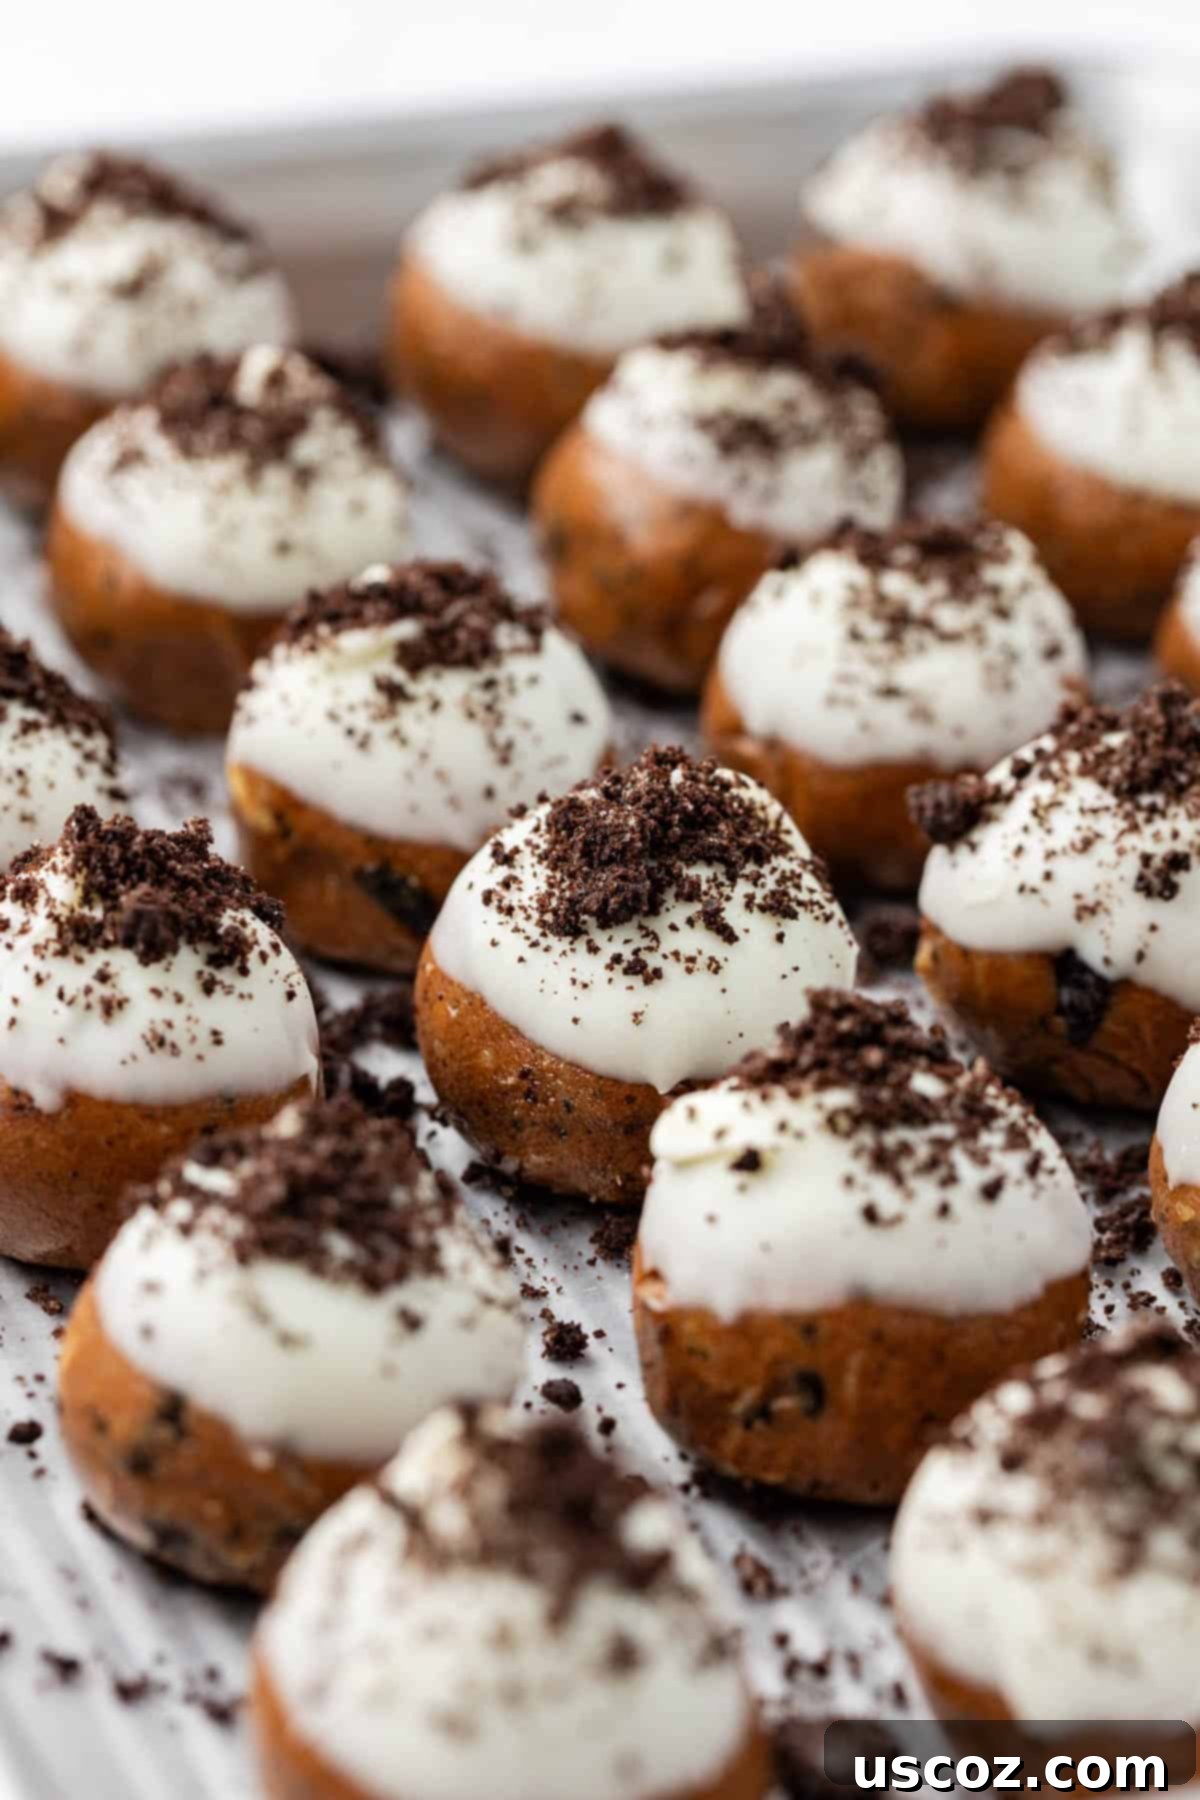
Line a baking sheet with wax paper or parchment paper. This will prevent the protein balls from sticking and make cleanup a breeze. Now, it’s time to form your protein balls! The best way to ensure uniform size and an easy process is to use a mini cookie scoop (my secret weapon!). Drop spoonfuls of batter onto the lined baking sheet. Once all the batter is scooped, gently roll each portion between your palms to smooth out any rough edges and create perfectly round, appealing protein balls.
Joy’s Tip for Perfect Protein Balls
Using a mini cookie scoop is truly my best hack for making consistently sized and perfectly shaped protein balls. I’ve found that a 1.5 tablespoon-sized scoop is ideal. This ensures that each protein ball is a manageable, single-serving snack, making them easy to portion and enjoy. Plus, uniform size helps them freeze and chill evenly!
Step 4: Chill for Firmness
Once all your energy balls are formed on the baking sheet, place the entire sheet into the freezer. Let them chill while you prepare the chocolate coating. This brief freezing period is crucial; it helps the protein balls firm up, making them much easier to dip into the warm melted chocolate without falling apart or losing their shape.
Step 5: Melt the White Chocolate Coating
In a small, microwave-safe bowl, combine the white chocolate chips and coconut oil. Microwave in short bursts of 15-20 seconds, stirring thoroughly after each interval, until the mixture is completely smooth and luscious. Alternatively, you can use a double boiler method for a more controlled melt, stirring until no lumps remain. The coconut oil aids in creating a perfectly smooth, dippable consistency for your white chocolate.
Step 6: Prepare the Oreo Topping & Dip
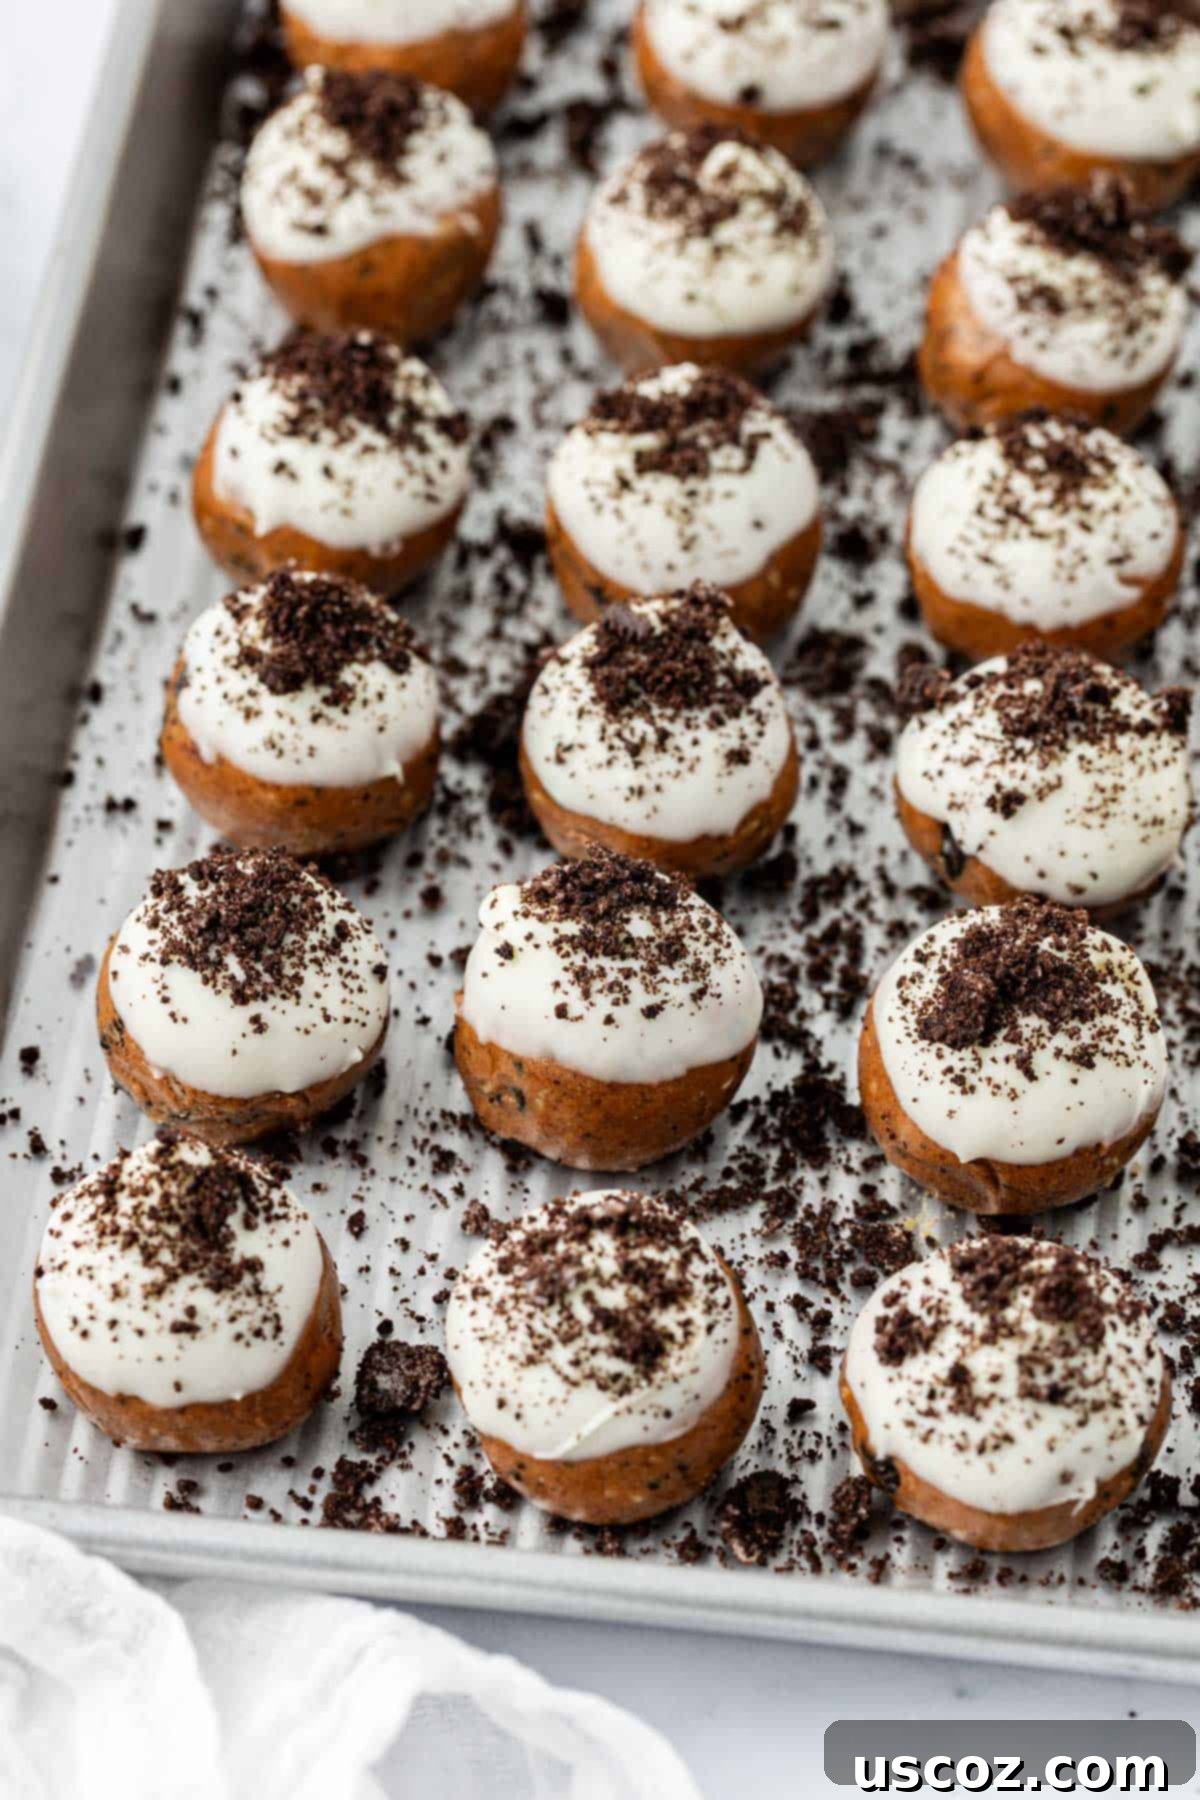
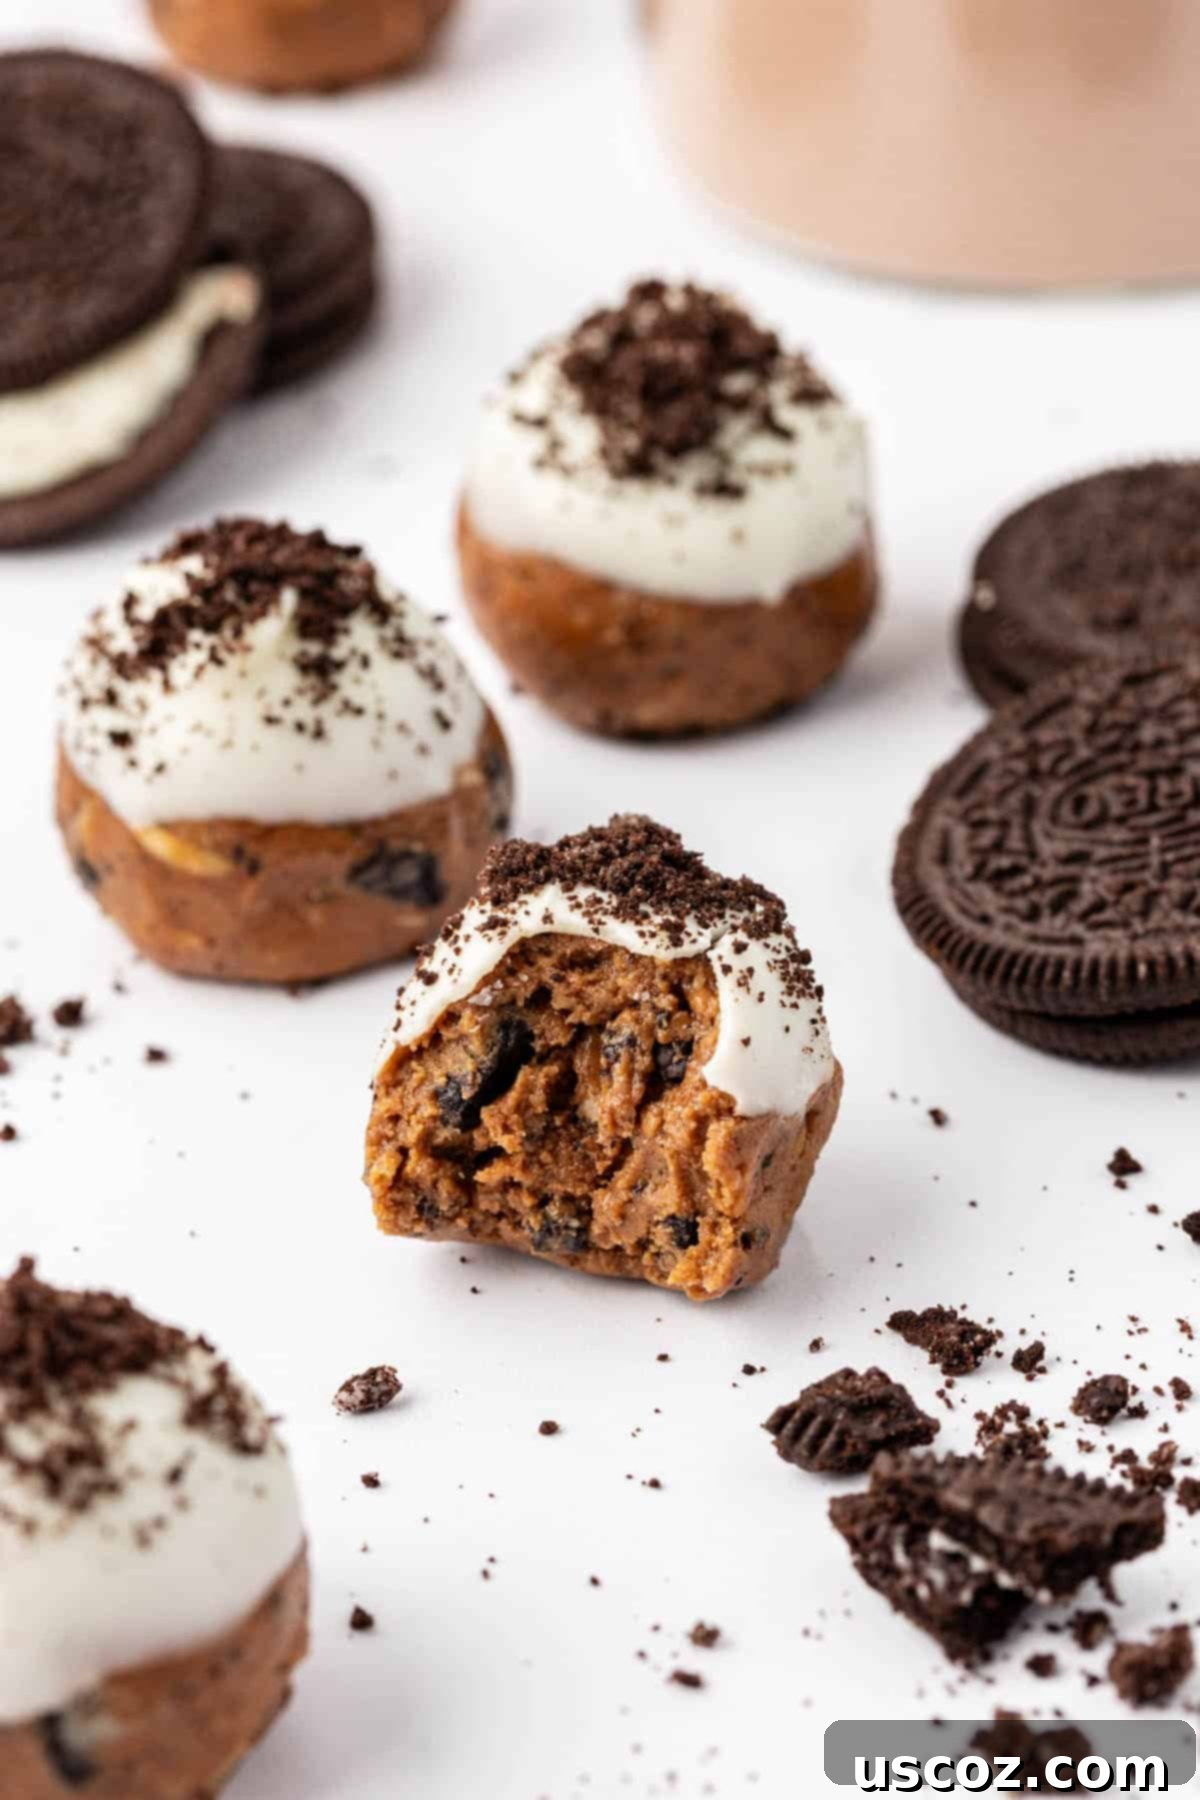
Take the remaining two Oreos and place them into an airtight bag. Using the bottom of a cup or a rolling pin, smash them into very small, fine pieces. These crushed Oreos will be the iconic topping for your Cookies and Cream Protein Balls. Now, remove the firm energy bites from the freezer. Dip the top of each protein ball into the melted white chocolate, allowing any excess to drip off, then immediately place it back onto the wax-paper-lined baking sheet.
Step 7: Finish and Set
Immediately after dipping each protein ball, sprinkle the top generously with the crushed Oreo pieces before the white chocolate has a chance to set. This quick action ensures the crushed Oreos adhere beautifully. Repeat this dipping and sprinkling process for all the remaining energy bites. Once finished, place the baking sheet back into the refrigerator. Allow them to chill until the white chocolate coating is completely hardened, which usually takes about 15-30 minutes. Once set, they are ready to enjoy!
Tips for Achieving Perfect Cookies and Cream Protein Balls
To ensure your no-bake protein balls turn out perfectly every time, here are a few extra tips:
- Batter Consistency is Key: If your batter seems too sticky, try adding a tiny bit more quick oats or protein powder. If it’s too dry and crumbly, a small drizzle of honey or a touch more peanut butter can help bind it. Adjust gradually until it’s pliable enough to roll without sticking excessively.
- Even Scooping: As mentioned, a 1.5 tablespoon cookie scoop is ideal for consistent sizing. This ensures even chilling and a pleasant, uniform eating experience for all your healthy snacks.
- Chilling is Non-Negotiable: Don’t skip the freezer step before dipping! Cold protein balls hold their shape much better when introduced to warm melted chocolate, preventing them from softening and becoming messy.
- Melted Chocolate Control: When melting the white chocolate, heat it slowly and stir frequently. Overheating chocolate can cause it to seize or burn, making it thick and unusable. If it becomes too thick, a tiny bit more coconut oil (1/4 to 1/2 teaspoon) can help thin it out.
- Work Quickly for Topping: Once you dip a protein ball, immediately sprinkle with crushed Oreos. White chocolate sets relatively fast, especially on a cold ball, so speed is your friend here to ensure the topping sticks properly.
Variations and Customizations for Your Protein Balls
While the classic cookies and cream flavor is phenomenal, these Oreo protein balls are also incredibly versatile! Feel free to get creative with your ingredients:
- Different Nut Butters: Experiment with cashew butter, almond butter, or even sunflower seed butter (for a nut-free option) as a base. Adjust sweetness as needed.
- Protein Powder Flavors: Try vanilla protein powder for a lighter cookie flavor, or even a mint chocolate chip protein powder for a festive twist!
- Cookie Swaps: Not an Oreo fan? You can swap them for other crushed cookies like chocolate chip cookies, ginger snaps, or even graham crackers for a different flavor profile.
- Add-ins: Incorporate mini chocolate chips, sprinkles, or a tablespoon of finely shredded coconut into the batter for extra texture and flavor.
- Vegan/Gluten-Free: To make these vegan, ensure your protein powder is plant-based, use maple syrup or agave instead of honey, and verify that your Oreos (or alternative cookies) and white chocolate chips are vegan-friendly. For gluten-free, use certified gluten-free oats and gluten-free “Oreo-style” cookies.
- Dark Chocolate Drizzle: Instead of white chocolate, you could use dark chocolate for a richer coating, or even drizzle both for a striking visual contrast.
Storing Your Delicious Cookies and Cream Protein Balls
One of the best features of these no-bake protein balls is how wonderfully they store, making them perfect for meal prepping and ensuring you always have a healthy snack at your fingertips. Proper storage is key to maintaining their freshness and delicious texture.
Leftover protein balls should always be stored in an airtight container. This prevents them from drying out, absorbing other refrigerator odors, and helps maintain their optimal consistency. You have two excellent options for storage:
- Refrigerator: When stored in the refrigerator, these protein balls will remain fresh and delightful for approximately 5-7 days. This is ideal for your weekly snack prep.
- Freezer: For longer-term storage, the freezer is your best friend. In an airtight container, they will keep well for up to 2 months. When you’re ready to enjoy a frozen protein ball, simply take it out a few minutes beforehand to let it soften slightly, or enjoy them straight from the freezer for a firmer, almost ice cream-like treat!
Whether you’re packing them for lunch, grabbing them after a workout, or enjoying a quick snack at home, these perfectly portioned protein-packed treats are always ready when you are.
Frequently Asked Questions About No-Bake Protein Balls
Here are some common questions about making and enjoying these delicious Cookies and Cream Protein Balls:
- Q: Can I use old-fashioned rolled oats instead of quick oats?
A: Yes, you can! However, old-fashioned oats have a coarser texture. For a smoother protein ball, I recommend giving them a quick pulse in a food processor or blender before adding them to the mixture. This will help them integrate better and create a more uniform texture. - Q: My protein ball mixture is too sticky. What should I do?
A: If your batter is too sticky to roll, try adding an extra tablespoon or two of quick oats or protein powder. Different brands of peanut butter and protein powder can vary in consistency, so minor adjustments are sometimes needed. You can also try chilling the mixture for 10-15 minutes before rolling. - Q: My protein ball mixture is too crumbly. How can I fix it?
A: If the mixture is too dry and crumbly, it won’t hold its shape. Add a small amount (start with 1 teaspoon) of extra honey or peanut butter. Mix well and see if it becomes more cohesive. Repeat if necessary, adding small amounts until the desired consistency is reached. - Q: Are these protein balls suitable for pre- or post-workout snacks?
A: Absolutely! With a balanced combination of protein, carbohydrates, and healthy fats, these energy bites are excellent for both pre-workout fuel (providing sustained energy) and post-workout recovery (helping to repair and rebuild muscles). - Q: Can I make these without the white chocolate coating?
A: Of course! While the white chocolate and crushed Oreo topping adds a fantastic aesthetic and extra layer of flavor, the protein balls are perfectly delicious on their own. If you prefer to skip the coating, you can simply roll the plain balls in extra crushed Oreos or enjoy them as is. - Q: How many protein balls does this recipe yield?
A: This recipe typically makes about 26 protein balls when using a 1.5 tablespoon scoop. This makes them perfect for batch cooking and meal prepping for the week!
Discover More Easy Protein Snacks
If you’re looking for more ways to incorporate delicious, protein-packed snacks into your routine, be sure to explore these other fantastic recipes. From classic favorites to inventive new flavors, there’s something here for everyone!
- Classic Energy Bites
- Chocolate Protein Mug Cake
- M&M Cashew Crunch Energy Bites
- Peanut Butter Crunch Energy Balls
- Chocolate Cashew Protein Bars
- Chocolate Protein Balls
- Monster Cookie Energy Bites
- Banana Bread Energy Bites
- Almond Butter Protein Balls
- Birthday Cake Protein Balls
- Pecan Pie Energy Bites
- Mint Chocolate Energy Bites
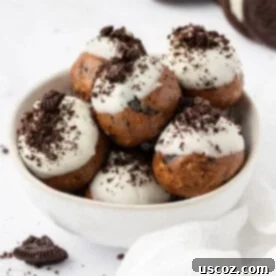
Cookies and Cream Protein Balls
Save RecipeSaved!
Pin Recipe
Rate Recipe
Print Recipe
Ingredients
- 1 ¼ cups no stir creamy peanut butter
- ½ cup chocolate protein powder
- 1 tablespoon unsweetened cocoa powder
- ½ cup honey
- ⅔ cup quick oats
- ⅛ teaspoon salt
- 1 teaspoon vanilla extract
- 6 oreos, chopped
- 2 oreos, crushed for topping
- ⅔ cup white chocolate chips
- 1 teaspoon coconut oil
Instructions
-
Add the peanut butter, chocolate protein powder, cocoa powder, honey, oats, salt, and vanilla extract to a mixing bowl and stir with a rubber spatula until a thick batter forms.
-
Chop 6 oreos into small chunks, then fold them into the batter.
-
Line a baking sheet with wax paper. Use a mini cookie scoop to drop balls of batter onto the baking sheet. Roll each ball with your hands to smooth out the edges.
-
Place the baking sheet of protein balls in the freezer while you melt the chocolate.
-
Place the white chocolate chips and coconut oil in a small bowl. Microwave the chocolate in 15-20 second increments, stirring each time, until smooth.
-
Place the remaining two oreos into an airtight bag and smash them into very small pieces using the bottom of a cup or a rolling pin.
-
Remove the energy bites from the freezer and dip the top of each one into the melted white chocolate, then place it back onto the baking sheet.
-
Sprinkle the top immediately with the crushed oreo before the chocolate sets. Repeat the process for the remaining energy bites.
-
Place the baking sheet back in the refrigerator until the chocolate hardens.Transfer the energy bites to an airtight container and store in the refrigerator or freezer.
Notes

Nutrition
Like this recipe? Rate and comment below!
Final Thoughts on These Incredible Energy Bites
There you have it – a simple, satisfying, and utterly delicious recipe for No-Bake Cookies and Cream Protein Balls. These little powerhouses are more than just a snack; they’re a convenient solution for busy lifestyles, a guilt-free treat for sweet cravings, and a fantastic way to keep your family energized and happy. With their perfect balance of taste and nutrition, they truly embody the best of both worlds.
Whether you’re looking for a quick breakfast on the go, a midday pick-me-up, or a healthy dessert option, these Oreo-flavored protein balls are sure to become a staple in your kitchen. Don’t forget to experiment with the variations and customize them to your liking. We can’t wait for you to try this recipe and discover your new favorite healthy indulgence!
