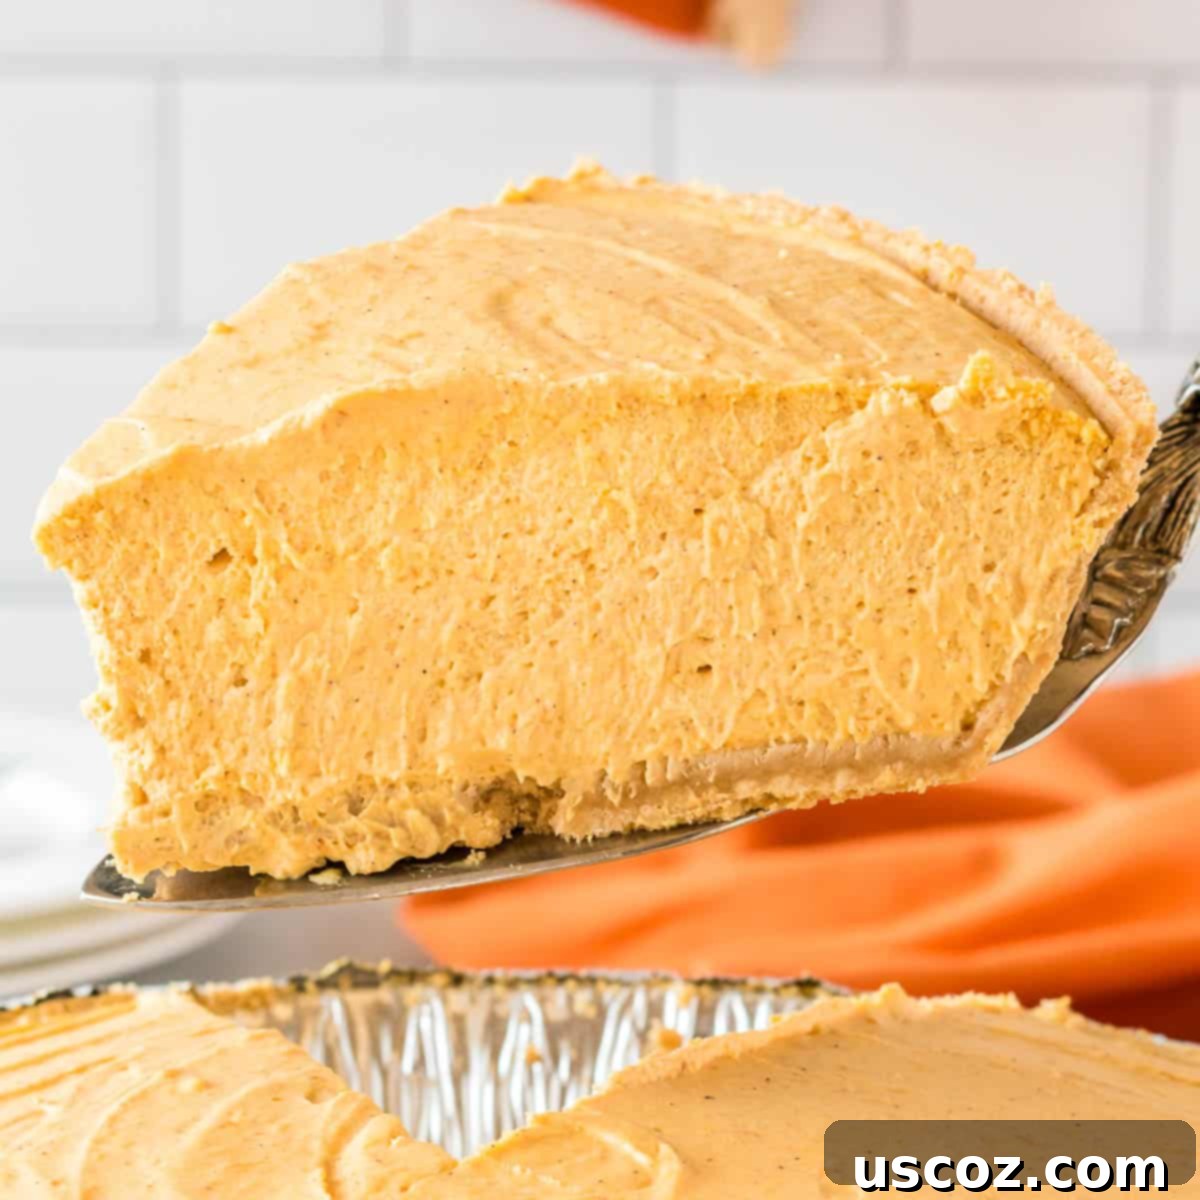
Irresistible No-Bake Pumpkin Cream Pie: Your Easiest Holiday Dessert!
This Pumpkin Cream Pie recipe offers a delightfully light, whipped, and utterly delicious no-bake twist on the beloved classic pumpkin pie. Prepare to make it your new holiday staple!
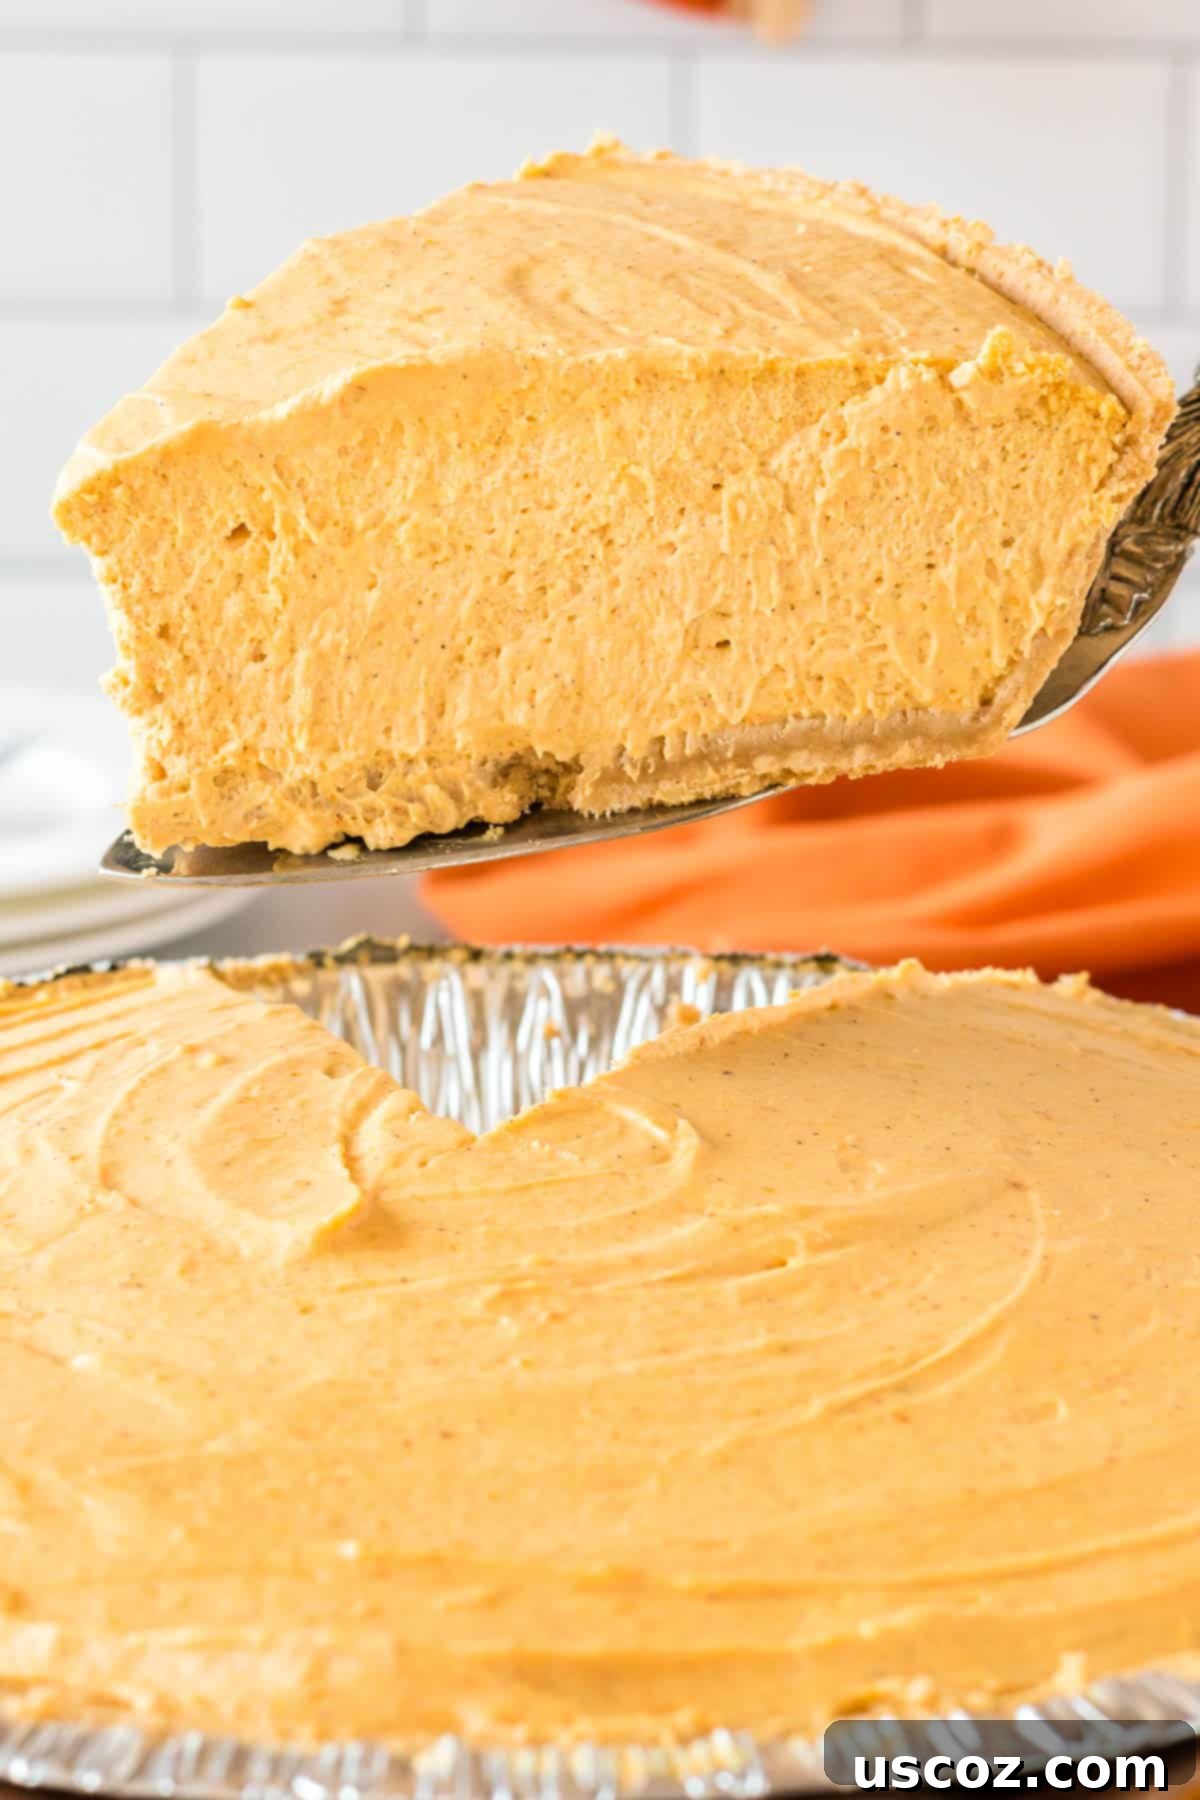
Indulge in the Creamy Goodness of This Pumpkin Cream Pie!
The holiday season, especially Thanksgiving, simply isn’t complete without the warm, comforting flavors of pumpkin pie. However, if you’re looking to simplify your holiday baking (or rather, no-baking!) while still impressing everyone with a spectacular dessert, this No-Bake Pumpkin Cream Pie is an absolute game-changer. Forget oven space struggles and lengthy preparation; this recipe promises a stress-free experience with maximum flavor payoff. It’s so easy and delicious, it’s bound to become your most requested dessert.
This innovative recipe redefines the traditional pumpkin pie experience. Instead of a dense, baked custard, you’ll discover a heavenly, whipped cream cheese and pumpkin filling that’s incredibly light, airy, and bursting with autumnal spice. The texture is a delightful contrast to classic pies, offering a melt-in-your-mouth creaminess that will convert even the most ardent traditionalists.
Whipped cream pies are celebrated for their airy texture and the convenience of being no-bake, which is a significant advantage during busy holiday cooking, freeing up precious oven space for other dishes. Beyond this delectable whipped pumpkin pie, we adore a variety of no-bake cream pies for festive occasions, including oreo pie, pecan cream pie, and no bake peanut butter pie. They each bring their unique charm to the dessert table, but this pumpkin rendition holds a special place in our hearts.
A word of caution: once you experience the sublime taste and texture of this whipped pumpkin pie, you might find it utterly irresistible. Its creamy smoothness and perfectly balanced sweetness make it a standout among pumpkin recipes. It’s not overly heavy, allowing you to enjoy a generous slice (or two!).
I loved this recipe so much that I even adapted it for my youngest son’s first birthday party. Instead of a full pie, I layered the luscious filling into individual cups over crushed graham crackers and crowned them with homemade whipped cream. These “pumpkin pie in a cup” treats were a huge hit, proving just how versatile and crowd-pleasing this recipe truly is. They’re perfect for portion control and easy serving at any gathering.
Essential Ingredients & Key Notes for Your No-Bake Pumpkin Cream Pie
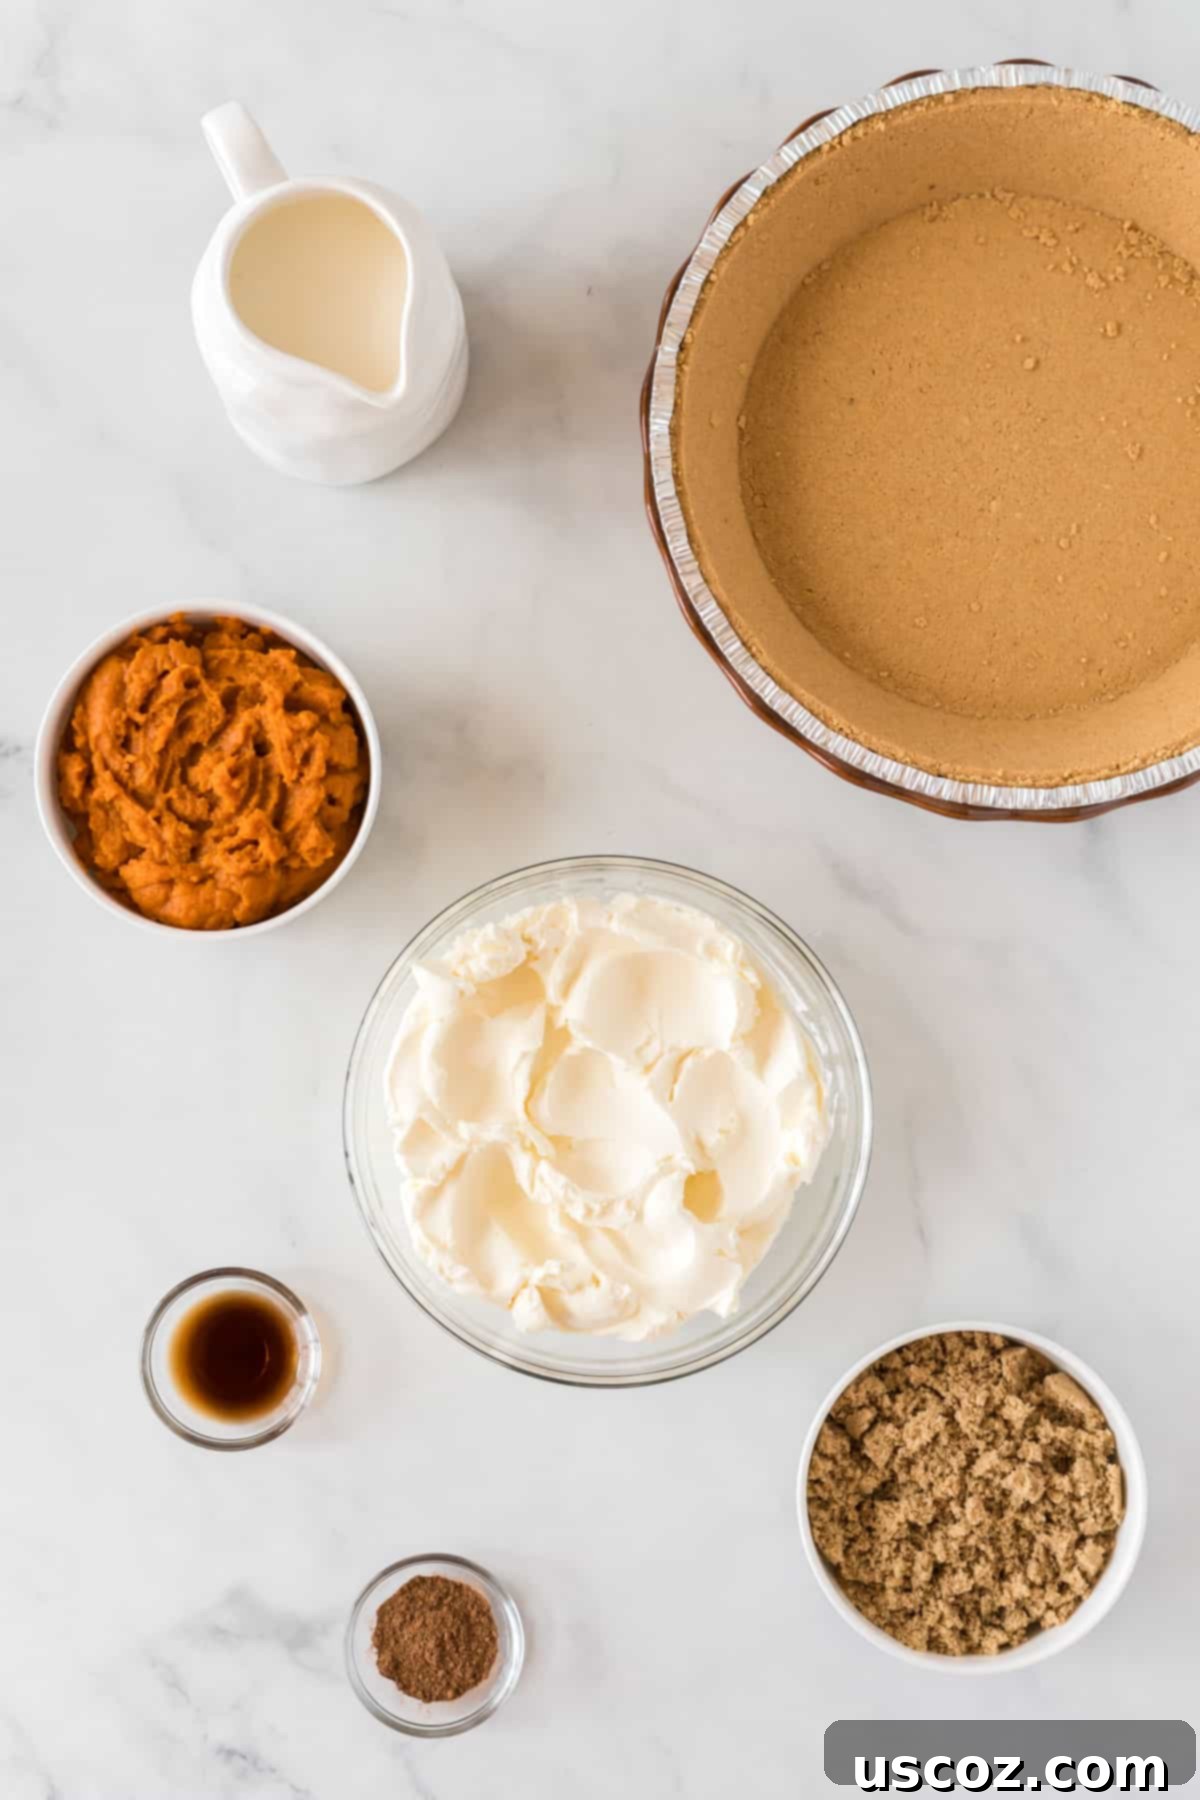
Crafting this incredible pumpkin cream pie requires a few simple, readily available ingredients. The quality of each component contributes significantly to the final, delicious result. Here’s a closer look at what you’ll need and why each item is important:
- Ready-Made Graham Cracker Pie Crust: The beauty of this recipe lies in its simplicity! Using a pre-made graham cracker crust eliminates the need for baking, saving you time and effort. Look for a 9-inch crust for the perfect size. While a store-bought crust is convenient, feel free to make your own if you prefer.
- Cream Cheese: This is the foundation of our creamy, tangy filling. It’s crucial that your cream cheese is softened to room temperature. This ensures it beats smoothly without lumps, creating a silky-smooth base for the pumpkin mixture. Full-fat cream cheese is recommended for the best texture and flavor.
- Canned Pumpkin Puree: Be very careful here! You need 100% pure canned pumpkin, not pumpkin pie filling. Pumpkin pie filling already contains spices and sweeteners, which will alter the flavor profile of this recipe. Always double-check the label!
- Vanilla Extract: A touch of pure vanilla extract enhances the overall sweetness and complements the warm spices, adding a layer of depth to the flavor.
- Pumpkin Pie Spice: This iconic blend of cinnamon, nutmeg, ginger, and cloves is what gives the pie its signature autumnal taste. If you don’t have a pre-made blend, you can easily create your own with individual spices.
- Heavy Cream: This is essential for creating the light and fluffy homemade whipped cream that forms the core of our pie’s texture. Ensure it’s very cold for optimal whipping results. Do not substitute with half-and-half or milk.
- Brown Sugar: Brown sugar adds a rich, molasses-like sweetness and a subtle depth of flavor that granulated sugar can’t quite match. It also contributes to the pie’s lovely creamy texture.
Having your ingredients at room temperature (for cream cheese) and very cold (for heavy cream) before you start is key to achieving the perfect consistency and flavor in your no-bake pumpkin cream pie. Preparation is minimal, but attention to these small details ensures a spectacular outcome!
Crafting Your Dream: How to Make This Irresistible No-Bake Pumpkin Pie
Making this no-bake pumpkin pie is surprisingly simple and incredibly rewarding. Follow these steps carefully to achieve a perfectly creamy and fluffy dessert:
Step 1: Prepare the Homemade Whipped Cream
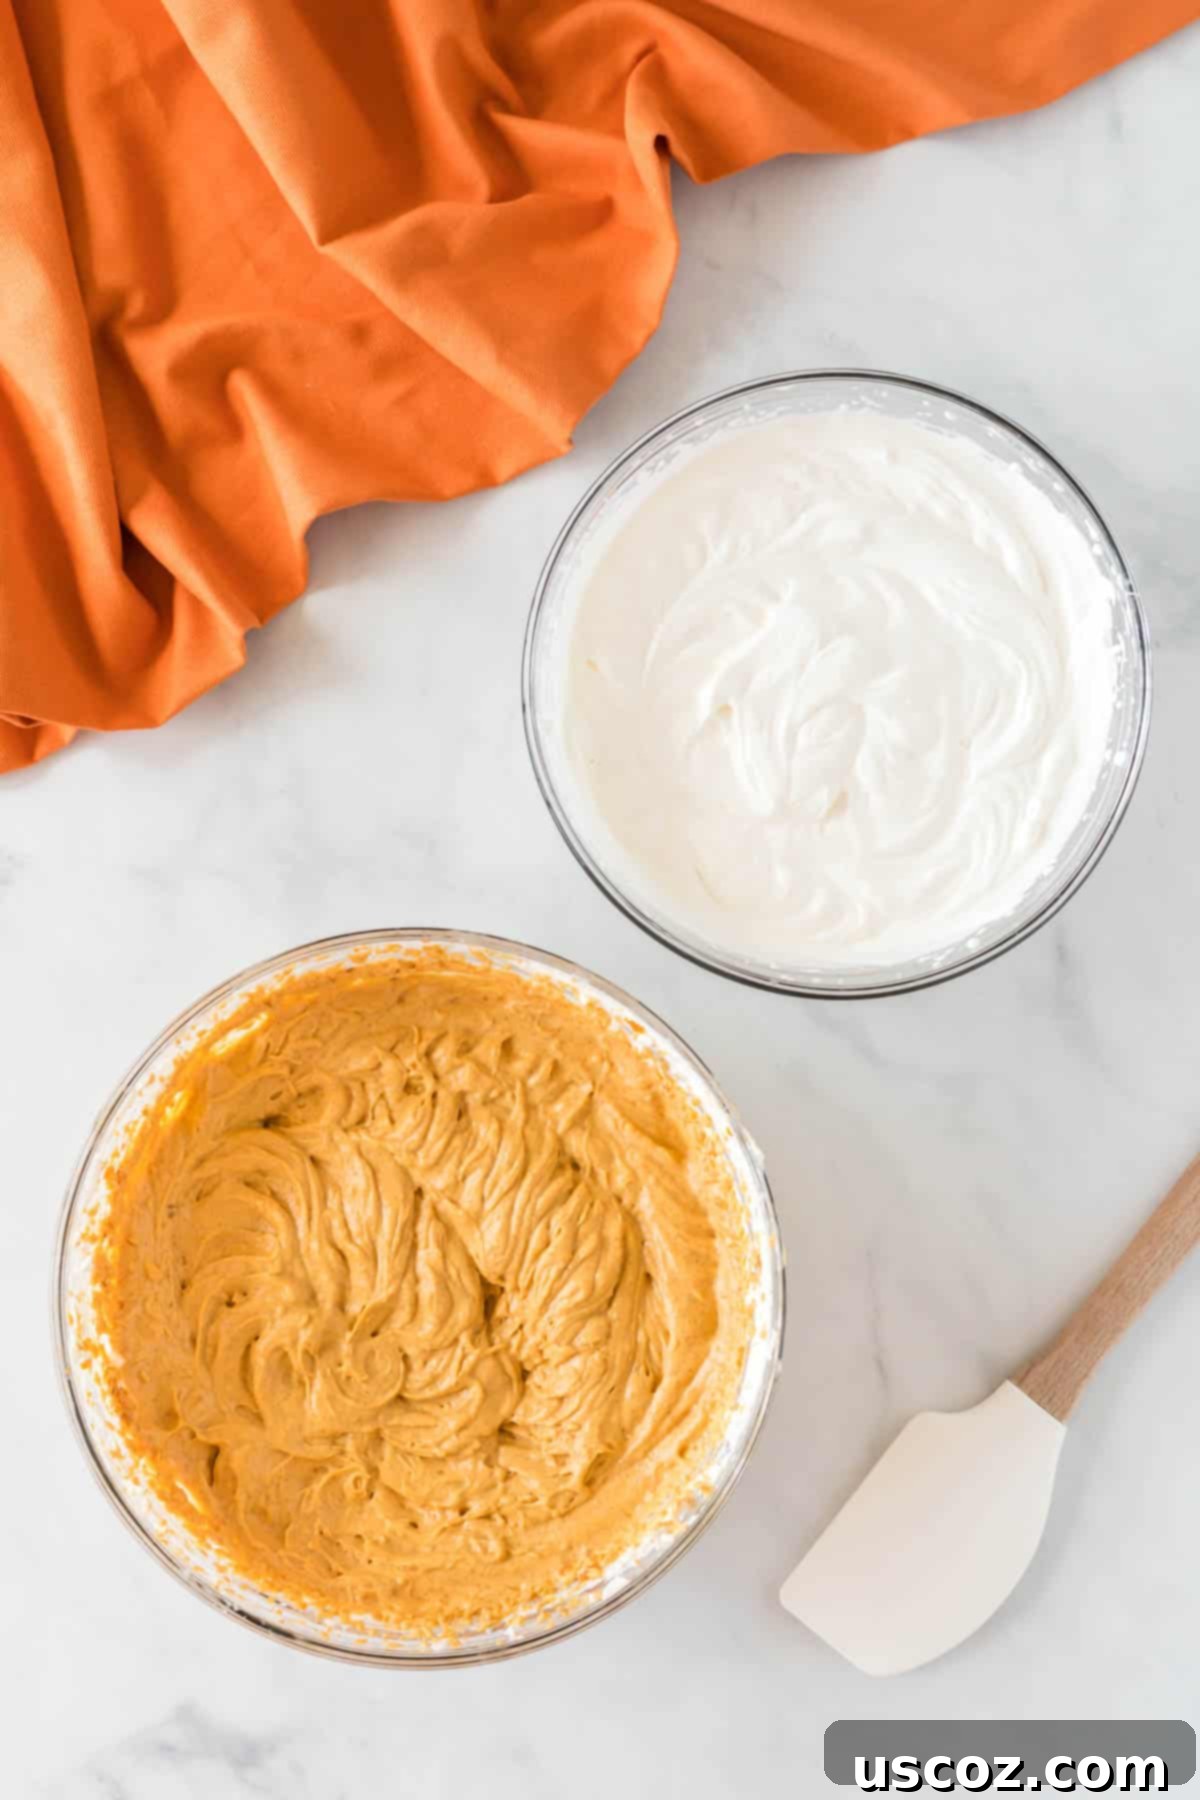
Begin by pouring the very cold heavy cream into a large mixing bowl. Using electric mixers, beat the heavy cream on medium-high speed until stiff peaks form. Stiff peaks mean that when you lift the beaters, the cream holds its shape firmly. Be careful not to over-beat, as this can turn it into butter. Once whipped, gently set this light and airy cream aside. You can even place it in the fridge to keep it chilled while you prepare the next component.
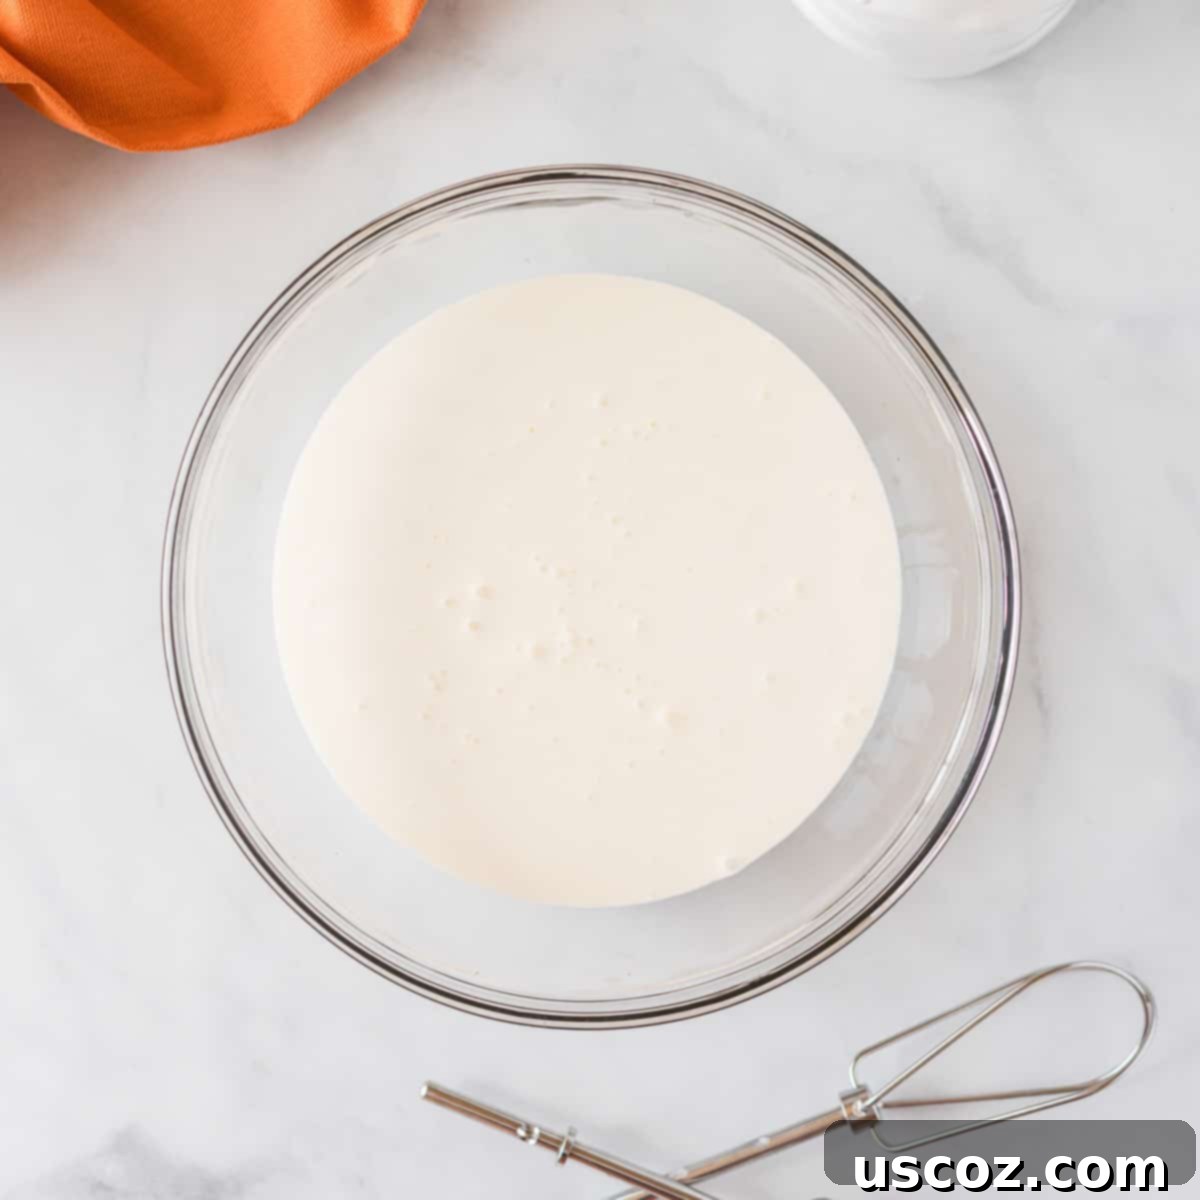
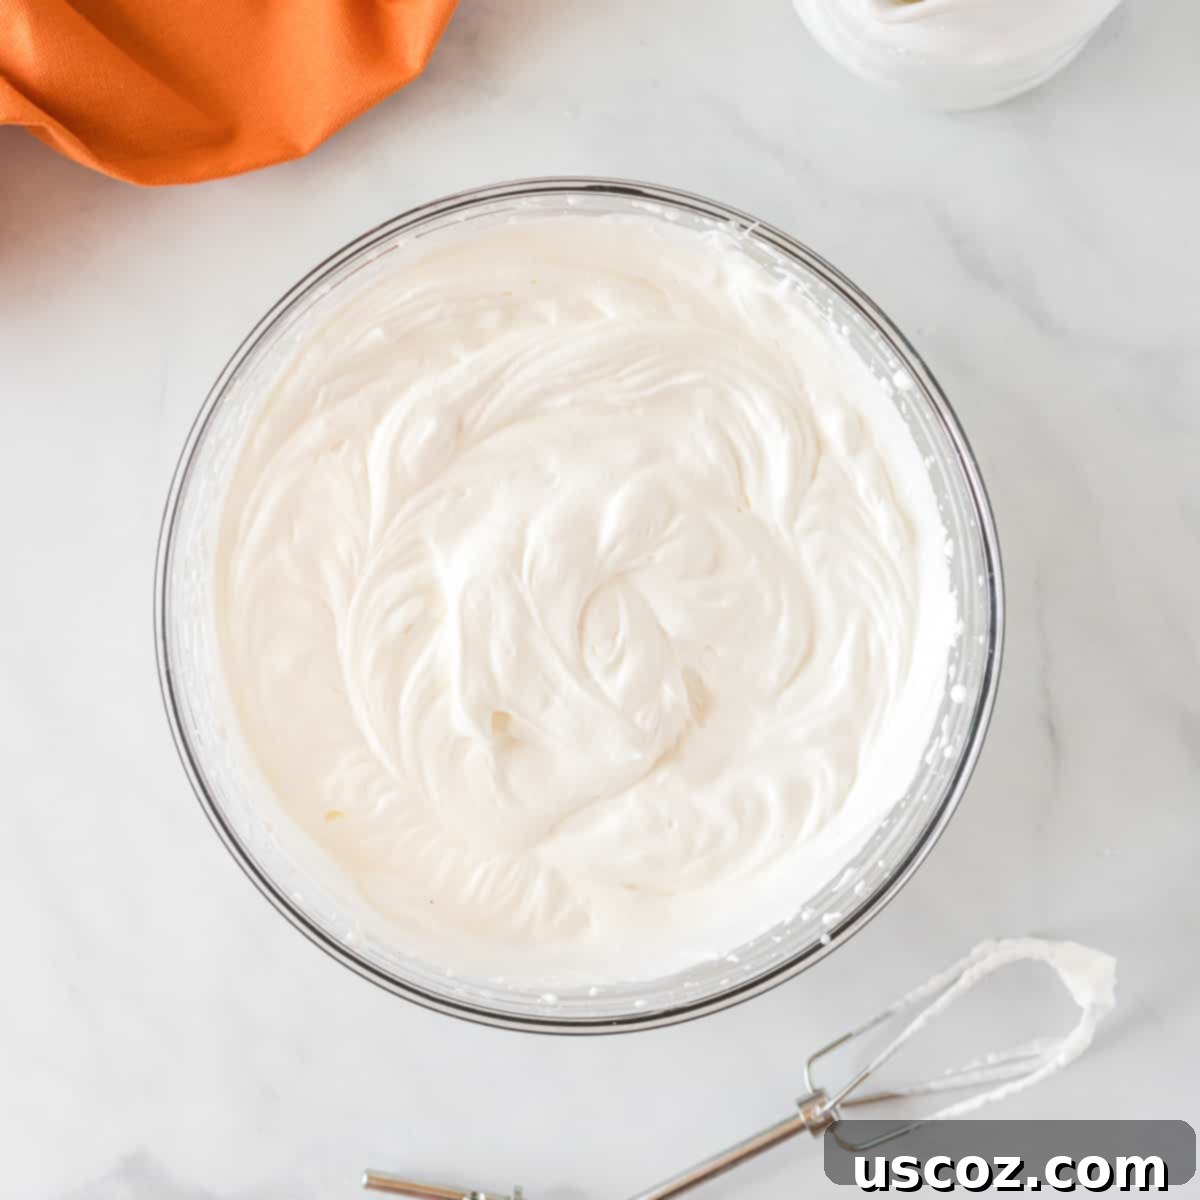
Step 2: Create the Pumpkin Cream Cheese Base
In a separate, clean mixing bowl, beat the softened cream cheese using your electric mixers until it’s completely fluffy and smooth. This step is crucial for preventing any lumps in your final pie. Once smooth, add the vanilla extract and the canned pumpkin puree. Mix again until these ingredients are fully incorporated and the mixture is evenly colored. Finally, beat in the brown sugar and pumpkin pie spice until the entire mixture is wonderfully smooth and uniform, scraping down the sides of the bowl as needed to ensure everything is well combined.
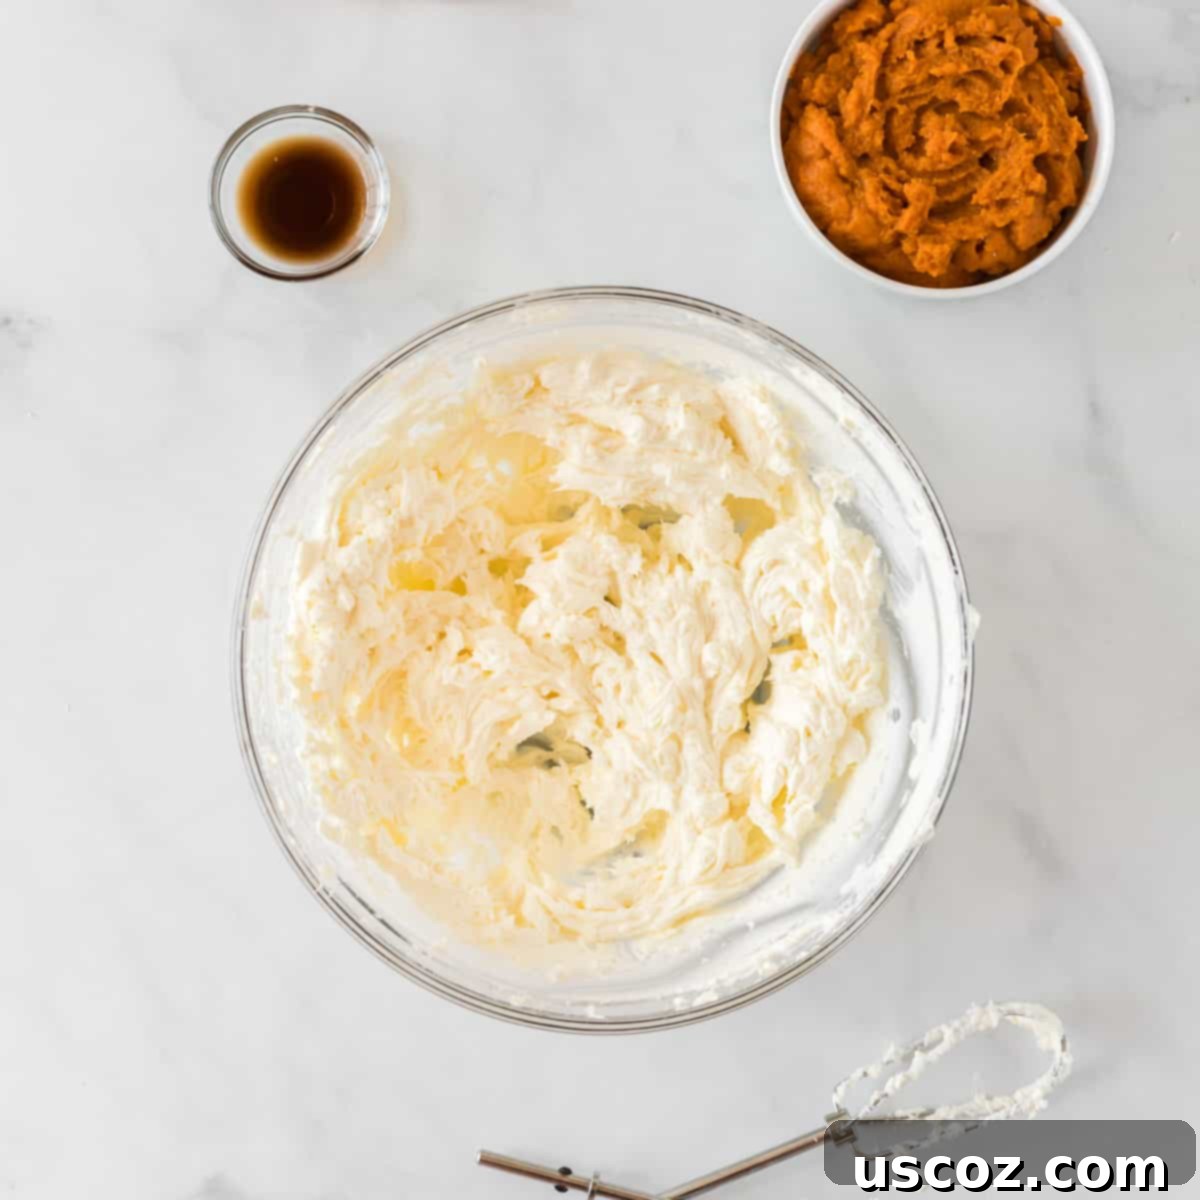
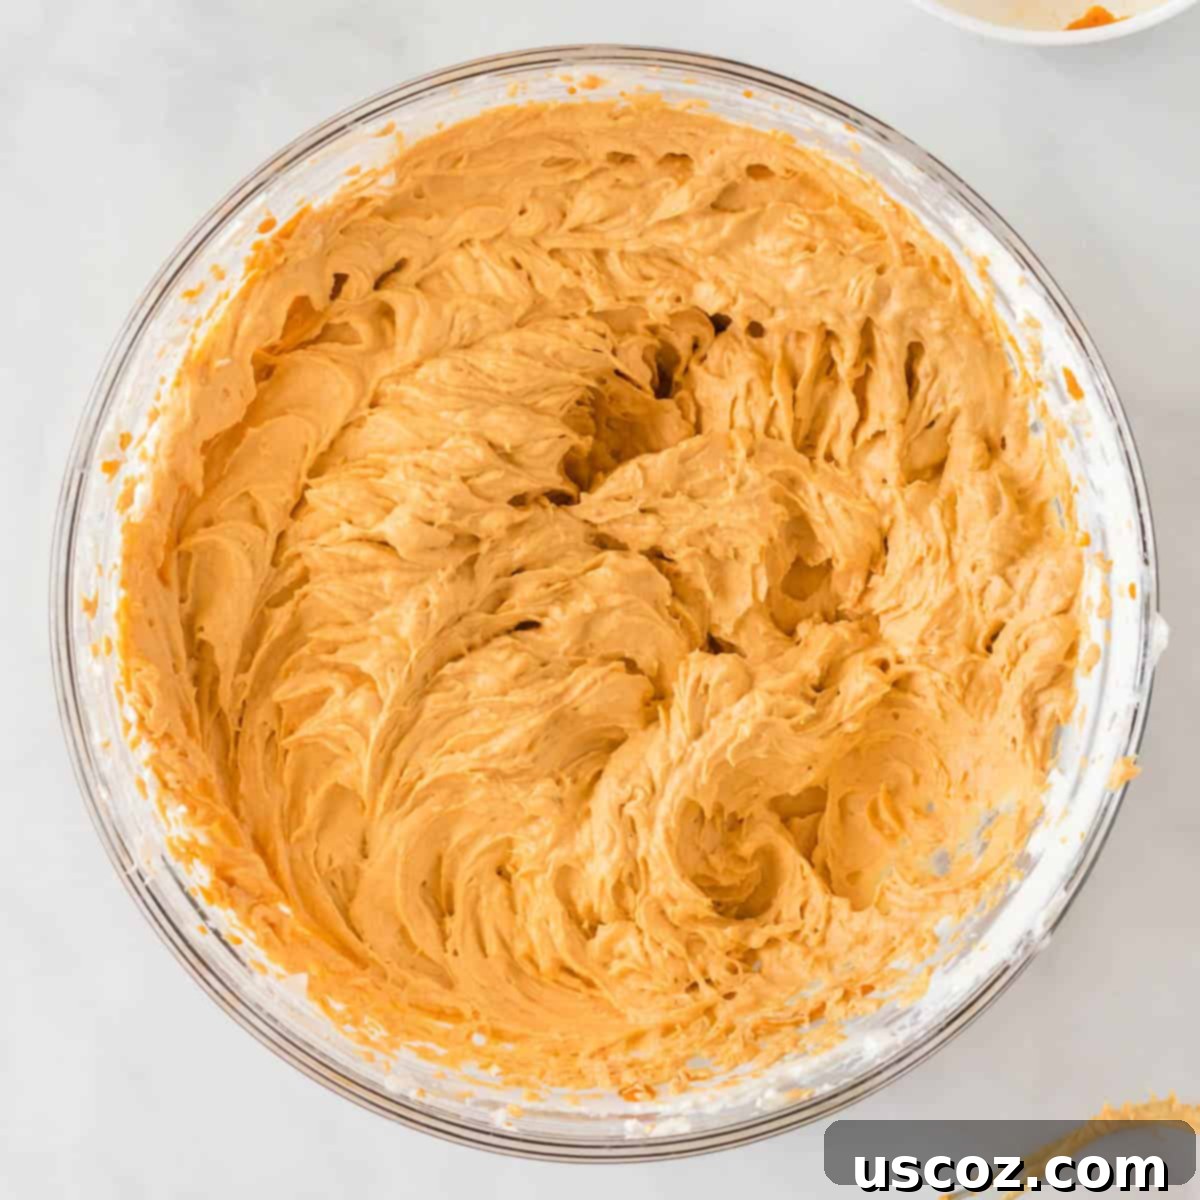
Step 3: Gently Combine the Filling
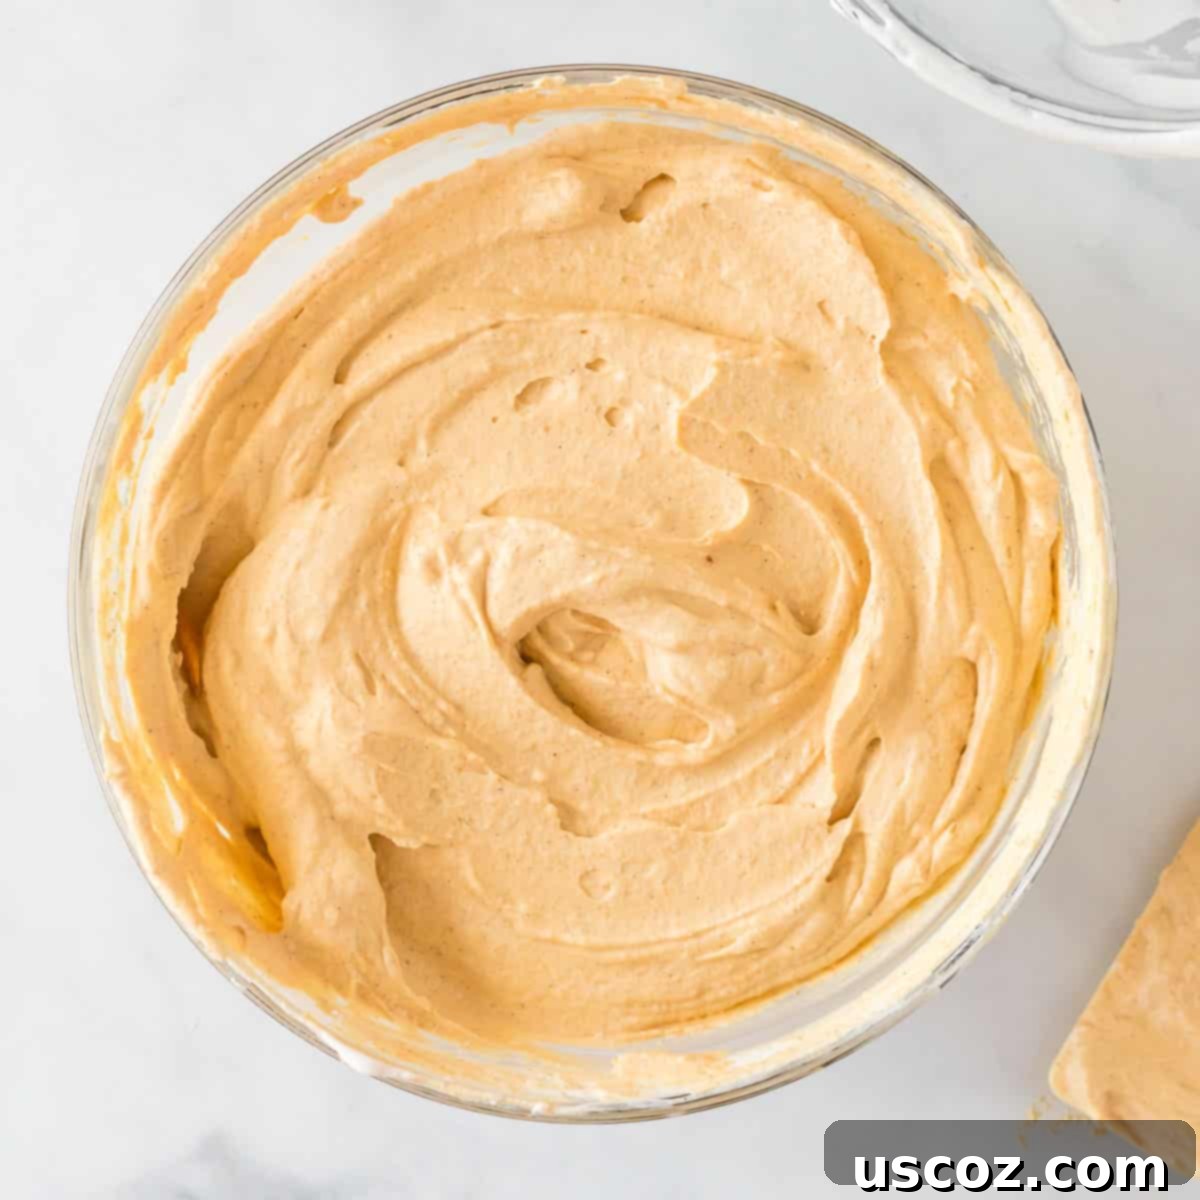
Now it’s time to bring the two elements of your luscious filling together. Carefully add the prepared pumpkin cream cheese mixture to the bowl with the homemade whipped cream. You can either use your mixers on a very low speed for just a few seconds, or, preferably, use a rubber spatula and gently fold the two together by hand. The key is to mix just until combined and no streaks remain, taking care not to deflate the whipped cream. The result should be a light, airy, and creamy consistency, as beautifully shown in the picture below.
Step 4: Fill the Pie Crust
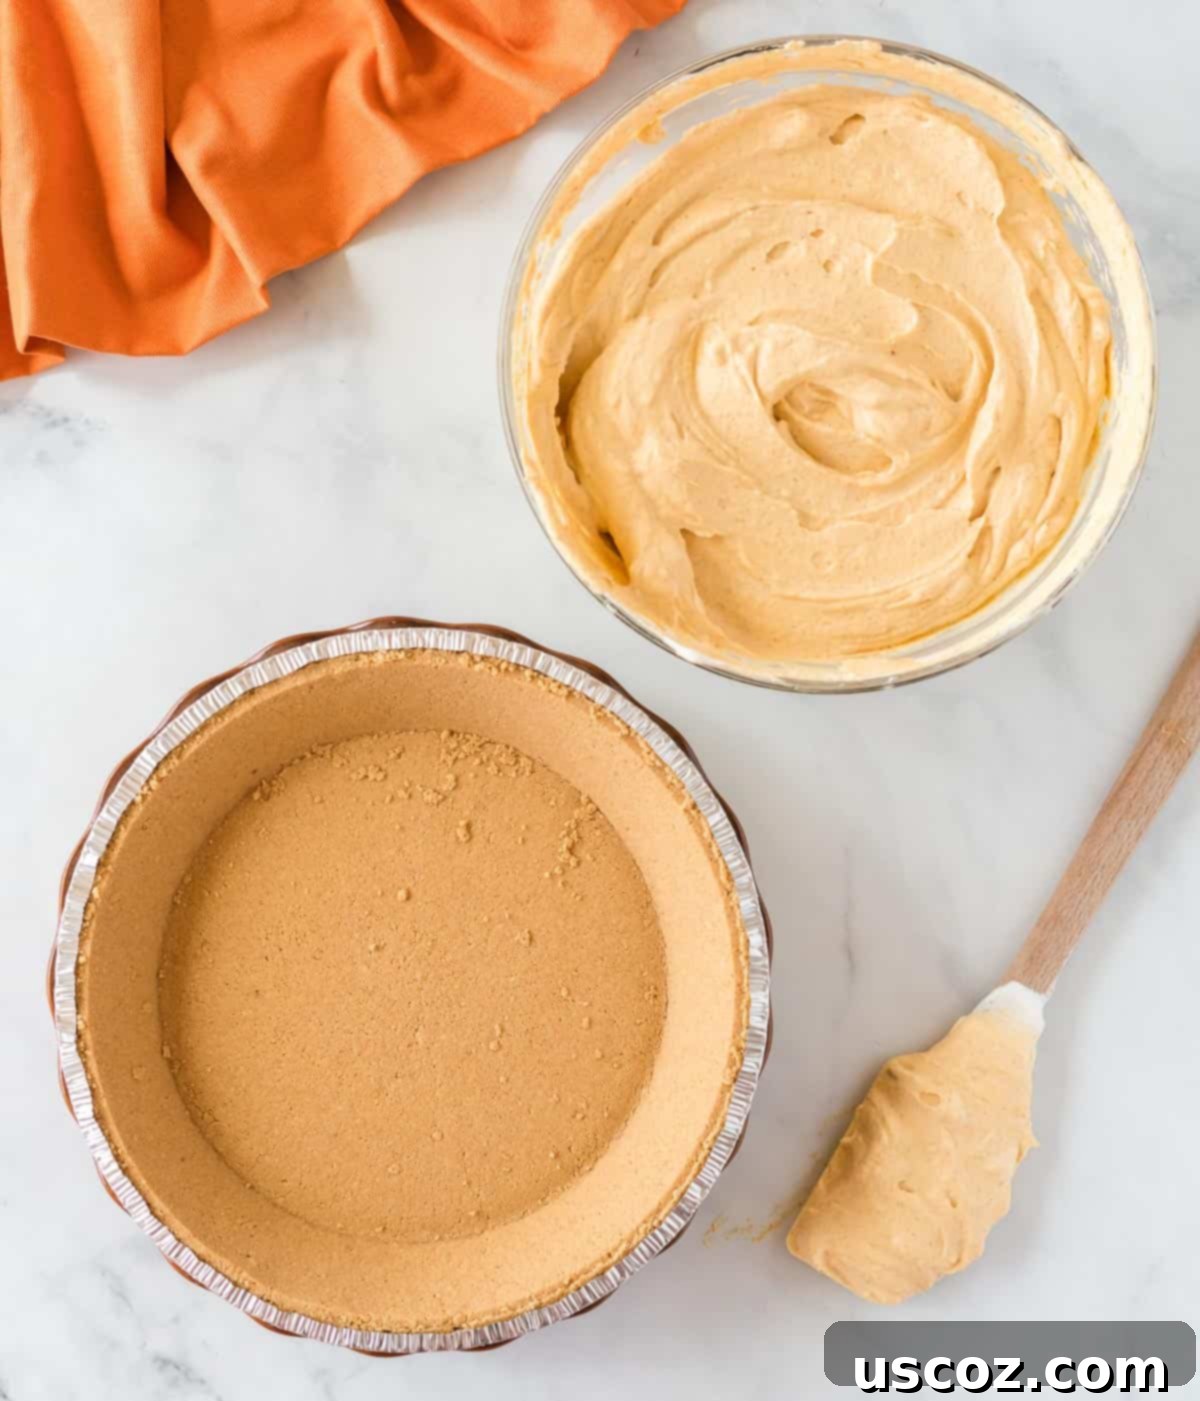
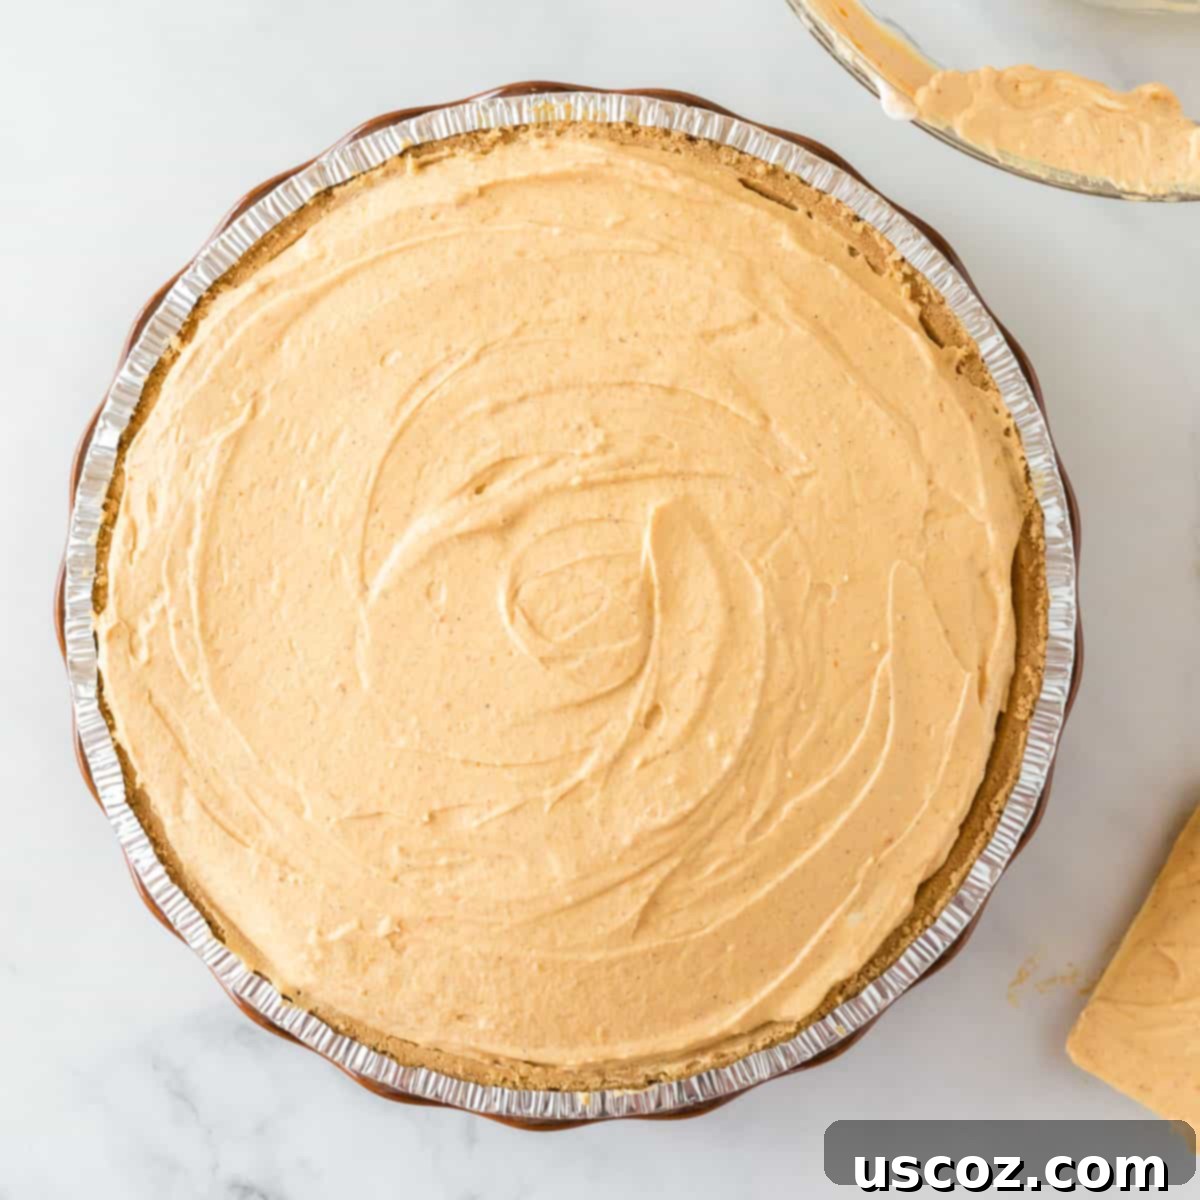
Carefully transfer the entirety of your whipped pumpkin pie filling into the ready-made graham cracker pie crust. Use your rubber spatula to gently spread the filling evenly across the crust, smoothing the top to create an appealing, flat surface. Take your time to ensure it looks perfect, as presentation is part of the dessert’s charm!
The Importance of Chilling: How Long to Chill Your Pumpkin Cream Pie
Step 5: Chill to Perfection
Once the pie is assembled, cover it loosely with plastic wrap or aluminum foil and place it in the refrigerator. This chilling period is absolutely crucial for the pie to set properly, allowing the cream cheese and whipped cream mixture to firm up and create that delightful, sliceable consistency. While a minimum of 3-4 hours is required before you can cut into it, I highly recommend chilling the pie overnight. An extended chill time ensures the pie is perfectly set, the flavors have melded beautifully, and it slices cleanly every time.
This “make-ahead” friendly aspect makes it an ideal Thanksgiving dessert. You can effortlessly prepare it a day or even two before your holiday dinner, store it in the fridge, and then simply pull it out when it’s time to serve. This strategy significantly reduces last-minute stress, allowing you to enjoy more time with family and less time in the kitchen.
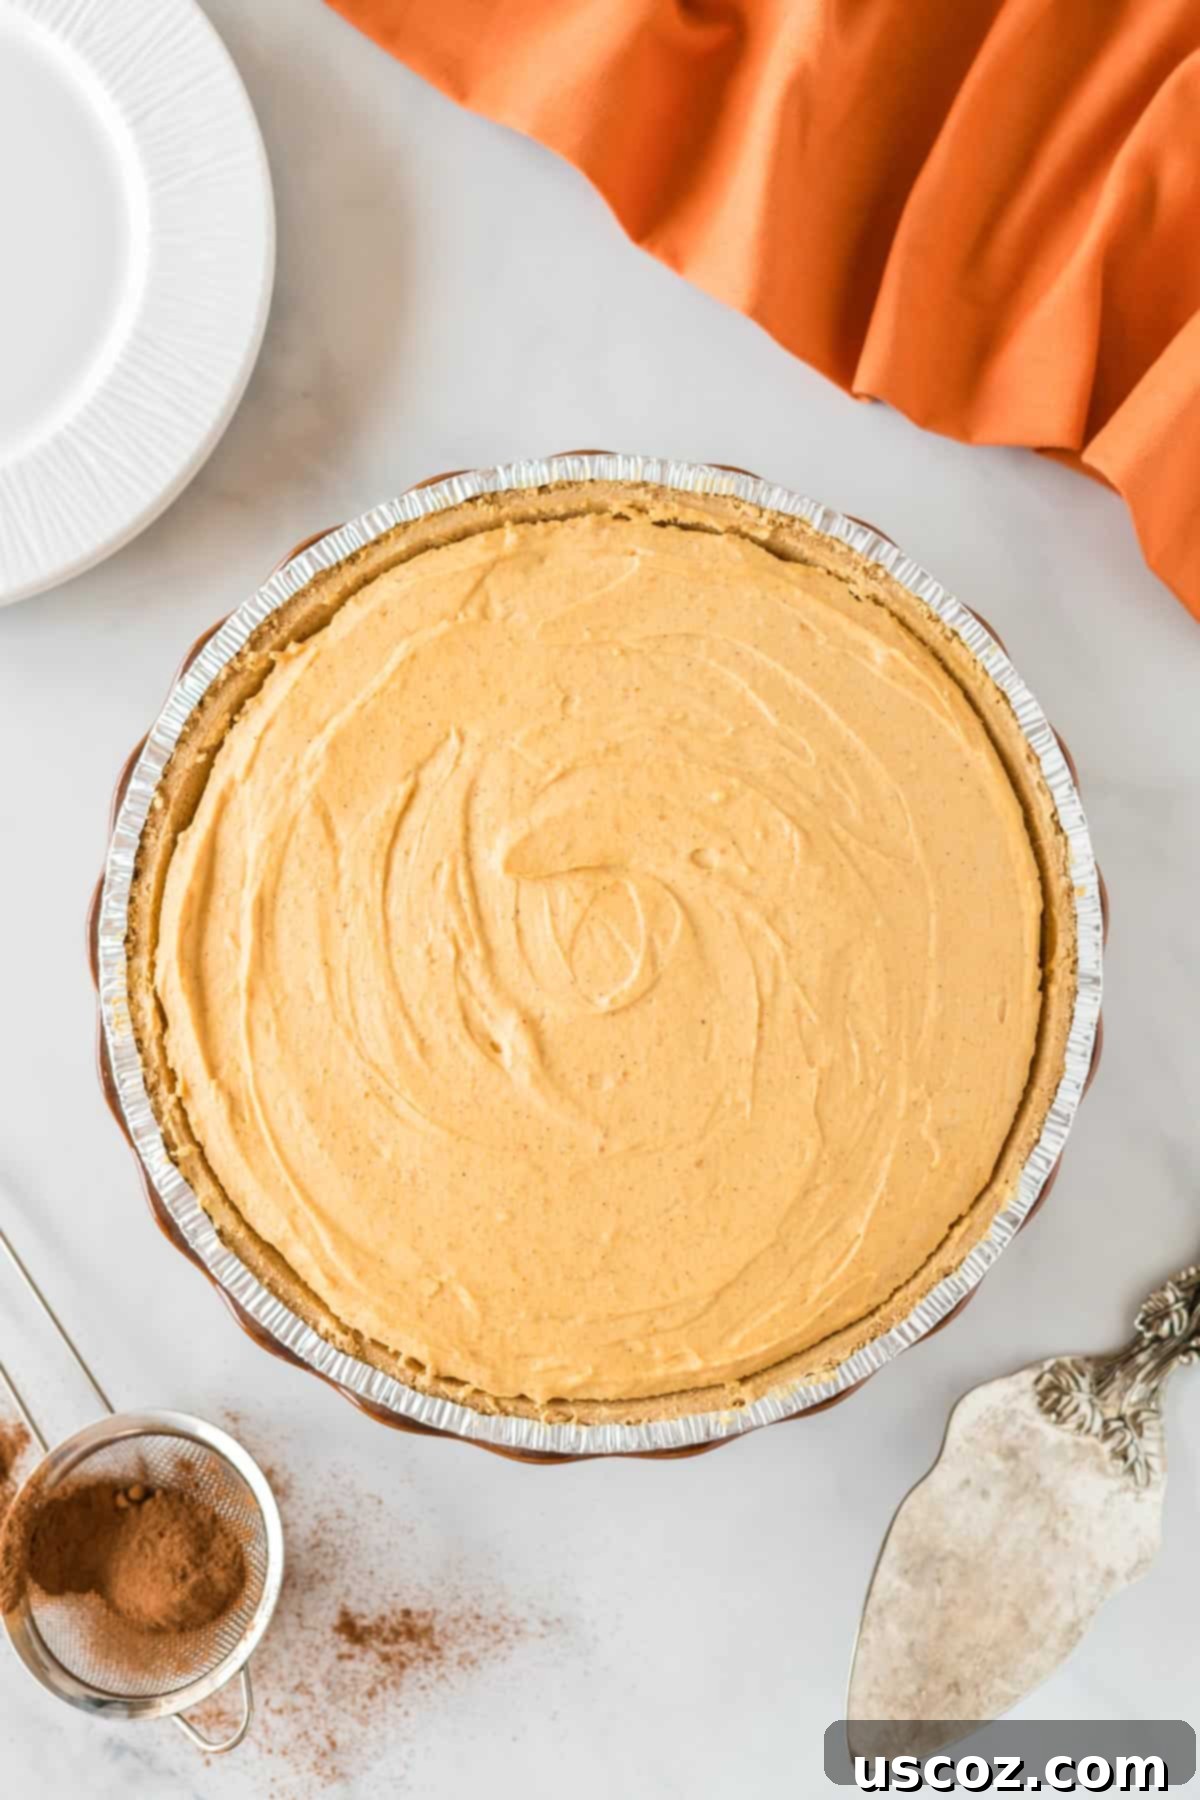
If you’ve always found traditional baked pumpkin pie a little too dense or not quite to your taste, you absolutely must give this whipped version a try! The light and airy texture of no-bake cream pies has quickly made them some of my favorite easy desserts to prepare, especially when catering to diverse palates during the holidays. It offers all the classic pumpkin flavor without the heavy texture, making it a refreshing alternative.
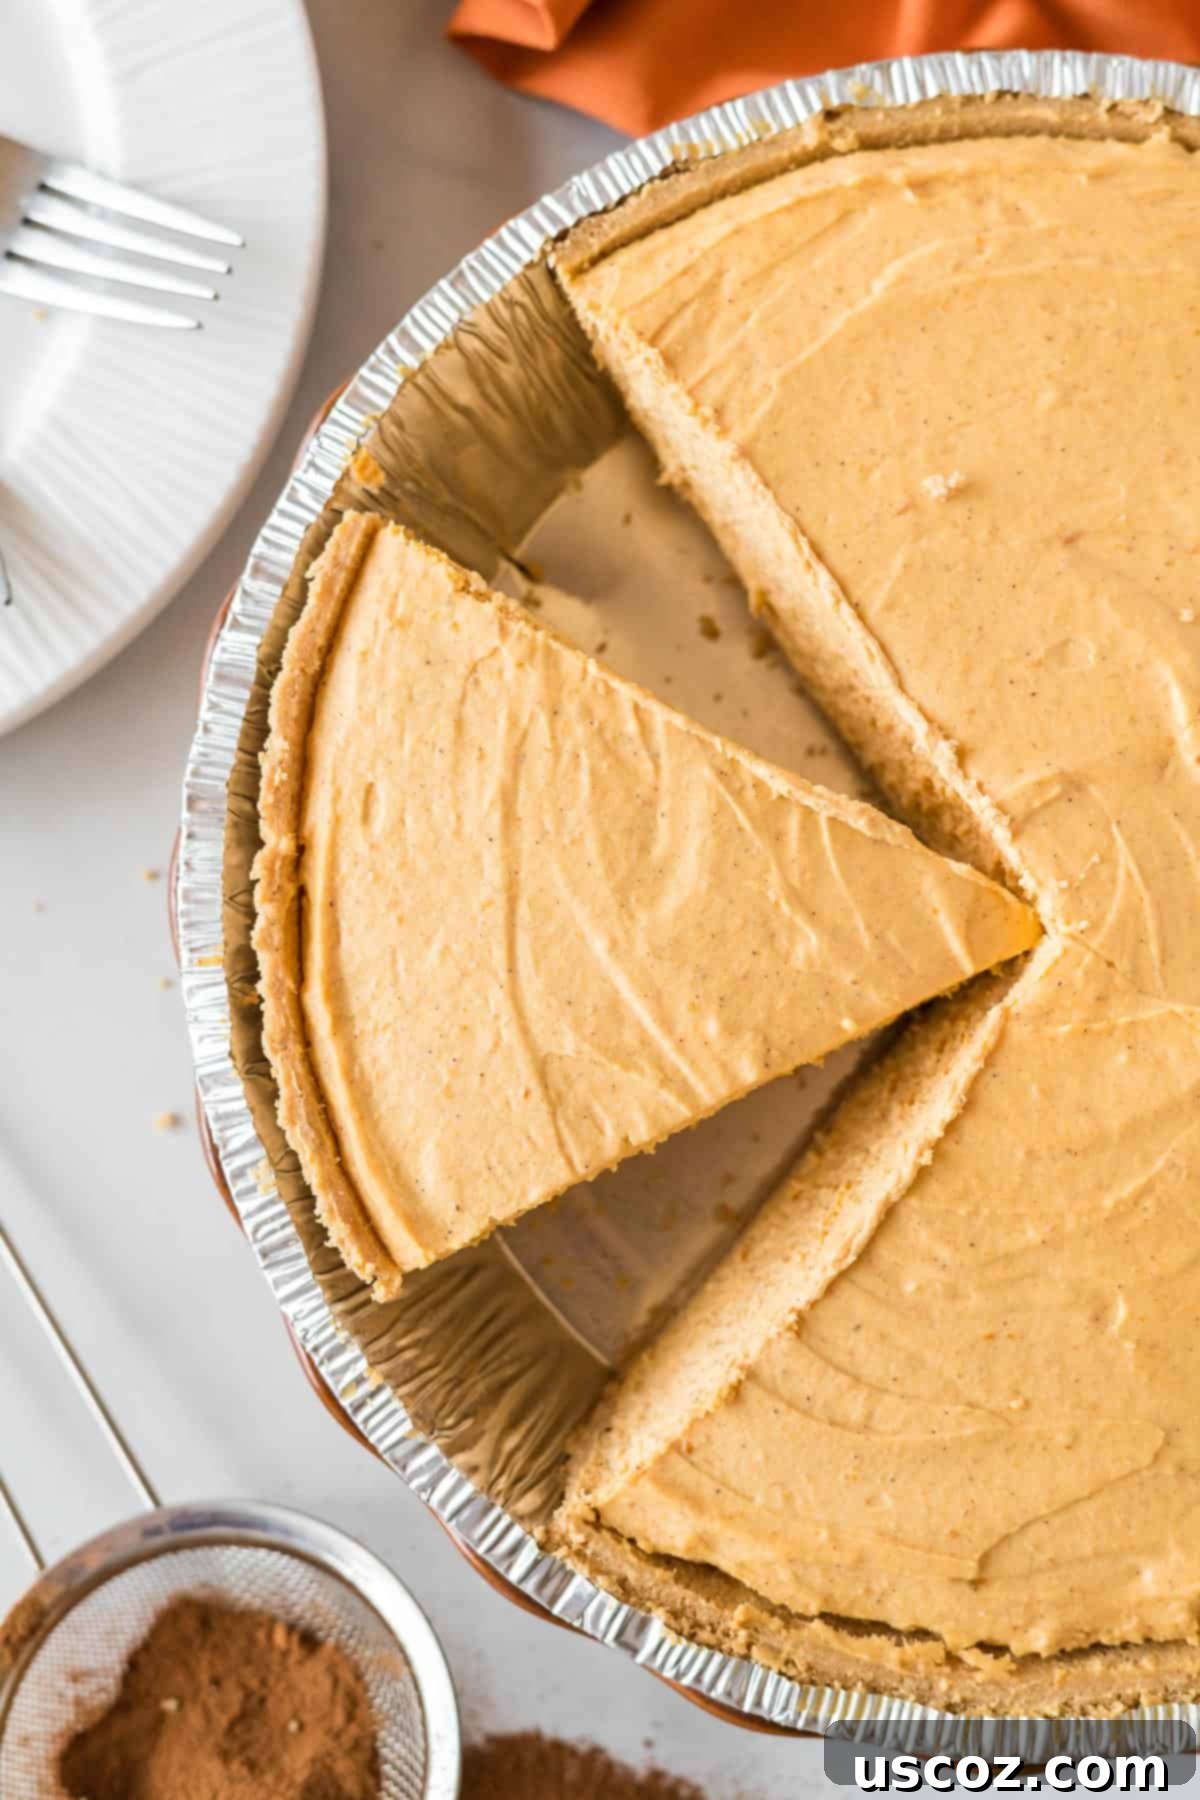
Why You’ll Fall in Love with This No-Bake Pumpkin Cream Pie
Beyond its incredible taste, this recipe boasts several advantages that make it a perfect addition to your holiday repertoire:
- No Oven Required: Free up your oven for turkeys, casseroles, or other baked goods. This pie requires zero baking time, making it ideal for busy kitchens.
- Light & Fluffy Texture: Unlike dense traditional pumpkin pies, this whipped version offers an airy, cloud-like consistency that’s refreshingly light and incredibly satisfying.
- Rich, Authentic Pumpkin Flavor: Despite being no-bake, it delivers all the warm, spiced pumpkin flavor you crave during autumn and the holidays.
- Quick Preparation: The actual hands-on prep time is minimal, allowing you to whip it up in under 30 minutes.
- Make-Ahead Marvel: It tastes even better after chilling overnight, making it a fantastic dessert to prepare in advance, reducing last-minute holiday stress.
- Versatile & Adaptable: Easily served as a whole pie or in individual cups, it’s perfect for any gathering, big or small.
Tips for the Perfect Whipped Pumpkin Cream Pie Every Time
Achieving the best possible no-bake pumpkin cream pie is simple with a few expert tips:
- Room Temperature Cream Cheese is Non-Negotiable: Ensure your cream cheese is thoroughly softened. If it’s too cold, it won’t beat smoothly, leading to a lumpy filling. Take it out of the fridge at least an hour before you start.
- Keep Heavy Cream Chilled: For the best whipped cream, use heavy cream that is very cold. You can even chill your mixing bowl and beaters in the freezer for 10-15 minutes before whipping to aid in stability and volume.
- Don’t Overmix the Whipped Cream: Whip the heavy cream just until stiff peaks form. Over-whipping can cause it to become grainy or even turn into butter.
- Fold Gently: When combining the pumpkin cream cheese mixture with the whipped cream, use a gentle folding motion. This preserves the airiness of the whipped cream, ensuring your pie remains light and fluffy.
- Patience with Chilling: While 3-4 hours is the minimum, an overnight chill truly makes a difference. It allows the pie to firm up completely, making it easier to slice and enhancing the flavor marriage.
- Use Pure Pumpkin: Again, double-check that you’re using 100% pure canned pumpkin puree, not pumpkin pie filling. They are not interchangeable for this recipe.
Optional Toppings & Delightful Variations
While this pumpkin cream pie is delicious on its own, here are some ideas to elevate it further or put your own spin on it:
- Extra Whipped Cream: A generous dollop of fresh whipped cream on each slice is always a welcome addition.
- Toasted Pecans or Walnuts: Add a textural crunch and nutty flavor by sprinkling toasted nuts on top before serving.
- Caramel Drizzle: A light drizzle of homemade or store-bought caramel sauce pairs beautifully with pumpkin.
- Chocolate Shavings: For a decadent touch, garnish with dark or milk chocolate shavings.
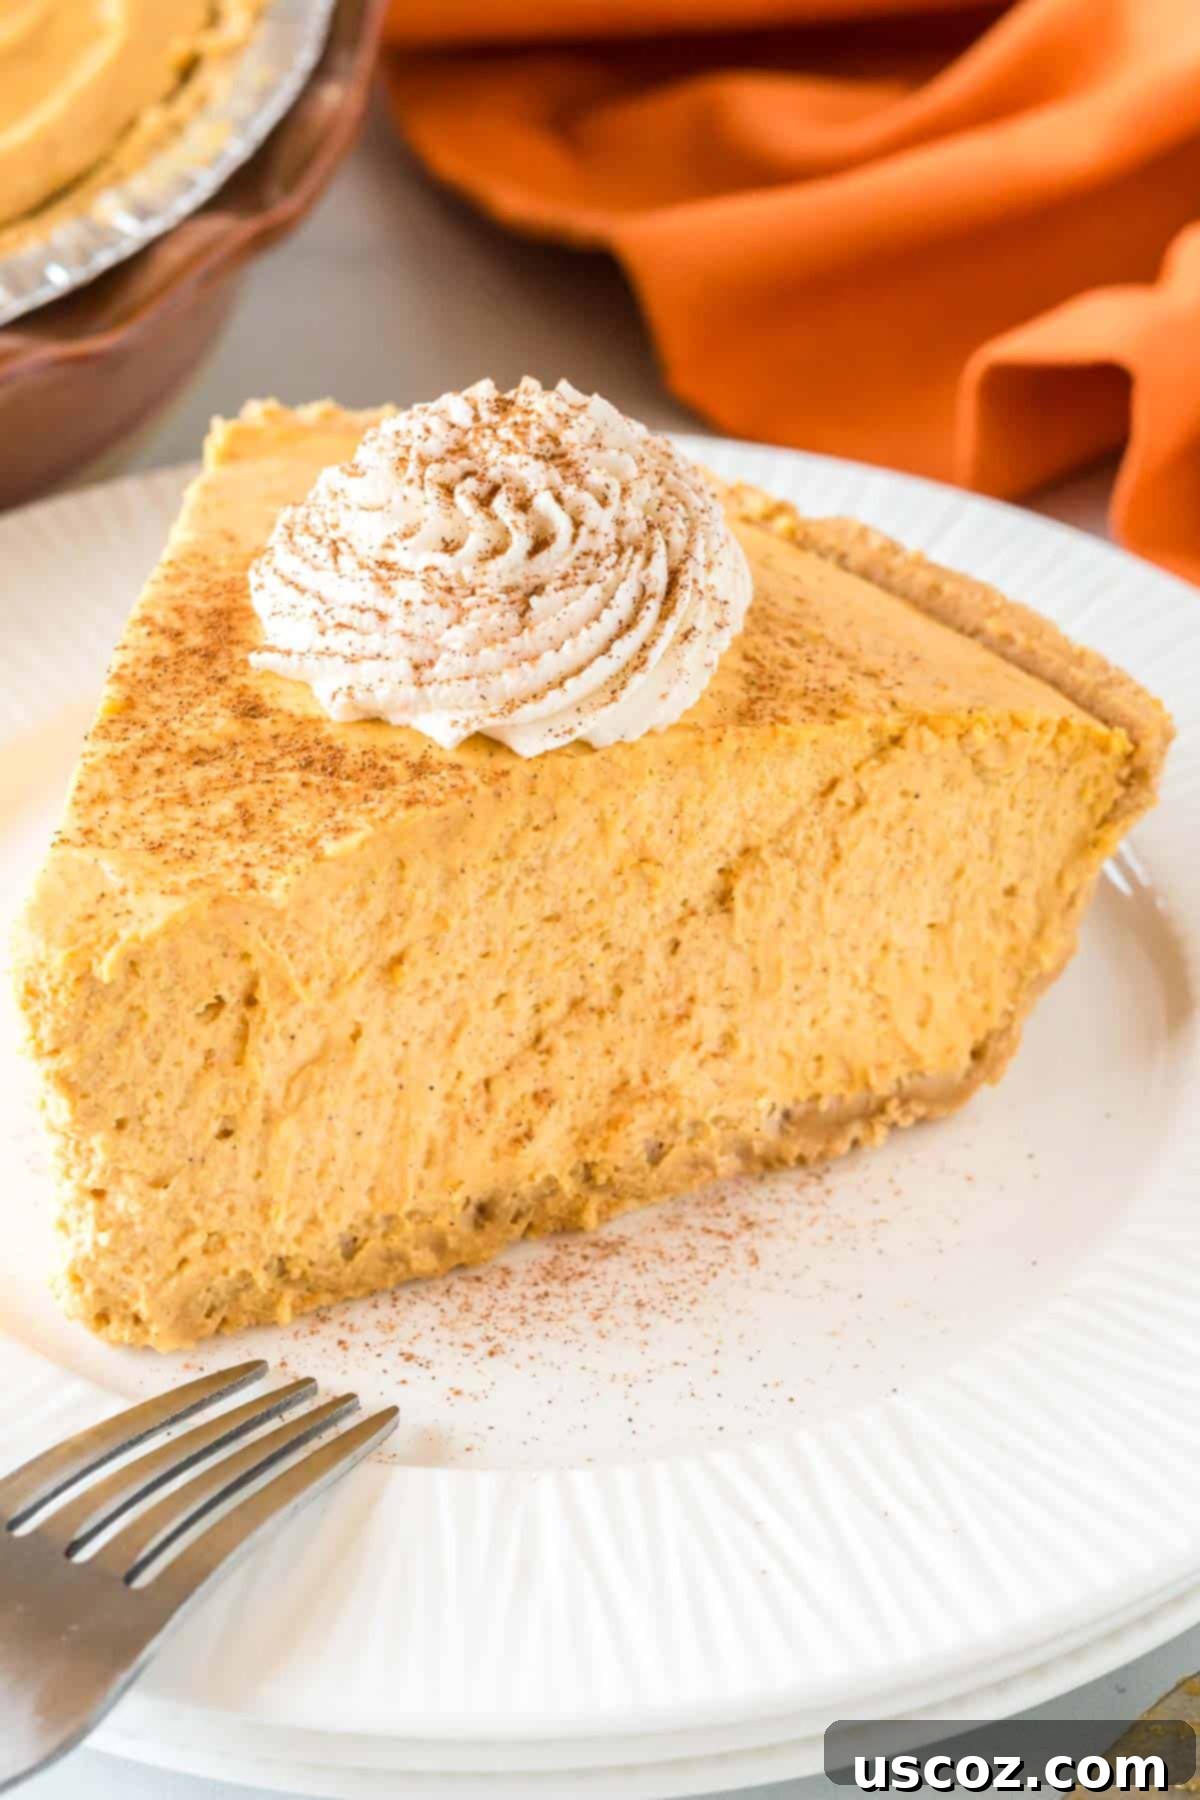
- Cinnamon or Nutmeg Dusting: A light dusting of ground cinnamon or freshly grated nutmeg adds an aromatic finish.
- Gingersnap Crust: For a spicier, more intense crust flavor, consider using crushed gingersnap cookies mixed with butter instead of graham crackers.
- Individual Servings: As mentioned, layer the filling into small glasses or ramekins for charming individual desserts.
Explore More Holiday Recipes
If you’re looking for other fantastic dishes to complete your holiday feast or simply enjoy the festive season, check out these delightful recipes:
- Pecan Pie Bars: All the flavor of pecan pie in an easy-to-serve bar form.
- Sweet Potato Casserole with Marshmallows: A classic, sweet, and comforting side dish.
- No Bake Pumpkin Cheesecake Bars: Another effortless pumpkin dessert, perfect for a crowd.
- Sweet Potato Casserole with Pecans: A savory-sweet twist on a holiday favorite.
- Cake Mix Pumpkin Bars: Easy and delicious bars made with a convenient cake mix base.
- Cranberry Apple Crisp: A warm, fruity dessert perfect for fall and winter.
- Pecan Pie without Corn Syrup: A refined take on the classic pecan pie.
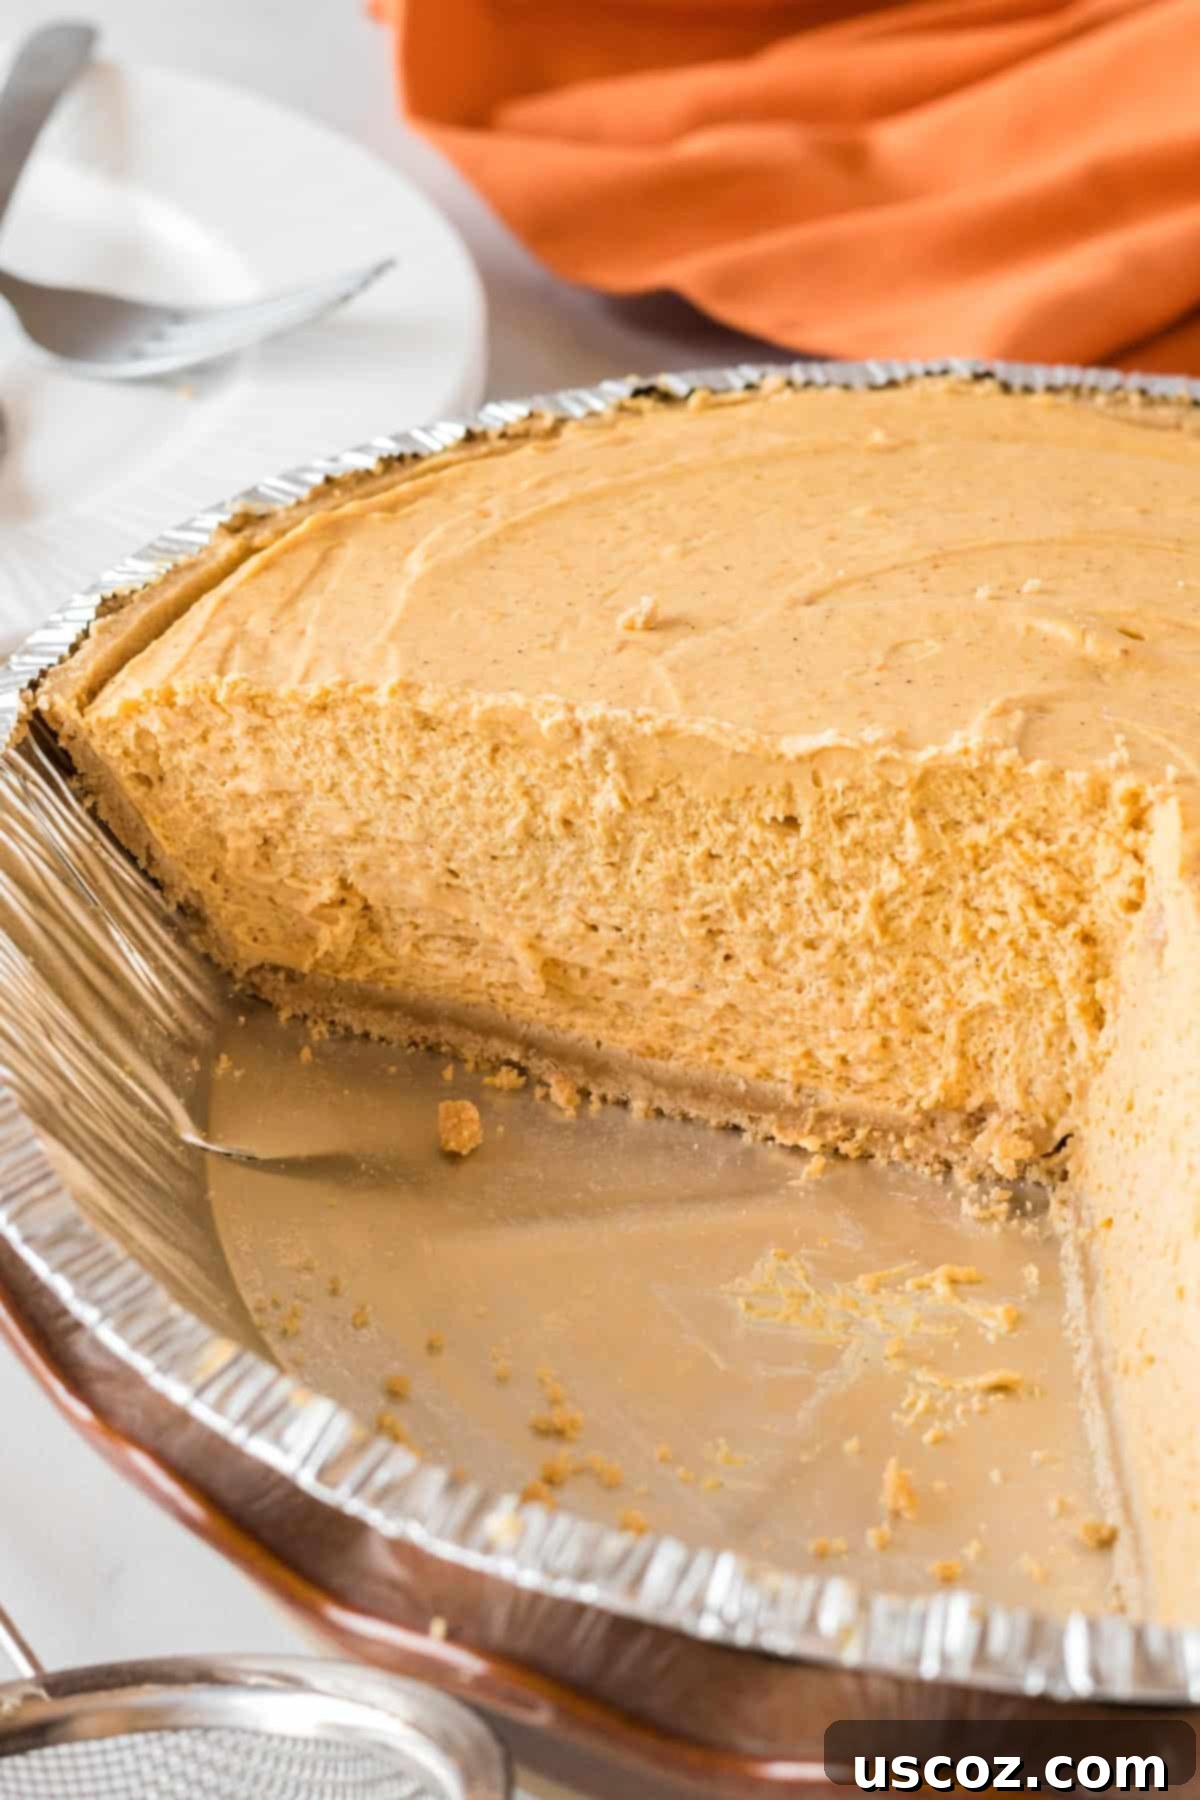
How To Store Your No-Bake Pumpkin Cream Pie
To ensure your delicious pumpkin cream pie stays fresh, store any leftovers covered in an airtight container or tightly wrapped with plastic wrap in the refrigerator. It will keep well for 2-3 days. While it might last longer, experience tells me it rarely does in most households due to its irresistible nature! Freezing is generally not recommended for this type of cream pie, as the whipped cream and cream cheese mixture can change texture upon thawing, potentially becoming watery or grainy.
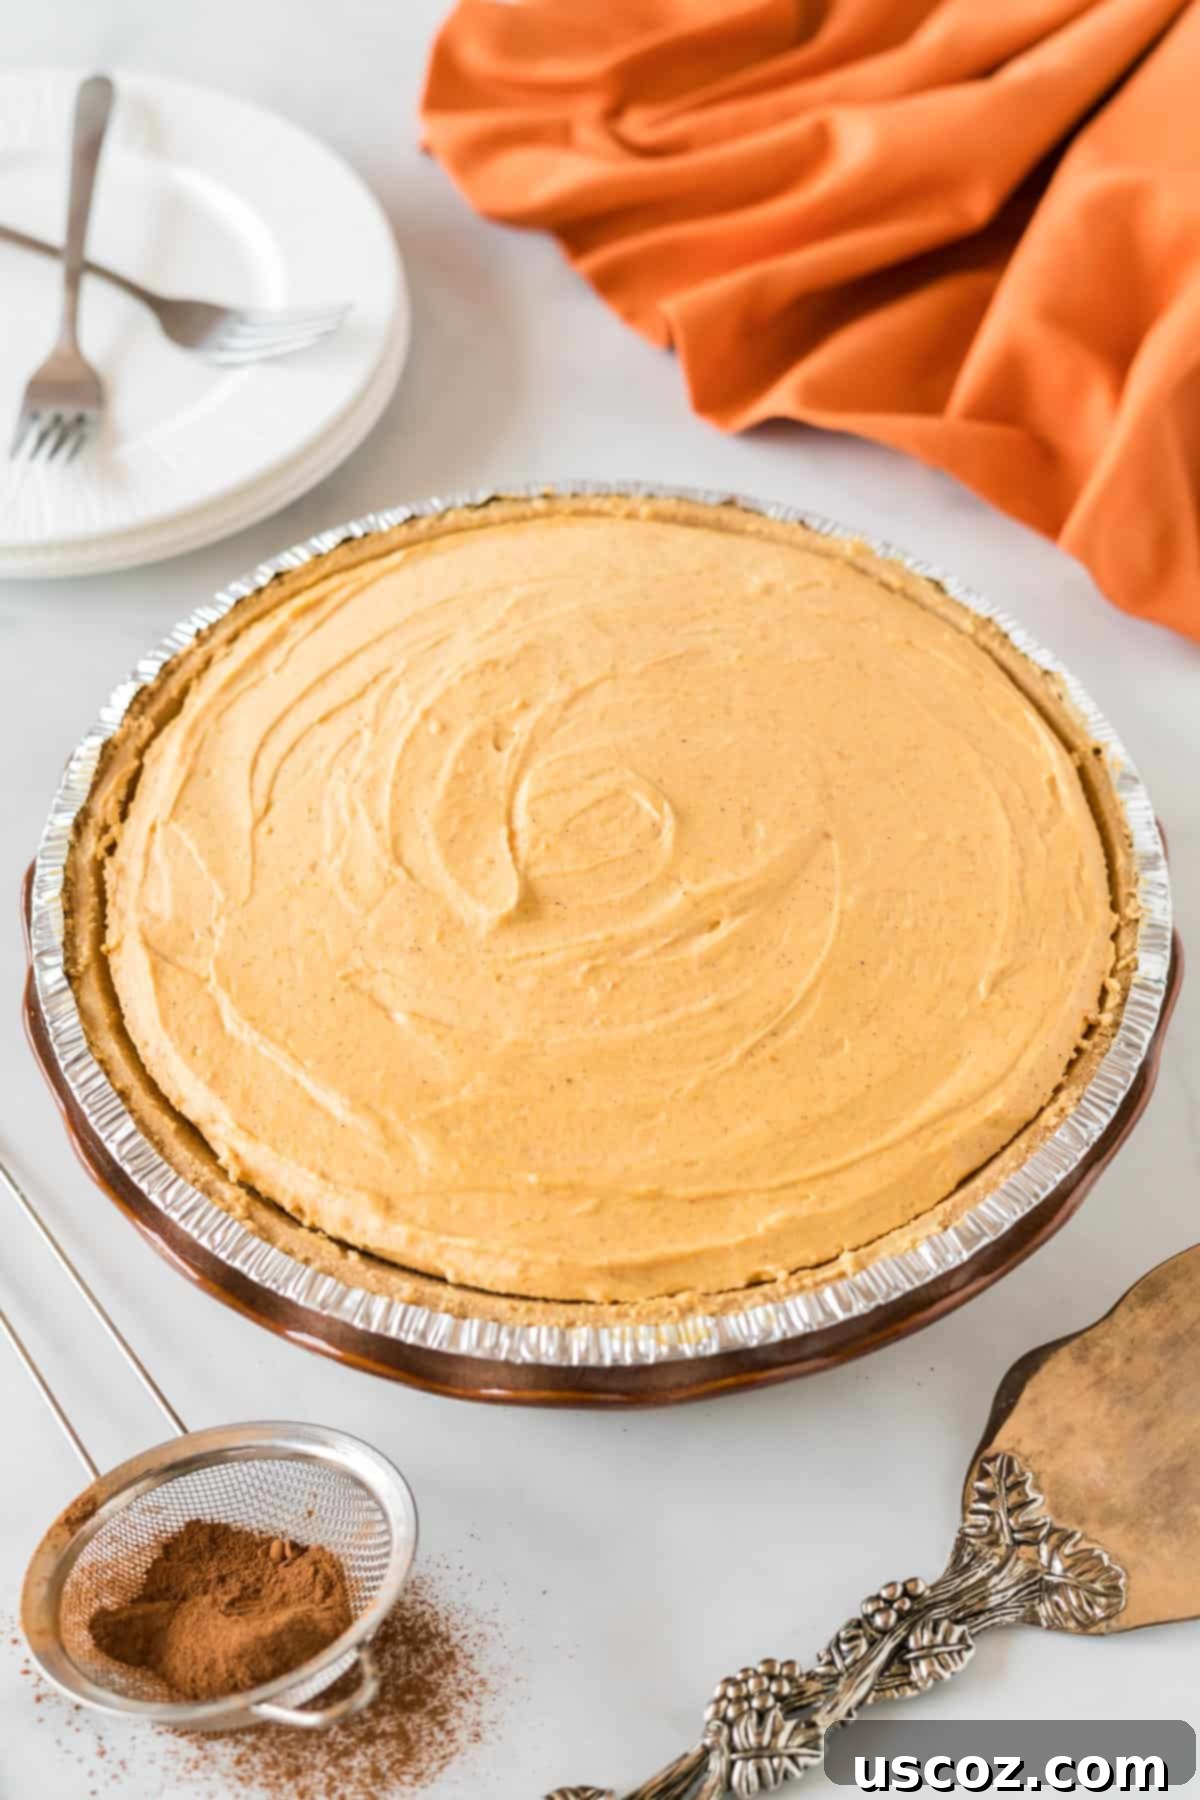
Can I Make This No-Bake Pumpkin Cream Pie Ahead of Time?
Absolutely, and in fact, it’s highly encouraged! This recipe is a fantastic make-ahead dessert, and it genuinely benefits from being chilled overnight in the refrigerator. Preparing it the day before allows all the wonderful flavors to fully meld together, and the filling to achieve its optimal firm yet creamy texture. Simply assemble the pie, cover it securely, and let it chill in the fridge until you’re ready to serve it. This strategy is a lifesaver for holiday meal planning, ensuring you have a show-stopping dessert ready without any last-minute fuss.
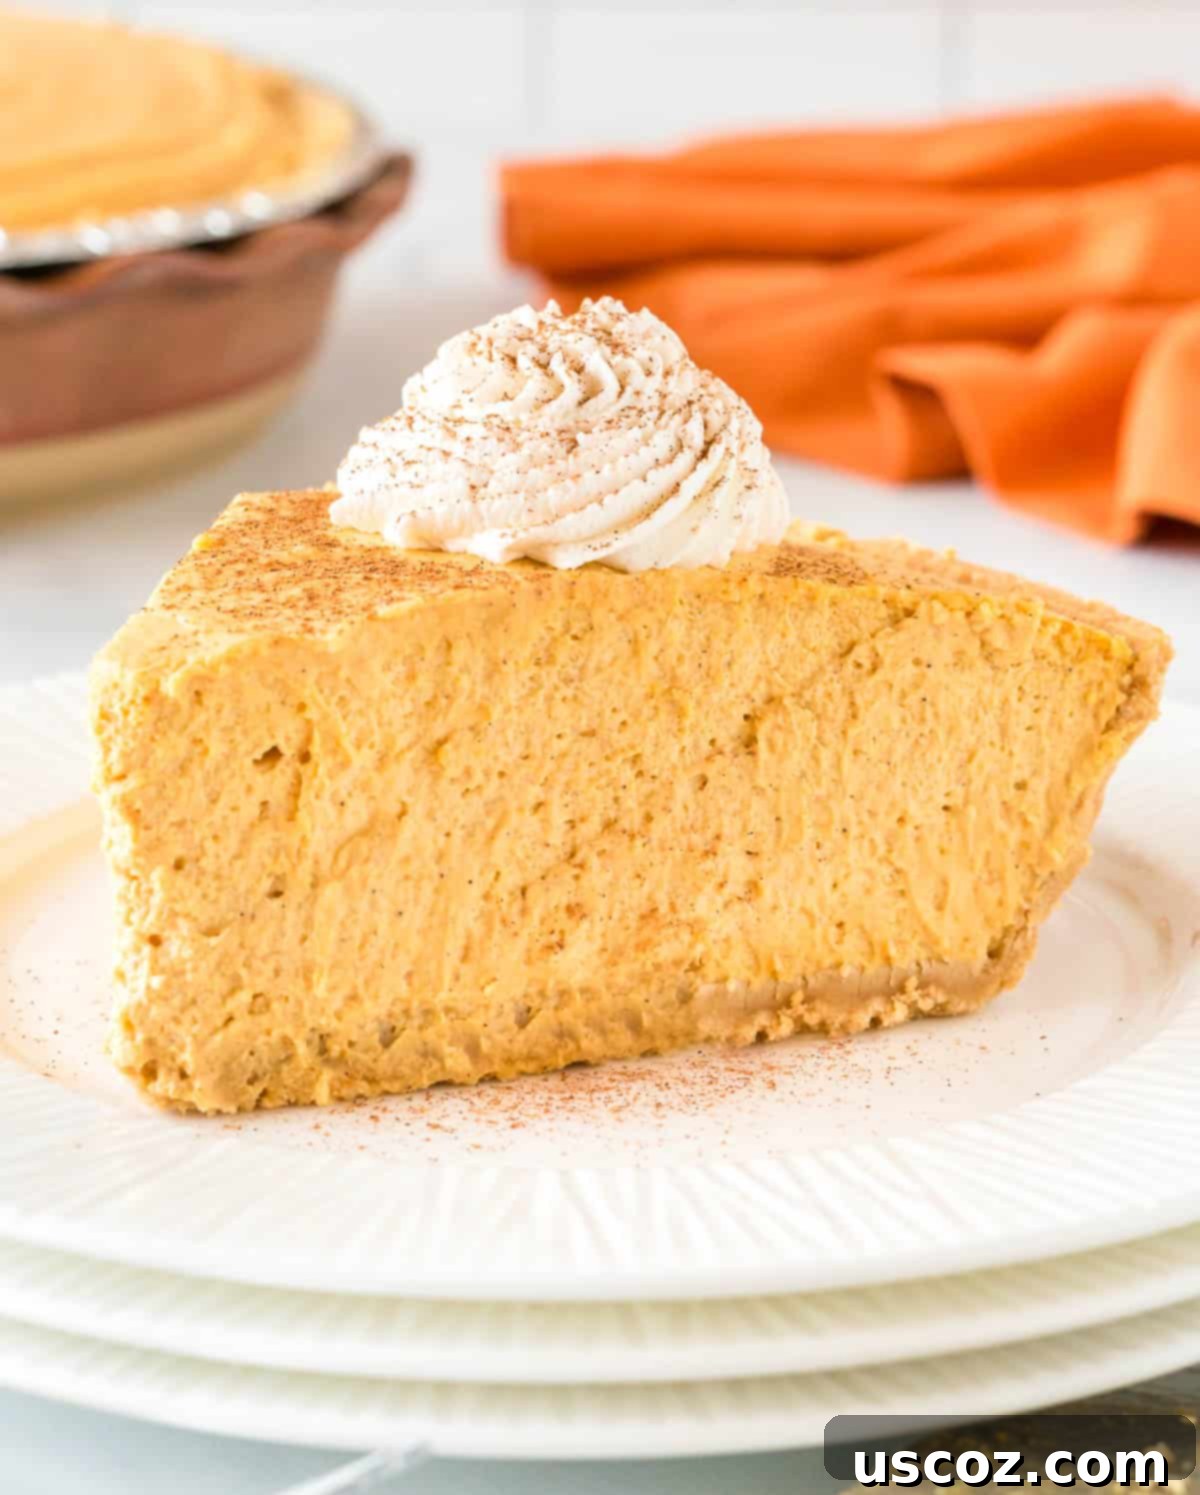
You absolutely have to try this whipped pumpkin pie this Thanksgiving, or for any autumn celebration! It’s an easy, elegant, and utterly delicious way to enjoy the classic flavors of the season.
Frequently Asked Questions (FAQs) About No-Bake Pumpkin Cream Pie
- Can I use pumpkin pie filling instead of pure pumpkin puree?
- No, it’s crucial to use 100% pure canned pumpkin puree. Pumpkin pie filling is pre-sweetened and spiced, and using it will significantly alter the flavor and sweetness balance of this recipe, making it too sweet and potentially messing with the texture.
- How can I tell if my cream cheese is soft enough?
- When pressed gently, softened cream cheese should yield easily without resistance. If it’s still hard in the center, microwave it for 10-15 second intervals, flipping it each time, until it’s pliable but not melted.
- My whipped cream isn’t getting stiff peaks, what went wrong?
- Ensure your heavy cream is very cold. Also, make sure your mixing bowl and beaters are clean and free of any grease, as fat residues can prevent cream from whipping properly. If all else fails, sometimes a colder environment helps, or a bit more patience!
- Can I make my own graham cracker crust?
- Absolutely! To make a homemade graham cracker crust, crush about 1 ½ cups of graham cracker crumbs, mix with ¼ cup granulated sugar, and 6 tablespoons of melted unsalted butter. Press firmly into a 9-inch pie plate and chill for 30 minutes before adding the filling.
- Can I freeze this no-bake pumpkin pie?
- While you can technically freeze it, the texture of the whipped cream and cream cheese filling might change upon thawing. It can become watery or slightly grainy. For the best quality, it’s recommended to store it in the refrigerator and enjoy it within 2-3 days.
Pumpkin Cream Pie
Save RecipeSaved!
Pin Recipe
Rate Recipe
Print Recipe
Ingredients
- 9 oz graham pie crust
- 16 oz cream cheese, softened
- 1 cup canned pumpkin
- 1 teaspoon vanilla extract
- 1 teaspoon pumpkin pie spice
- 1 ⅓ cups heavy cream
- ½ cup brown sugar
Instructions
-
Add the heavy cream to a mixing bowl and beat with mixers until stiff peaks form
-
In a separate bowl, beat the softened cream cheese. Add the vanilla extract and pumpkin and mix again. Beat in the brown sugar and pumpkin pie spice
-
Fold the whipped heavy cream into the pumpkin mixture until combined and smooth
-
Pour the whipped pumpkin pie filling into the graham cracker pie crust. Smooth the top out using the rubber spatula
-
Chill the pie in the fridge for 3-4+ hours, preferably overnight, before cutting to allow it to set
Nutrition
Like this recipe? Rate and comment below!
