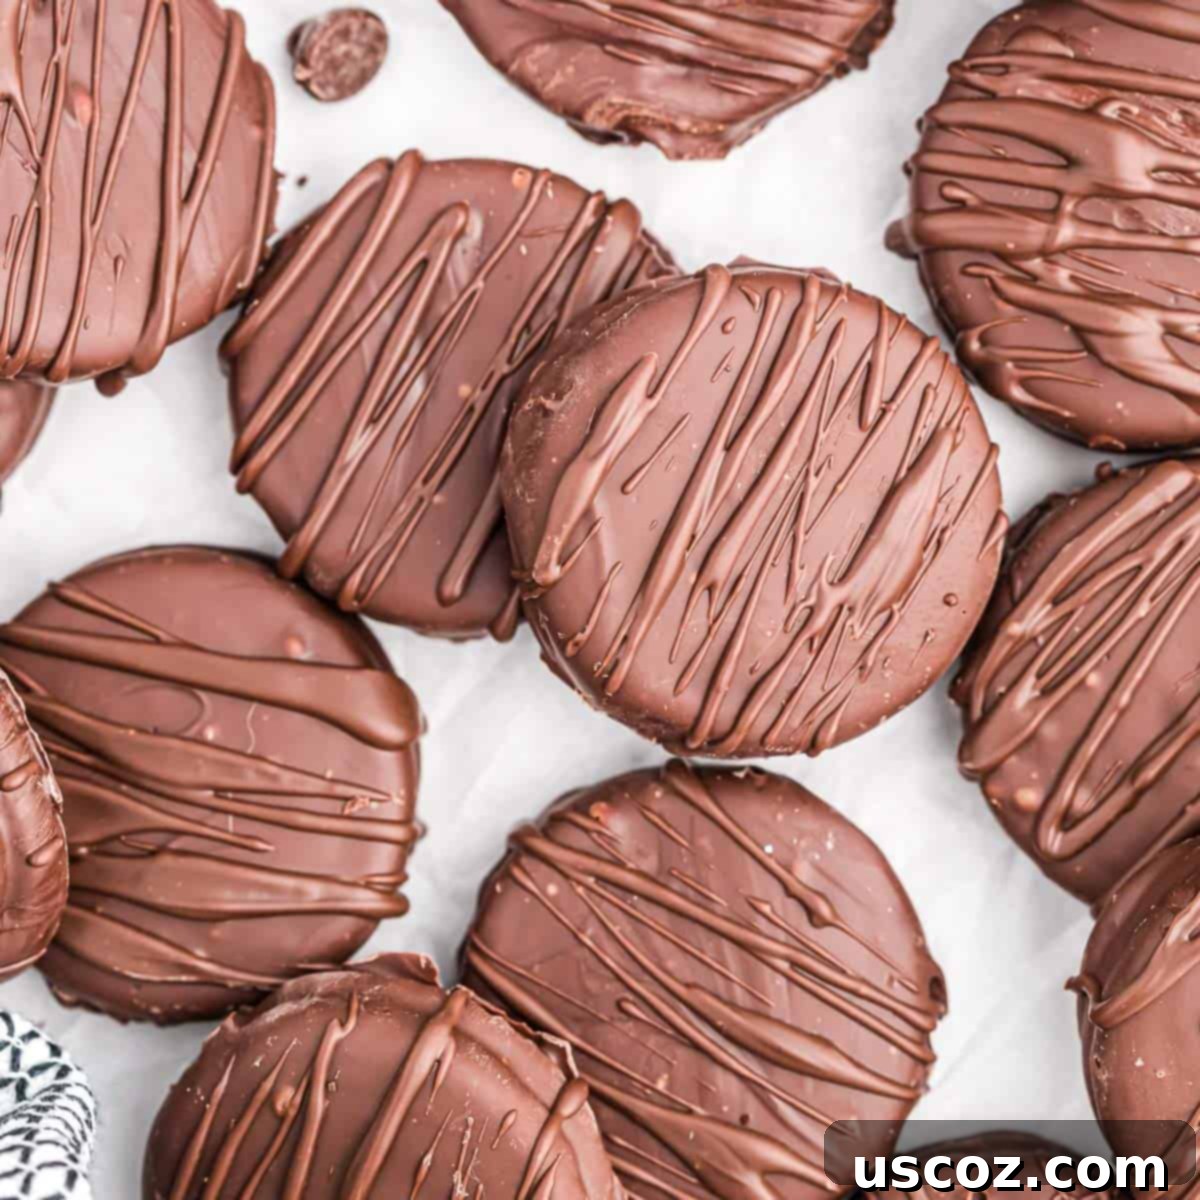
The Ultimate Guide to Easy Chocolate Covered Oreos: A 3-Ingredient Dessert for Any Occasion
Prepare to delight your taste buds and impress your guests with these incredibly easy Chocolate Covered Oreos. Requiring just three simple ingredients, these decadent treats are a guaranteed crowd-pleaser and are perfect for any holiday, party, or a simple sweet craving!
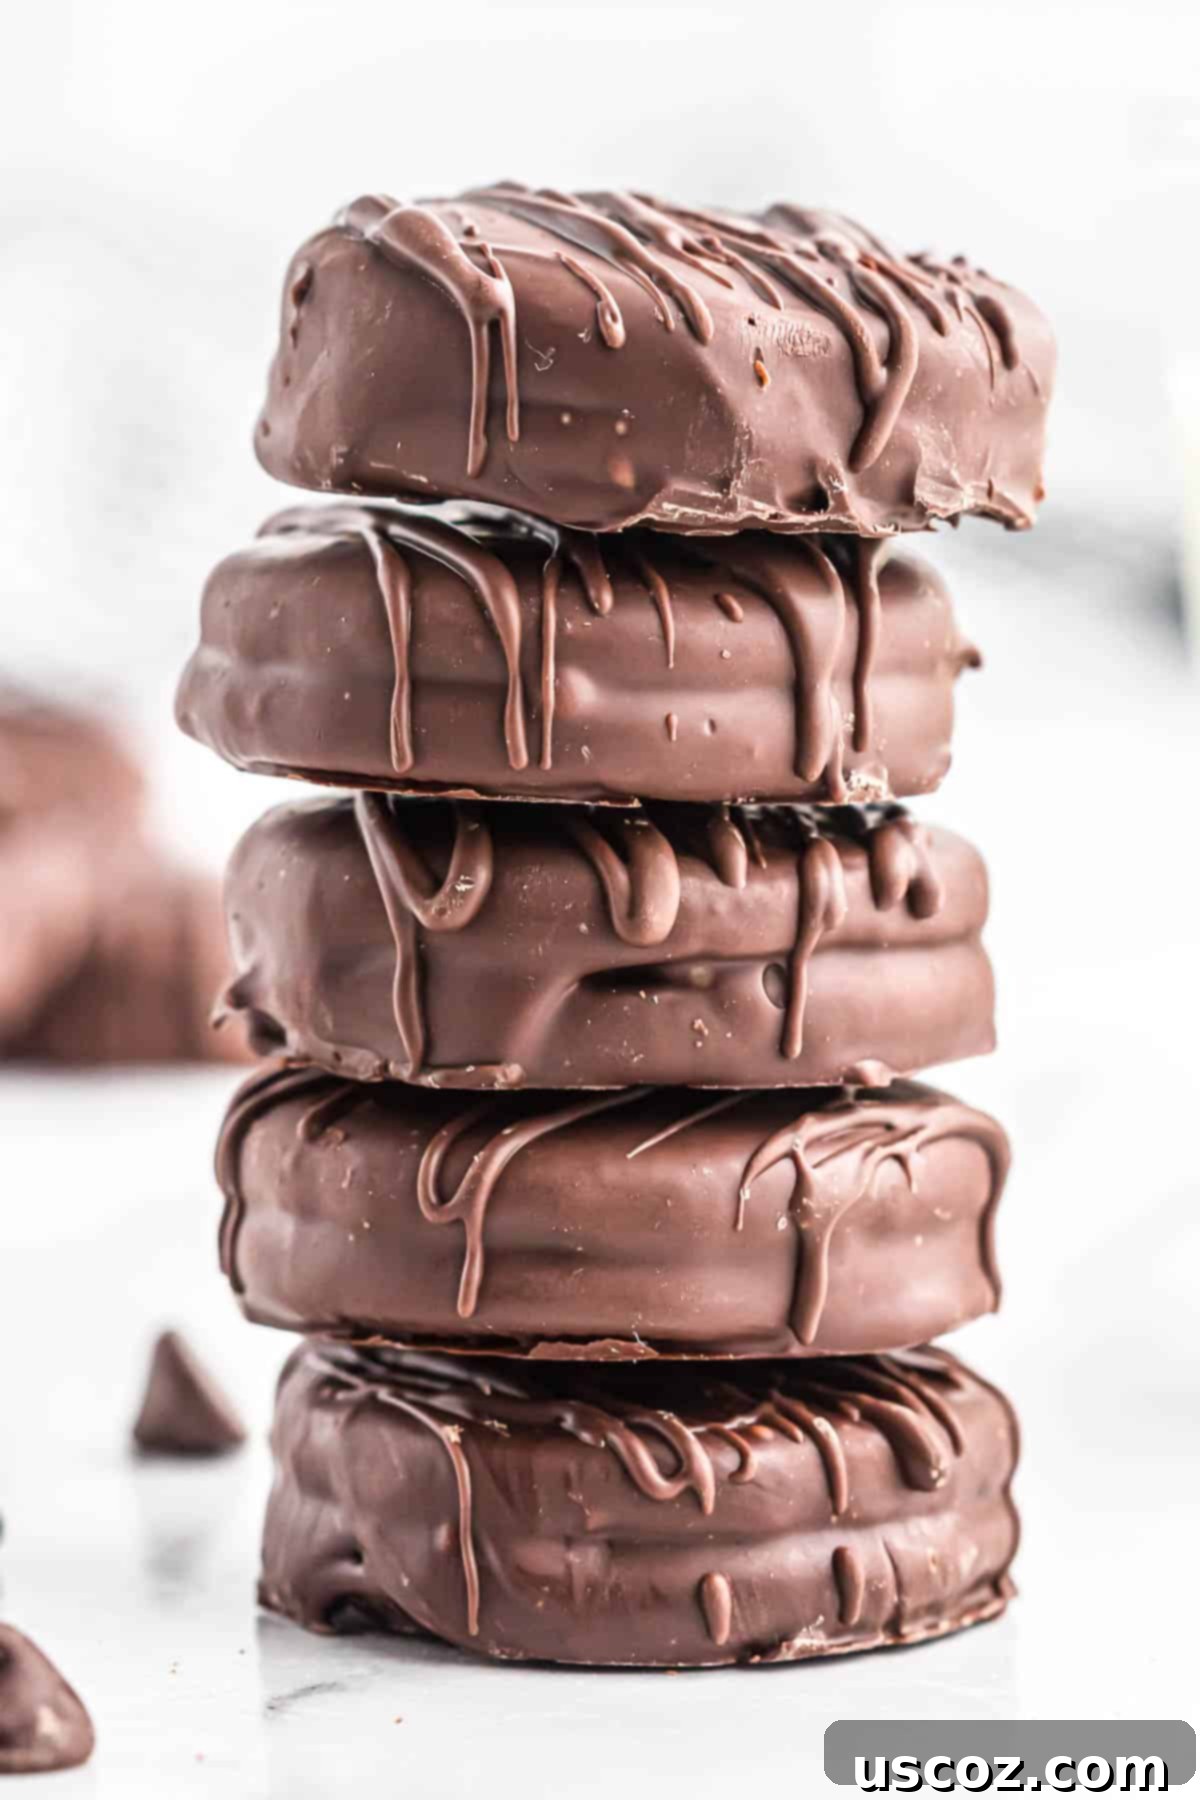
The classic Oreo cookie is a universally loved treat, a staple in many pantries. But what if we told you there’s a way to elevate this beloved cookie to an even higher level of deliciousness with minimal effort? By simply dipping them into a rich, melted chocolate coating, you create an irresistible dessert that’s both elegant and incredibly satisfying. These homemade chocolate covered Oreos offer an added layer of texture and flavor, transforming a familiar favorite into something truly special.
This recipe is designed for ease and versatility. With just three core ingredients, you can whip up a batch of these delectable cookies in no time. Whether you’re planning for Valentine’s Day, preparing treats for a Christmas cookie swap, celebrating a birthday, or just need a quick dessert for a weeknight indulgence, these chocolate dipped Oreos fit every occasion. Their simplicity makes them perfect for busy individuals, while their impressive appearance suggests a gourmet effort.
For an extra touch of variety and visual appeal, consider making a complementary batch of White Chocolate Covered Oreos. Mixing and matching dark, milk, and white chocolate coatings adds a beautiful contrast and caters to different chocolate preferences. Any dessert featuring Oreos is destined for popularity, and these coated versions are no exception. They combine the familiar crunch of the cookie with the smooth, melting goodness of chocolate, creating a textural symphony that everyone will adore.
These treats are not only incredibly tasty but also wonderfully customizable. You can adapt them to any theme or holiday with various toppings and colors, making them a festive addition to any celebration. Forget complicated baking – this recipe focuses on pure enjoyment and effortless creation, ensuring you spend less time in the kitchen and more time savoring these delightful cookies.
Essential Ingredients for Chocolate Covered Oreos
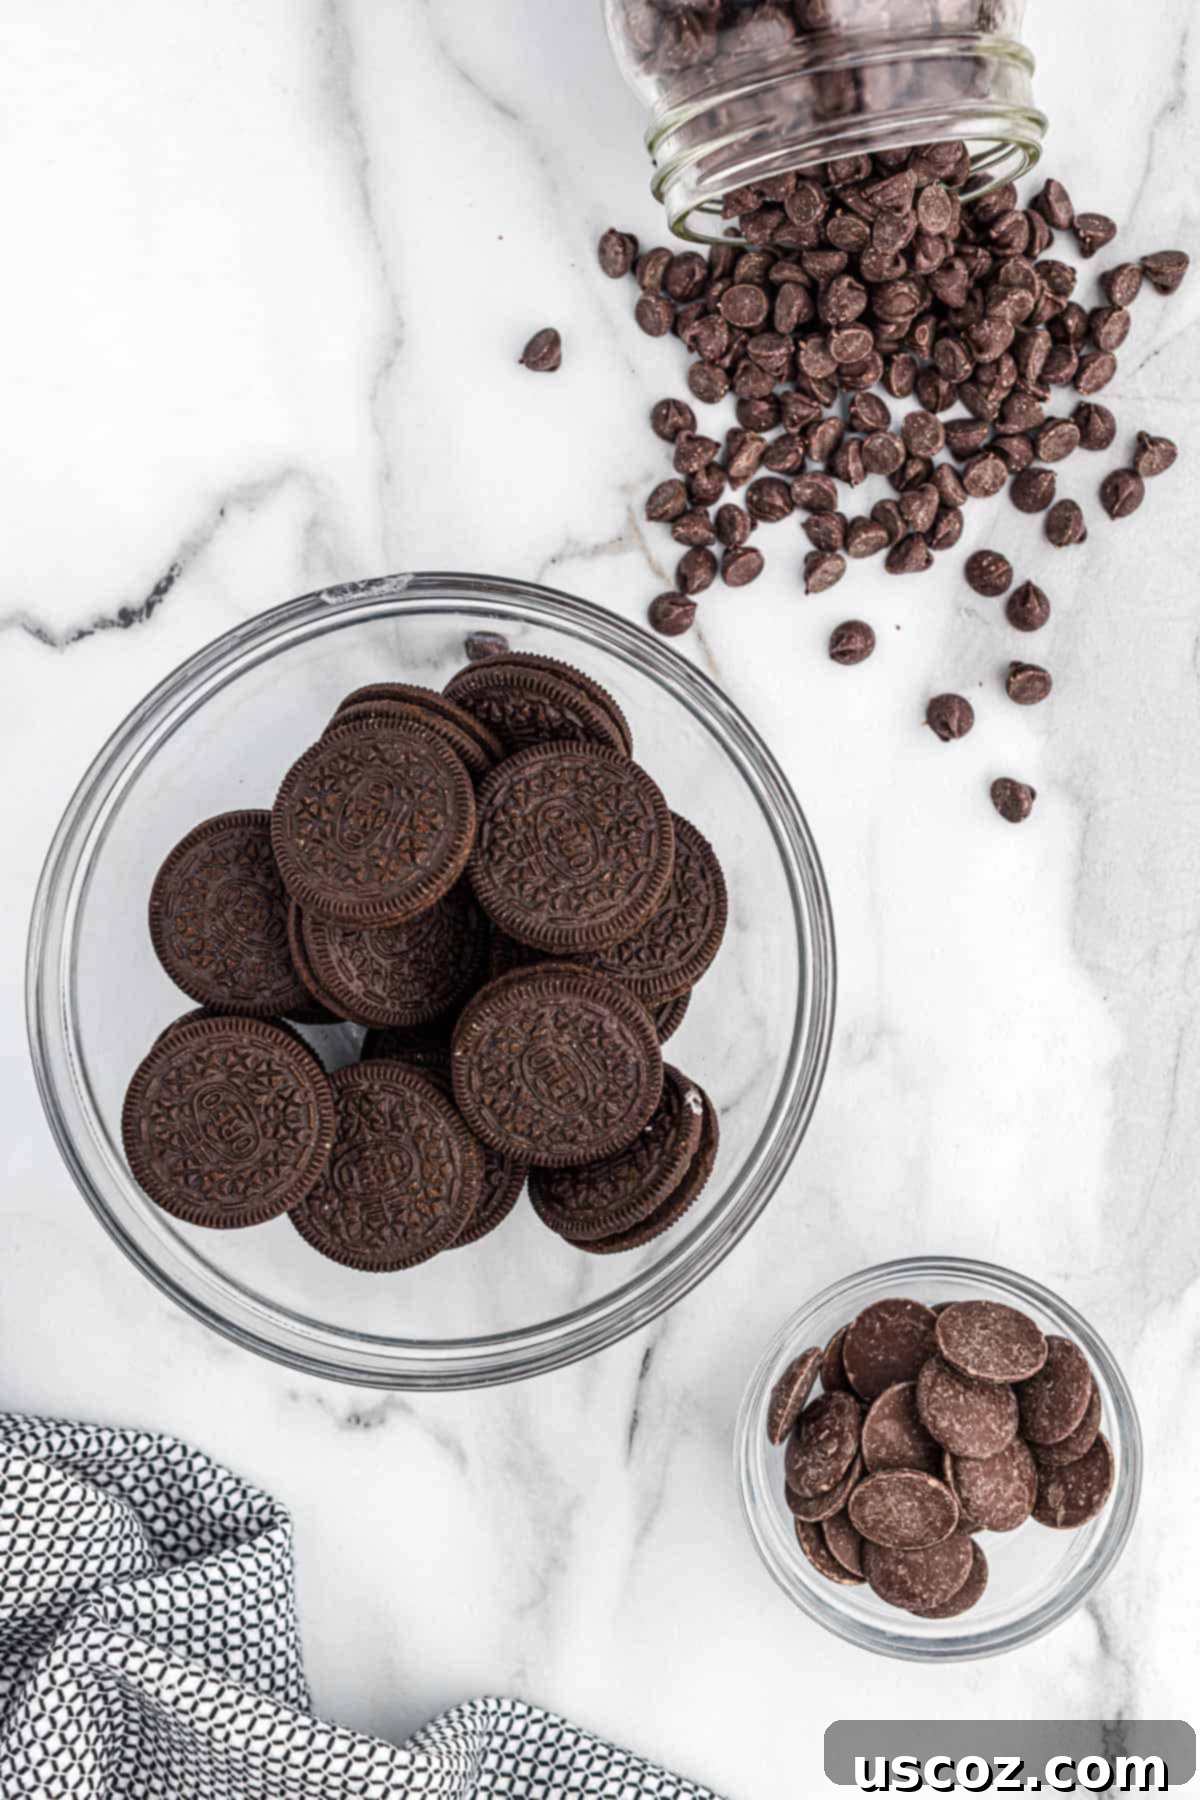
One of the best aspects of this recipe is its minimal ingredient list. You likely have most of these on hand already, making it a perfect last-minute dessert option. Here’s what you’ll need:
- Oreos: The star of our show! Any variety will work, but the classic chocolate sandwich cookie provides the perfect base. You can experiment with Double Stuf for an extra creamy center or even flavored Oreos for unique twists.
- Semi-sweet chocolate chips: This will be your primary chocolate coating. Semi-sweet offers a balanced flavor that complements the sweetness of the Oreo without being overly rich. Quality matters here – a good brand will melt smoothly and taste delicious. You can also use milk chocolate for a sweeter profile or dark chocolate for a more intense flavor.
- Dark chocolate melting wafers: These are ideal for drizzling as they melt smoothly and set quickly, giving you that beautiful professional finish. If you don’t have melting wafers, regular dark chocolate chips or a chopped dark chocolate bar will also work. Just be sure to melt them carefully to avoid seizing.
That’s it! With these three simple components, you’re ready to create a batch of extraordinary chocolate-covered Oreos.
How to Make Chocolate Covered Oreos: A Simple Step-by-Step Guide
Creating these delightful treats is incredibly straightforward. Follow these easy steps for perfectly coated Oreos every time:
Step 1: Melt the main chocolate coating. Take your bag of semi-sweet chocolate chips and melt them until they are completely smooth and free of lumps. You have a couple of excellent options for melting:
- Microwave Method: Place the chocolate chips in a microwave-safe bowl. Heat in 30-second increments, stirring well after each interval. It’s crucial not to overheat the chocolate, as it can seize (become thick and clumpy). Continue heating and stirring until the chocolate is smooth and glossy.
- Double Boiler Method: If you prefer a more controlled melting process, use a double boiler. Place a heat-safe bowl over a pot of simmering water, ensuring the bottom of the bowl does not touch the water. Add your chocolate chips to the bowl and stir constantly until melted and smooth. This method provides gentle, even heat, reducing the risk of burning.
Ensure your chocolate is fully melted and has a smooth, pourable consistency before proceeding.
Step 2: Dip the Oreos. This is the fun part! Carefully dip each Oreo cookie, one by one, into the melted semi-sweet chocolate. You can use a fork, a dipping tool, or even your fingers if you don’t mind getting a little messy. Ensure the entire cookie is thoroughly coated. Gently tap off any excess chocolate against the side of the bowl to prevent puddles forming on your baking sheet. Place each dipped Oreo onto a baking sheet lined with parchment paper or wax paper. This prevents them from sticking and makes for easy cleanup.
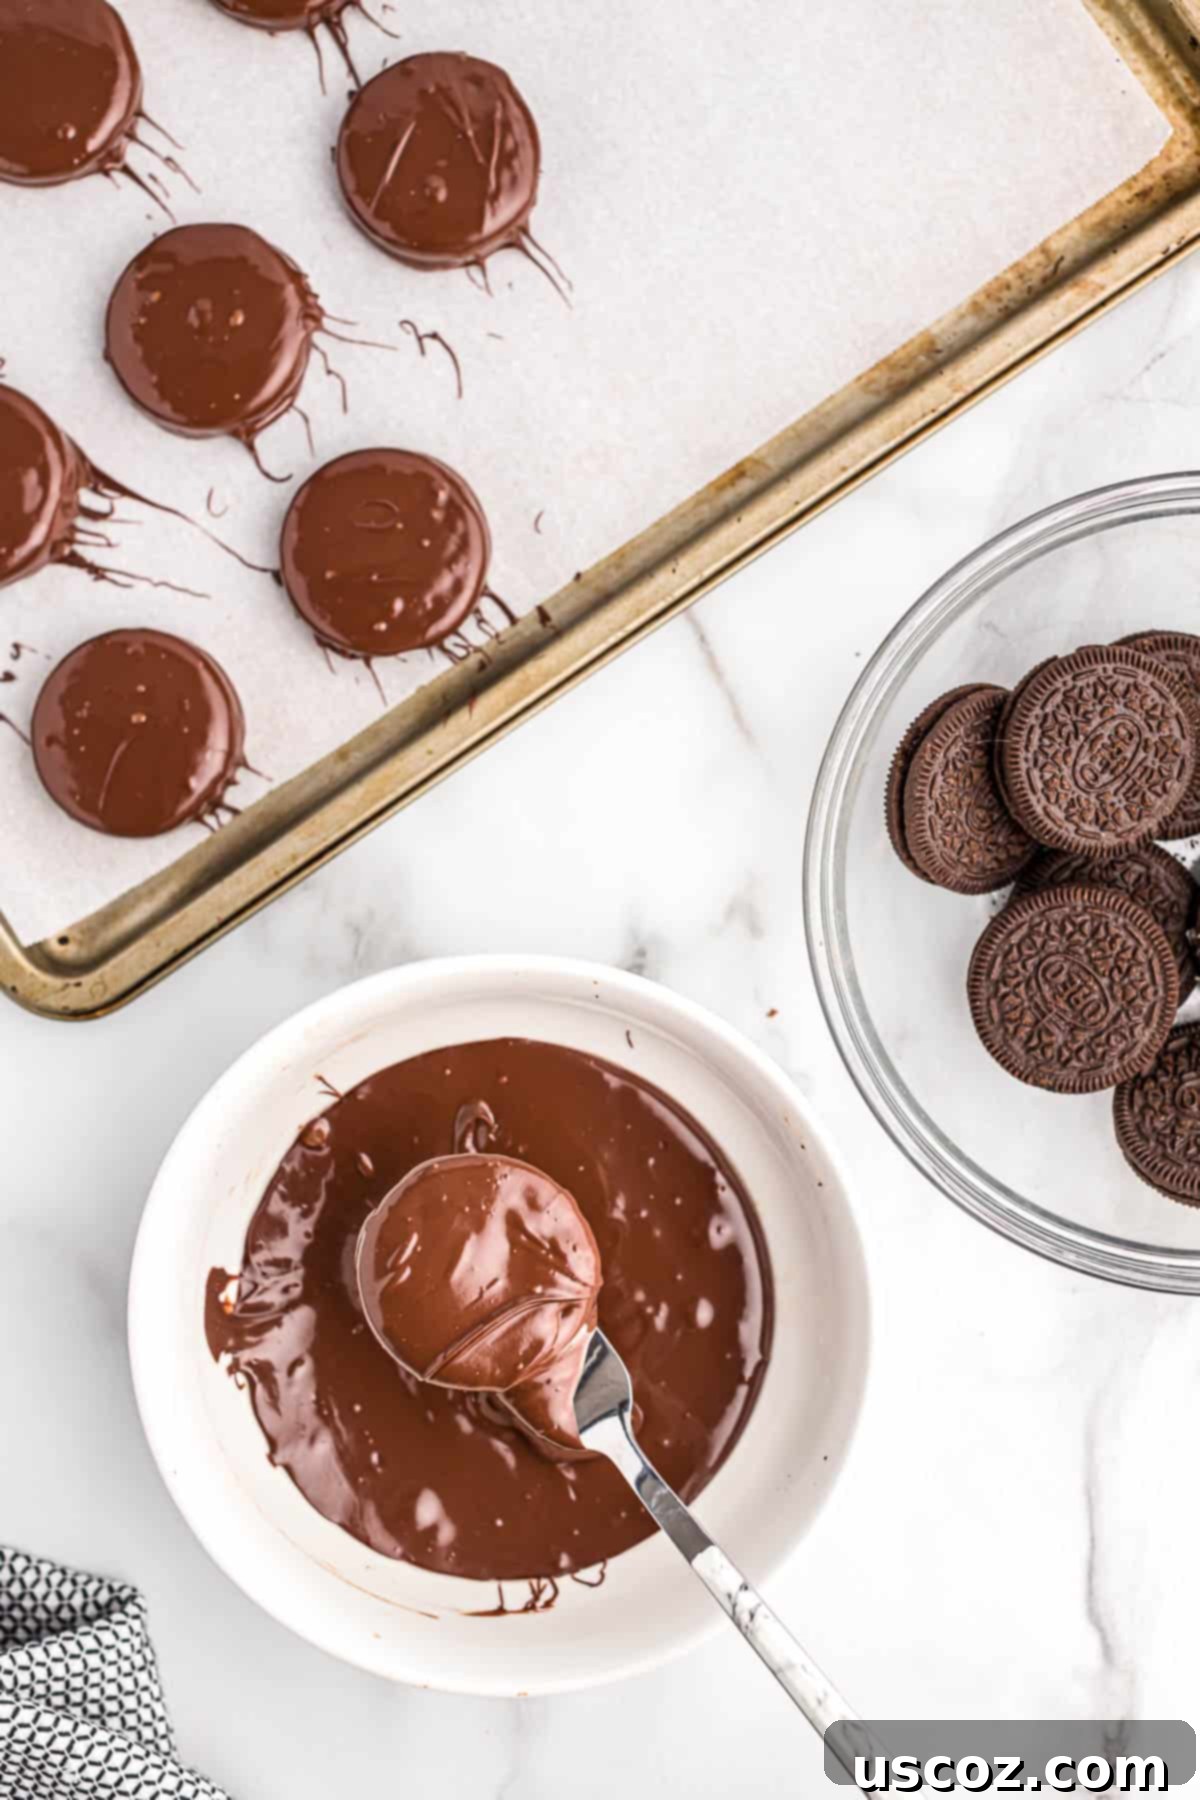
Step 3: Chill until set. Once all your Oreos are dipped, transfer the baking sheet to the refrigerator. Allow them to chill for about 15-20 minutes, or until the chocolate coating has completely hardened. This step is crucial for achieving that firm, snap-able chocolate shell.
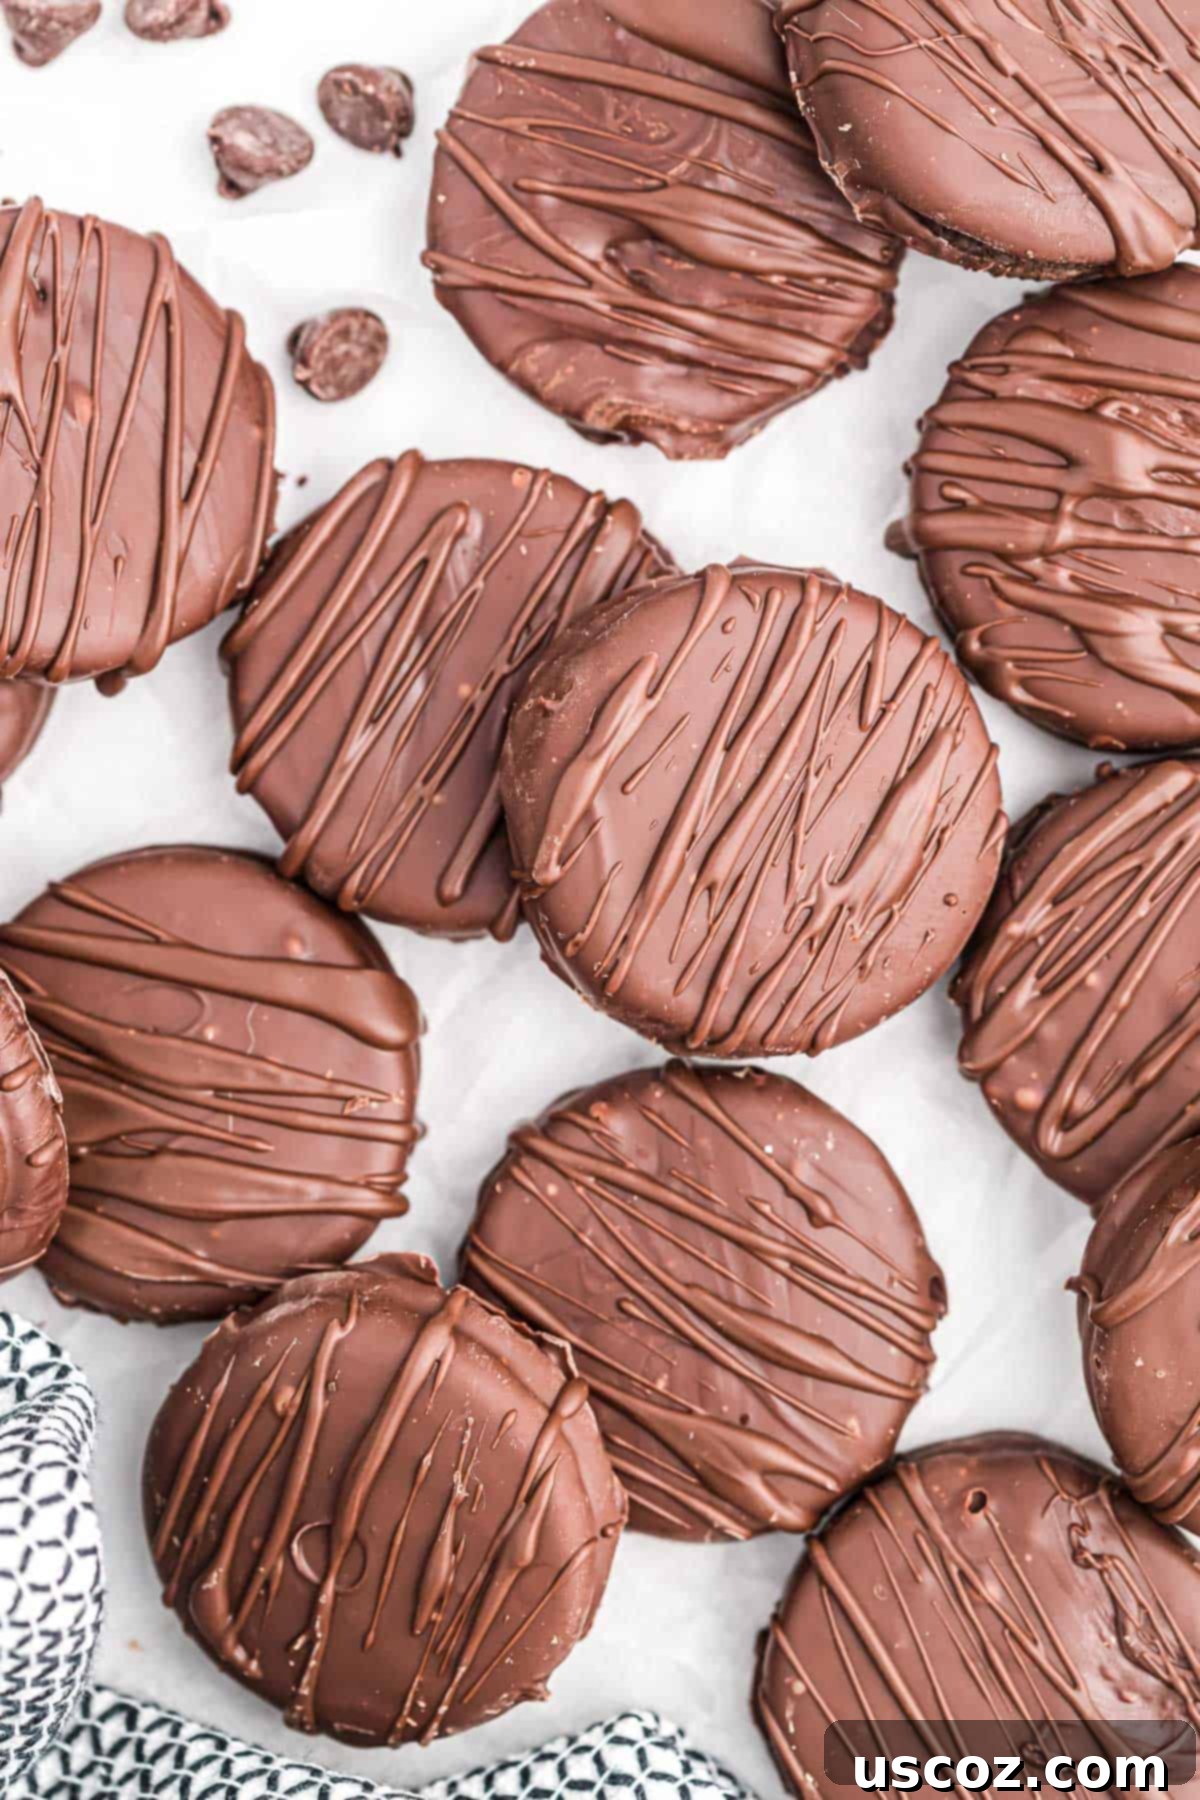
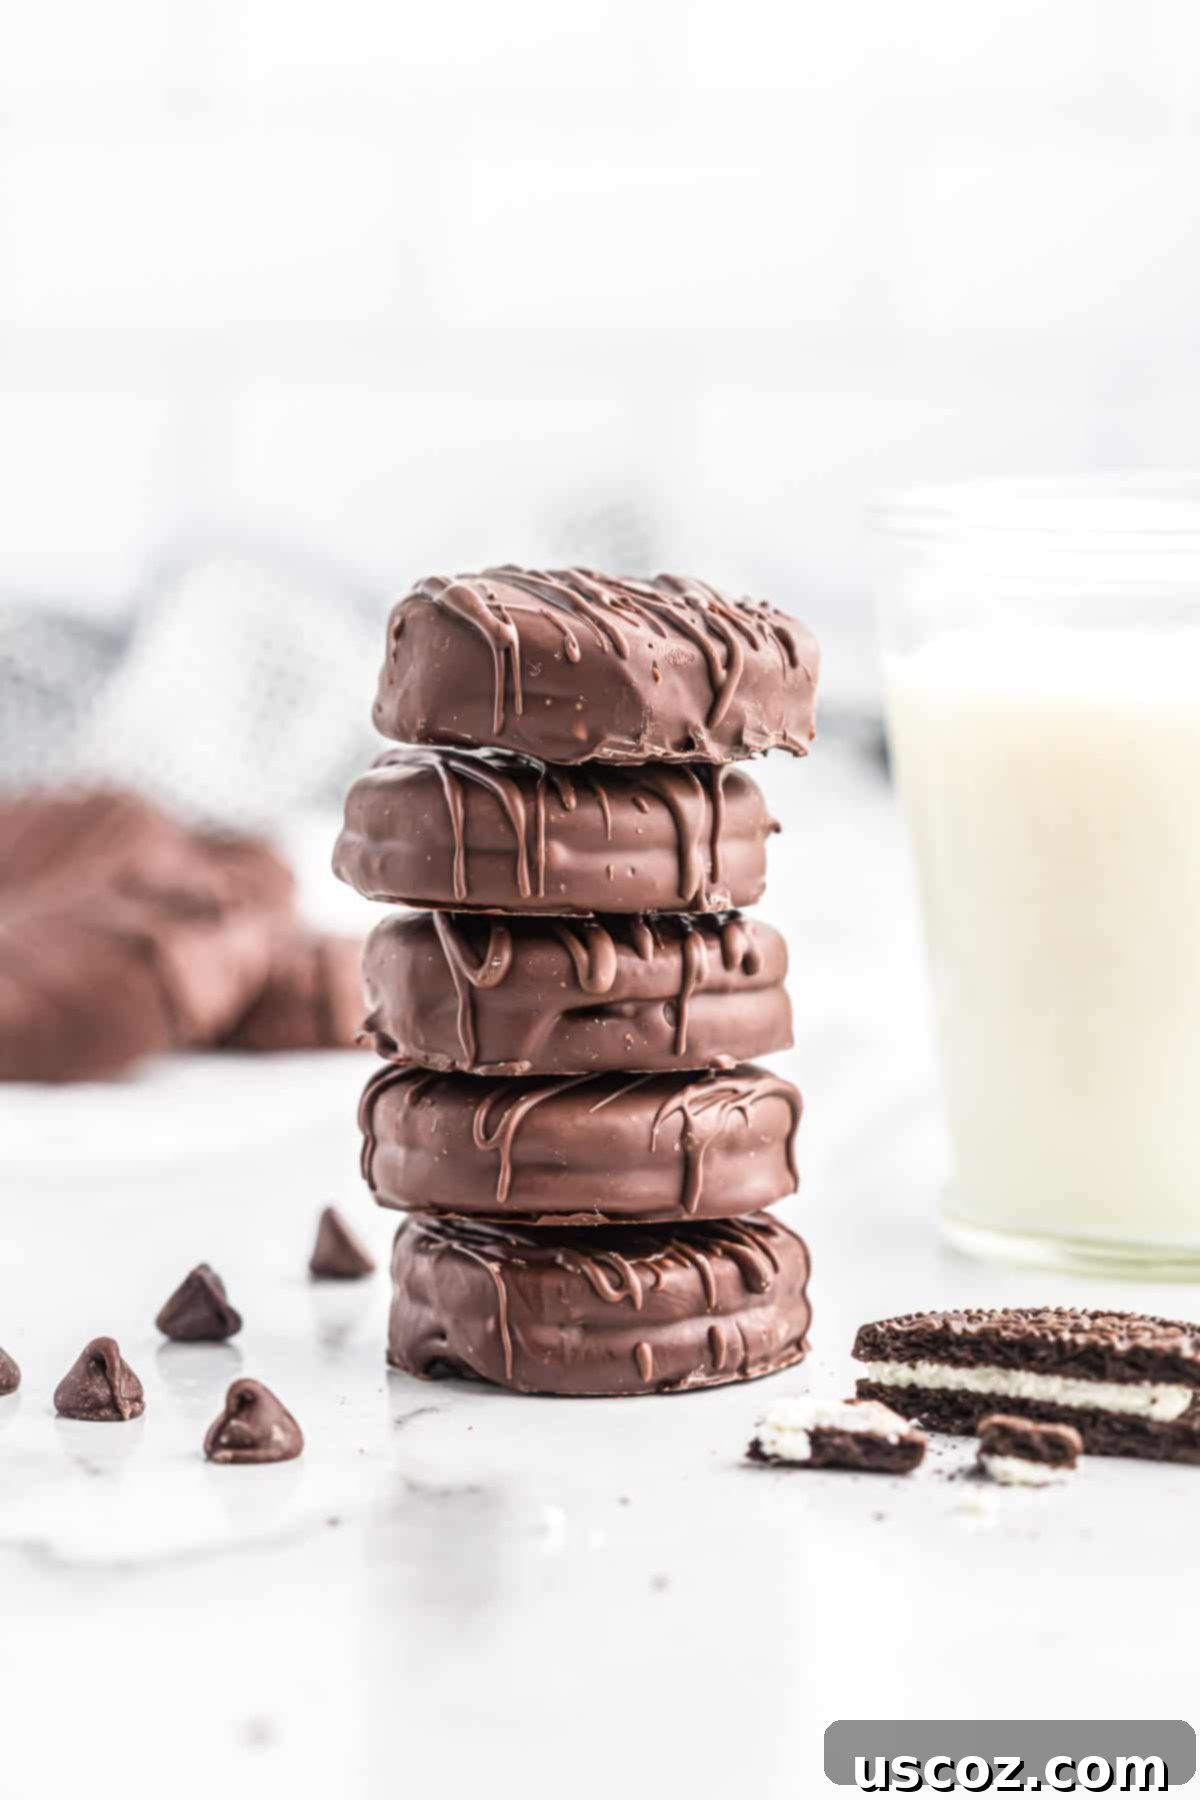
Step 4: Drizzle with dark chocolate. While the first layer of chocolate is chilling, melt your dark chocolate melting wafers (or chocolate chips) until smooth. You can use the same methods as in Step 1. Once melted, take a spoon or a piping bag with a very small tip and elegantly drizzle the melted dark chocolate over the tops of your semi-sweet chocolate-covered Oreos. This adds visual appeal and another layer of chocolatey flavor.
Place the Oreos back into the fridge for another 5-10 minutes, or until the drizzled chocolate is fully set. Once firm, they are ready to be enjoyed! The contrast between the initial chocolate layer and the dark chocolate drizzle makes these treats look sophisticated and irresistible.
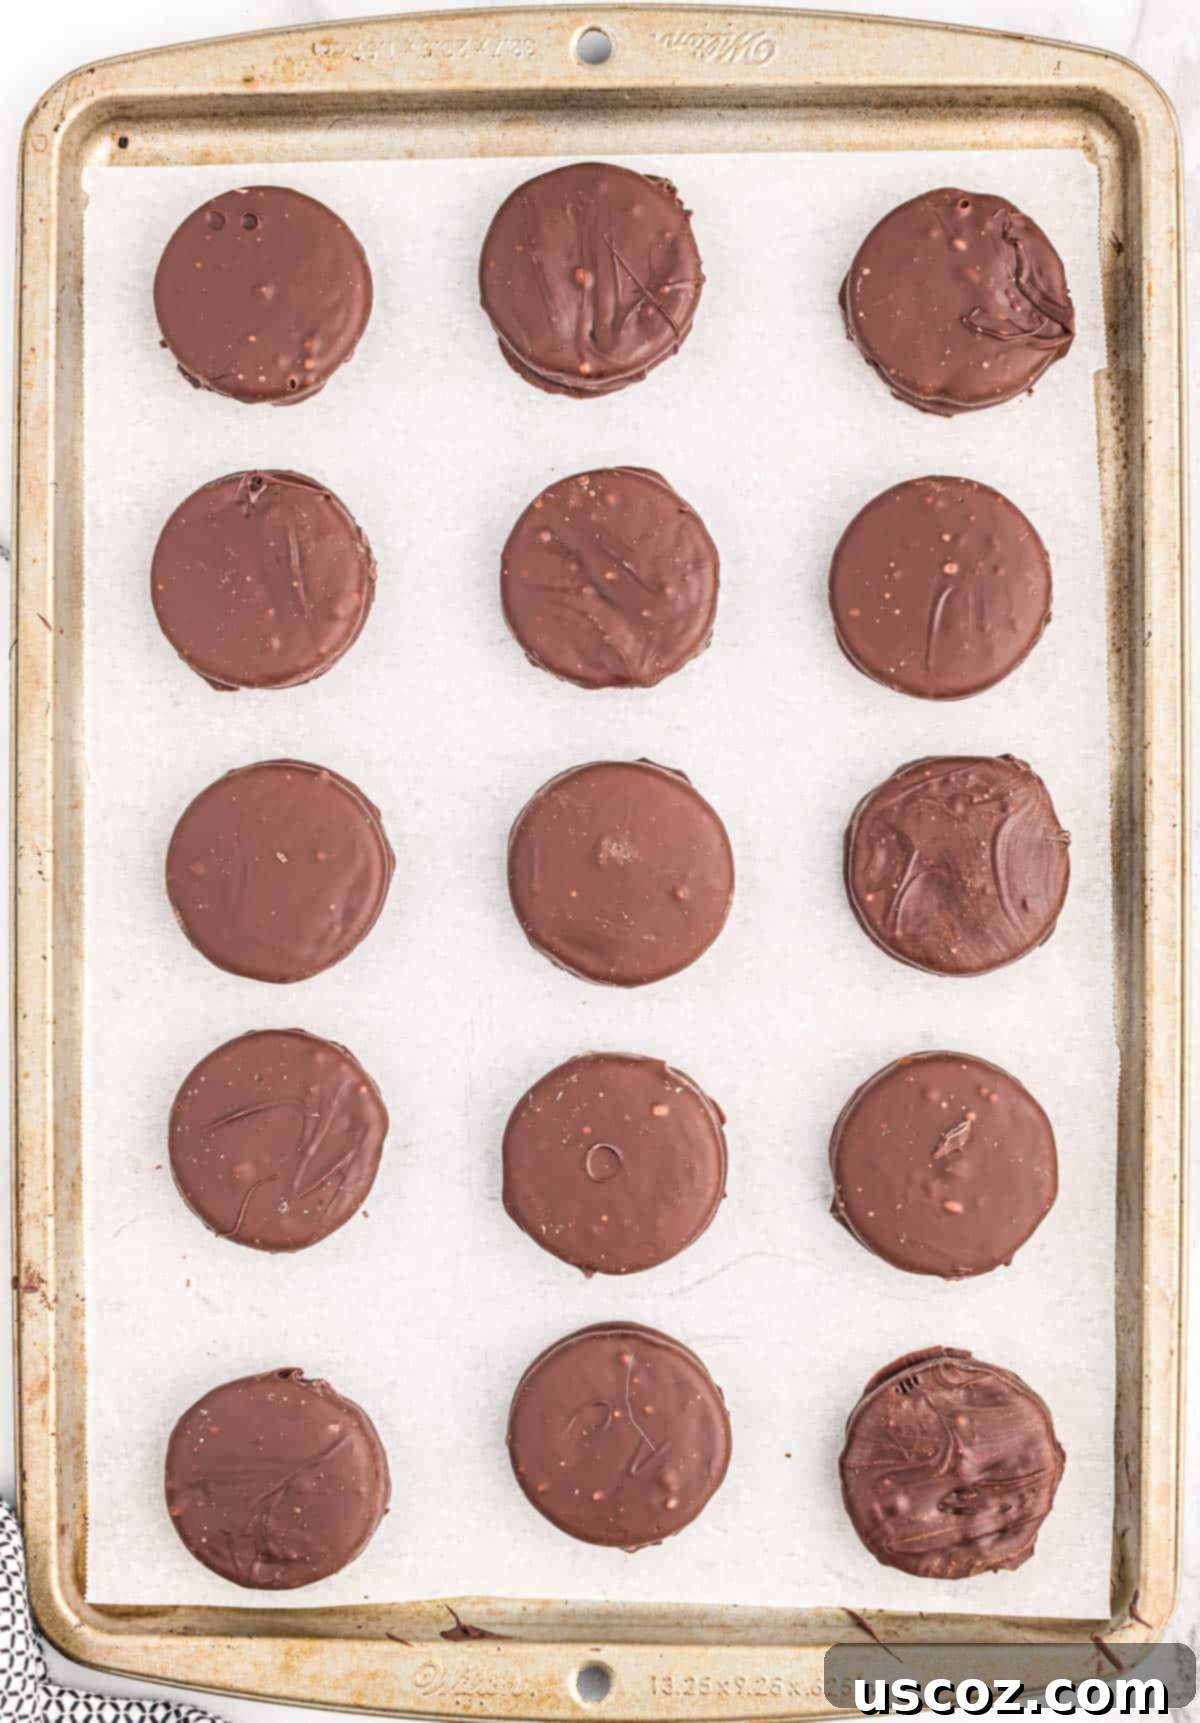
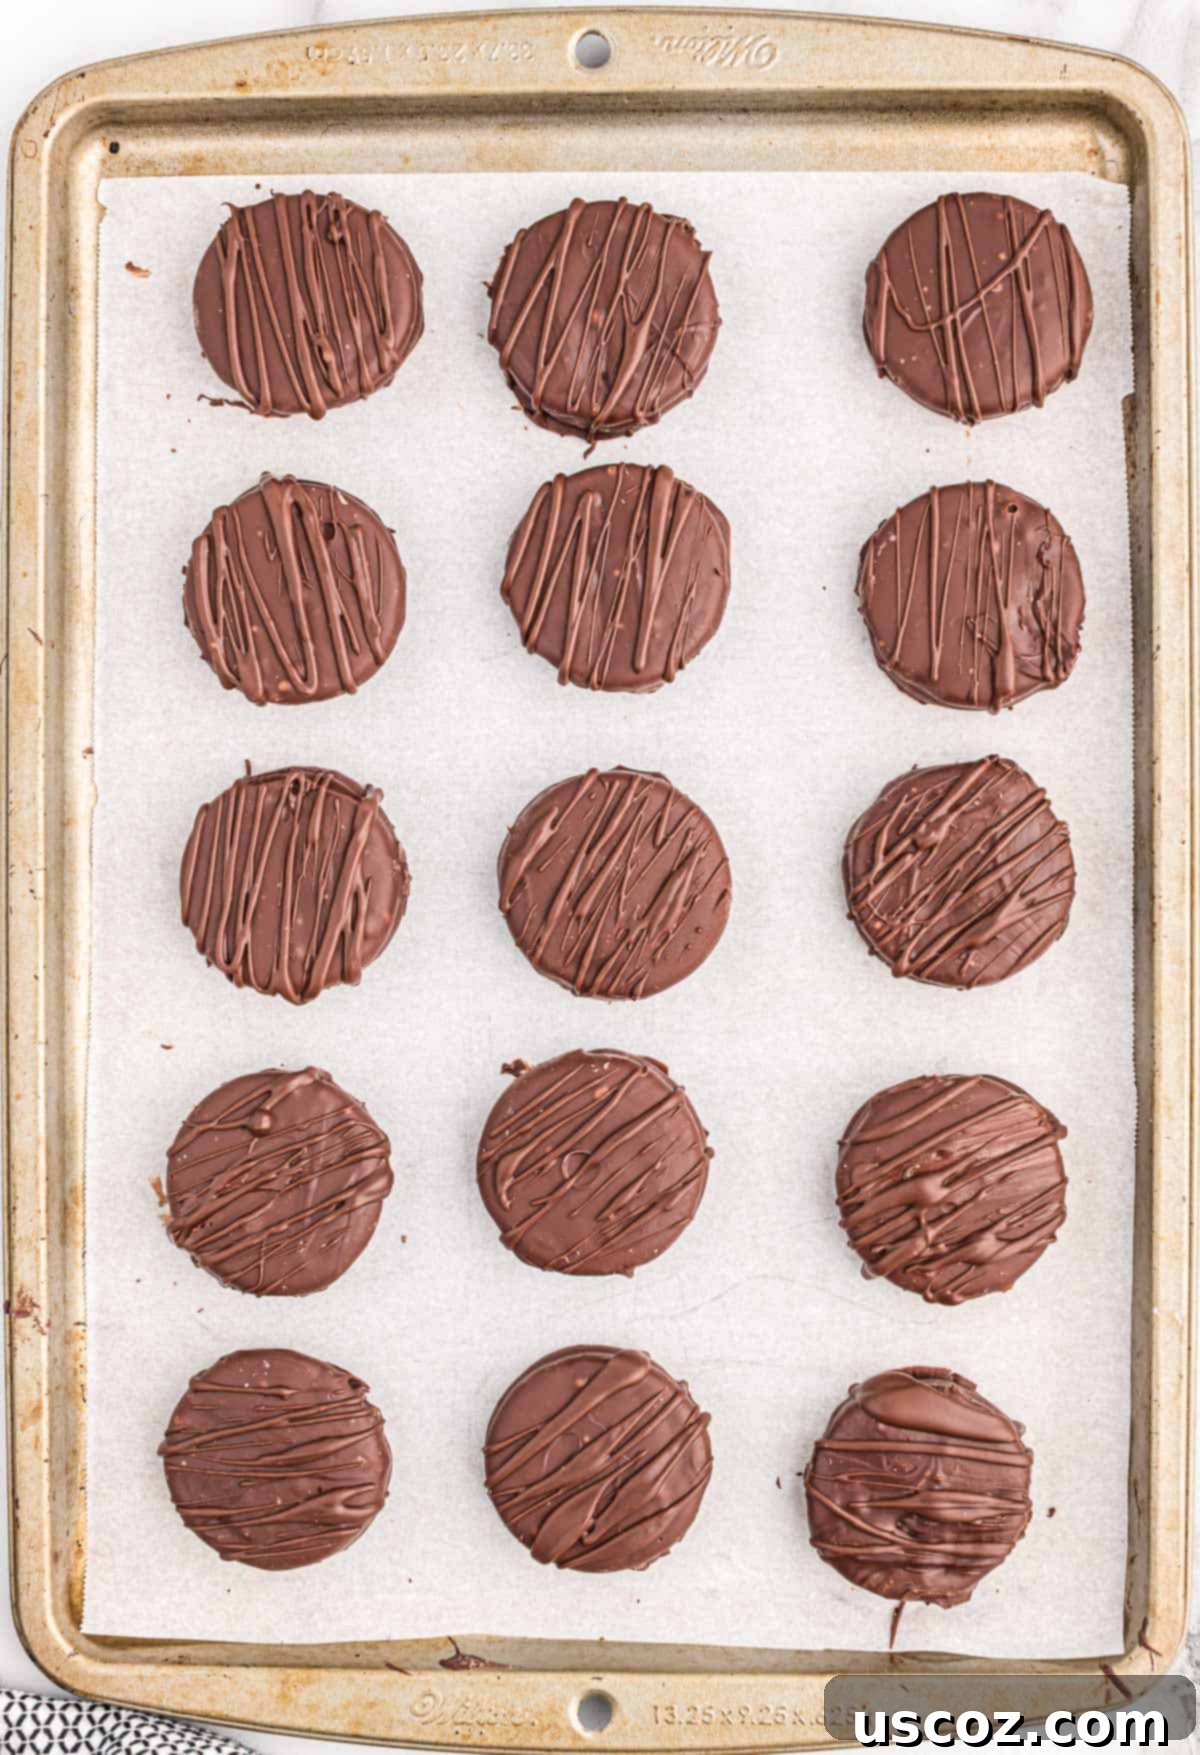
As mentioned in the ingredients, you can certainly use additional chocolate chips in place of the melting wafers if you have extra on hand. The key is to achieve a smooth, pourable consistency for an even drizzle.
Joy’s Expert Tips for Perfect Chocolate Covered Oreos & Creative Variations
While these chocolate covered Oreos are fantastic on their own, a little creativity can transform them into truly spectacular treats. Here are some fun ways to dress them up and make them unique:
- Seasonal Sprinkles: This is arguably the easiest and most effective way to customize your Oreos for any holiday or theme.
- For Valentine’s Day, opt for pink, red, and white sprinkles, edible hearts, or glitter.
- For Christmas, use festive red and green sprinkles, snowflakes, or tiny edible silver balls.
- Halloween calls for orange, black, and purple sprinkles, or even spooky edible candy eyes.
- For Birthday Parties, use sprinkles that match the birthday person’s favorite colors or the party’s theme.
- Fourth of July: Red, white, and blue sprinkles are perfect.
- Easter: Pastel-colored sprinkles or tiny chocolate eggs.
- Crushed Candies: After dipping the Oreos, but before the chocolate sets, sprinkle them with crushed peppermints for a festive Christmas treat, crushed candy bars for an extra layer of sweetness, or even crushed nuts like pecans or walnuts for added texture and flavor.
- Sea Salt: A light sprinkle of flaky sea salt immediately after dipping can elevate the flavor profile, creating a delightful sweet-and-salty combination that’s incredibly addictive.
- Coconut Flakes: Toasted coconut flakes add a tropical twist and beautiful texture.
- Different Chocolate Types: Don’t limit yourself to semi-sweet and dark! Experiment with milk chocolate, white chocolate, or even flavored chocolates like caramel or peppermint for unique batches.
- Swirls of Color: Instead of just drizzling, try swirling different melted chocolates together. Dip in white chocolate, then drizzle with melted milk chocolate and swirl with a toothpick for a marbled effect.
- Edible Decorations: Use edible glitter, food coloring pens, or small candy decorations to create intricate designs once the chocolate has set.
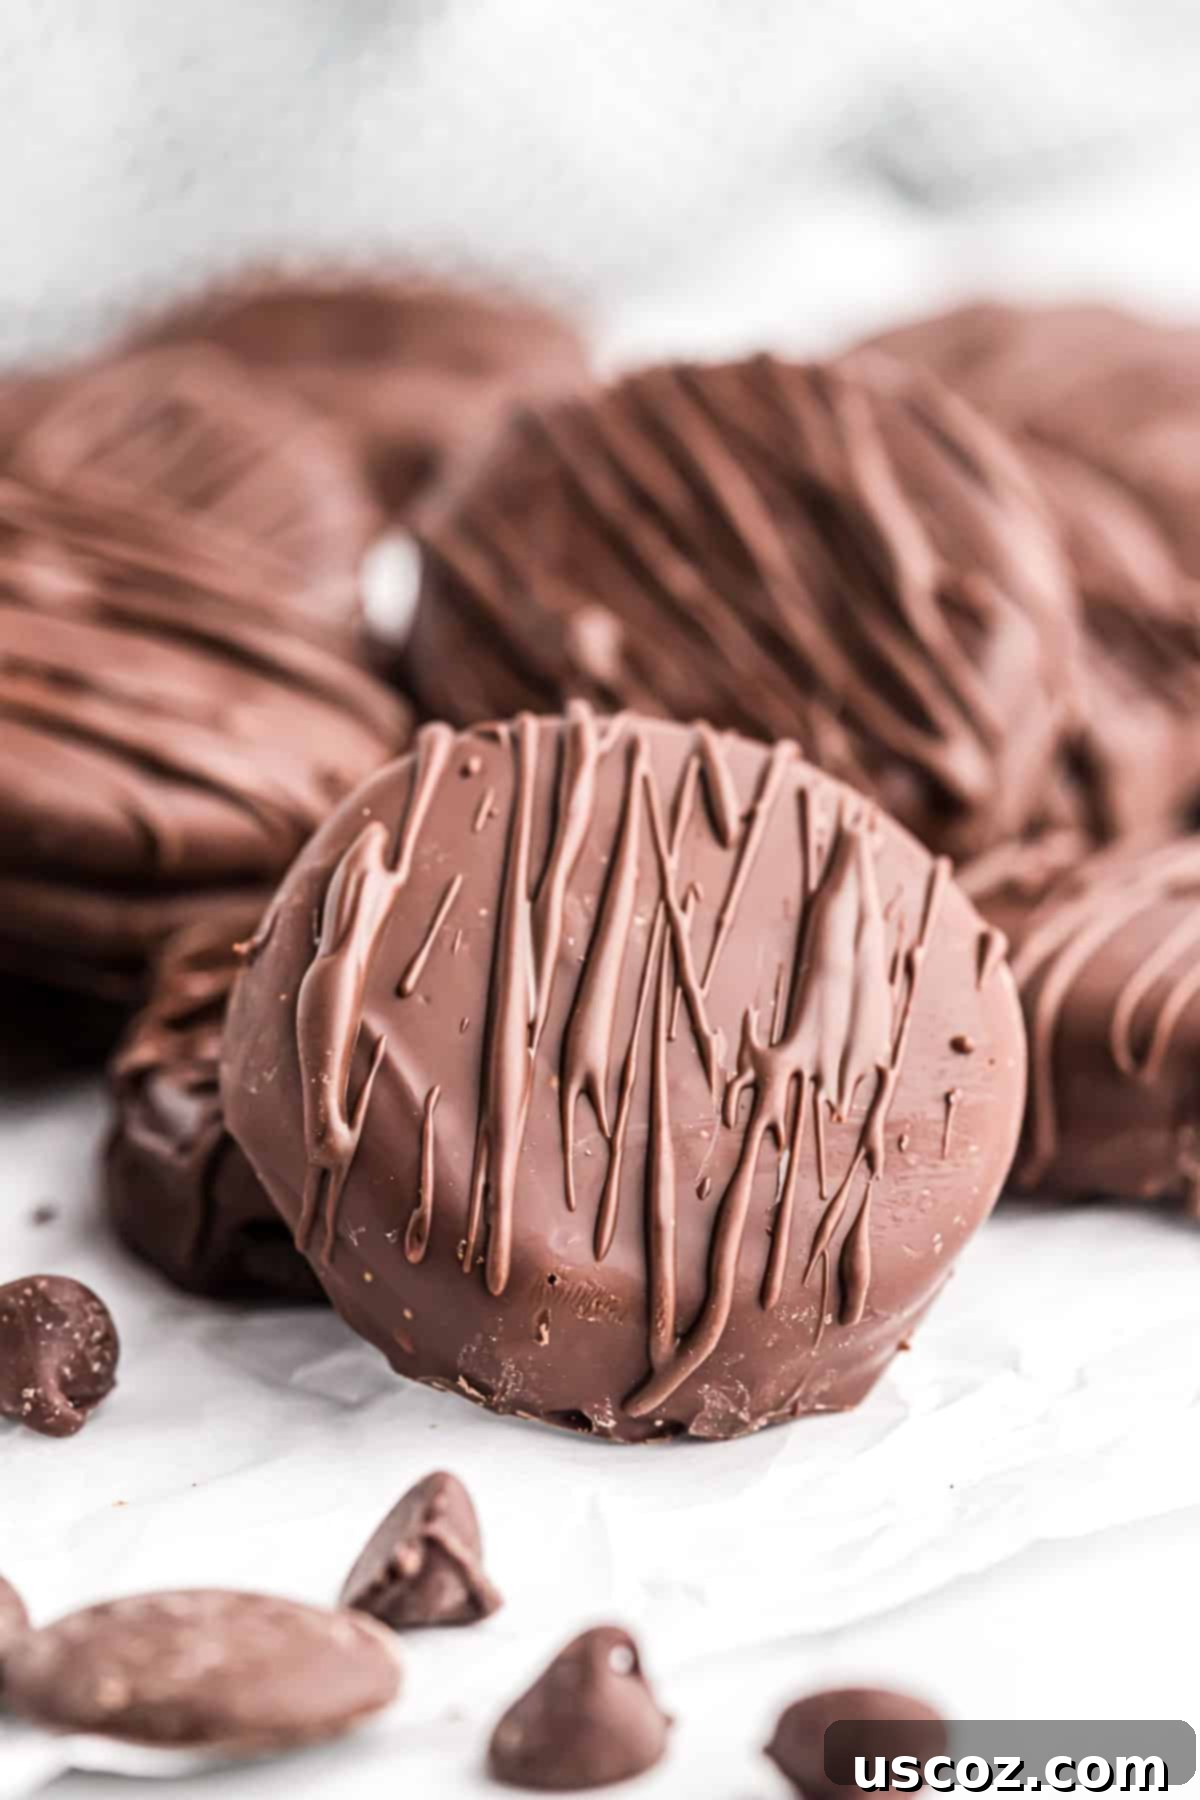
This is an easily customizable dessert that looks fancy but requires very little time to make! It’s proof that you don’t need to be a pastry chef to create something truly impressive and delicious.
Storage and Serving Tips for Your Homemade Delights
Once your chocolate-covered Oreos are set, storing them properly will ensure they remain fresh and delicious. Keep them in an airtight container at room temperature for up to 1 week, or in the refrigerator for up to 2 weeks. If you live in a warm climate, refrigeration is recommended to prevent the chocolate from melting. For longer storage, you can freeze them for up to 1 month. Just be sure to thaw them in the refrigerator before serving.
These chocolate covered cookies are indulgent, delicious, and super easy to make. They offer the perfect balance of crunchy cookie and smooth, rich chocolate, creating a texture and flavor profile that’s hard to resist. Whether you’re making them for a special someone or for yourself, they are sure to bring joy with every bite.
I don’t know about you, but these are my dream Valentine’s Day dessert. They are simple, heartfelt, and utterly delicious – a perfect way to show someone you care without spending hours in the kitchen. Plus, they look absolutely charming when presented in a gift box or on a dessert platter.
Frequently Asked Questions About Chocolate Covered Oreos
Can I use any type of chocolate for dipping?
While semi-sweet chocolate chips are recommended for their balanced flavor and ease of melting, you can absolutely experiment with other types. Milk chocolate will result in a sweeter coating, while dark chocolate will provide a more intense, slightly bitter contrast to the sweet Oreo. White chocolate also works wonderfully, offering a creamy, vanilla-like flavor. For best results, choose good quality chocolate or melting wafers designed for dipping, as they melt smoother and set firmer.
My chocolate seized! What went wrong and how can I fix it?
Chocolate seizing (becoming thick, grainy, and unworkable) usually happens when it comes into contact with even a tiny bit of water or is overheated. To prevent it, ensure all your tools and bowls are completely dry. When melting in the microwave, heat in short bursts (30 seconds) and stir diligently. If your chocolate does seize, you might be able to rescue it by stirring in a teaspoon of vegetable oil, shortening, or melted butter, one drop at a time, until it becomes smooth again. However, this can alter the taste and texture slightly.
How can I make the chocolate coating smoother?
To achieve a super smooth coating, ensure your chocolate is melted thoroughly and stirred until completely lump-free. For an even thinner, more liquid consistency, you can add a tiny bit of coconut oil or shortening (about ½ to 1 teaspoon per cup of chocolate chips) while melting. This will make dipping easier and result in a sleeker finish.
How long do these chocolate covered Oreos last?
When stored in an airtight container at room temperature, chocolate covered Oreos typically stay fresh for about 1 week. If kept in the refrigerator, they can last up to 2 weeks. For optimal texture, allow them to come to room temperature for a few minutes before serving if they were refrigerated.
More Easy Desserts You’ll Love
If you enjoyed making these simple yet satisfying chocolate treats, you’ll love these other easy dessert recipes that are perfect for any occasion. These recipes are designed for minimal effort and maximum flavor:
- Ritz Cracker Cookies: A delightful no-bake treat combining salty crackers with sweet peanut butter and chocolate.
- Chocolate Covered Almonds: Crunchy almonds coated in rich chocolate – an elegant and addictive snack.
- Oreo Balls (Oreo Truffles): Crushed Oreos mixed with cream cheese and dipped in chocolate – a classic no-bake favorite.
- Mint Oreo Truffles: A refreshing twist on Oreo balls, infused with cool mint flavor.
- Graham Cracker Peanut Butter Balls: Sweet and salty bites, perfect for peanut butter lovers.
- No-Bake Oreo Pie: An incredibly simple and rich pie featuring an Oreo crust and creamy filling.
- Chocolate Covered Pretzels: The ultimate sweet and salty snack, easy to customize with sprinkles.
- Pecan Pie Balls: All the flavor of pecan pie in a convenient, bite-sized truffle.
- Oreo Dip: A creamy, dippable dessert packed with Oreo chunks, perfect for fruit or cookies.
- Peanut Butter Balls with Rice Krispies: A delightful combination of chewy and crispy textures.
- Ritz Cracker Toffee: An addictive, buttery, and chocolatey toffee with a surprising cracker base.
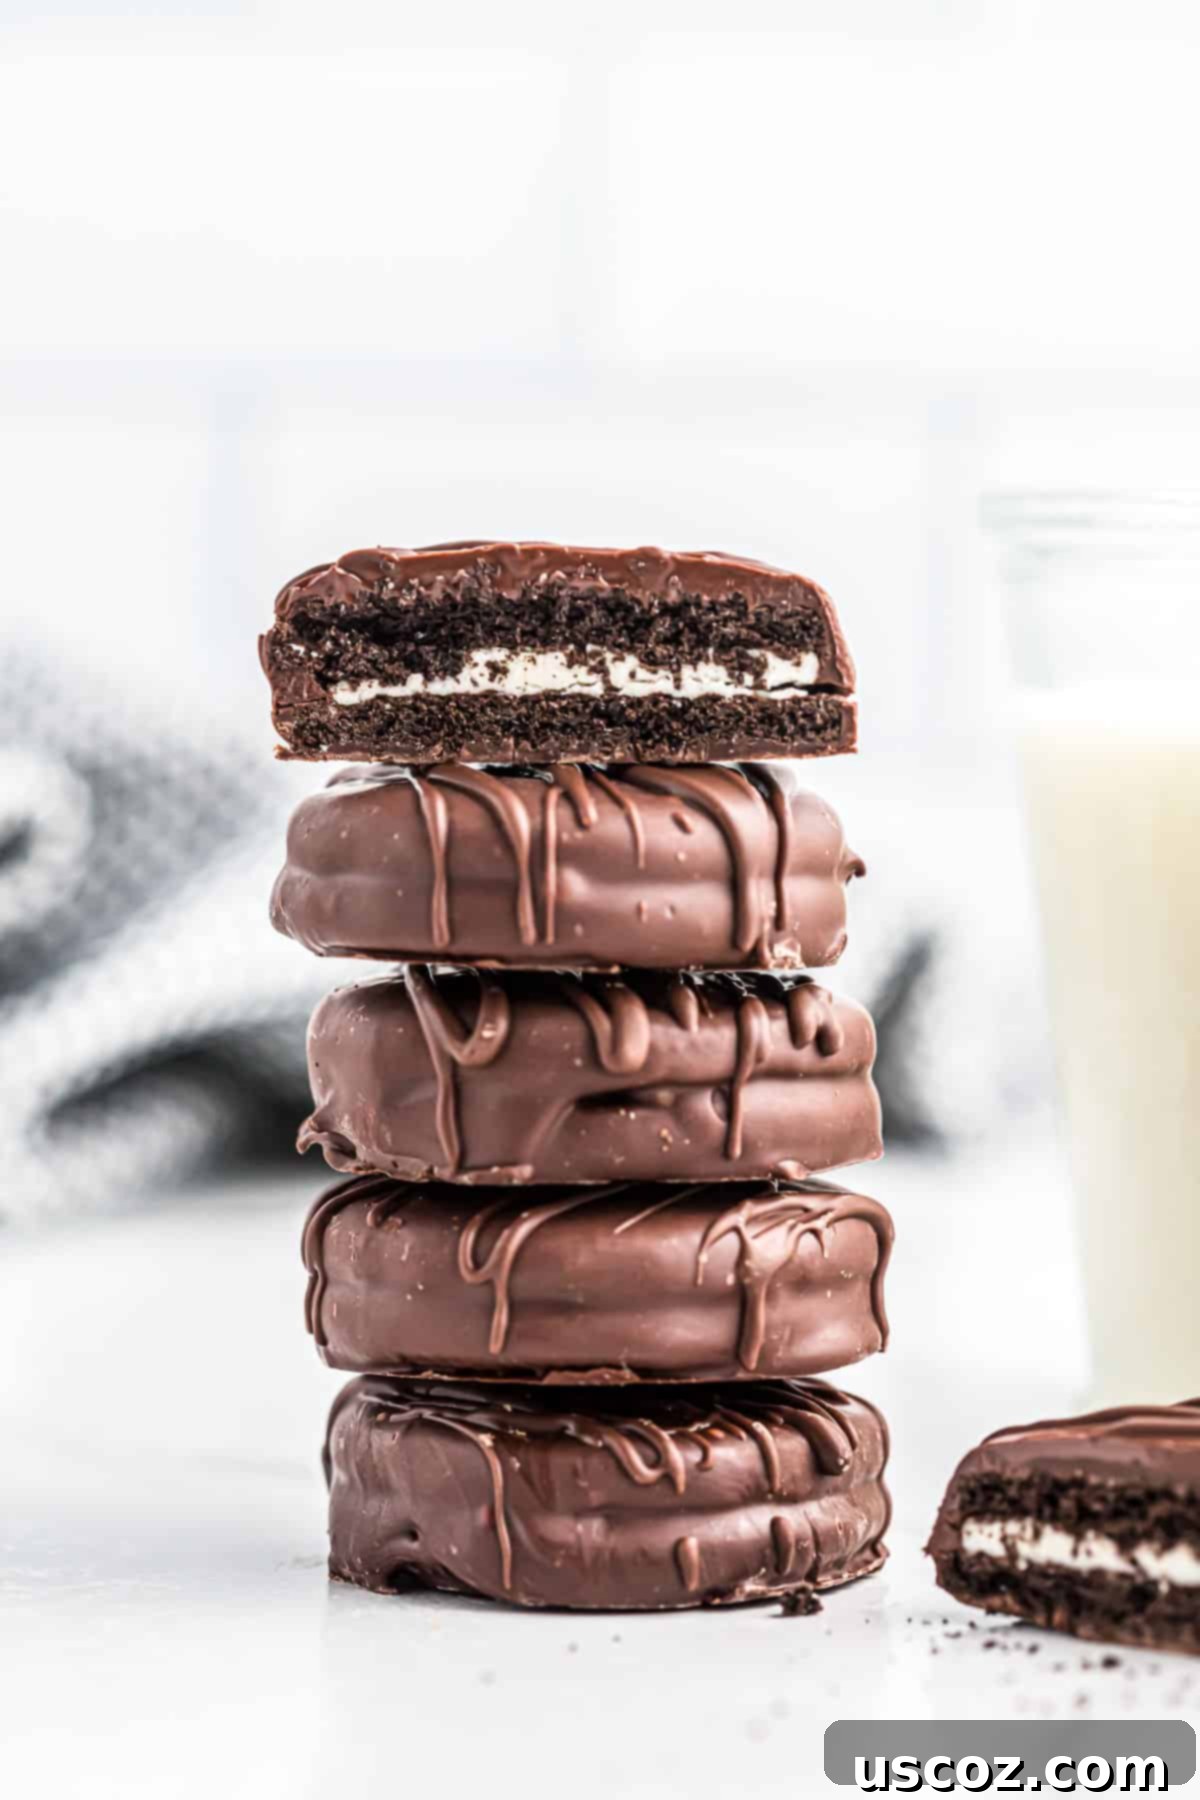
No matter the occasion, these simple and elegant chocolate covered Oreos are a fantastic choice. They’re quick, customizable, and always a huge hit with both kids and adults. Make a batch of these chocolate cookies for your next holiday gathering, special occasion, or simply to satisfy a sweet craving, and watch them disappear!

Chocolate Covered Oreos Recipe
Save RecipeSaved!
Pin Recipe
Rate Recipe
Print Recipe
Ingredients
- 15 Oreos
- 12 oz semi sweet chocolate chips
- ¼ cup dark chocolate melting wafers, or chocolate chips
Instructions
-
Melt the semi sweet chocolate chips in the microwave in 30 second increments, until smooth.
-
Dip the Oreos into the melted chocolate, then place them onto a parchment paper lined baking sheet.
-
Chill the chocolate covered oreos in the fridge until hardened.
-
Melt the dark chocolate melting wafers and drizzle the melted chocolate over the tops of the Oreos.
-
Chill the Oreos again again until firm.
Nutrition
Like this recipe? Rate and comment below!
