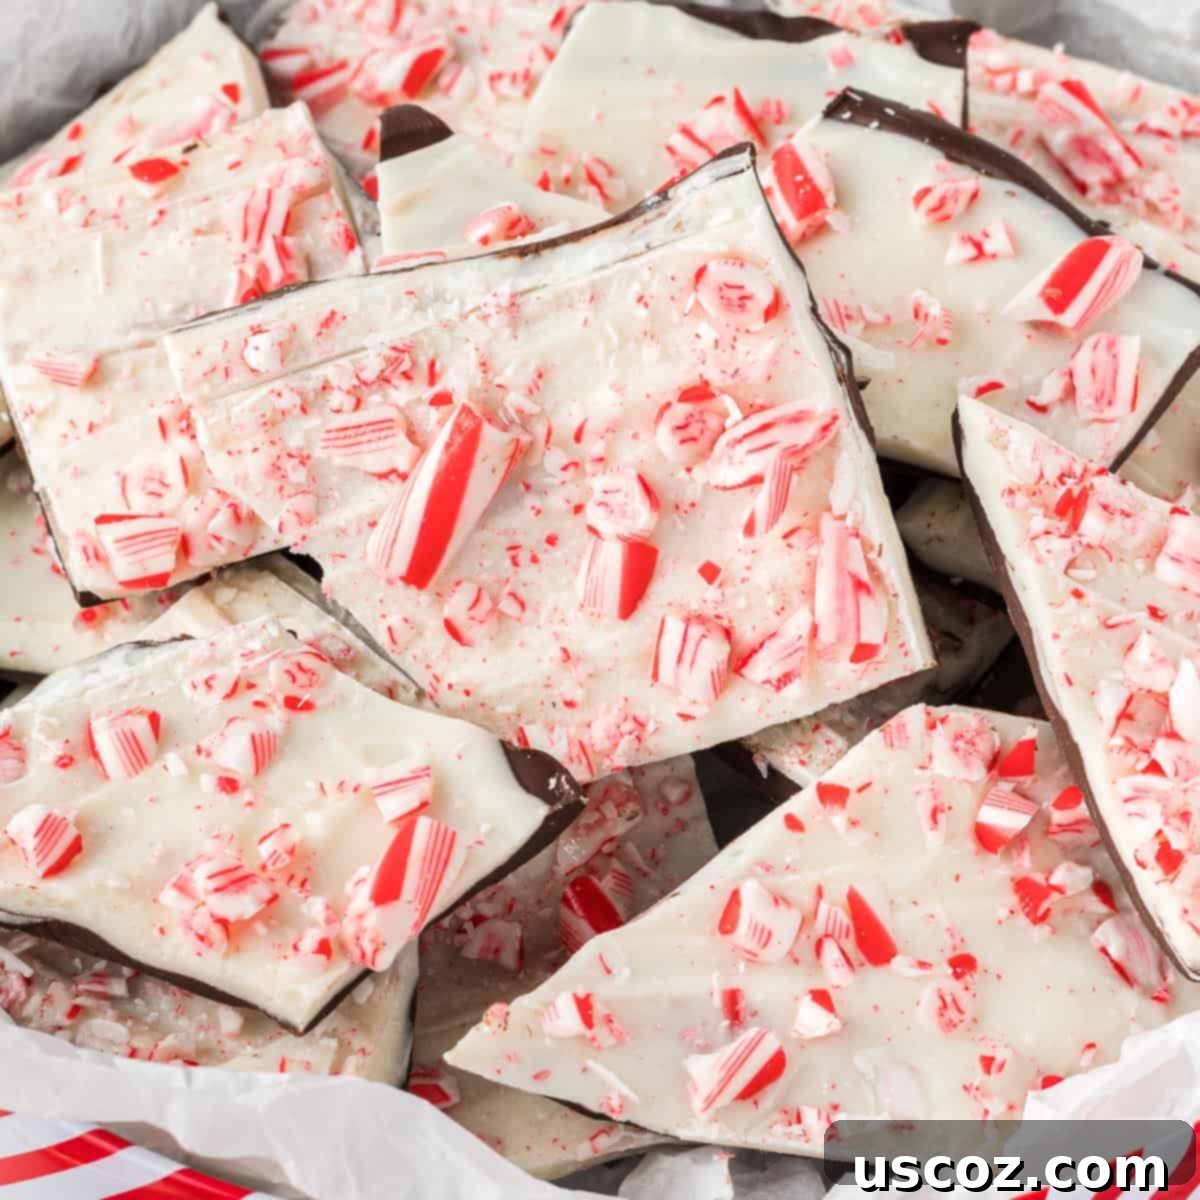
The Ultimate Guide to Homemade Chocolate Peppermint Bark: An Easy Holiday Treat
Embrace the festive spirit with this delightful homemade Chocolate Peppermint Bark – a truly delicious holiday treat that’s incredibly simple to make!
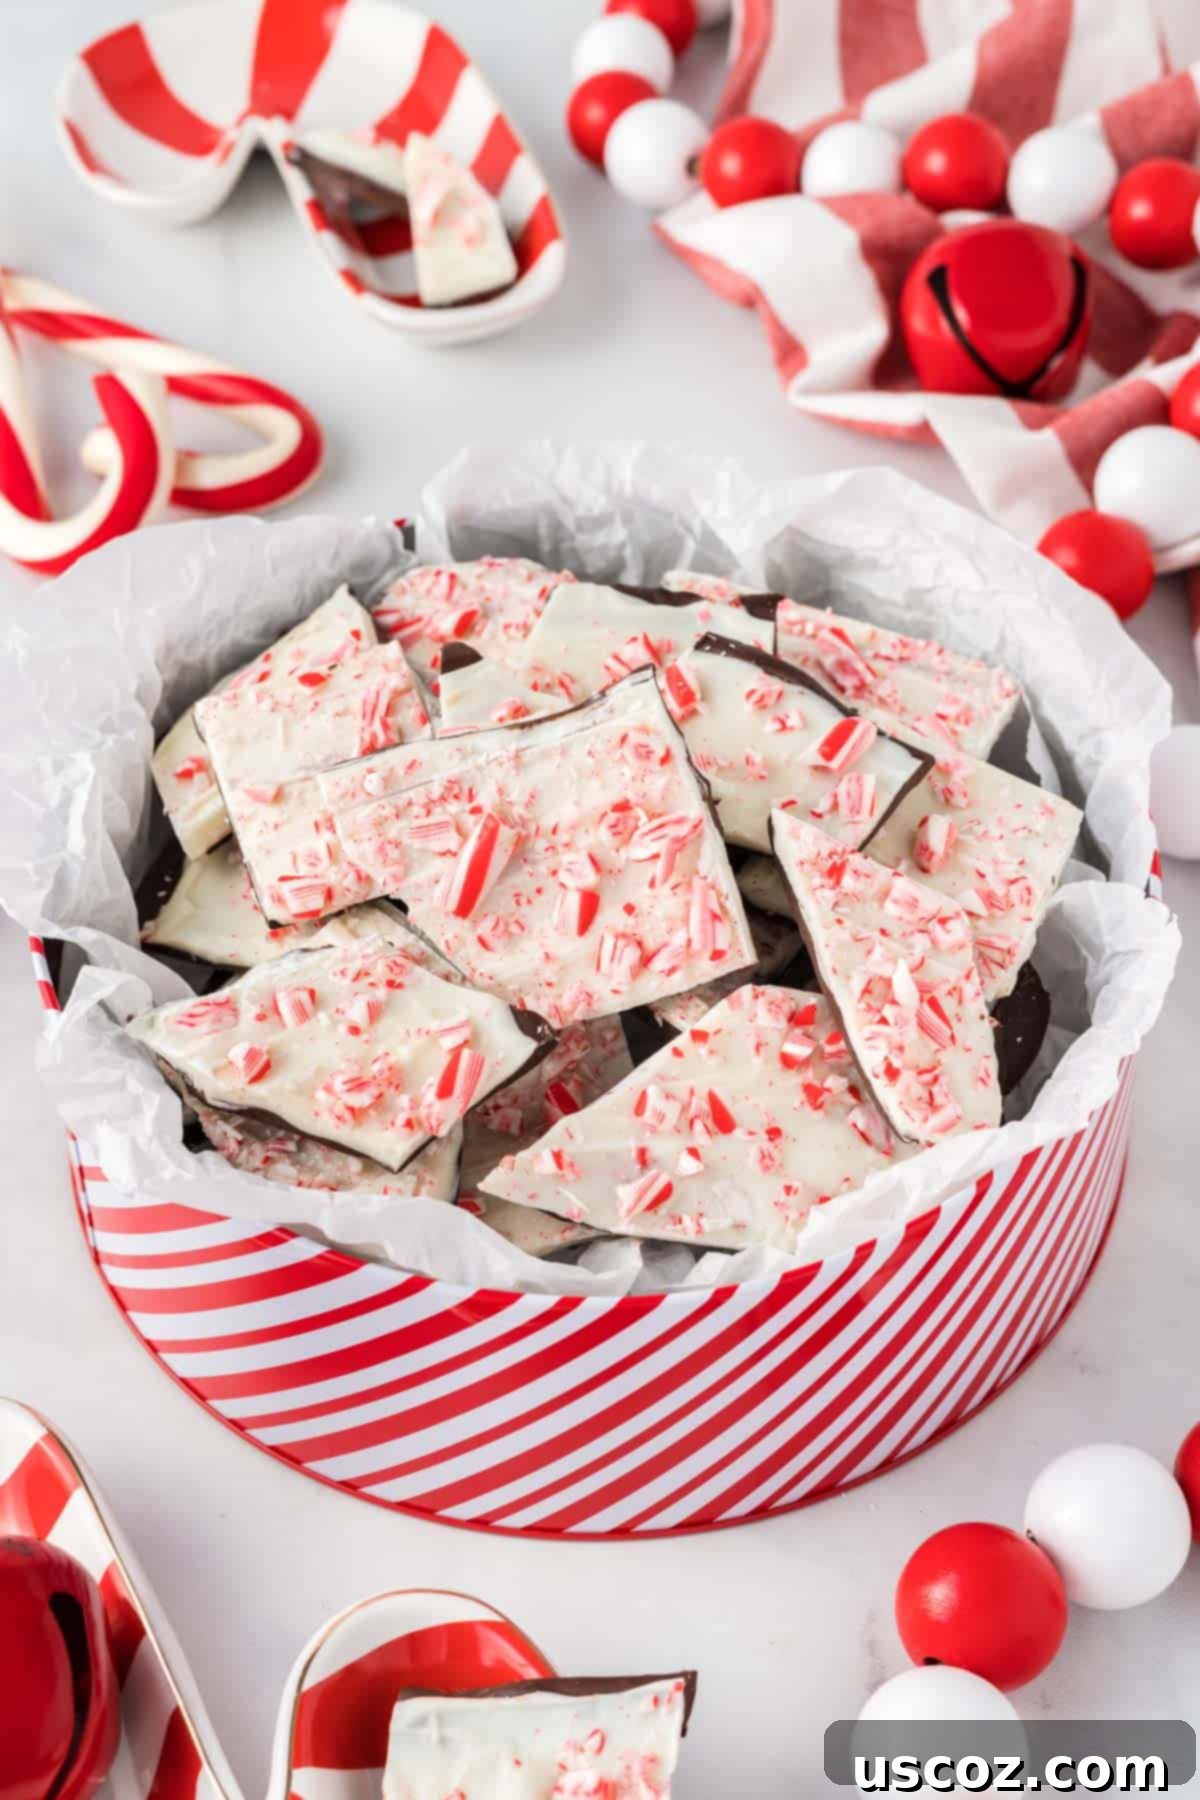
There’s something truly magical about the combination of rich chocolate and cool, refreshing peppermint, especially when the holiday season rolls around. This homemade chocolate peppermint bark recipe captures that magic perfectly, requiring only four simple ingredients and minimal effort. It’s a no-bake wonder that comes together swiftly, making it the ideal treat for busy holiday preparations, last-minute gifts, or simply a cozy evening indulgence.
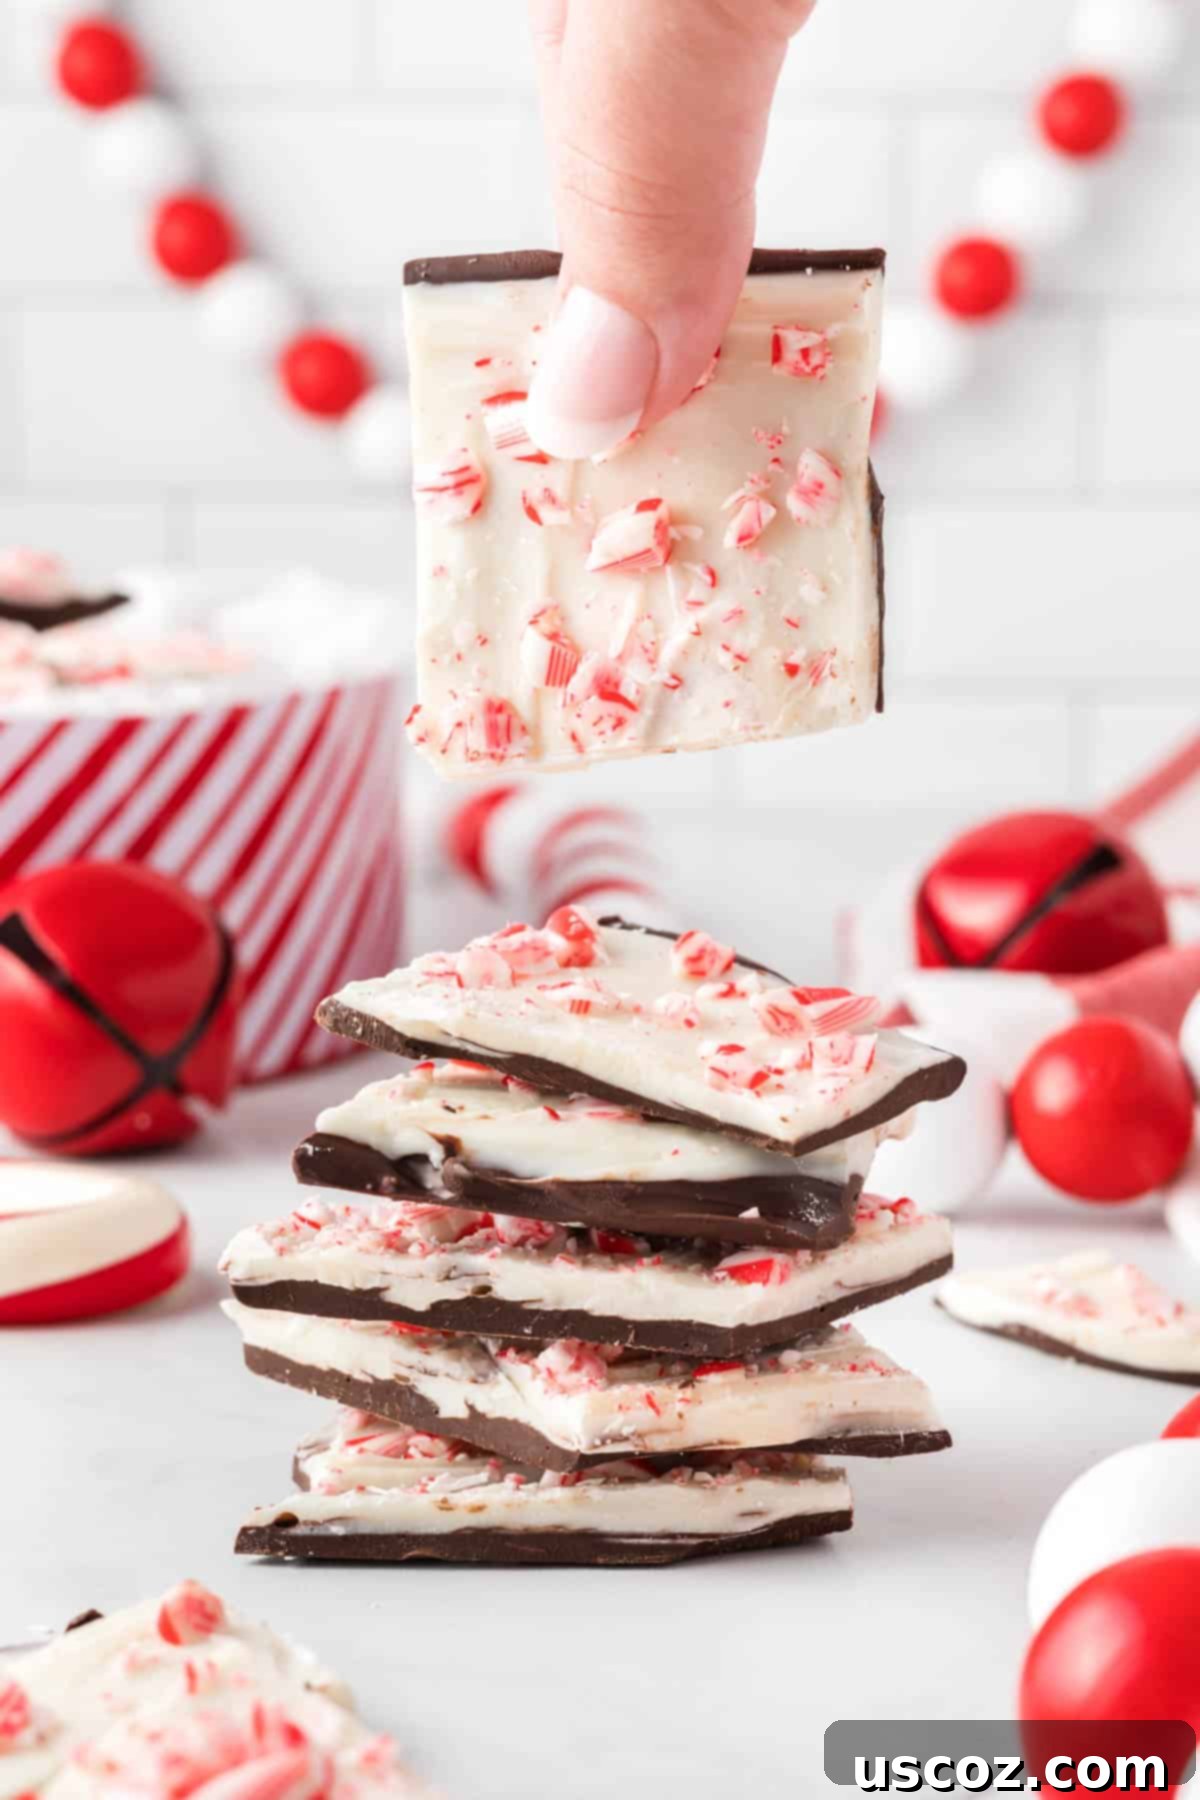
Forget store-bought versions; this DIY peppermint bark is not only incredibly easy to prepare but also boasts an undeniably superior taste that truly sings of Christmas. Its delightful layers of dark and white chocolate, infused with a hint of peppermint and topped with crunchy candy cane pieces, create a symphony of flavors and textures that everyone will adore. Whether you’re a seasoned baker or a complete novice in the kitchen, this festive candy will quickly become a cherished part of your holiday tradition.
Essential Ingredients for Perfect Peppermint Bark
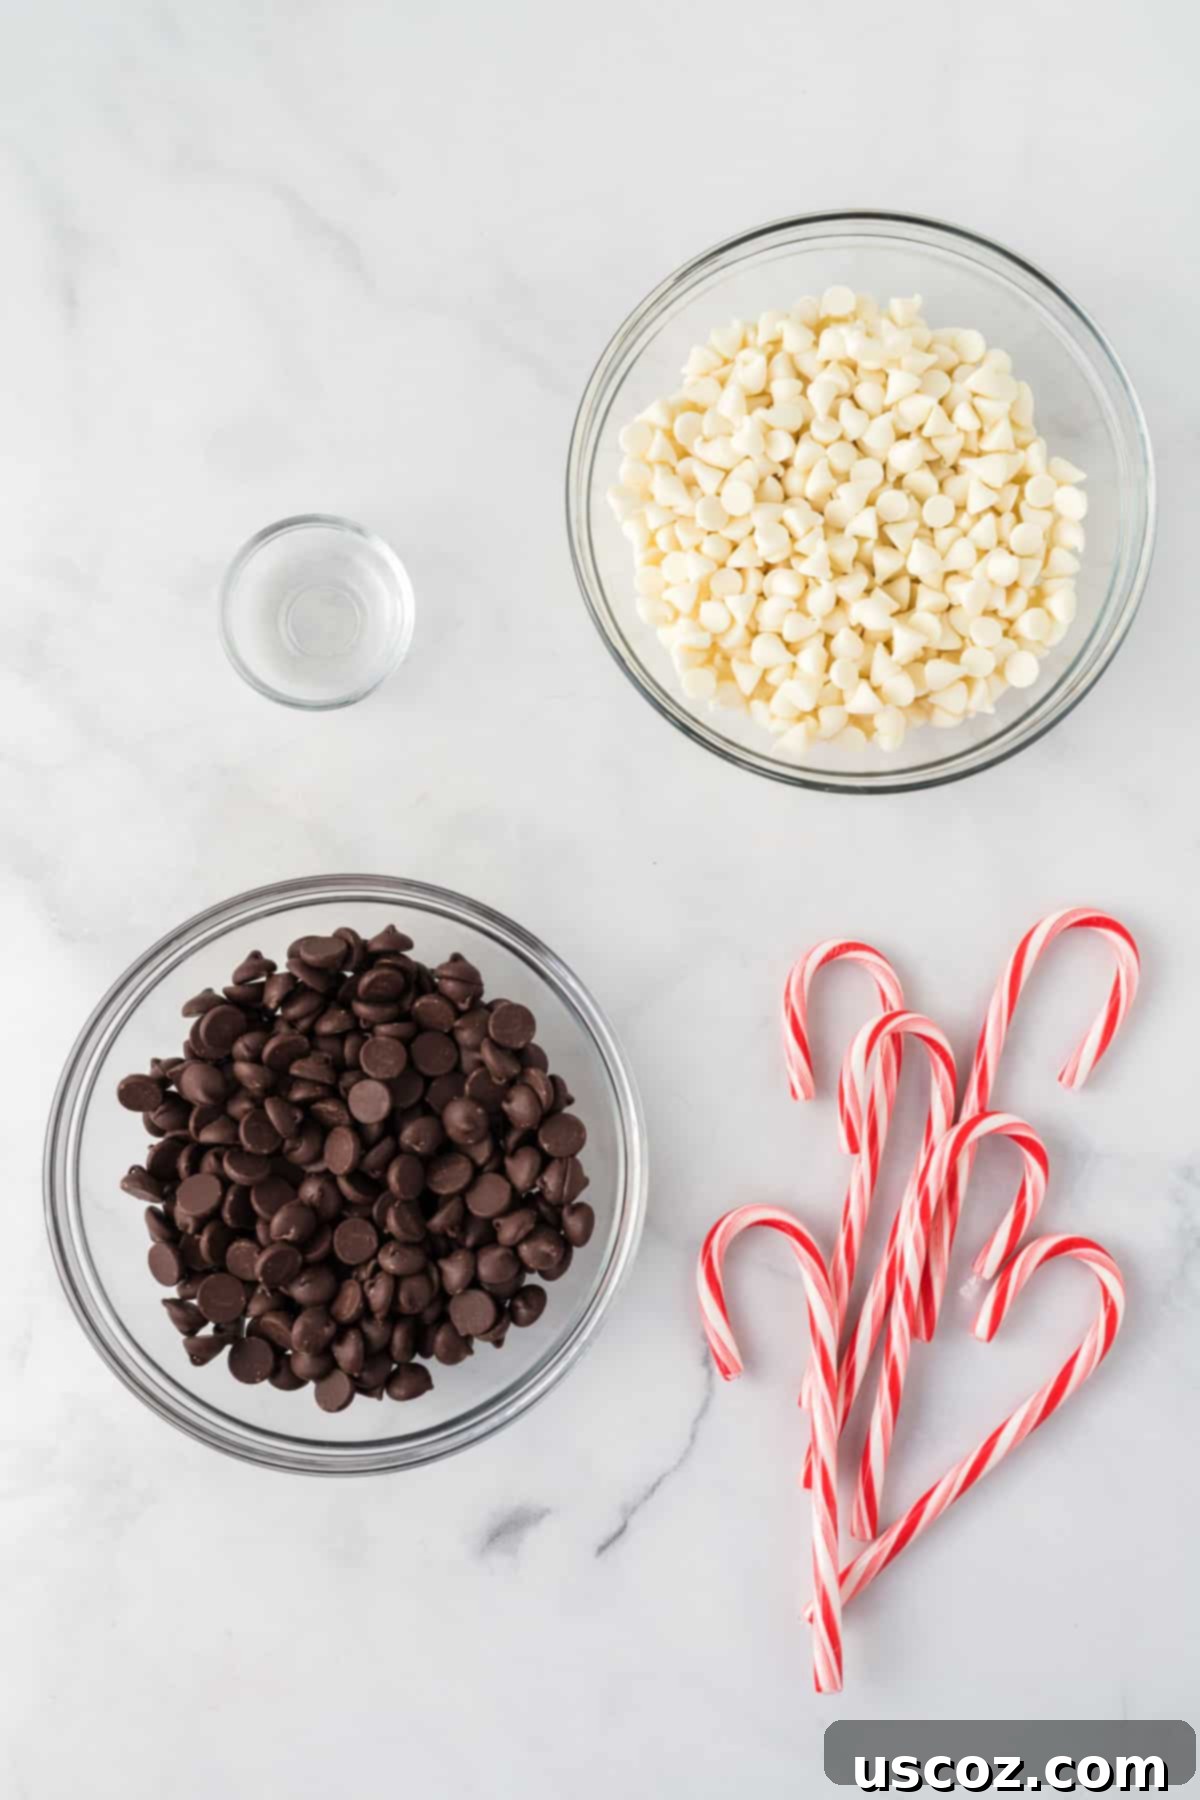
Making this festive chocolate peppermint bark couldn’t be simpler, thanks to a short and sweet ingredient list. Each component plays a crucial role in creating the iconic flavor and texture of this beloved holiday candy.
- Dark chocolate chips: Opt for good quality dark chocolate chips (or chopped dark chocolate bars) as they form the base layer. The higher the cocoa content, the richer the flavor. A semi-sweet or bittersweet chocolate works beautifully to balance the sweetness of the white chocolate and candy canes.
- White chocolate chips: Choose high-quality white chocolate chips for the top layer. Be aware that white chocolate is more delicate than dark chocolate when melting, so handle with care to prevent burning or seizing.
- Peppermint extract: This is where the signature refreshing peppermint flavor comes from. Use pure peppermint extract for the best results. A little goes a long way, so start with the recommended amount and adjust to your taste.
- Candy canes, crushed: The quintessential topping! Crushed candy canes add a vibrant color, a satisfying crunch, and an extra burst of peppermint flavor. You can use traditional red and white candy canes or opt for a mix of colors for a more playful look.
That’s it! Just these four ingredients are all you need to create a stunning and delicious homemade treat that rivals any gourmet candy store.
Step-by-Step Guide: How to Make Irresistible Chocolate Peppermint Bark
Creating this festive treat is a straightforward process, perfect for involving the whole family. Follow these simple steps to make your own delicious chocolate peppermint bark:
Step 1: Begin by preparing your dark chocolate layer. Place the dark chocolate chips into a microwave-safe bowl. Heat the chocolate in the microwave using short, 30-second intervals, stirring thoroughly after each interval. Continue this process until the chocolate is completely smooth and melted. Be careful not to overheat it, as chocolate can burn easily. Once melted, stir in the peppermint extract until it’s fully incorporated and the mixture is smooth and fragrant.
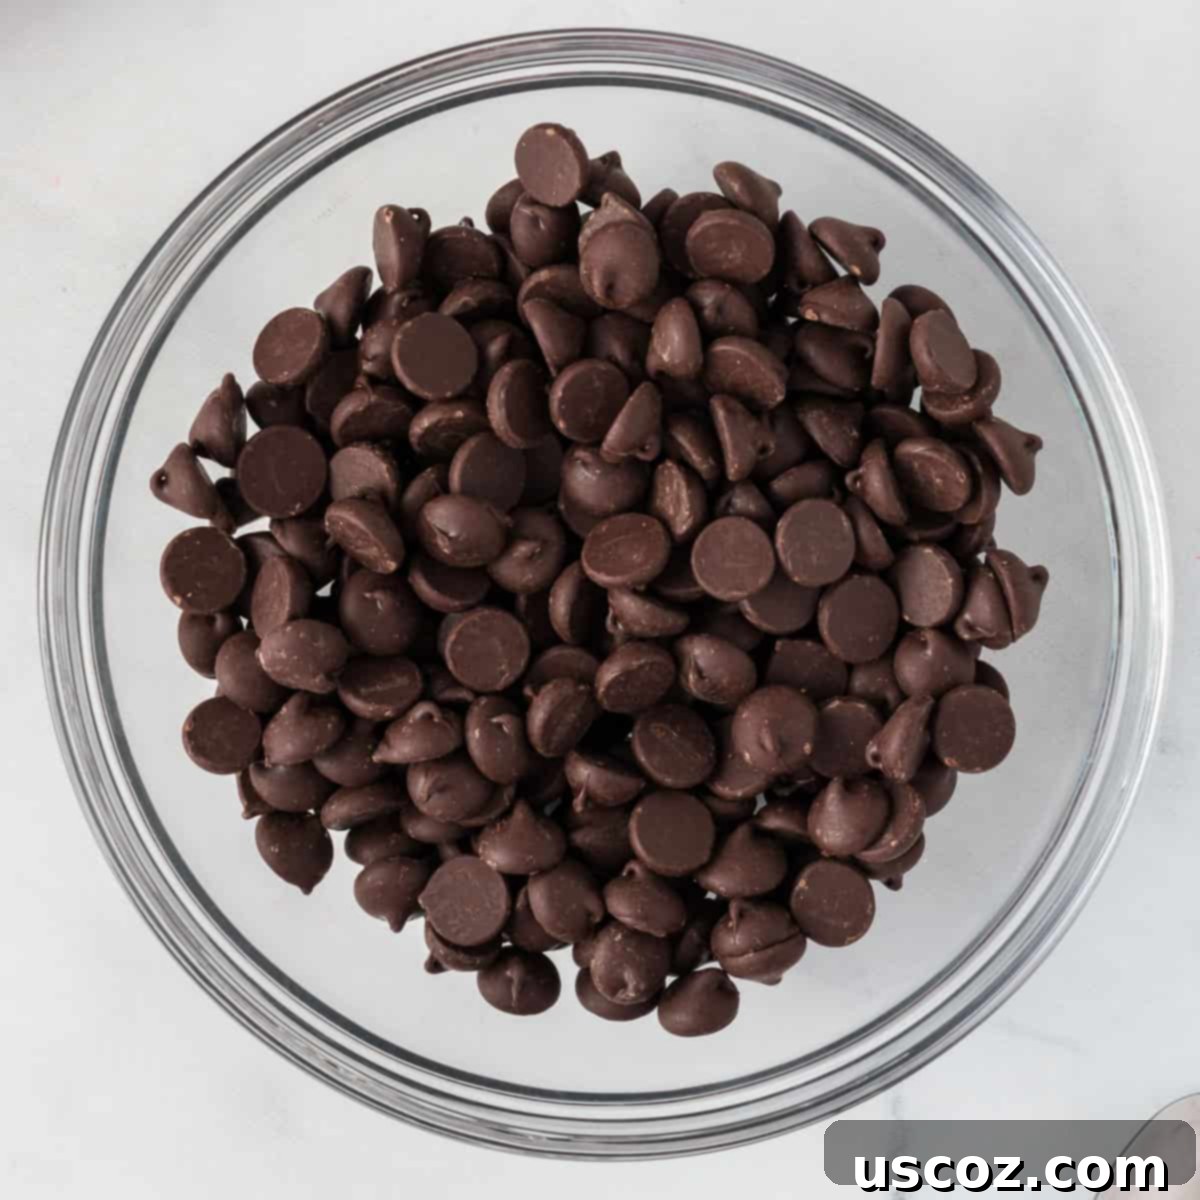
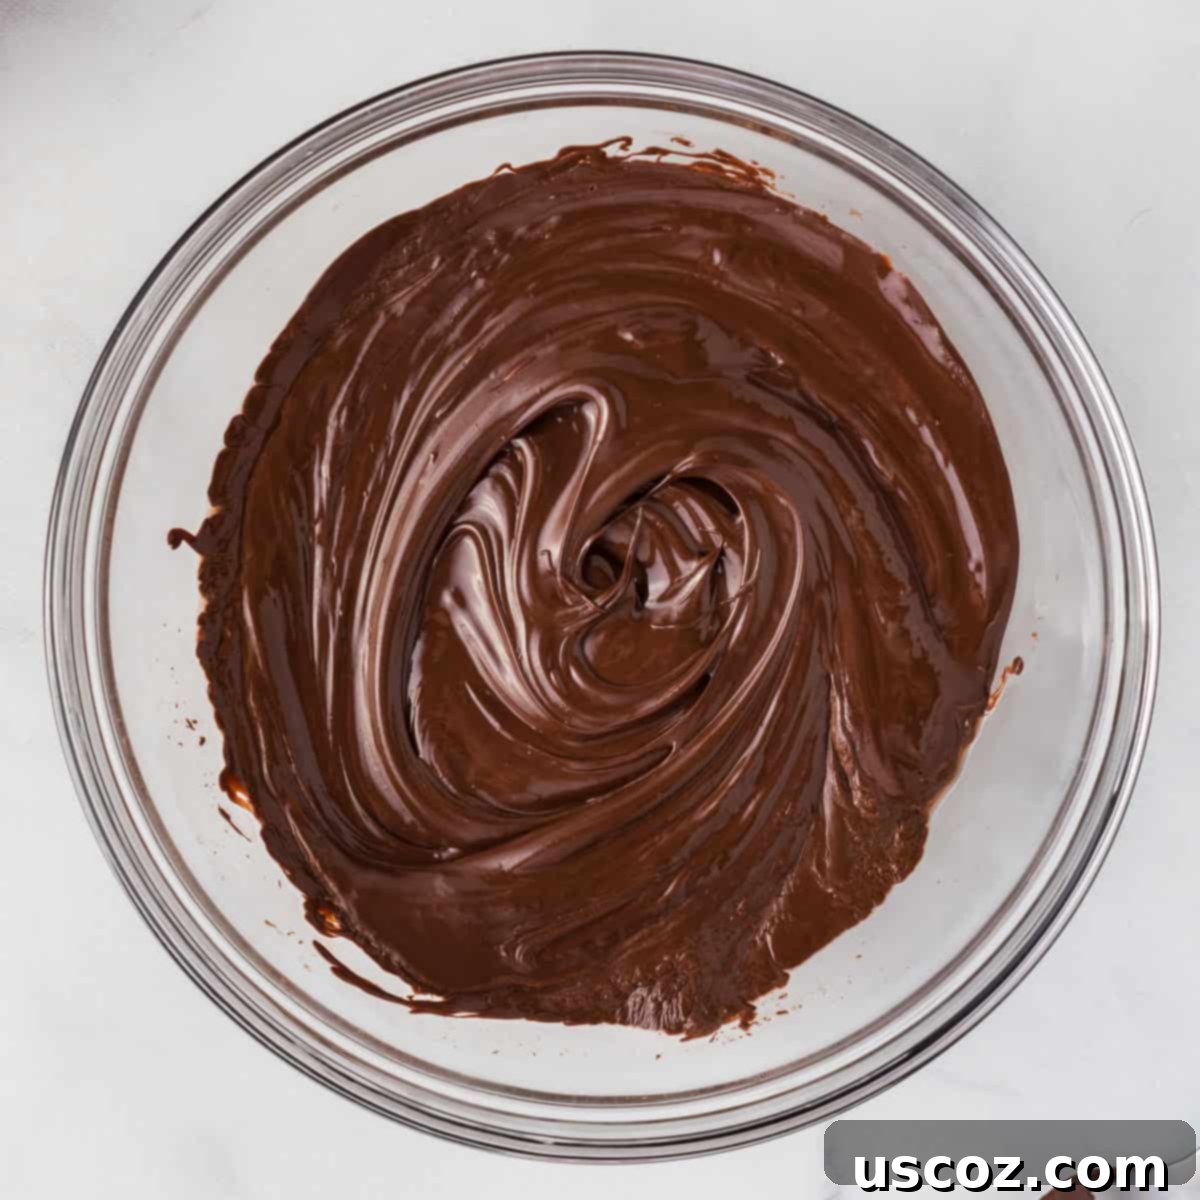
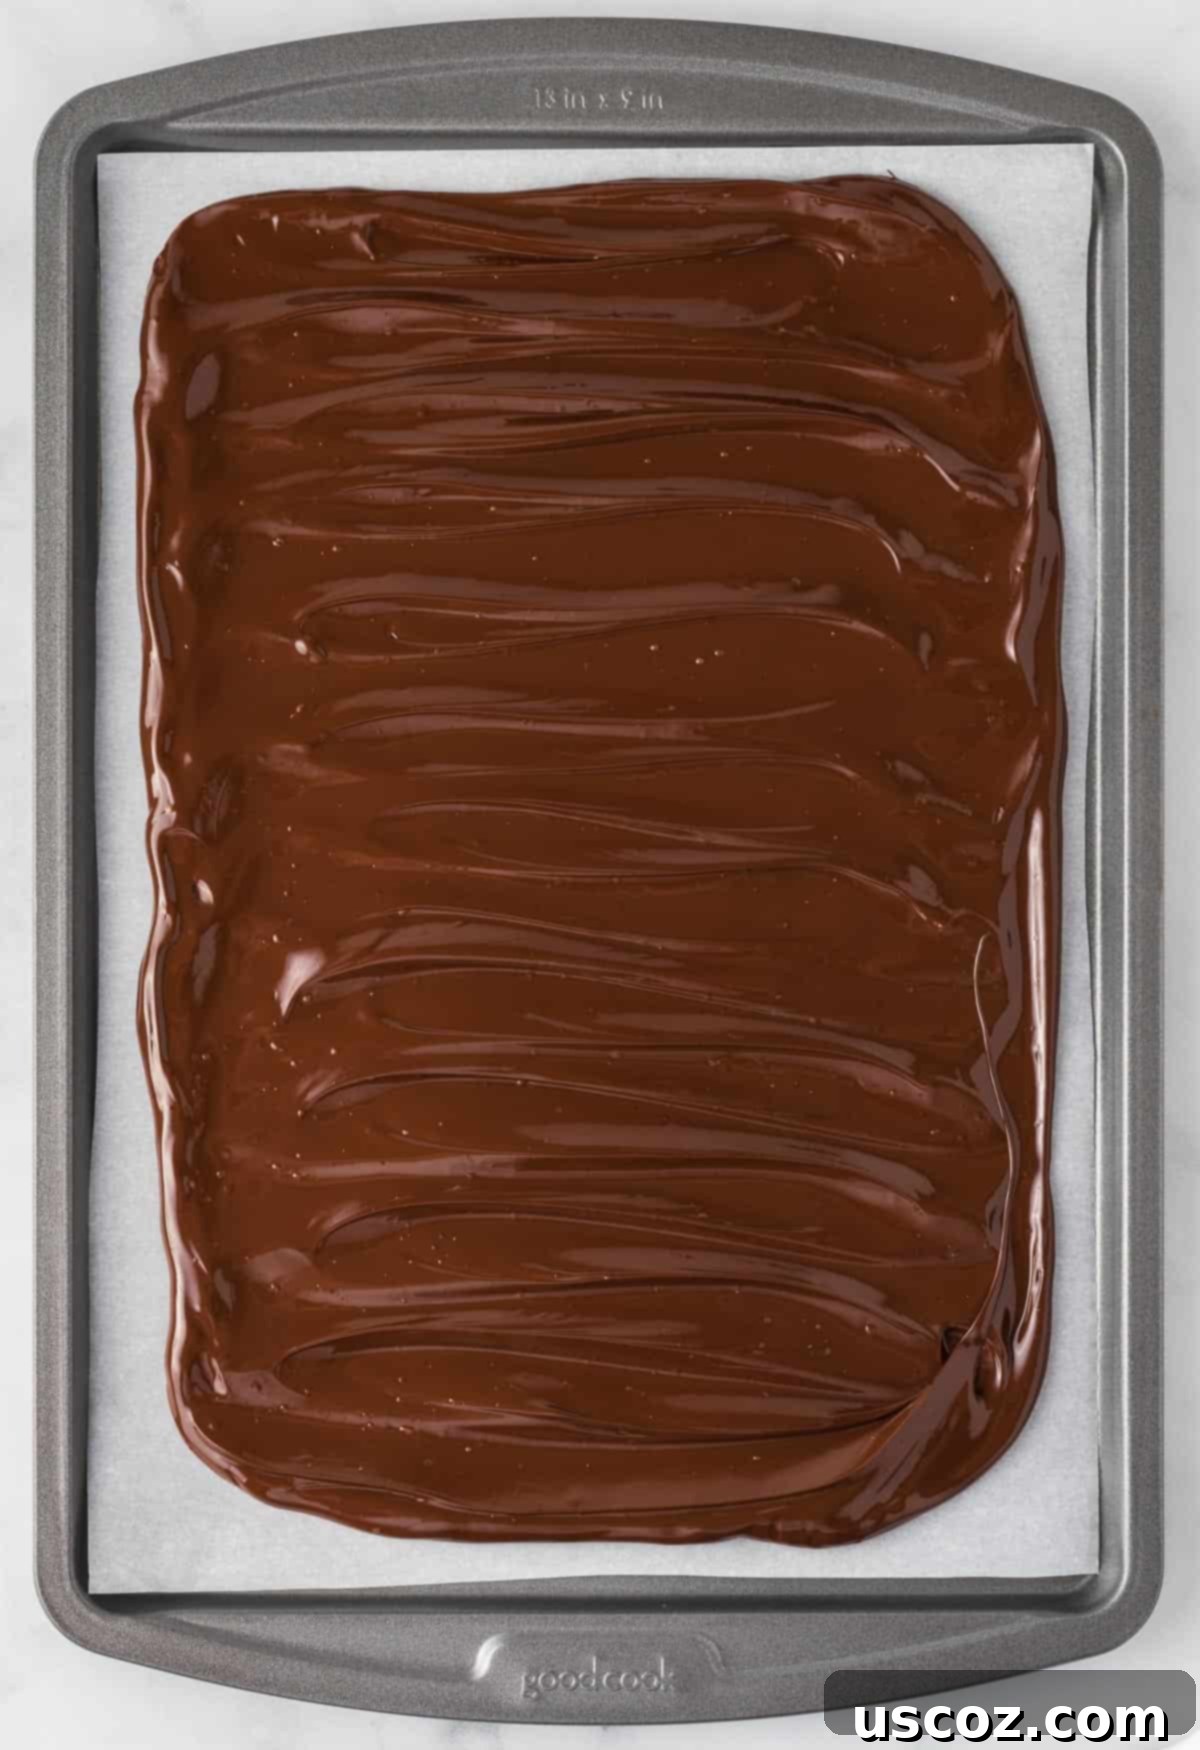
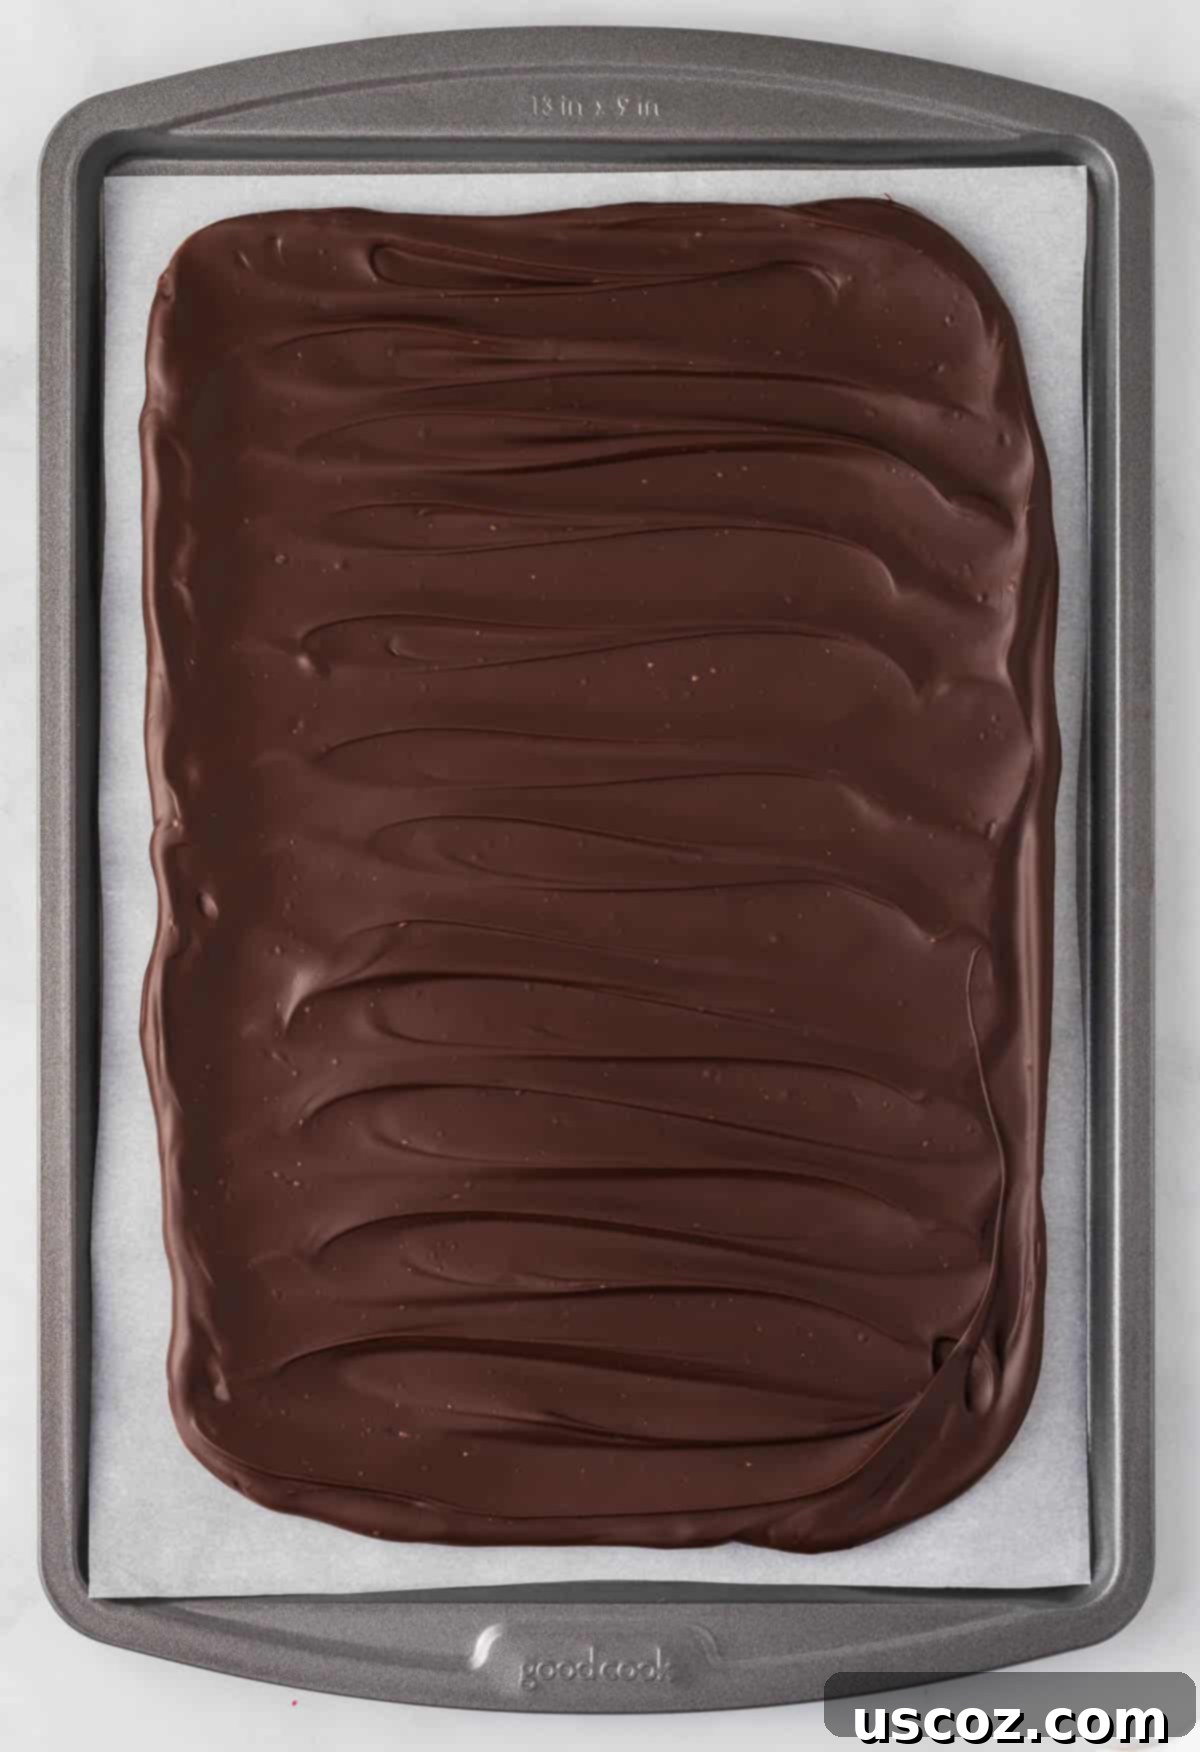
Step 2: Prepare a small 9×13 inch baking sheet by lining it with parchment paper. This is essential for easy removal and cleanup. Pour the melted dark chocolate mixture onto the parchment-lined baking sheet and use a spatula or the back of a spoon to spread it out into an even layer. Aim for a consistent thickness across the entire sheet. Once spread, carefully transfer the baking sheet to the refrigerator and chill for at least 30 minutes, or until the chocolate is firm to the touch.
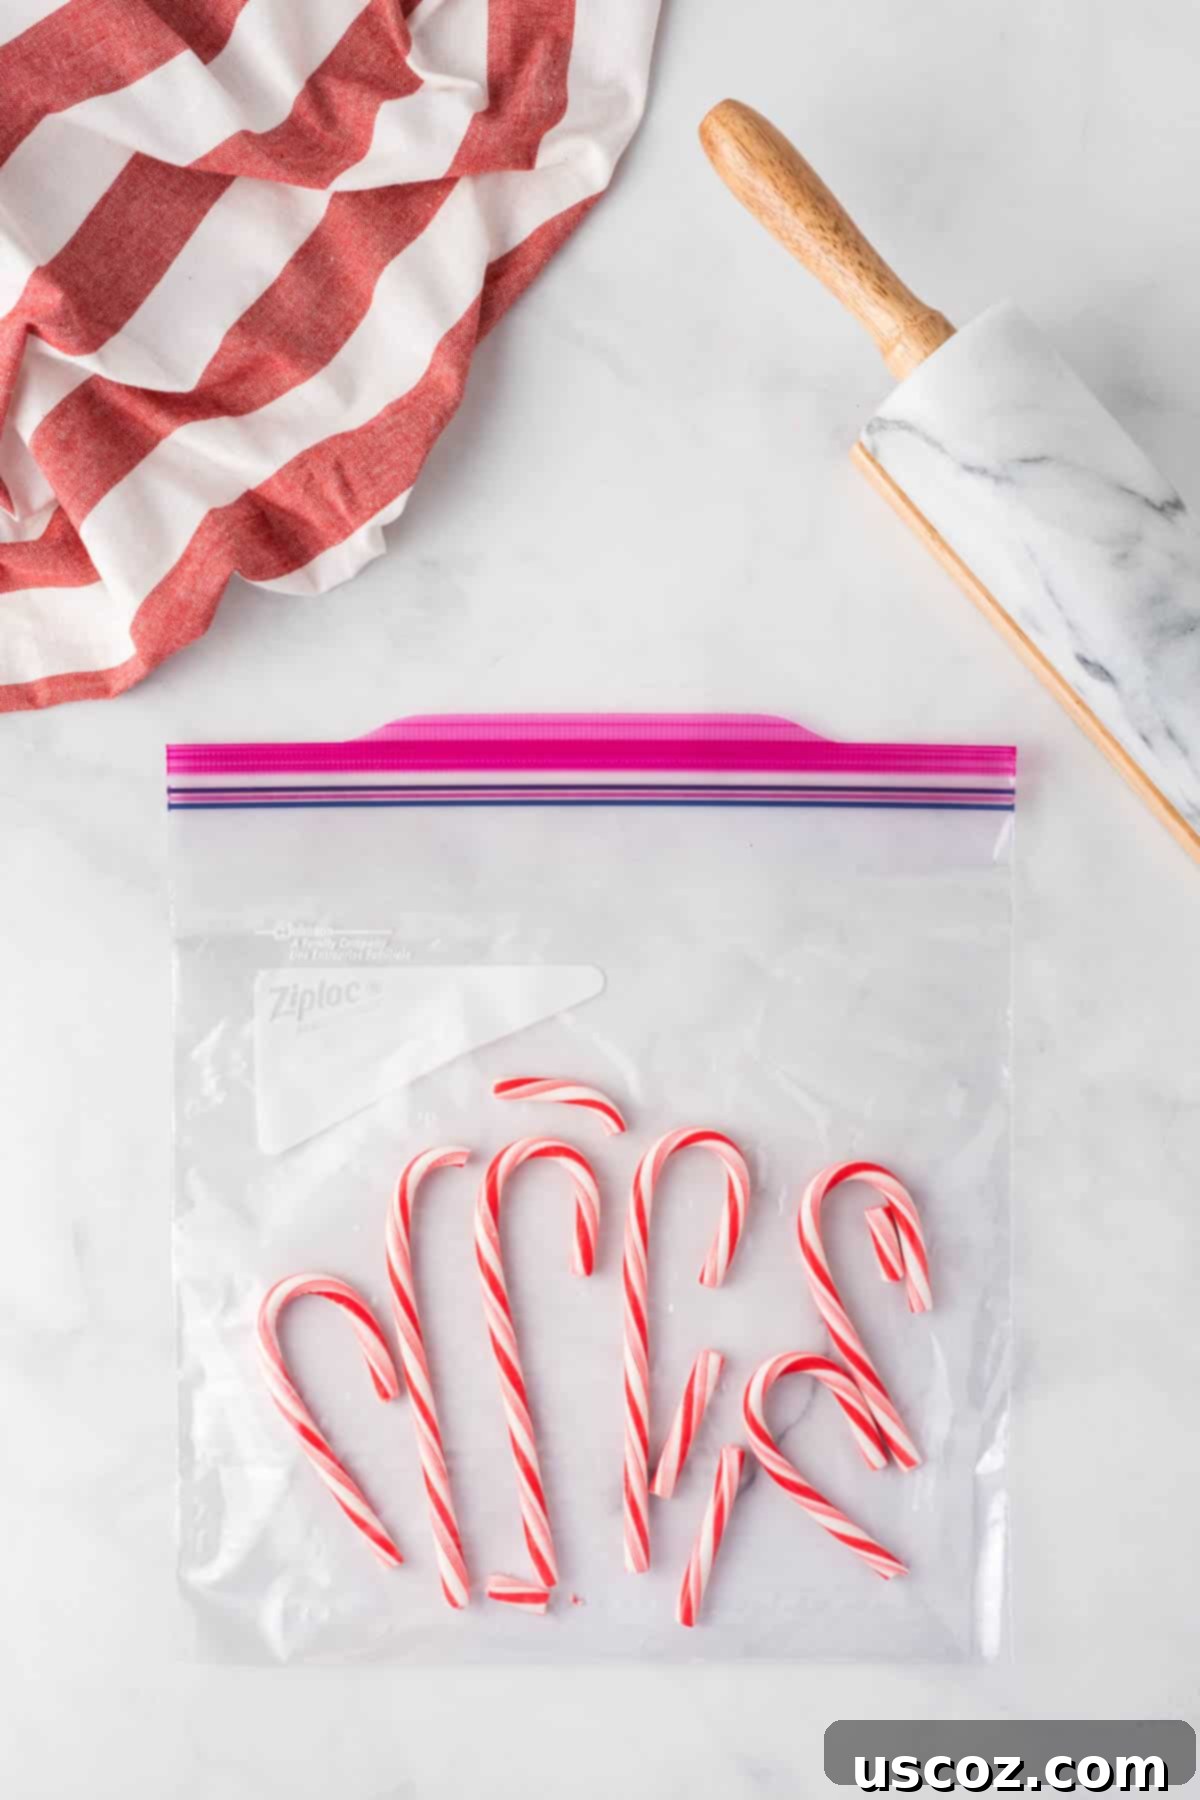
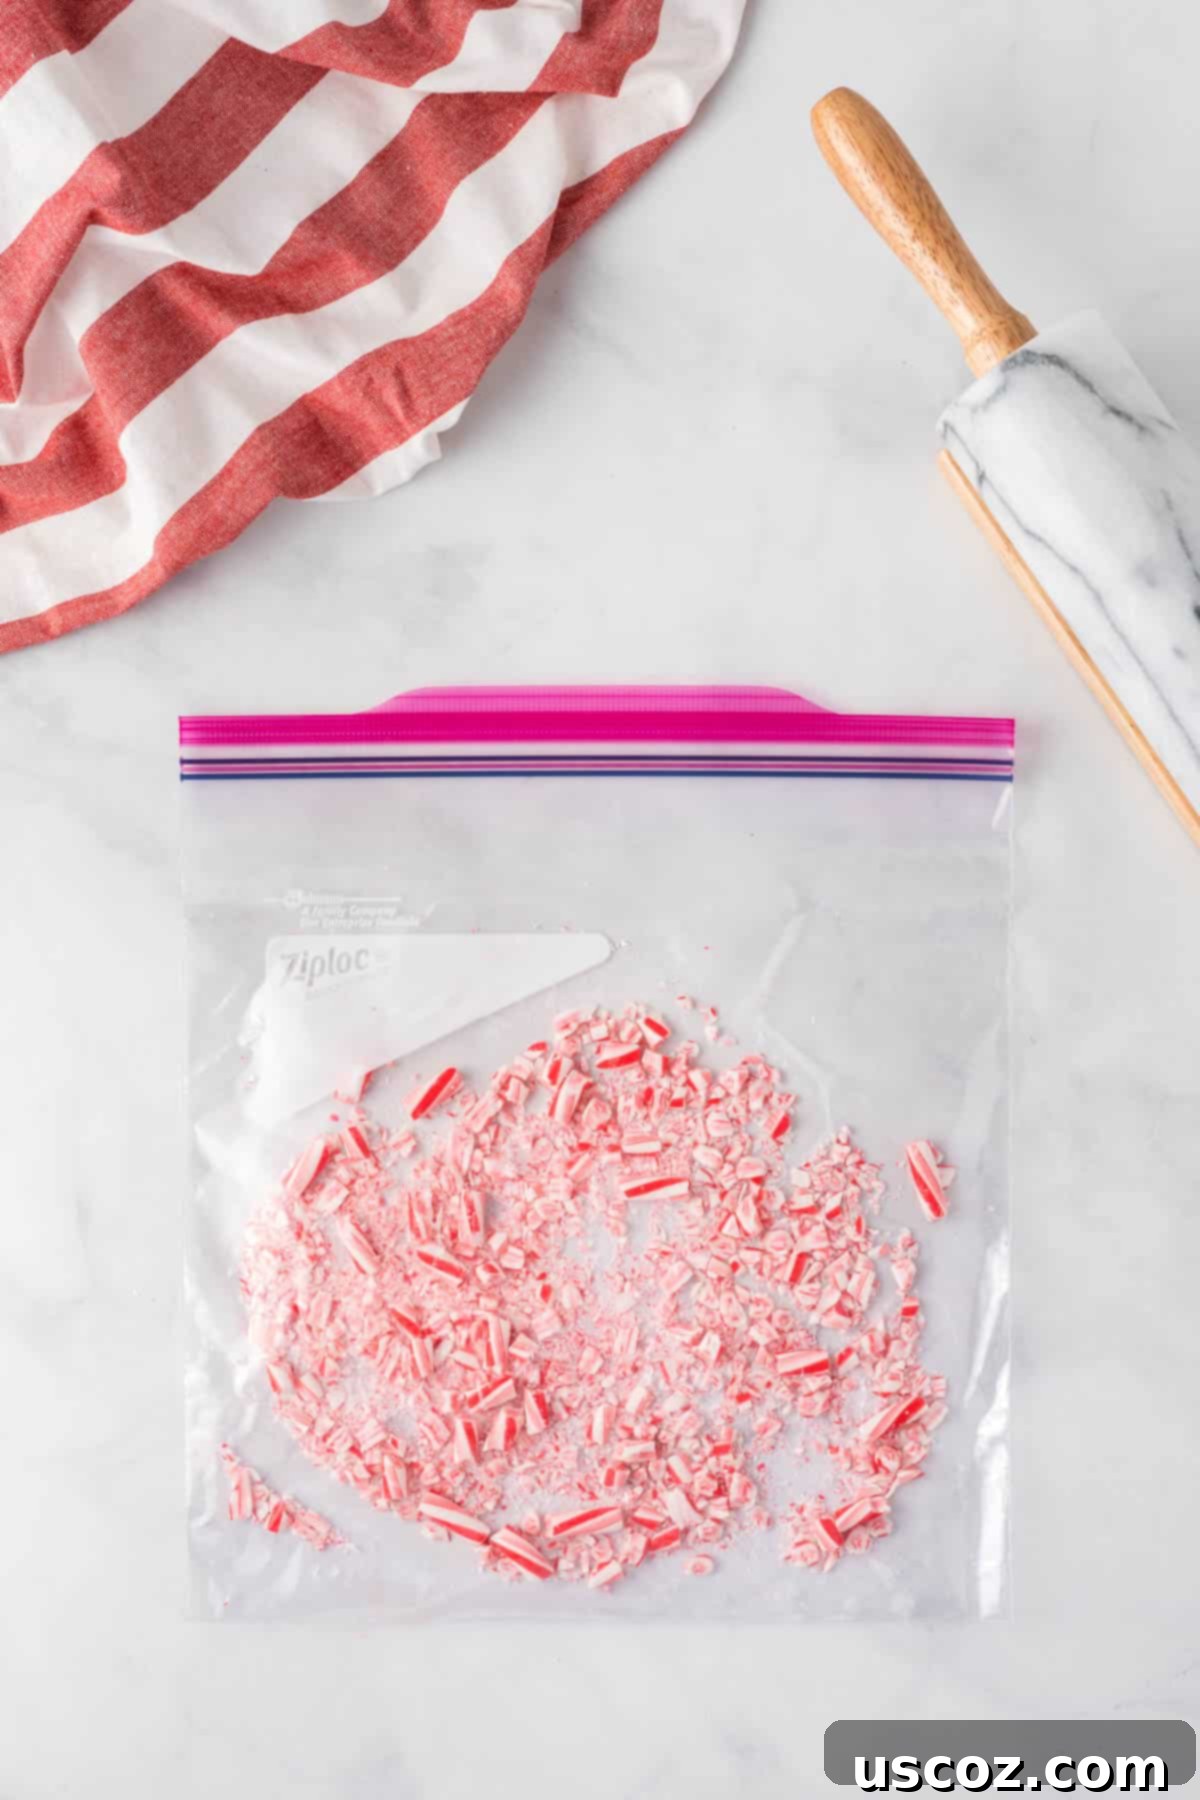
Step 3: While the dark chocolate layer is firming up in the fridge, prepare your crushed candy canes. Place the candy canes in a sturdy, airtight bag, such as a freezer bag. Using a rolling pin, carefully crush the candy canes into small, irregular pieces. You can aim for a mix of fine dust and larger chunks for varied texture. Set the crushed candy canes aside until needed.
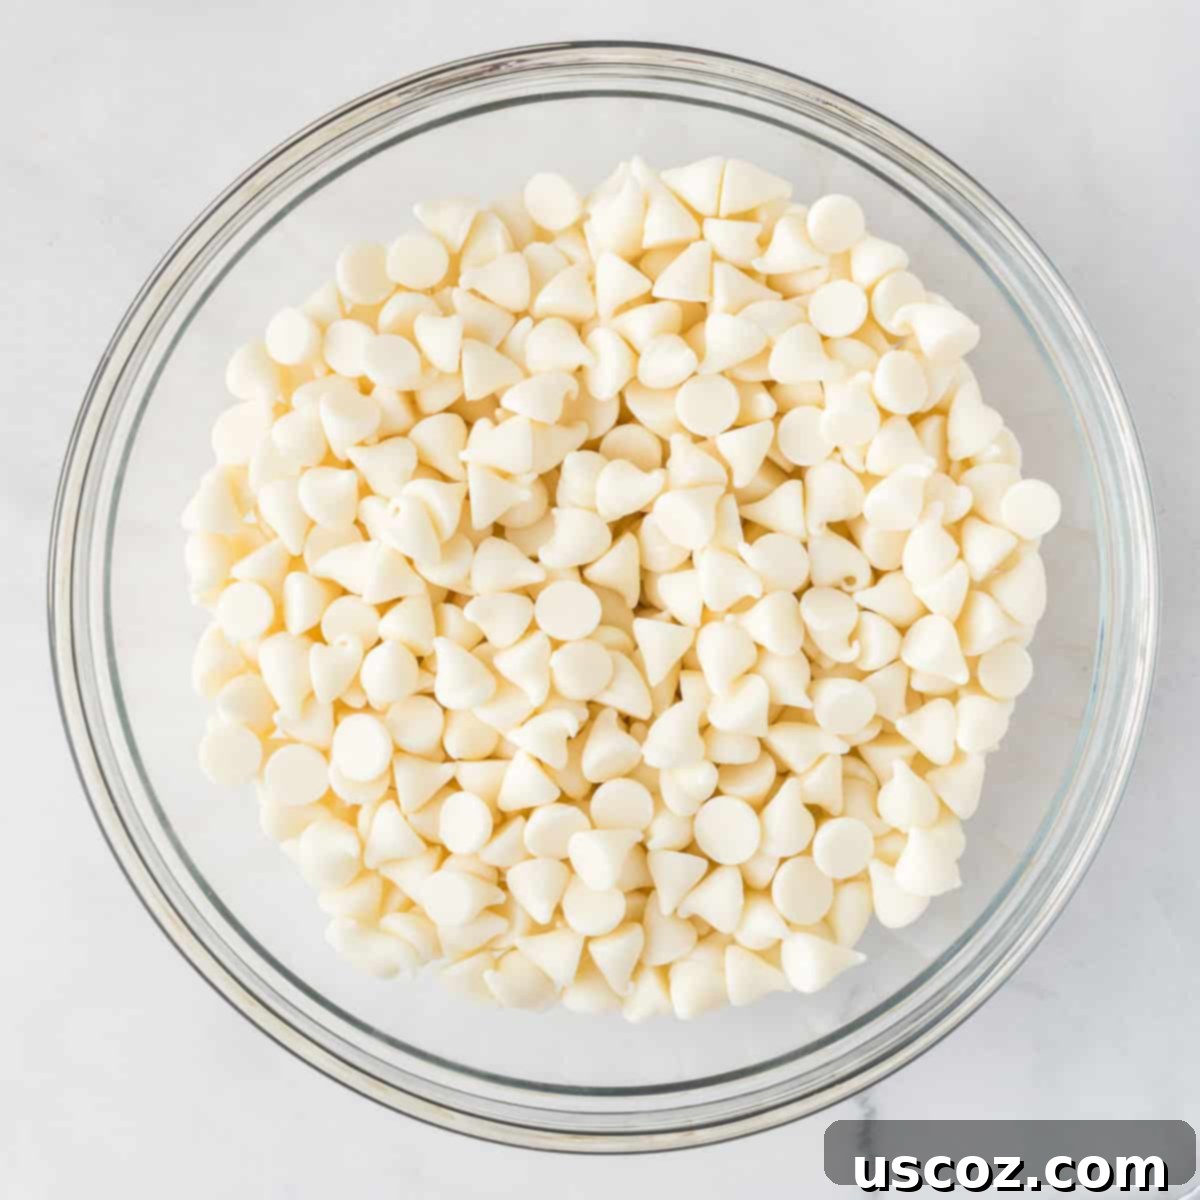
Step 4: As the dark chocolate finishes hardening in the fridge, prepare the white chocolate layer. Add the white chocolate chips to a separate microwave-safe dish. Melt the white chocolate in 30-second increments, stirring well after each. White chocolate is more prone to burning or seizing, so melt it gently and avoid overheating. You want it perfectly smooth and pourable. Once melted, remove the baking sheet with the hardened dark chocolate layer from the fridge.
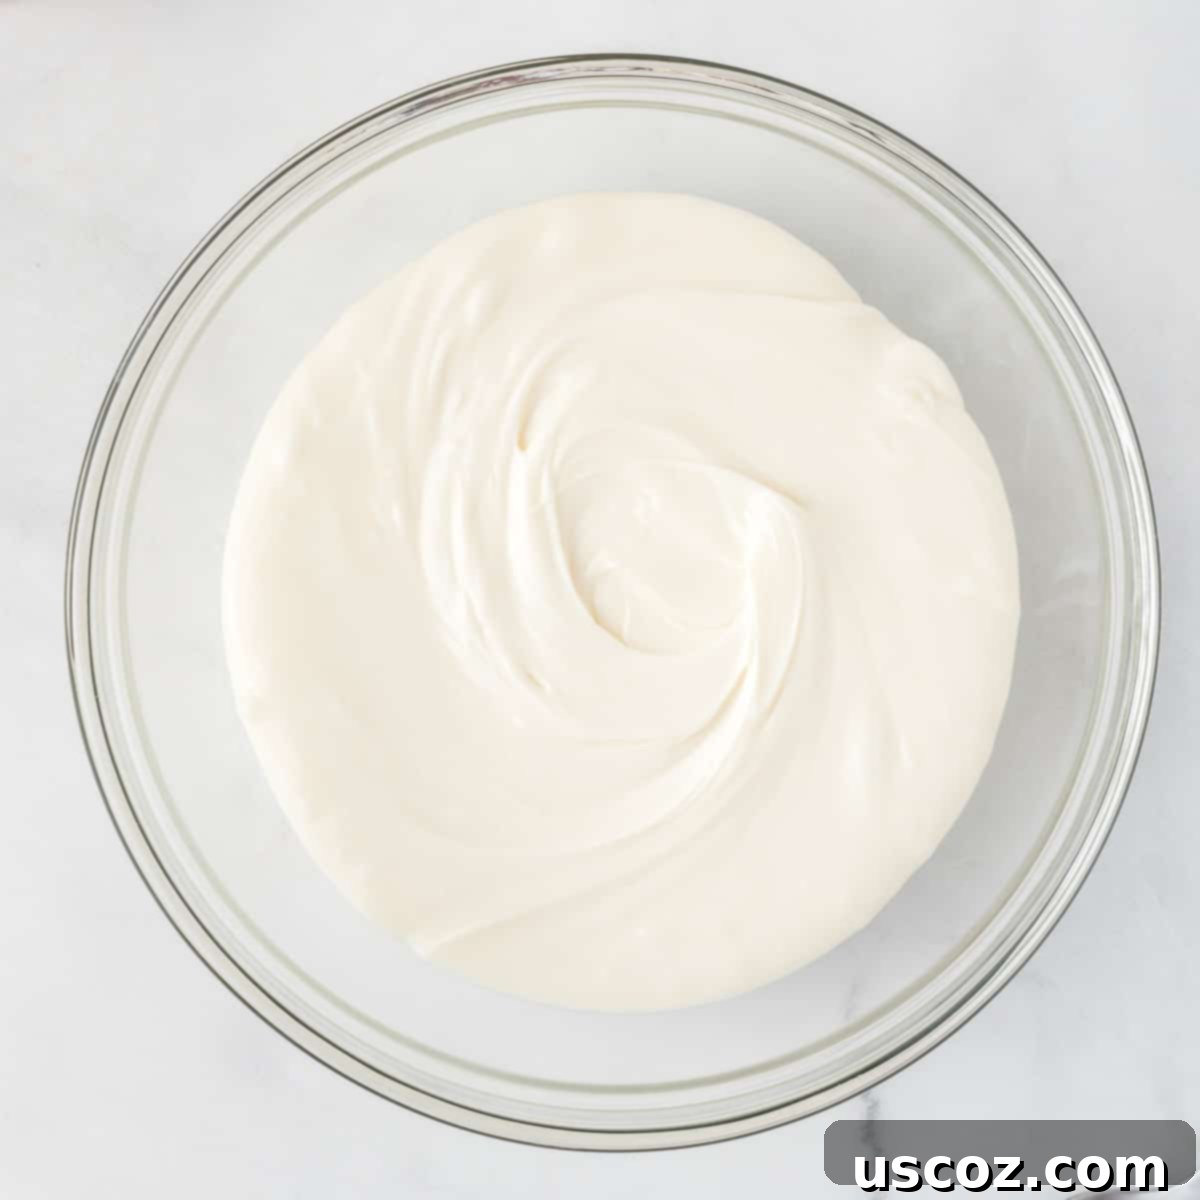
Step 5: Carefully pour the melted white chocolate over the completely hardened dark chocolate layer. Using a clean spatula or the back of a spoon, gently spread the white chocolate into an even layer, covering the dark chocolate completely. Work quickly but carefully to ensure an attractive, smooth top layer.
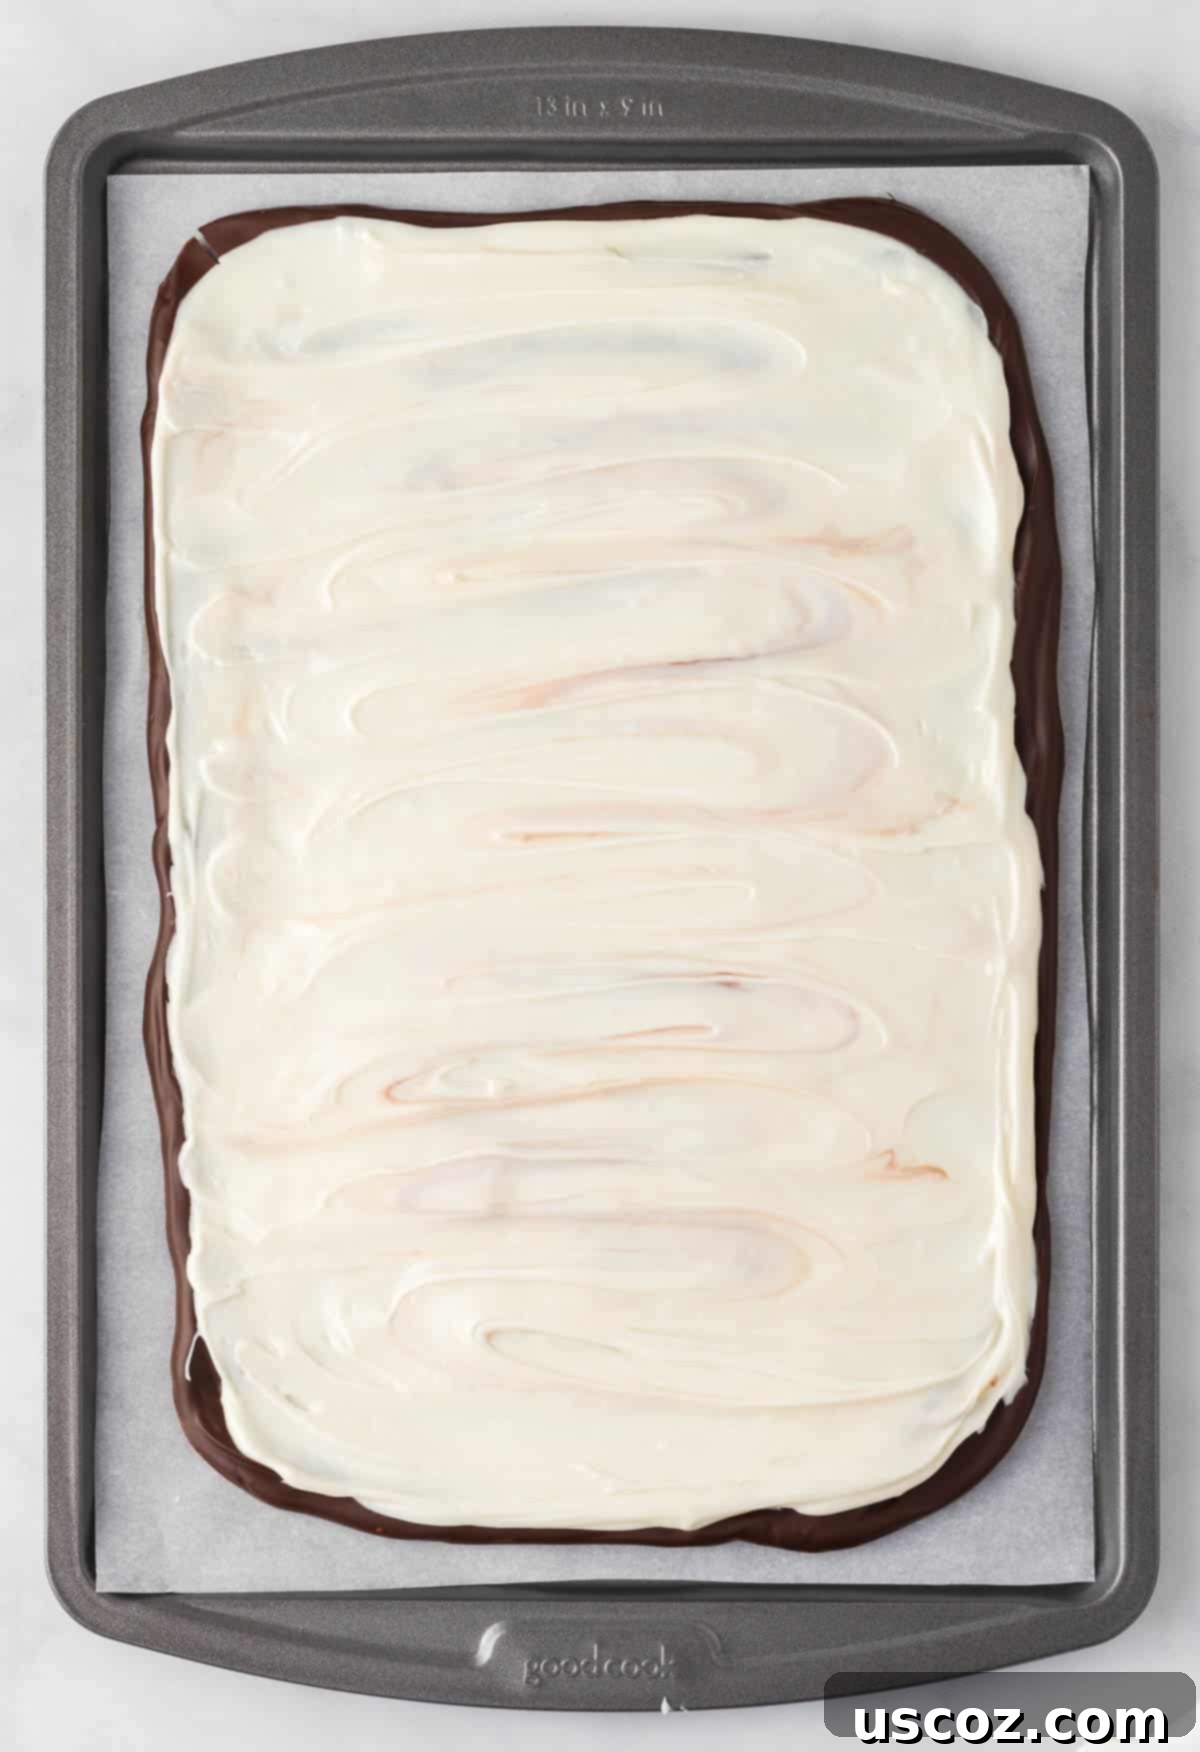
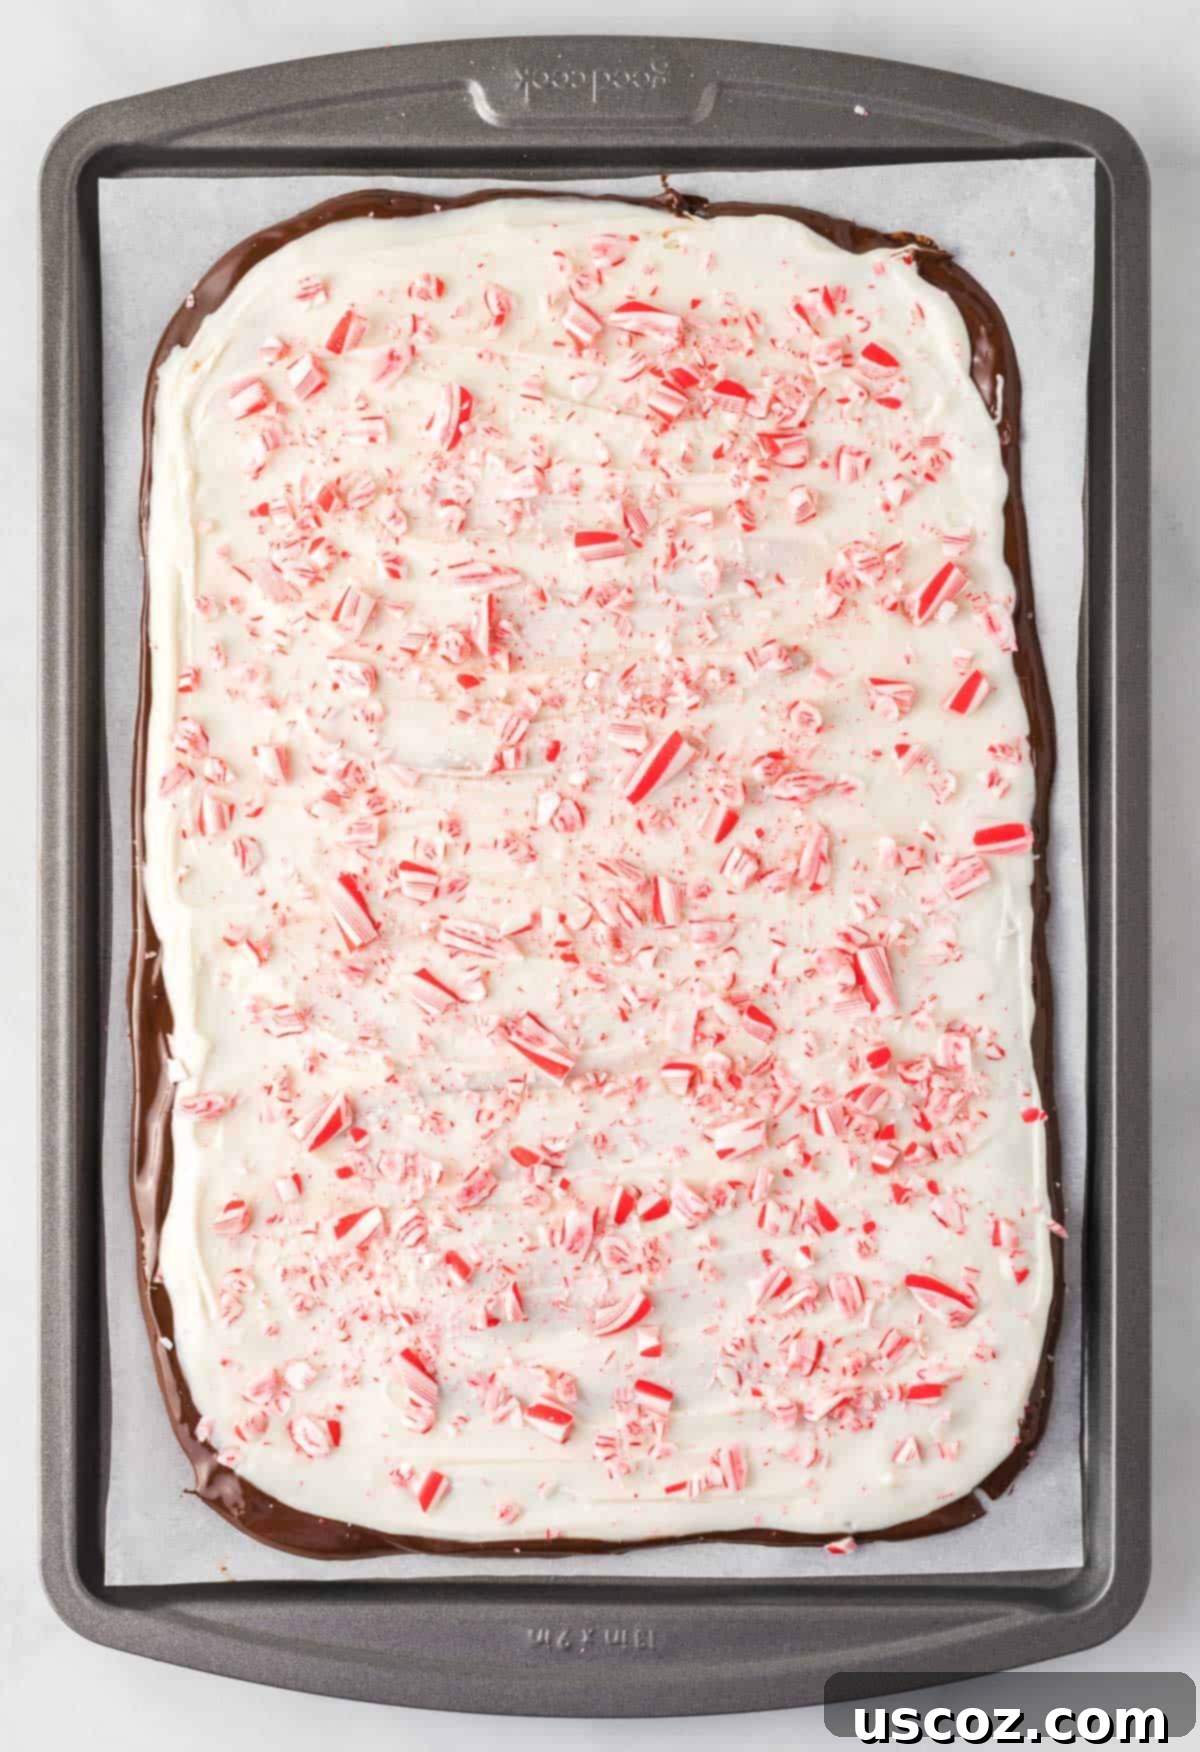
Step 6: Immediately after smoothing the white chocolate, generously sprinkle the crushed candy canes over the entire surface. Press them down gently to ensure they adhere to the still-wet chocolate. This creates a beautiful, festive top layer. Once topped, place the chocolate peppermint bark back into the fridge or freezer to harden completely. This typically takes another 30 minutes to 1 hour, or until the bark is fully firm and snaps cleanly when broken.
Storage and Serving Tips for Your Homemade Peppermint Bark
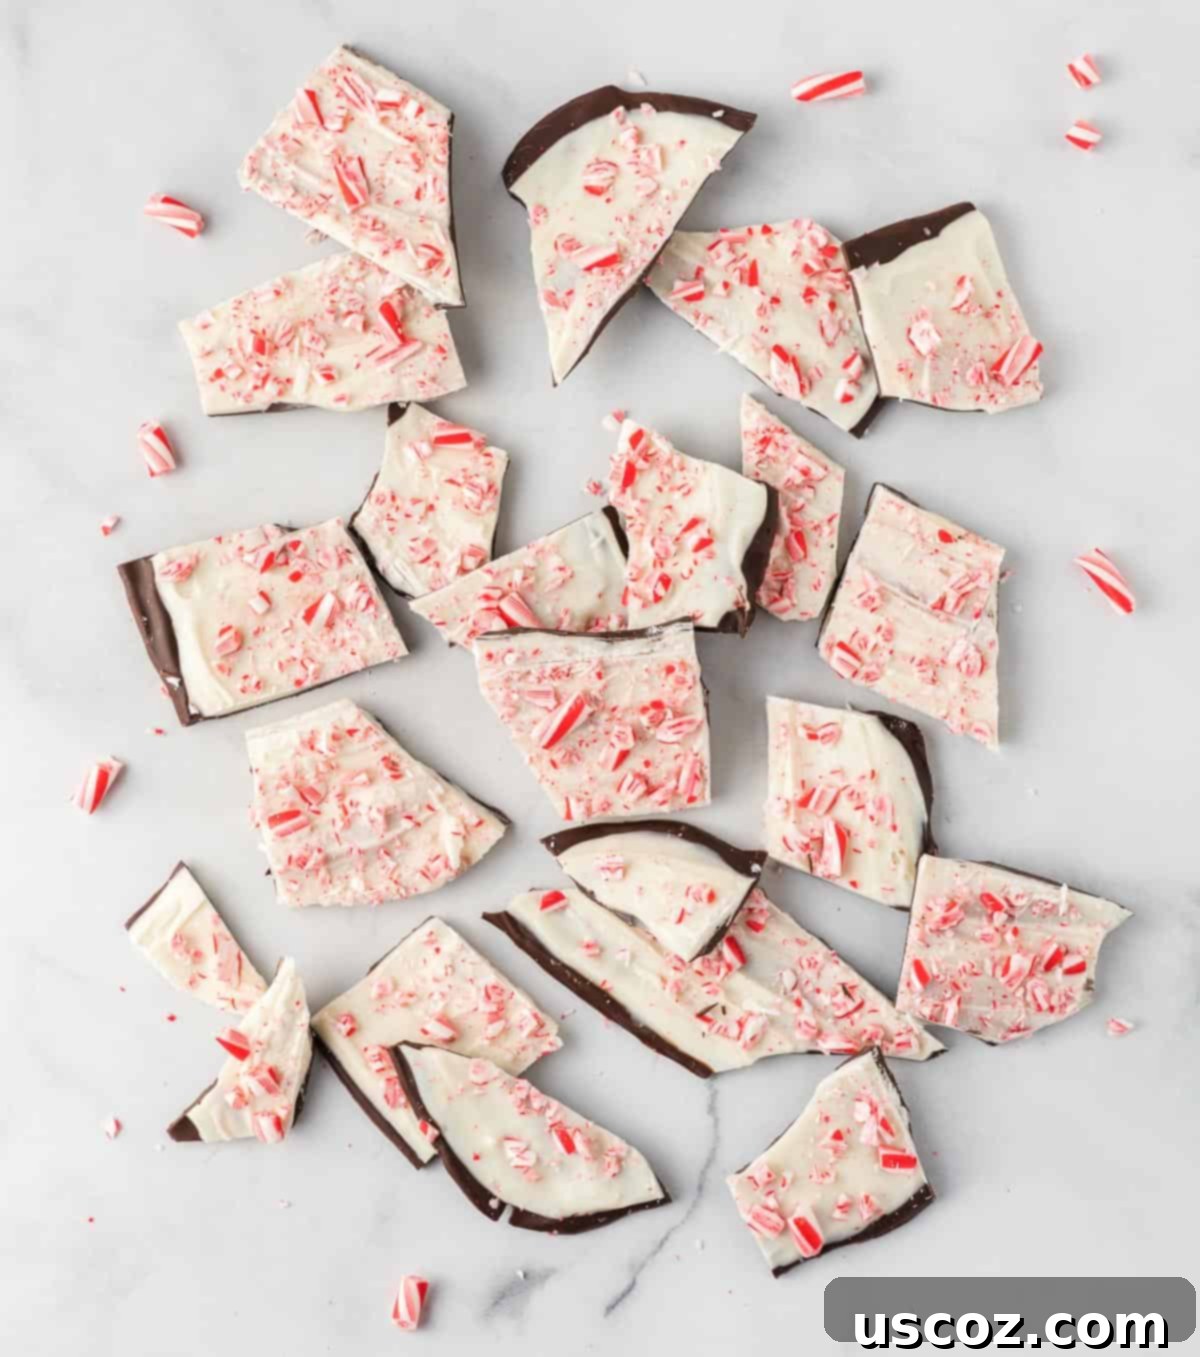
Once the bark is firm and fully set, it’s time to break or cut it into pieces. You can either break it into rustic, irregular shards for a charming homemade look, or use a sharp knife to cut it into more uniform squares or rectangles. The choice is yours! Serve immediately to enjoy the crisp texture and vibrant flavors.
For any leftover peppermint bark, ensure it stays fresh and delicious by storing it properly. Place the pieces in an airtight container or a sealed bag. Store it in the refrigerator for up to 2-3 weeks or in the freezer for up to 2-3 months. If storing in the freezer, let it come to room temperature for a few minutes before serving for optimal enjoyment.
Joy’s Tip: Perfect for Holiday Gifting!
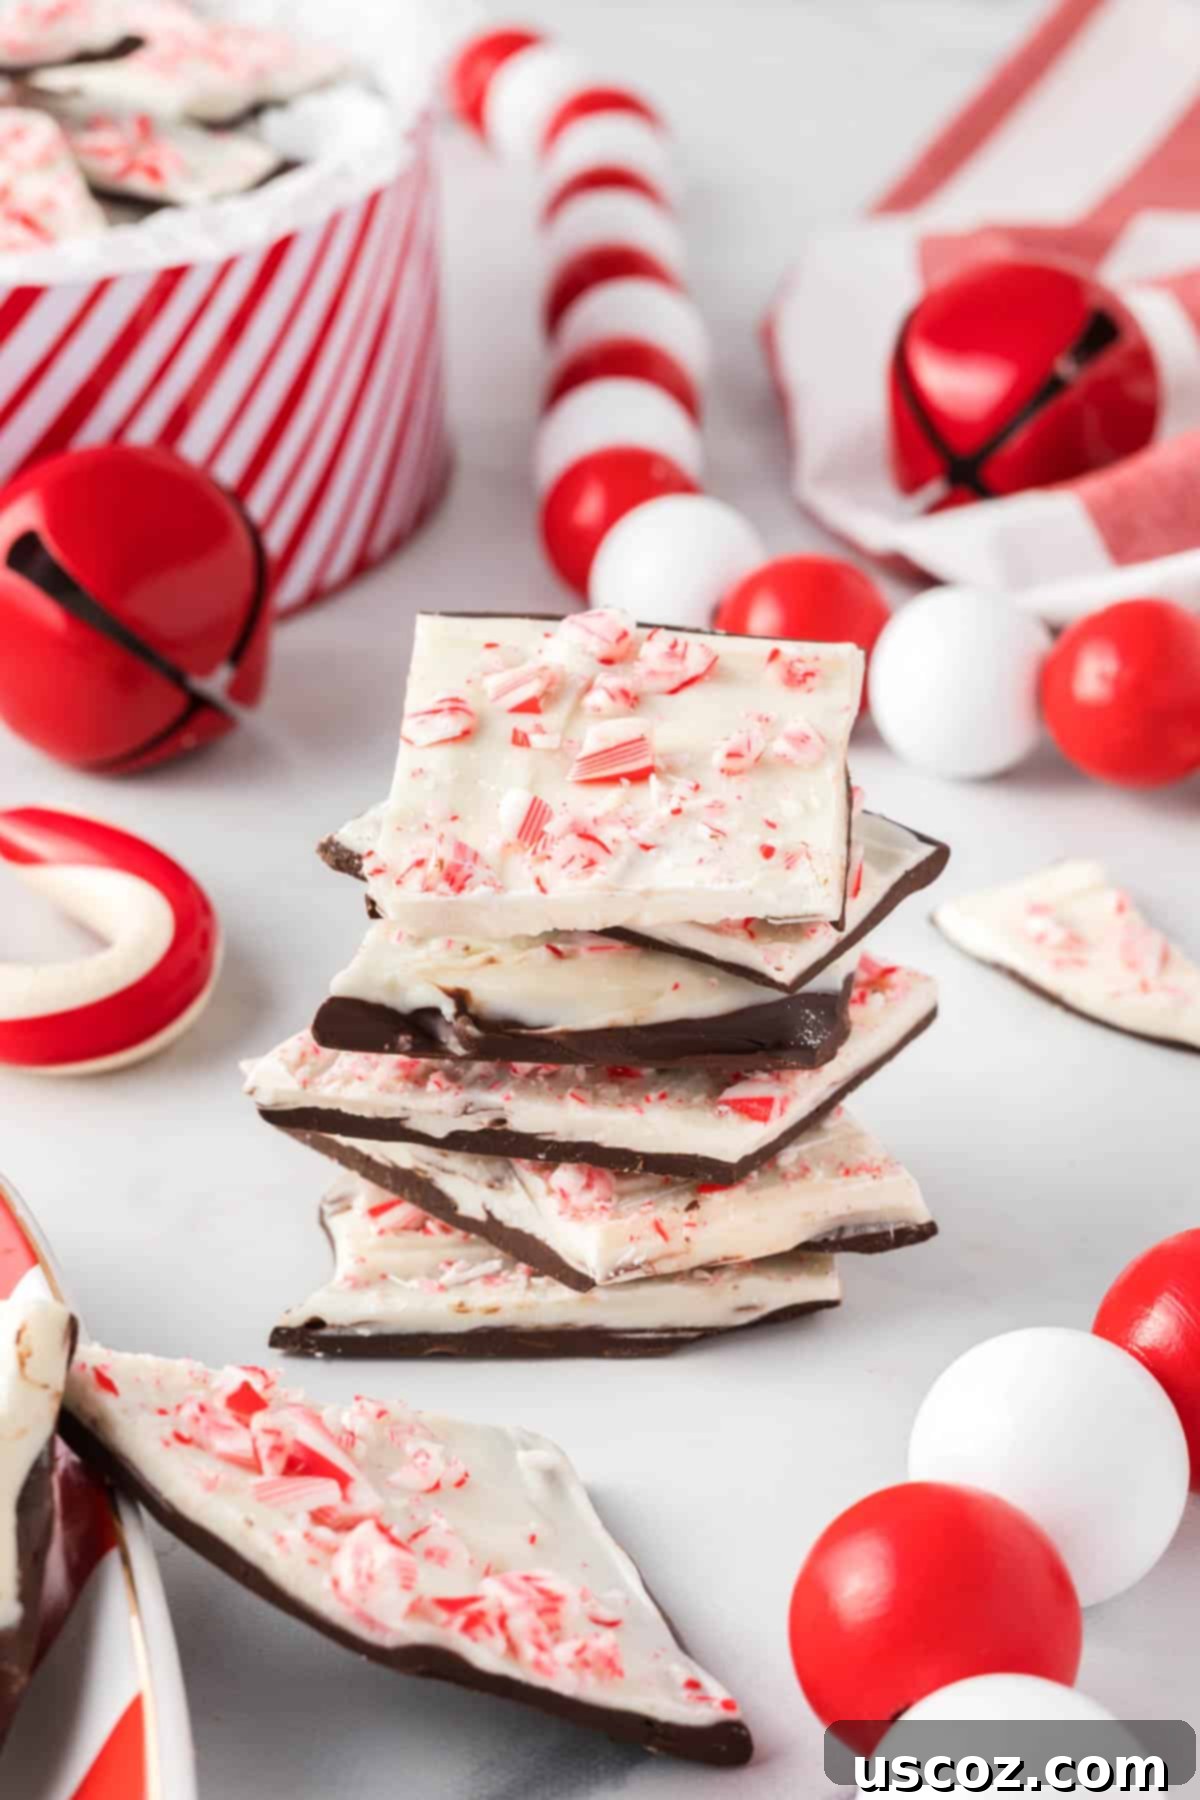
This homemade peppermint bark isn’t just a treat for your family; it also makes a fantastic and thoughtful Christmas gift! The vibrant colors and festive flavors make it an ideal present for friends, neighbors, teachers, or colleagues. Simply wrap the cooled and broken bark in clear cellophane bags tied with festive ribbons, or place it in decorative holiday tins. You’ll have beautiful, delicious, and budget-friendly sweet treats that spread holiday cheer and show you care.

Explore More Festive Holiday Desserts
If you’re looking for more easy and delicious holiday dessert ideas to add to your festive repertoire, check out some of our other favorite no-bake and simple recipes. These treats are perfect for parties, gifting, or simply enjoying with your loved ones throughout the season:
- Cookies & Cream Muddy Buddies: A playful and addictive snack mix.
- Peanut Butter Balls: A classic no-bake favorite with a delightful crunch.
- Christmas Crack: Salty, sweet, and incredibly easy to make.
- Pecan Pie Balls: All the flavor of pecan pie in a bite-sized treat.
- Christmas Cookie Bars: Chewy, festive, and perfect for a crowd.
- Cake Mix Snickerdoodles: Soft, cinnamon-sugary cookies made simple with cake mix.
- Ritz Cracker Cookies: A delightful sweet and salty combination.
- Cake Mix Christmas Cookies: Quick and easy cookies for holiday baking.
- Graham Cracker Toffee: A buttery, crunchy, and irresistible candy.
- Chocolate Caramel Pretzel Bars: A perfect balance of sweet, salty, and chewy.

Chocolate Peppermint Bark
Save RecipeSaved!
Pin Recipe
Rate Recipe
Print Recipe
Ingredients
- 10 oz dark chocolate chips
- 11 oz white chocolate chips
- 1 teaspoon peppermint extract
- 6 candy canes, crushed
Instructions
-
Line a small baking sheet (approximately 9 by 13 inches or similar size) with parchment paper, ensuring easy removal of the finished bark.
-
In a microwave-safe bowl, melt the dark chocolate chips. Heat in 30-second bursts, stirring well after each, until smooth and fully melted. Stir in the peppermint extract until combined.
-
Pour the melted dark chocolate onto the prepared baking sheet. Spread it evenly with a spatula. Place the pan in the refrigerator for at least 30 minutes, or until the chocolate layer is firm.
-
While the dark chocolate chills, crush the candy canes. Place them in a sturdy, sealed bag and use a rolling pin to break them into small pieces. Set aside.
-
Once the dark chocolate is nearly firm, melt the white chocolate chips in a separate microwave-safe dish. Heat gently in 30-second increments, stirring until smooth. Spread this melted white chocolate evenly over the hardened dark chocolate layer.
-
Immediately sprinkle the crushed candy canes over the wet white chocolate. Gently press them down. Return the peppermint bark to the fridge or freezer to chill for another 30 minutes to 1 hour, or until completely set. Once firm, break or cut into desired pieces and enjoy!
Nutrition
Like this recipe? Rate and comment below!
