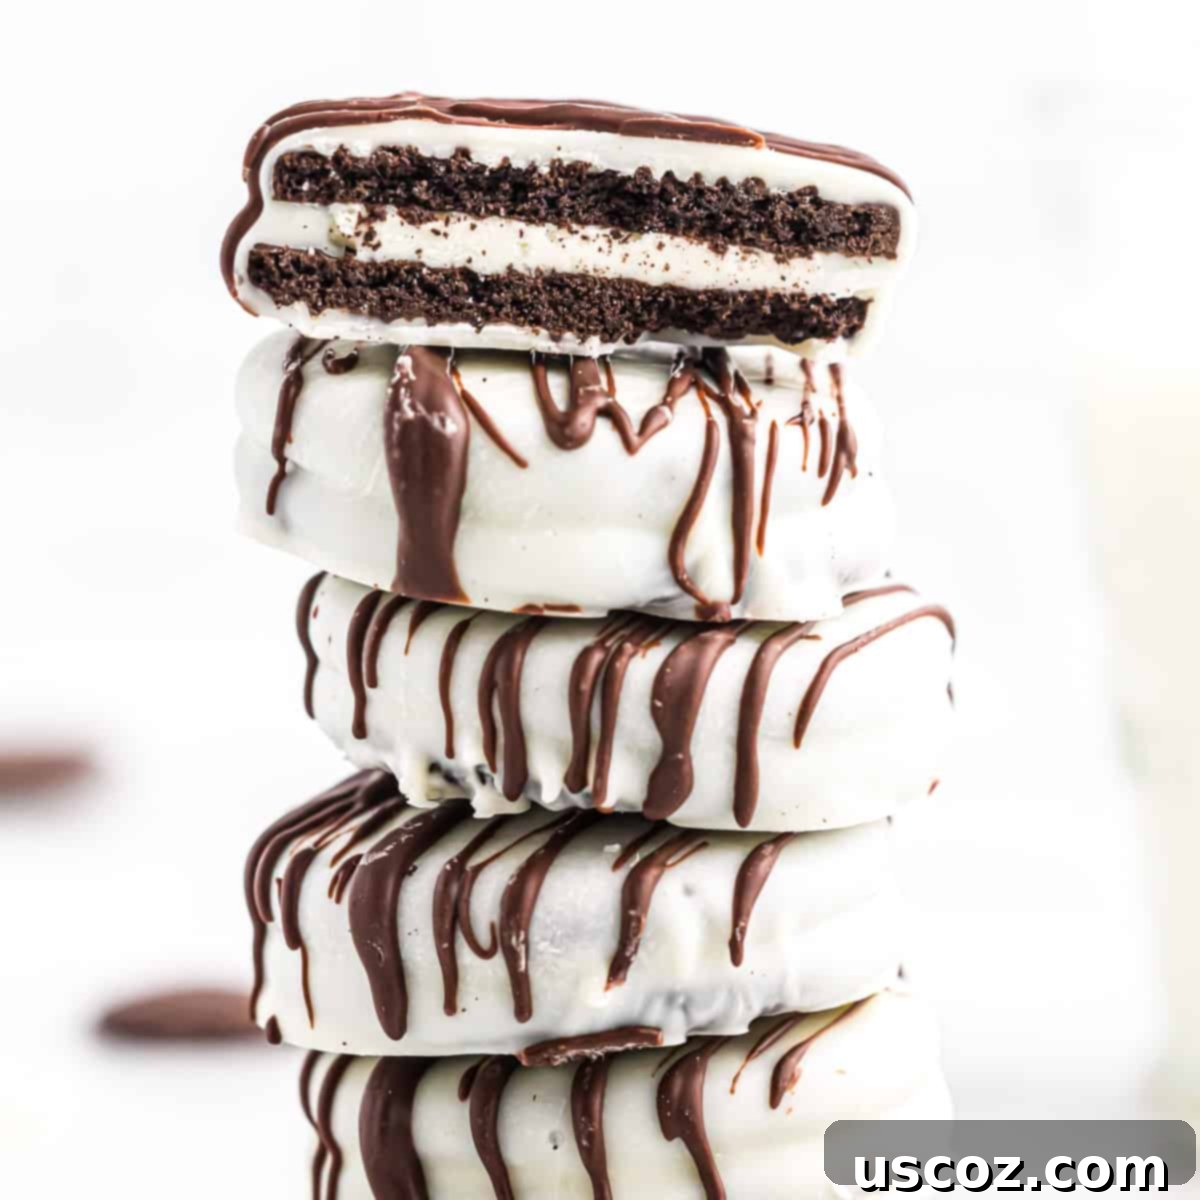
Decadent & Easy White Chocolate Covered Oreos: The Ultimate No-Bake Treat Recipe
These White Chocolate Covered Oreos are a quick, easy, and incredibly impressive no-bake dessert that will delight everyone! Whether you’re celebrating a special occasion, preparing for the holidays, or simply craving a sweet treat, these chocolatey delights are the perfect choice. With just a few ingredients and minimal effort, you can transform classic Oreos into a gourmet confection that looks as good as it tastes.
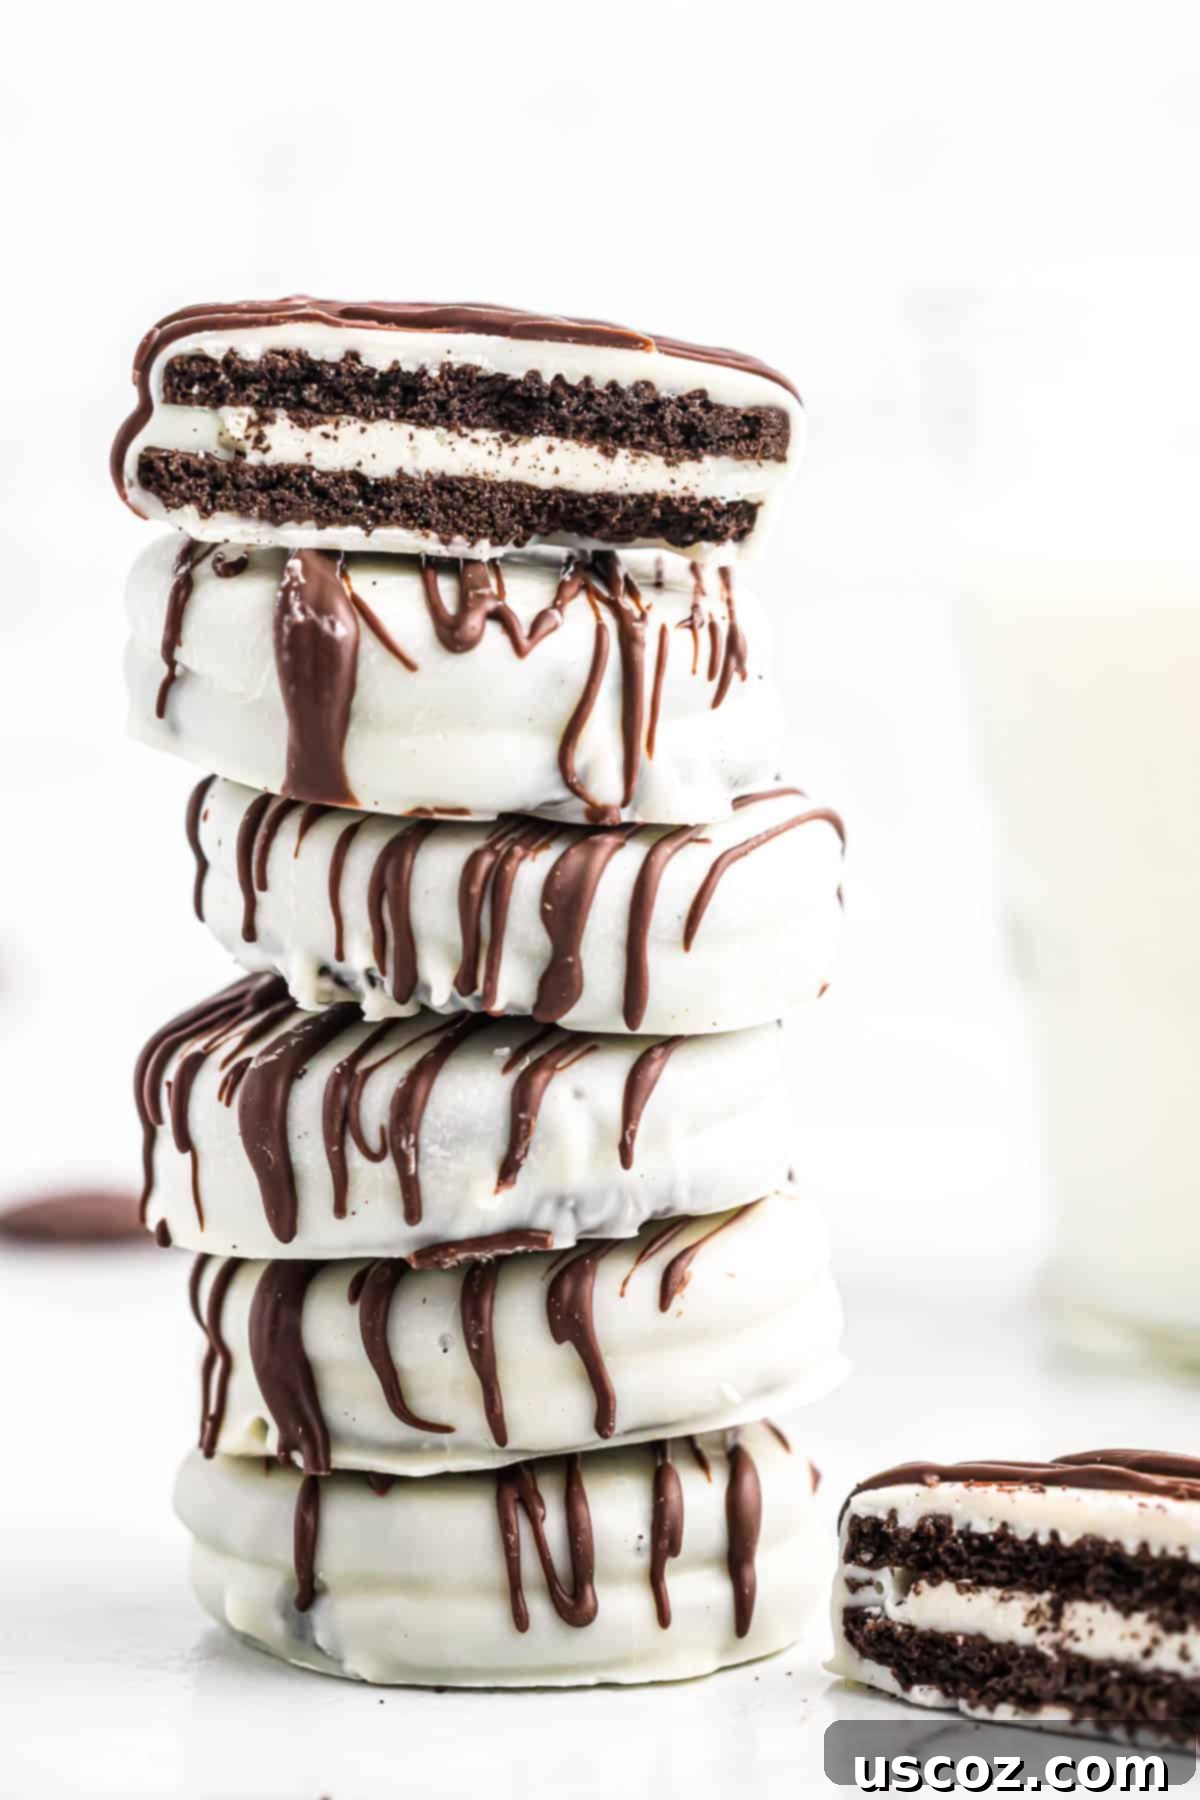
Everyone loves Oreo cookies – that iconic chocolate sandwich biscuit with its creamy filling is a global phenomenon. But what if we told you they could get even better? Imagine those classic Oreos, enveloped in a smooth, luxurious coat of white chocolate. Yes, they are even more decadent when dipped into chocolate, and white chocolate takes them to a whole new level of deliciousness!
Having previously mastered chocolate covered Oreos, we knew we had to explore the delightful world of white chocolate Oreos. This recipe is not just about taste; it’s about creating a visually appealing dessert with minimal fuss. It’s perfect for adding a touch of elegance to any gathering or making a thoughtful homemade gift. From festive Valentine’s Day treats to delightful additions to your Christmas cookie swap, these cookies are incredibly versatile.
Oreos are a classic favorite for a reason, and their versatility makes them a fantastic base for so many yummy dessert recipes. When combined with the creamy sweetness of white chocolate, they transform into an irresistible delight that’s hard to resist. This simple recipe proves that you don’t need to be a pastry chef to create something truly special.

Ingredients Needed for White Chocolate Covered Oreos
Making these delightful treats requires only a handful of common ingredients. The key is choosing quality products for the best results.
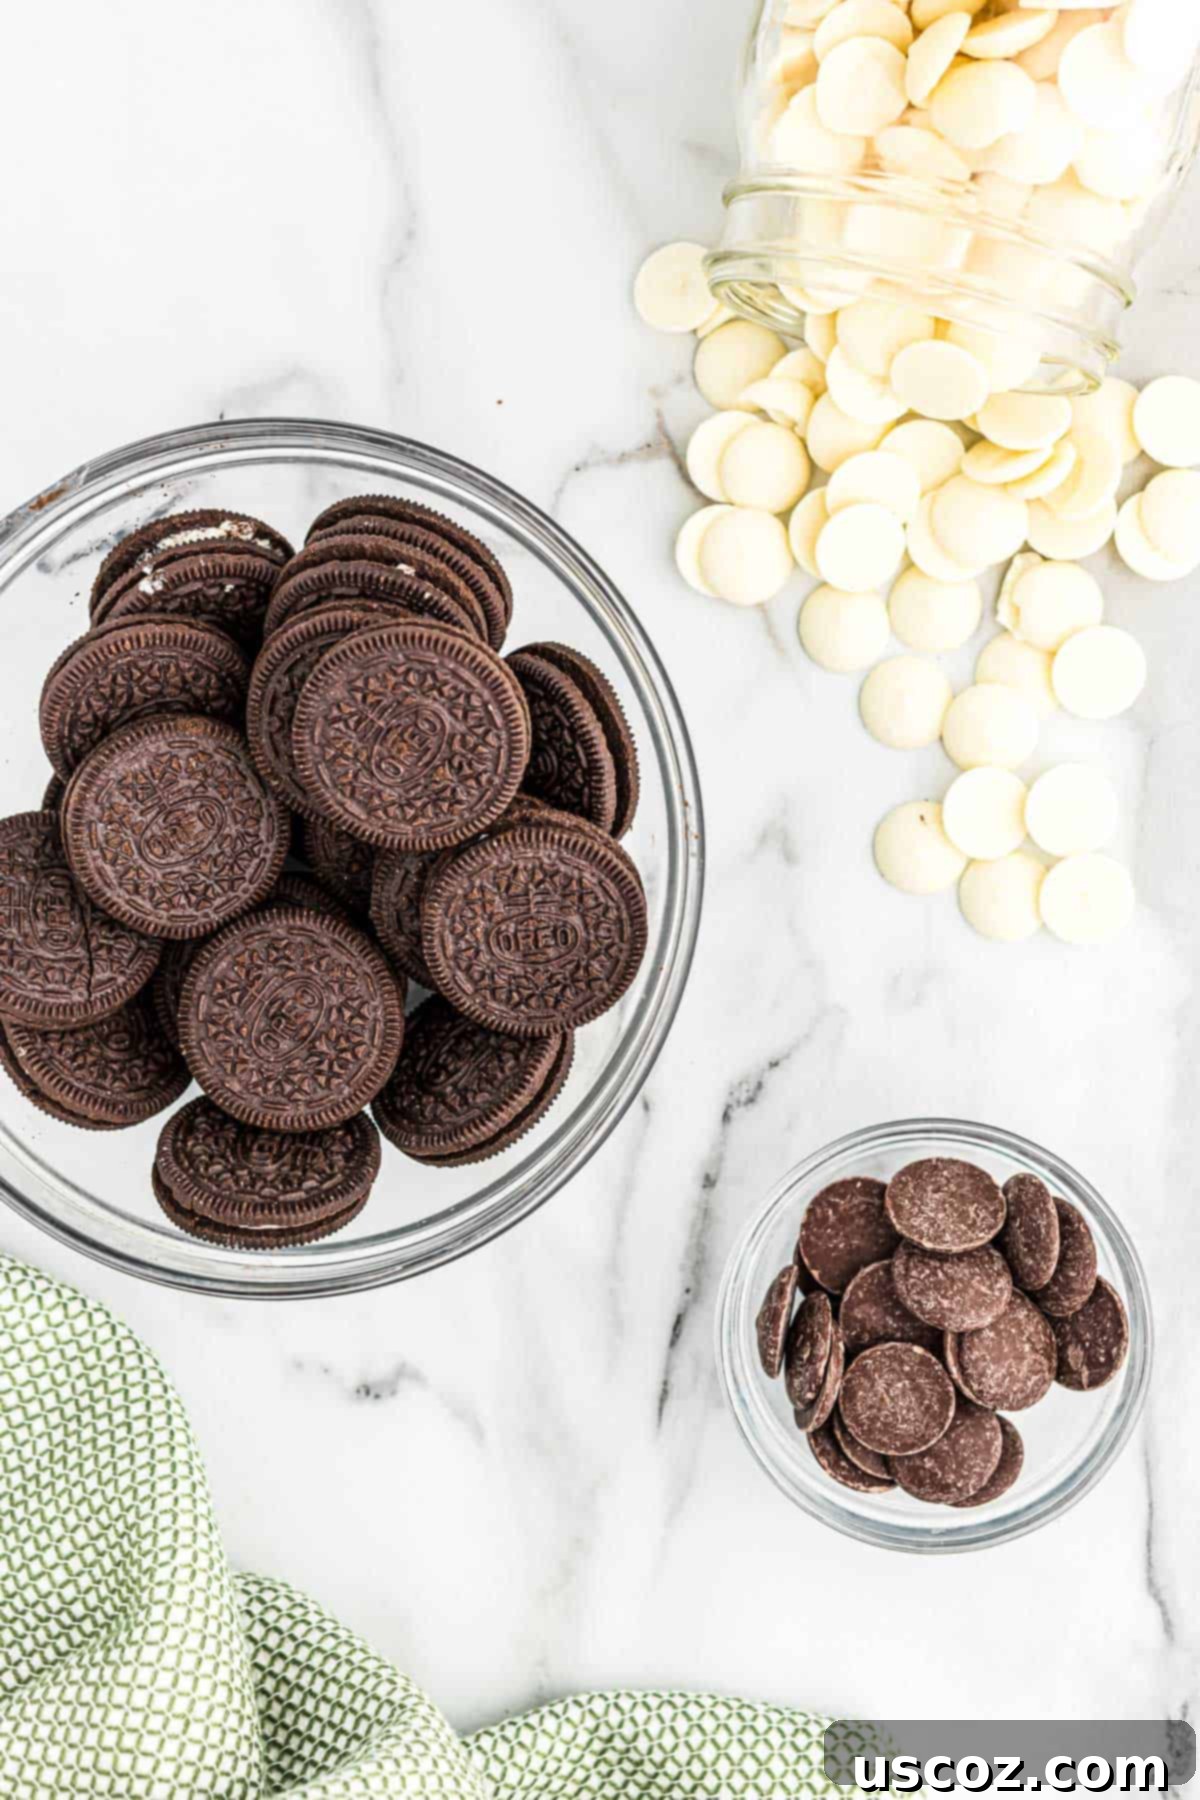
- Oreos: One package of your favorite variety. Classic Oreos are always a hit, but don’t shy away from trying Double Stuffed, Mint, Golden, or even Peanut Butter flavored Oreos for an exciting twist!
- White Vanilla Melting Wafers: These are crucial for a smooth, even coating and easy melting. Brands like Ghirardelli, Wilton, or Candy Melts work wonderfully.
- Dark Chocolate Melting Wafers: A small amount for drizzling, adding a beautiful contrast and an extra layer of chocolatey flavor. You can also use milk chocolate or semi-sweet chocolate chips if melting wafers aren’t available for the drizzle.
That’s it! Simple, right? These three core ingredients are all you need to create a truly spectacular no-bake dessert.
How to Make White Chocolate Covered Oreos: A Step-by-Step Guide
Creating these beautiful treats is surprisingly simple. Follow these steps for perfect results every time.
Preparation is Key
Before you begin, ensure your workspace is ready. Line a baking sheet with parchment paper or a silicone baking mat. This will prevent the chocolate from sticking and make cleanup a breeze. Having everything prepped makes the dipping process much smoother.
Step 1: Melt the White Chocolate Wafers. Place the white vanilla melting wafers in a microwave-safe bowl. Microwave in 30-second intervals, stirring well after each, until the chocolate is completely smooth and creamy. Be careful not to overheat it, as white chocolate can seize easily.
Recipe Tip: Why Melting Wafers Are Best
For this recipe, we highly recommend using melting wafers (also known as candy melts) instead of standard white chocolate chips. Melting wafers are specifically designed for dipping and coating, melting perfectly smooth with a lovely pourable consistency and hardening quickly without needing tempering. White chocolate chips, on the other hand, can be finicky; they often melt too thick, seize easily, or don’t set as firmly, which can make dipping a frustrating experience. Trust us, melting wafers are the secret to professional-looking, delicious results for recipes like this!
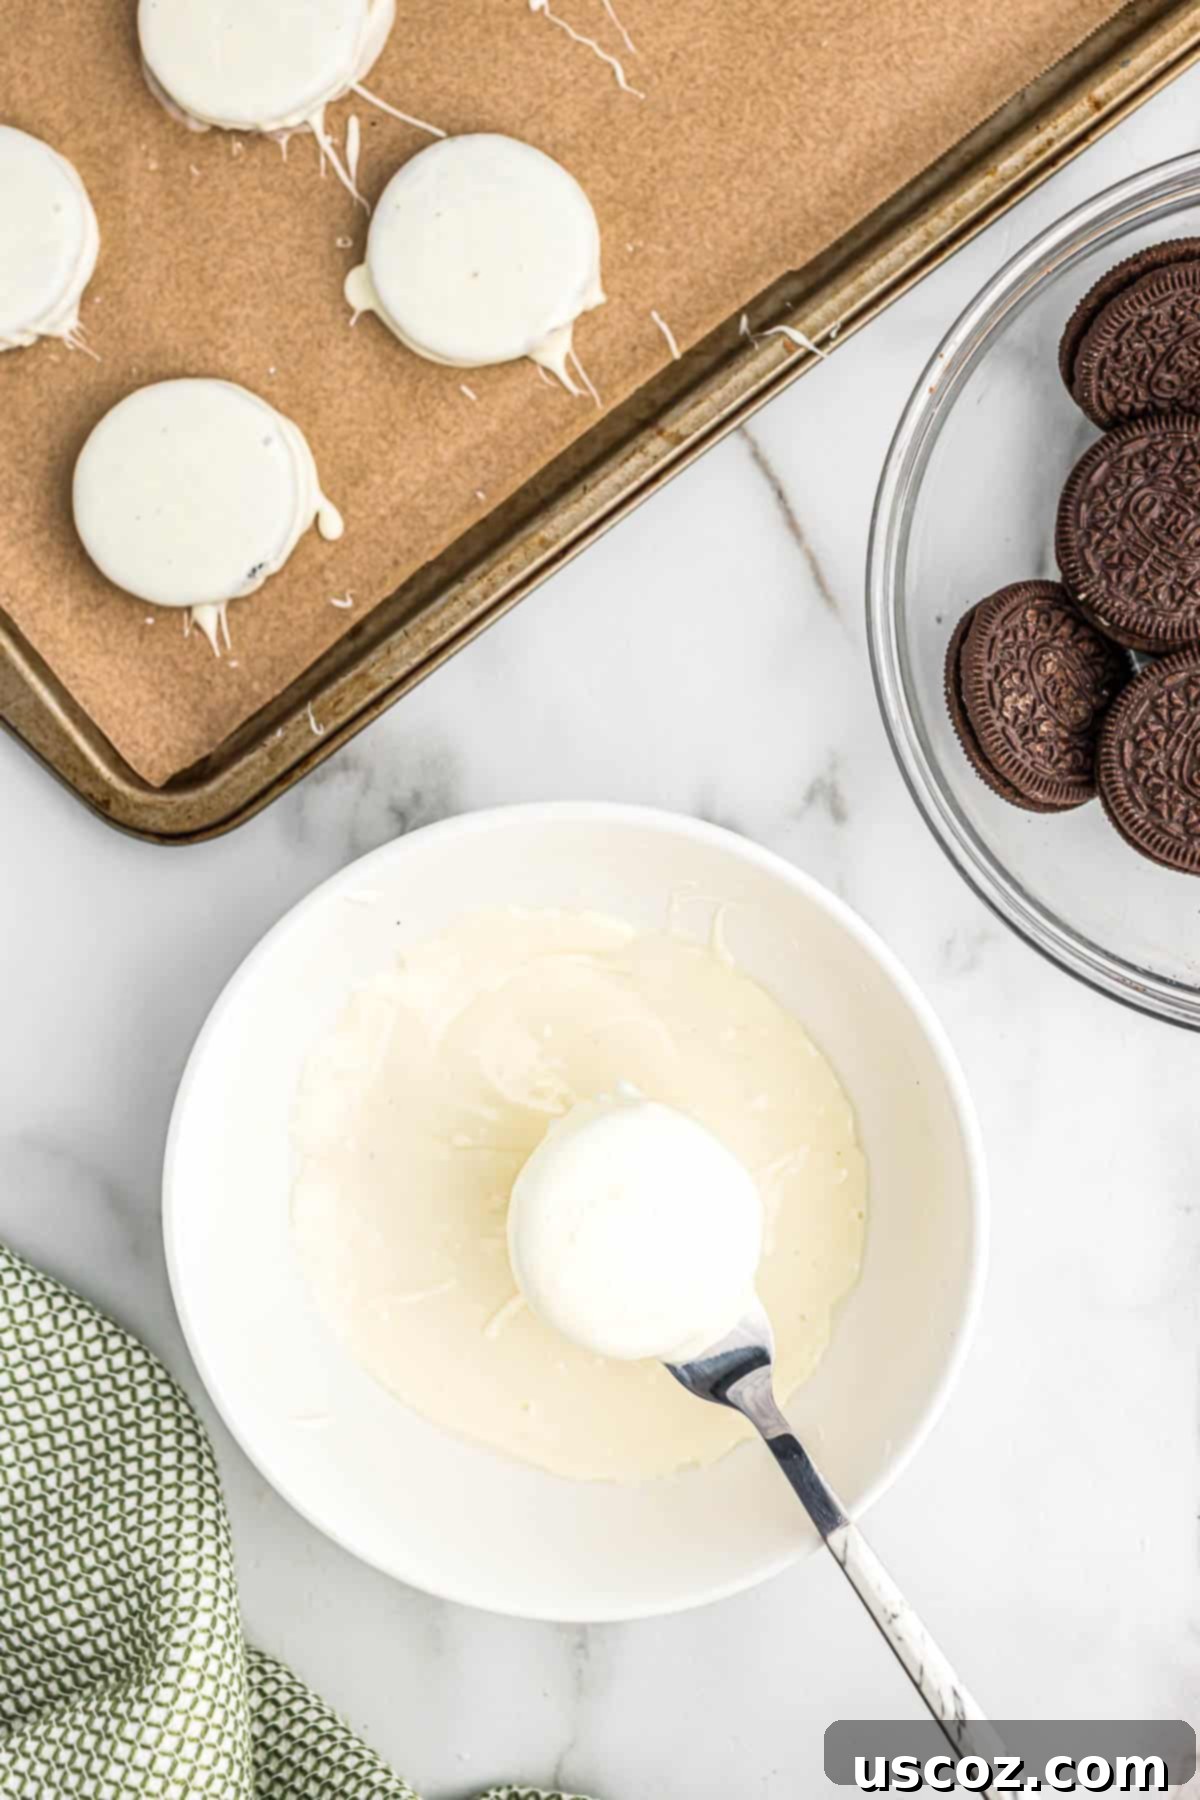
Step 2: Dip the Oreos. Carefully dip each Oreo into the melted white chocolate, ensuring it’s fully coated. Use a fork or a dipping tool to gently lift the cookie out, allowing any excess chocolate to drip off. Place the dipped Oreos onto your prepared baking sheet. Work quickly but carefully to ensure an even coating.
Step 3: Chill for Success. Once all Oreos are dipped, transfer the baking sheet to the refrigerator. Chill the cookies for about 15-20 minutes, or until the white chocolate has fully hardened and set. This step is essential for a firm, non-sticky coating and prevents the chocolates from mixing later.
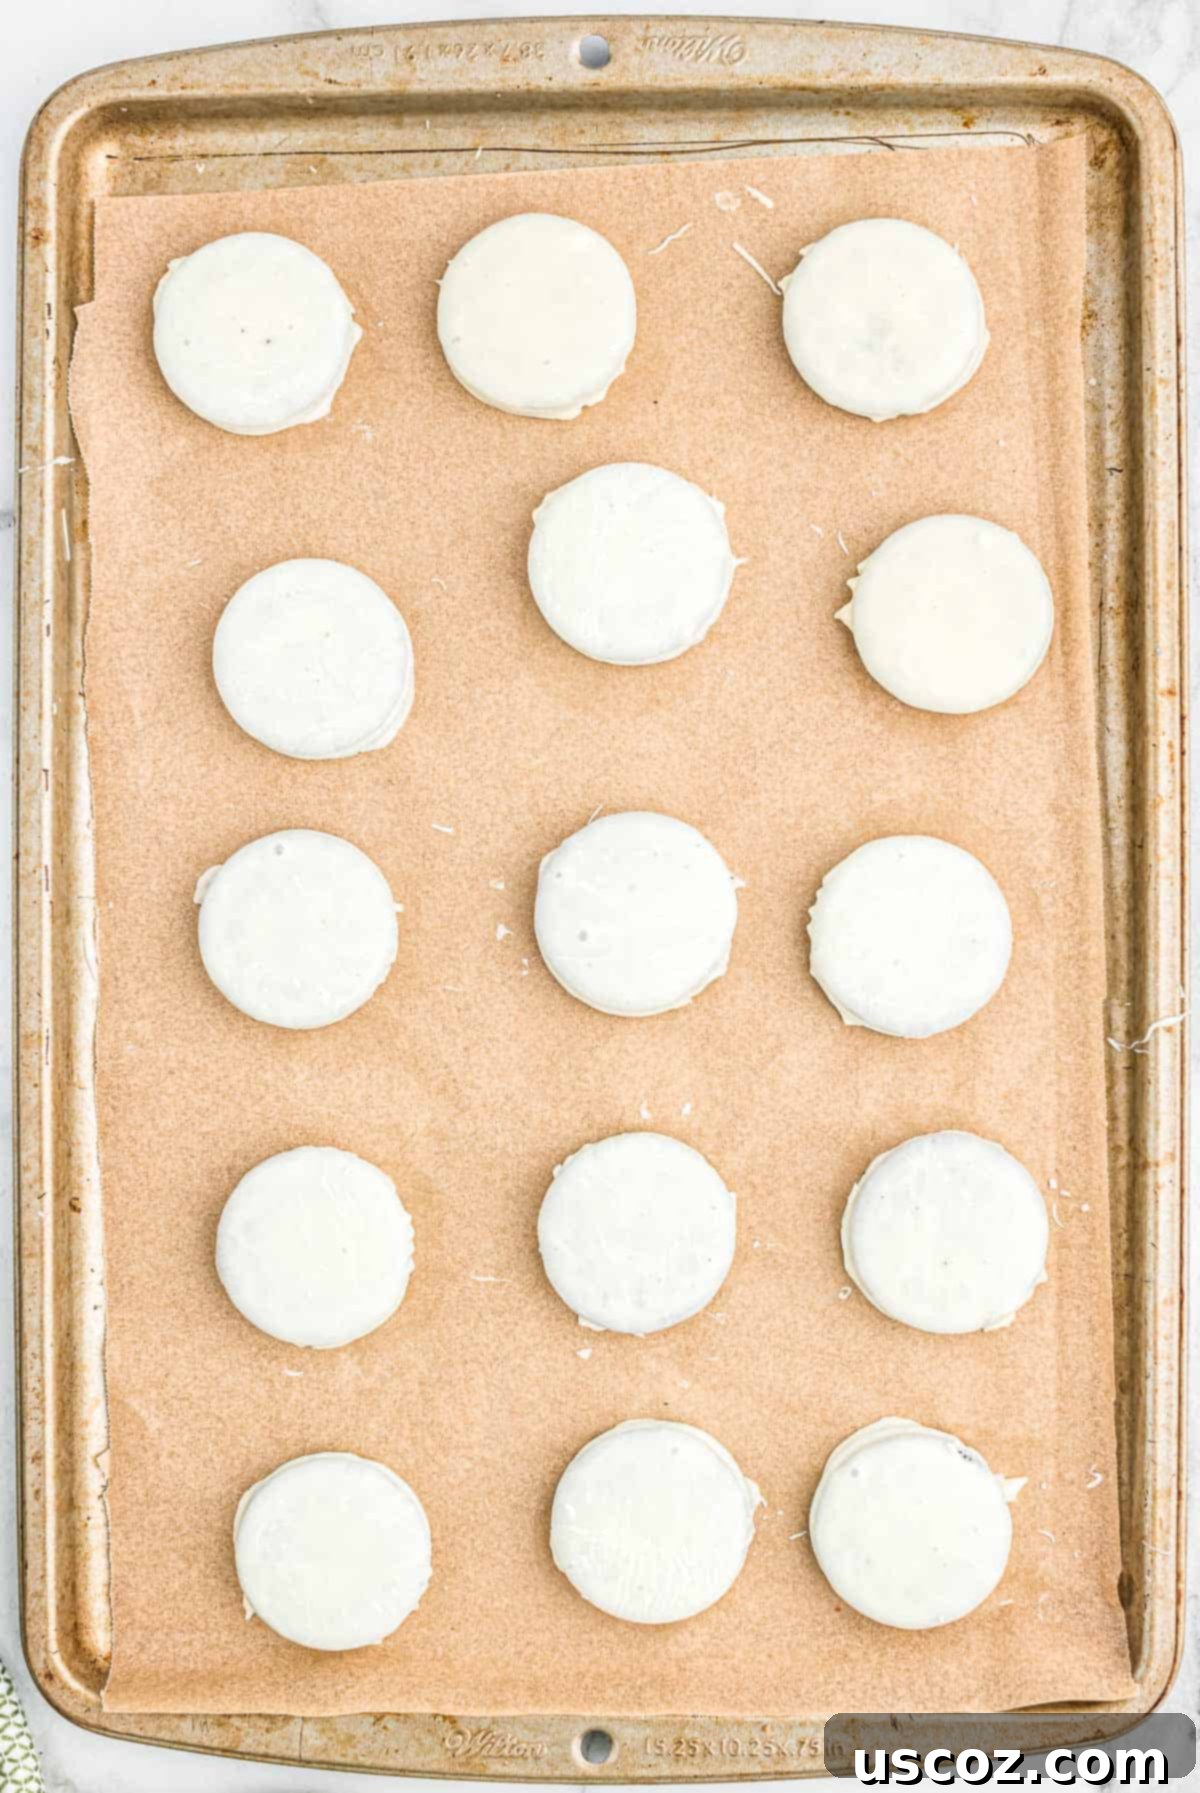
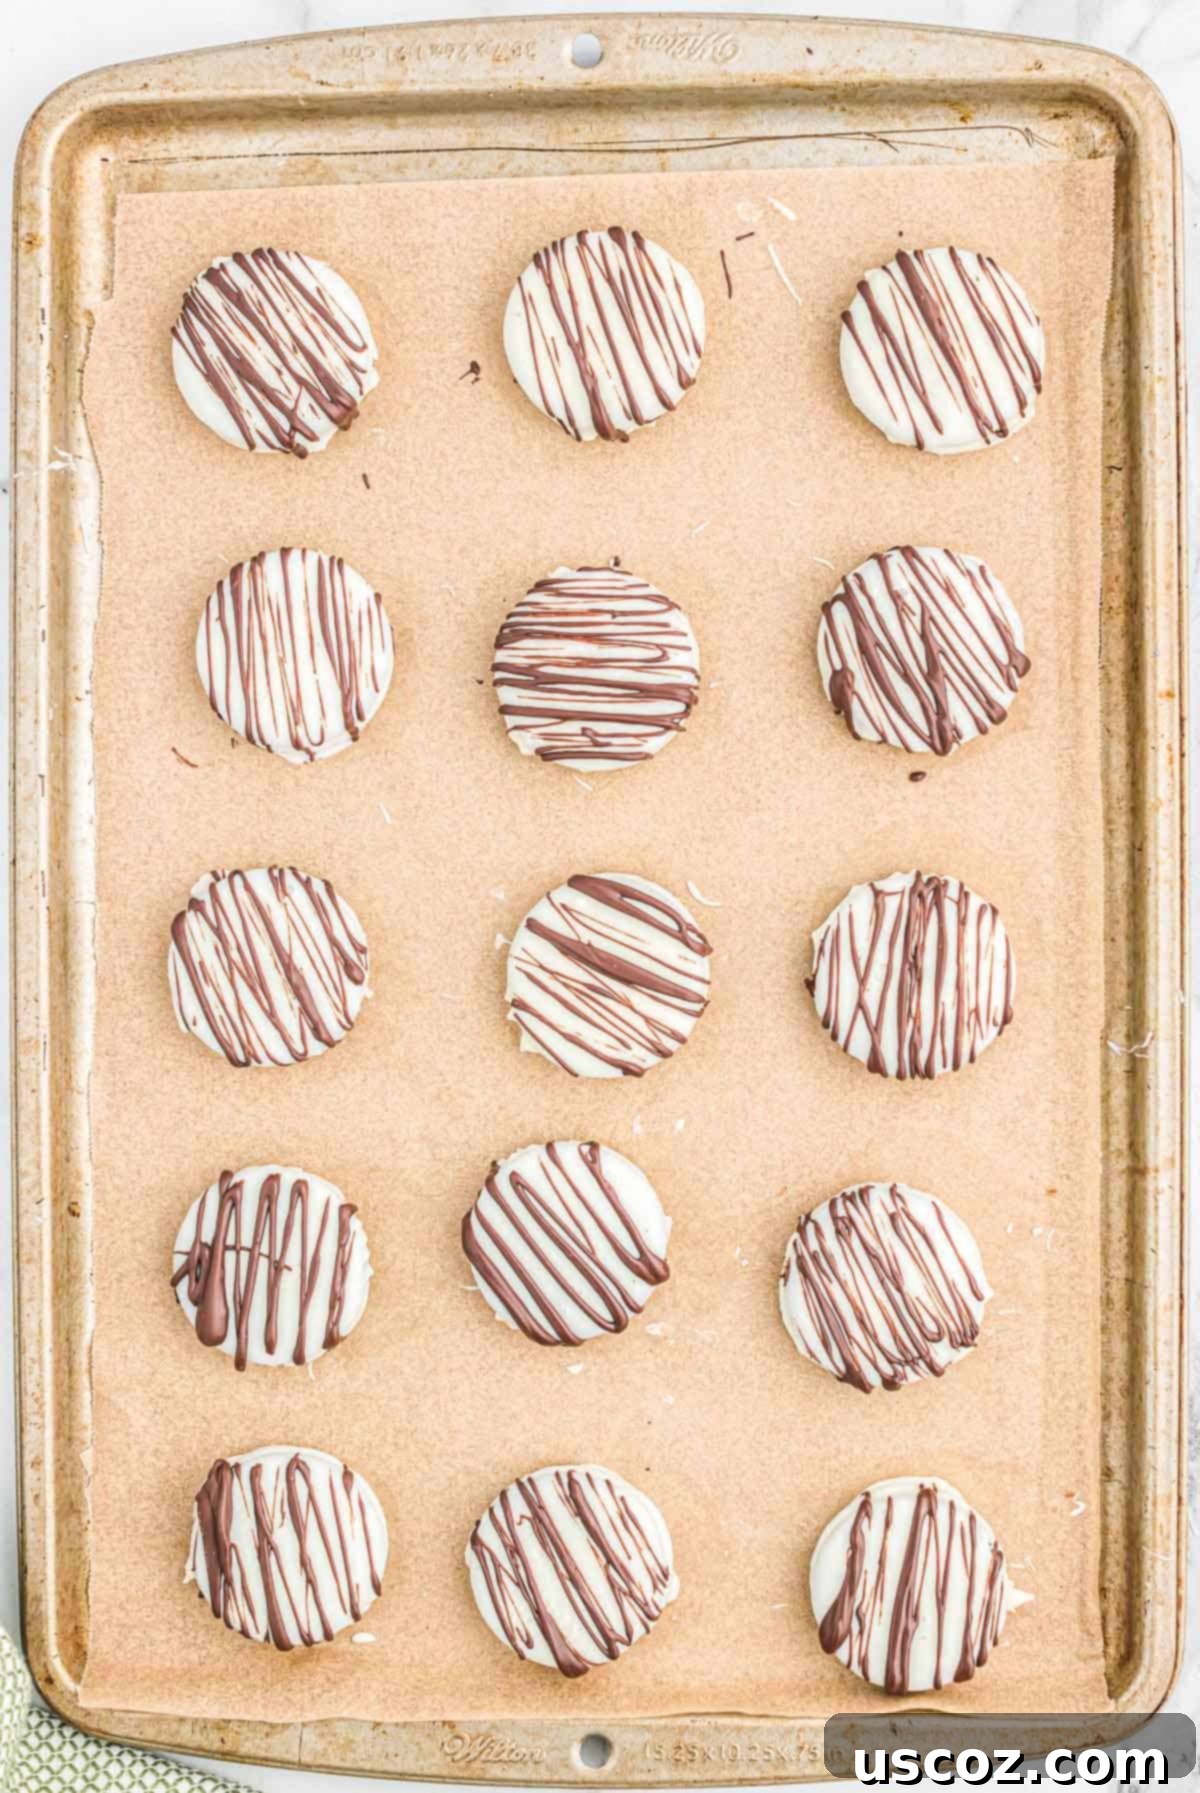
Step 4: Drizzle with Dark Chocolate. While the white chocolate-covered Oreos are chilling, melt the dark chocolate melting wafers using the same method as the white chocolate (30-second intervals, stirring). Once the white chocolate is hardened, retrieve the cookies. Use a fork, a spoon, or even a small piping bag (snip a tiny corner off a Ziploc bag) to drizzle the melted dark chocolate decoratively over the tops of the cookies. This creates a beautiful visual contrast and adds a sophisticated touch.
Step 5: Final Set. Return the drizzled Oreos to the fridge one last time until the dark chocolate has completely set. This usually takes another 5-10 minutes. Once firm, they are ready to serve or store!
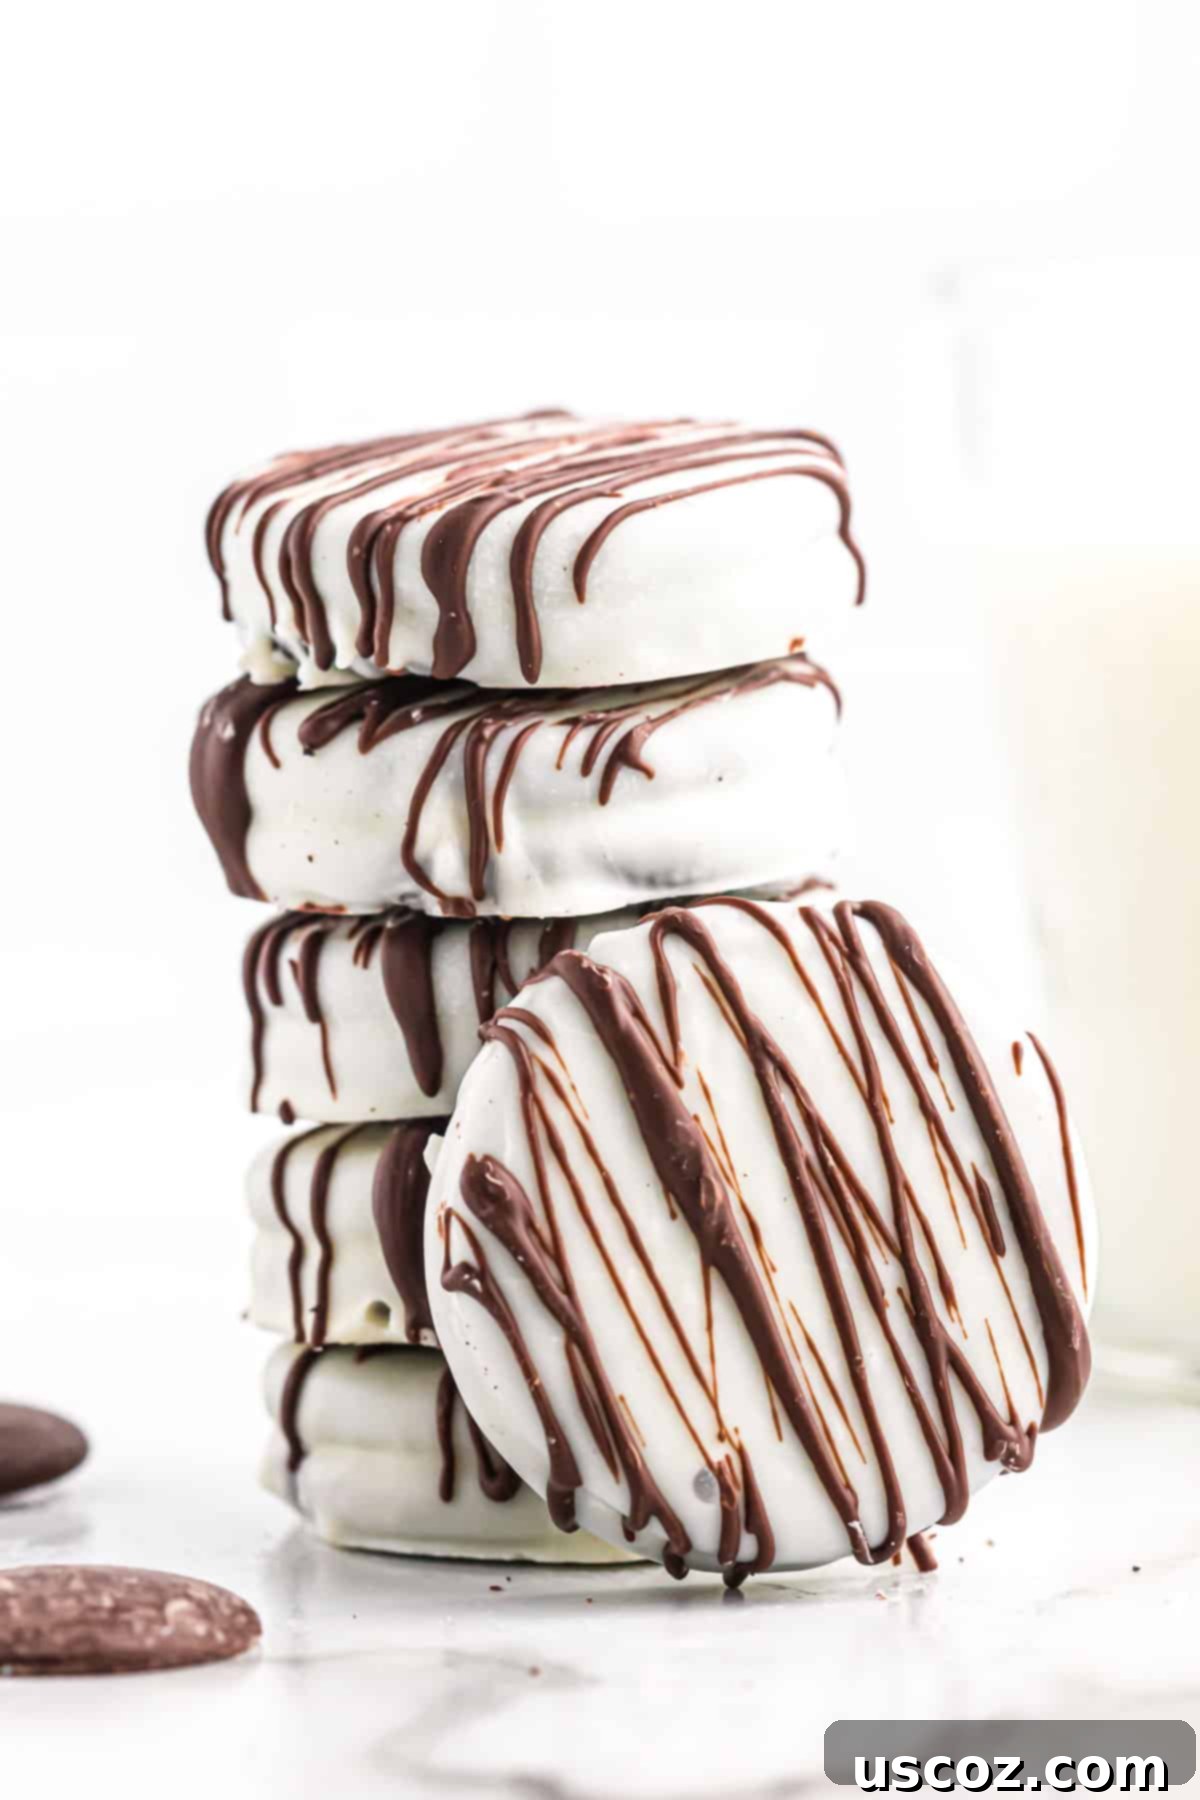
Unleash Your Creativity: Customization Ideas for Your White Chocolate Oreos
The beauty of these dipped Oreos lies in their endless customizability. You can truly make them your own and tailor them to any event or preference. Here are some ideas to get you started:
- Oreo Flavor Explorations: Don’t limit yourself to classic Oreos! Experiment with different flavors like Mint Oreos, Peanut Butter Oreos, Golden Oreos, or even seasonal varieties for unique taste combinations.
- Sprinkle Sensations: Before the white chocolate sets, add a festive touch with sprinkles! Use colorful sprinkles for birthdays, red and pink for Valentine’s Day, green for St. Patrick’s Day, orange and black for Halloween, or red and green for Christmas. Edible glitter or sanding sugar can also add sparkle.
- Extra Toppings: After dipping but before setting, press on some delicious extras. Think crushed nuts (peanuts, pecans, walnuts), shredded coconut, mini chocolate chips, crushed candy canes, toffee bits, or a sprinkle of sea salt for a sophisticated sweet and salty kick.
- Colored White Chocolate: Divide your melted white chocolate and add a few drops of oil-based food coloring to create vibrant, colored dipping chocolate. This is fantastic for themed parties or team colors.
- Alternative Drizzles: Instead of dark chocolate, try drizzling with melted milk chocolate, caramel sauce, or even colored candy melts for a different flavor and visual appeal.
These creative options make these white chocolate covered Oreos incredibly fun to make and perfect for any occasion, from casual snacking to elegant dessert platters.
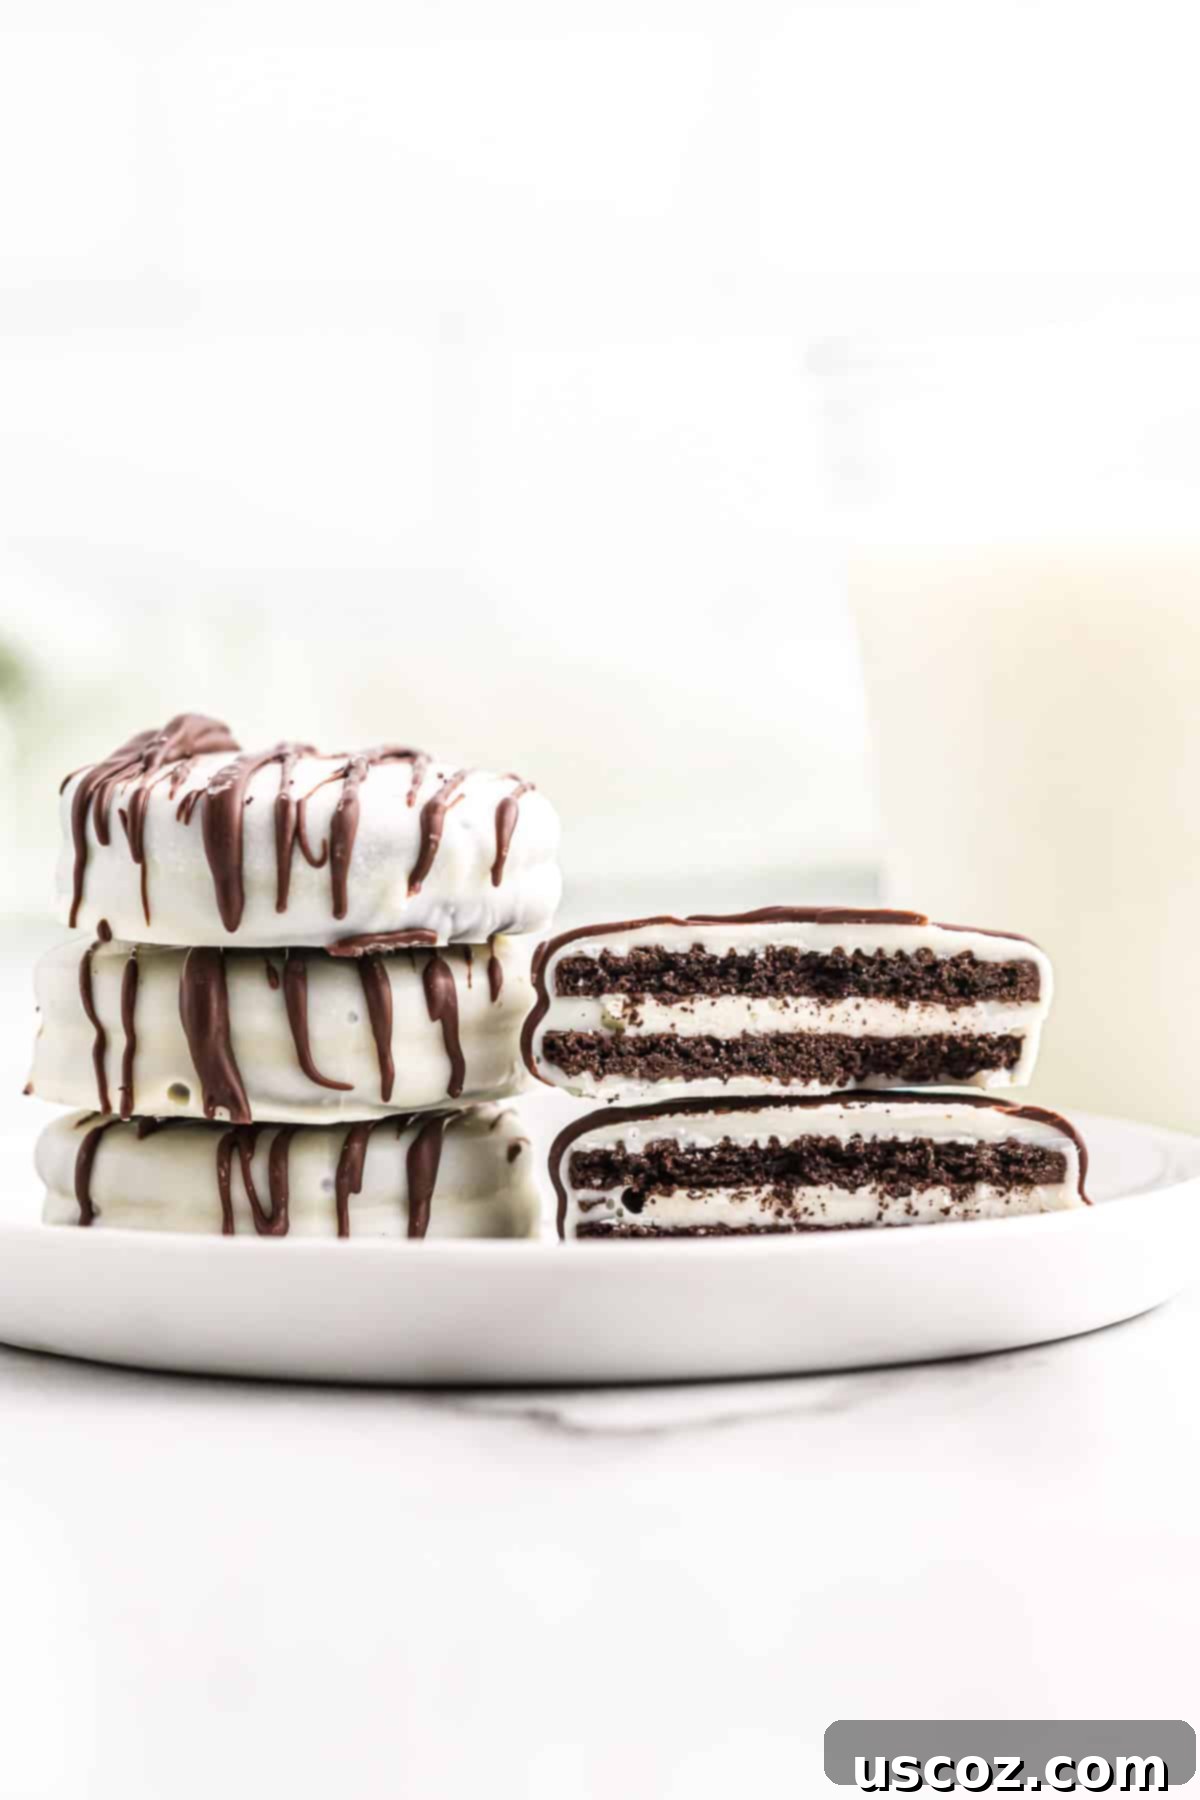
Tips for Flawless White Chocolate Covered Oreos
While this recipe is incredibly easy, a few tips can help ensure your results are perfect:
- Don’t Overheat the Chocolate: White chocolate is delicate. Melt it slowly in short intervals, stirring frequently, to prevent it from seizing or burning. If it gets too thick, you can try adding a tiny bit of coconut oil or vegetable shortening (about 1/2 teaspoon per cup of chocolate) to thin it out, but be careful not to add too much.
- Ensure Oreos are Room Temperature: Cold Oreos can cause the chocolate to set too quickly, leading to an uneven coating. Room temperature cookies allow for a smoother, more controlled dip.
- Work Quickly: Once the chocolate is melted, it will start to cool and thicken. Have all your Oreos and toppings ready so you can dip and decorate efficiently.
- Tap Off Excess Chocolate: After dipping, gently tap the fork against the side of the bowl to remove any excess chocolate. This creates a clean, even coating and prevents pooling at the base of the cookie.
- Parchment Paper is Your Best Friend: Always use parchment paper or a silicone mat. This ensures your beautiful creations don’t stick to the baking sheet and makes them easy to lift once set.
Storing Your Delicious White Chocolate Covered Oreos
Proper storage will keep your Oreos fresh and delicious for longer:
- Room Temperature: Store them in an airtight container at room temperature for up to 5-7 days. If your kitchen is particularly warm, they might soften, so the fridge is a better option.
- Refrigerator: For extended freshness or if your home is warm, store them in an airtight container in the refrigerator for up to 2 weeks. Allow them to come to room temperature for about 10-15 minutes before serving for the best texture and flavor.
- Freezer: You can also freeze white chocolate covered Oreos! Place them in a single layer on a baking sheet to freeze solid, then transfer them to a freezer-safe airtight container or bag. They’ll last for up to 2-3 months. Thaw them in the refrigerator overnight or at room temperature for a few hours before enjoying.
Frequently Asked Questions (FAQs)
Here are answers to some common questions about making white chocolate covered Oreos:
- Can I use white chocolate chips instead of melting wafers? While technically possible, it’s not recommended for the best results. White chocolate chips are harder to melt smoothly and are prone to seizing. If you must use them, add about 1/2 to 1 teaspoon of coconut oil or vegetable shortening per cup of chocolate chips to help them melt and become more dippable.
- How many Oreos does this recipe make? This recipe typically makes about 15-18 white chocolate covered Oreos, depending on the size of your Oreos and how thickly you coat them.
- How long do they take to set in the fridge? The white chocolate usually hardens within 15-20 minutes, and the dark chocolate drizzle will set in another 5-10 minutes. The total chilling time is very quick, making this a truly fast dessert!
- What if my chocolate seizes? If your melted chocolate becomes thick, lumpy, and unworkable, it has likely seized. This happens when even a tiny drop of water gets into the chocolate or it’s overheated. Unfortunately, seized chocolate is difficult to rescue for dipping. It’s best to start fresh.
- Can I use a double boiler to melt the chocolate? Yes, a double boiler is an excellent method for melting chocolate, especially if you’re concerned about overheating it in the microwave. Just ensure no steam or water comes into contact with the chocolate.
More Easy Desserts You’ll Love
If you enjoyed making these White Chocolate Covered Oreos, you’ll love exploring these other simple and delicious dessert recipes:
- Cake Mix Sugar Cookies – Super simple, soft, and customizable sugar cookies.
- Oreo Truffles – Another fantastic no-bake Oreo treat!
- Mint Oreo Truffles – A refreshing twist on the classic Oreo truffle.
- Oreo Dip – A creamy, dreamy dip perfect for fruit or cookies.
- Chocolate Covered Pretzels – Salty and sweet, another quick and easy dipping project.
- Ritz Cracker Cookies – A surprising combination that results in a wonderfully addictive treat.
- No Bake Peanut Butter Pie – A rich and creamy dessert that requires no oven.
- Oreo Pie – The ultimate dessert for Oreo lovers, simple and satisfying.
- Pecan Pie Balls – Festive, bite-sized treats perfect for the holidays.
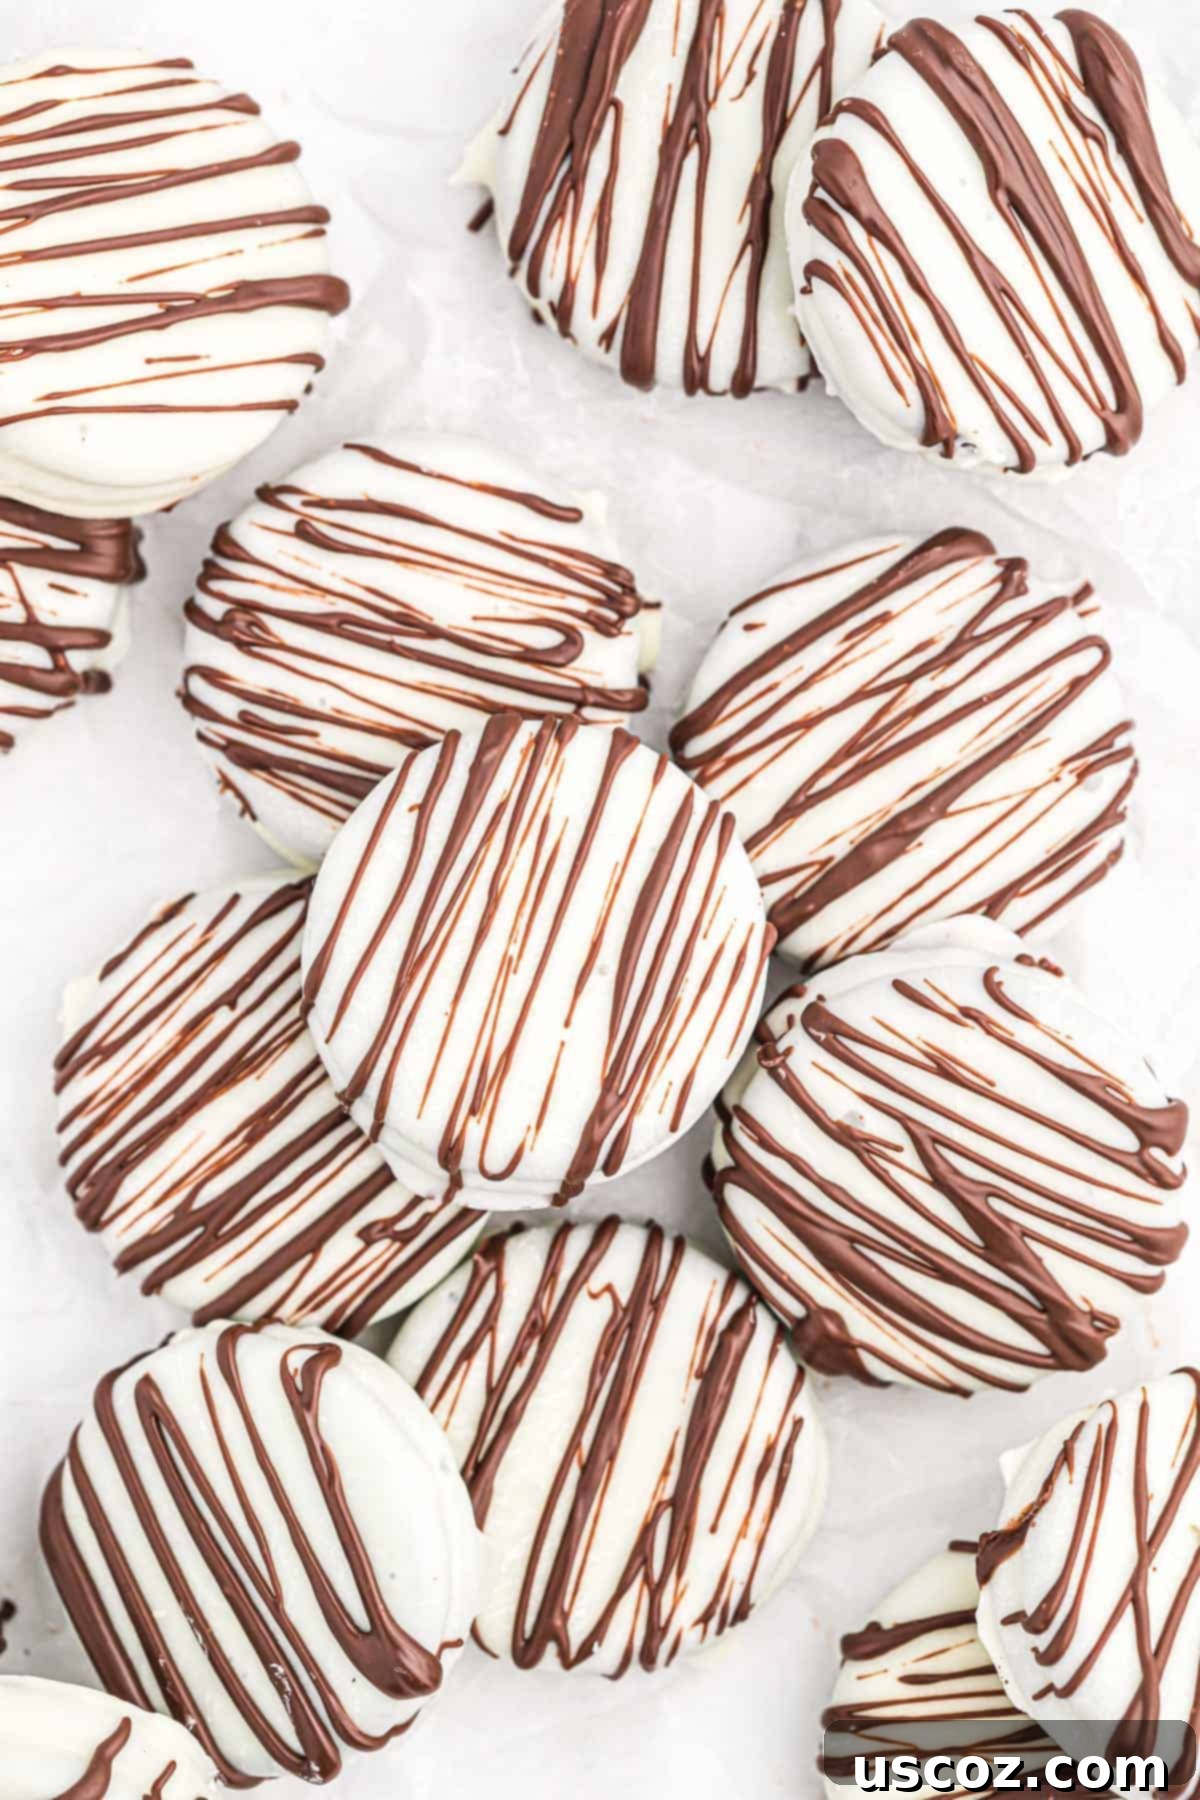
So, the next time you need a stunning yet simple dessert for a special occasion, a party, or just because you deserve a treat, try a batch of these delicious white chocolate coated Oreos. They’re guaranteed to be a crowd-pleaser, and everyone will love their impressive look and irresistible taste!
White Chocolate Covered Oreos
Saved!
Pin Recipe
Rate Recipe
Print Recipe
Ingredients
- 15 Oreos (any flavor, classic recommended)
- 10 oz white vanilla melting wafers (e.g., Ghirardelli, Wilton)
- ¼ cup dark chocolate melting wafers (for drizzle)
- Parchment paper or silicone baking mat
- Optional: Sprinkles, crushed nuts, or other toppings
Instructions
-
Line a baking sheet with parchment paper or a silicone baking mat.
-
Melt the white vanilla melting wafers in a microwave-safe bowl in 30-second intervals, stirring until smooth and fully melted. Do not overheat.
-
Dip each Oreo into the melted white chocolate, ensuring it’s fully coated. Lift with a fork, tap off excess, and place onto the lined baking sheet. If adding sprinkles or toppings, do so immediately after dipping.
-
Chill the Oreos in the fridge for 15-20 minutes, or until the white chocolate has fully hardened.
-
Once the white chocolate is set, melt the dark chocolate melting wafers (or other chocolate for drizzling) in a separate microwave-safe bowl using the same method.
-
Drizzle the melted dark chocolate over the white chocolate covered Oreos. Return them to the fridge for another 5-10 minutes until the dark chocolate is firm.
-
Serve immediately or store in an airtight container at room temperature or in the fridge. Enjoy your decadent homemade treat!
Nutrition
Carbohydrates: 25g,
Protein: 2g,
Fat: 10g,
Saturated Fat: 5g,
Polyunsaturated Fat: 4g,
Cholesterol: 4mg,
Sodium: 81mg,
Fiber: 1g,
Sugar: 19g
Like this recipe? Rate and comment below!
