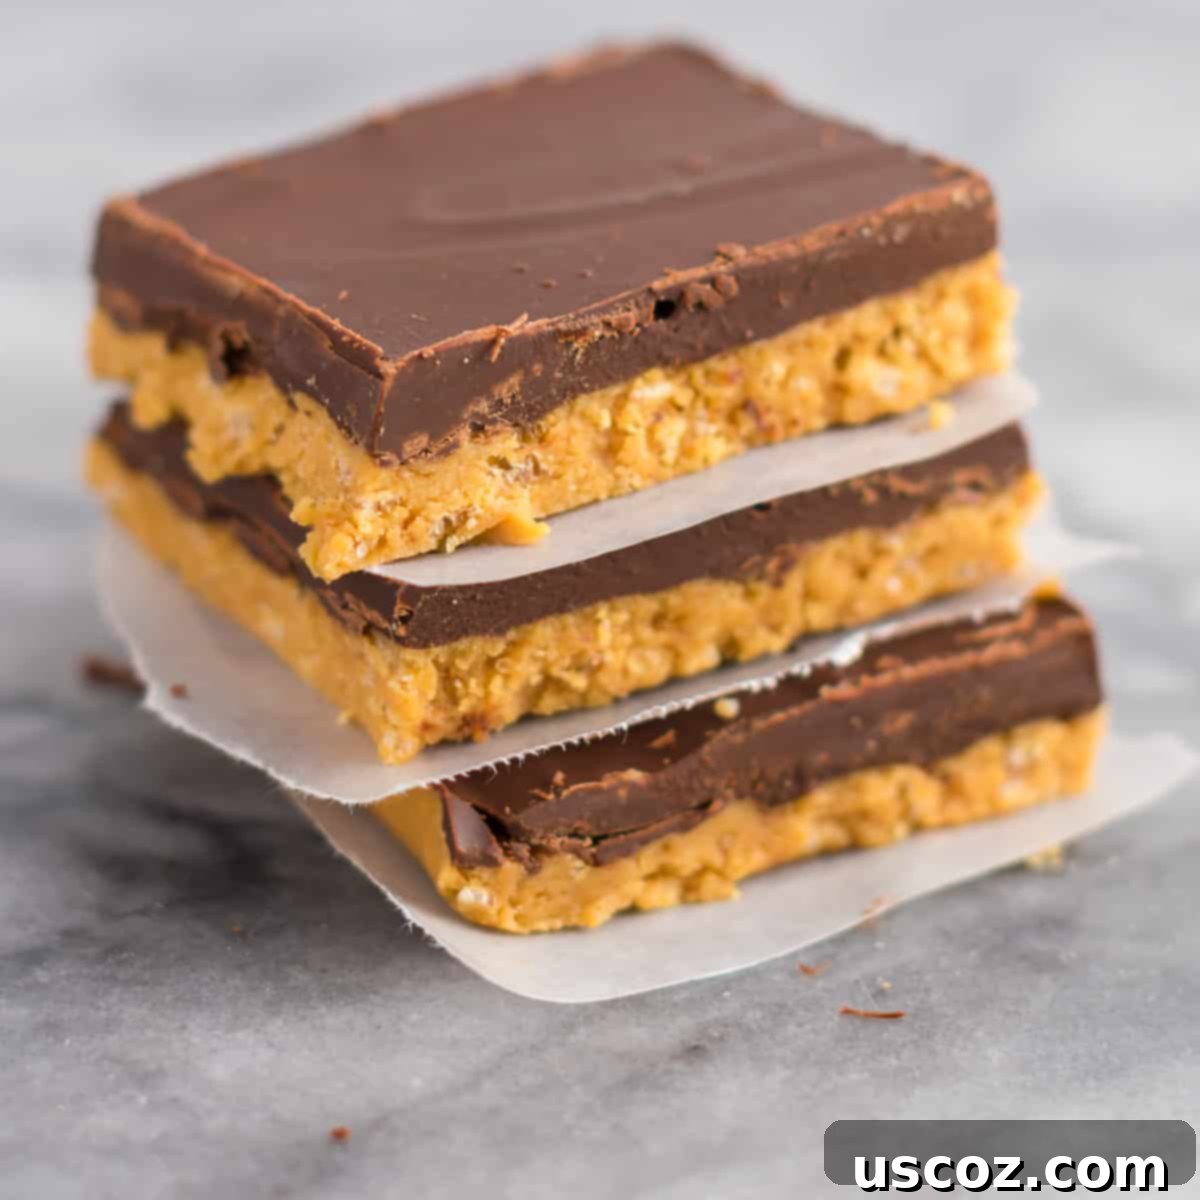
Easy Vegan & Gluten-Free No-Bake Chocolate Peanut Butter Bars: The Ultimate Sweet Treat!
Indulge in these delightful No-Bake Chocolate Peanut Butter Bars – a classic dessert reimagined to be entirely vegan, gluten-free, and remarkably simple to prepare. Perfect for any occasion or just a quick sweet craving!
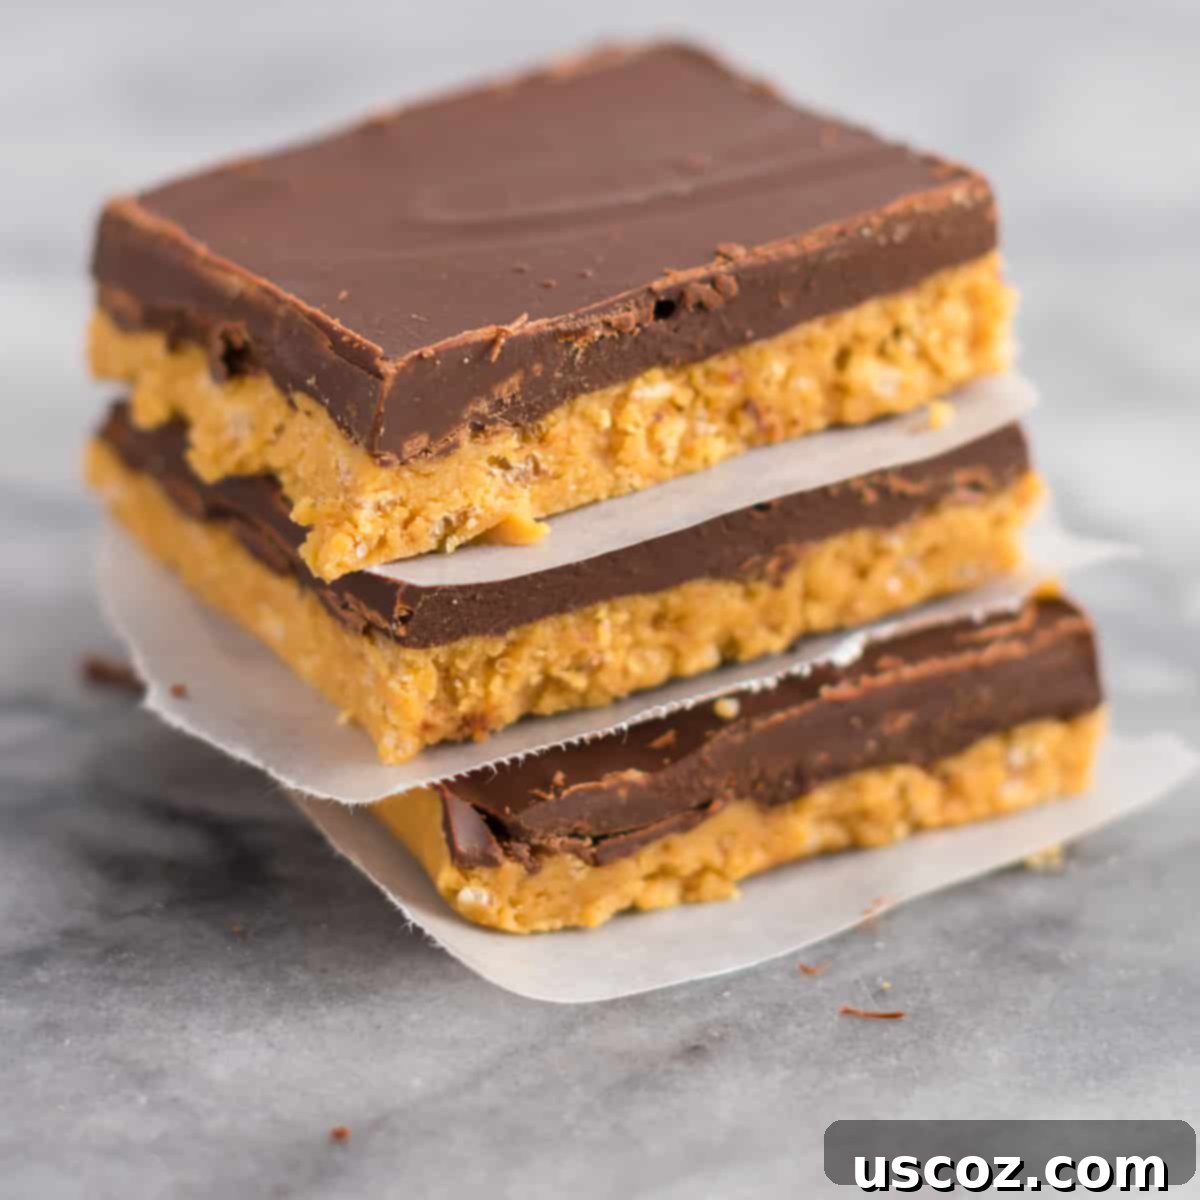
There’s an undeniable magic that happens when chocolate and peanut butter come together, creating a flavor combination that has captivated taste buds for generations. These no-bake chocolate peanut butter bars perfectly capture that enchanting duo, delivering a dessert that is both incredibly satisfying and surprisingly straightforward to create.
Forget the oven and complicated baking techniques; this recipe streamlines the process, allowing you to whip up a batch of these irresistible bars with minimal effort. They are an ideal treat for those moments when you crave something decadent but are short on time, or when you simply want to avoid heating up your kitchen.
Why You’ll Fall in Love with This Recipe
What sets these particular chocolate peanut butter bars apart is not just their ease of preparation, but also their thoughtfully crafted ingredients that cater to various dietary preferences without compromising on flavor. We’ve taken a beloved classic and elevated it, making it more inclusive and just as delicious as the original, if not more so!
- Effortlessly Easy & No-Bake: The most appealing feature for many is the “no-bake” aspect. No preheating, no monitoring, just mixing, pressing, and chilling. This makes them perfect for beginner bakers or busy individuals.
- Vegan-Friendly: We’ve carefully selected dairy-free ingredients, ensuring these bars are suitable for a vegan lifestyle. You get all the richness without any animal products.
- Gluten-Free Goodness: Using gluten-free crispy rice cereal and coconut flour ensures that those with gluten sensitivities can enjoy these bars without worry.
- Reduced Sugar: While still a sweet treat, this recipe uses pure maple syrup as the primary sweetener, offering a more natural alternative and allowing for a slightly lighter touch compared to traditional versions.
- Perfect Texture: Expect a delightful contrast between the soft, chewy peanut butter base and the firm, snappy chocolate topping. Each bite is a textural pleasure!
- Crowd-Pleaser: Whether for holiday gatherings, potlucks, or simply a family dessert, the universal appeal of chocolate and peanut butter ensures these bars will disappear quickly. They are a timeless favorite, especially around Christmas.
Essential Ingredients for Your No-Bake Delight
Creating these heavenly bars requires a handful of simple, wholesome ingredients. The quality of your ingredients, especially the peanut butter and chocolate, will significantly impact the final taste and texture, so choose wisely!
- Creamy All-Natural Peanut Butter: This is the star of the show. Opt for a brand where the only ingredients are peanuts and salt. The natural oils help achieve the perfect consistency for the filling, and avoiding added sugars or oils makes for a healthier, cleaner taste.
- Pure Maple Syrup: Our chosen natural sweetener, maple syrup not only adds sweetness but also a subtle depth of flavor. It also acts as a binder, helping the peanut butter layer hold its shape.
- Gluten-Free Crispy Rice Cereal: This provides that classic, delightful crunch in the peanut butter base. Make sure to choose a certified gluten-free brand if dietary restrictions are a concern.
- Coconut Flour: A fantastic gluten-free flour alternative, coconut flour helps absorb some of the moisture and oil from the peanut butter, giving the base a firmer, more cake-like texture without making it dry.
- Dairy-Free Semi-Sweet Chocolate Chips: For the luscious chocolate topping, dairy-free chocolate chips melt beautifully and provide that rich, decadent chocolate flavor. Semi-sweet is ideal for balancing the sweetness of the peanut butter layer.
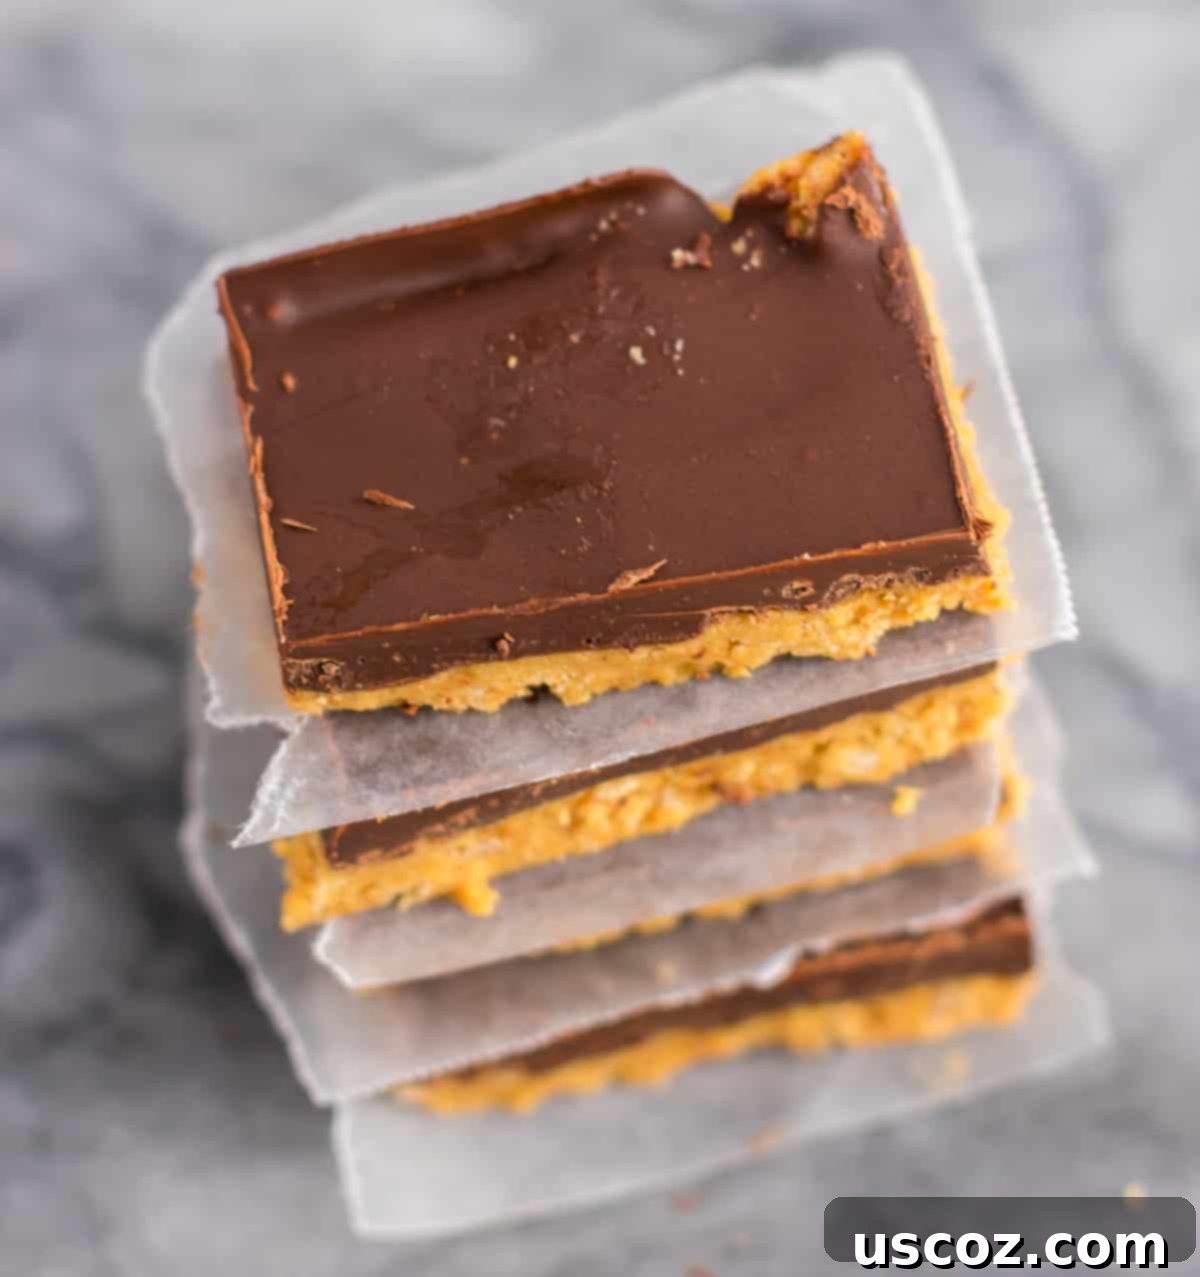
Step-by-Step Guide to Crafting Your Bars
Get ready to create a dessert that will impress with its simplicity and flavor. Follow these easy steps to make your own batch of no-bake chocolate peanut butter bars.
Step 1: Prepare the Peanut Butter Filling. In a medium bowl, combine 1 cup of creamy all-natural peanut butter with the pure maple syrup. Whisk them together thoroughly until the mixture is smooth and well-combined. This forms the foundational flavor and texture of your base.
Step 2: Incorporate Dry Ingredients for the Base. Once the peanut butter and maple syrup are perfectly blended, add the coconut flour and gluten-free crispy rice cereal to the bowl. Stir vigorously until all the dry ingredients are fully incorporated into the peanut butter mixture. The cereal should be evenly distributed, giving the base its signature crunch.
Step 3: Line Your Dish. Line an 8×8 inch square baking dish with wax paper or parchment paper, leaving an overhang on the sides. This will make it incredibly easy to lift the finished bars out of the dish for cutting.
Step 4: Press the Peanut Butter Layer. Transfer the entire peanut butter filling into the prepared dish. Using a rubber spatula or the back of a spoon, spread the mixture evenly across the bottom of the dish, pressing it down firmly and ensuring it reaches all the edges. A flat, compact layer is key for a uniform bar.
Step 5: Melt the Chocolate Topping. In a microwave-safe bowl, combine the dairy-free semi-sweet chocolate chips with 1/4 cup of creamy all-natural peanut butter. Microwave the mixture in 20-second intervals, stirring well after each interval, until the chocolate is fully melted and smooth. Be careful not to overheat or burn the chocolate; low and slow is the best approach.
Step 6: Create the Chocolate Layer. Pour the warm, melted chocolate mixture evenly over the pressed peanut butter layer in the dish. Use a clean rubber spatula to gently spread the chocolate to cover the entire surface, creating a smooth and even topping.
Step 7: Chill to Set. Place the dish in the refrigerator for at least 1 hour, or in the freezer for about 30 minutes, until the chocolate layer is completely set and firm to the touch. This chilling time is crucial for the bars to solidify and hold their shape.
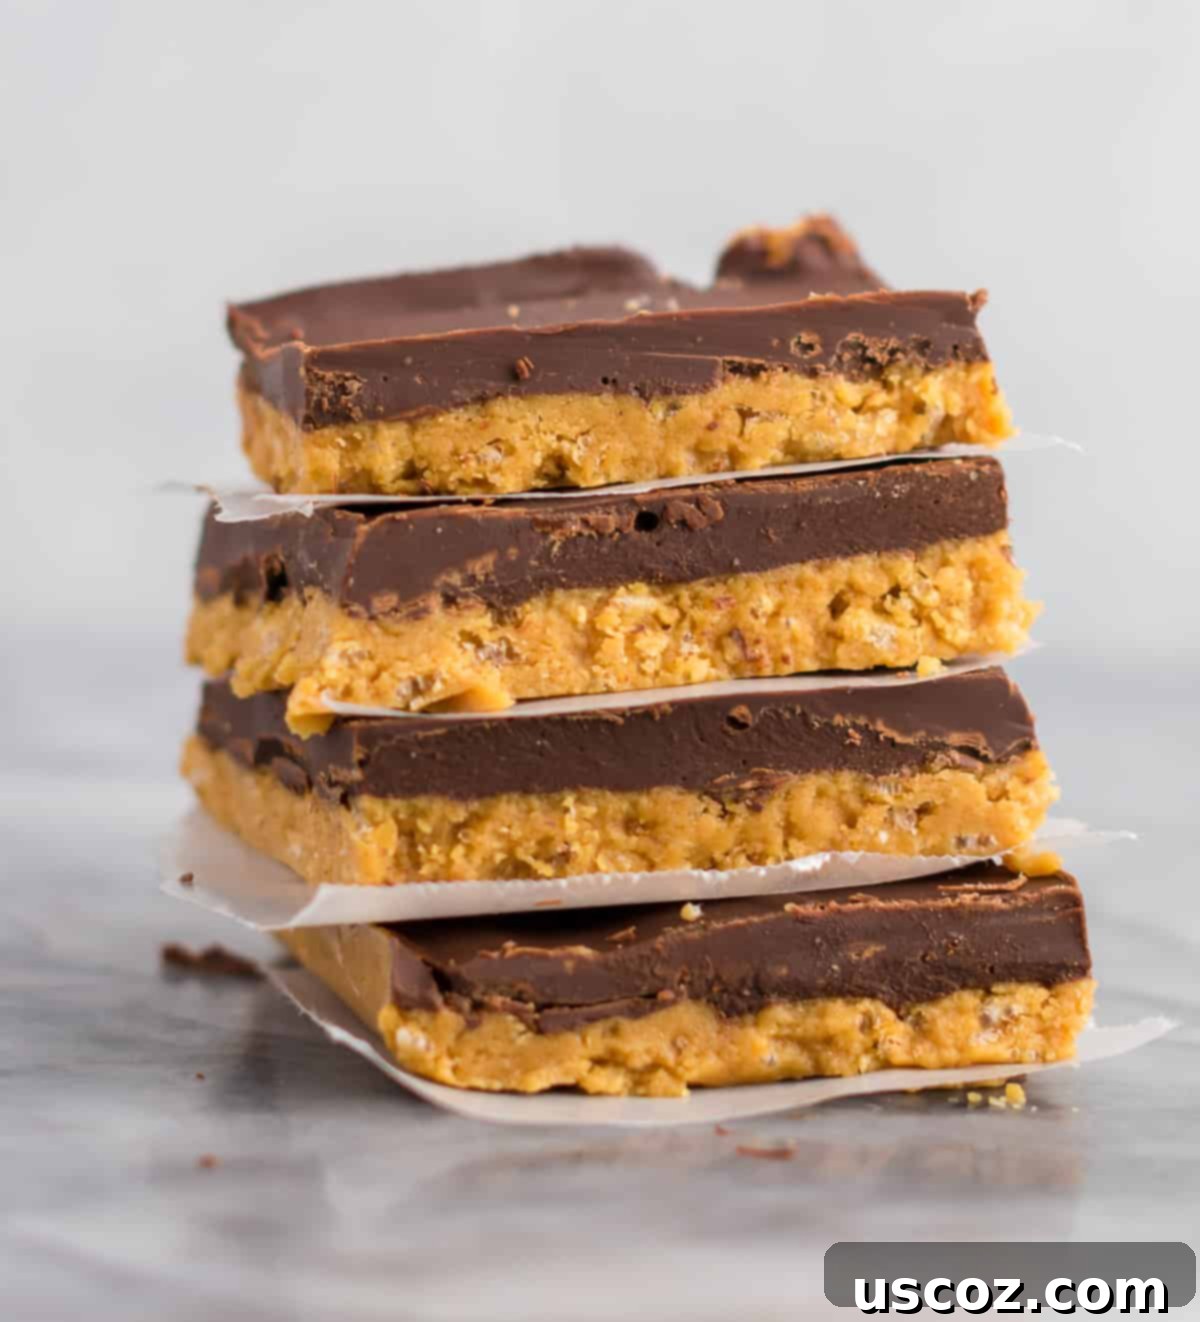
Expert Tips for Perfect No-Bake Chocolate Peanut Butter Bars
Achieving perfectly uniform and delicious bars is easy with a few simple tricks:
- Cutting Perfection: Allow the bars to warm slightly at room temperature for 5-10 minutes before cutting. If you cut them directly from the fridge or freezer when they are too cold, the chocolate layer may crack unevenly. A slightly softened chocolate layer will yield clean, smooth cuts.
- Use a Hot Knife: For even cleaner cuts, run your knife under hot water, wipe it dry, and then slice. Reheat and wipe the knife as needed between cuts.
- Pressing the Base: Ensure the peanut butter base is pressed very firmly and evenly into the dish. This prevents crumbling and ensures a stable foundation for your chocolate topping. You can even use the bottom of a glass or a clean rolling pin for extra pressure.
- Natural Peanut Butter is Key: Stick to all-natural peanut butter (peanuts and salt only). Processed peanut butter with added sugars and oils will alter the texture and may make the base too soft or greasy.
- Patience with Chilling: Don’t rush the chilling process. A fully set bar is much easier to cut and handle.
Once set, lift the bars out of the dish using the wax paper overhang. Cut them into 16 squares for a generous serving, or more if you prefer smaller, bite-sized pieces for a party.
These bars are versatile! You can serve them straight out of the freezer for a firmer, almost fudge-like texture, or let them soften slightly at room temperature for a creamier experience. I love keeping a stash in my freezer for an instant sweet tooth fix!
Serving & Storage Suggestions
These no-bake chocolate peanut butter bars are incredibly versatile, making them suitable for various occasions. Serve them as a simple after-dinner treat, a delightful addition to a dessert platter at parties, or as a comforting snack. Pair them with a glass of plant-based milk or a hot cup of coffee for an extra indulgent experience.
For storage, these bars are best kept in an airtight container in the refrigerator for up to 1 week. If you want to prepare them further in advance or simply have a quick treat on hand, they freeze wonderfully. Wrap individual bars in wax paper and store them in a freezer-safe bag or container for up to 2-3 months. Thaw them slightly at room temperature before serving for the best texture.
Creative Variations & Customizations
While this classic recipe is perfect as is, feel free to get creative with your no-bake bars:
- Nut Butter Alternatives: Experiment with almond butter or cashew butter for a different flavor profile. Just ensure they are also natural and creamy.
- Chocolate Choices: Instead of semi-sweet, try dark chocolate for a richer, less sweet bar, or even a vegan white chocolate for a unique twist.
- Toppings Galore: Before the chocolate layer sets, sprinkle with sea salt flakes for a sweet and salty contrast, chopped nuts, shredded coconut, or even a drizzle of extra melted peanut butter.
- Spice It Up: A pinch of cinnamon or a tiny dash of chili powder in the peanut butter layer can add an unexpected depth of flavor.
More Delicious Vegan & Gluten-Free Desserts
Craving more plant-based sweets? Try these other fantastic recipes:
- Best Healthy No Bake Cookies
- Dairy Free Chocolate Chip Cookies
- Chocolate Sea Salt Pretzel Bark
- No Bake Peanut Butter Truffles
- Dark Chocolate Almond Bark
- Vegan Peanut Butter Fudge
- Vegan Peanut Butter Cups
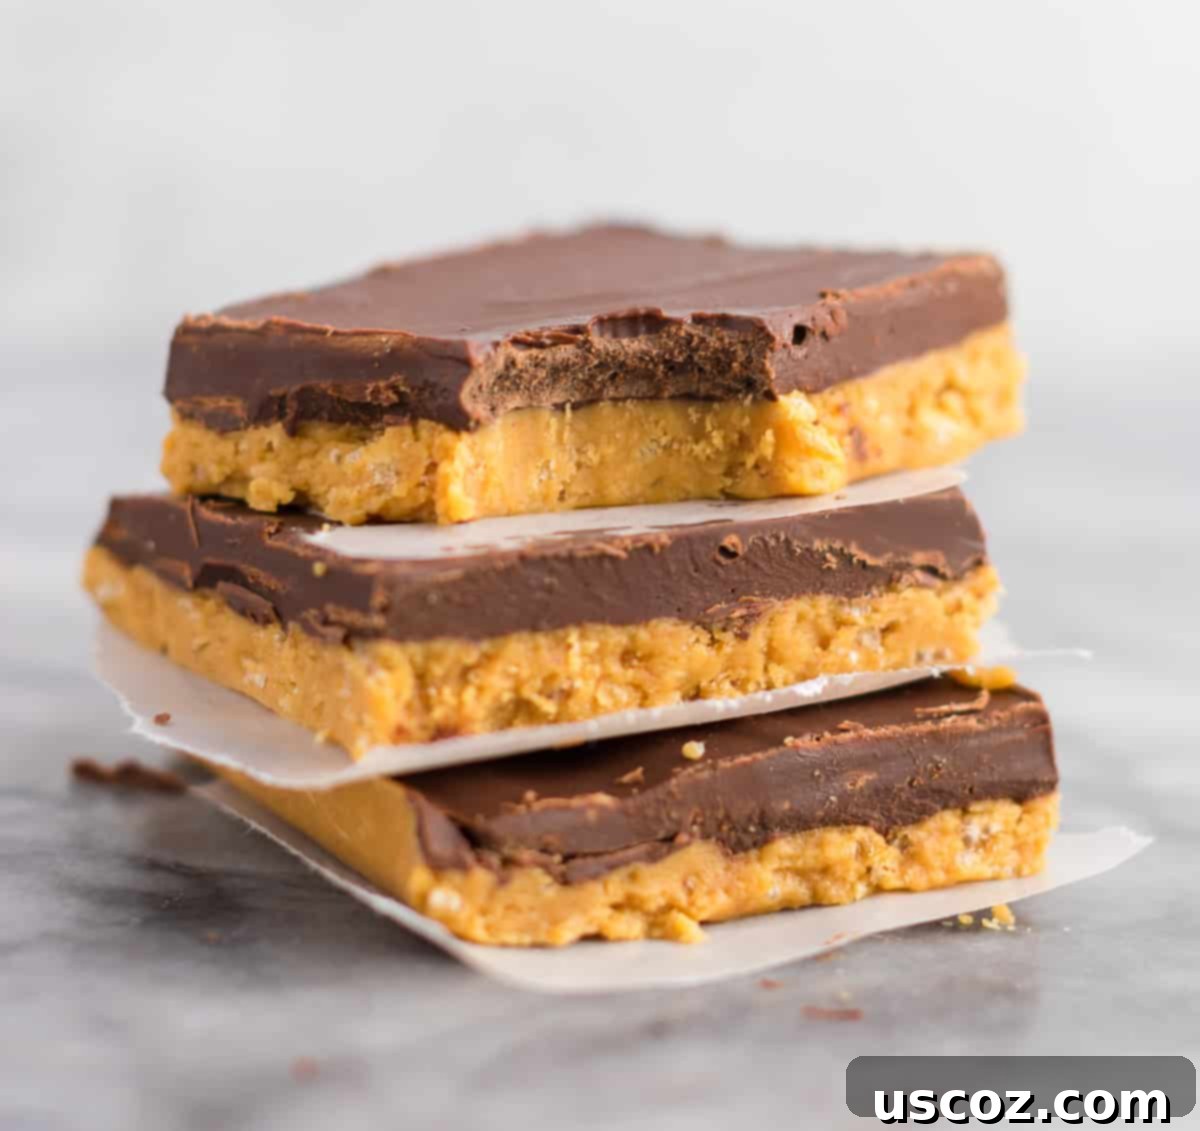
No-Bake Chocolate Peanut Butter Bars Recipe Card
No Bake Chocolate Peanut Butter Bars
By: Joy Shull
Easy no-bake chocolate peanut butter bars. Naturally gluten-free, vegan, and a classic dessert!
- Prep Time: 15 mins
- Additional Time: 1 hr (chilling)
- Total Time: 1 hr 15 mins
- Servings: 16
Ingredients
For the Peanut Butter Layer
- 1 cup creamy all-natural peanut butter (only ingredients should be peanuts and salt)
- 4 tablespoons pure maple syrup
- 1 cup gluten-free crispy rice cereal
- 1/3 cup coconut flour
For the Chocolate Layer
- 10 oz dairy-free semi-sweet chocolate chips
- 1/4 cup creamy all-natural peanut butter
Instructions
- Make the peanut butter filling first. Whisk 1 cup of creamy peanut butter with the maple syrup until combined.
- Add in the coconut flour and crisp rice cereal until well combined.
- Line an 8×8 inch dish with wax paper, leaving an overhang on the sides.
- Spread the peanut butter filling evenly and flat into the dish using a rubber spatula, ensuring it goes flat to the edges.
- Add the chocolate chips and 1/4 cup of peanut butter to a microwave-safe bowl.
- Microwave in 20-second increments, stirring after each time, until melted and smooth (be careful not to burn).
- Pour the melted chocolate over the peanut butter layer, and use a clean rubber spatula to smooth the top.
- Place in the fridge or freezer until set (approximately 1 hour in the fridge, 30 minutes in the freezer). Allow to soften slightly before cutting into bars for clean slices.
Nutrition
Per serving (based on 16 servings):
- Calories: 254 kcal
- Carbohydrates: 20g
- Protein: 6g
- Fat: 17g
- Saturated Fat: 6g
- Polyunsaturated Fat: 3g
- Monounsaturated Fat: 7g
- Trans Fat: 0.01g
- Cholesterol: 1mg
- Sodium: 103mg
- Potassium: 228mg
- Fiber: 3g
- Sugar: 12g
- Vitamin A: 125 IU
- Vitamin C: 1mg
- Calcium: 26mg
- Iron: 2mg
Did you make this recipe? We want to see! Don’t forget to tag us on Instagram @buildyourbite and use the hashtag #buildyourbite with your recipe photos!
Be sure to follow Build Your Bite on Pinterest for all the latest delicious vegan and vegetarian recipes!
Did you enjoy this recipe? We’d love to hear from you! Please leave a star rating below!
