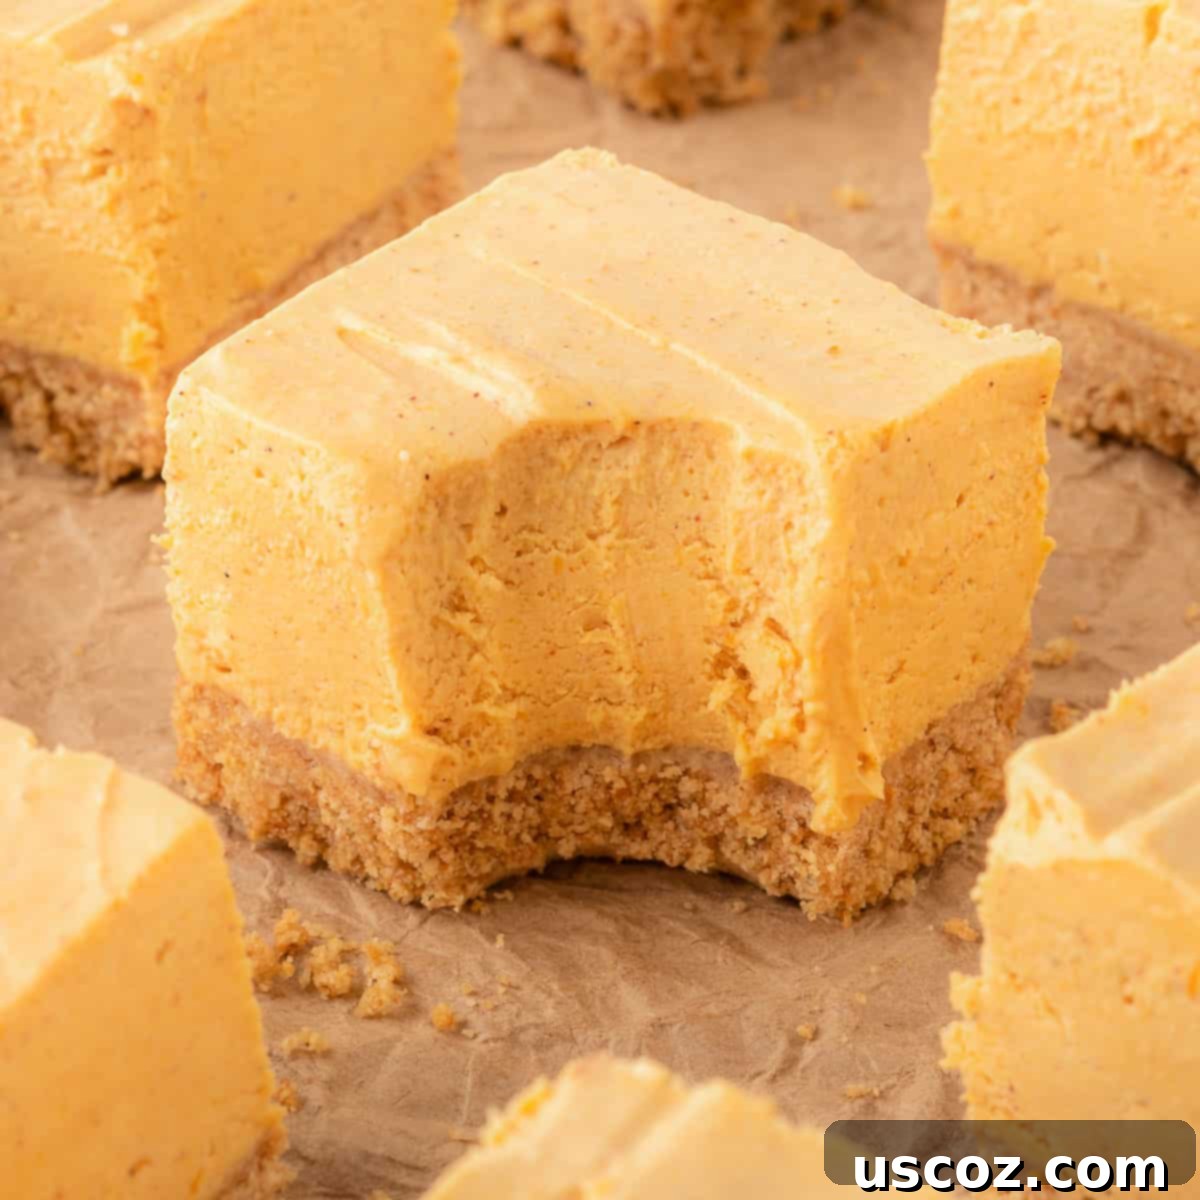
Irresistibly Easy No Bake Pumpkin Cheesecake Bars: Your Go-To Fall Dessert
Indulge in the delightful flavors of autumn with these **No Bake Pumpkin Cheesecake Bars**! This incredible fall dessert is a true game-changer, featuring a perfectly buttery graham cracker crust and a luxuriously velvety, smooth, and creamy pumpkin cheesecake filling. Say goodbye to oven-baking stress and hello to a simple, satisfying treat that captures the essence of pumpkin spice season in every bite.
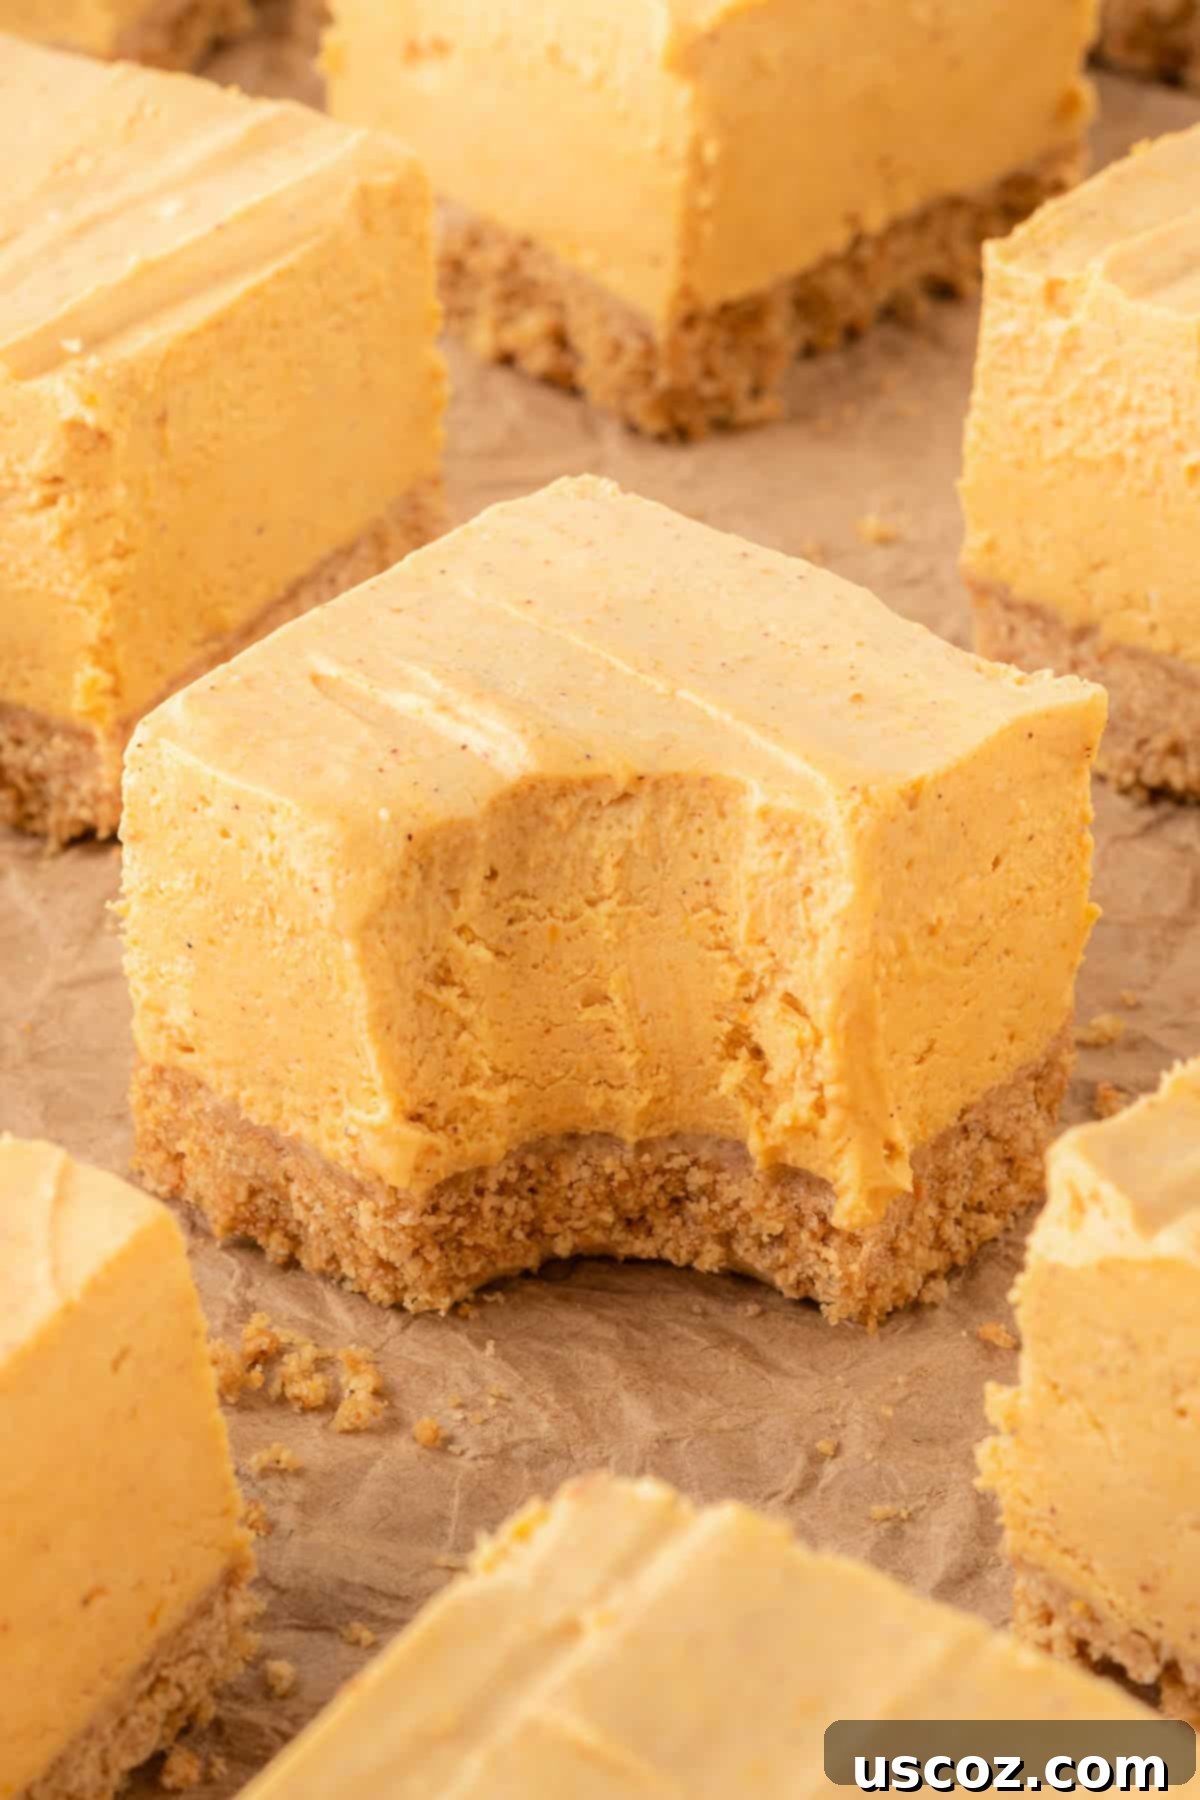
Why You’ll Love These Delicious No Bake Pumpkin Cheesecake Bars
If you’re looking for a dessert that perfectly embodies the cozy spirit of autumn without all the fuss, these no bake pumpkin bars are an absolute MUST-MAKE. They deliver everything you crave in a fall treat: a melt-in-your-mouth whipped cream pumpkin cheesecake filling layered over an easy, no-bake graham cracker crust, creating the perfect balance of salty and sweet in every single bite.
My journey to perfecting these pumpkin cheesecake bars began after the success of my classic no-bake cheesecake bars. I knew the incredibly simple method would translate beautifully to a seasonal variation, and what could be better than infusing that creamy cheesecake goodness with the beloved flavors of pumpkin? It’s a match made in fall dessert heaven!
These bars are not only incredibly flavorful but also remarkably straightforward to prepare. You won’t believe how easy it is to achieve such a sophisticated-tasting dessert without ever turning on your oven. Even if you’re a beginner in the kitchen, this recipe is designed for success, ensuring a smooth and delightful experience from start to finish.
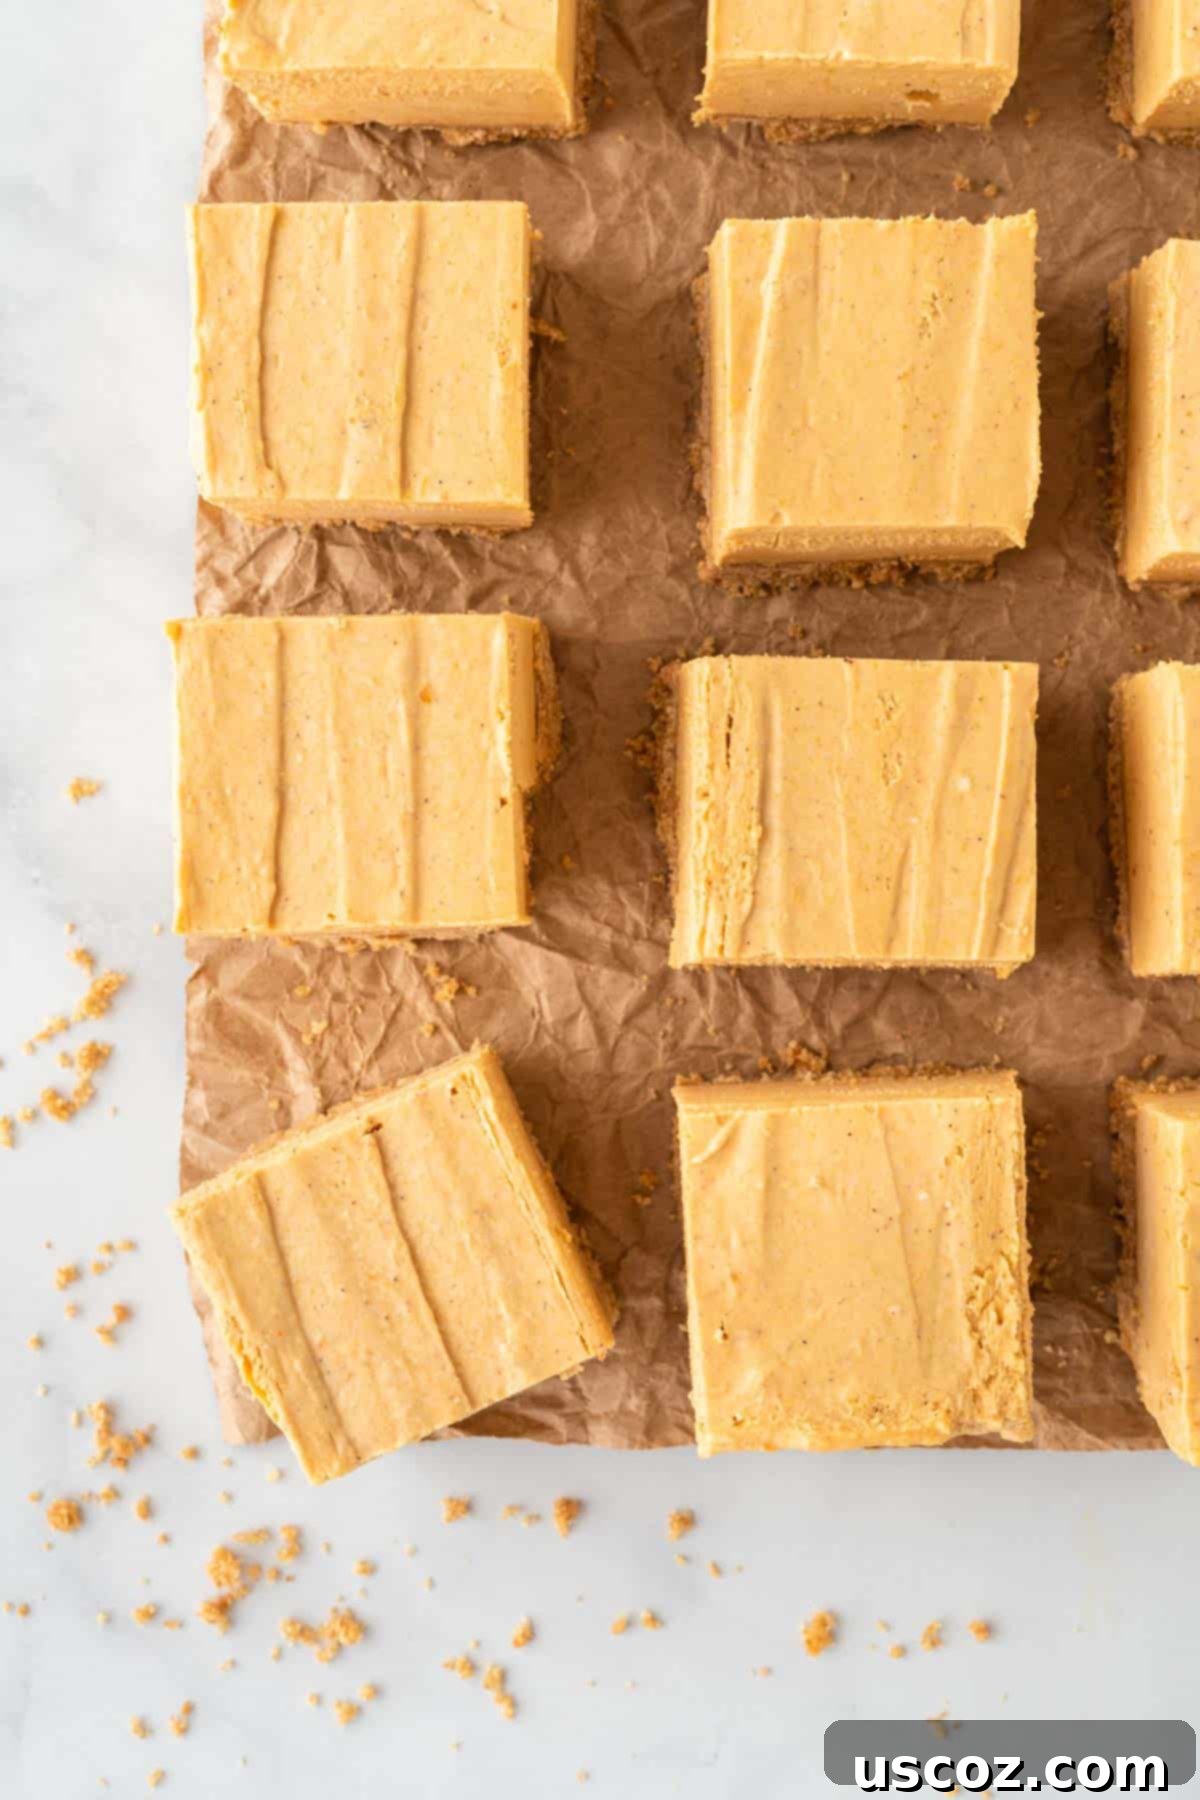
Key Ingredients for Your Perfect Pumpkin Cheesecake Bars
Crafting these delectable no-bake pumpkin cheesecake bars requires a few simple, high-quality ingredients. Each component plays a crucial role in achieving the desired flavor and texture. Here’s what you’ll need:
- For the Graham Cracker Crust: You’ll need classic graham crackers to form the base, melted butter to bind them, brown sugar for a touch of caramel sweetness, and a pinch of salt to enhance all the flavors.
- Cream Cheese: The star of any cheesecake! Ensure it’s softened to room temperature for a lump-free, smooth filling.
- Canned Pumpkin: This is pure pumpkin puree, vital for that authentic pumpkin flavor and beautiful orange hue. Make sure to grab plain canned pumpkin, NOT pumpkin pie filling, which already contains spices and sweeteners.
- Vanilla Extract: A splash of vanilla always elevates the overall flavor profile, adding warmth and depth.
- Heavy Cream: Whipped to perfection, heavy cream is what gives these bars their incredible light, airy, and fluffy texture, distinguishing them from dense baked cheesecakes.
- Brown Sugar: Used in both the crust and the filling, brown sugar provides a richer, molasses-like sweetness that complements pumpkin wonderfully.
- Pumpkin Pie Spice: The quintessential fall spice blend! This mix of cinnamon, nutmeg, ginger, and cloves brings all the festive flavors you expect from a pumpkin dessert.
Having these ingredients at the ready will make the assembly process incredibly smooth and enjoyable, leading to a dessert that tastes like you spent hours on it, but only took minutes!
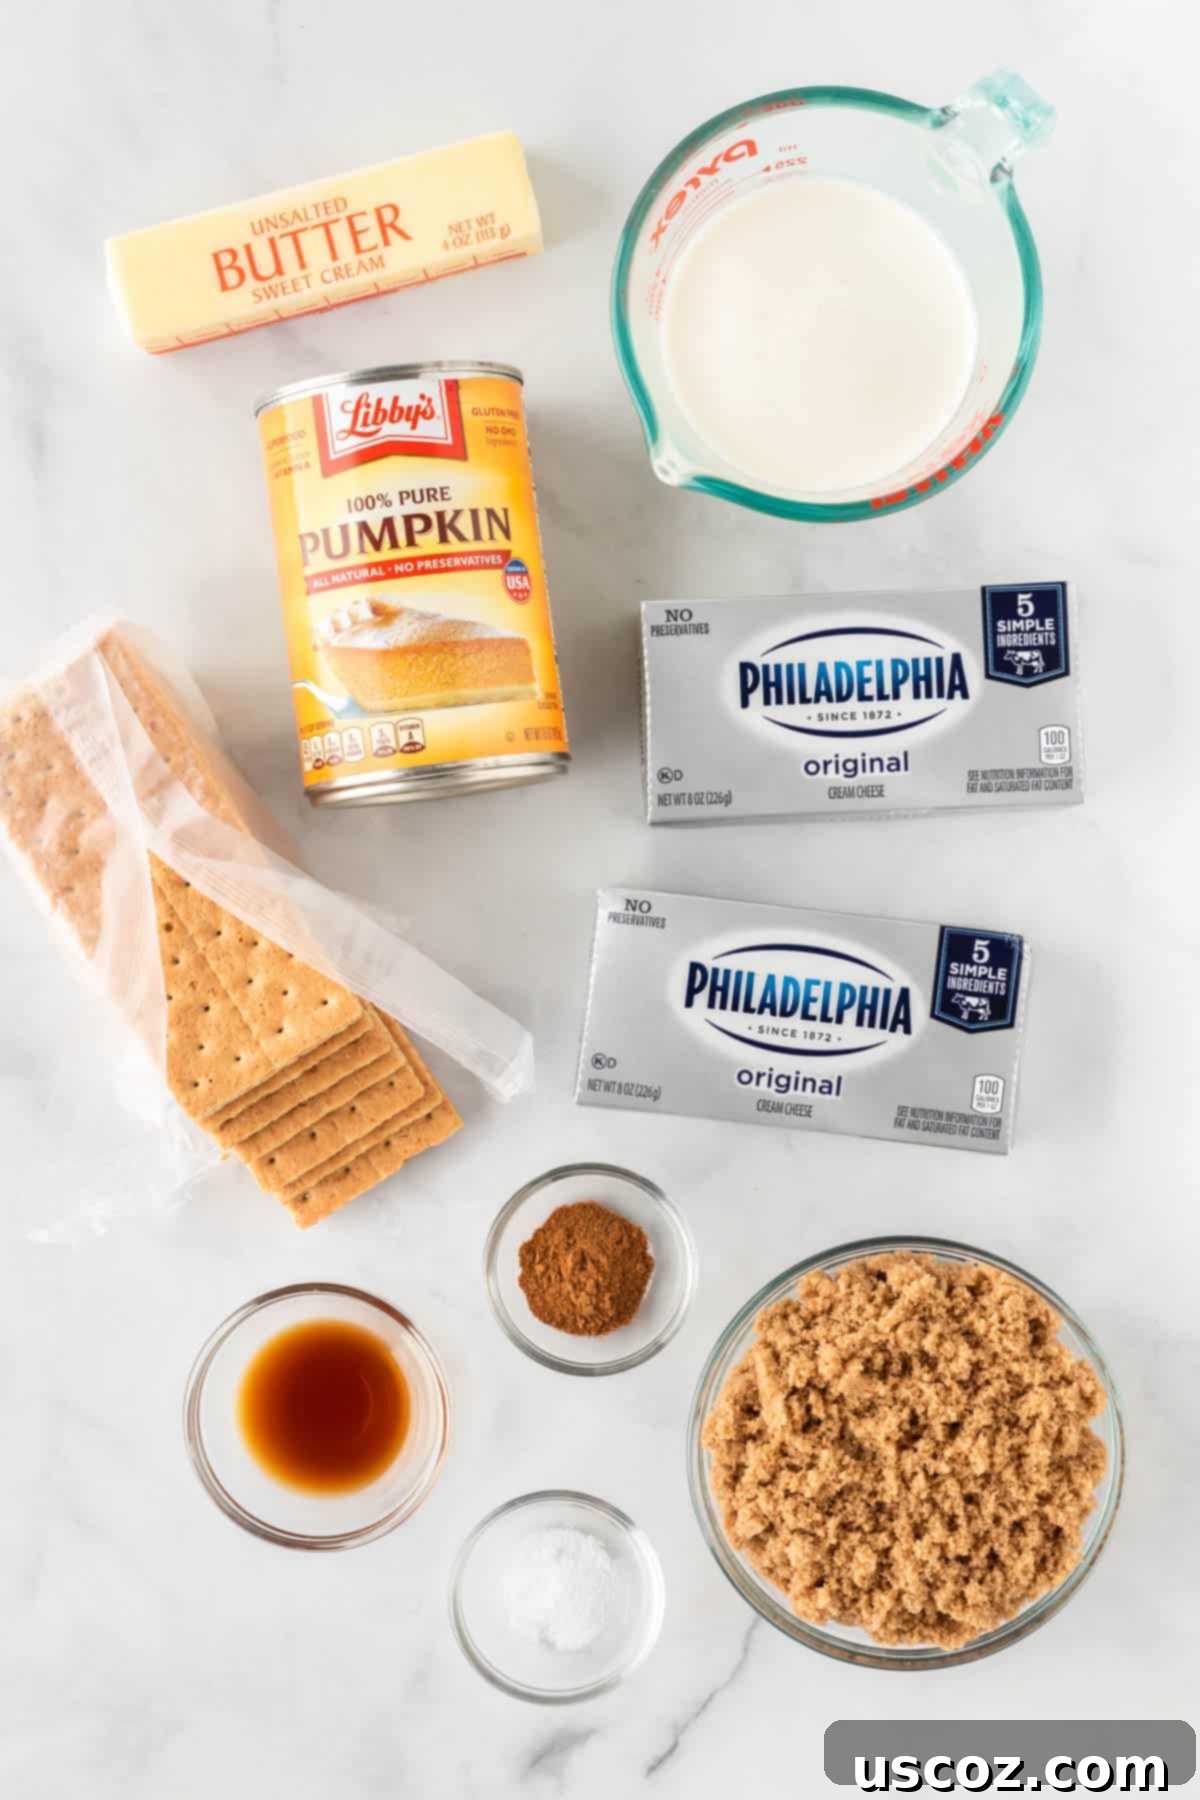
How to Make No Bake Pumpkin Cheesecake Bars: A Simple Step-by-Step Guide
Get ready to create a show-stopping dessert with minimal effort! Follow these straightforward steps to assemble your incredible no-bake pumpkin cheesecake bars:
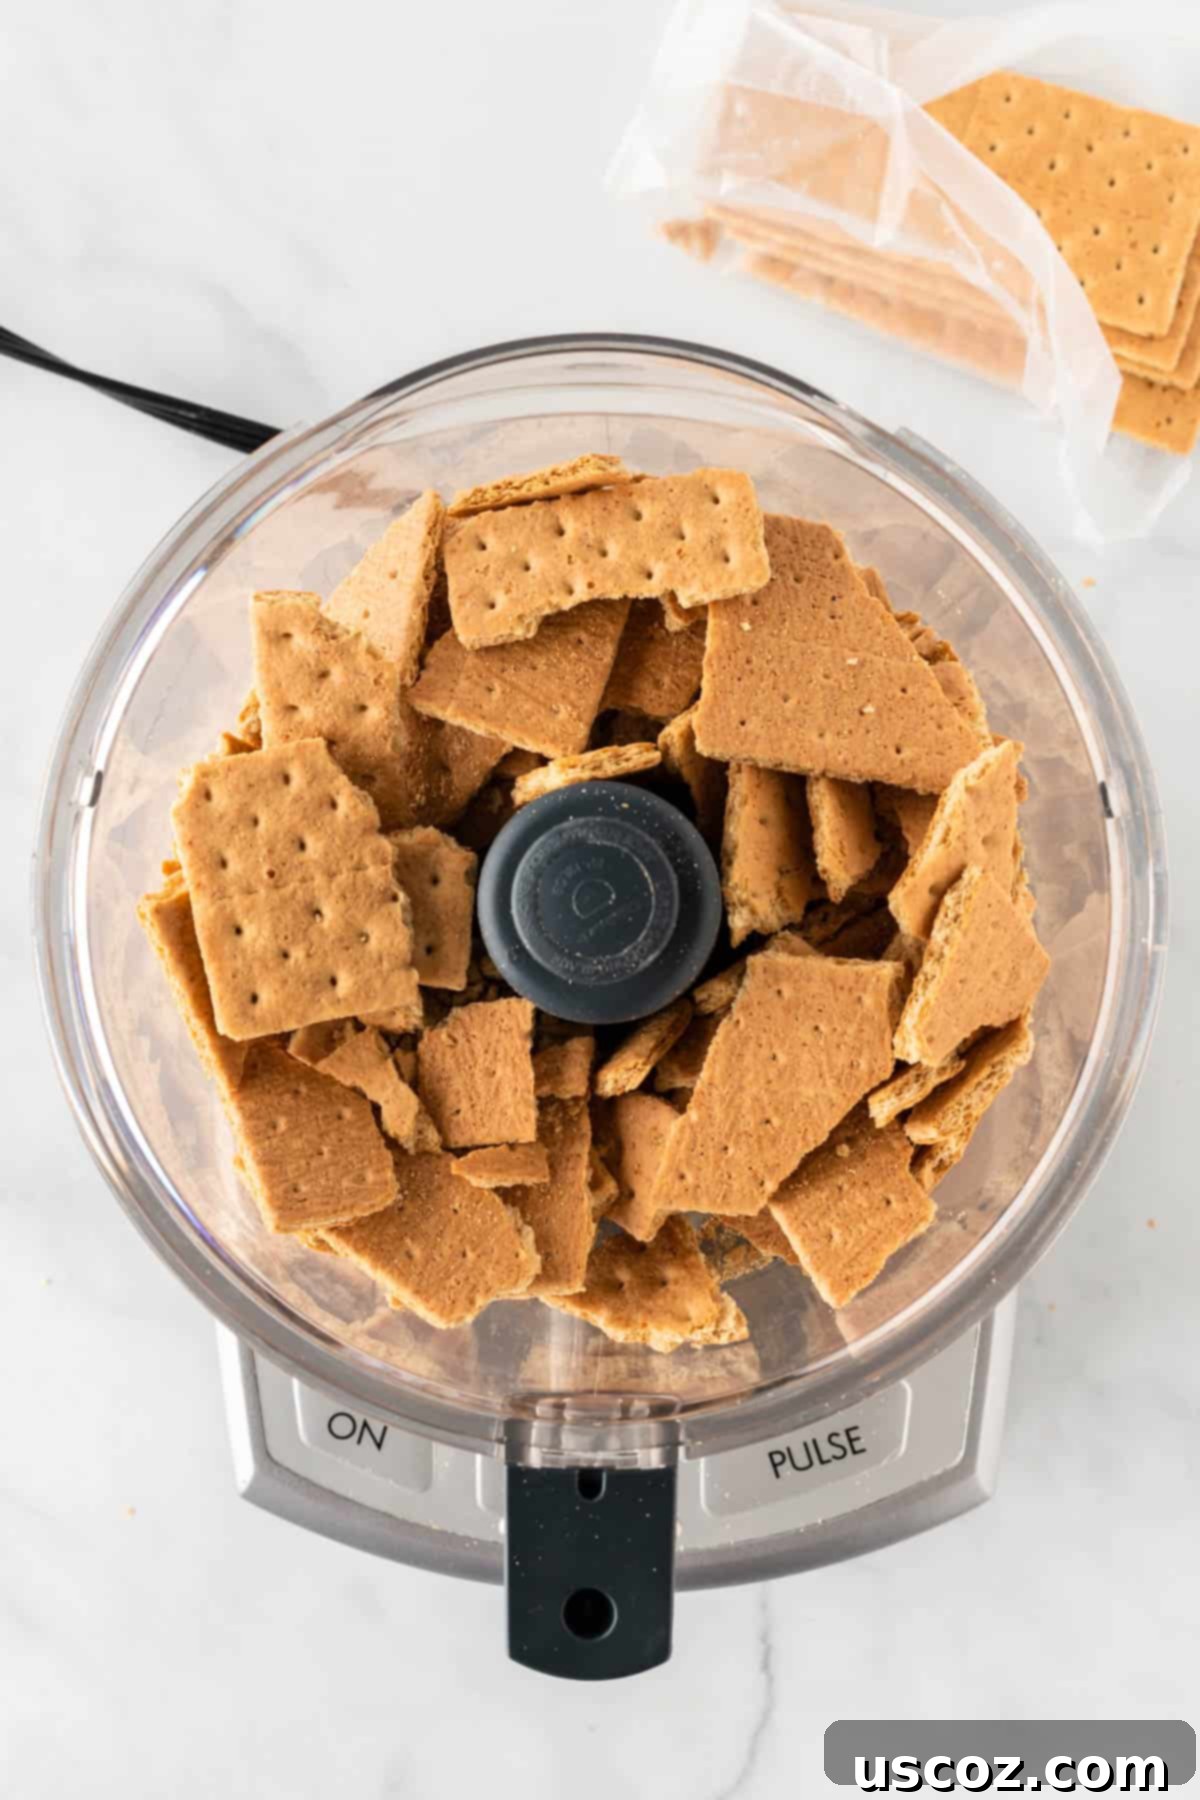
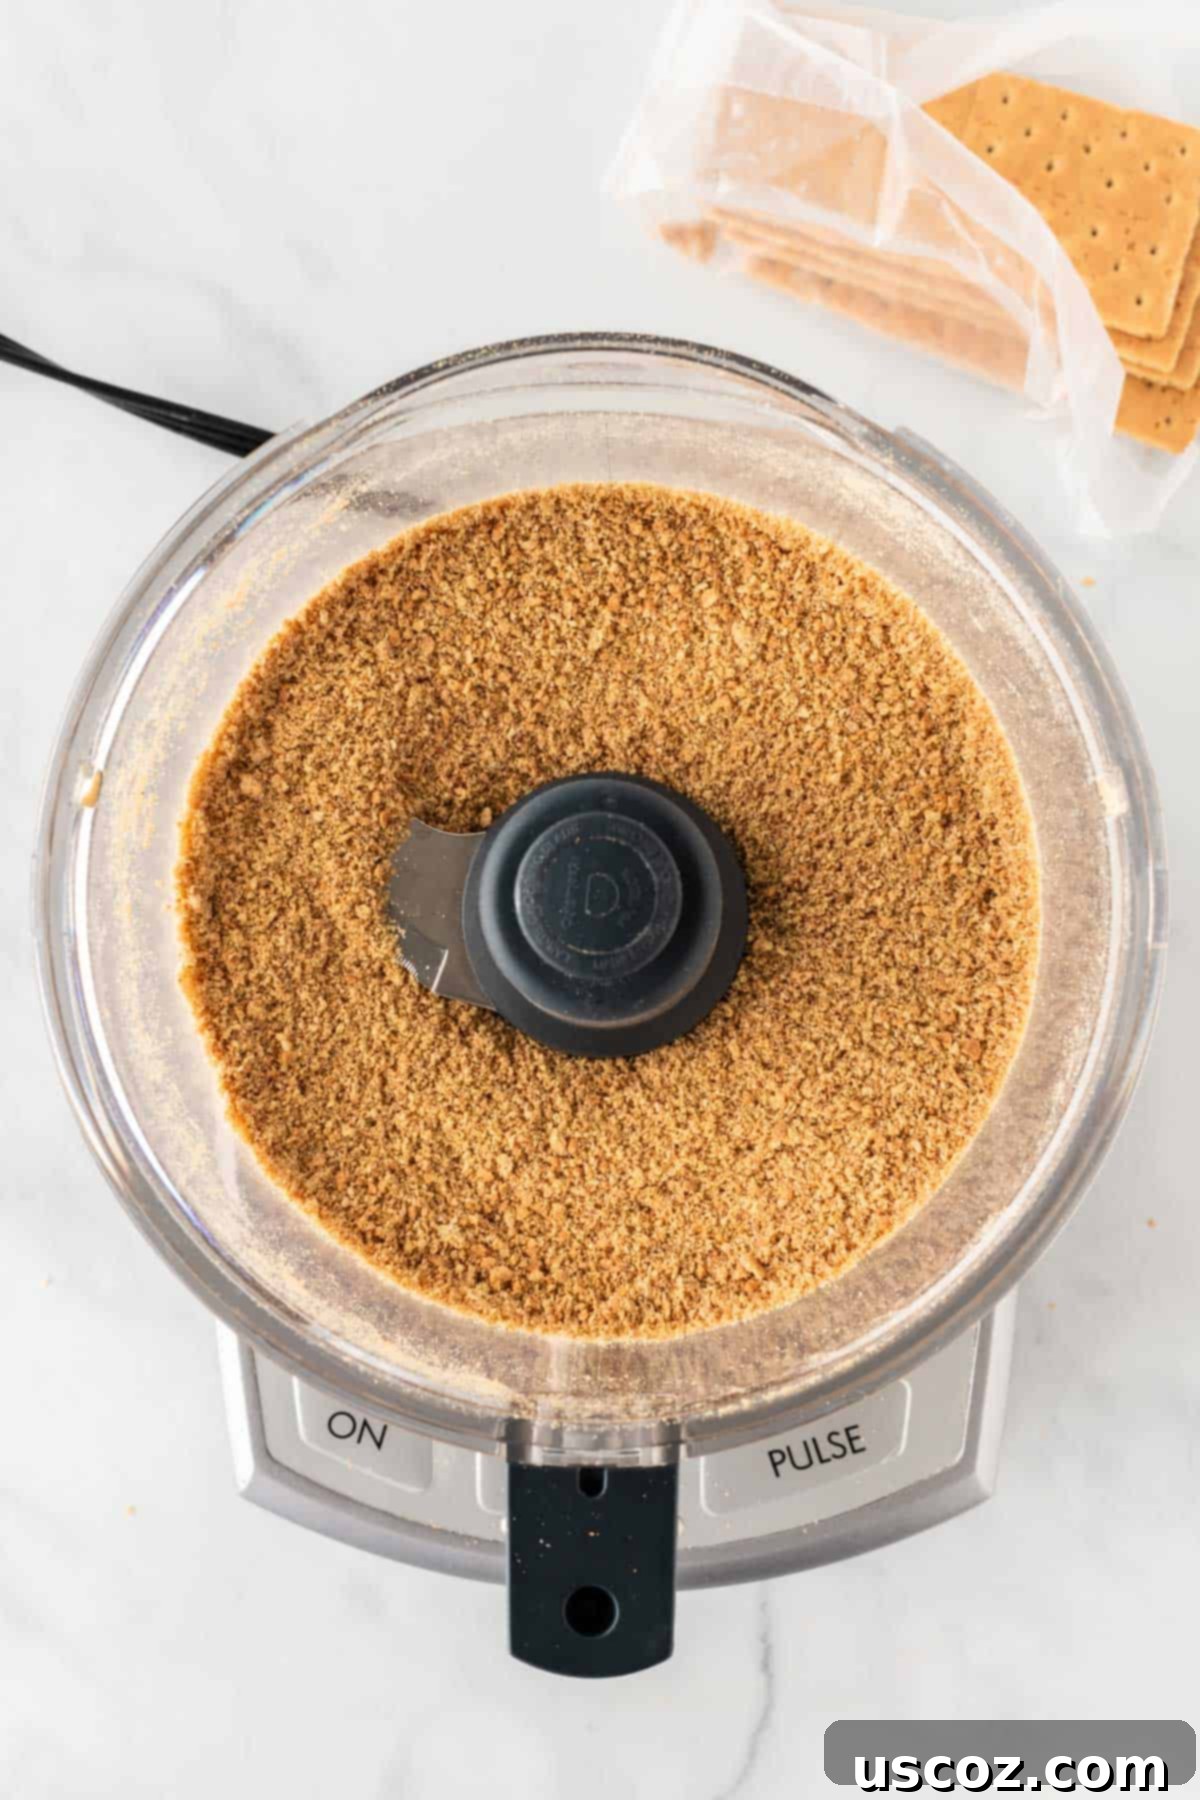
Step 1: Prepare Your Graham Cracker Crumbs. First, gather your graham crackers. For a perfectly uniform and fine crust, add the graham crackers to a food processor and pulse until they are finely ground into crumbs. If you don’t have a food processor, a high-speed blender can achieve similar results. Alternatively, place them in a Ziploc bag and crush them with a rolling pin – it’s a great stress reliever!
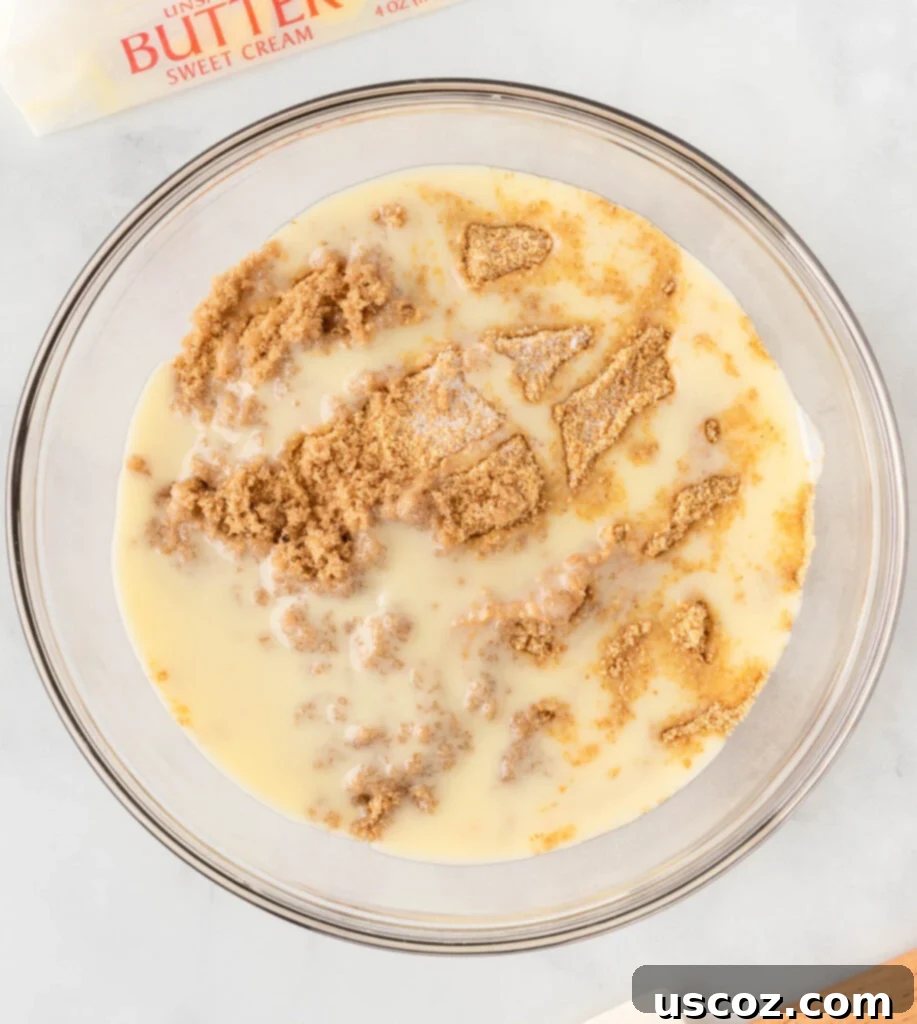
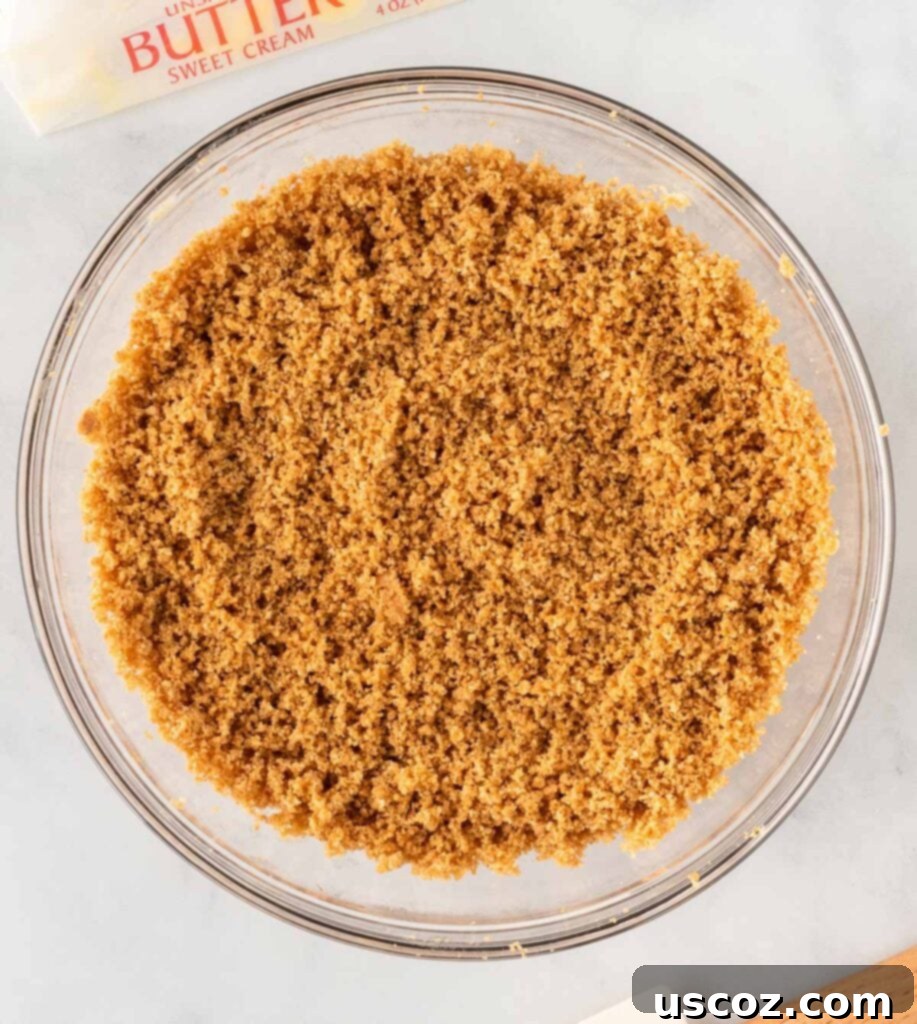
Step 2: Combine the Crust Ingredients. In a medium-sized bowl, add your freshly made graham cracker crumbs. Pour in the melted butter, sprinkle in the salt, and add the brown sugar. Mix these ingredients thoroughly until everything is well combined and the crumbs are evenly moistened. The mixture should resemble wet sand and hold together when pressed.
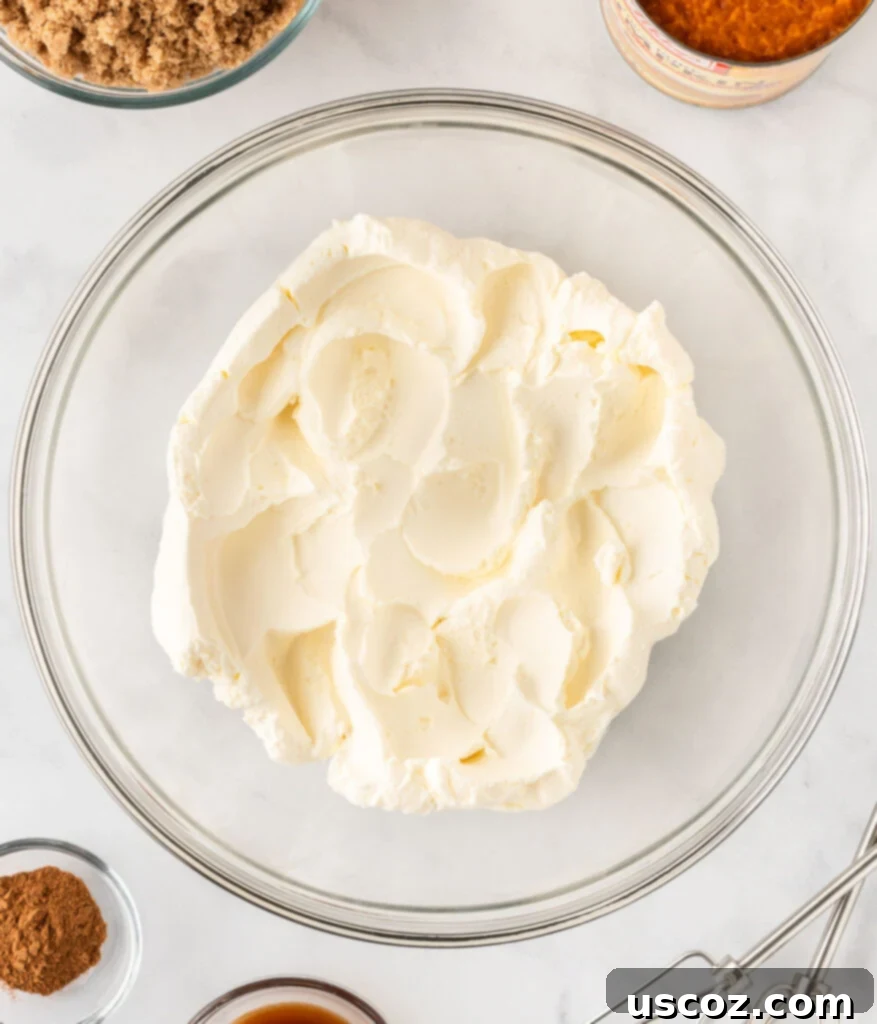
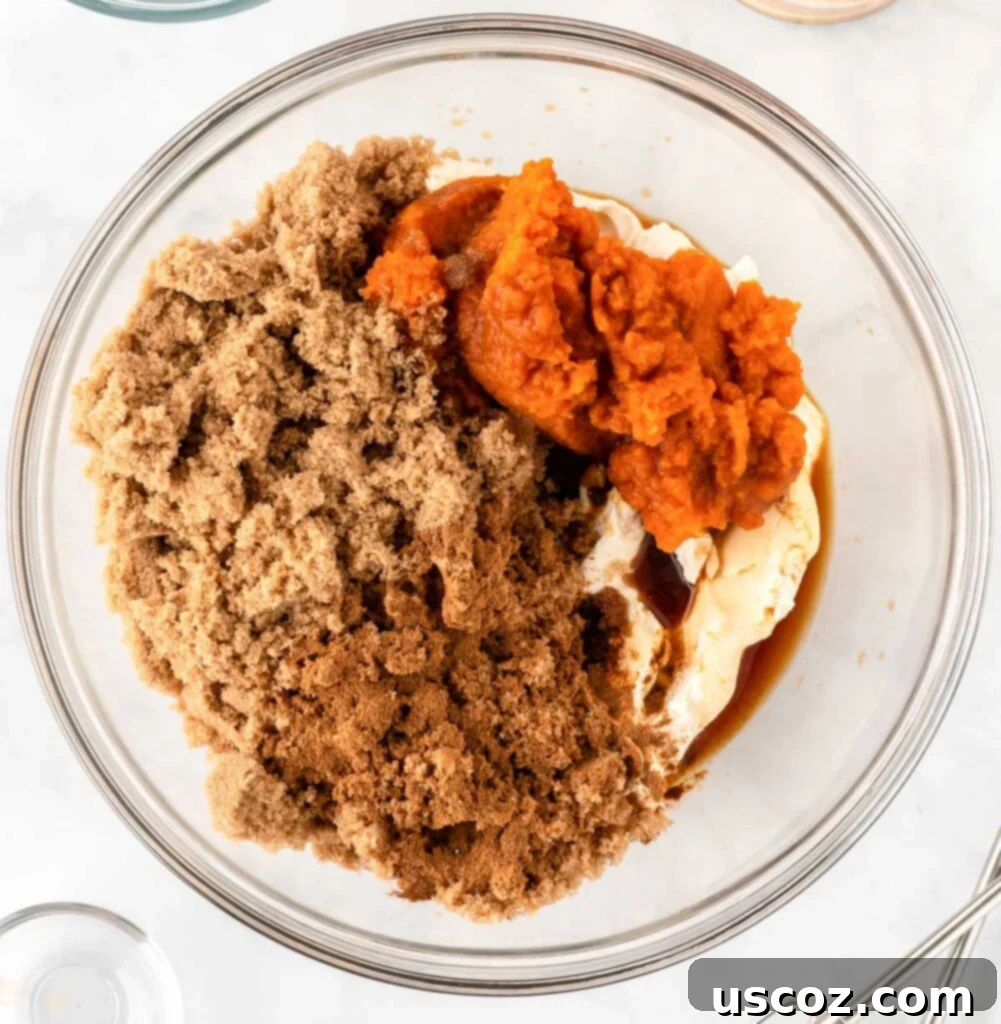
Step 3: Whip the Cream Cheese and Pumpkin Base. Using either a stand mixer with a paddle attachment or a hand mixer, beat the softened cream cheese on medium speed until it’s light, fluffy, and completely smooth, with no lumps remaining. This is crucial for a silky cheesecake texture. Next, add the canned pumpkin, brown sugar, pumpkin pie spice, and vanilla extract. Beat again until all the ingredients are fully incorporated and the mixture is smooth and evenly colored.
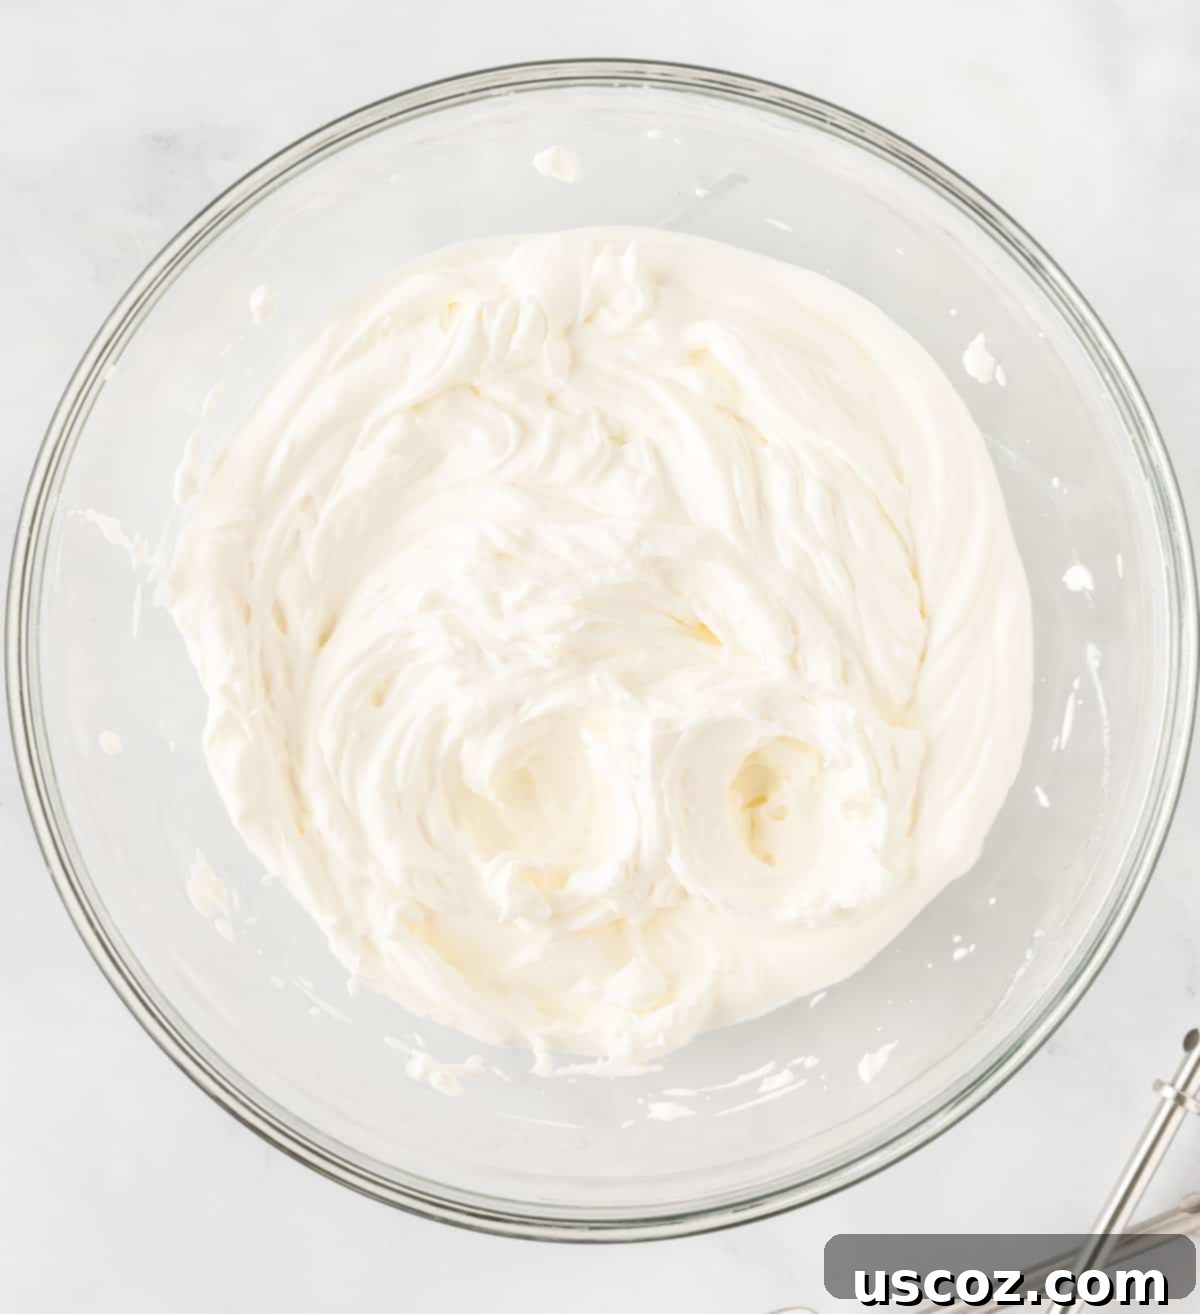
Step 4: Create Homemade Whipped Cream. In a separate, clean bowl (preferably chilled), pour the cold heavy cream. Using an electric mixer, whip the heavy cream on high speed until stiff peaks form. This means when you lift the beaters, the whipped cream should hold its shape firmly. This step adds essential lightness and airiness to your cheesecake filling, making it truly special.
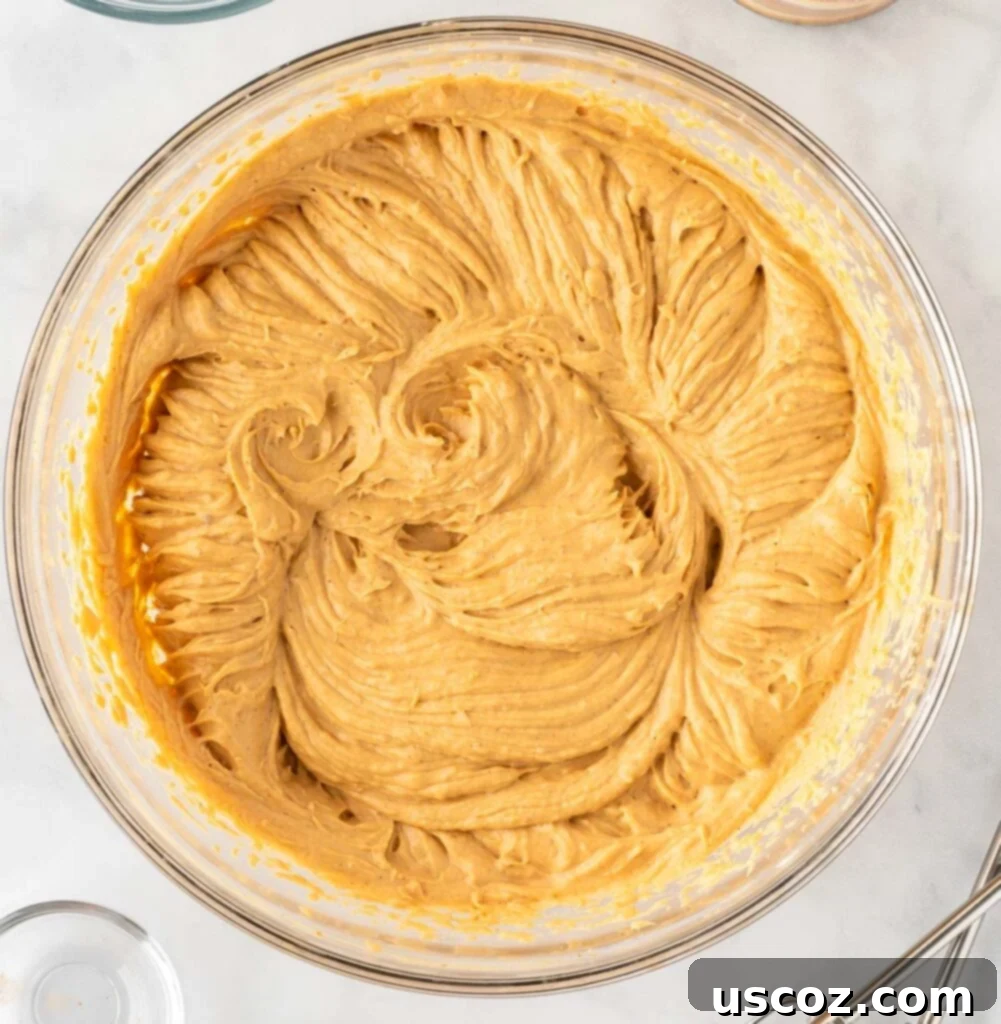
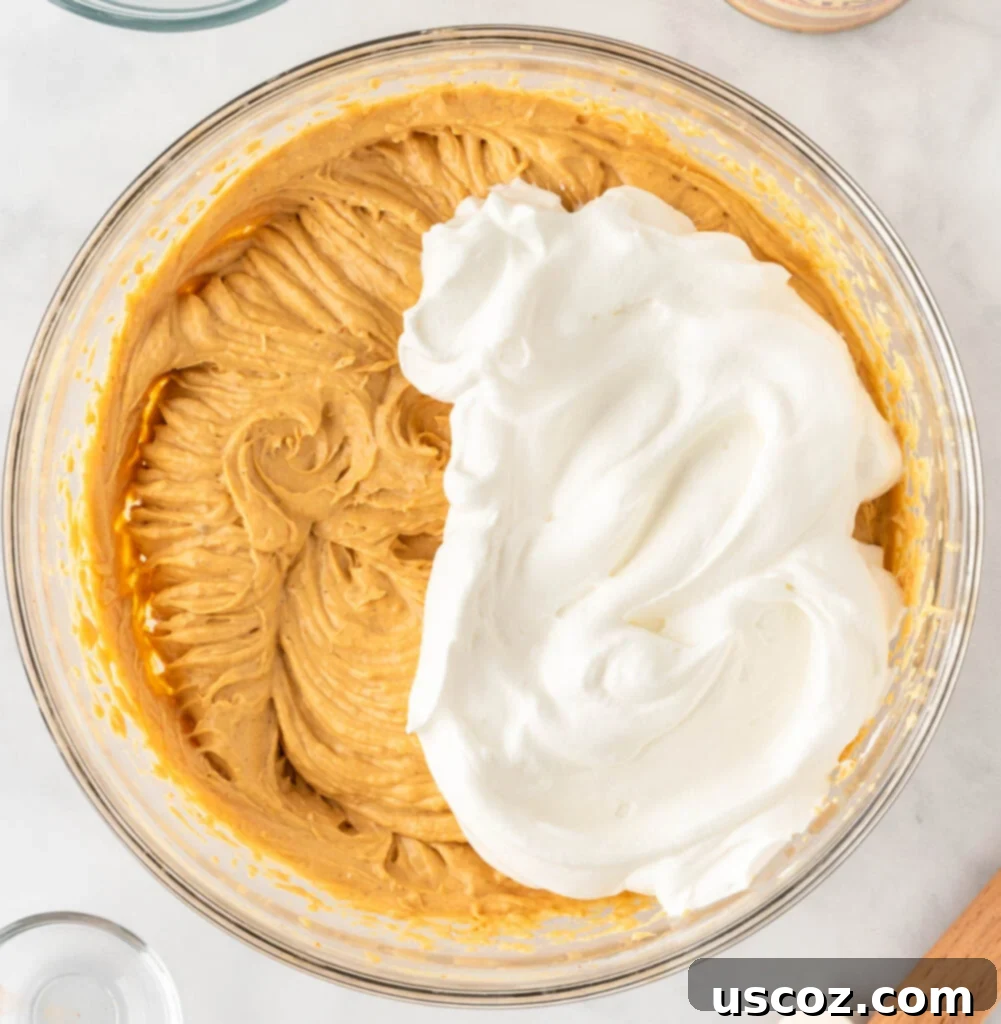
Step 5: Gently Fold in the Whipped Cream. Carefully fold the freshly whipped cream into your cream cheese and pumpkin mixture. Use a rubber spatula and a gentle hand, lifting from the bottom and folding over the top, until the mixture is completely combined and beautifully smooth. This gentle folding ensures you maintain as much of the whipped cream’s airiness as possible, resulting in a light and fluffy filling.
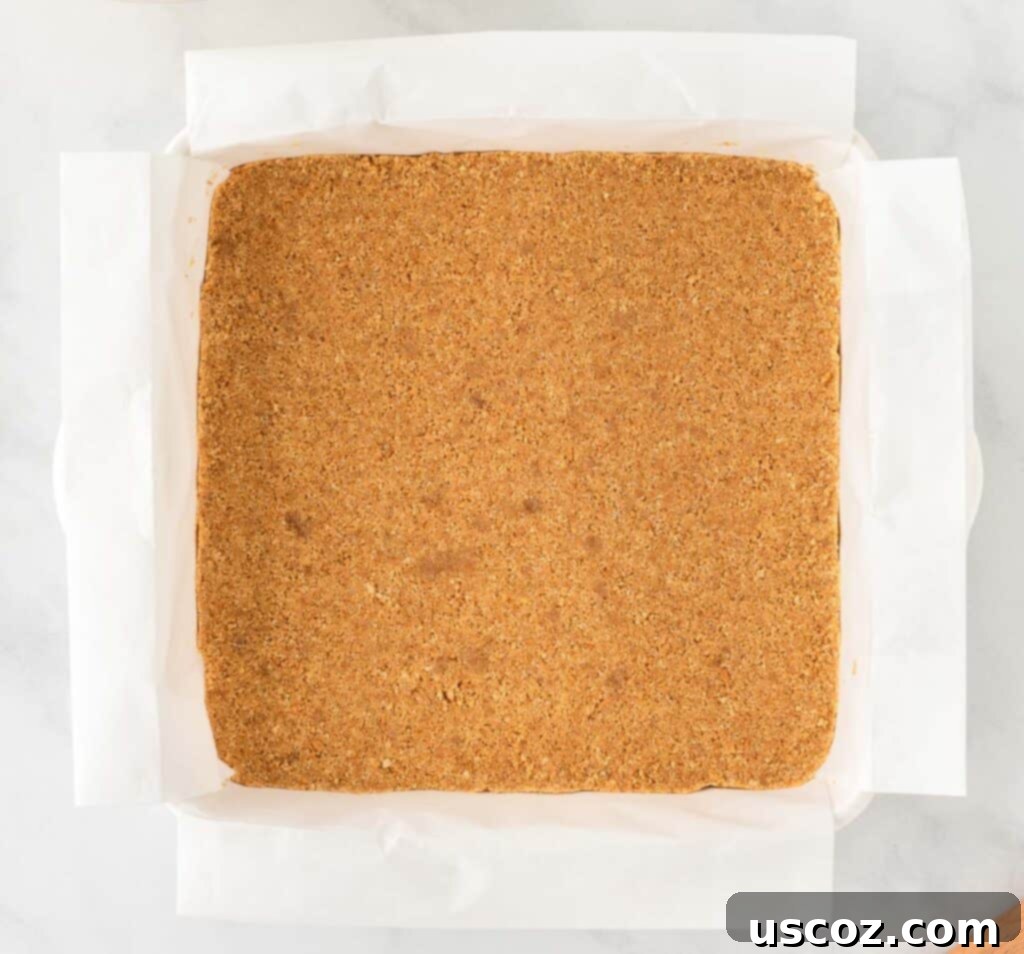
Step 6: Press the Crust into the Pan. Line an 8×8 inch baking pan with parchment paper, leaving enough overhang on all sides to easily lift the bars out later. This parchment paper trick is incredibly helpful for clean cuts and easy removal! Press the graham cracker crust mixture firmly and evenly into the bottom of the prepared pan. Use the back of a spoon or your hands to ensure it’s tightly packed and forms a solid base.
Recipe Tip: The Parchment Paper Trick
To ensure your no bake pumpkin cheesecake bars come out of the pan beautifully and are a breeze to cut, always line your baking dish with parchment paper! Make sure to leave a generous overhang on the sides. This simple step creates “handles” that allow you to effortlessly lift the entire slab of cheesecake out of the pan once it’s set. This not only makes cutting neat squares much easier but also prevents any potential sticking.
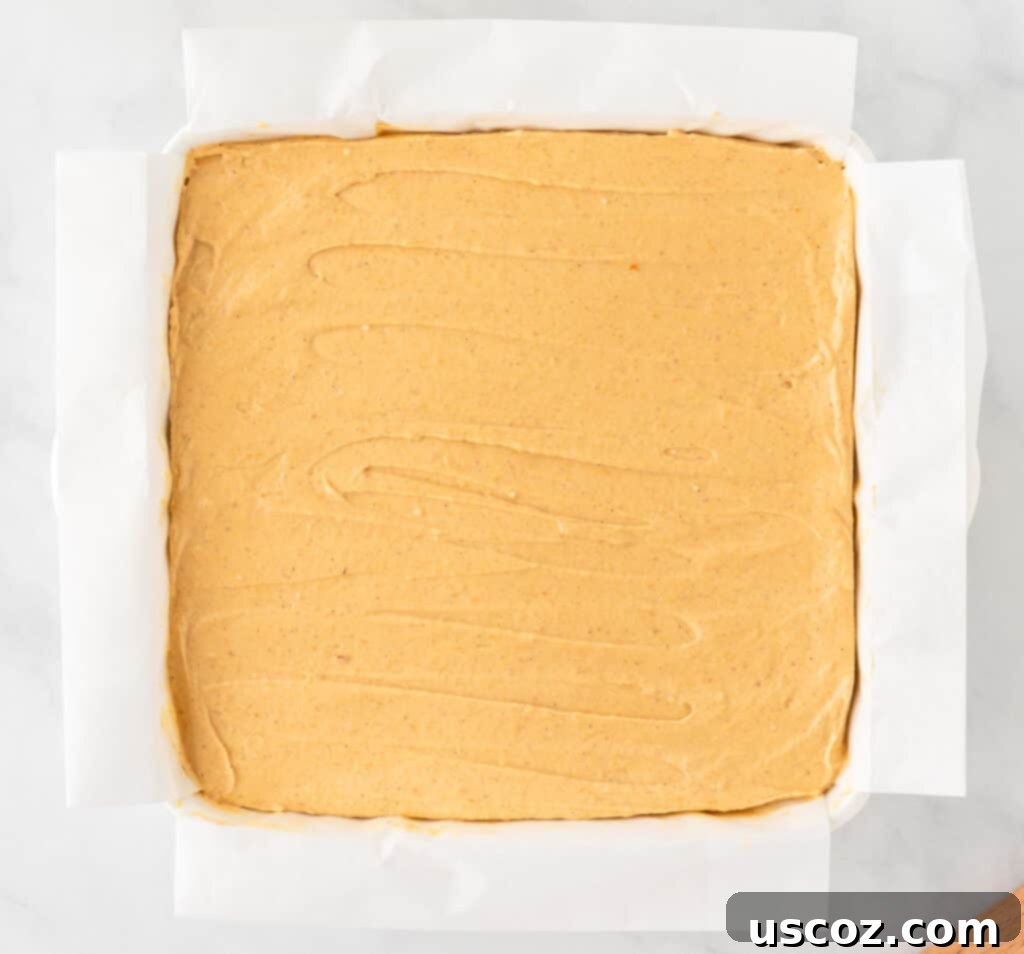
Step 7: Add the Cheesecake Filling and Chill. Pour the luxurious pumpkin cheesecake filling evenly over the prepared graham cracker crust. Use a rubber spatula to gently spread and smooth out the top, creating an even layer. Once smooth, cover the pan tightly with plastic wrap and transfer it to the refrigerator. This is where the magic happens!
How Long Do I Chill Pumpkin Cheesecake Bars for the Best Results?
Chilling is the most critical step for no-bake desserts! For these delicious pumpkin cheesecake bars, I highly recommend chilling them in the fridge overnight. While a minimum of **6 hours** is necessary for them to set enough to be cut, letting them chill for longer – ideally 8-12 hours or overnight – truly allows them to firm up perfectly. A longer chill time not only ensures the best texture but also makes them much easier to cut into perfectly even, clean squares without crumbling.
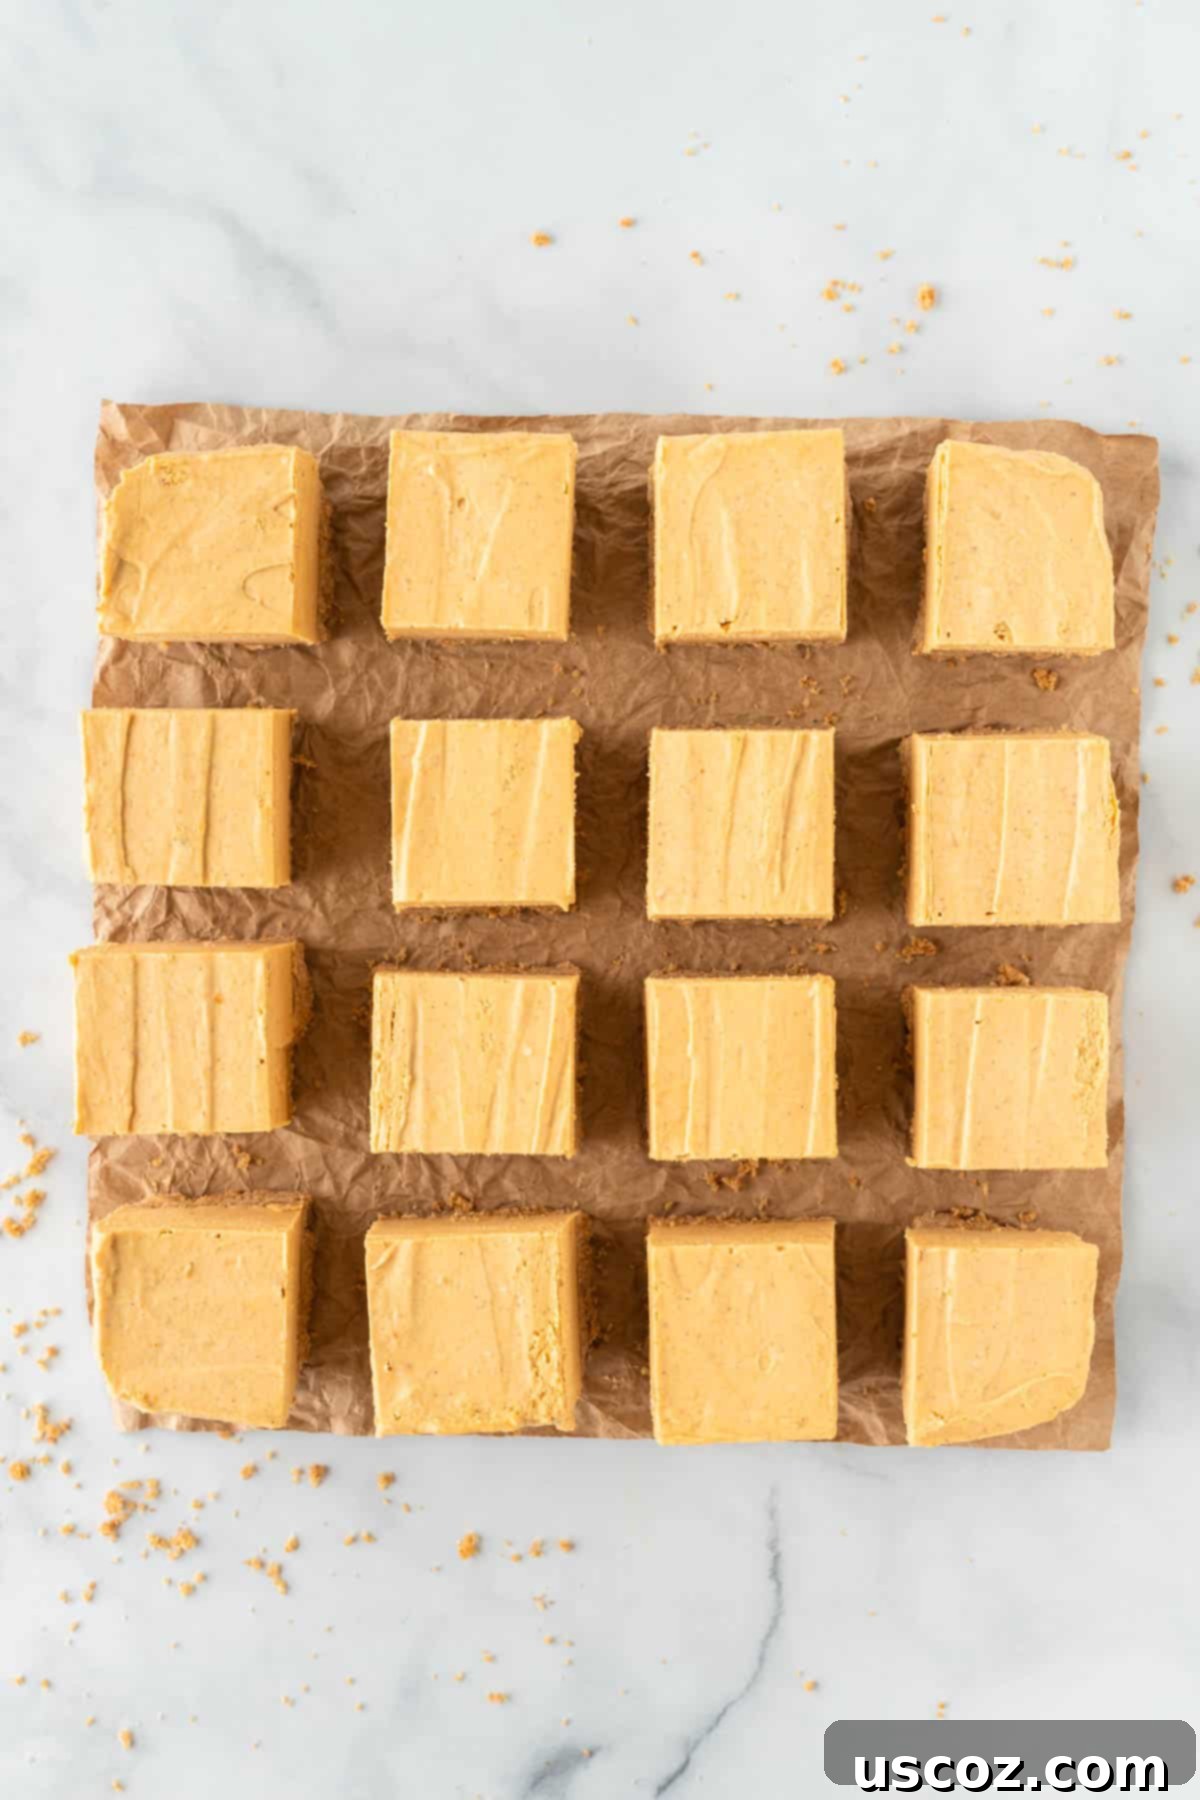
Step 8: Cut and Serve Your Masterpiece. Once thoroughly chilled, grab the parchment paper overhangs and carefully lift the entire slab of pumpkin cheesecake from the pan onto a cutting board. Using a sharp knife, cut the pumpkin cheesecake into squares. You can aim for 16 generous squares, or cut them smaller if you’re serving a larger crowd or prefer daintier pieces. These bars are so utterly delicious, you might find it hard to stop at just one!
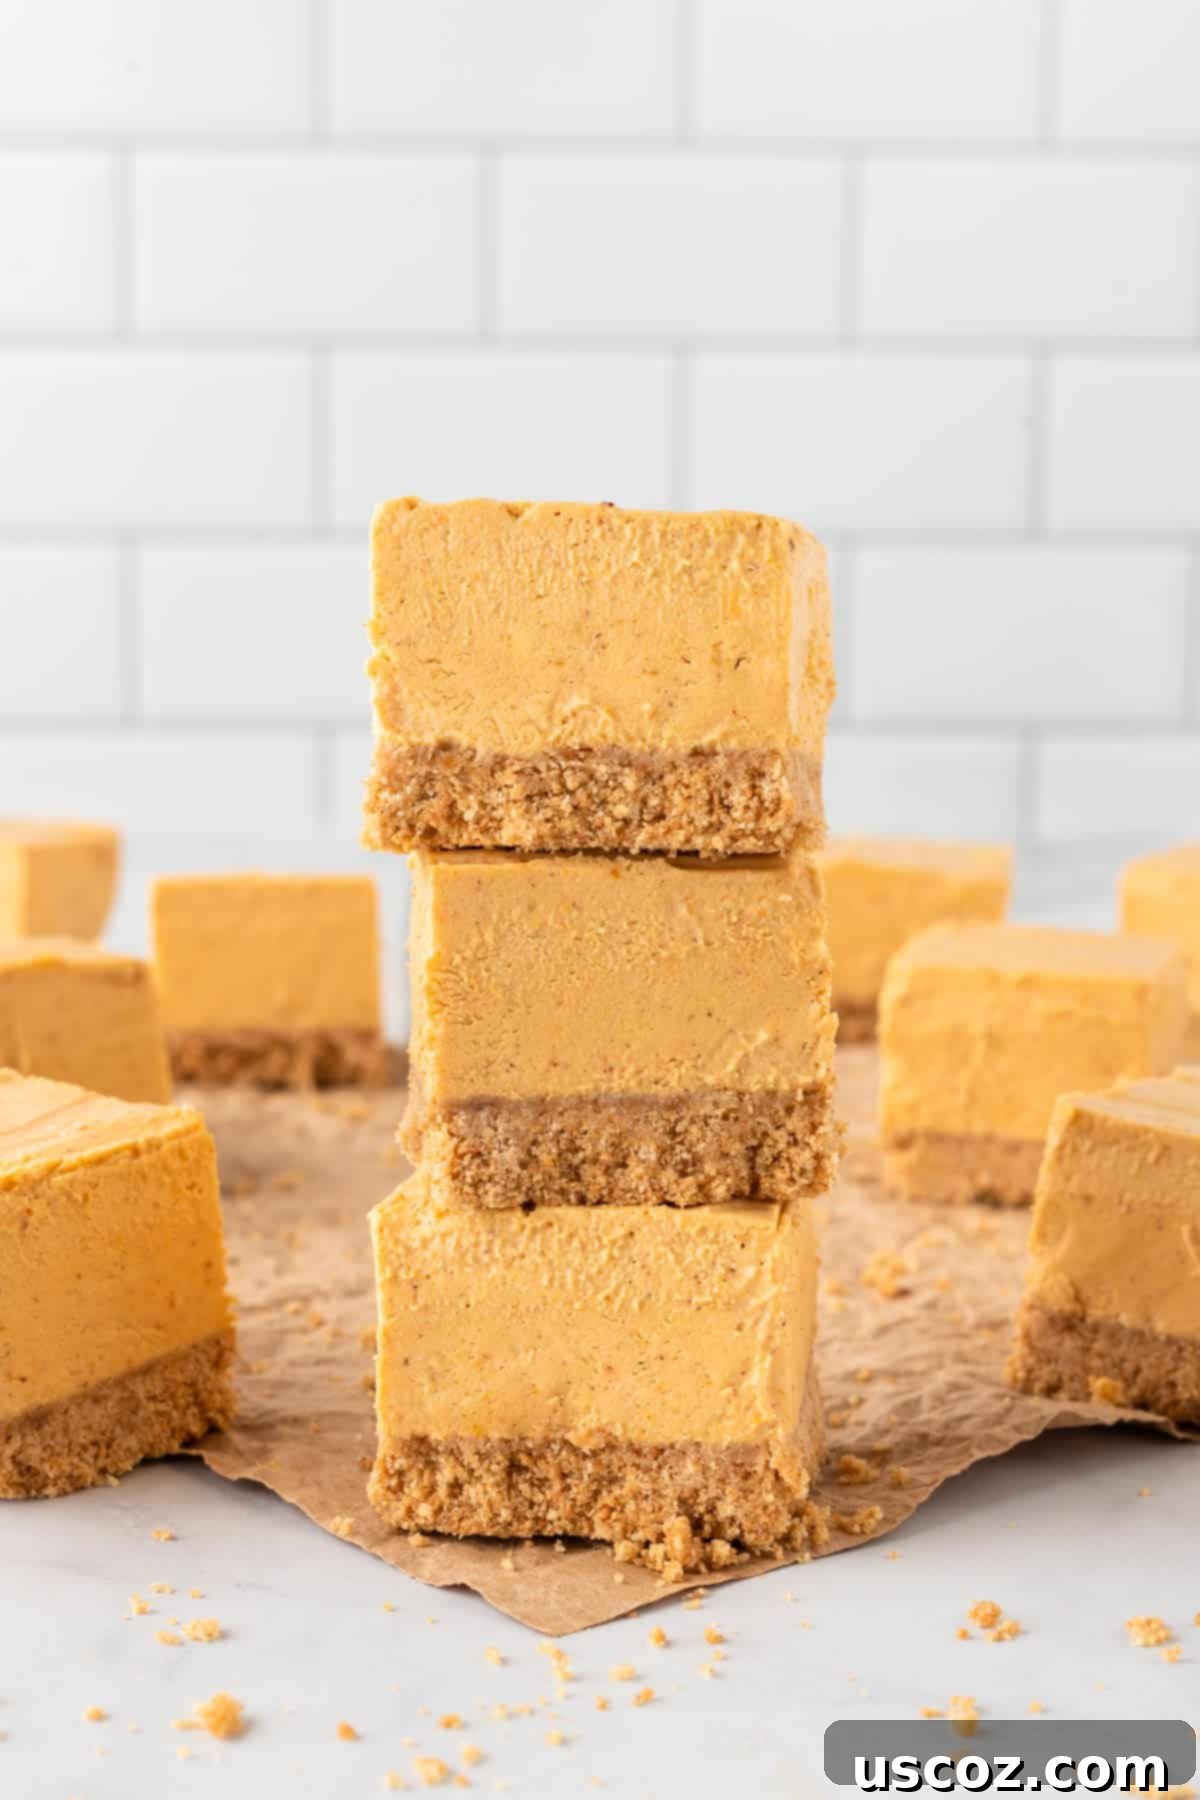
One bite of these no bake pumpkin cheesecake bars, and you will understand why they are an essential fall dessert. The filling is unbelievably creamy and light, yet rich with that signature pumpkin spice flavor we eagerly anticipate all year. The perfectly balanced blend of cinnamon, nutmeg, ginger, and cloves makes each mouthful a festive experience. The firm, buttery graham cracker crust adds a delightful crunch and just the right amount of salty-sweet deliciousness, creating a wonderful contrast to the smooth, sweet filling. It’s a symphony of flavors and textures that will leave you wanting more.
Whether you need an effortlessly elegant dessert to bring to this year’s Thanksgiving feast, a potluck, or simply want to treat yourself and your loved ones to a taste of autumn, these pumpkin cheesecake bars are the answer. They are guaranteed to be a hit with everyone who tries them, earning you rave reviews without breaking a sweat in the kitchen.
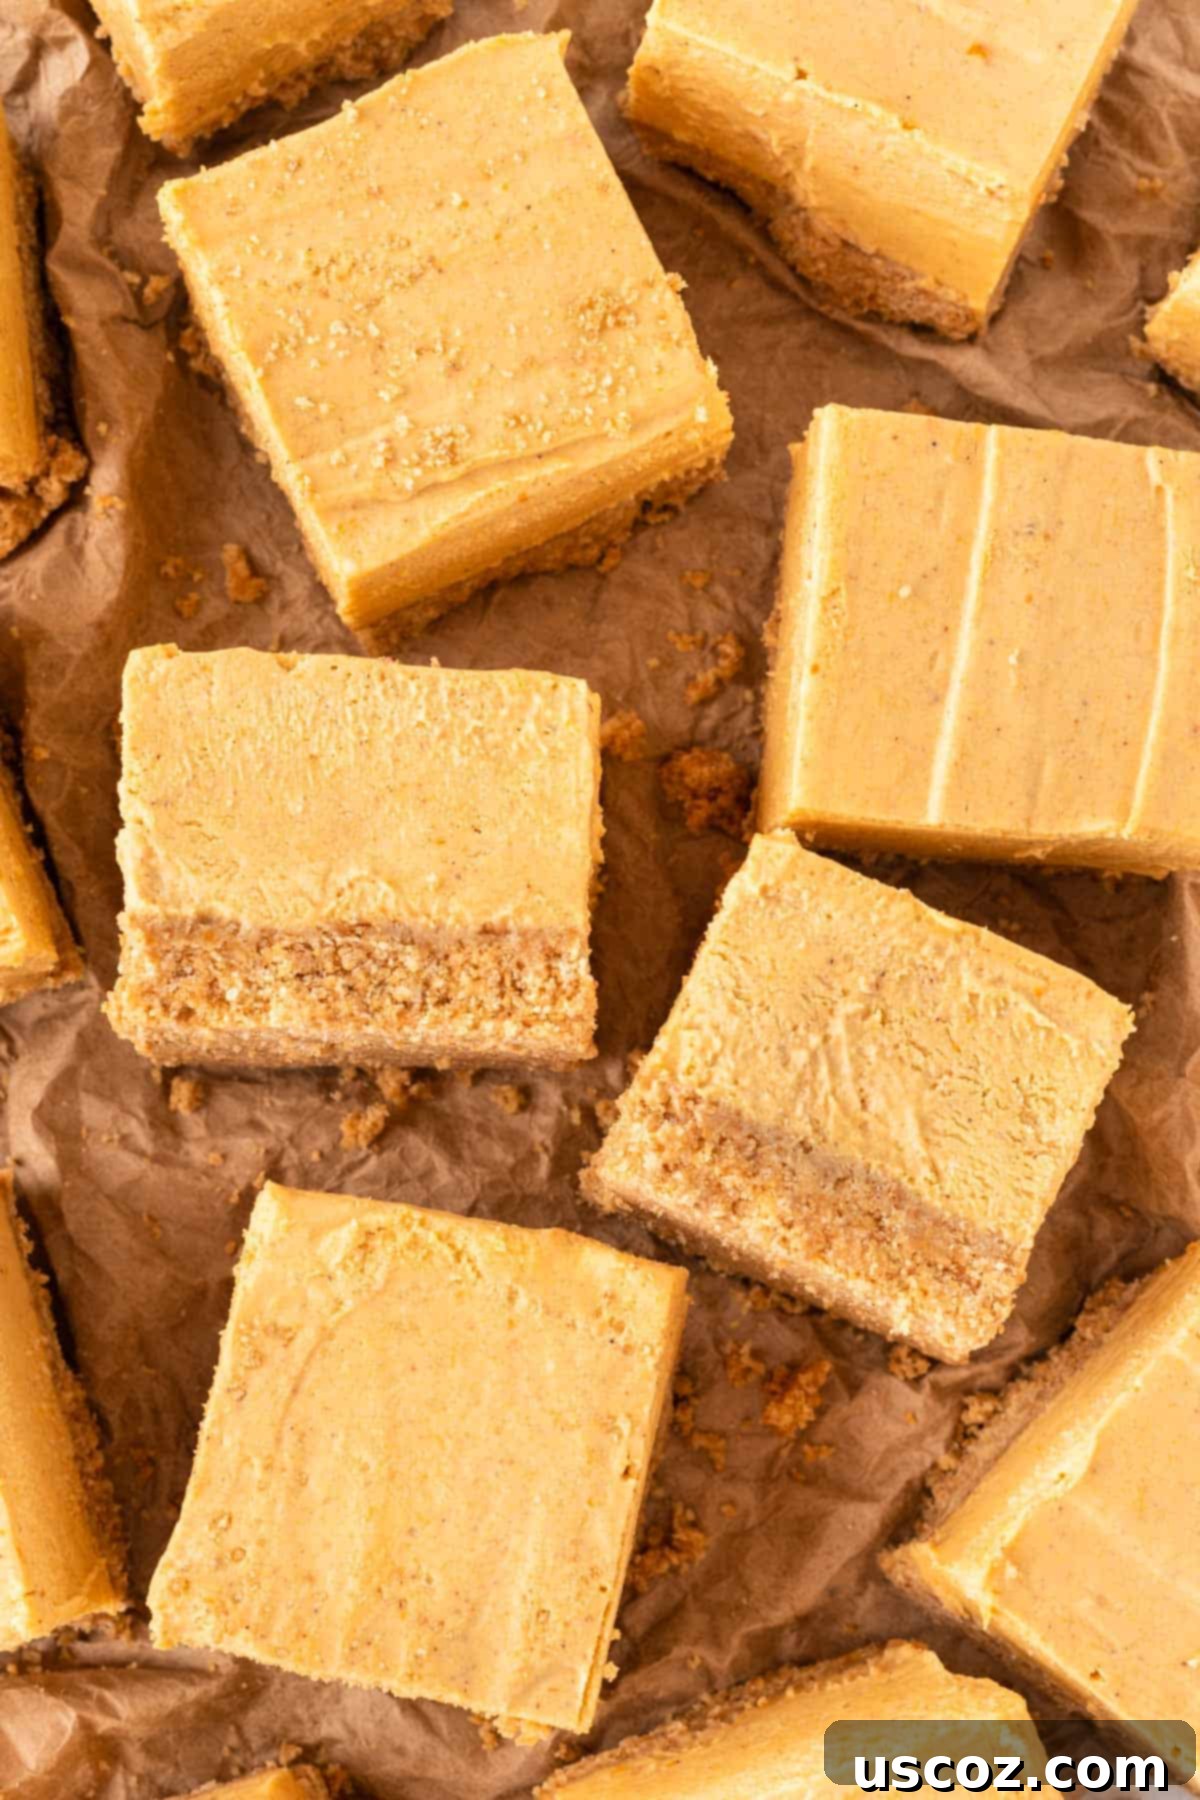
How To Store Your No Bake Pumpkin Cheesecake Bars
To keep your leftover no bake pumpkin cheesecake bars fresh and delicious, store them in an airtight container in the refrigerator. They will maintain their quality and delightful texture for up to 4 days. For optimal enjoyment, remove them from the fridge about 10-15 minutes before serving to allow them to soften slightly, enhancing their creamy consistency.
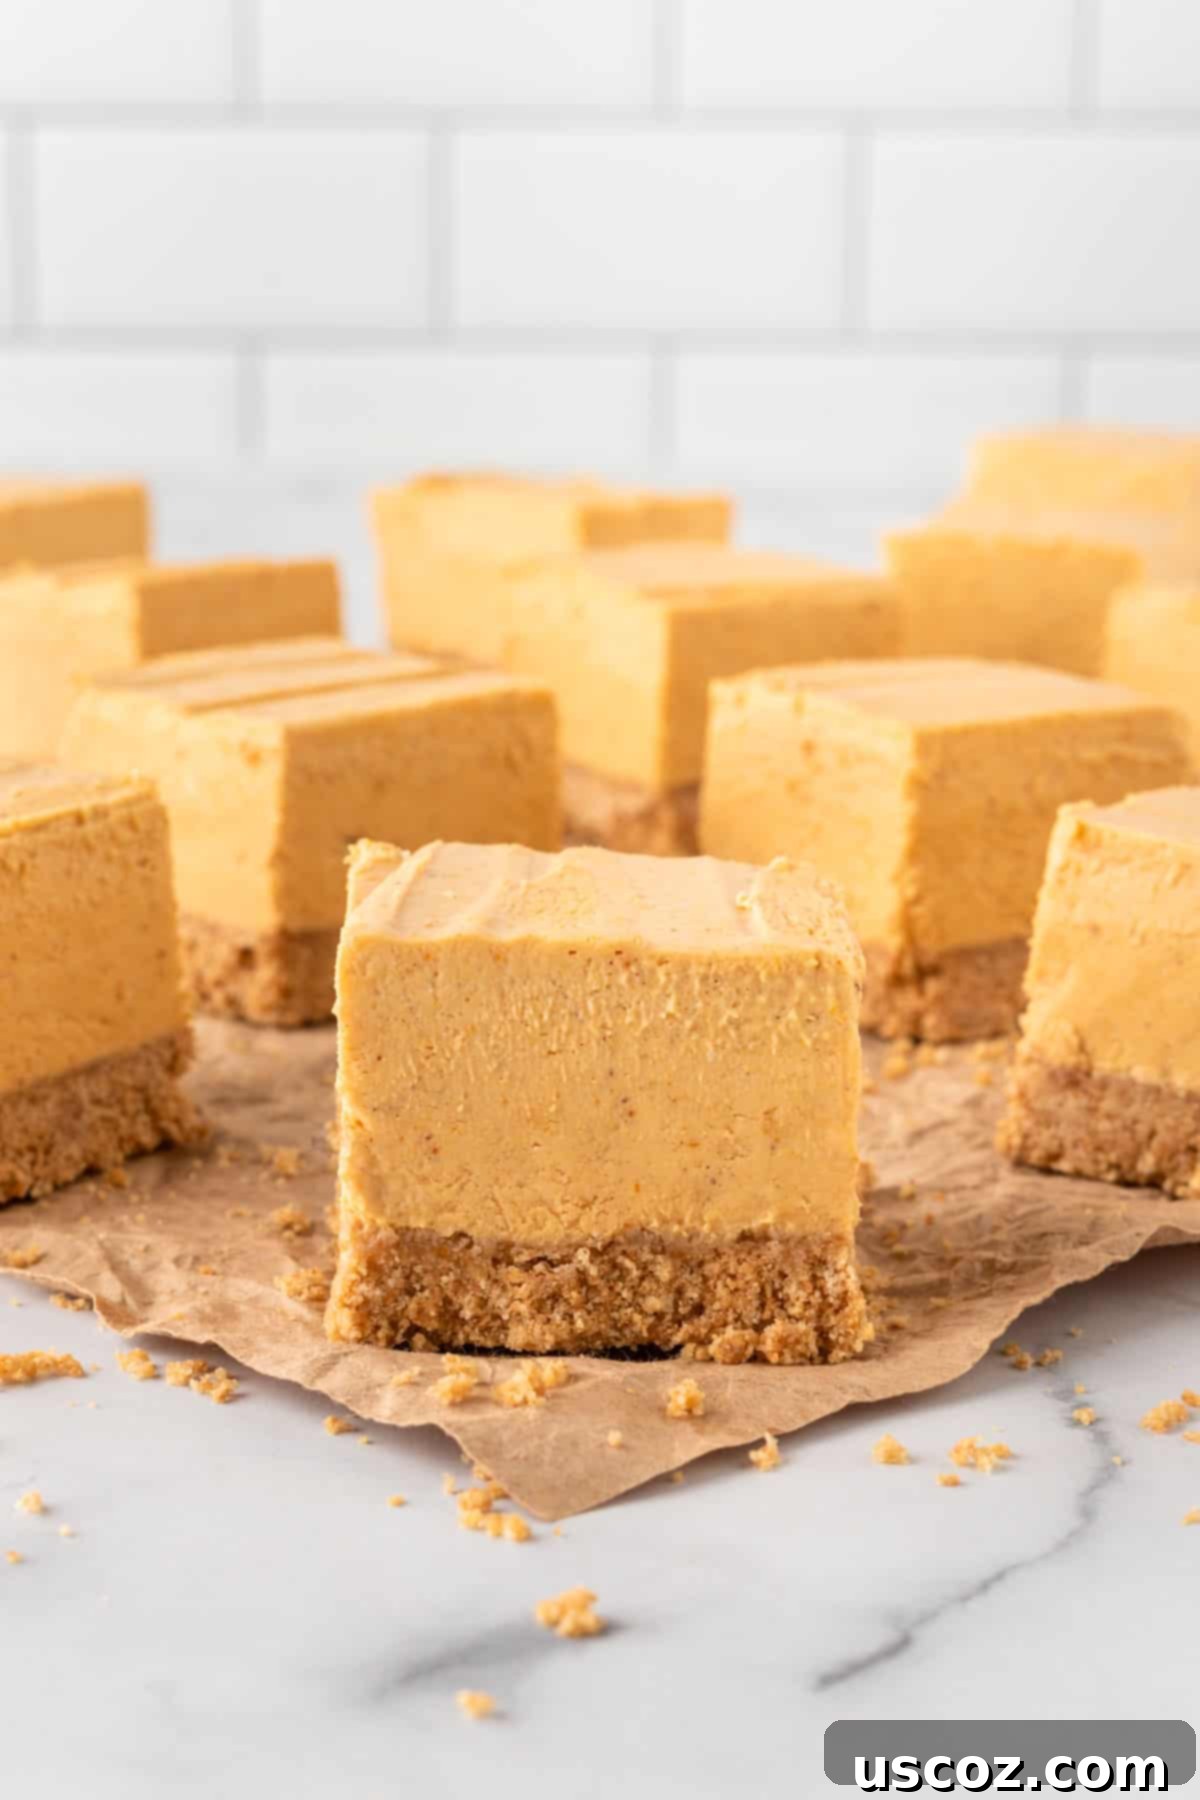
Can I Use Cool Whip in Place of Heavy Cream for These Pumpkin Cheesecake Bars?
While some no-bake recipes might suggest using Cool Whip as a shortcut, this particular recipe has not been tested with it in place of heavy cream. For the absolute best results and to achieve that truly luxurious, light, and fluffy pumpkin cheesecake filling that sets this recipe apart, I highly recommend making your own homemade whipped cream from scratch. It’s incredibly easy to do and takes just a few minutes, but the difference in texture and richness is significant.
Homemade whipped cream creates a more stable and airy texture that perfectly complements the rich cream cheese and pumpkin. Cool Whip, while convenient, has a different consistency and flavor profile that might alter the final outcome of these bars, potentially making them less creamy and delightful. Trust me, the extra small step of whipping fresh cream is worth it for a “next level delicious” dessert!
Explore More Delicious Pumpkin Recipes
If you’ve fallen in love with the flavor of pumpkin, you’re in luck! There are so many fantastic ways to enjoy this versatile ingredient during the fall season and beyond. Check out some of my other favorite pumpkin-inspired recipes:
- Pumpkin Cream Pie: A silky, creamy pie perfect for any holiday table.
- Cake Mix Pumpkin Muffins: Super easy and moist muffins with minimal effort.
- Mini Pumpkin Muffins: Bite-sized delights, perfect for snacking or entertaining.
- Pumpkin Energy Balls: A healthy and quick snack packed with fall flavors.
- Pumpkin Chocolate Chip Cookies: The classic cookie with a delightful pumpkin twist.
- Pumpkin Bread: A moist and spiced loaf, ideal for breakfast or a sweet treat.
- Pumpkin Chocolate Chip Muffins: Combining two favorites for an irresistible muffin.
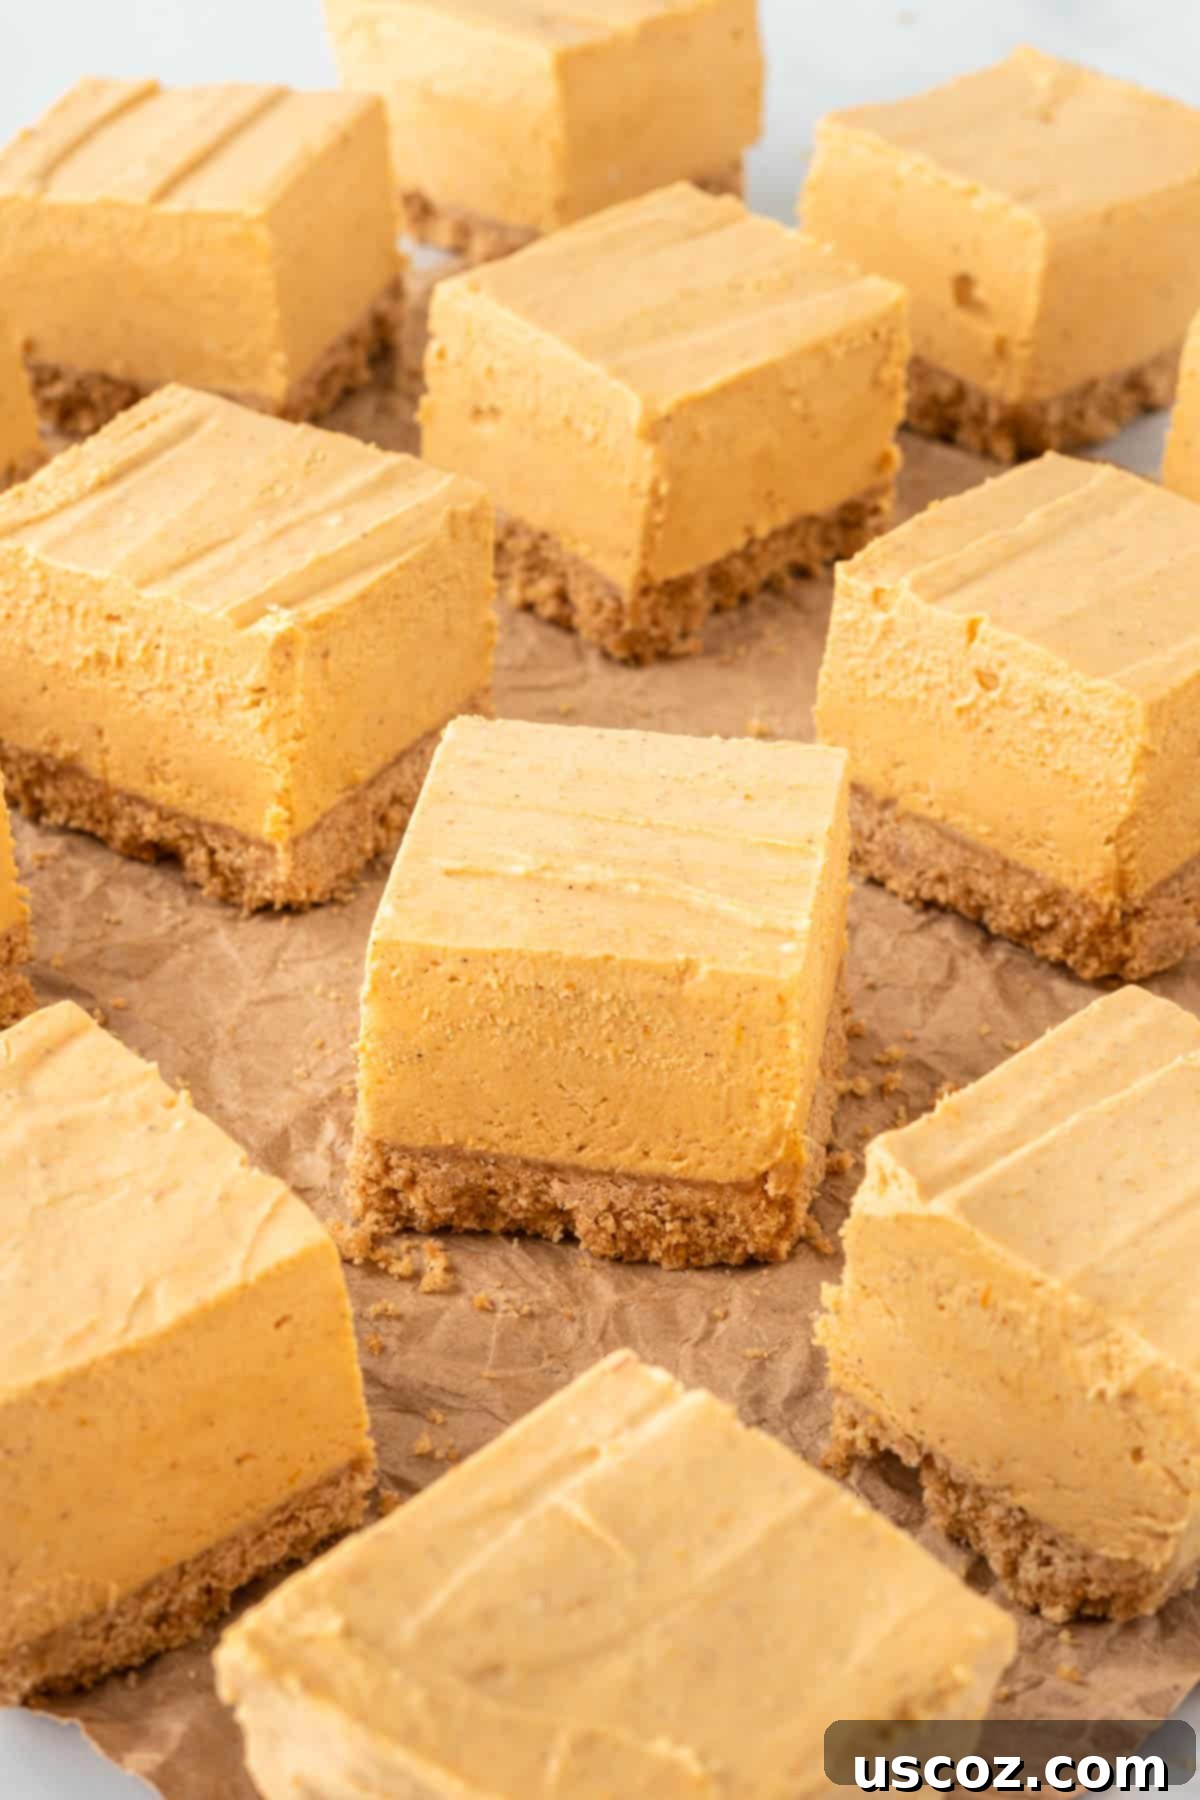
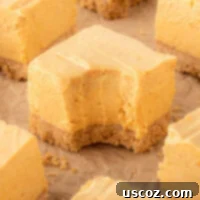
No Bake Pumpkin Cheesecake Bars
Joy Shull
25 minutes
6 hours
6 hours
25 minutes
16
Save Recipe
Saved!
Pin Recipe
Rate Recipe
Print Recipe
Ingredients
For the graham cracker crust
-
15
graham crackers -
7
tablespoons
unsalted butter,
melted -
¼
teaspoon
salt -
1
tablespoon
brown sugar
For the Pumpkin Cheesecake Filling
-
16
oz
cream cheese,
softened -
¾
cup
canned pumpkin -
2
teaspoons
vanilla extract -
¾
cup
heavy cream -
⅔
cup
brown sugar -
1
teaspoon
pumpkin pie spice
Instructions
-
Add the graham crackers to a food processor and pulse until they turn into fine crumbs.
-
Place the graham cracker crumbs, melted butter, salt, and brown sugar in a bowl and mix thoroughly to combine the crust ingredients.
-
Line an 8×8 inch baking pan with parchment paper, leaving generous overhangs on the sides. Press the graham cracker crust mixture firmly and evenly into the bottom of the pan using your hands or the back of a spoon.
-
Using either a KitchenAid stand mixer or a hand mixer, beat the softened cream cheese until it is light and fluffy. Add the canned pumpkin, brown sugar, pumpkin pie spice, and vanilla extract, then beat again until all ingredients are well combined and the mixture is smooth.
-
In a separate, chilled bowl, whip the heavy cream on high speed until stiff peaks form.
-
Gently fold the whipped cream into the cream cheese pumpkin mixture until everything is combined and the filling is smooth and airy.
-
Pour the pumpkin cheesecake filling onto the prepared graham cracker crust and use a rubber spatula to smooth out the top into an even layer.
-
Cover the pan tightly with plastic wrap and chill the no-bake cheesecake bars in the fridge overnight (minimum 6 hours for setting).
-
Once fully chilled, use the parchment paper overhangs to lift the bars from the pan. Cut the pumpkin cheesecake bars into 16 squares (or desired size) and serve immediately.
Notes
Nutrition
Calories:
280
kcal
,
Carbohydrates:
23
g
,
Protein:
3
g
,
Fat:
20
g
,
Saturated Fat:
12
g
,
Polyunsaturated Fat:
1
g
,
Monounsaturated Fat:
5
g
,
Trans Fat:
0.2
g
,
Cholesterol:
54
mg
,
Sodium:
219
mg
,
Potassium:
111
mg
,
Fiber:
1
g
,
Sugar:
14
g
,
Vitamin A:
2485
IU
,
Vitamin C:
1
mg
,
Calcium:
59
mg
,
Iron:
1
mg
Like this recipe? Rate and comment below!
