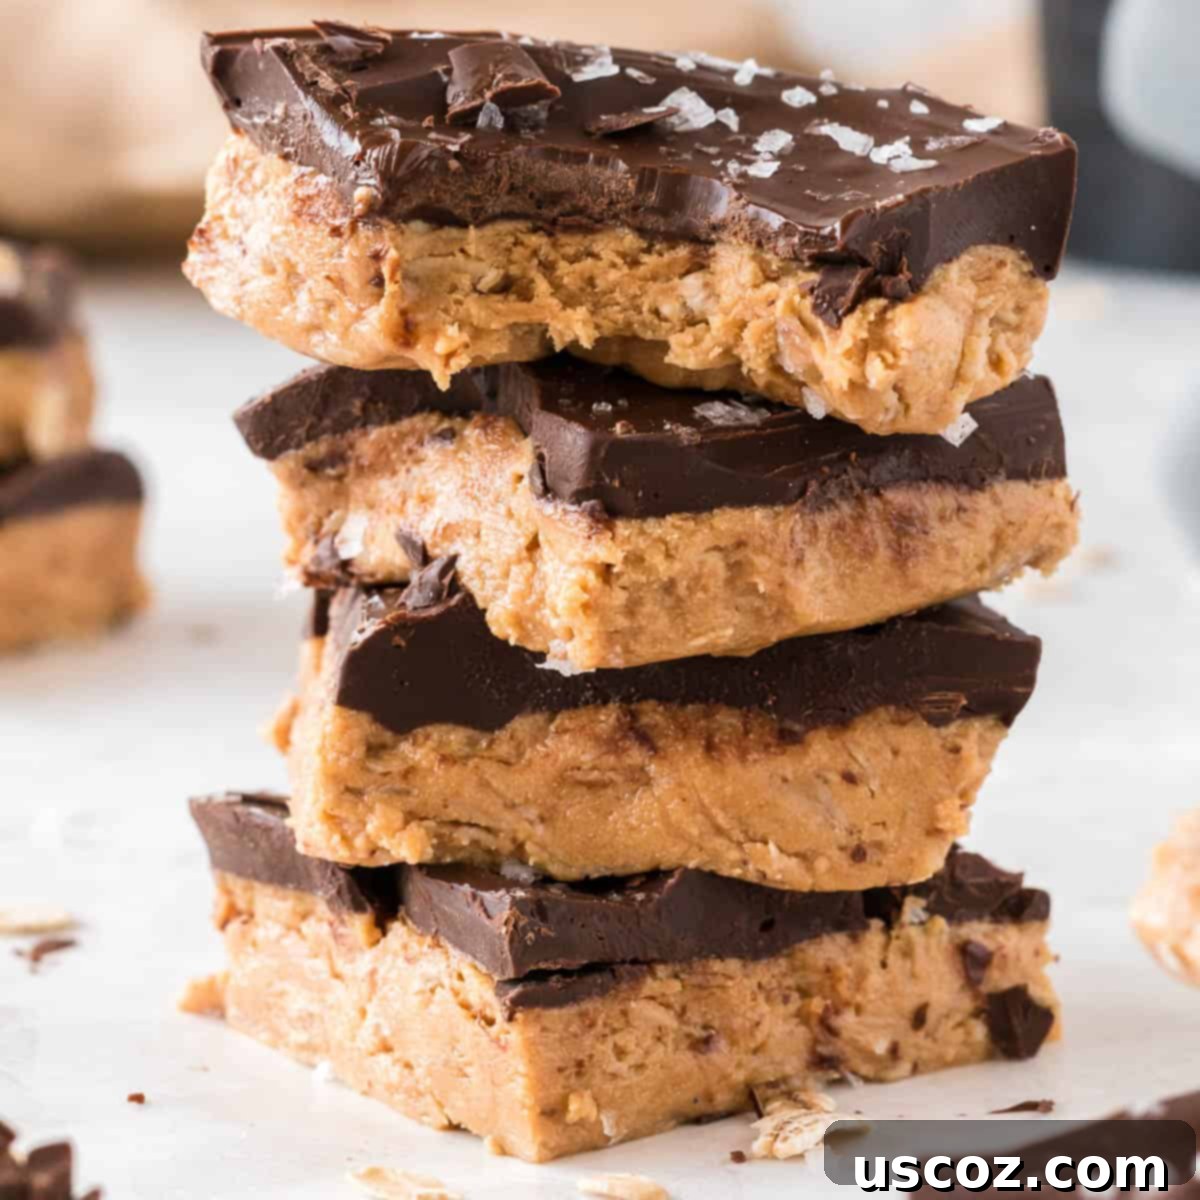
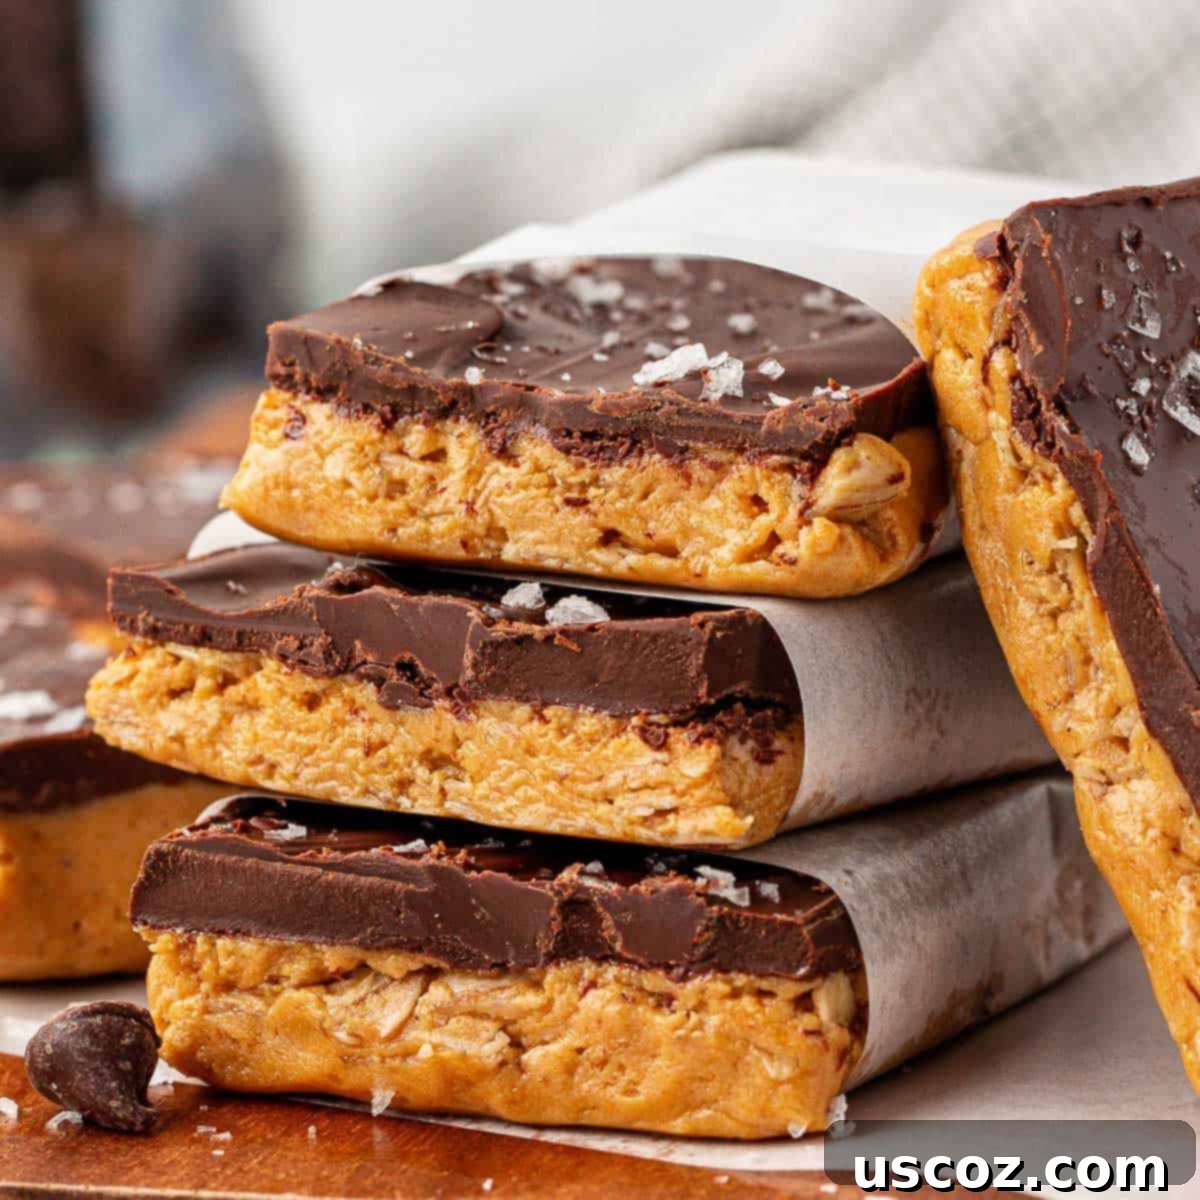
Easy Homemade No-Bake Protein Bars: Your Ultimate Healthy Snack Guide
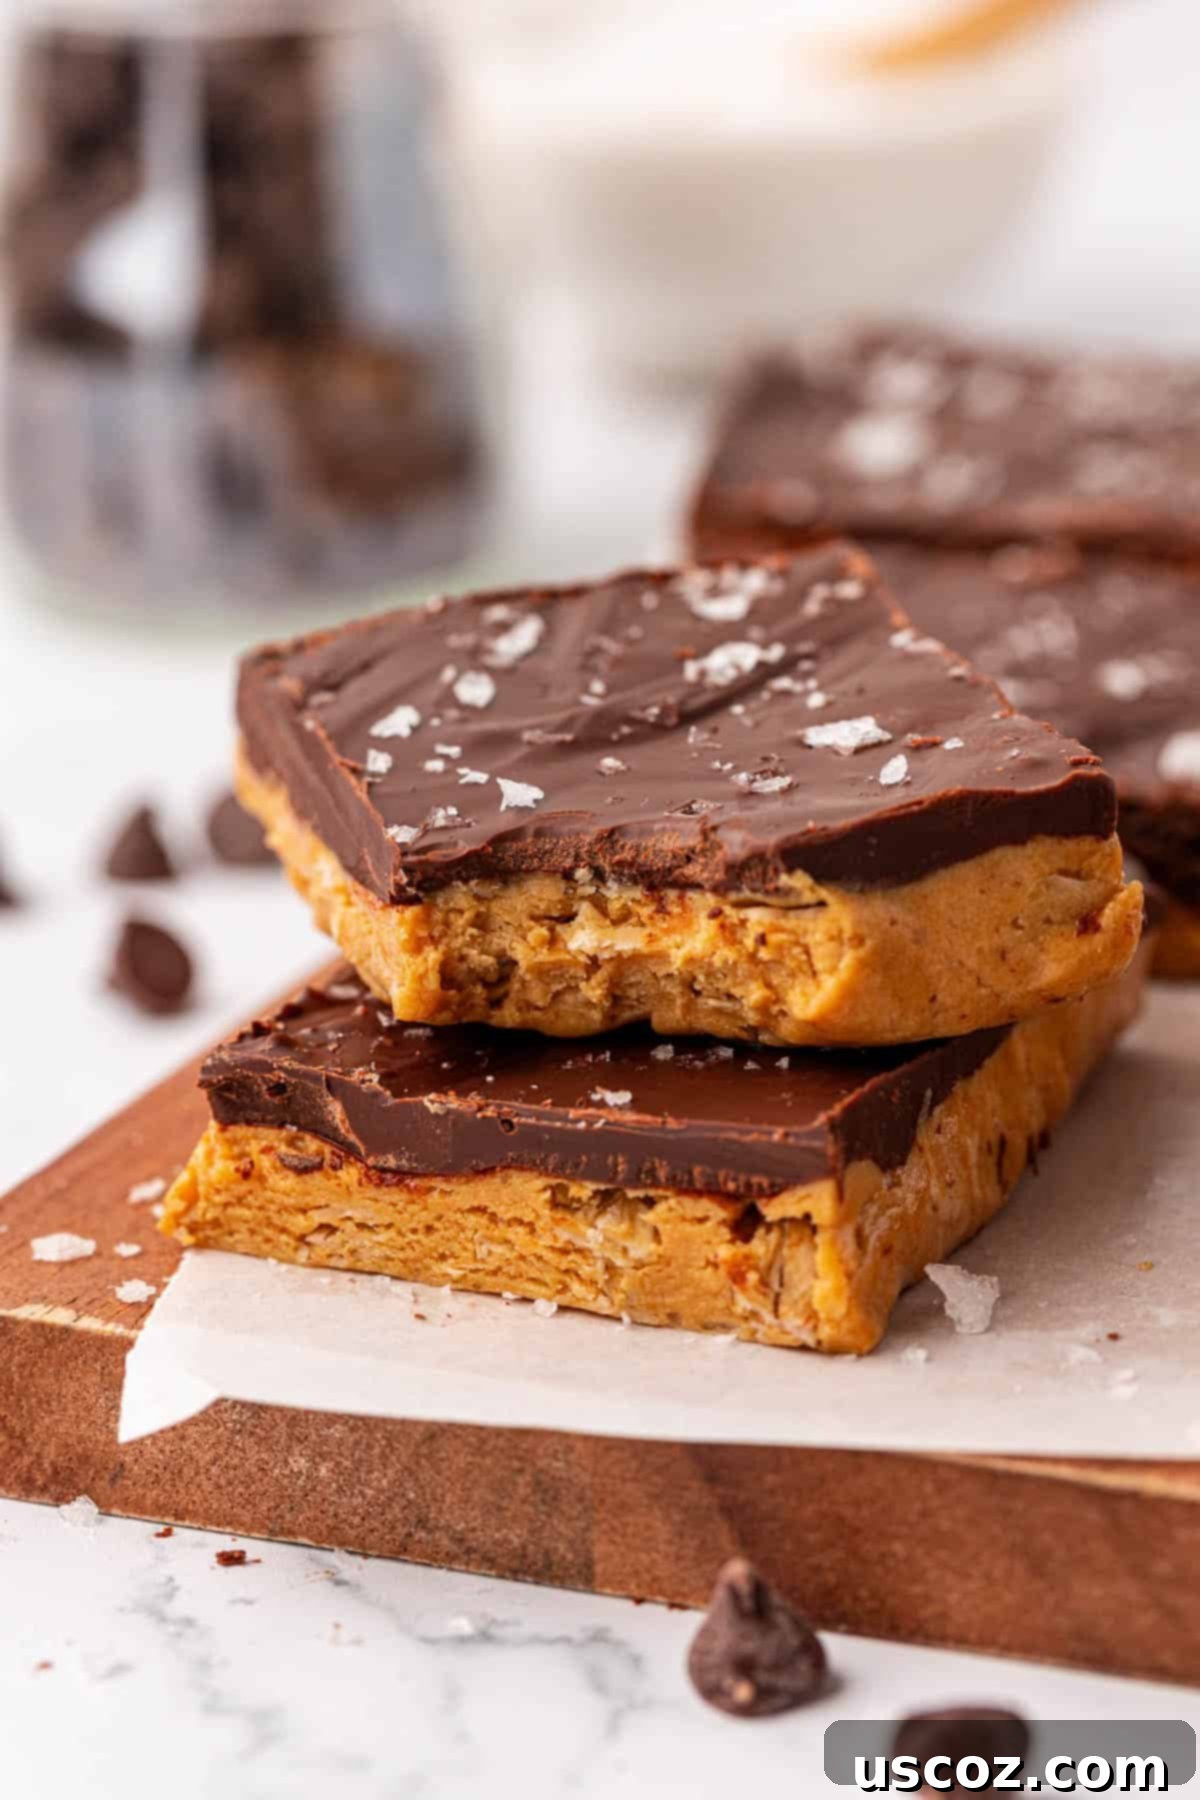
These **No-Bake Protein Bars** are incredibly easy to make with just 7 simple ingredients. Say goodbye to store-bought options and create your own delicious, protein-packed homemade bars in minutes!
Why Make Your Own Protein Bars?
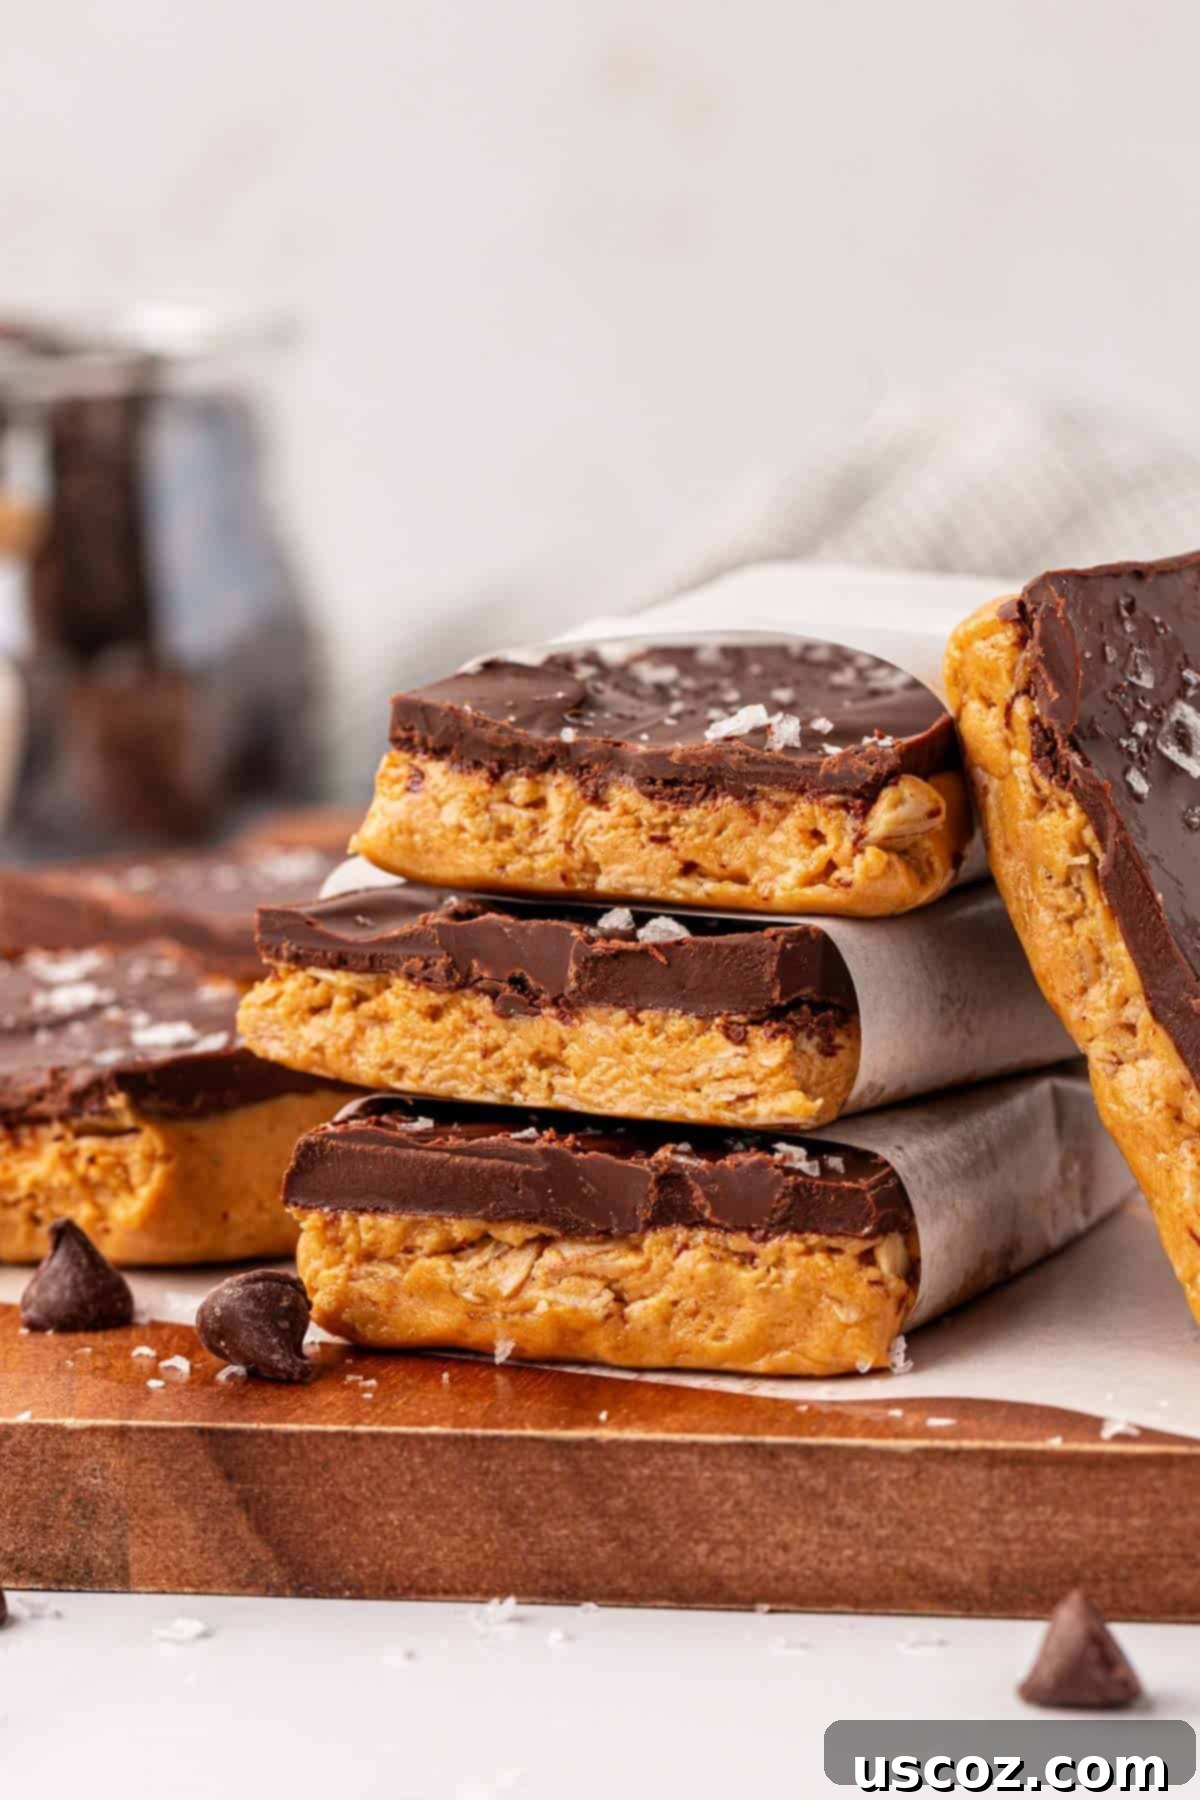
Homemade protein bars are a game-changer for anyone looking for convenient, nutritious, and delicious snacks. As a parent, I love keeping these on hand for my kids (and myself!) because they’re incredibly easy to whip up, made with common pantry staples, and most importantly, they taste absolutely amazing. Forget about struggling to find store-bought options that satisfy your cravings and nutritional goals – with this recipe, you’re in control.
If you’re already a fan of classic energy balls or the popular monster cookie energy balls, you’re going to adore this no-bake protein bar recipe. These bars offer all the same deliciousness and energy-boosting benefits, but in a convenient bar form, saving you the time of rolling individual bites by hand. Each bar packs a satisfying 12 grams of protein, ensuring you stay full and energized, and they’re made with real, wholesome ingredients you can easily recognize and pronounce.
I’ve personally found it challenging to find store-bought protein bars that hit all the marks: great taste, a clean ingredient list, and an affordable price. That’s precisely why I started making my own. These no-bake protein bars, along with my no-bake chocolate protein bars, have quickly become my go-to favorites. They offer the perfect blend of sweet and salty, chewy and crunchy, making them an ideal snack for pre- or post-workout, a quick breakfast on the go, or a healthy treat.
Essential Ingredients for Your No-Bake Protein Bars
Crafting the perfect no-bake protein bar starts with understanding the role of each ingredient. Here’s a closer look at what you’ll need and why:
- Peanut Butter: For this recipe, you’ll want **creamy, no-stir peanut butter**. The key here is its thick and creamy consistency, which acts as the primary binder for the bars. Look for brands where the ingredients are simply peanuts, a bit of oil (like palm oil to prevent separation), salt, and possibly a touch of sugar. Avoid natural peanut butter that separates easily, as it can make the bars too oily or crumbly. If you only have natural peanut butter, you might need to slightly reduce the honey or add a touch more oats to achieve the right consistency.
- Honey: This natural, sticky sweetener does more than just add a delightful flavor; it’s crucial for holding these bars together. Honey provides the necessary stickiness without requiring any baking. You can also experiment with other sticky sweeteners like maple syrup or agave nectar, though the flavor and final texture might vary slightly.
- Oats: **Old-fashioned rolled oats** are essential for giving these bars their characteristic chewy texture. They absorb moisture and help bind the ingredients, adding fiber and a hearty base. Do not use instant oats, as they can become mushy, and steel-cut oats will be too hard and won’t bind properly.
- Vanilla Protein Powder: This is where the “protein” comes in! We typically use our favorite vanilla whey protein powder for its smooth texture and flavor. However, many readers have reported great success with non-dairy protein powders, such as plant-based options. The type of protein powder can affect the final texture, so you might need slight adjustments. For a chocolate flavor, consider using chocolate protein powder instead of vanilla.
- Chocolate Chips: This recipe calls for a delicious blend of **semi-sweet and dark chocolate chips** for a balanced flavor profile. The combination provides a rich, indulgent topping. To make these bars dairy-free, simply substitute with your favorite dairy-free chocolate chips. Mini chocolate chips melt more smoothly and spread easier.
- Flaked Sea Salt, for topping: While optional, this ingredient is **highly recommended**! A sprinkle of flaked sea salt over the chocolate layer elevates the bars by creating an irresistible salty-sweet combination that truly makes all the flavors pop. Don’t skip it if you love that classic pairing!
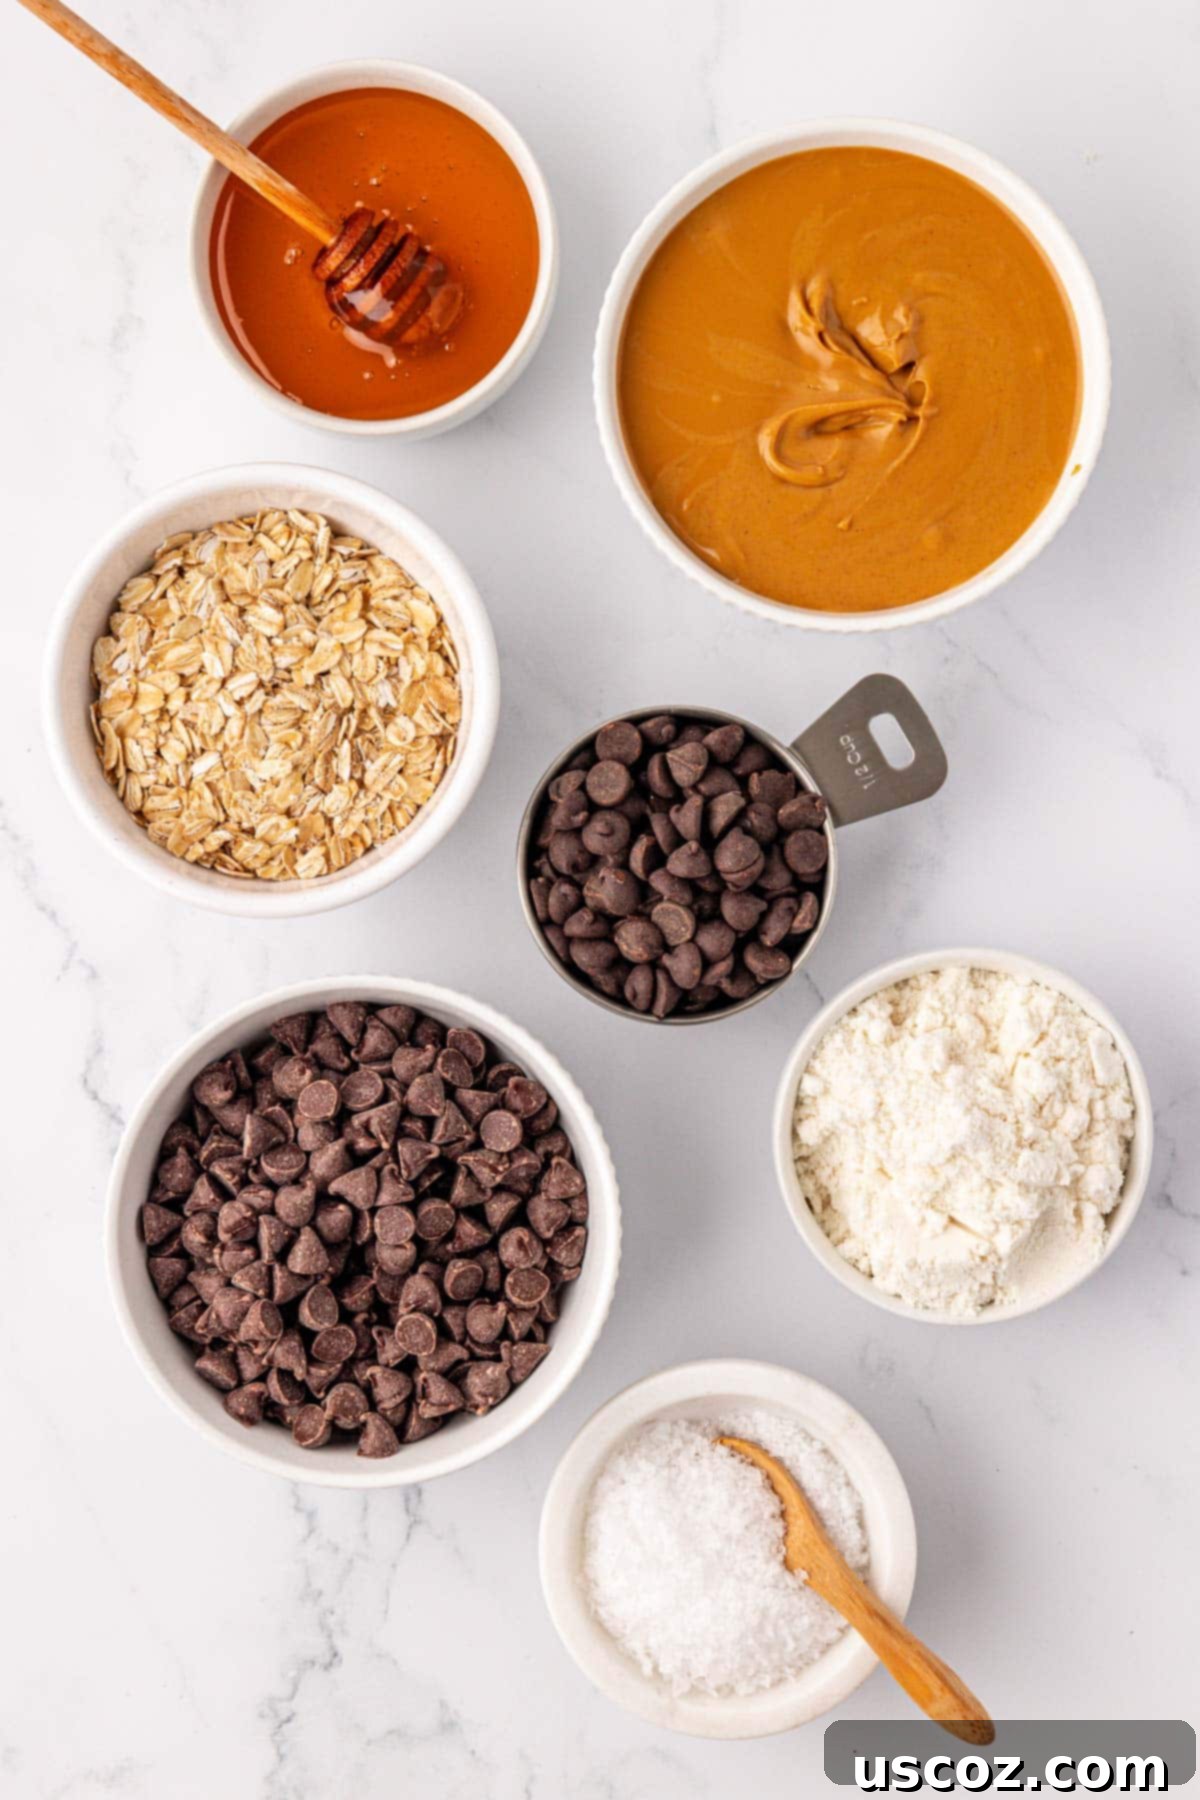
Step-by-Step Guide: How to Make No-Bake Protein Bars
Get ready to create these amazing no-bake protein bars with minimal effort. Follow these simple steps for a perfect batch every time!
Step 1: In a large mixing bowl, thoroughly stir together the creamy peanut butter and honey until they are fully combined and smooth. I’ve found that starting with these wet ingredients first creates a more uniform base before incorporating the dry ingredients. This ensures the stickiness is evenly distributed throughout the mixture.
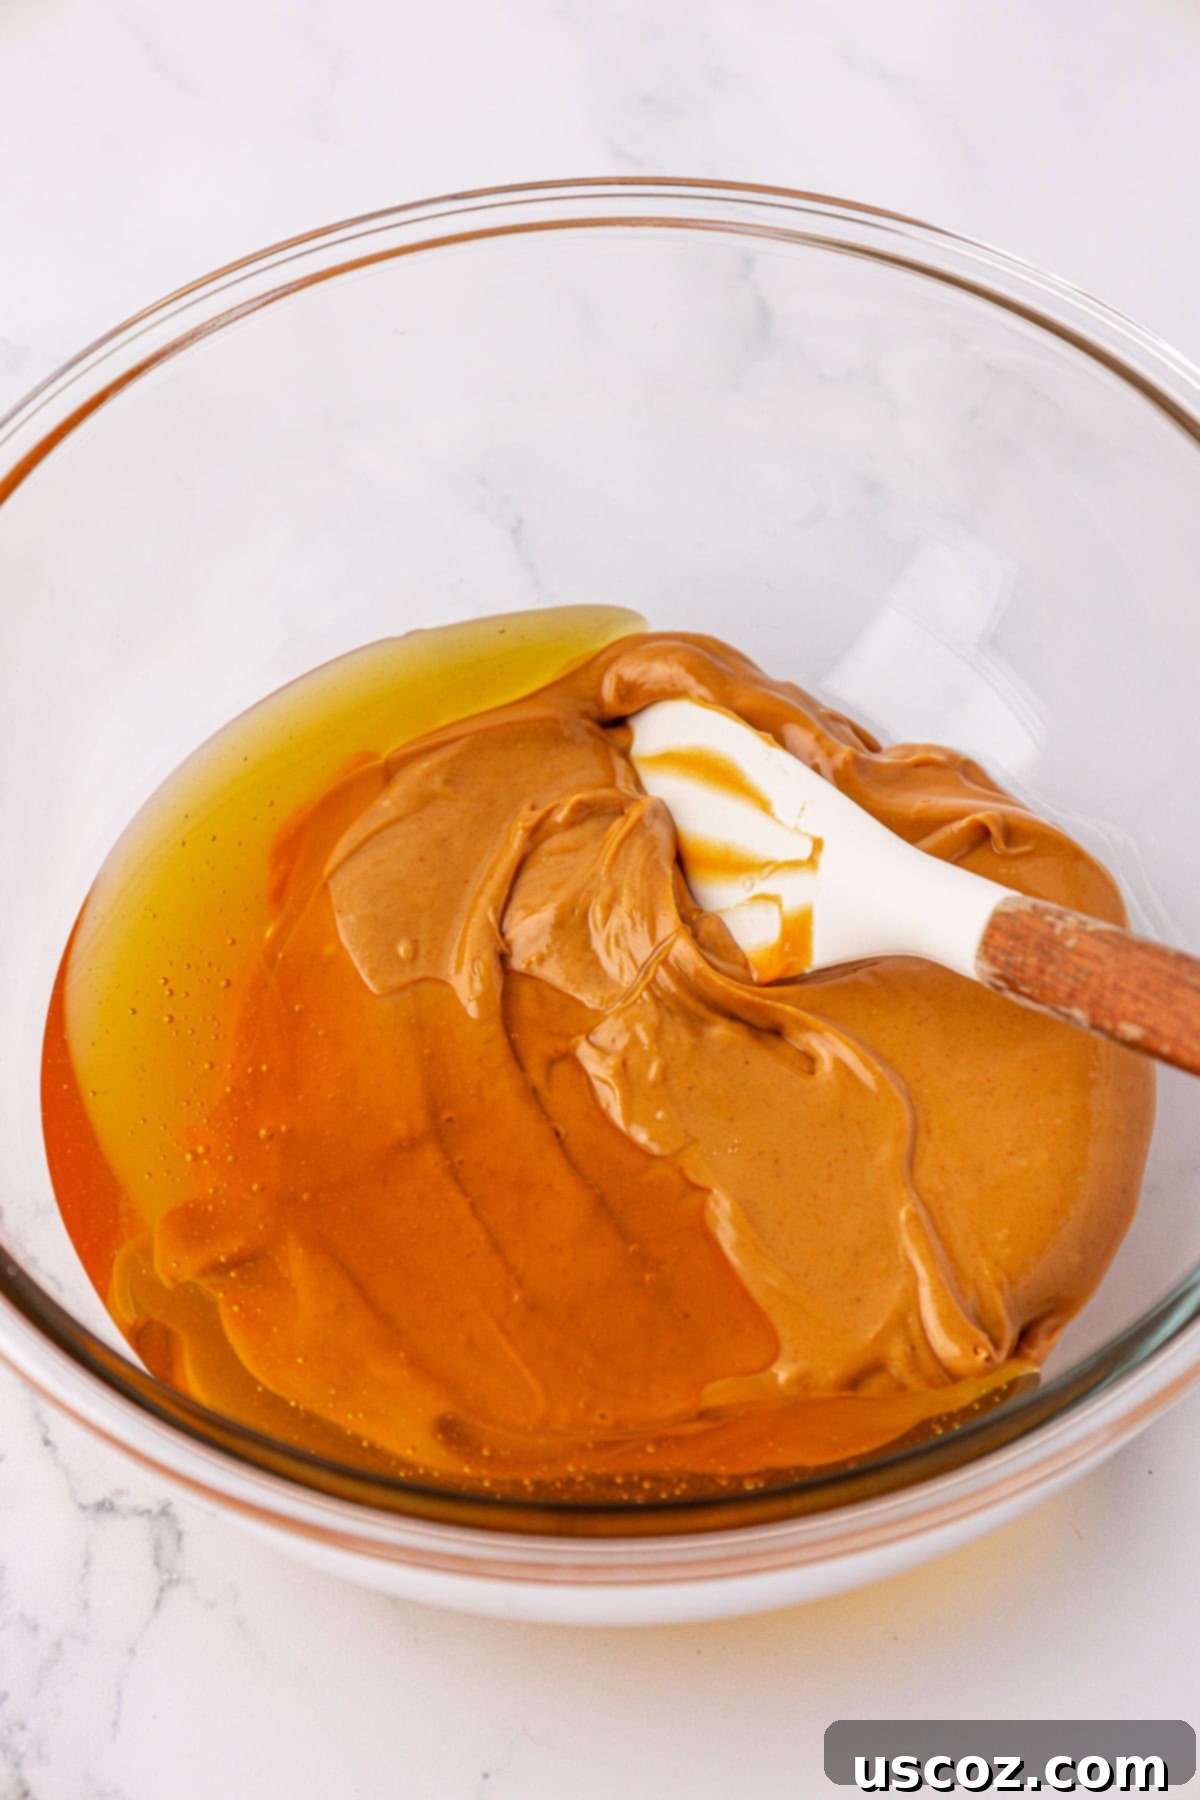
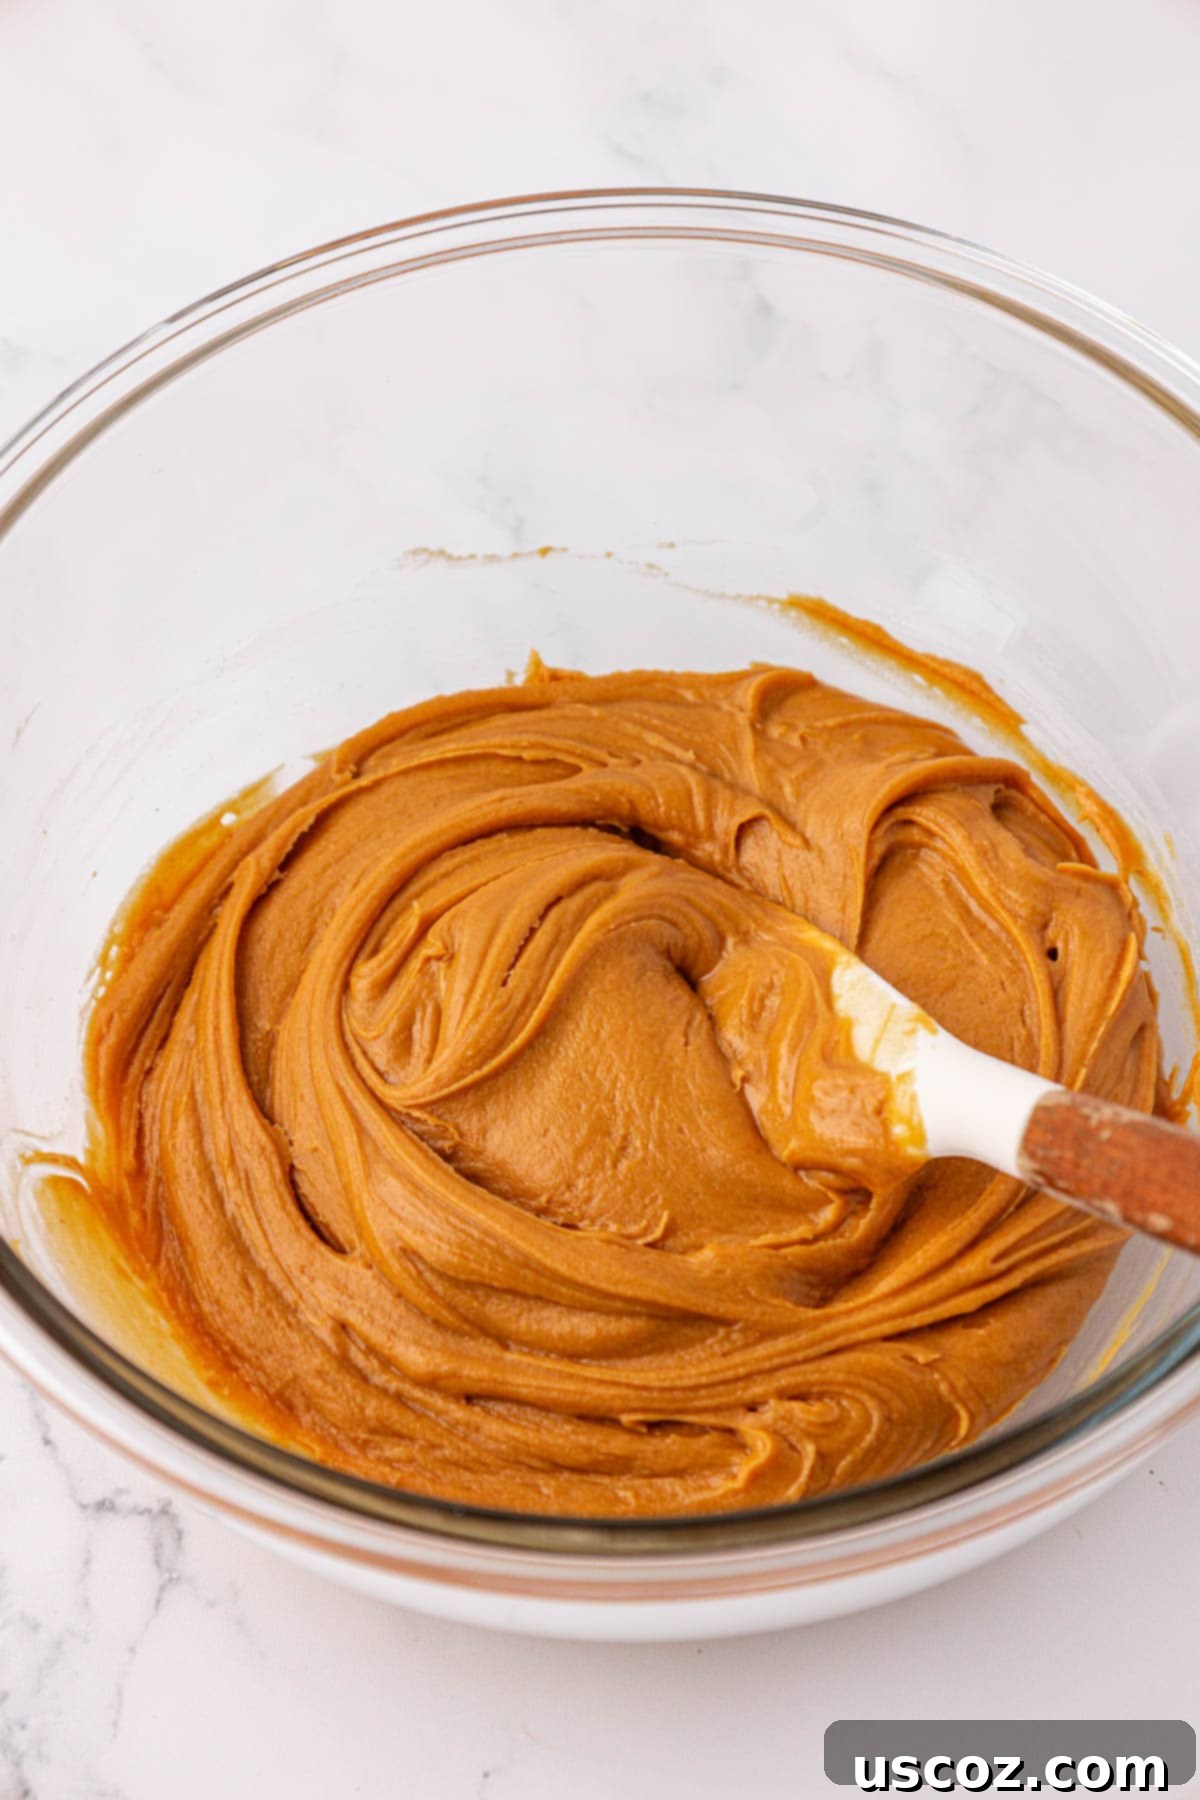
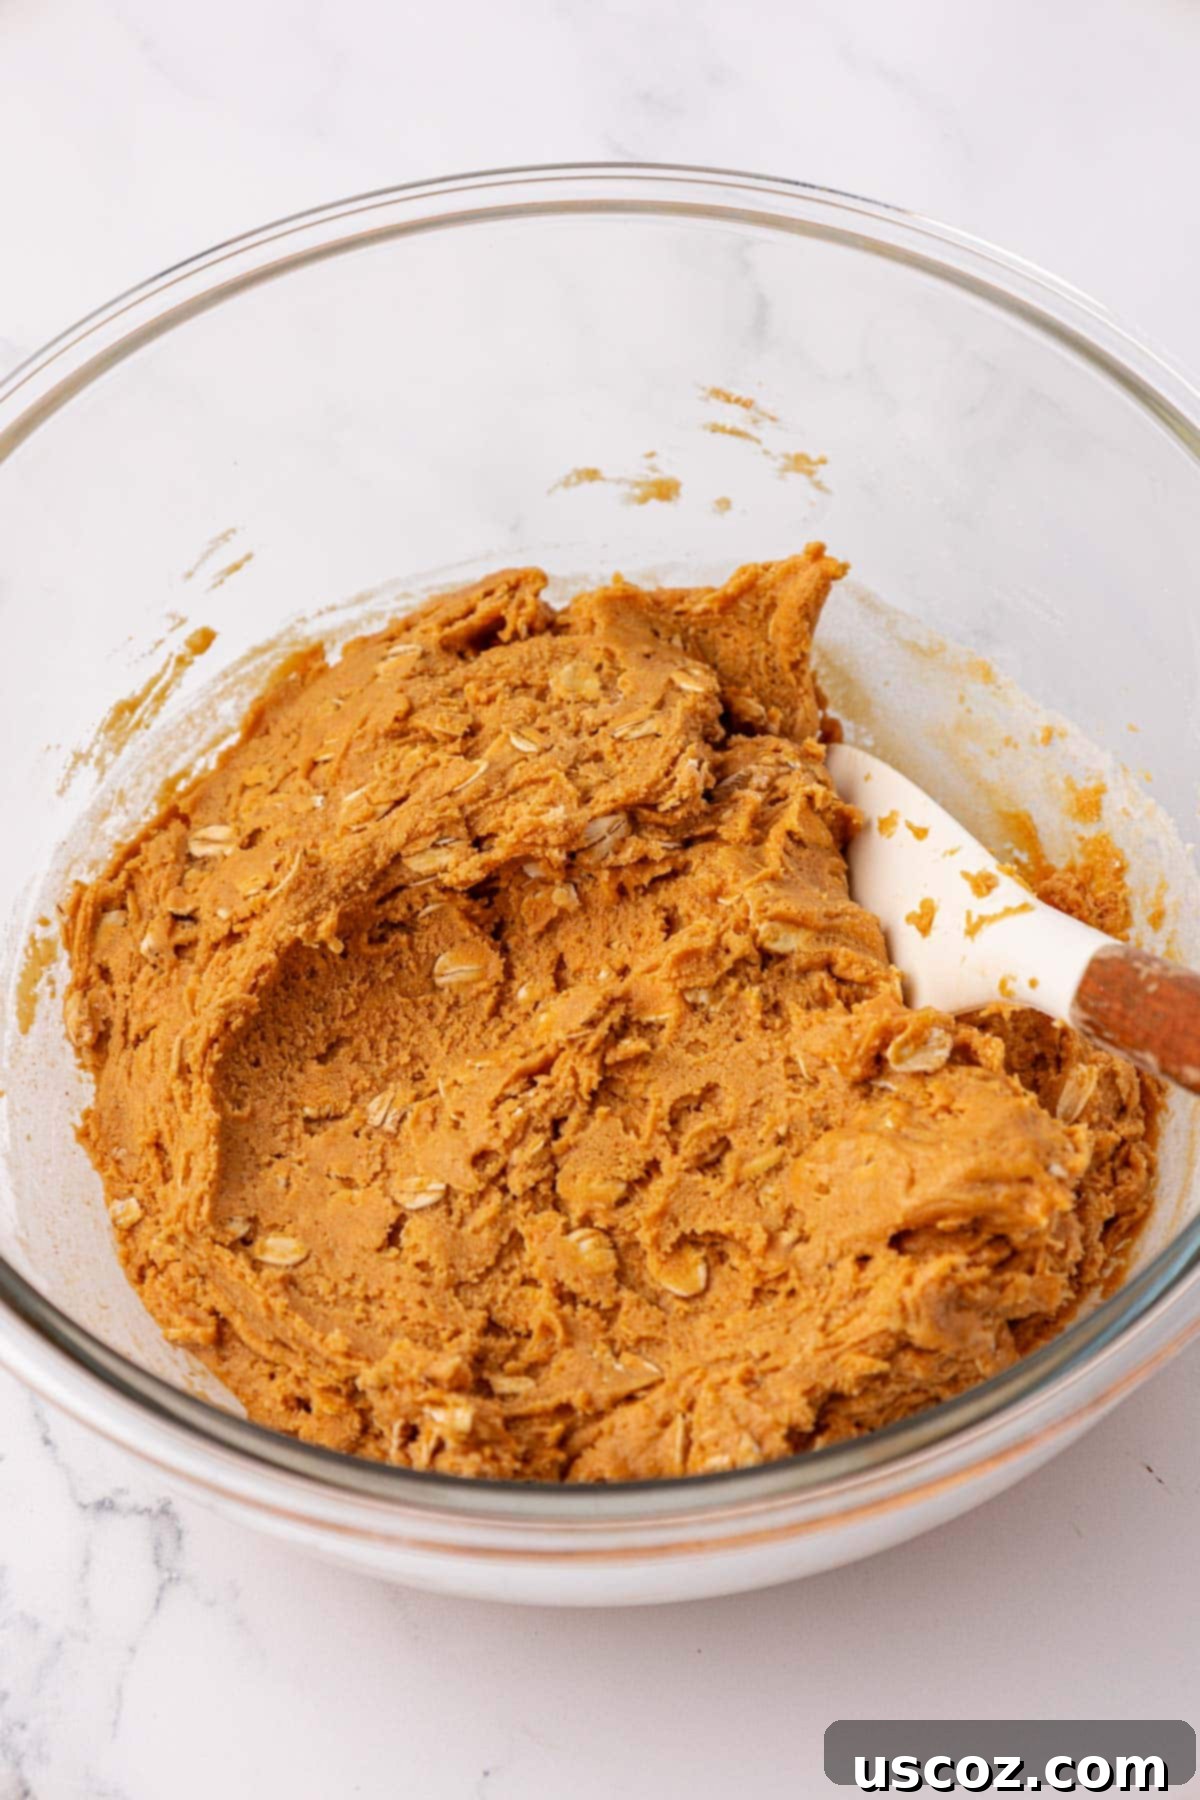
Step 2: Next, add the rolled oats and vanilla protein powder to the peanut butter and honey mixture. Stir everything together until all ingredients are well combined and a thick, uniform batter forms. The protein bar batter should be dense and firm enough to hold its shape, but not so sticky that it adheres excessively to your hands. If the mixture seems too dry, add a tiny bit more honey; if it’s too sticky, a spoonful of extra oats or protein powder can help. While I used vanilla protein powder for this recipe, chocolate protein powder would also make a delicious variation!
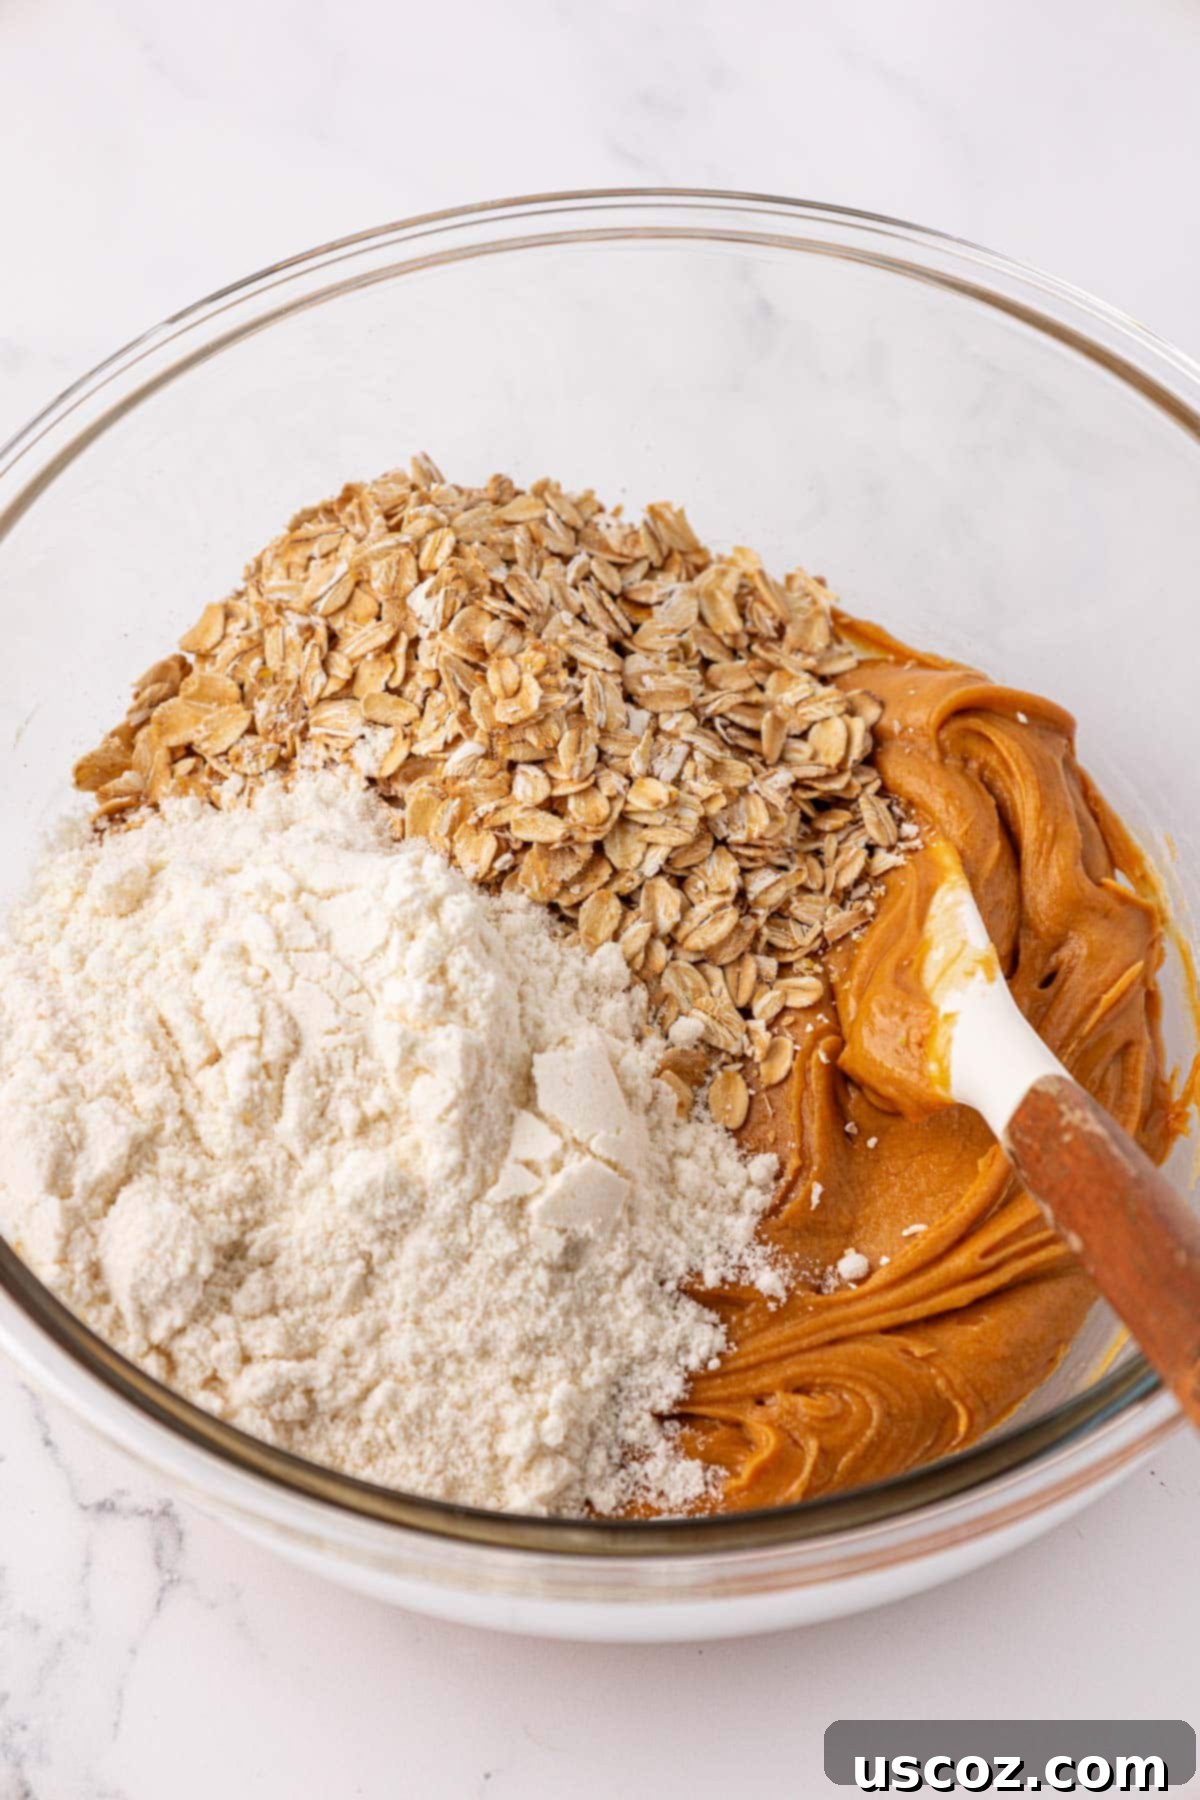
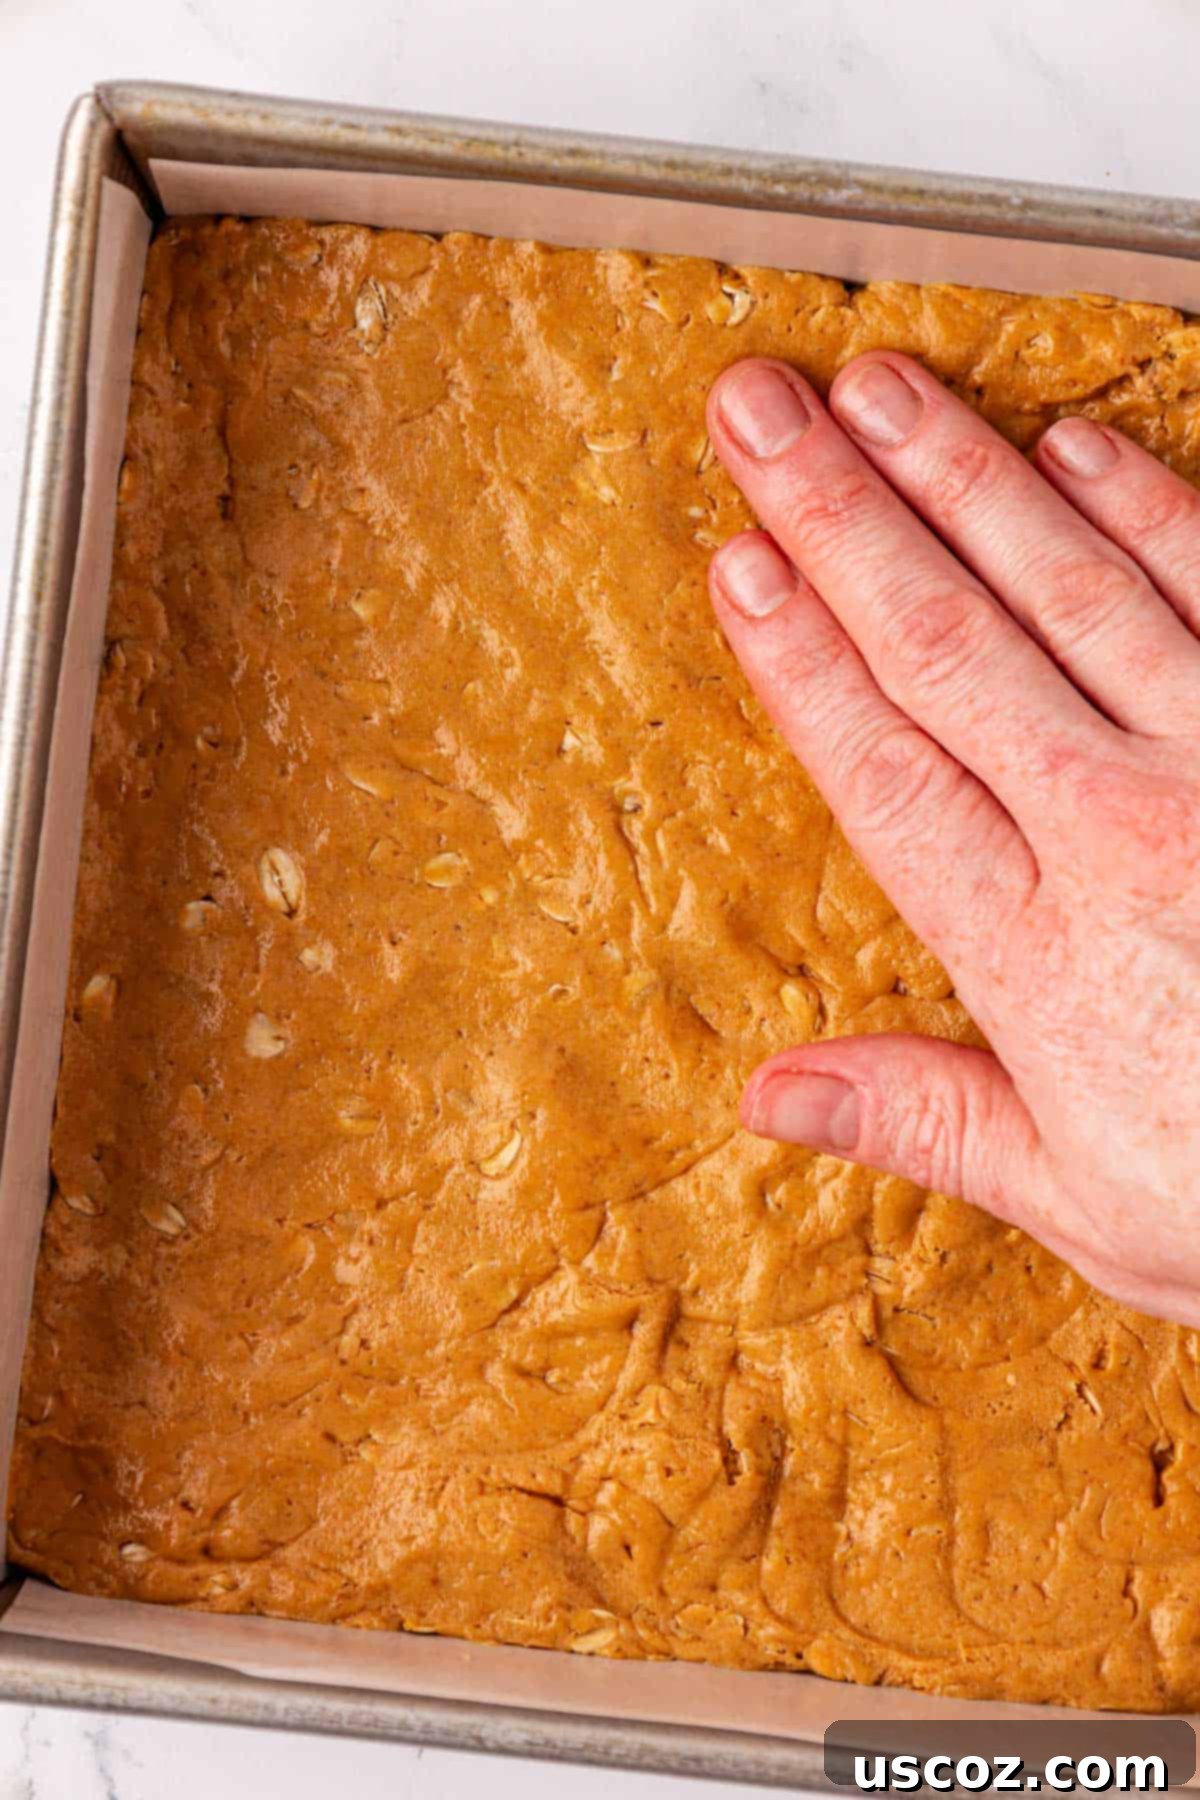
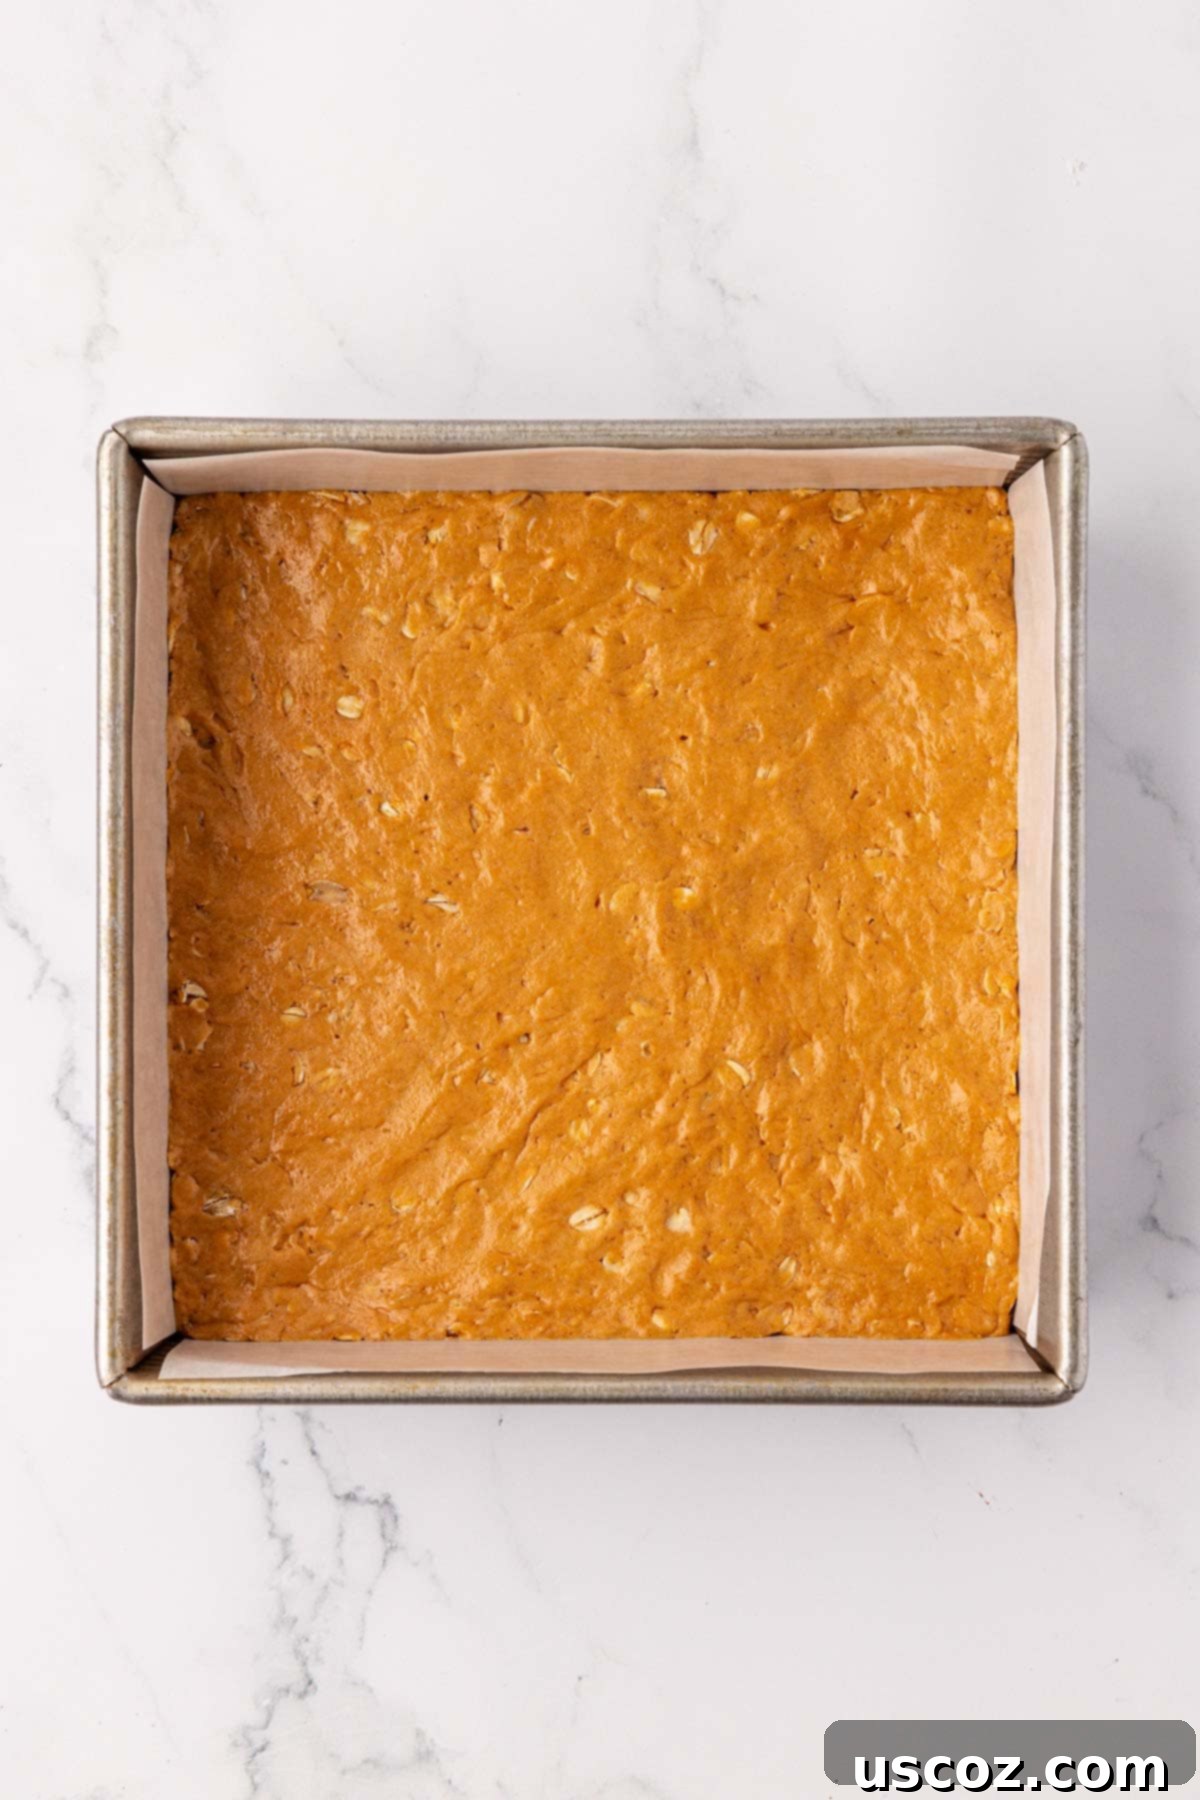
Step 3: Transfer the thick peanut butter batter into an 8×8 inch baking dish. For incredibly easy clean-up and removal of the bars, I highly recommend lining your dish with parchment paper, leaving a slight overhang on the sides. Once the batter is in the pan, use a rubber spatula or the back of a spoon to flatten the top and spread the mixture evenly into all corners of the dish. Press down firmly to create a compact, solid layer, ensuring your bars will hold together beautifully once chilled.
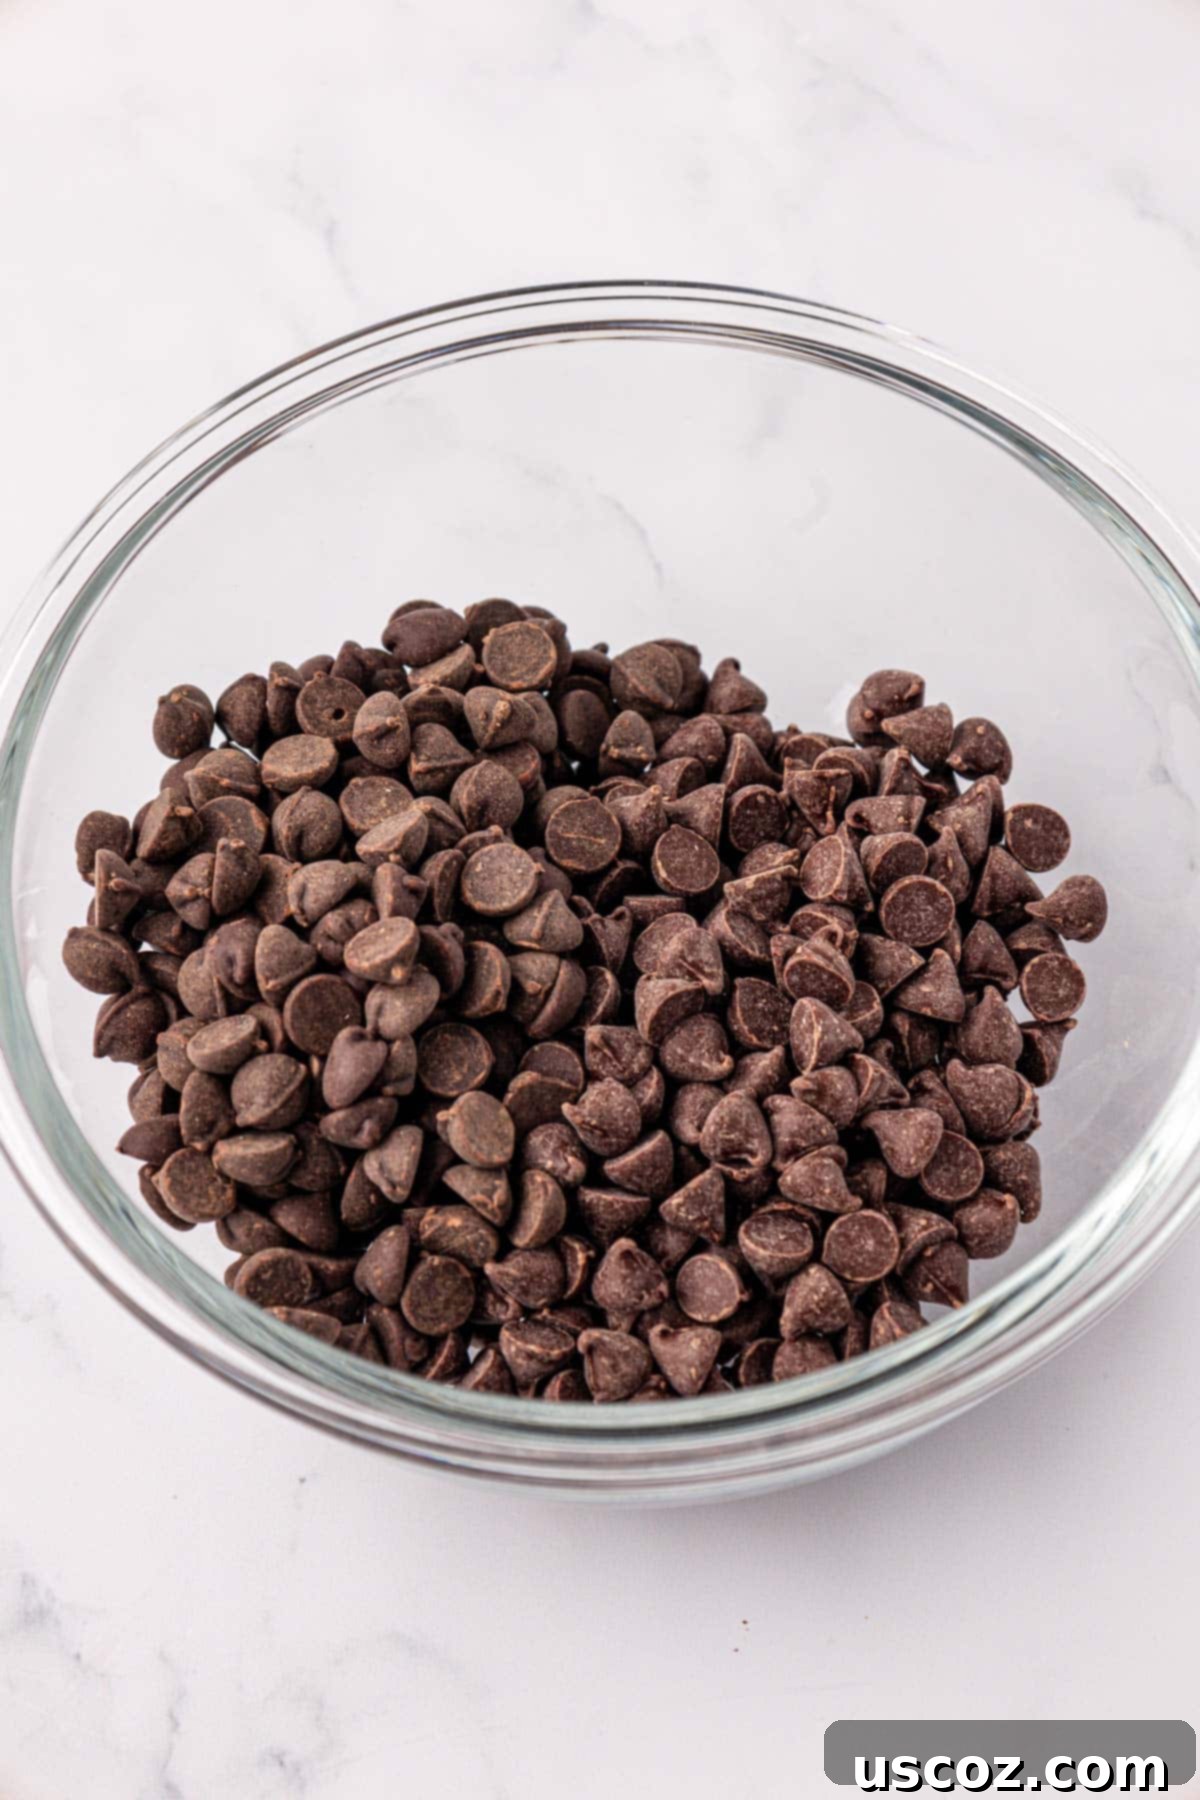
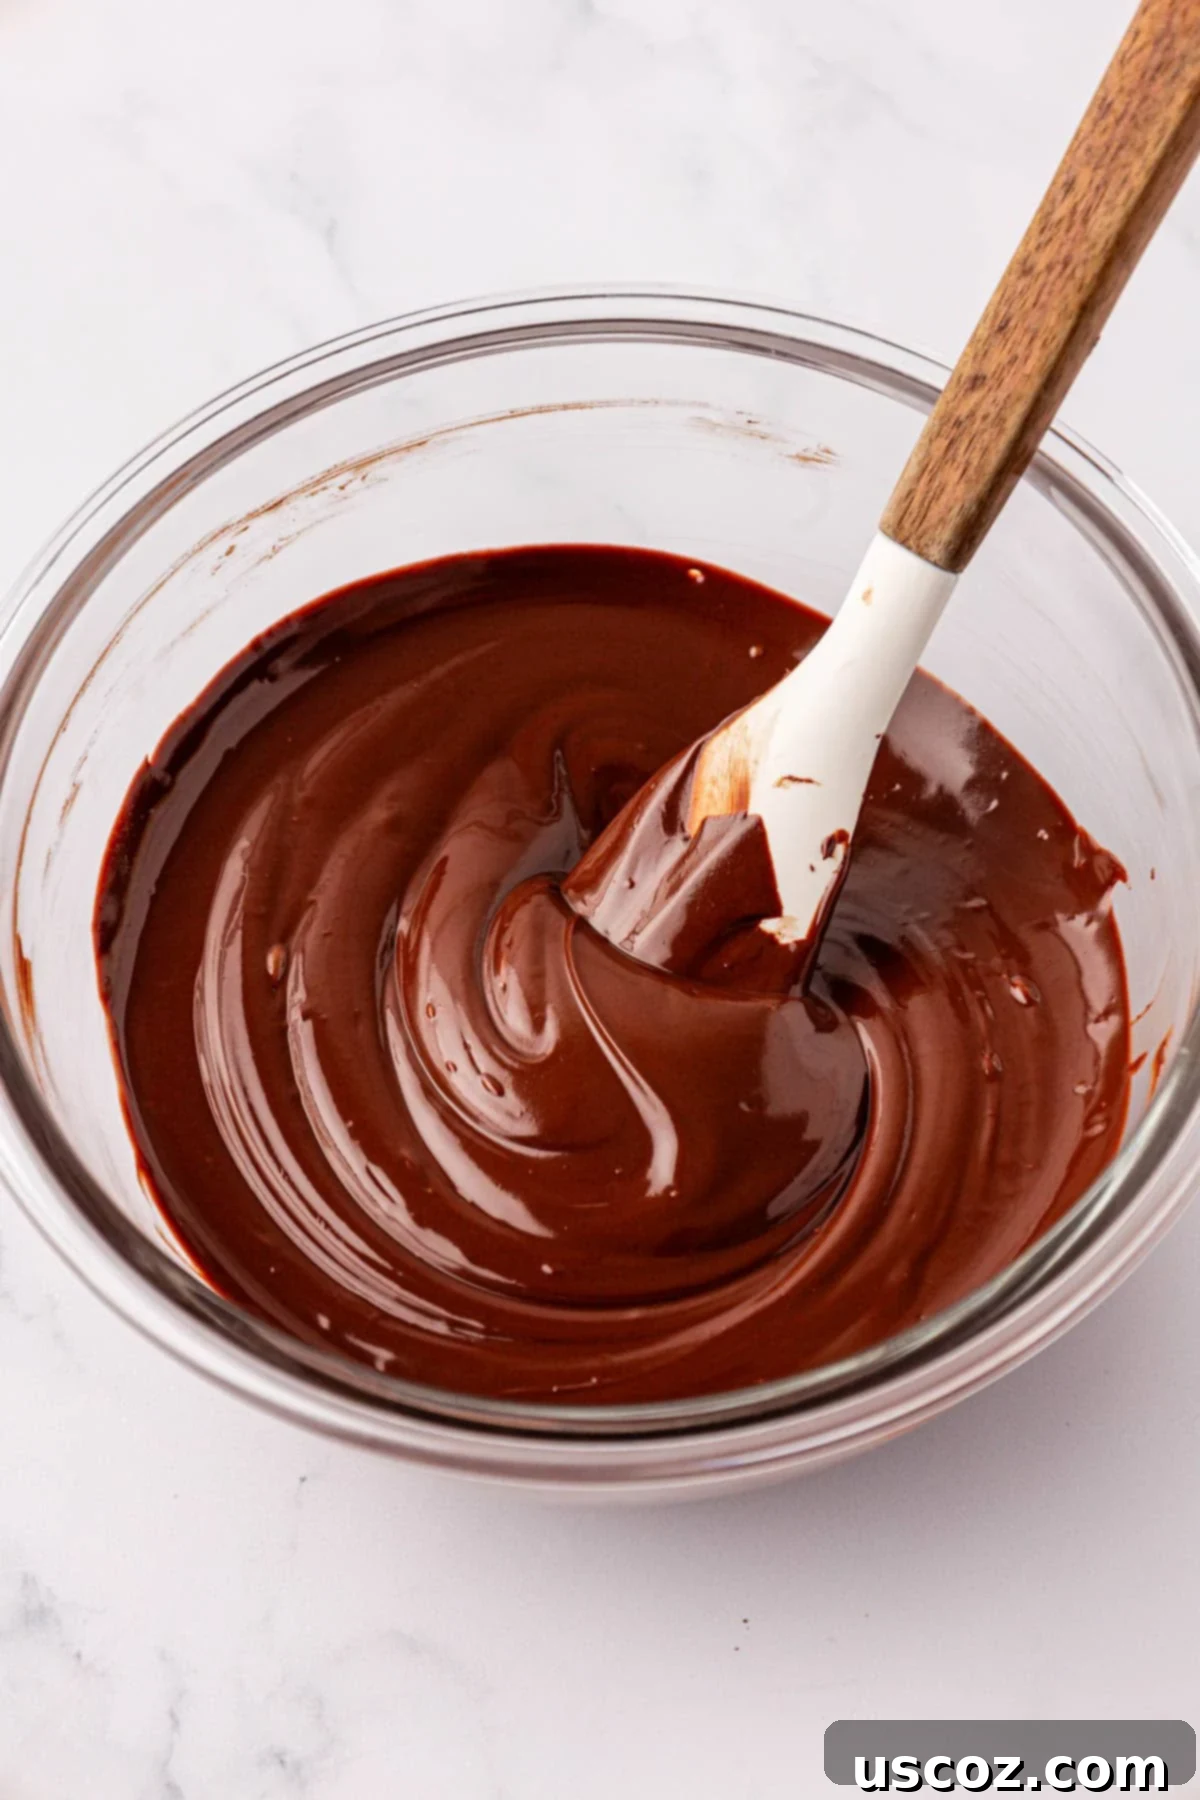
Step 4: In a microwave-safe bowl, combine the dark chocolate chips and semi-sweet chocolate chips. Melt them in the microwave in 30-second increments, stirring well after each interval. Continue this process until the chocolate is completely smooth and free of lumps. Be sure to stir frequently to prevent burning the chocolate. Alternatively, you can use a double boiler method for a more controlled melting process.
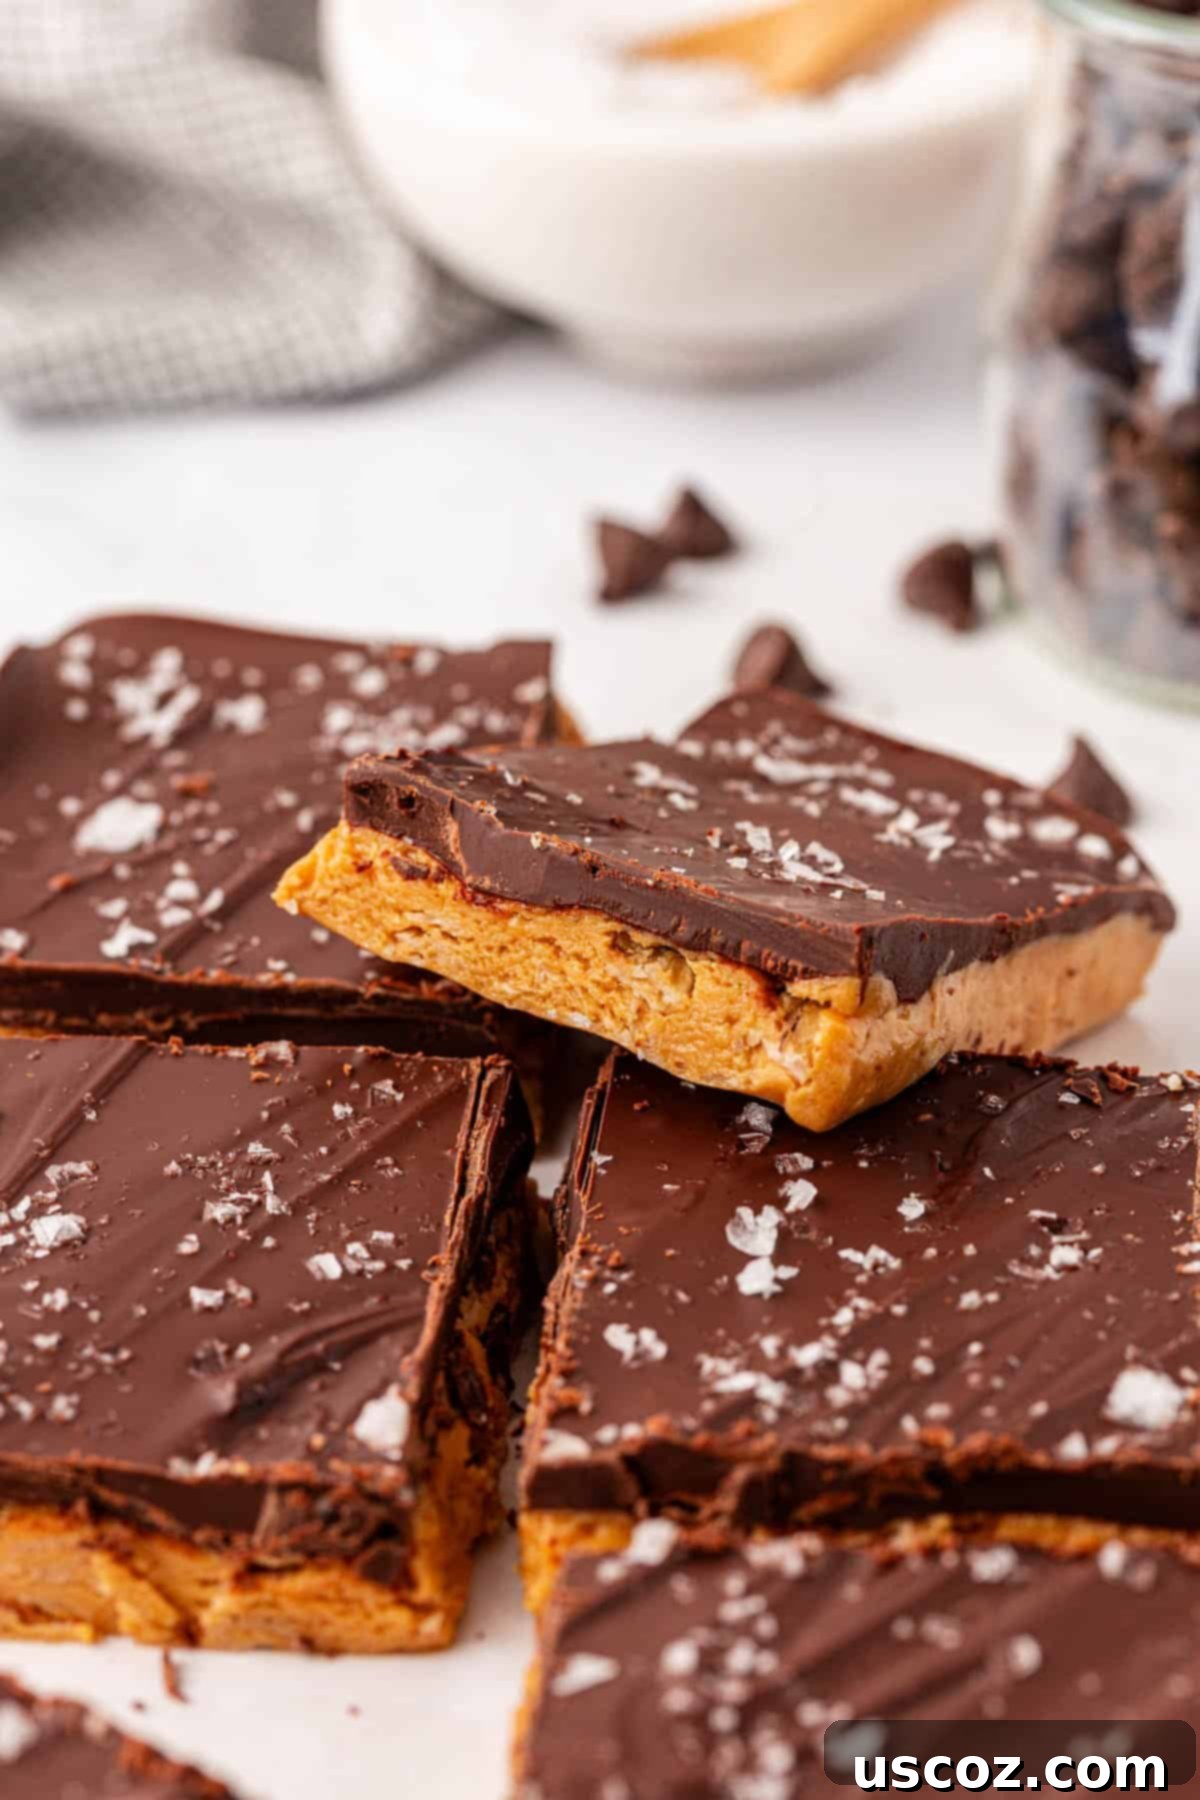
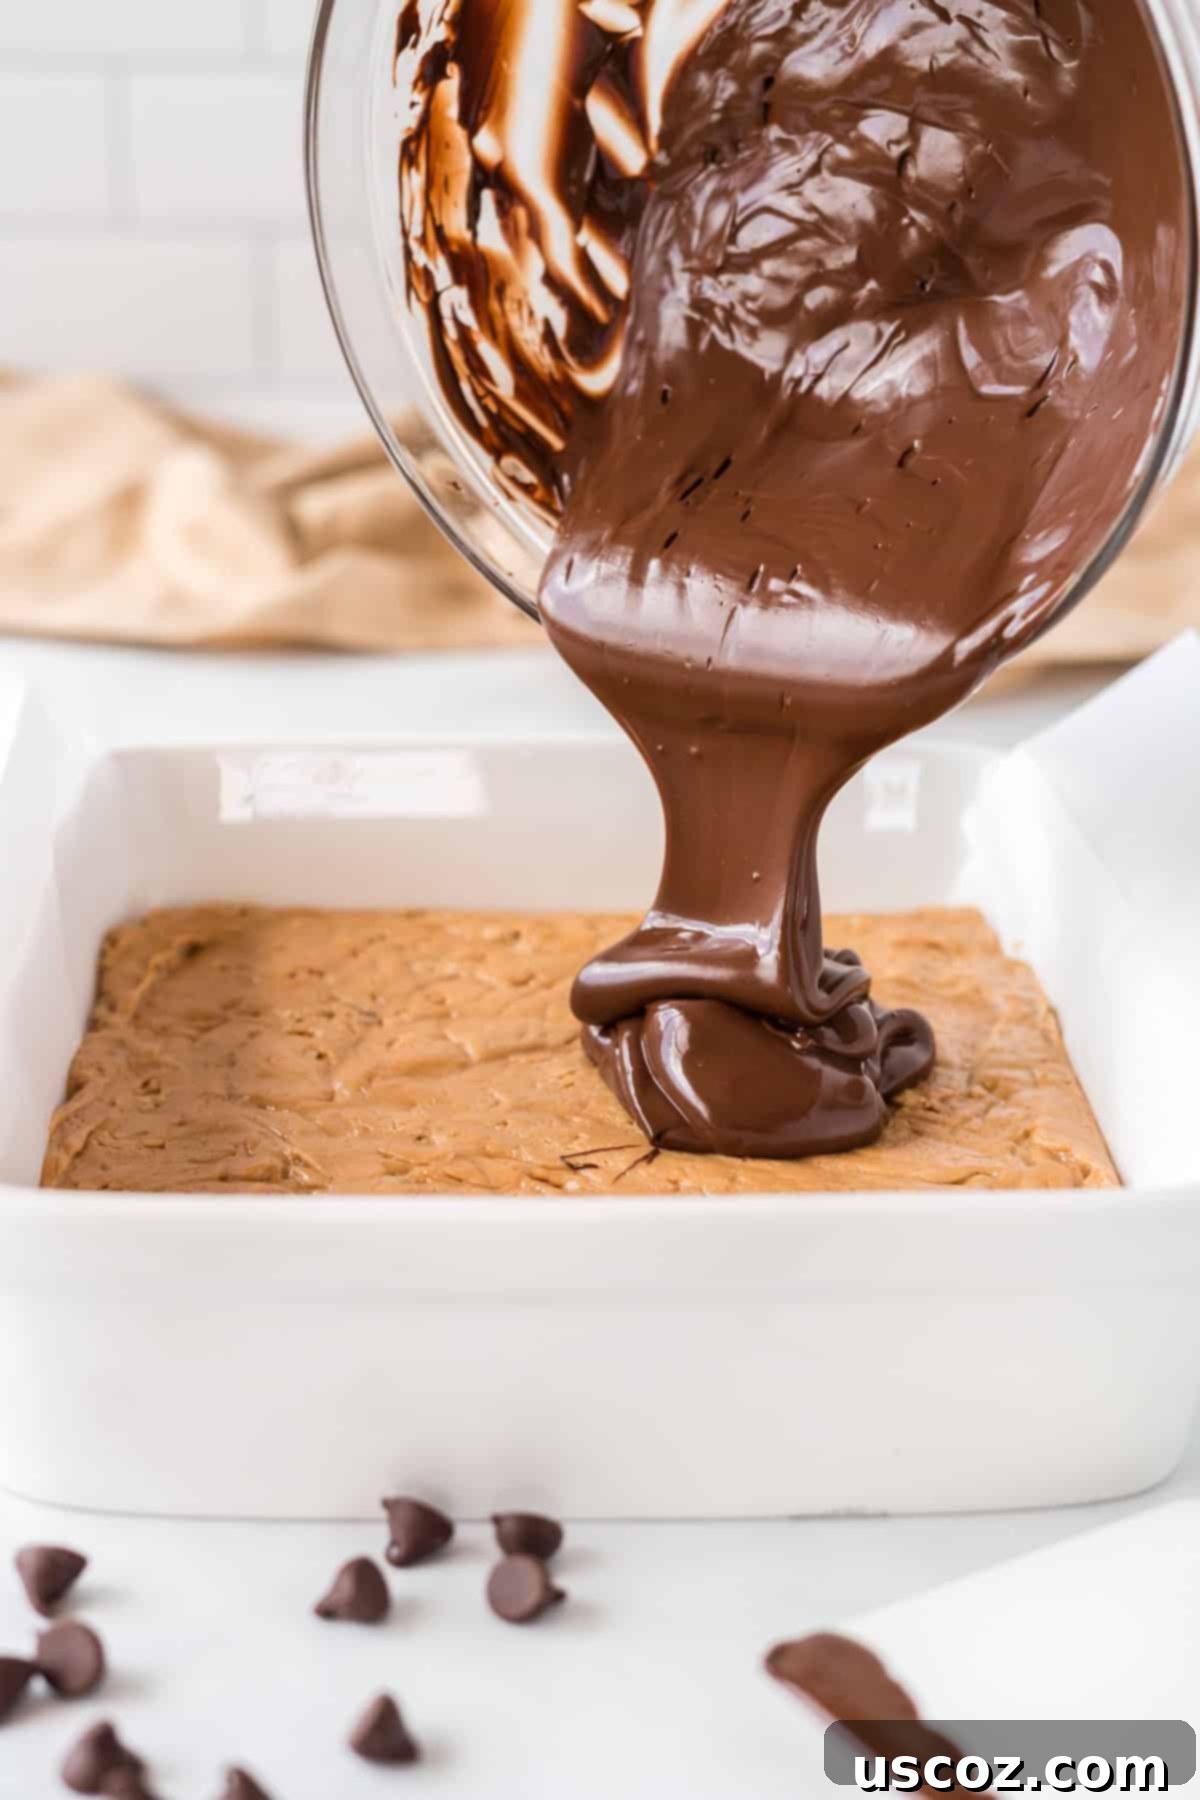
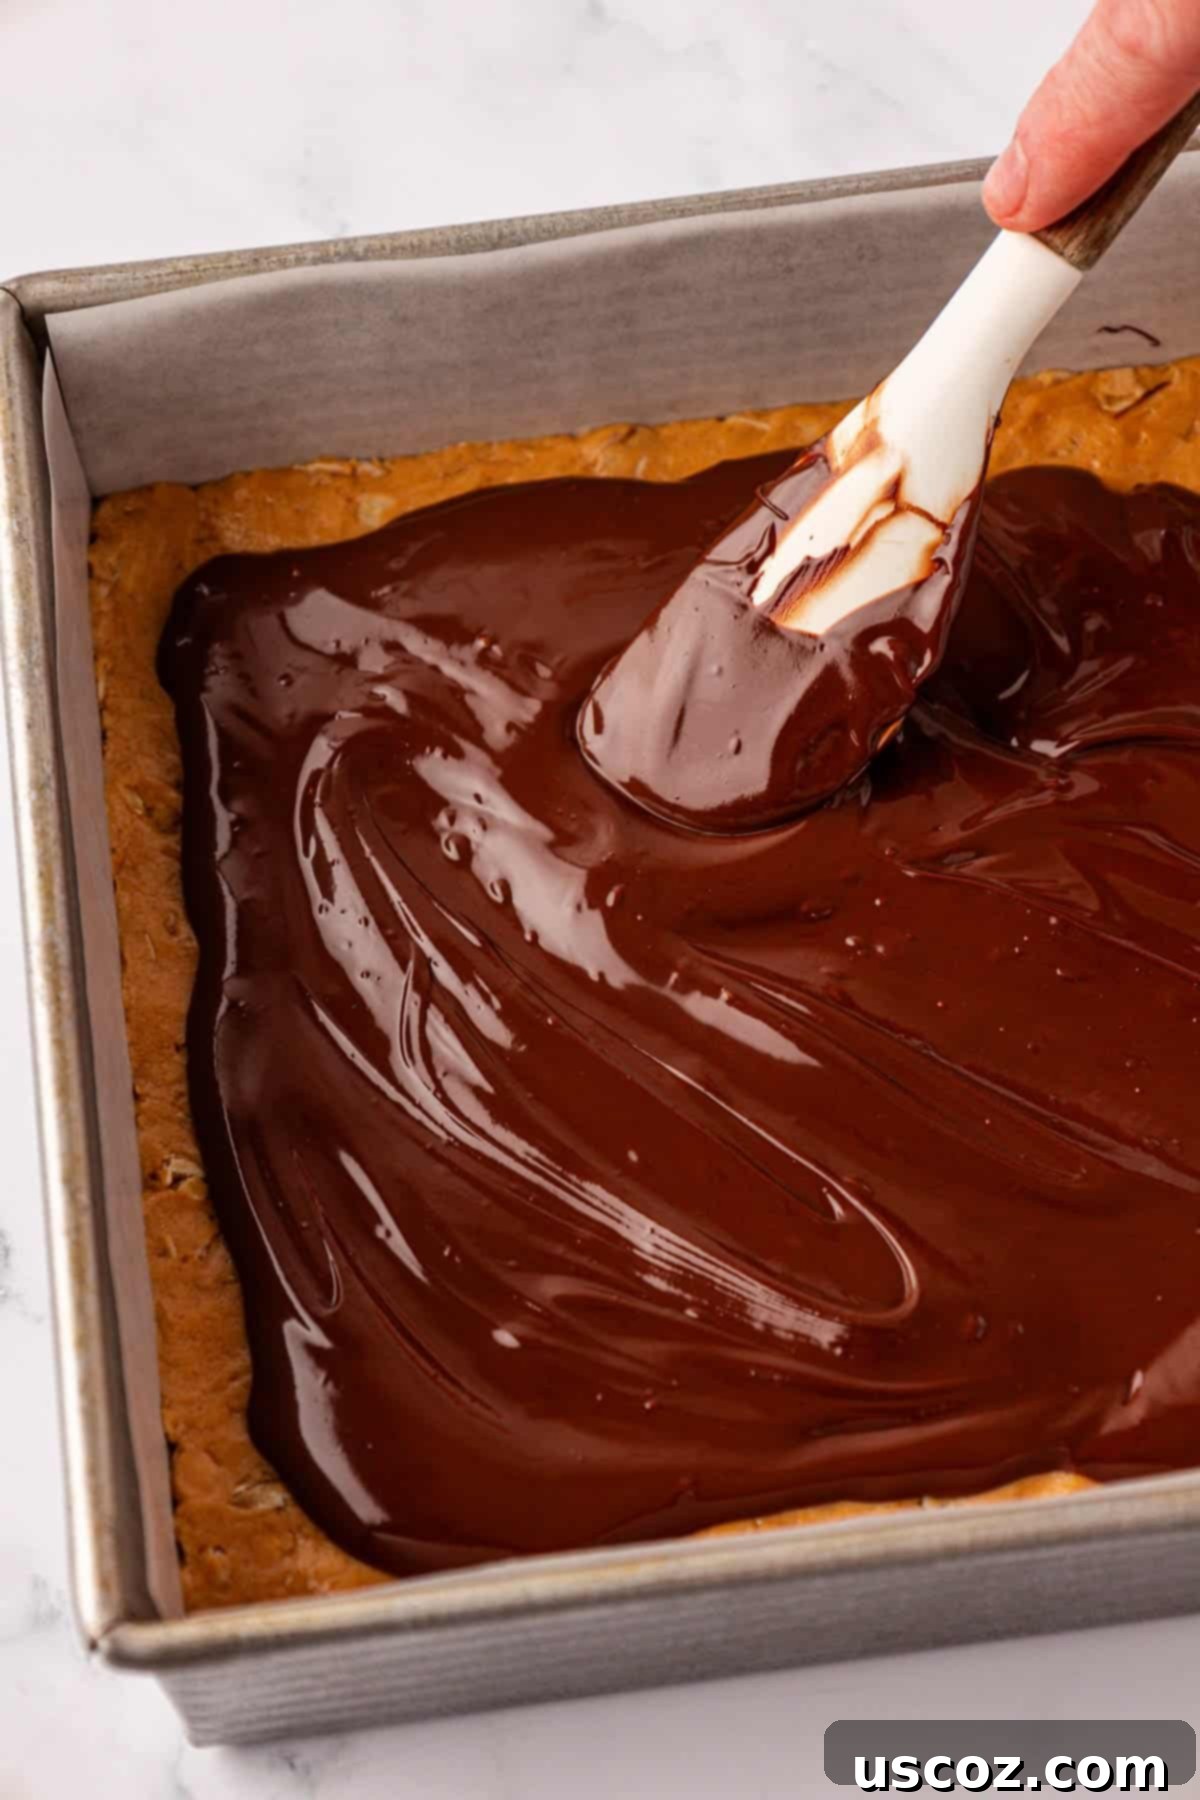
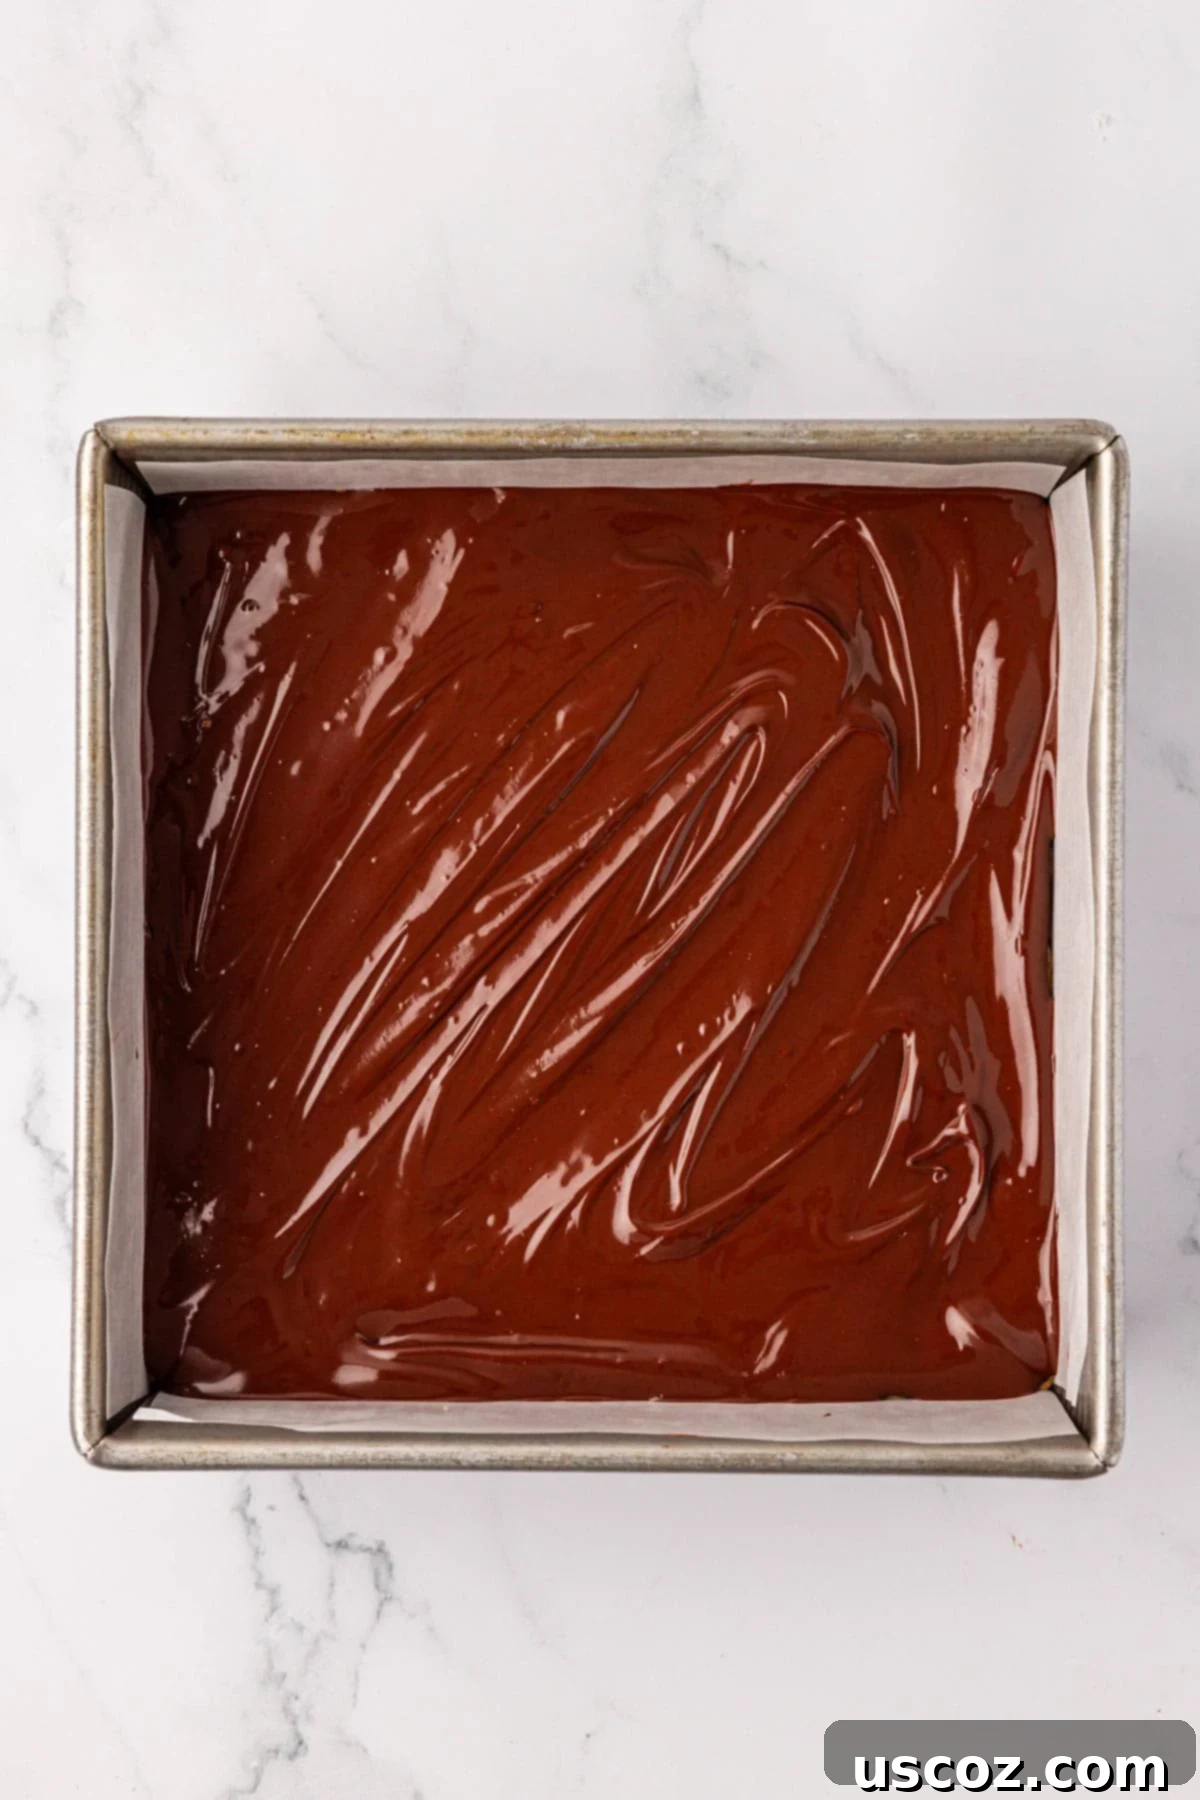
Step 5: Carefully pour the warm, melted chocolate over the pressed peanut butter layer in the baking dish. Using a rubber spatula, gently spread the chocolate evenly across the entire surface, ensuring a smooth, consistent top. Immediately after spreading, generously sprinkle flaked sea salt over the melted chocolate layer. This step is optional, but I truly believe that the balance of salty crunch with the sweet chocolate and peanut butter is what makes these bars exceptionally delicious. Trust me on this flavor combination – it’s a winner!
Flaked sea salt is optional, but I love that salty-sweet flavor that it brings to sweet recipes like this one. Trust me on this – it truly elevates the taste profile!
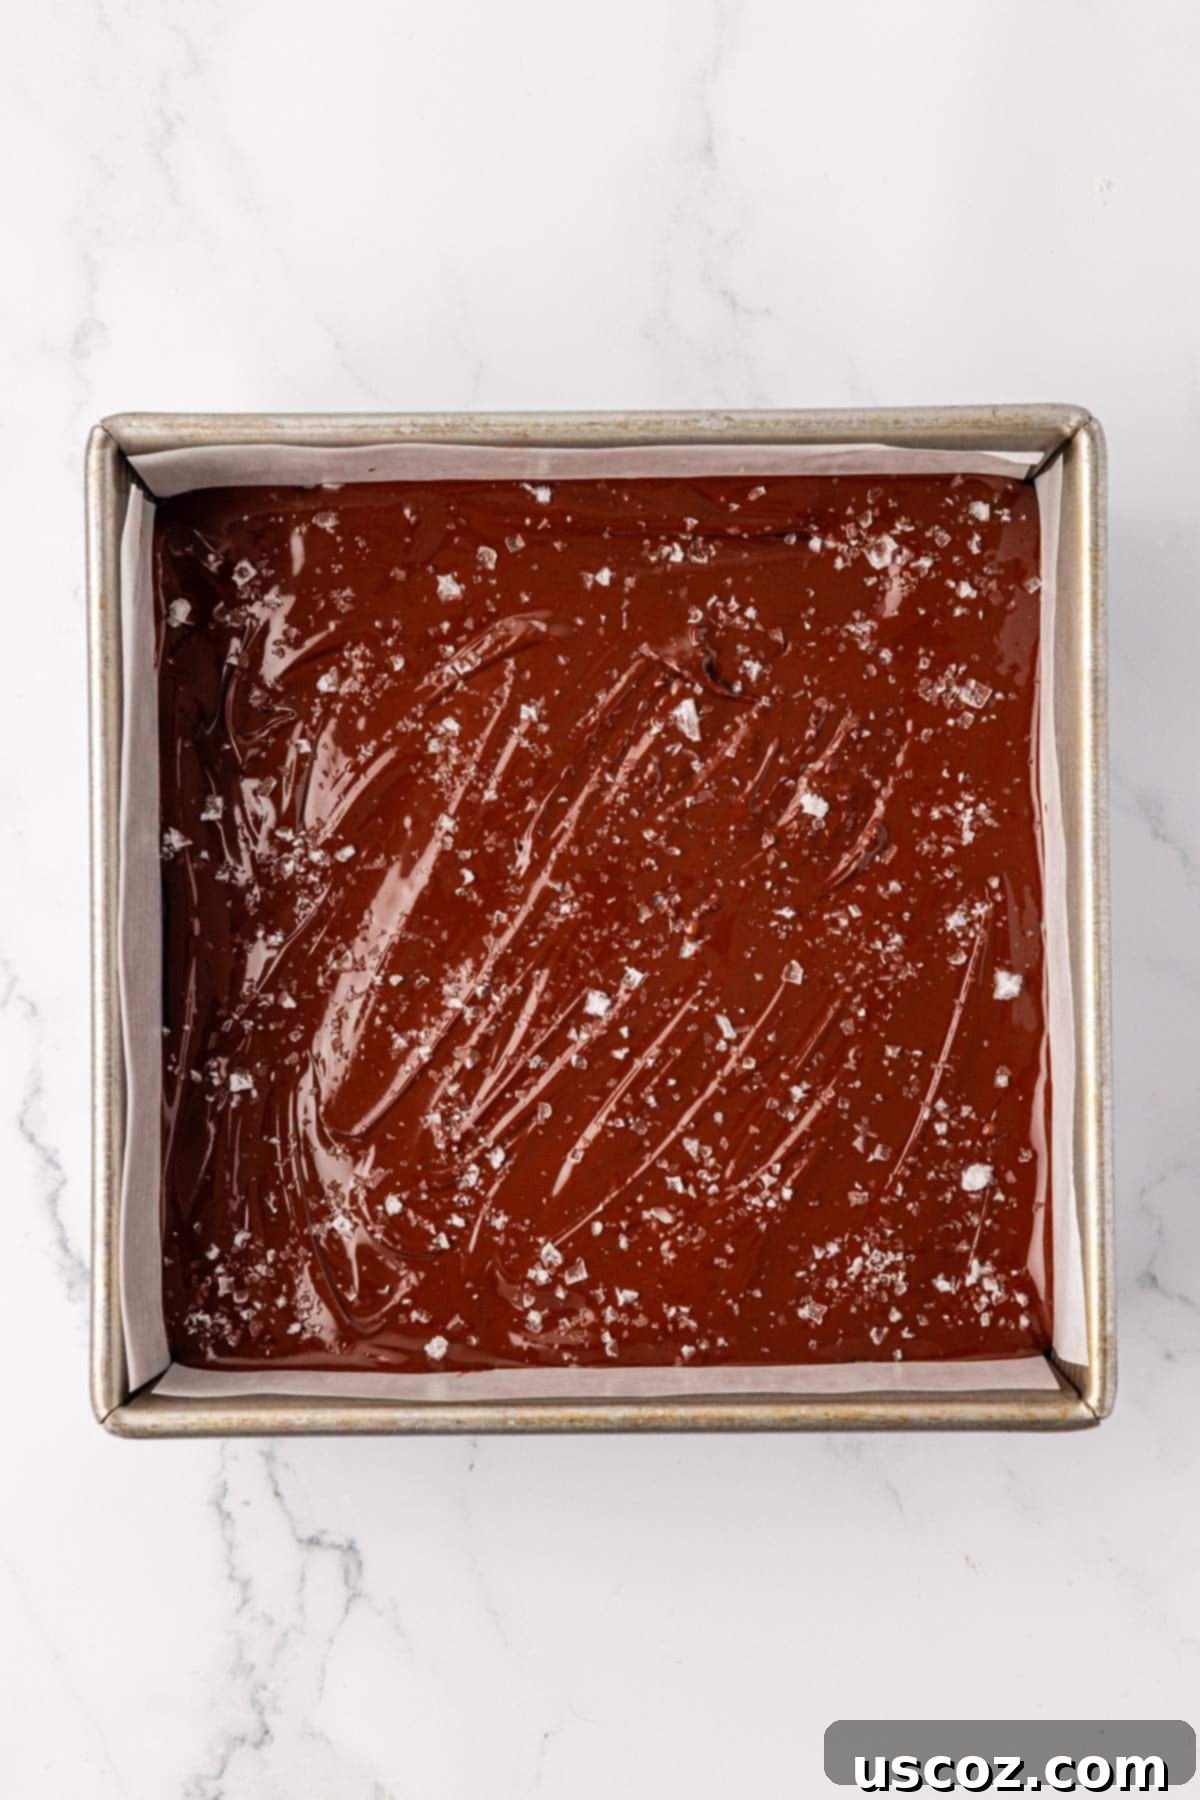
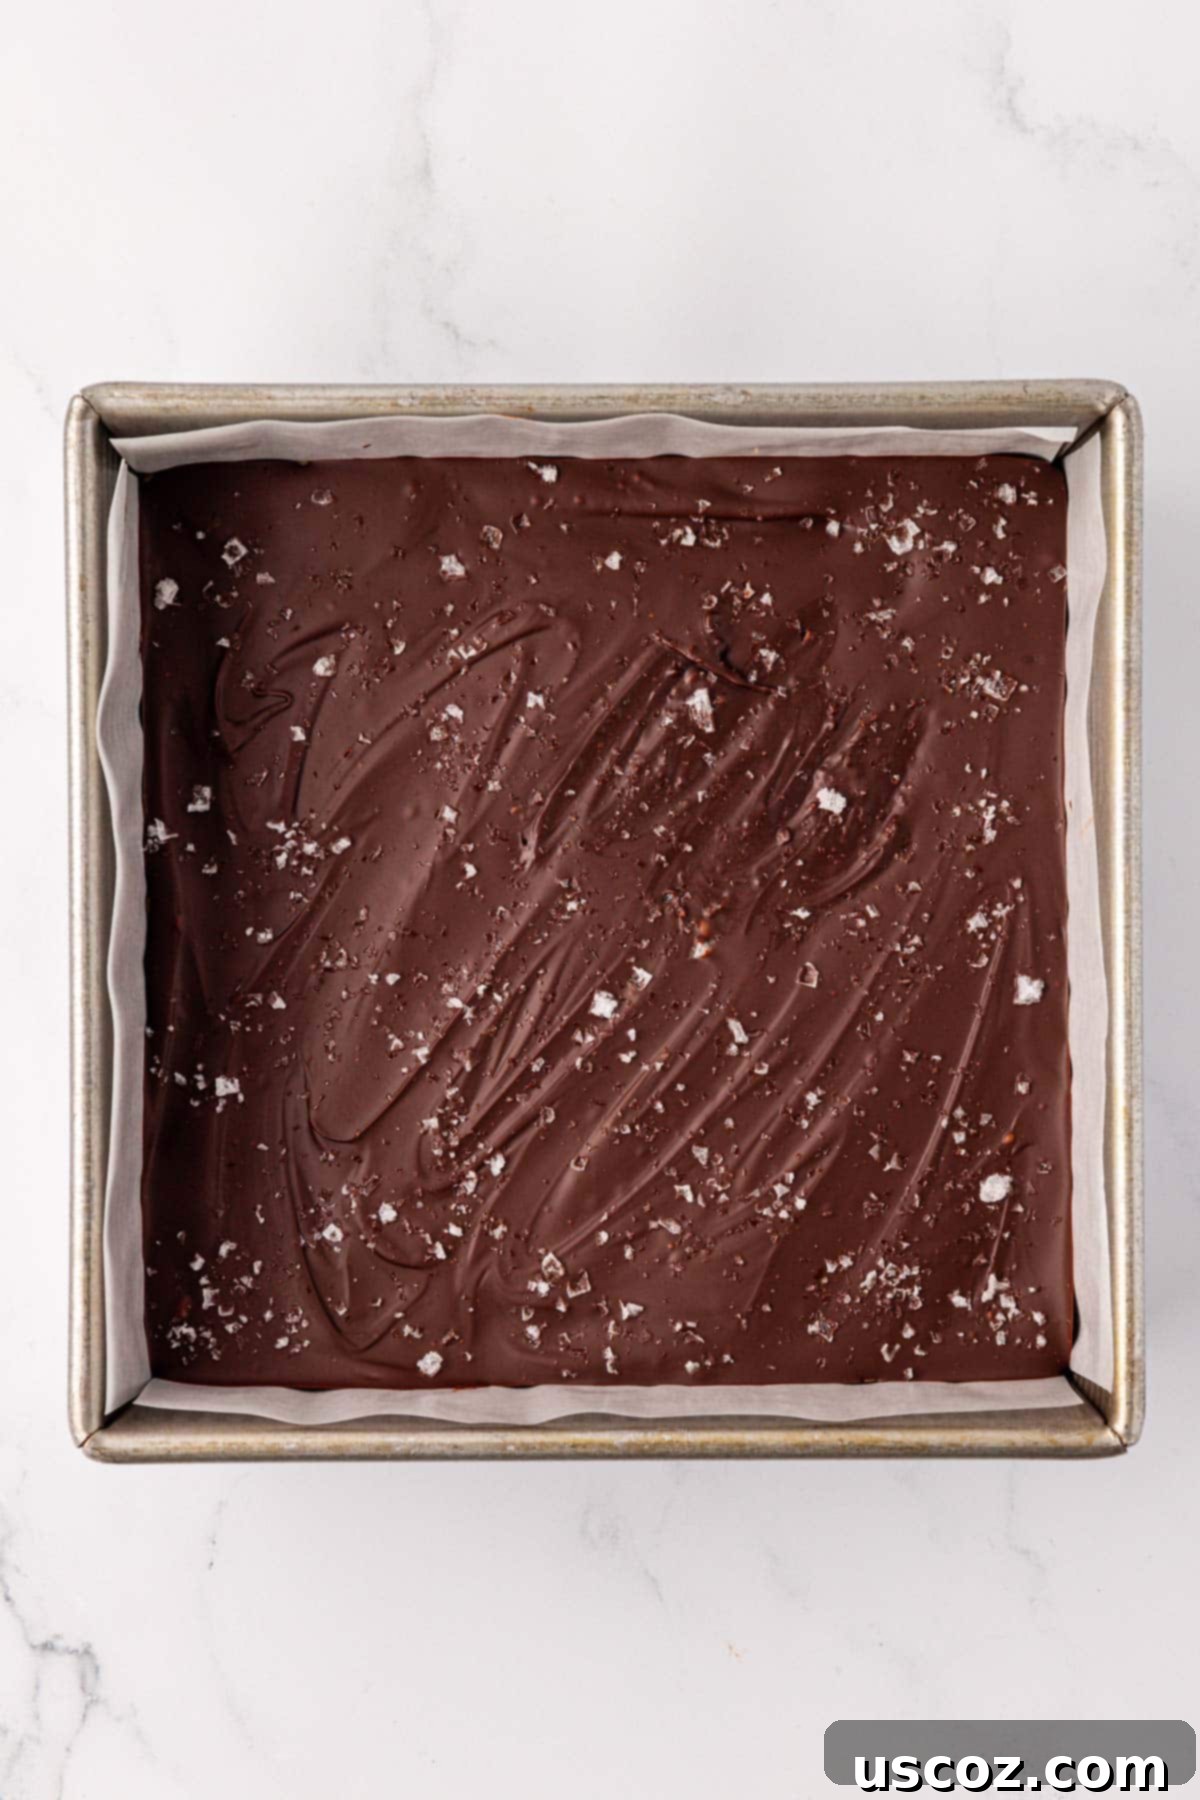
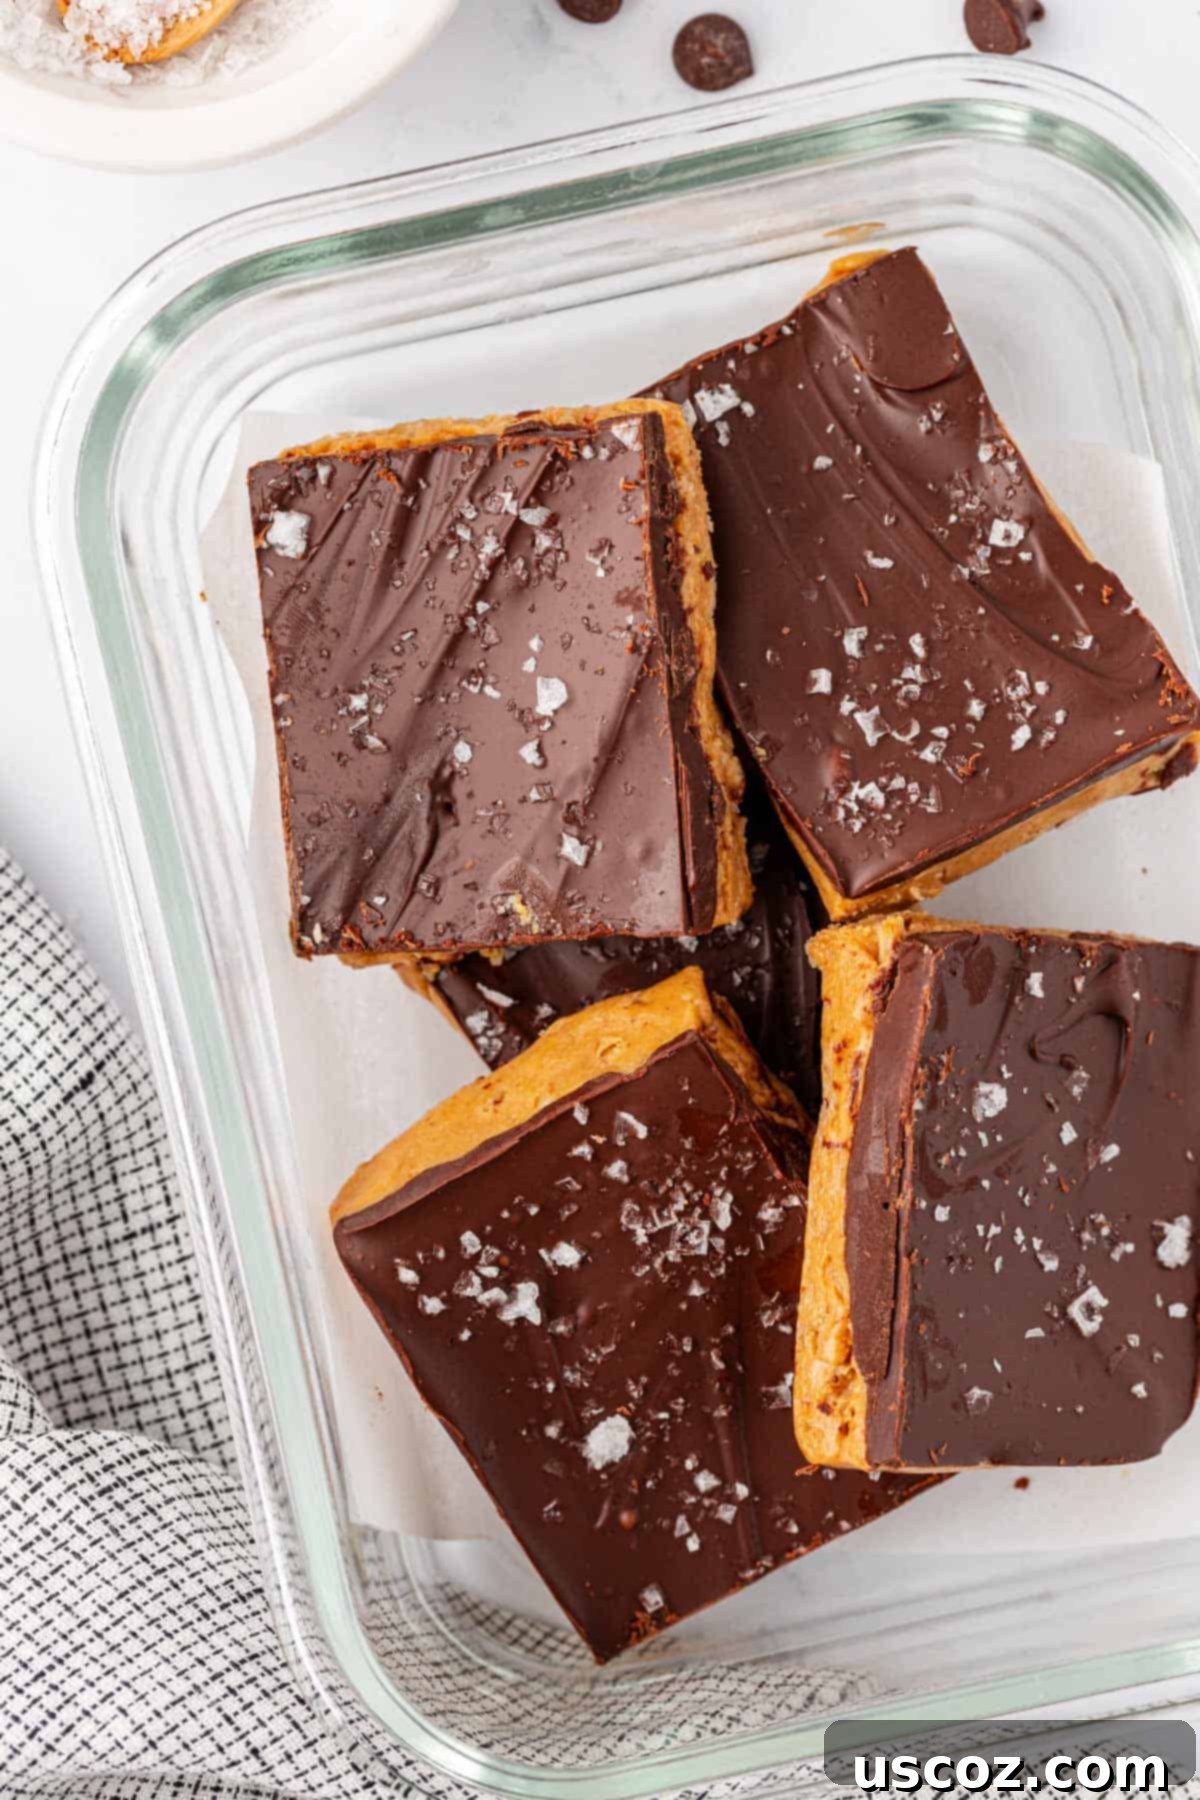
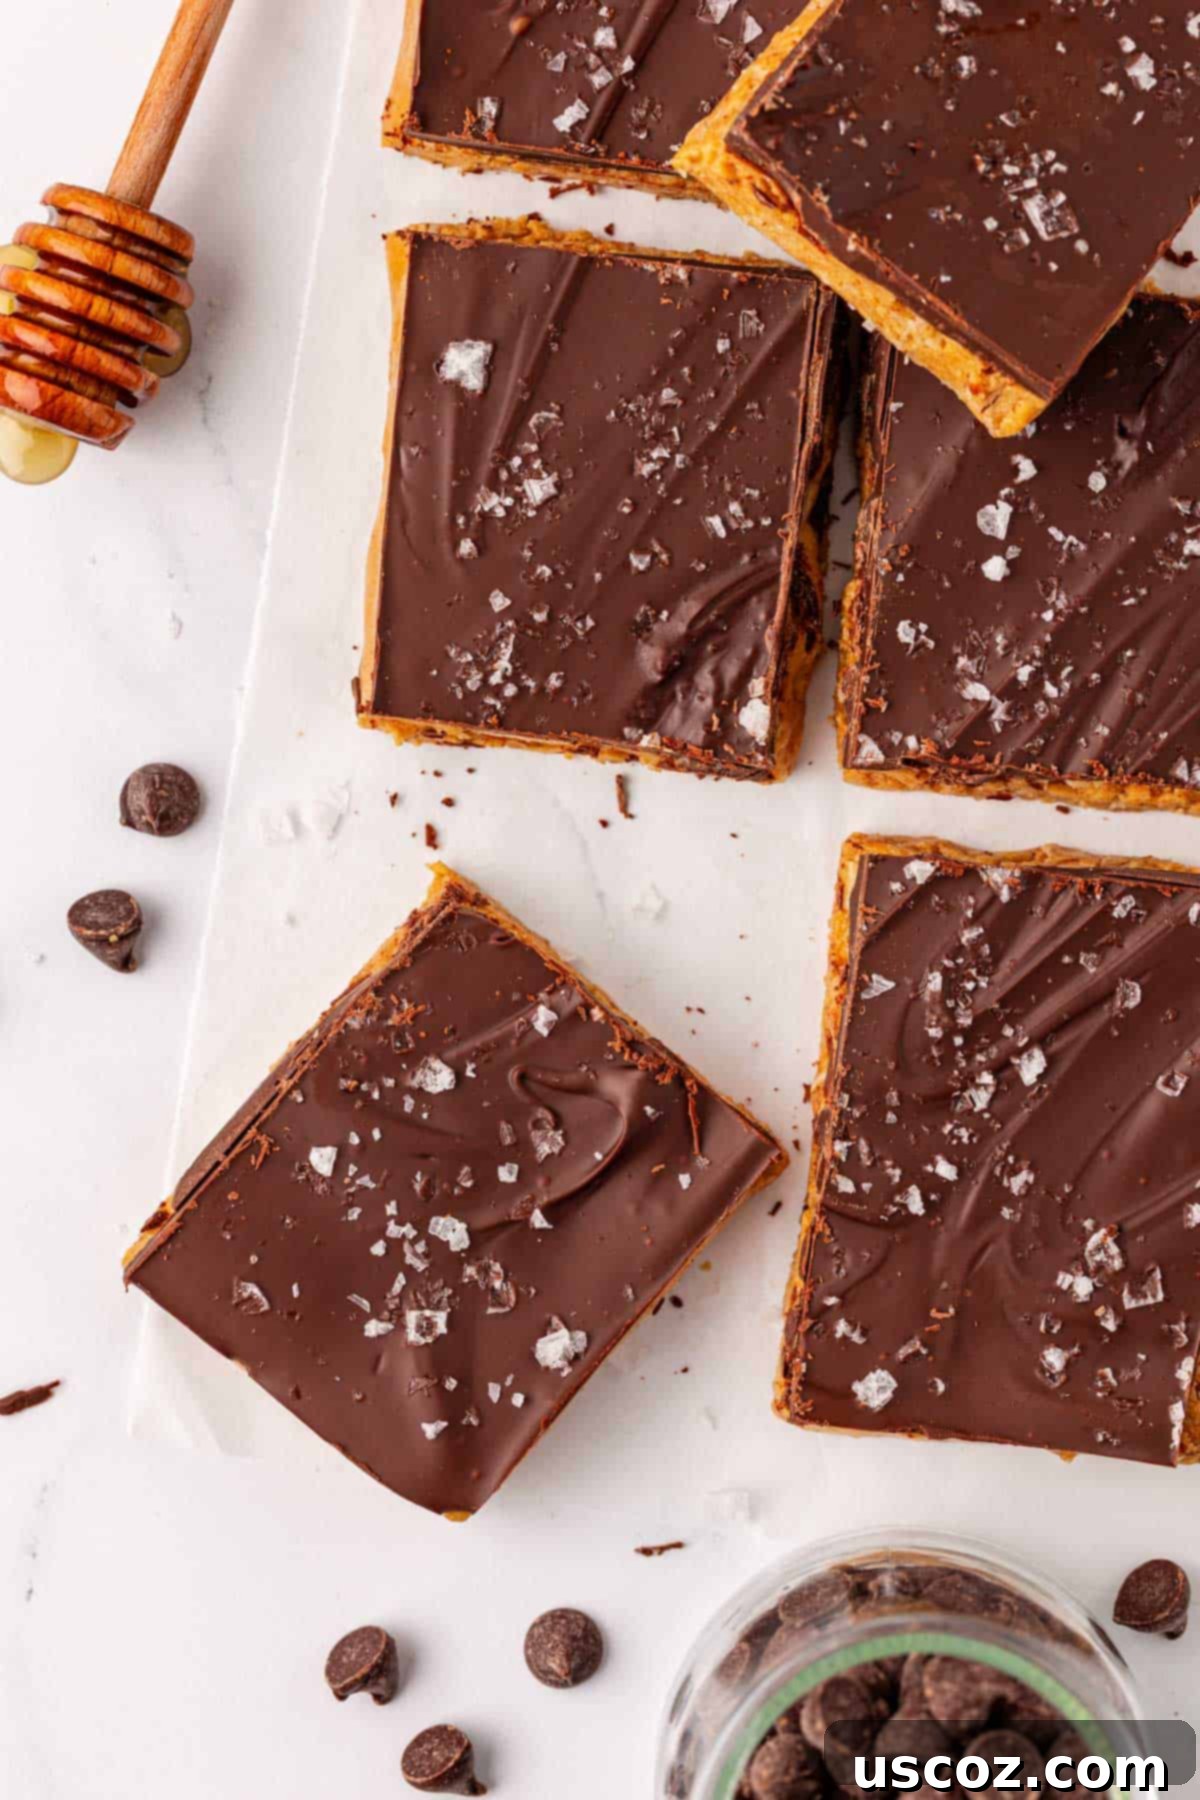
Step 6: Once the chocolate layer is sprinkled with sea salt, place the dish in the refrigerator to chill. Allow the bars to set for approximately 1-2 hours, or until the chocolate is completely hardened and firm to the touch. This chilling time is crucial for the bars to maintain their shape and avoid becoming a gooey mess when cut. Once fully set, carefully remove the entire slab from the pan using the parchment paper overhang. Place it on a cutting board and slice into 12 equal pieces. If you prefer smaller, bite-sized protein snacks, feel free to cut them into more pieces. The sharper your knife, the cleaner your cuts will be!
Tips for Perfect No-Bake Protein Bars Every Time
Achieving the ideal texture and flavor for your homemade protein bars is simple with a few extra tips:
- Achieve the Right Consistency: The batter should be thick and firm enough to press into a pan, but not crumbly. If it’s too dry, add a tiny bit more honey or a tablespoon of milk (dairy or non-dairy). If it’s too wet or sticky, add a spoonful of extra oats or protein powder.
- Press Firmly: When pressing the mixture into the pan, make sure to compact it tightly and evenly. This ensures the bars hold their shape well and don’t fall apart when cut. A flat-bottomed glass or a second piece of parchment paper can help you press it down super smoothly.
- Quality Ingredients Matter: Using good quality peanut butter and protein powder can make a significant difference in the taste and texture of your bars. Ensure your peanut butter is creamy and doesn’t separate too much.
- Chill Thoroughly: Patience is key! Don’t rush the chilling process. The longer the bars chill, the firmer they will become, making them much easier to cut into neat, uniform pieces.
- Customization is Easy: Feel free to get creative! You can swap out vanilla protein powder for chocolate, add a handful of chopped nuts (like almonds or walnuts) for extra crunch, or even mix in some shredded coconut. For a different flavor twist, try adding a pinch of cinnamon or a dash of almond extract to the peanut butter mixture.
Storing Your Homemade Protein Bars
Proper storage is essential to maintain the freshness and texture of your delicious no-bake protein bars. Once cut, leftover protein bars should be stored in an airtight container to prevent them from drying out or absorbing other odors from the refrigerator. They will keep beautifully in the refrigerator for 5-7 days. For longer storage, these bars freeze exceptionally well. Wrap individual bars in parchment paper or plastic wrap, then place them in a freezer-safe airtight container or bag. They will stay fresh in the freezer for 2-3 months. Simply thaw them in the refrigerator or at room temperature for a quick, healthy snack whenever you need one.
Explore More Delicious Protein-Packed Recipes!
If you loved these no-bake protein bars, you’re in for a treat! We have a wide array of other protein-rich recipes that are perfect for any time of day, whether you’re looking for a quick breakfast, a post-workout refuel, or a healthy dessert. Diversify your snack routine with these fantastic options:
- Protein Peanut Butter Cups
- Dark Chocolate Cashew Protein Bars
- Protein Granola Bars
- Peanut Butter Crunch Energy Bites
- Monster Cookie Protein Bars
- Peanut Butter Chocolate Chip Protein Bars
- Peanut Butter Pretzel Energy Bites
- Birthday Cake Protein Balls
- Chocolate Cashew Energy Bites
- Mint Chocolate Protein Balls
- Strawberries & Cream Energy Bites
- Almond Butter Protein Balls
- Chocolate Energy Balls
⭐️Review⭐️
“Delicious and so easy!” – Margherite
Creating your own no-bake protein bars is not just about making a snack; it’s about taking control of your nutrition, saving money, and enjoying truly delicious, wholesome treats. With this simple recipe, you’ll always have a healthy, satisfying option ready to grab and go. Enjoy the process and the fantastic results!
No Bake Protein Bars
Joy Shull
20
minutes
1
hour
1
hour
20
minutes
12
Save Recipe
Saved!
Pin Recipe
Rate Recipe
Print Recipe
Ingredients
-
1 ¼
cups
creamy no stir peanut butter -
⅓
cup
honey -
½
cup
rolled oats,
old fashioned oats -
½
cup
vanilla protein powder -
½
cup
dark chocolate chips -
1
cup
semi sweet chocolate chips -
Flaked sea salt,
for topping
Instructions
-
Stir together the creamy peanut butter and honey until combined.
-
Stir in the oats and vanilla protein powder until totally mixed. The batter should be thick but not too sticky that it sticks to your hands.
-
Transfer the protein bar batter to an 8 by 8 parchment paper lined baking dish. Flatten down the top and spread it evenly into the pan.
-
Melt the dark chocolate chips and semi sweet chocolate chips in the microwave in 30 second increments until smooth. Stir often to avoid burning.
-
Pour the melted chocolate over the top of the peanut butter layer and smooth it out using a rubber spatula.
-
Sprinkle flaked sea salt over the top of the melted chocolate layer. This is optional but highly recommended!
-
Chill the protein bars in the refrigerator until the chocolate is set, or 1-2 hours. The chocolate should be hardened completely before cutting.
-
Cut into 12 pieces and store leftovers in an airtight container in the refrigerator or freezer.
Notes
Nutrition
Calories:
347
kcal
,
Carbohydrates:
29
g
,
Protein:
12
g
,
Fat:
22
g
,
Saturated Fat:
8
g
,
Polyunsaturated Fat:
4
g
,
Monounsaturated Fat:
9
g
,
Trans Fat:
0.01
g
,
Cholesterol:
8
mg
,
Sodium:
132
mg
,
Potassium:
315
mg
,
Fiber:
3
g
,
Sugar:
19
g
,
Vitamin A:
20
IU
,
Vitamin C:
0.1
mg
,
Calcium:
62
mg
,
Iron:
2
mg
Like this recipe? Rate and comment below!
