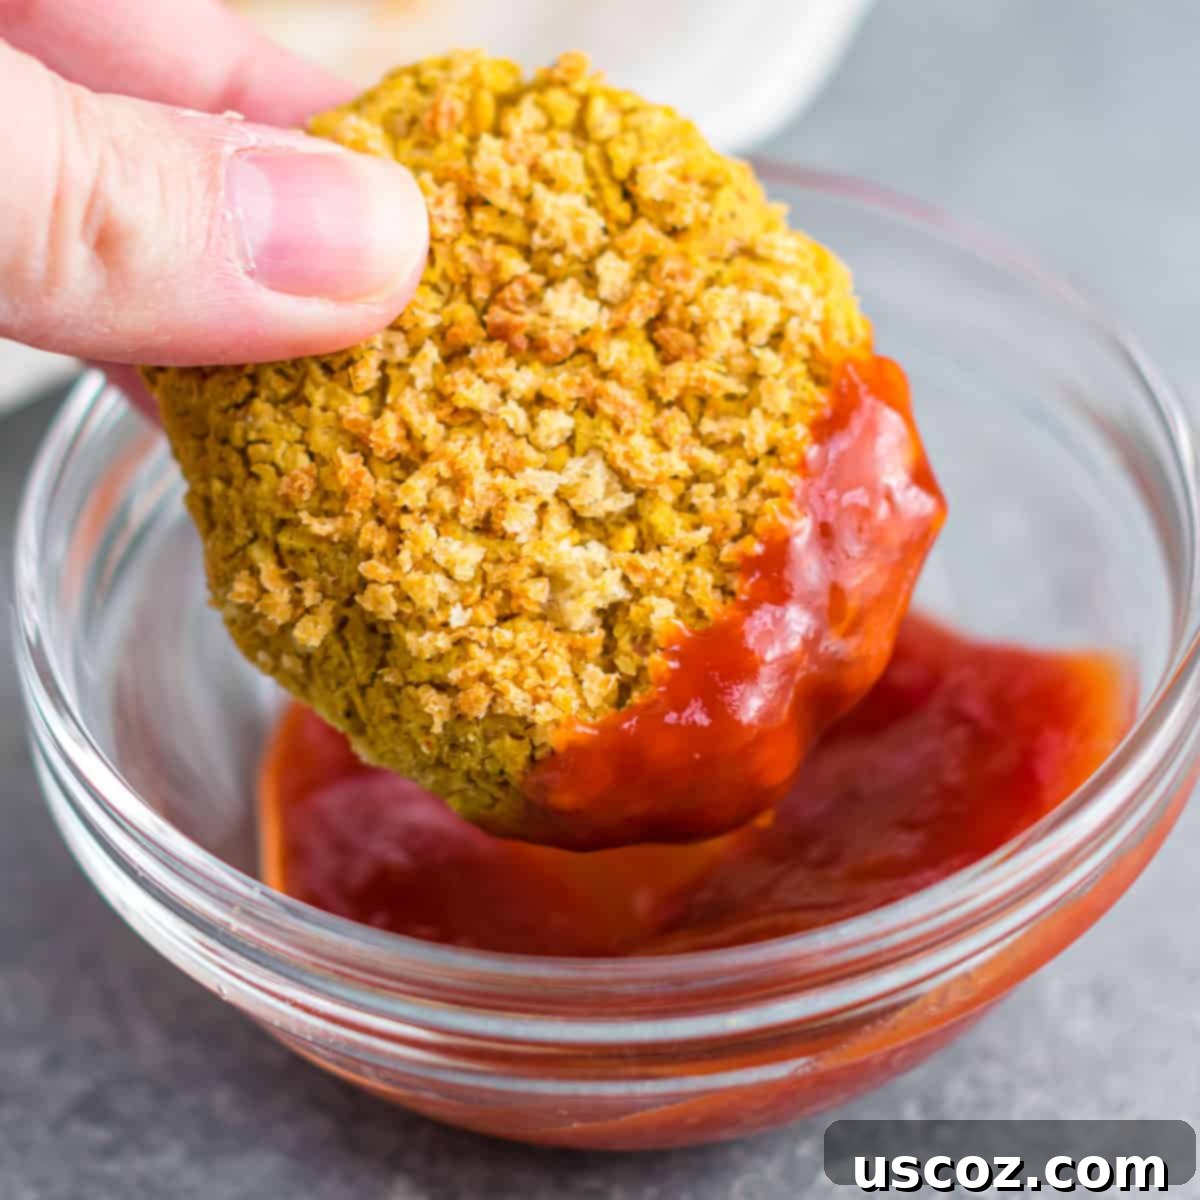
Crispy & Flavorful Homemade Chickpea Nuggets: The Ultimate Vegetarian Alternative
Say goodbye to processed snacks and hello to these incredibly easy and delicious homemade chickpea nuggets! This vegetarian chicken nugget recipe offers a fantastic, meatless alternative that’s simple to prepare and packed with flavor. Whether you’re plant-based or simply looking for a healthier option, these chickpea nuggets are guaranteed to be a hit. Serve them with your favorite dipping sauce for a satisfying meal or snack that adults and kids alike will love.
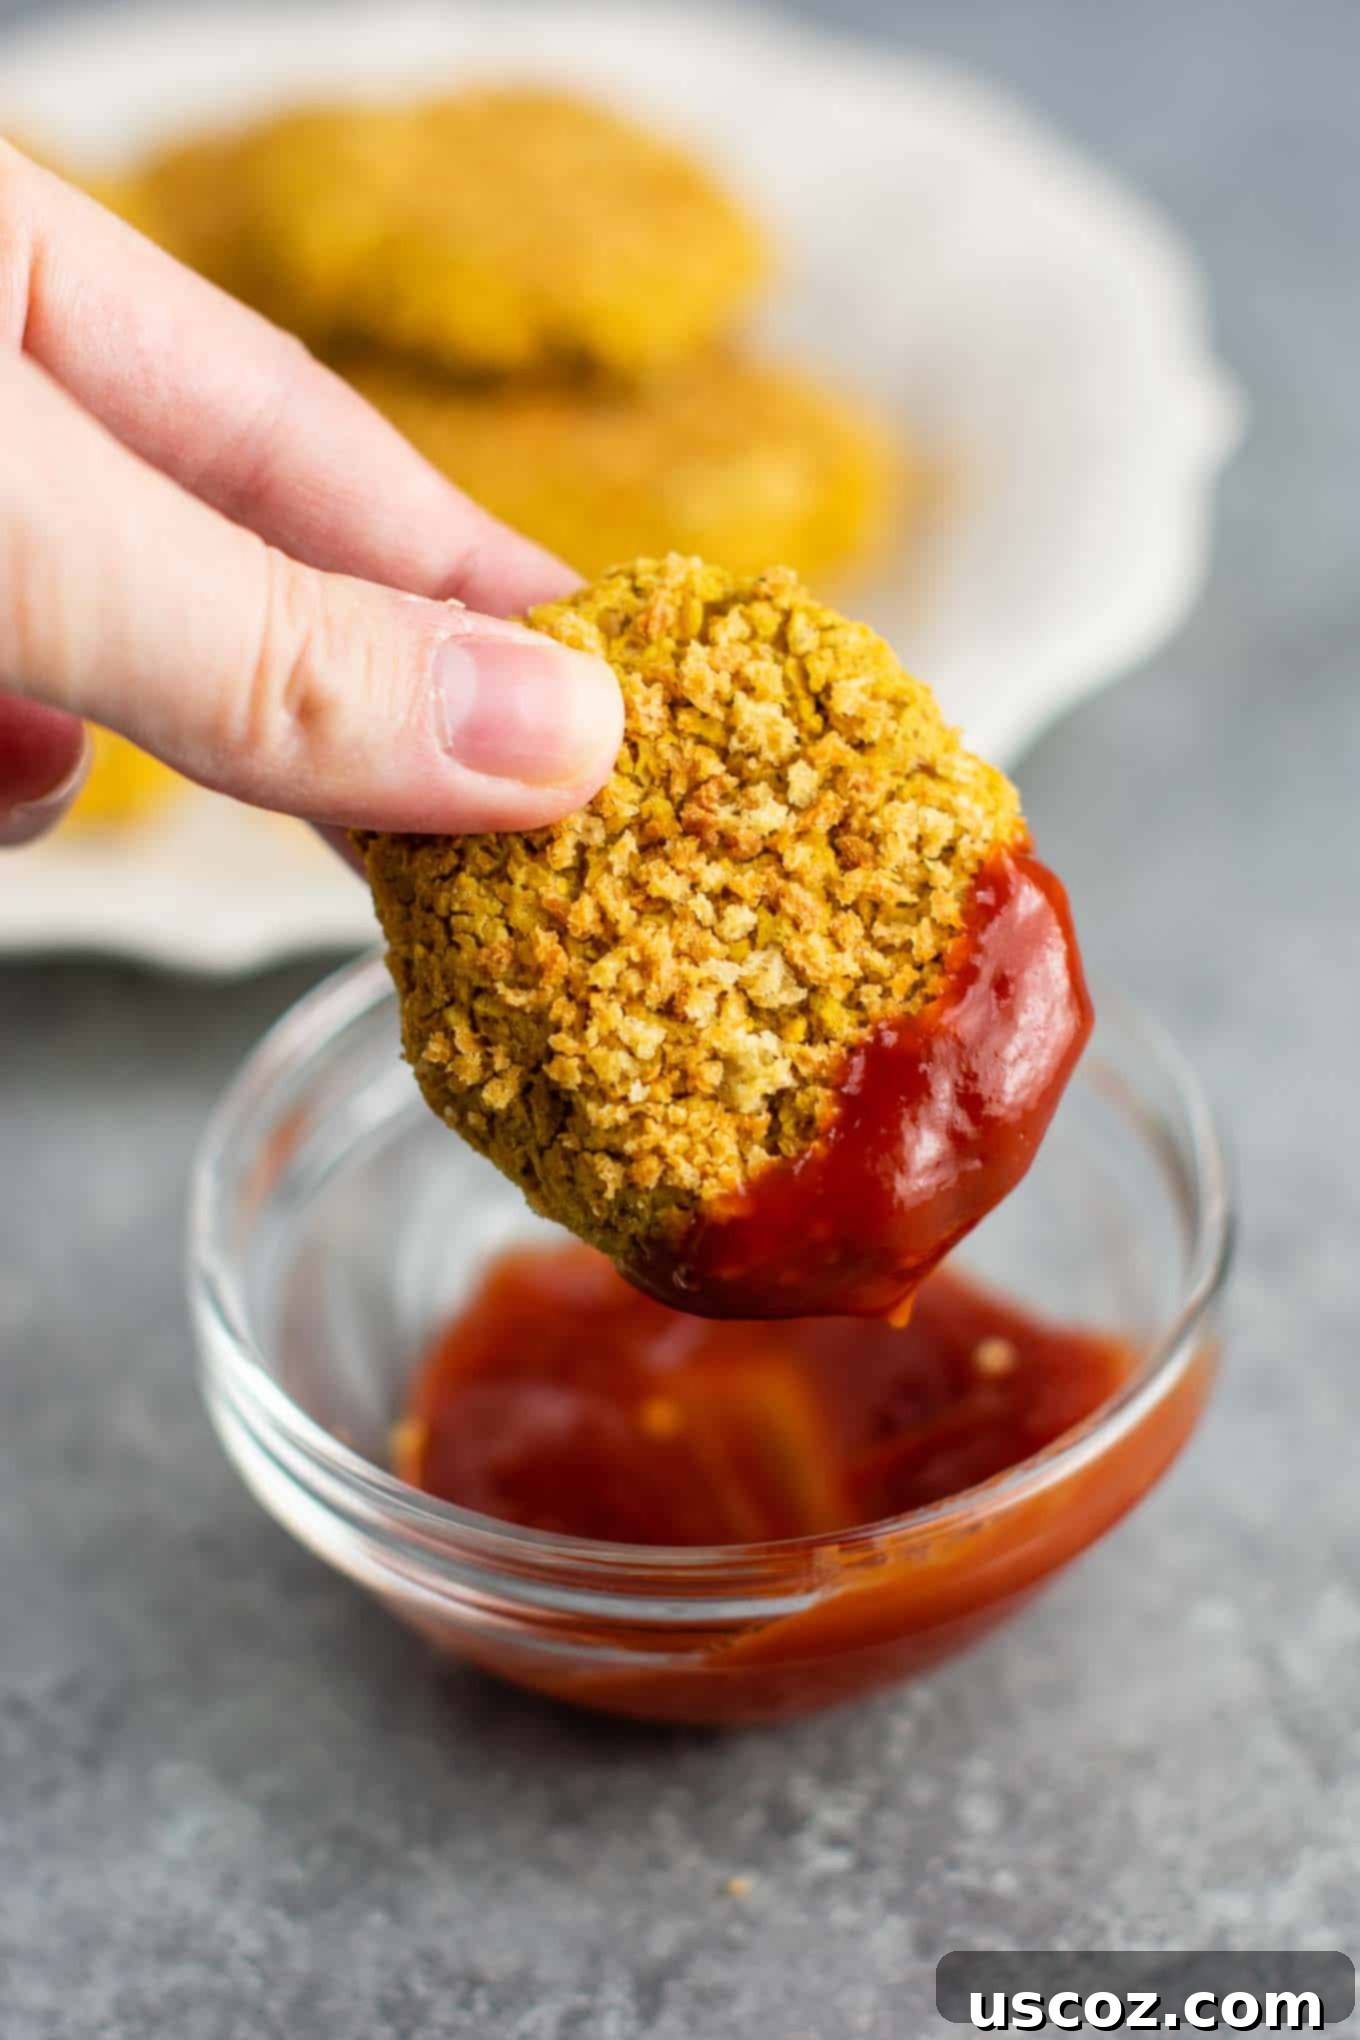
For many of us, chicken nuggets were a staple of childhood – a quick, comforting, and undeniably delicious treat. As dietary preferences evolve and more people embrace plant-based eating, the desire for those nostalgic flavors often remains. That’s where these incredible chickpea nuggets come in! They offer all the satisfying crunch and dip-ability of their meat-based counterparts, but with the added benefits of wholesome chickpeas.
While store-bought vegetarian nuggets are widely available, crafting them at home provides numerous advantages. You gain complete control over the ingredients, ensuring a healthier meal free from unwanted additives. Plus, there’s an undeniable joy and satisfaction in preparing your own delicious, homemade alternatives. These chickpea nuggets are not only better for you but also incredibly fun to make and customize to your taste.
Why Opt for Homemade Chickpea Nuggets?
Making your own chickpea nuggets isn’t just a culinary adventure; it’s a step towards healthier and more conscious eating. Here’s why these plant-based delights deserve a permanent spot in your recipe rotation:
- Nutritional Powerhouse: Chickpeas are a fantastic source of plant-based protein, dietary fiber, and essential minerals like iron, folate, and manganese. They contribute to a feeling of fullness, aiding in weight management and promoting digestive health. Swapping traditional chicken for chickpeas significantly boosts your fiber intake and reduces saturated fat.
- Dietary Inclusivity: Perfect for vegetarians, these nuggets can also be easily adapted to be fully vegan with a simple egg replacer. They are naturally dairy-free, making them suitable for a wide range of dietary needs and allergies.
- Flavorful & Versatile: Chickpeas have a mild, earthy flavor that acts as an excellent canvas for spices. When combined with savory seasonings and a crispy breadcrumb coating, they transform into tender, flavorful bites that wonderfully mimic the experience of traditional nuggets. Their versatility means they pair beautifully with almost any dipping sauce imaginable.
- Cost-Effective: Canned chickpeas are incredibly affordable, making this a budget-friendly meal option compared to store-bought meatless alternatives or fast-food nuggets.
- Customization: From adjusting the spice level to experimenting with different herbs and coatings, homemade nuggets allow for endless customization to suit your family’s preferences.
These chickpea nuggets are designed to be served with your favorite dipping sauce. The humble chickpea truly shines as the star of this recipe, providing a satisfying texture and hearty base.
How to Make Deliciously Crispy Chickpea Nuggets
Crafting these meatless marvels is surprisingly straightforward. Follow these steps for perfect results every time:
Step 1: Preparing the Chickpeas
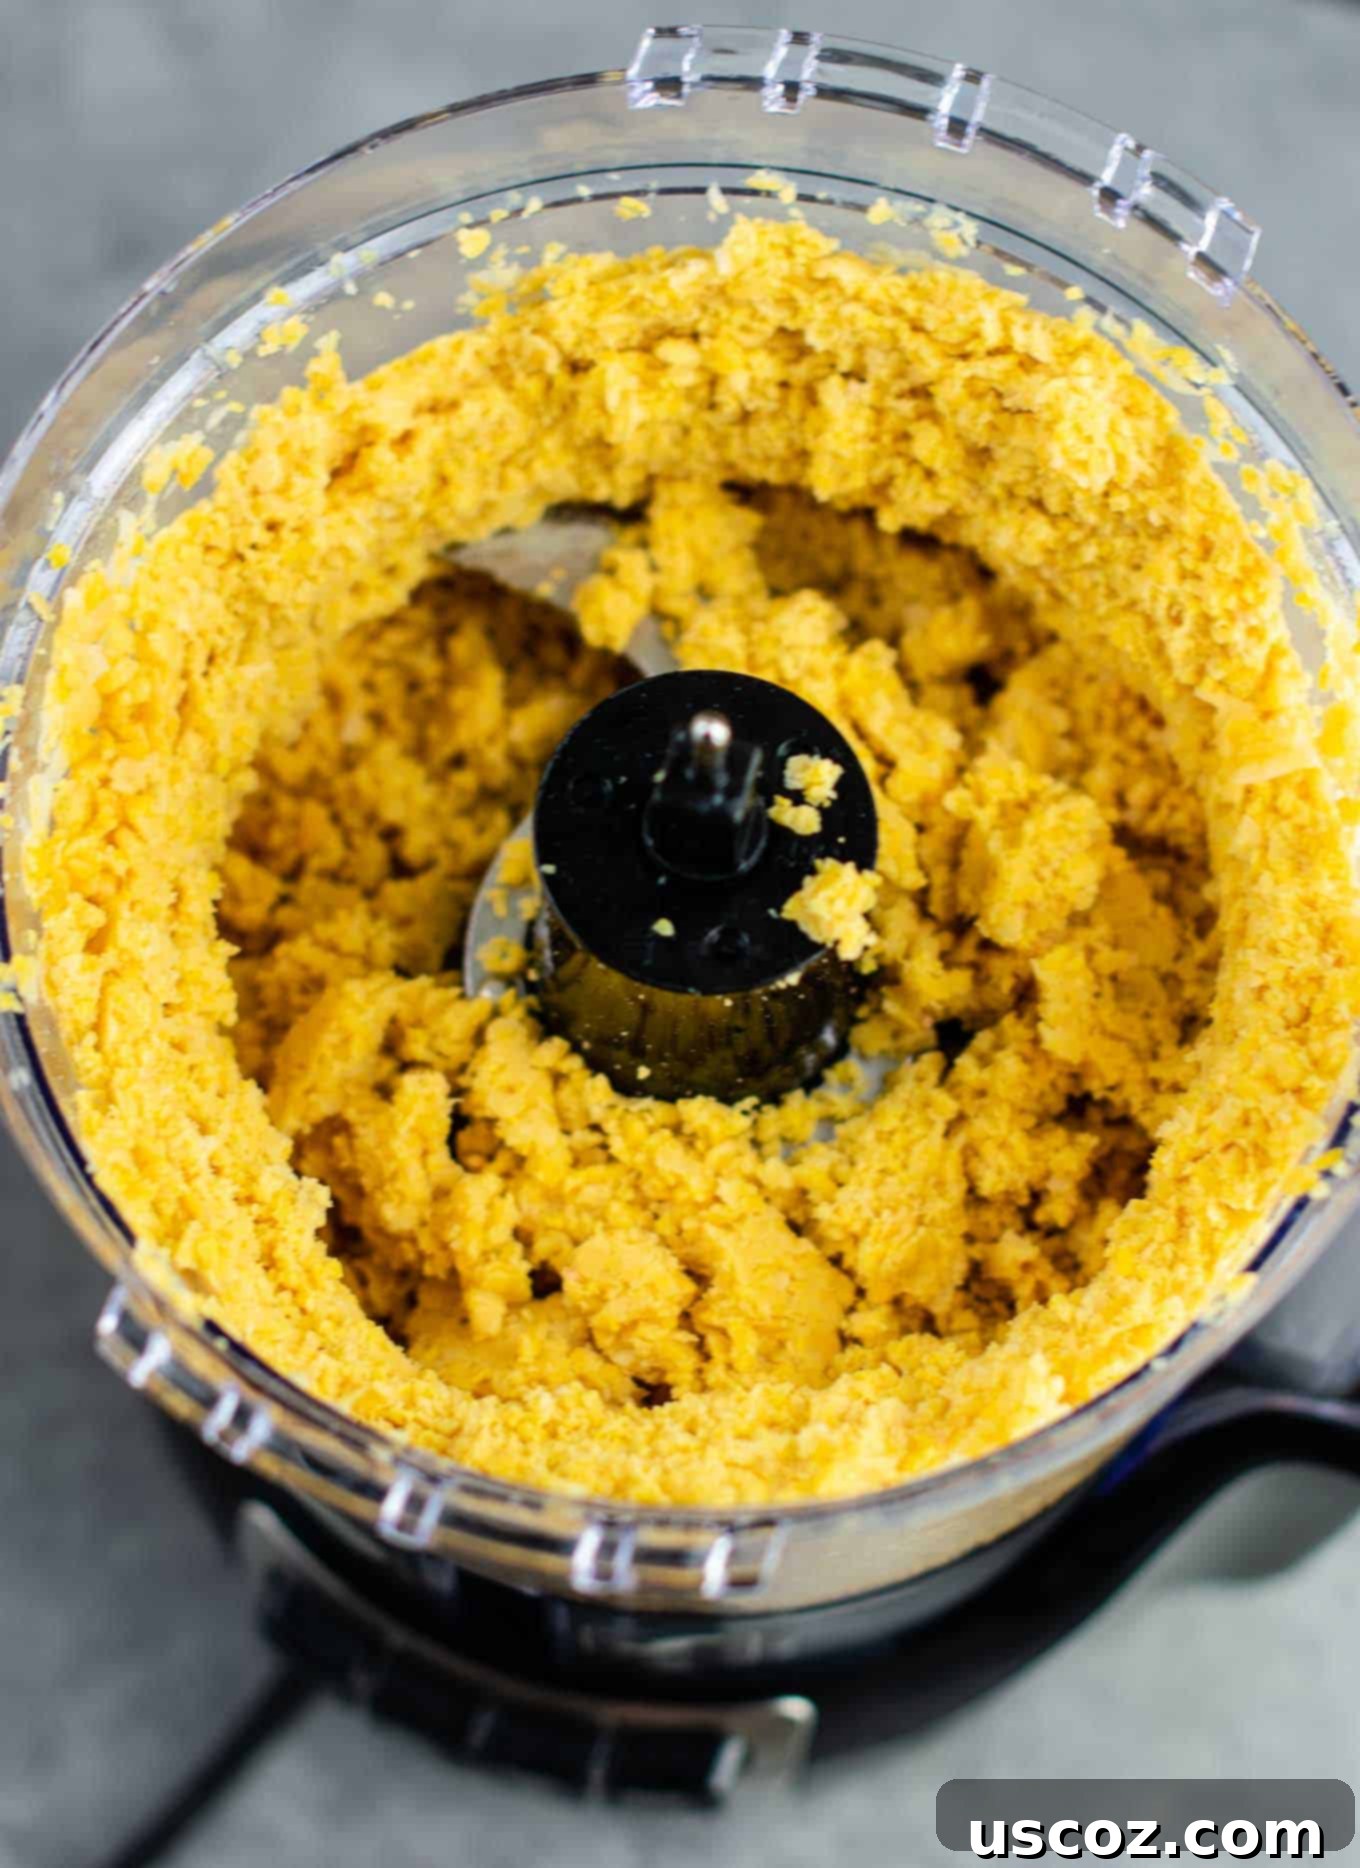
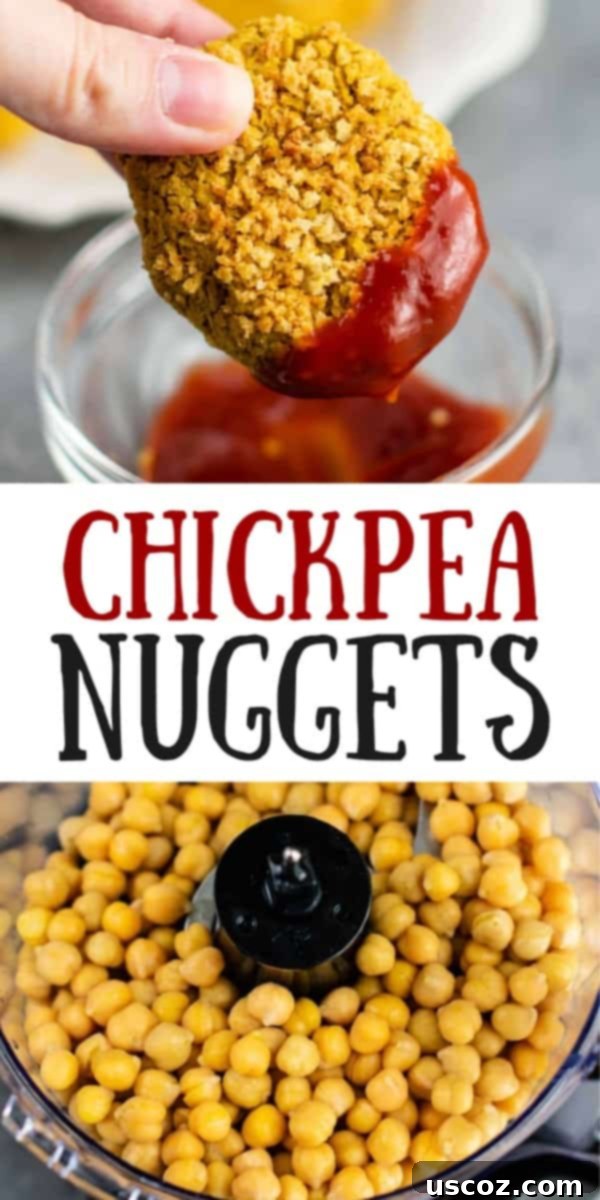
Begin by draining and thoroughly rinsing your canned chickpeas. This removes excess sodium and any aquafaba (chickpea liquid), which you won’t need for this recipe. Transfer the rinsed chickpeas to a food processor. Process them until they reach a flaky consistency, resembling coarse breadcrumbs. It’s important to avoid over-processing them into a smooth paste; you want a texture that still has some integrity, but without large, distinct chunks. This flaky consistency is key to easily forming the nuggets and achieving the right bite.
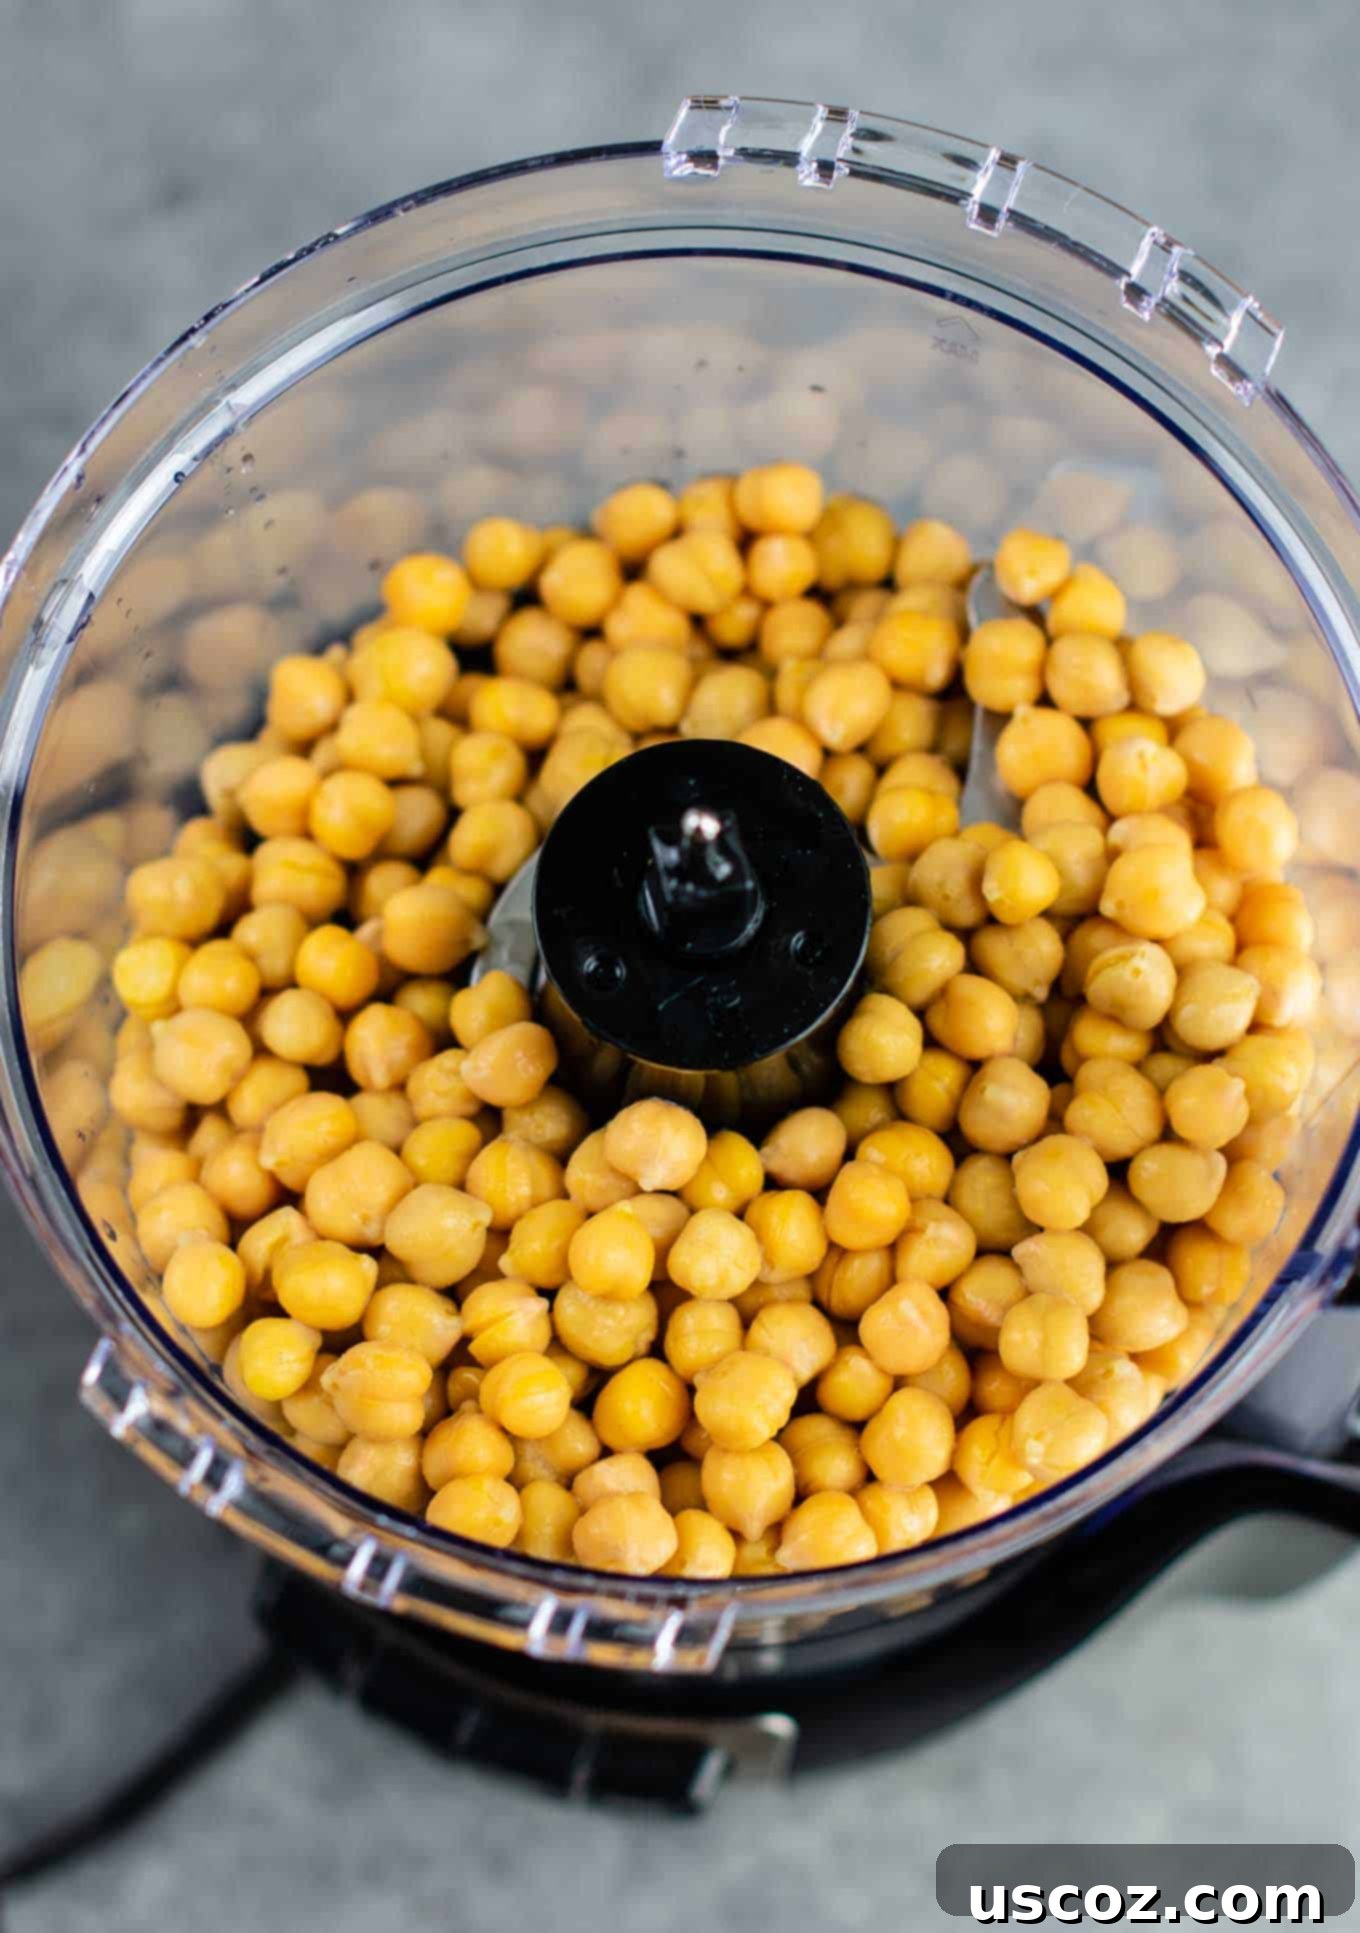
The chickpeas should have a texture that allows them to bind together but still offers some rustic appeal, like finely shredded meat. This texture ensures your nuggets hold their shape beautifully and provides a satisfying mouthfeel.
Step 2: Mixing the Nugget Dough
Once your chickpeas are processed, transfer them to a large mixing bowl. Now it’s time to add the binders and flavorings: an egg (or egg replacer for a vegan version), oat flour for structure, and a blend of delicious spices including salt, pepper, garlic powder, onion powder, paprika, and nutritional yeast. The nutritional yeast is crucial here, as it imparts a savory, umami flavor that gives these nuggets a rich, almost “cheesy” depth often missed in plant-based alternatives.
Using your hands, thoroughly mix and knead the ingredients until they are well combined. The mixture should be cohesive and somewhat sticky, but manageable enough to form into shapes without excessive sticking to your hands. This hands-on approach ensures all ingredients are evenly distributed, leading to uniform flavor and texture in every nugget.
Step 3: Toasting Breadcrumbs and Forming Nuggets
Before forming the nuggets, preheat your oven to 400°F (200°C) and lightly toast your panko-style breadcrumbs on a baking sheet for 3-4 minutes until they’re golden brown and aromatic. This extra step significantly boosts their crunch and flavor, making your nuggets irresistibly crispy. Keep a close eye on them to prevent burning. Remove them from the oven and set aside.
Now comes the fun part: shaping! Take small portions of the chickpea mixture and form them into classic nugget shapes. Aim for consistent sizes to ensure even cooking. Once shaped, dip each chickpea nugget into the toasted breadcrumbs, pressing gently to ensure a generous coating on all sides. This double layer of crunch – some breadcrumbs mixed into the dough, and a final coating – is what gives these nuggets their signature crispiness. Place the coated nuggets onto a parchment paper-lined baking sheet. If you have any leftover toasted breadcrumbs, sprinkle them over the nuggets for an extra layer of golden crispness.
Step 4: Baking and Serving
Bake your vegetarian chickpea nuggets in the preheated oven for 15-20 minutes. Keep an eye on them; the goal is a beautiful golden-brown color and your desired level of crispiness. Baking not only cooks the nuggets through but also further crisps the breadcrumb coating, giving them that satisfying bite.
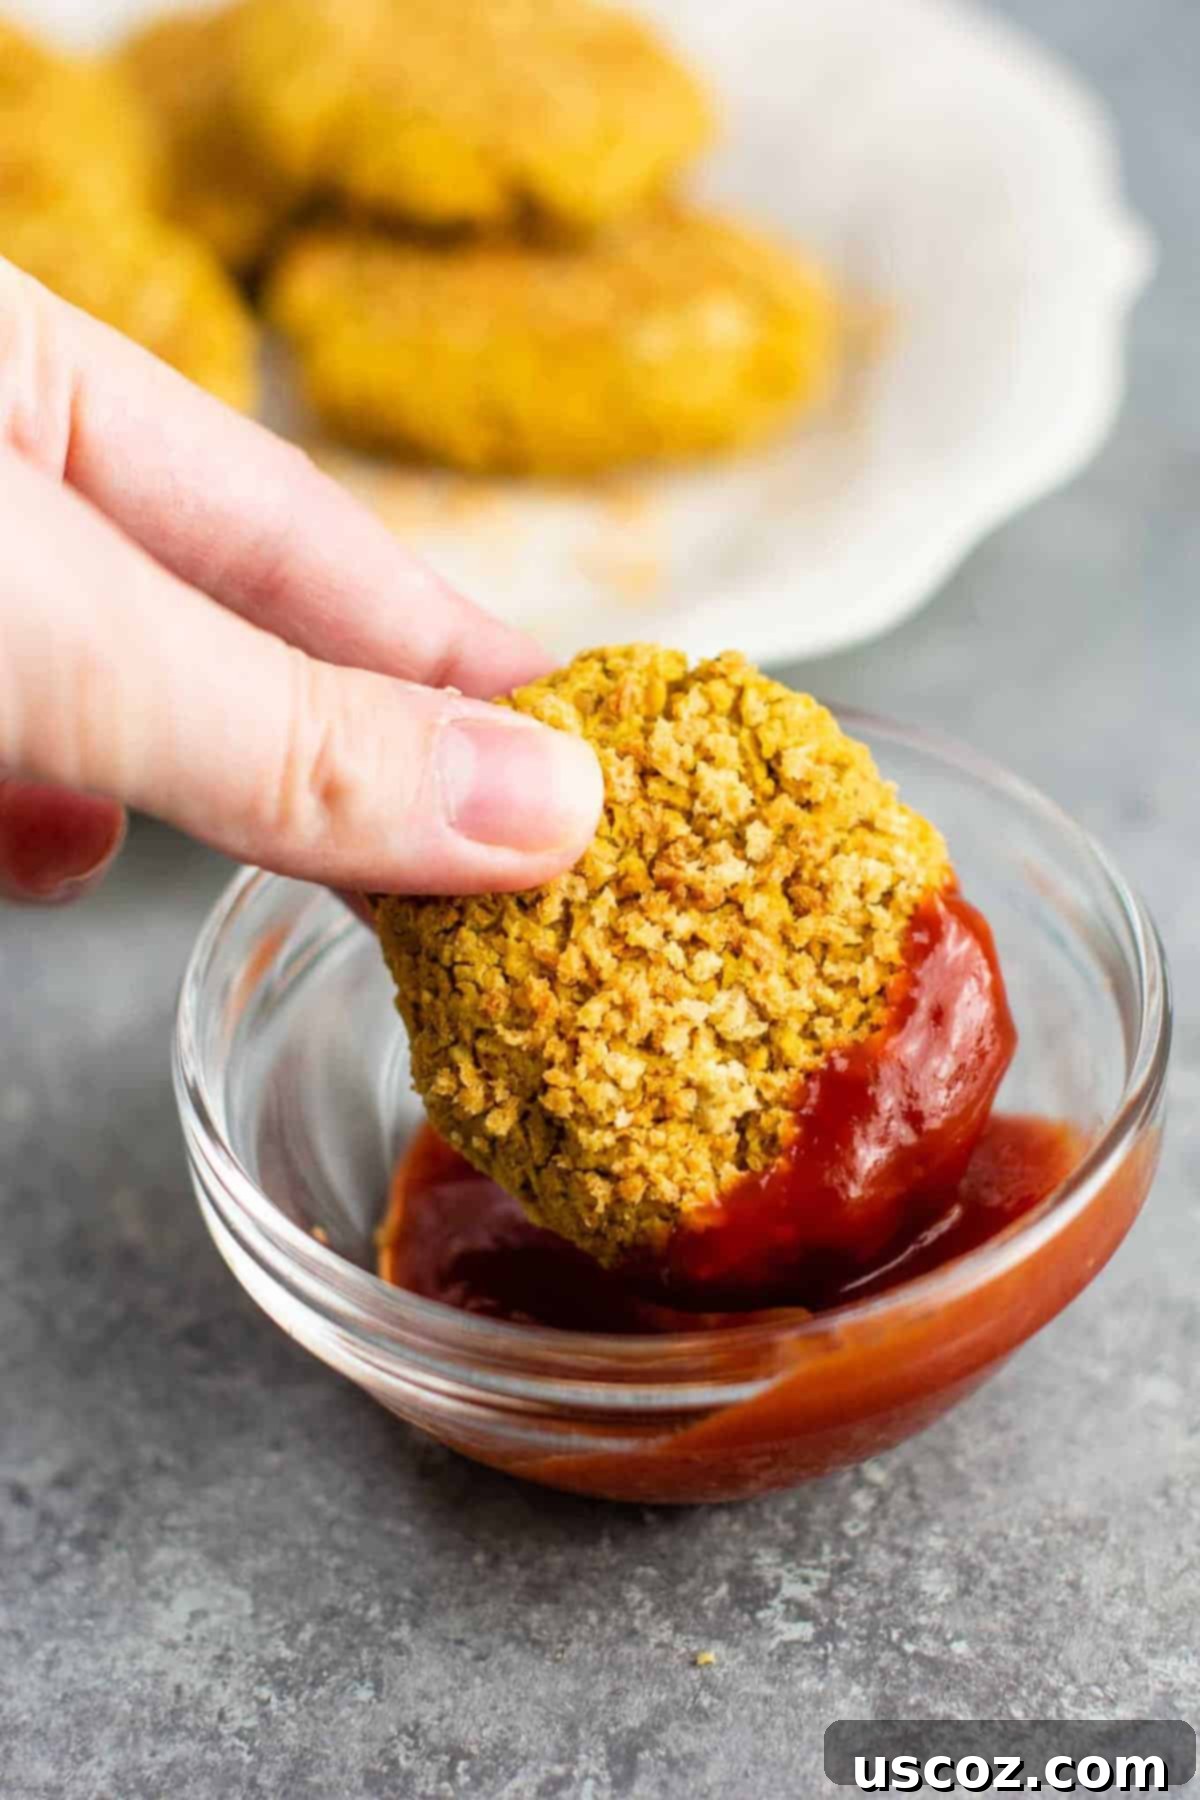
Once baked to perfection, these crispy plant-based nuggets are ready to be devoured. Serve them immediately with your favorite dipping sauce. The combination of the warm, savory nugget and a cool, tangy sauce is truly unbeatable!
Tips for Perfect Chickpea Nuggets Every Time
While this recipe is straightforward, a few insights can elevate your chickpea nugget experience:
- Embrace the Chickpea Flavor: Chickpeas are the foundation of these nuggets. If you’re a fan of the earthy, nutty flavor of chickpeas, or adore the taste of falafel, you’re going to love these. They offer a unique, satisfying profile that stands on its own.
- Sauce is Essential: Just like traditional chicken nuggets, these chickpea versions truly come alive with a great dipping sauce. Their mild flavor makes them incredibly versatile, acting as the perfect vehicle for any sauce you desire.
- Achieving Maximum Crispiness: Don’t skip the step of toasting your panko breadcrumbs! This pre-toasting adds an extra layer of crunch and flavor. For an even crispier exterior, consider finishing them in an air fryer for 3-5 minutes after baking.
How to Make These Chickpea Nuggets Vegan
This recipe is naturally dairy-free. To make these chickpea nuggets entirely vegan, simply substitute the egg with an egg replacer. A flax egg (1 tablespoon ground flaxseed mixed with 3 tablespoons water, let sit for 5 minutes) works wonderfully as a binder in this recipe. Alternatively, a commercial vegan egg replacer can be used according to package directions. The texture and flavor will remain fantastic, ensuring everyone can enjoy these plant-based delights.
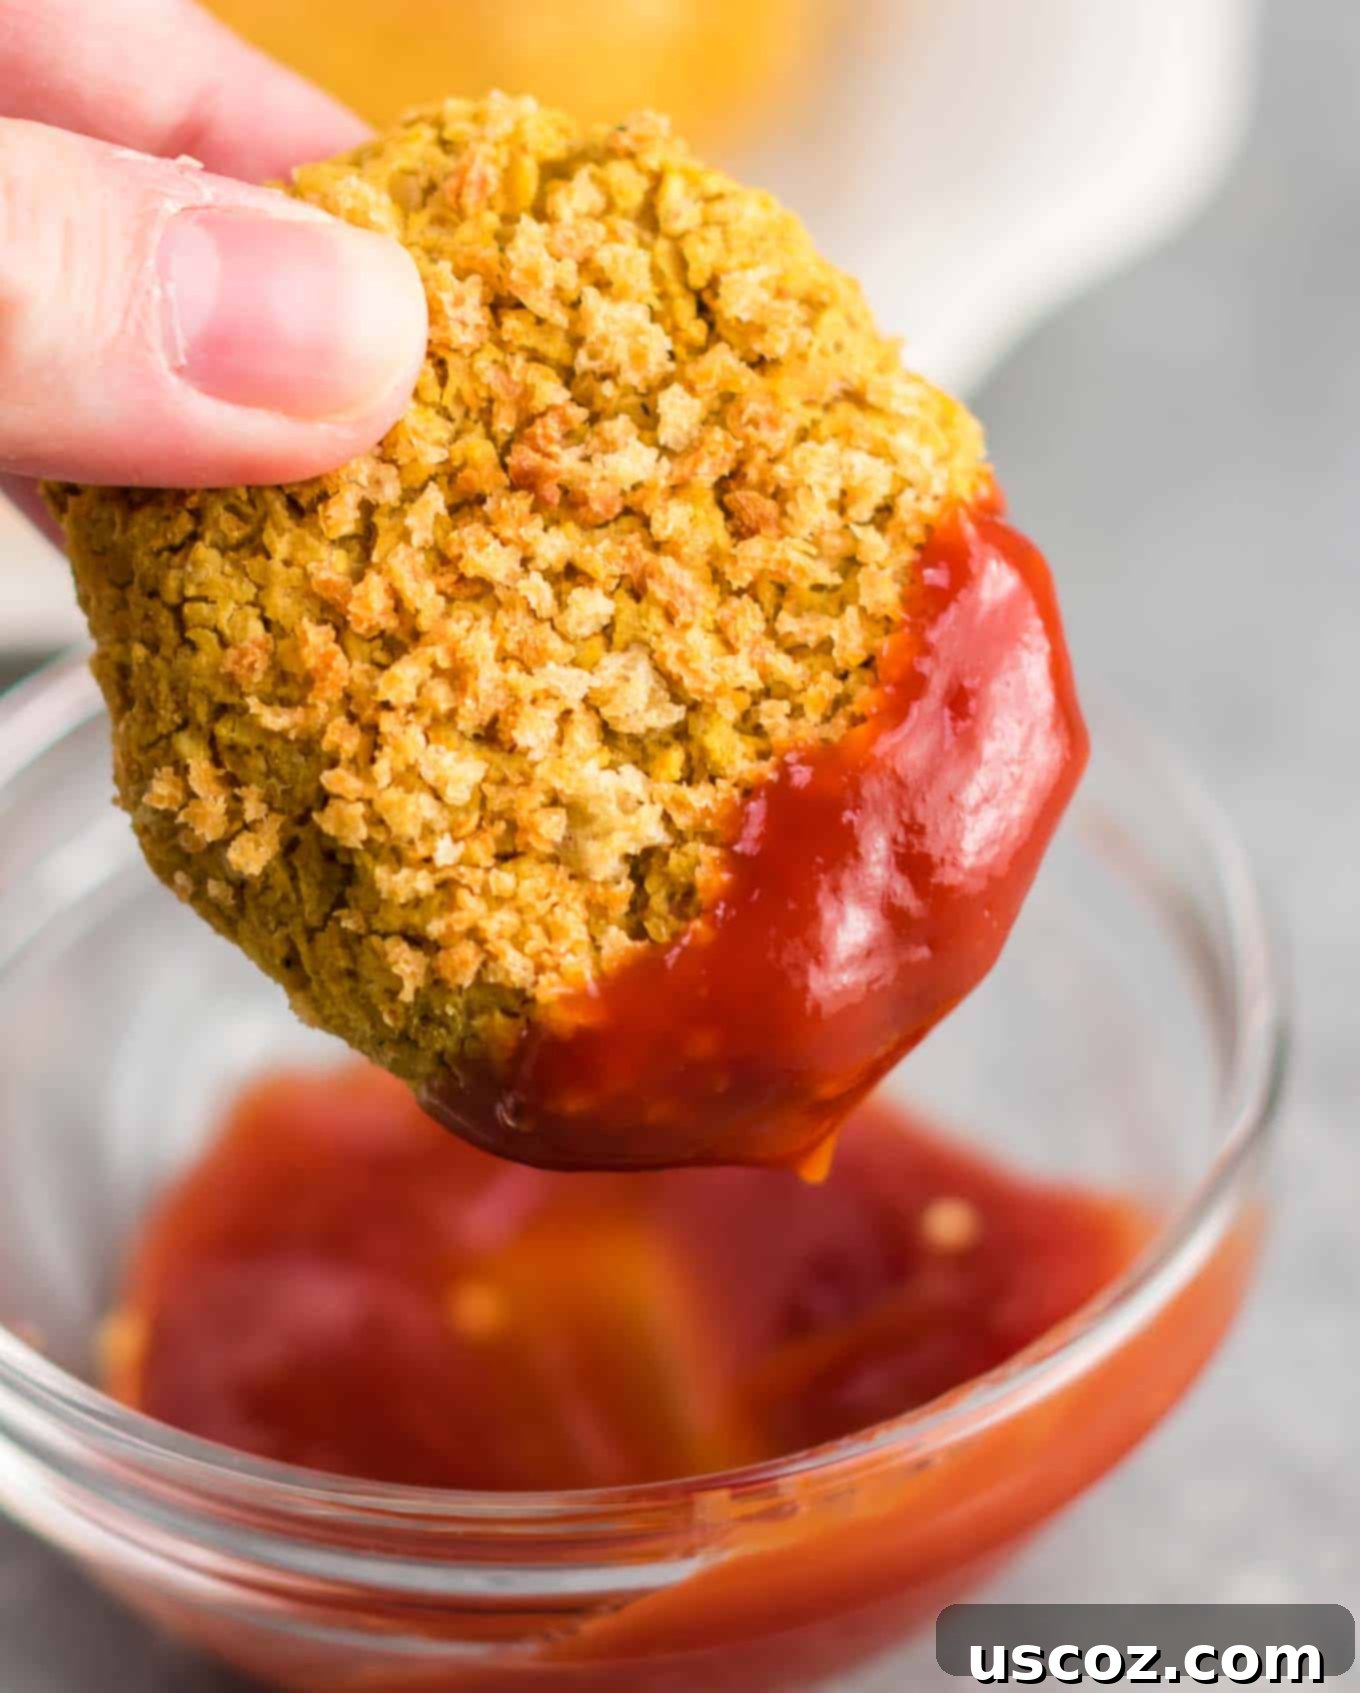
The beauty of these nuggets lies in their versatility. While they have a pleasant, mild flavor on their own, they truly shine when paired with your favorite dipping sauces. Think of them as a blank canvas, ready to absorb the exciting flavors of barbecue sauce, sweet honey mustard, creamy ranch, tangy ketchup, or a zesty sweet and sour sauce. The possibilities are truly endless!
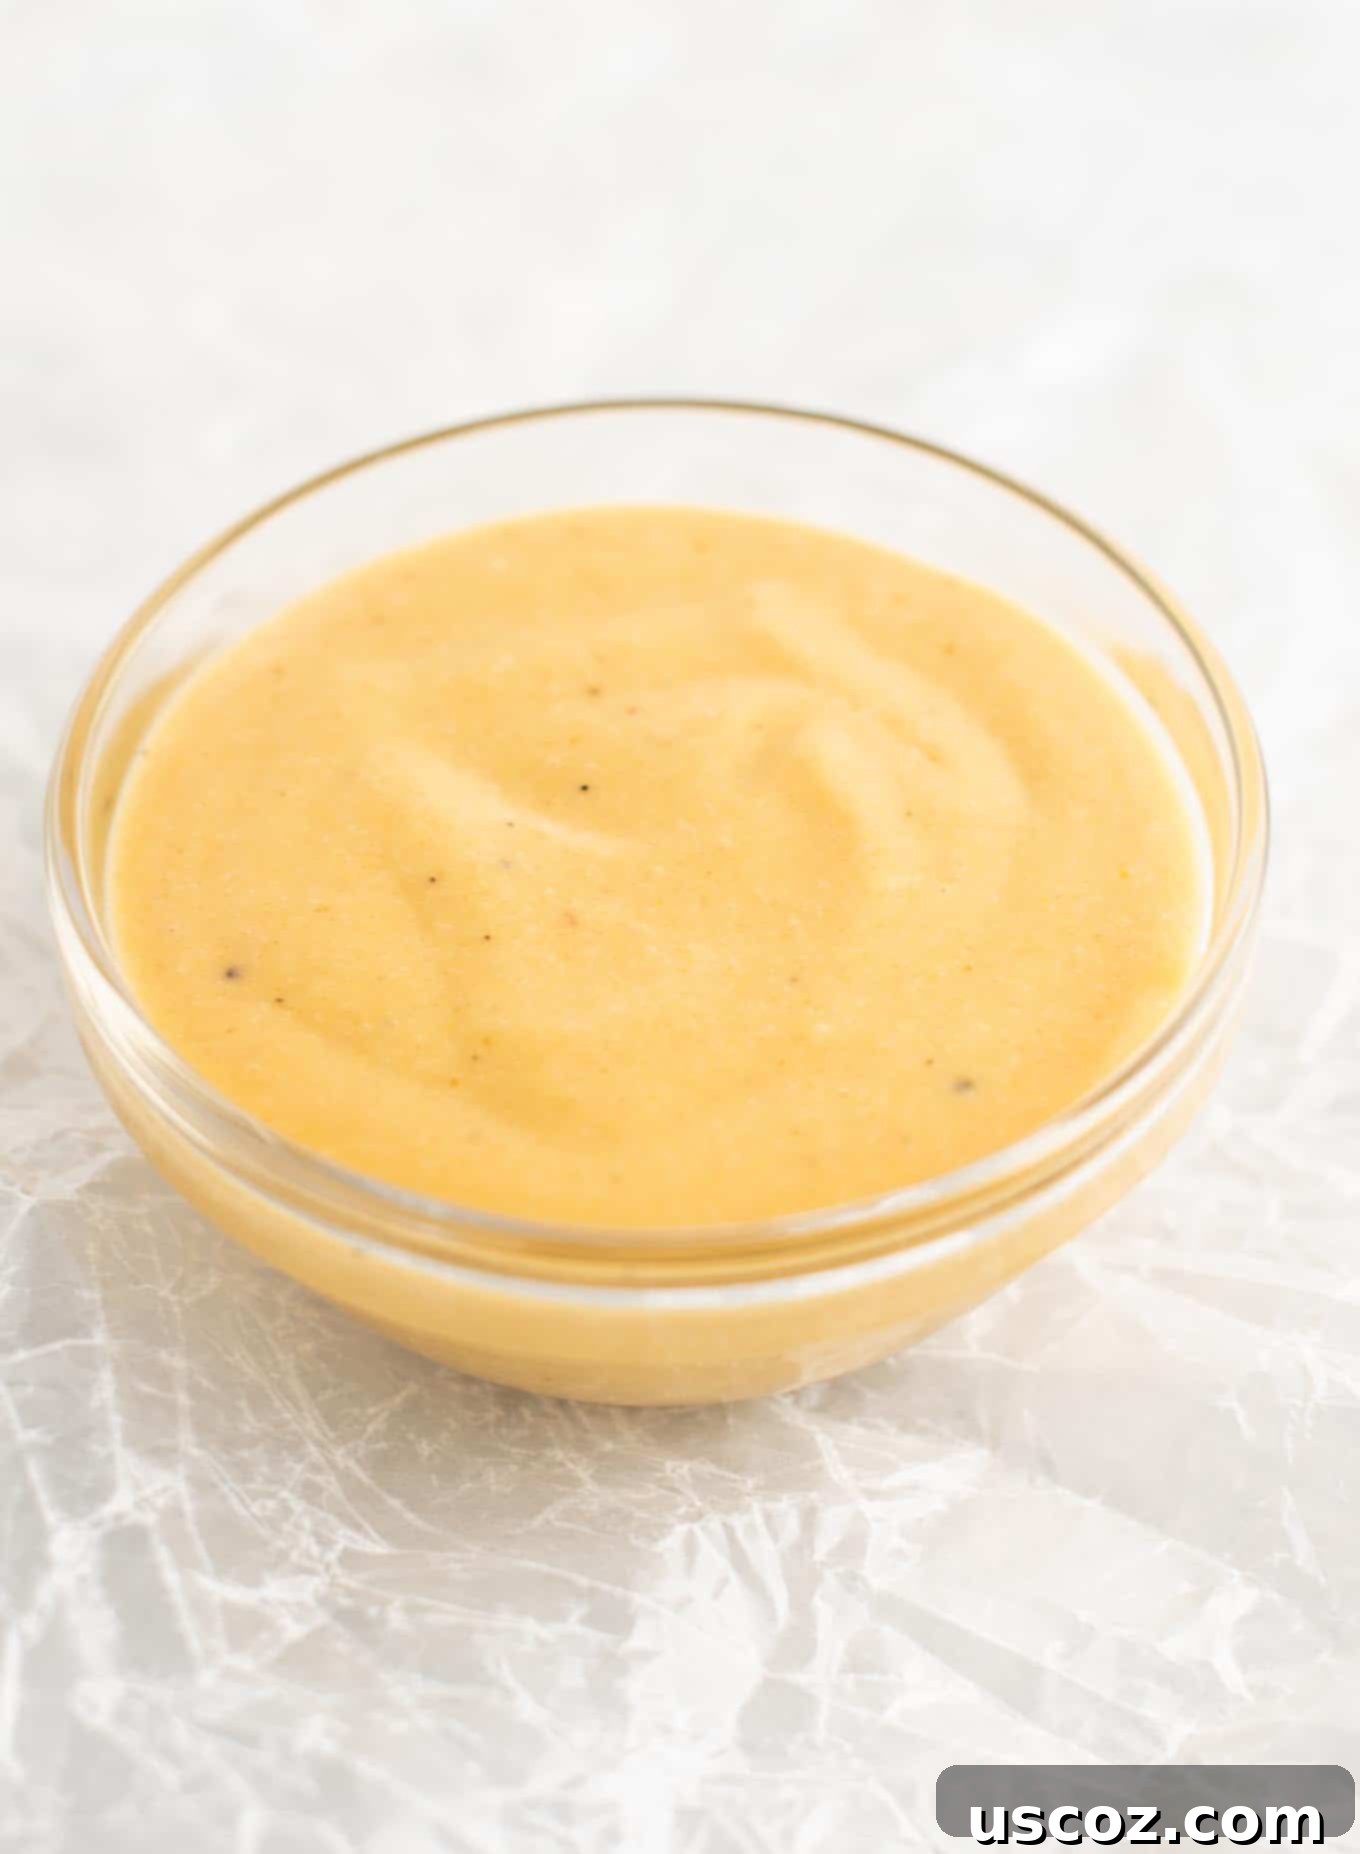
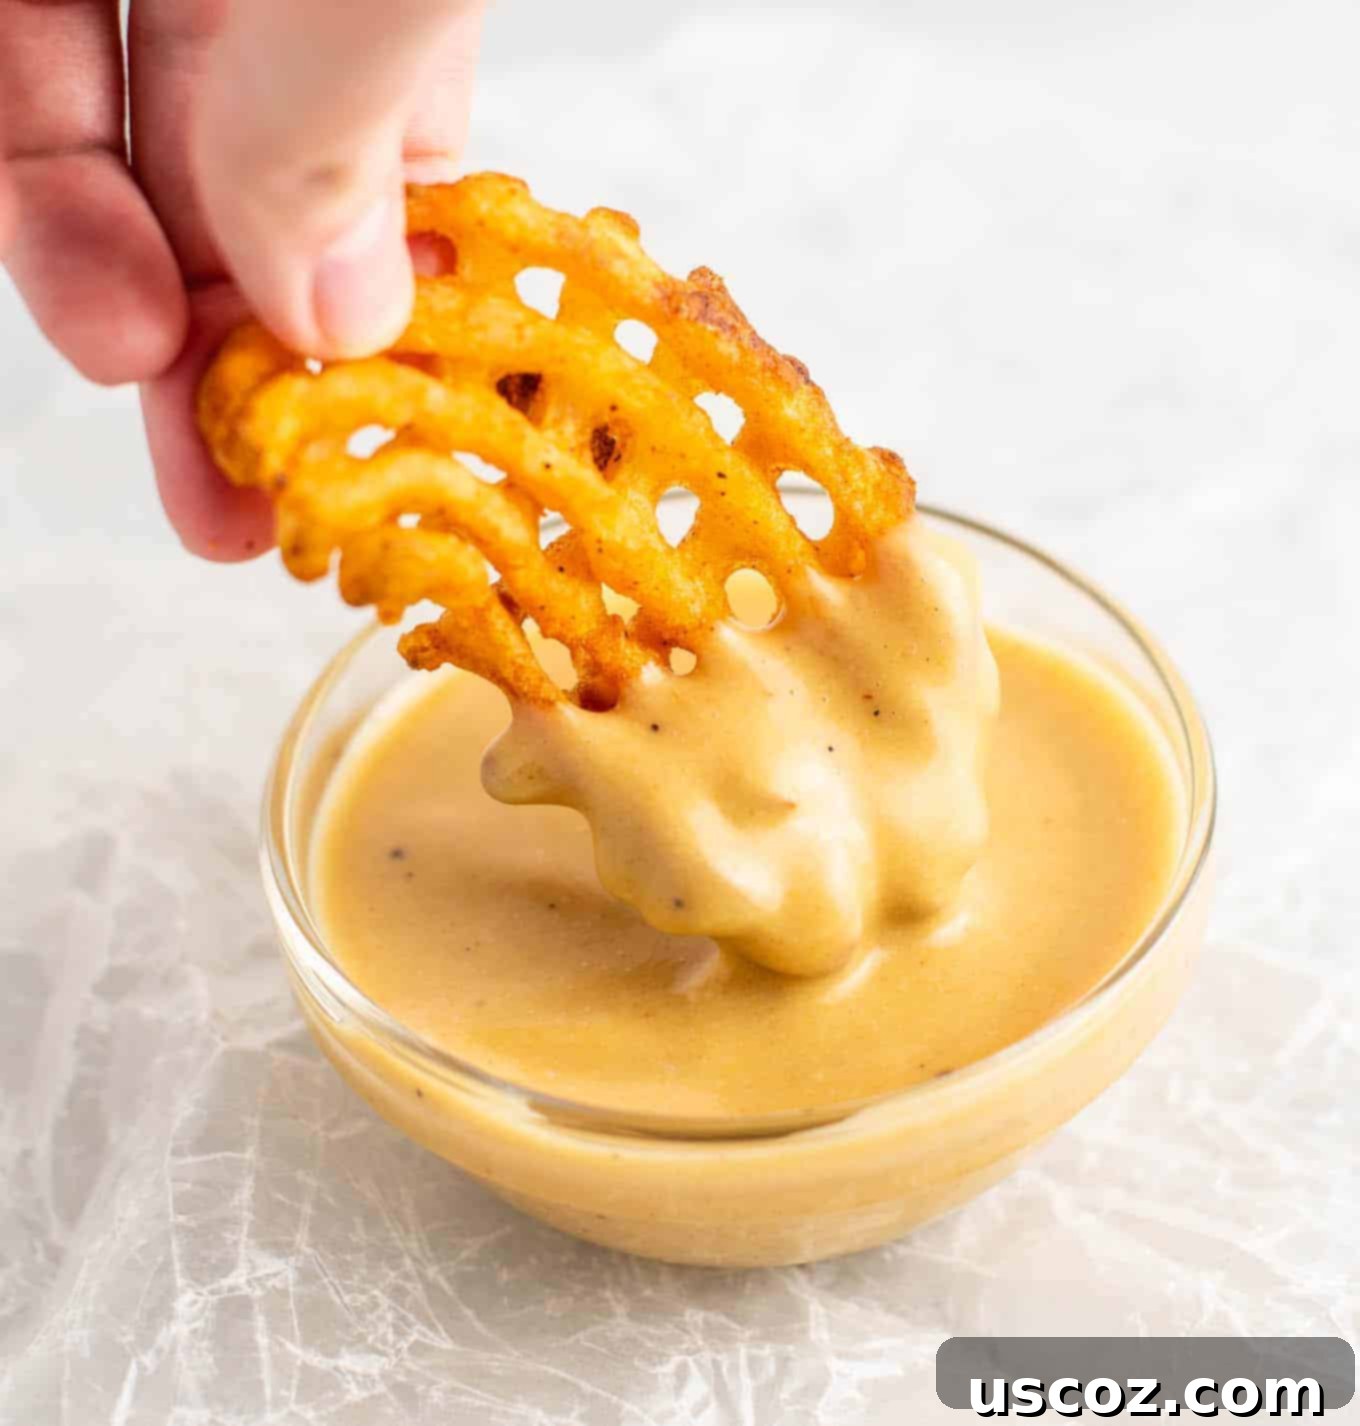
You can enjoy them as a main course with a side of crispy fries or a fresh salad, or even tuck them into a vegetarian BBQ chicken sandwich. Don’t forget to try them with my homemade copycat Chick-fil-A sauce, pictured below – it’s a match made in heaven!
If you’re eager to explore more meatless nugget options, be sure to check out these super crispy air fryer tofu nuggets for another delicious plant-based treat!
Perfect for the Whole Family!
These little nuggets aren’t just for adults; they’re a fantastic kid-friendly meal option too! Their familiar shape, crispy exterior, and mild flavor make them an instant hit with picky eaters. Serve them as a fun dinner, a satisfying snack, or pack them into lunchboxes for a wholesome and exciting school meal.
Storage and Reheating Tips
- Refrigeration: Leftover chickpea nuggets can be stored in an airtight container in the refrigerator for up to 3-4 days.
- Reheating: To restore their crispiness, reheat them in the oven at 375°F (190°C) for 10-15 minutes, or in an air fryer at 350°F (175°C) for 5-8 minutes, until heated through and crispy. Microwaving is not recommended as it can make them soggy.
- Freezing: These nuggets freeze well! Once baked and cooled completely, arrange them in a single layer on a baking sheet and freeze until solid. Then transfer them to a freezer-safe bag or container for up to 2-3 months. Reheat from frozen in the oven or air fryer until hot and crispy.
Crispy Chickpea Nuggets (Vegetarian & Vegan Option)
Pin Recipe
Rate Recipe
Print Recipe
Ingredients
- 2 cans of chickpeas, drained and rinsed
- 1 egg (use a flax egg for vegan option)
- 1/2 cup oat flour
- 3/4 cup panko style bread crumbs (plus extra for coating)
- 3/4 teaspoon salt
- 1/2 teaspoon pepper
- 1/2 teaspoon garlic powder
- 1/2 teaspoon onion powder
- 1/2 teaspoon paprika
- 2 teaspoons nutritional yeast
Instructions
-
Preheat your oven to 400 degrees Fahrenheit (200°C).
-
Spread the panko-style breadcrumbs (the 3/4 cup portion) evenly on a separate baking sheet.
-
Bake the breadcrumbs at 400 degrees for 3-4 minutes, or until they are golden brown and toasted. Watch them closely to prevent burning. Remove and set aside.
-
Drain and rinse your chickpeas thoroughly, then add them to a food processor. Process until they are flaky and crumbly, with no large chunks but not completely pureed.
-
Transfer the processed chickpeas to a large mixing bowl.
-
Add the egg (or vegan egg replacer), oat flour, salt, pepper, garlic powder, onion powder, paprika, and nutritional yeast to the bowl.
-
Use your hands to knead the mixture until all ingredients are well combined and form a cohesive “dough.” It should be sticky but shouldn’t excessively stick to your hands.
-
Form the chickpea batter into desired chicken nugget shapes. Then, dip each nugget into the toasted breadcrumbs, ensuring both sides are fully coated.
-
Place the coated nuggets on a baking sheet lined with parchment paper.
-
Sprinkle any remaining toasted breadcrumbs over the tops of the nuggets for extra crunch.
-
Bake the nuggets at 400 degrees for 15-20 minutes, or until they are golden brown and have reached your desired crispy texture.
-
Serve these delicious chickpea nuggets immediately with your favorite dipping sauce and enjoy!
Nutrition
Carbohydrates: 17g,
Protein: 5g,
Fat: 2g,
Saturated Fat: 0.3g,
Polyunsaturated Fat: 1g,
Monounsaturated Fat: 0.5g,
Trans Fat: 0.001g,
Cholesterol: 8mg,
Sodium: 154mg,
Potassium: 156mg,
Fiber: 4g,
Sugar: 2g,
Vitamin A: 57IU,
Vitamin C: 1mg,
Calcium: 33mg,
Iron: 2mg
Like this recipe? Rate and comment below!
