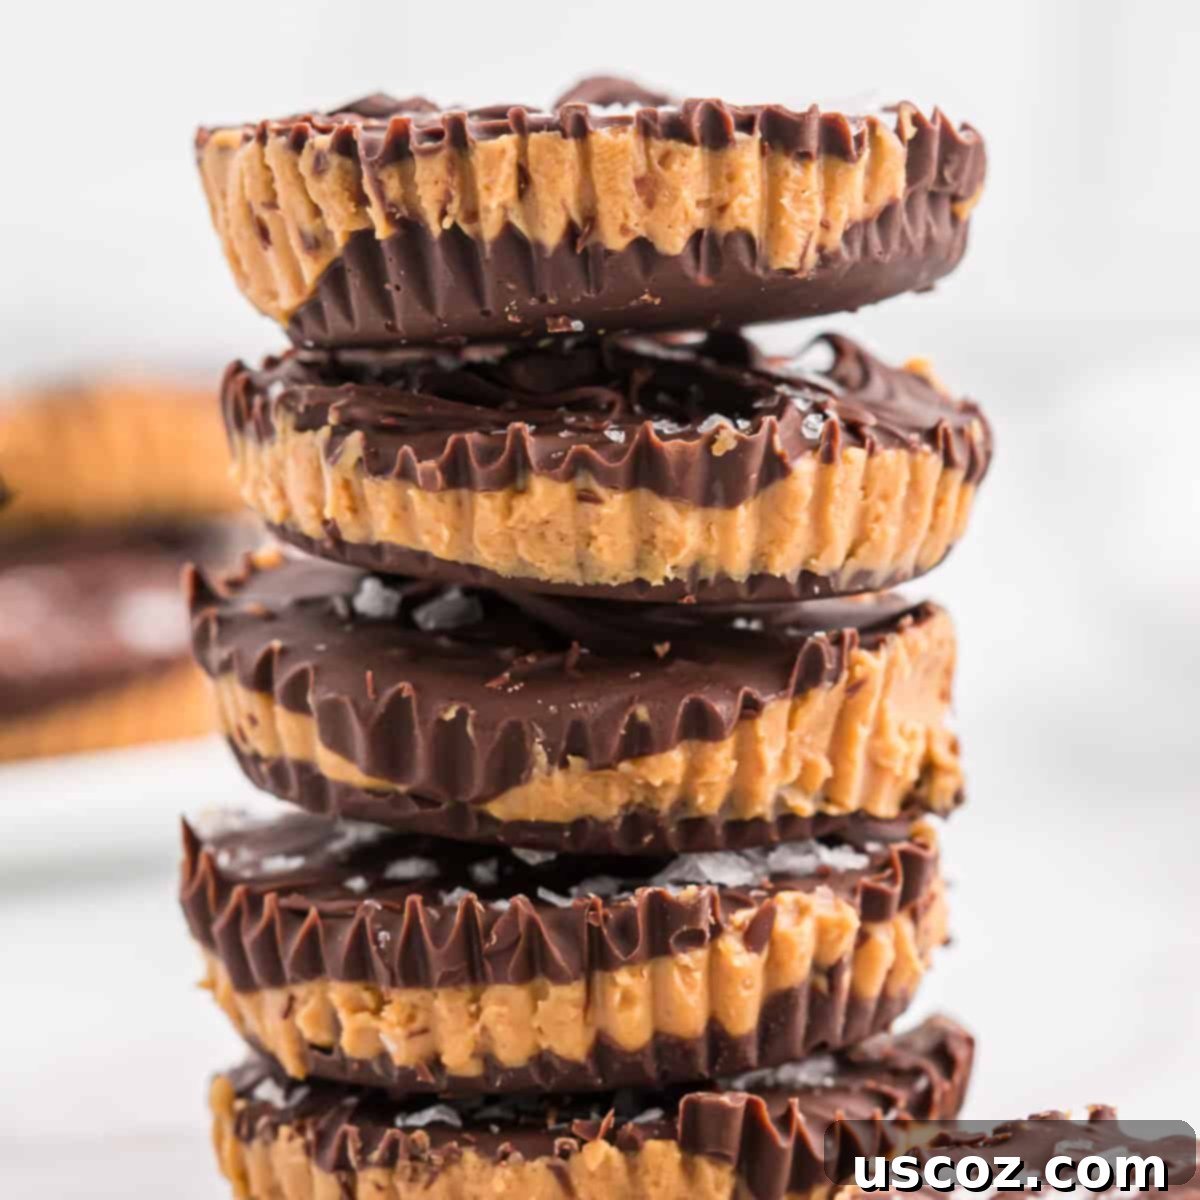
The Best Homemade Peanut Butter Cups: Easy No-Bake Reese’s Copycat Recipe
Craving that irresistible combination of rich chocolate and creamy peanut butter? Look no further! These homemade peanut butter cups are absolutely foolproof, delivering perfect results every single time. Recreating your favorite Reese’s cups from scratch has never been easier, using just a handful of basic pantry ingredients. Get ready to indulge in these incredible no-bake treats that anyone, regardless of their baking skill level, can master with ease.
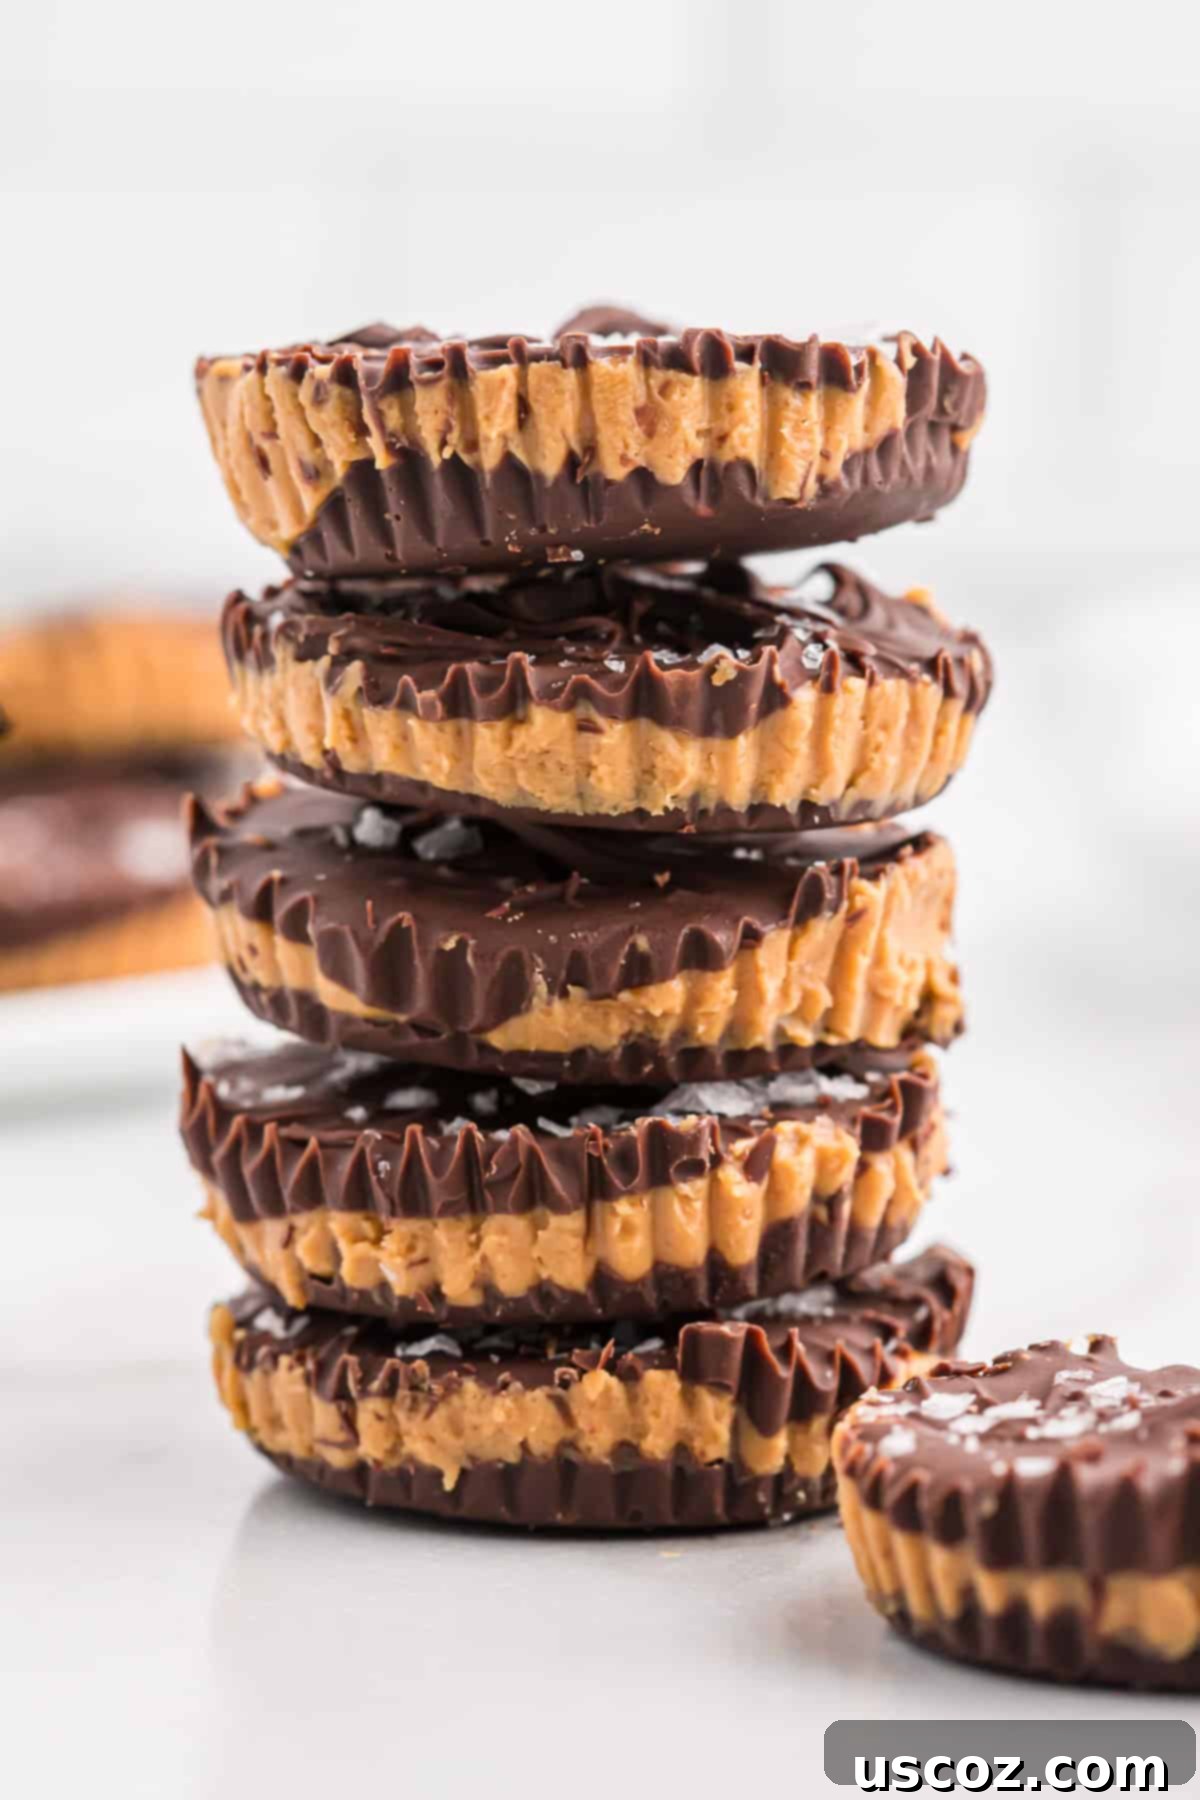
Indulge in Homemade Peanut Butter Cups
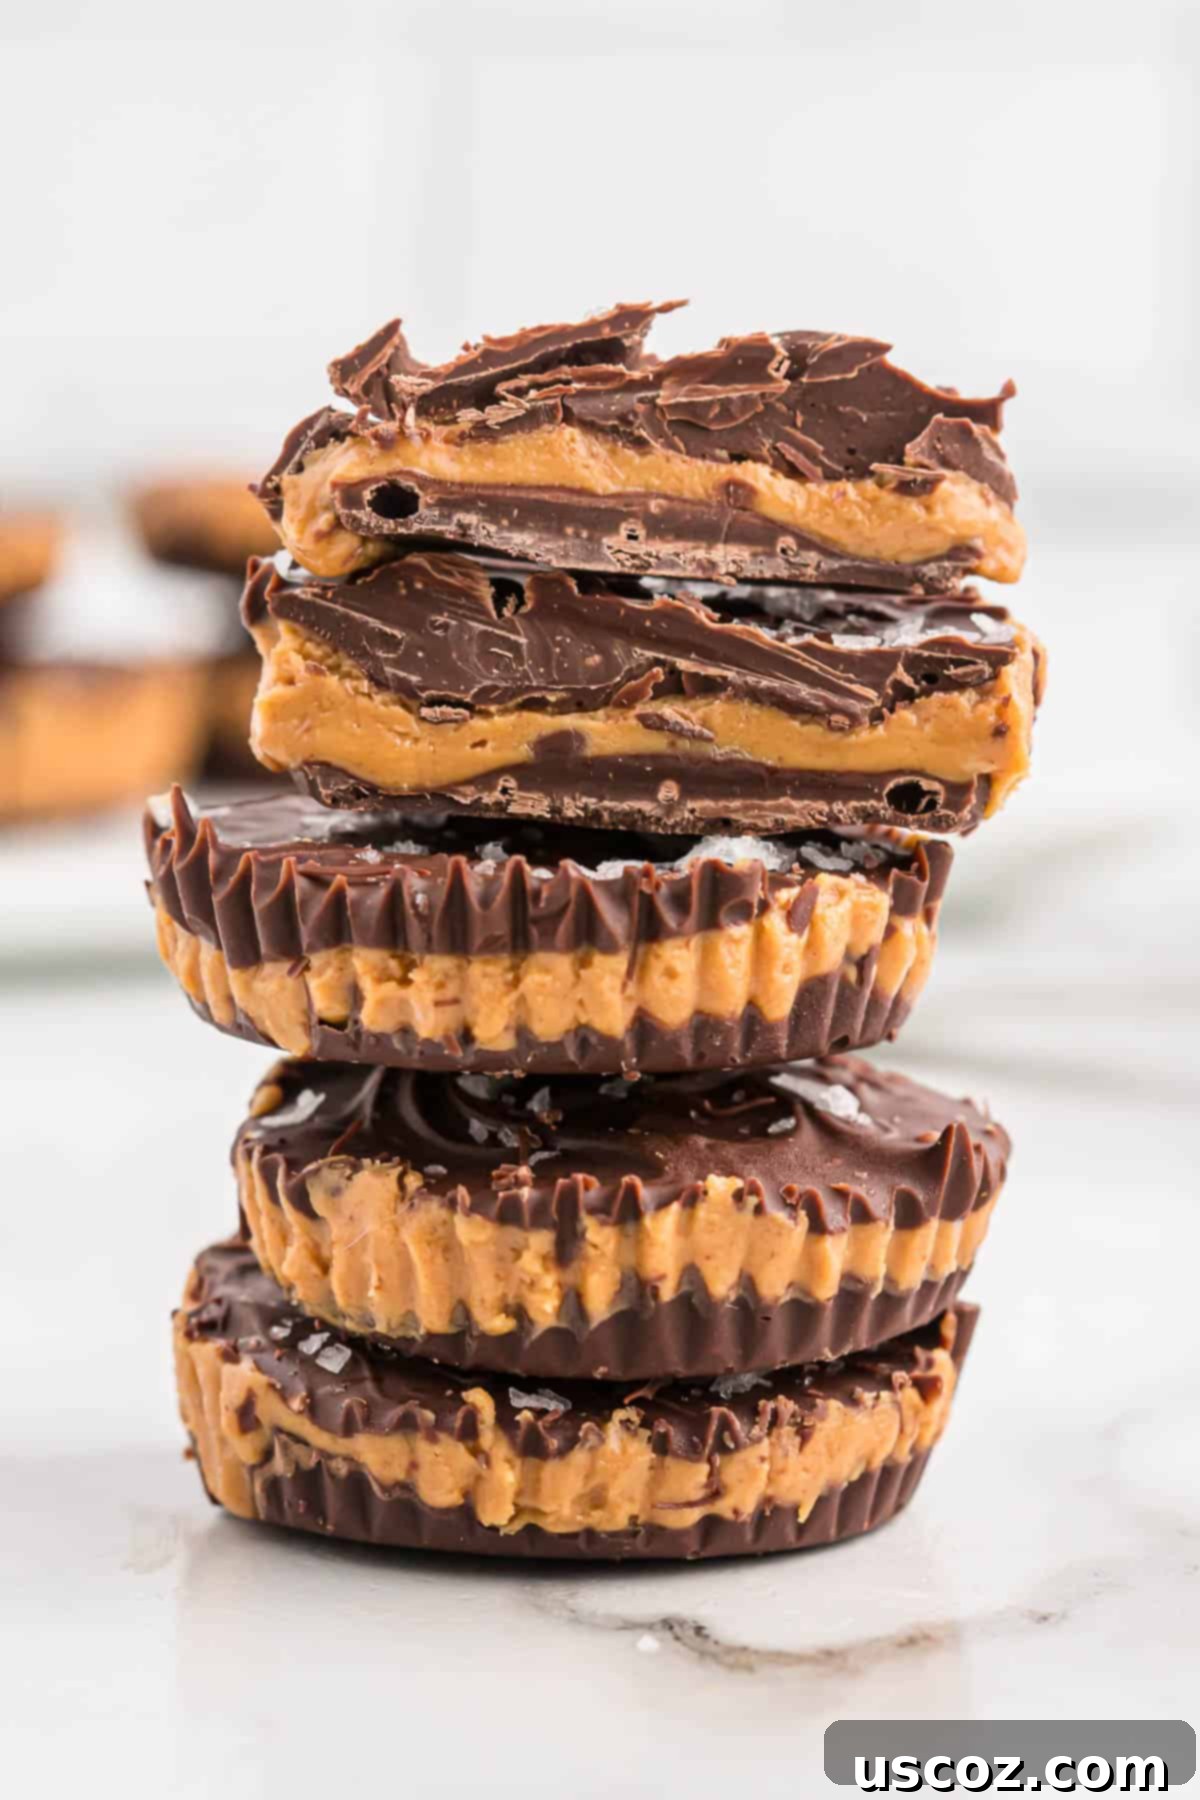
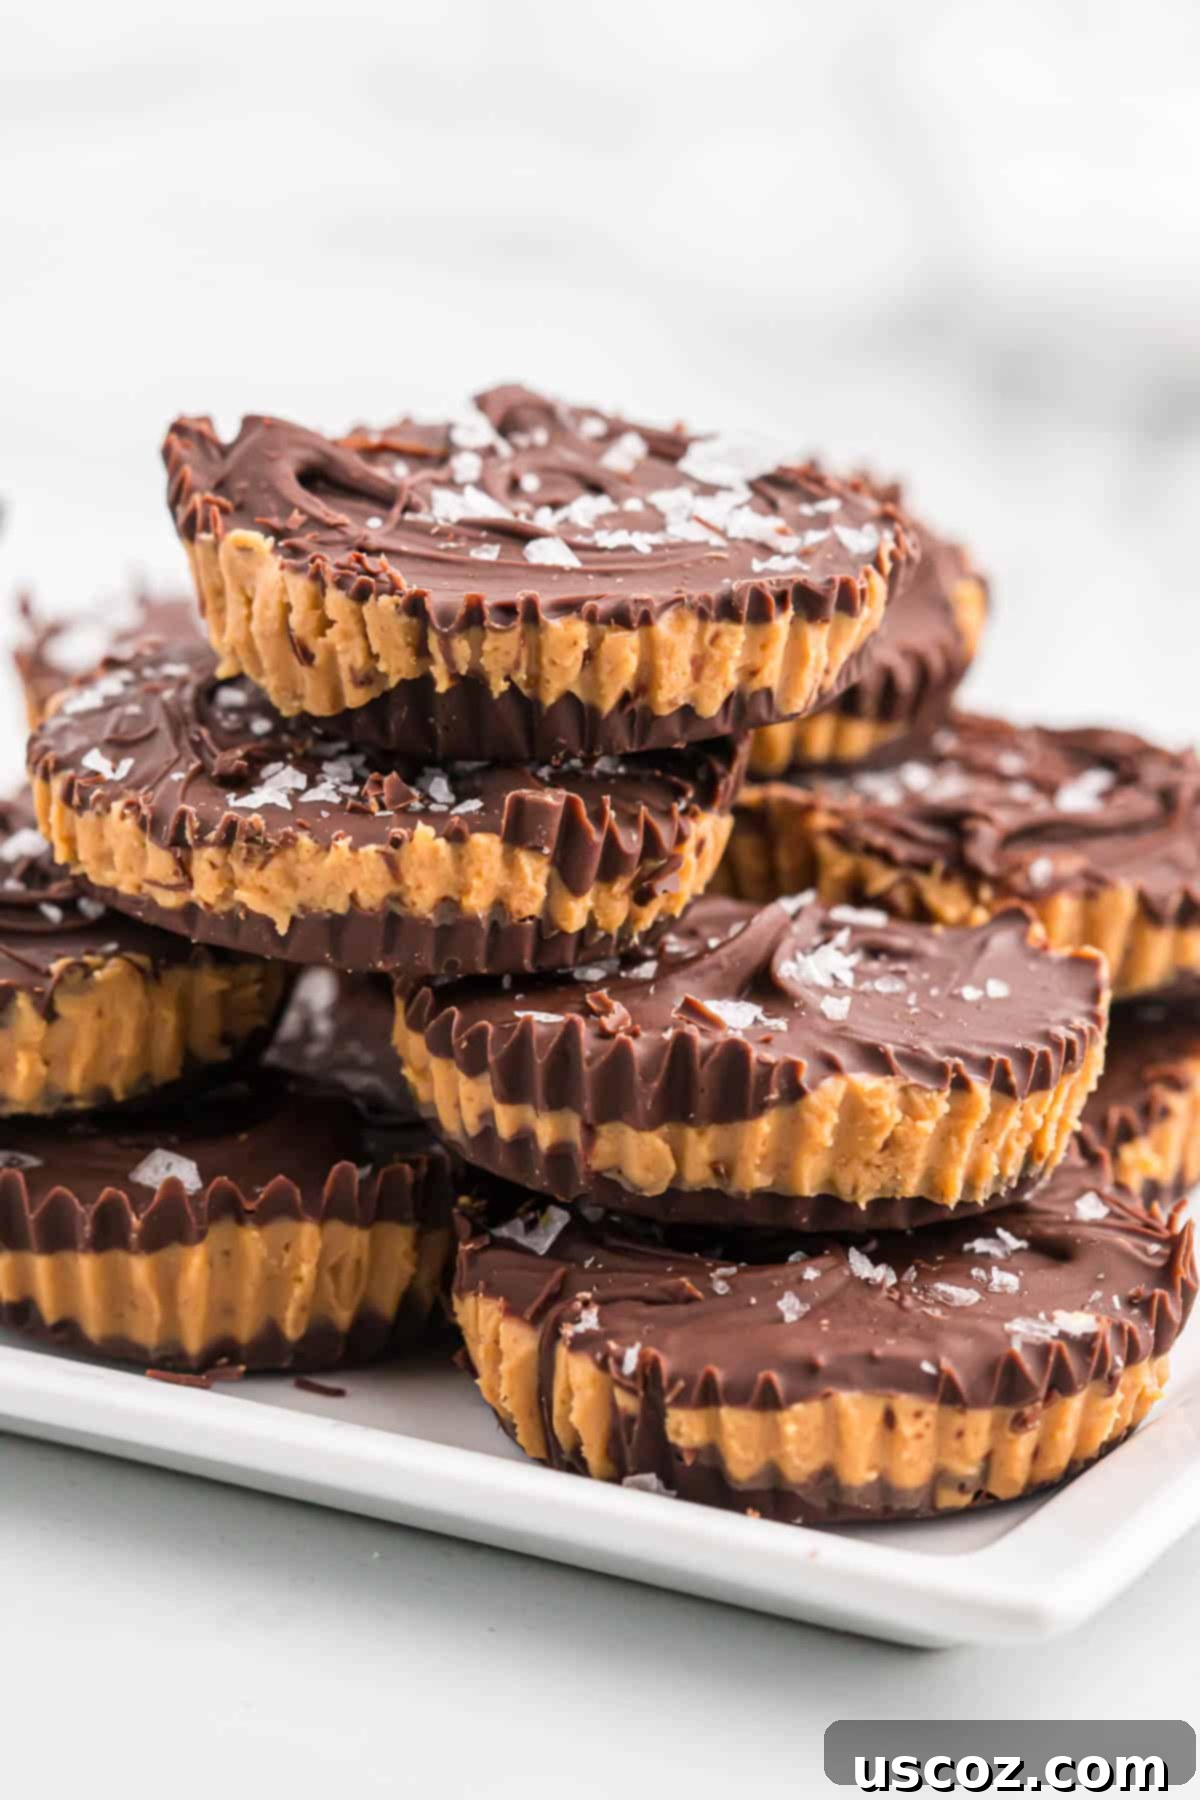
There’s something truly special about a homemade treat, and these peanut butter cups are no exception. They’ve become my absolute favorite dessert to keep stashed in the freezer for those moments when a quick, delightful indulgence is needed. Imagine biting into a perfectly balanced sweet and salty confection, knowing you made it yourself!
This copycat Reese’s recipe relies on simple, readily available pantry staples, making it accessible for everyone. It’s no wonder that peanut butter and chocolate together form one of the most beloved flavor combinations, leading to countless popular candy recipes. With this recipe, you can skip the store-bought versions and enjoy a fresher, customizable, and incredibly satisfying treat right from your own kitchen.
Why You’ll Adore This Easy Peanut Butter Cups Recipe
These homemade chocolate peanut butter cups are more than just a dessert; they’re an experience. Here’s why this recipe will quickly become a staple in your kitchen:
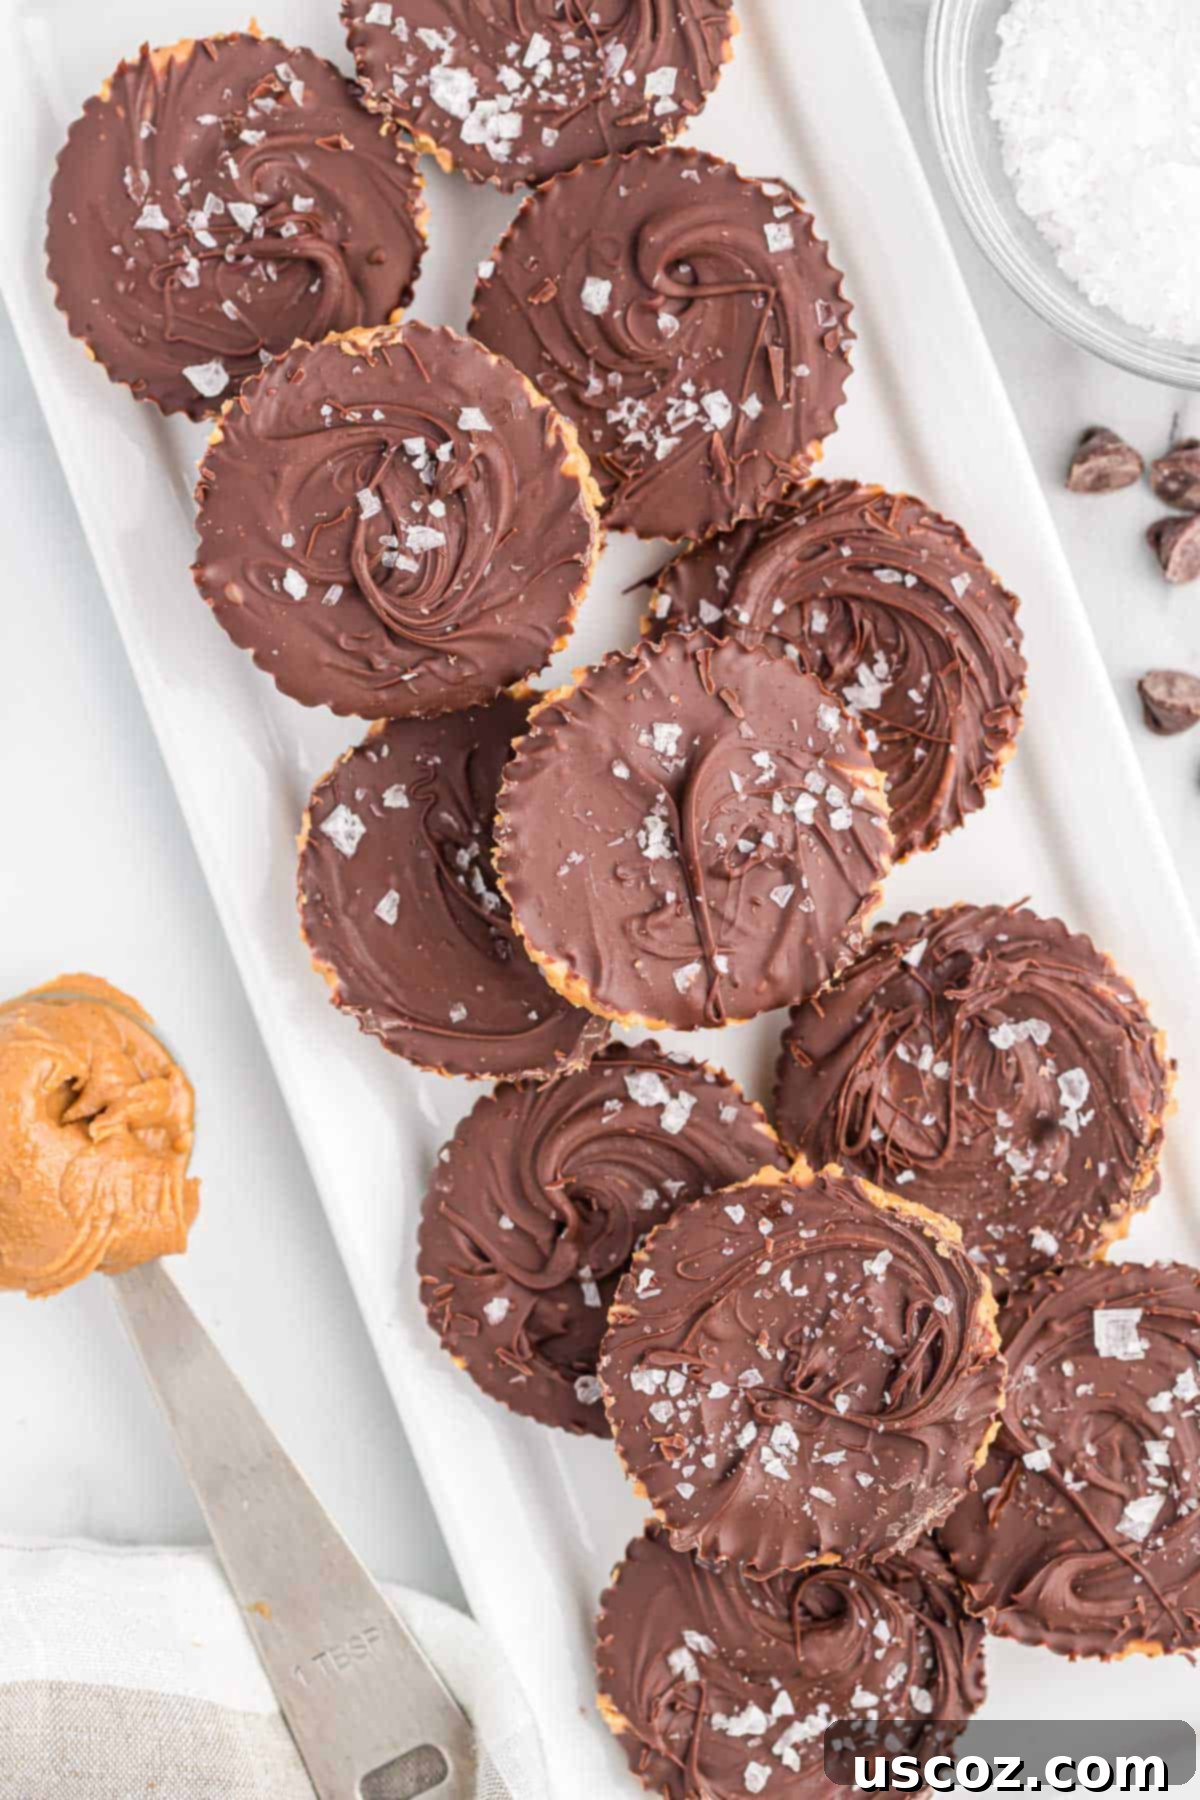
- Perfect Sweet and Salty Harmony: The magical combination of salty peanut butter and sweet chocolate takes your taste buds on an incredible journey. If you’ve never experimented with a sprinkle of sea salt flakes on your chocolate desserts, prepare for a revelation! The flaky sea salt elevates the flavors, cutting through the sweetness and adding an addictive crunch that makes each bite utterly phenomenal.
- Effortless No-Bake Preparation: The absolute best part about crafting these delicious treats? No baking required! This recipe eliminates the need for an oven, making it ideal for hot days or when you simply want a quick, fuss-free dessert. All you need to do is melt chocolate, mix a few ingredients for the filling, assemble, and chill. They set beautifully in the refrigerator or freezer in mere minutes, meaning less waiting and more enjoying.
- Quick 20-Minute Active Prep Time: Life is busy, but that shouldn’t stop you from enjoying amazing homemade desserts. This recipe is designed for speed and convenience, requiring only about 20 minutes of active preparation time. Most of the time involved is hands-off chilling, allowing you to focus on other tasks while your delicious peanut butter cups firm up. It’s the perfect sweet escape for busy weeknights or impromptu cravings.
- Customizable to Your Liking: Beyond the basic recipe, these peanut butter cups offer endless possibilities for customization, allowing you to tailor them to your specific preferences or dietary needs.
- Fewer Preservatives, Fresher Taste: When you make treats at home, you control the ingredients. This means fewer artificial additives and a fresh, authentic flavor that store-bought options simply can’t match.
- Great for Gifting: Homemade peanut butter cups make wonderful gifts for friends, family, or party favors. They’re universally loved and show a thoughtful touch.
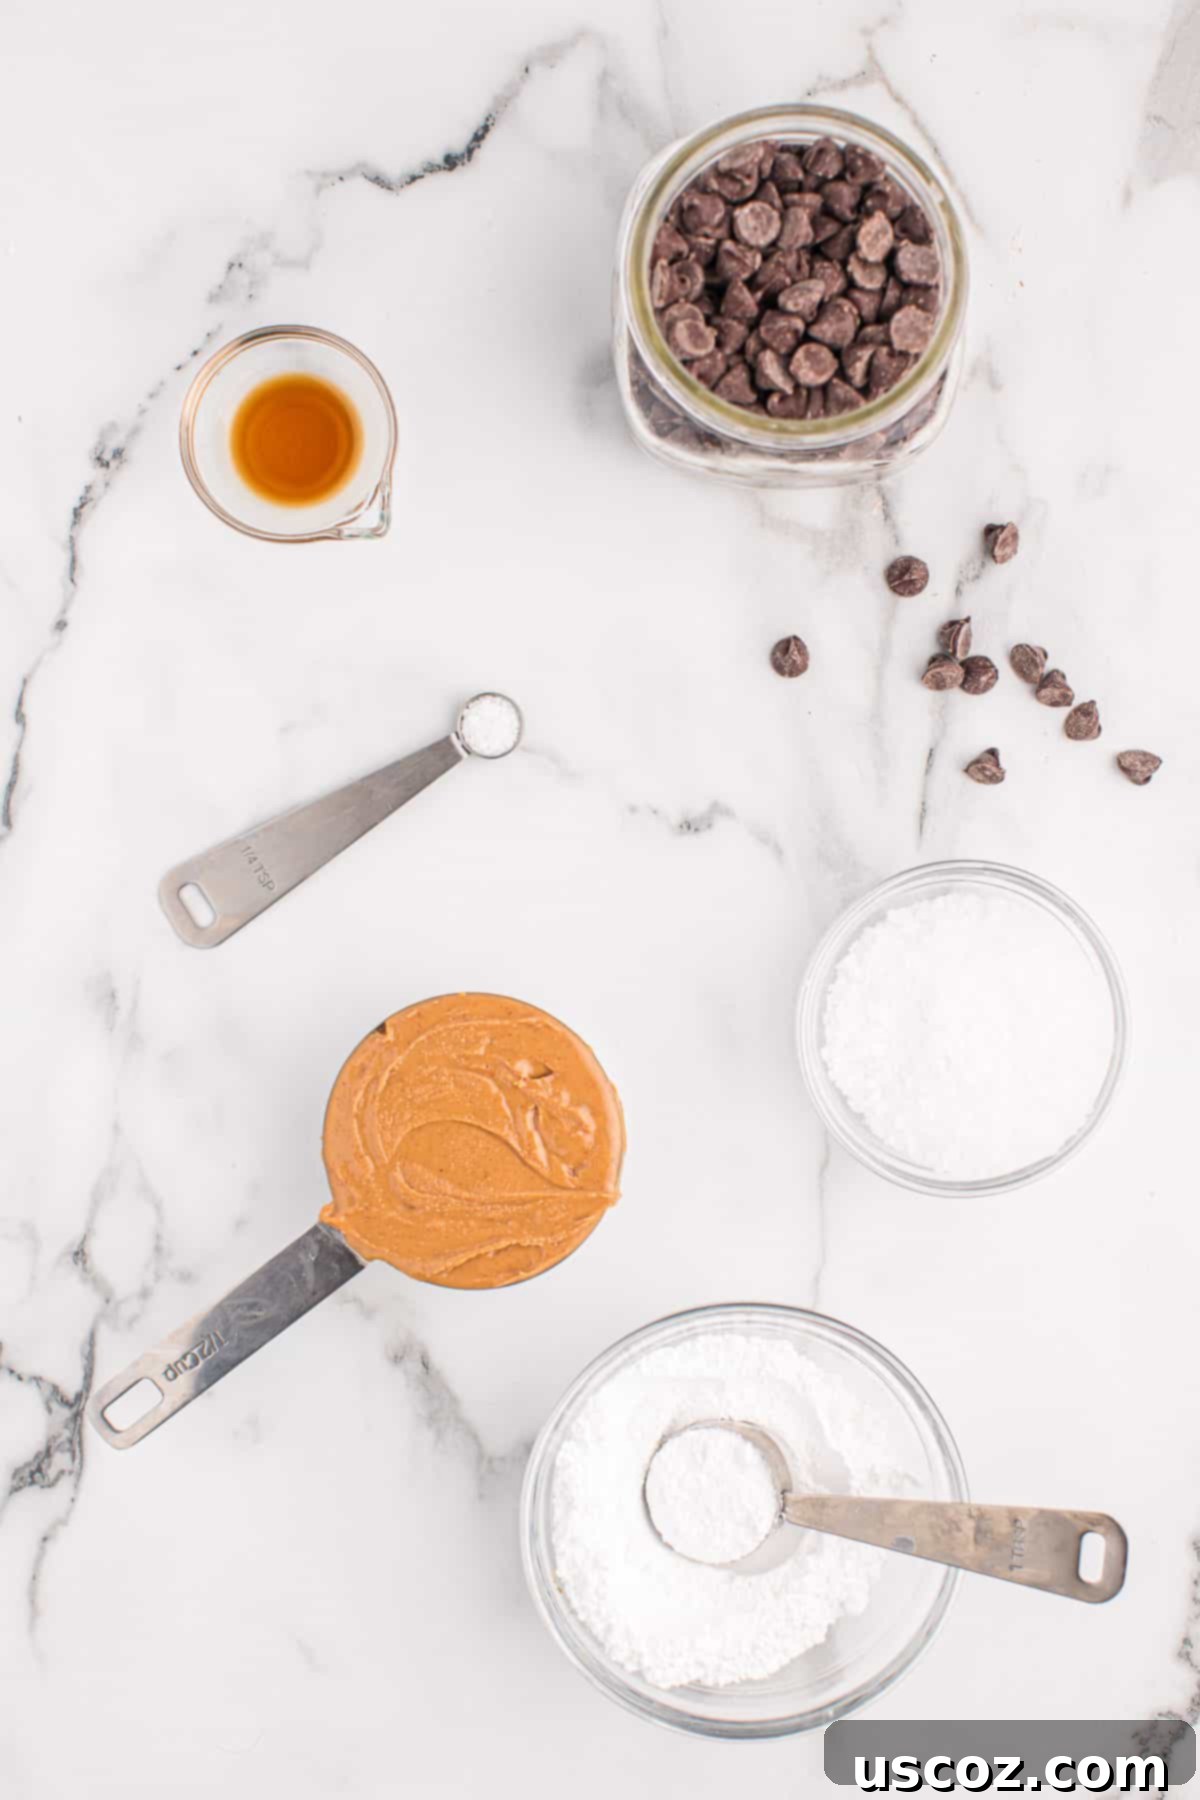
Essential Peanut Butter Cup Ingredients
You’ll be delighted to find that this recipe calls for simple, common ingredients you likely already have on hand. Quality ingredients lead to outstanding results!
- Creamy No-Stir Peanut Butter: For the best consistency and ease of mixing, we recommend using a creamy, no-stir peanut butter. Brands like Jif or Skippy work wonderfully, as their smooth texture helps create a silky, firm peanut butter filling without excess oil separation. Natural peanut butters can be used, but you might need to adjust the powdered sugar content to achieve the right firmness.
- Powdered Sugar (Confectioners’ Sugar): This finely ground sugar is crucial for achieving the smooth, melt-in-your-mouth texture of the peanut butter filling. It dissolves easily and prevents a gritty mouthfeel, ensuring your copycat Reese’s cups are truly authentic.
- Semi-Sweet Chocolate Chips: The foundation of our chocolate shell! Semi-sweet chocolate chips provide a balanced sweetness that complements the peanut butter without being overly rich. You can choose your favorite brand, ensuring good quality for a superior chocolate coating.
- Vanilla Extract: A touch of pure vanilla extract enhances the overall flavor profile of the chocolate, adding a subtle warmth and depth that makes the chocolate taste even more luxurious.
- Fine Salt: Just a pinch of fine salt in the peanut butter filling is essential. It beautifully balances the sweetness of the sugar and chocolate, making the peanut butter flavor truly pop and preventing the cups from being cloyingly sweet.
- Flaked Sea Salt: (Optional, but highly recommended!) A sprinkle of flaked sea salt on top of the finished chocolate layer is a game-changer. It provides a delightful textural contrast and intensifies the sweet-and-salty dynamic, taking these homemade treats from great to absolutely extraordinary.
Peanut Butter Cup Recipe Variations and Customizations
One of the joys of making homemade treats is the ability to customize them. Here are some fantastic ways to adapt this peanut butter cup recipe to your taste:
Nut Butter Alternatives:
- Almond Butter: For a slightly different nutty flavor, swap out peanut butter for creamy almond butter. The taste will be milder and slightly sweeter.
- Cashew Butter: Offers a rich, buttery, and even creamier texture. Cashew butter cups are a decadent alternative.
- Sunflower Seed Butter (SunButter): If you need a nut-free version due to allergies, sunflower seed butter is an excellent choice. It provides a similar texture and a unique, delicious flavor profile.
- Important Note: Some natural nut/seed butters are runnier than conventional peanut butter. You may need to add an additional tablespoon or two of powdered sugar, gradually, until the filling reaches a firm, pliable consistency that holds its shape.
Chocolate Choices:
- Milk Chocolate Chips: For a sweeter, creamier, and more classic candy bar flavor, use milk chocolate chips. This is often preferred by those who love a very sweet treat.
- Dark Chocolate Chips: If you prefer a richer, less sweet, and more intense chocolate experience, opt for dark chocolate chips. A cacao content of 60-70% works beautifully to contrast the sweet peanut butter filling.
- White Chocolate: For a unique twist, consider using white chocolate for the shell. It offers a distinct creamy, vanilla-forward flavor that pairs surprisingly well with peanut butter.
Sweetener and Texture Additions:
- Granulated Sugar or Cane Sugar: While powdered sugar provides the smoothest texture, you can experiment with very fine granulated sugar if powdered sugar isn’t available. You might need to process it briefly in a food processor to make it finer. Add it gradually until the peanut butter mixture is firm enough and no longer too sticky.
- Crunchy Add-ins: Elevate the texture by mixing in crushed graham cracker crumbs, crisp rice cereal (like Rice Krispies), finely chopped pretzels, or even mini chocolate chips into the peanut butter filling. These additions provide a delightful crunch.
- Flavor Boosters for the Filling:
- Cinnamon: A pinch of ground cinnamon in the peanut butter filling can add a warm, comforting spice.
- Espresso Powder: A tiny amount of instant espresso powder (¼ teaspoon) mixed into the chocolate can deepen its flavor without making it taste like coffee.
- Spices: Consider a tiny dash of cayenne pepper for a subtle spicy kick that complements chocolate wonderfully.
How to Make These Foolproof Peanut Butter Cups
Follow these straightforward steps to create your own batch of irresistible homemade peanut butter cups. Precision and patience are key, especially with the melting chocolate!
Step-by-Step Instructions:
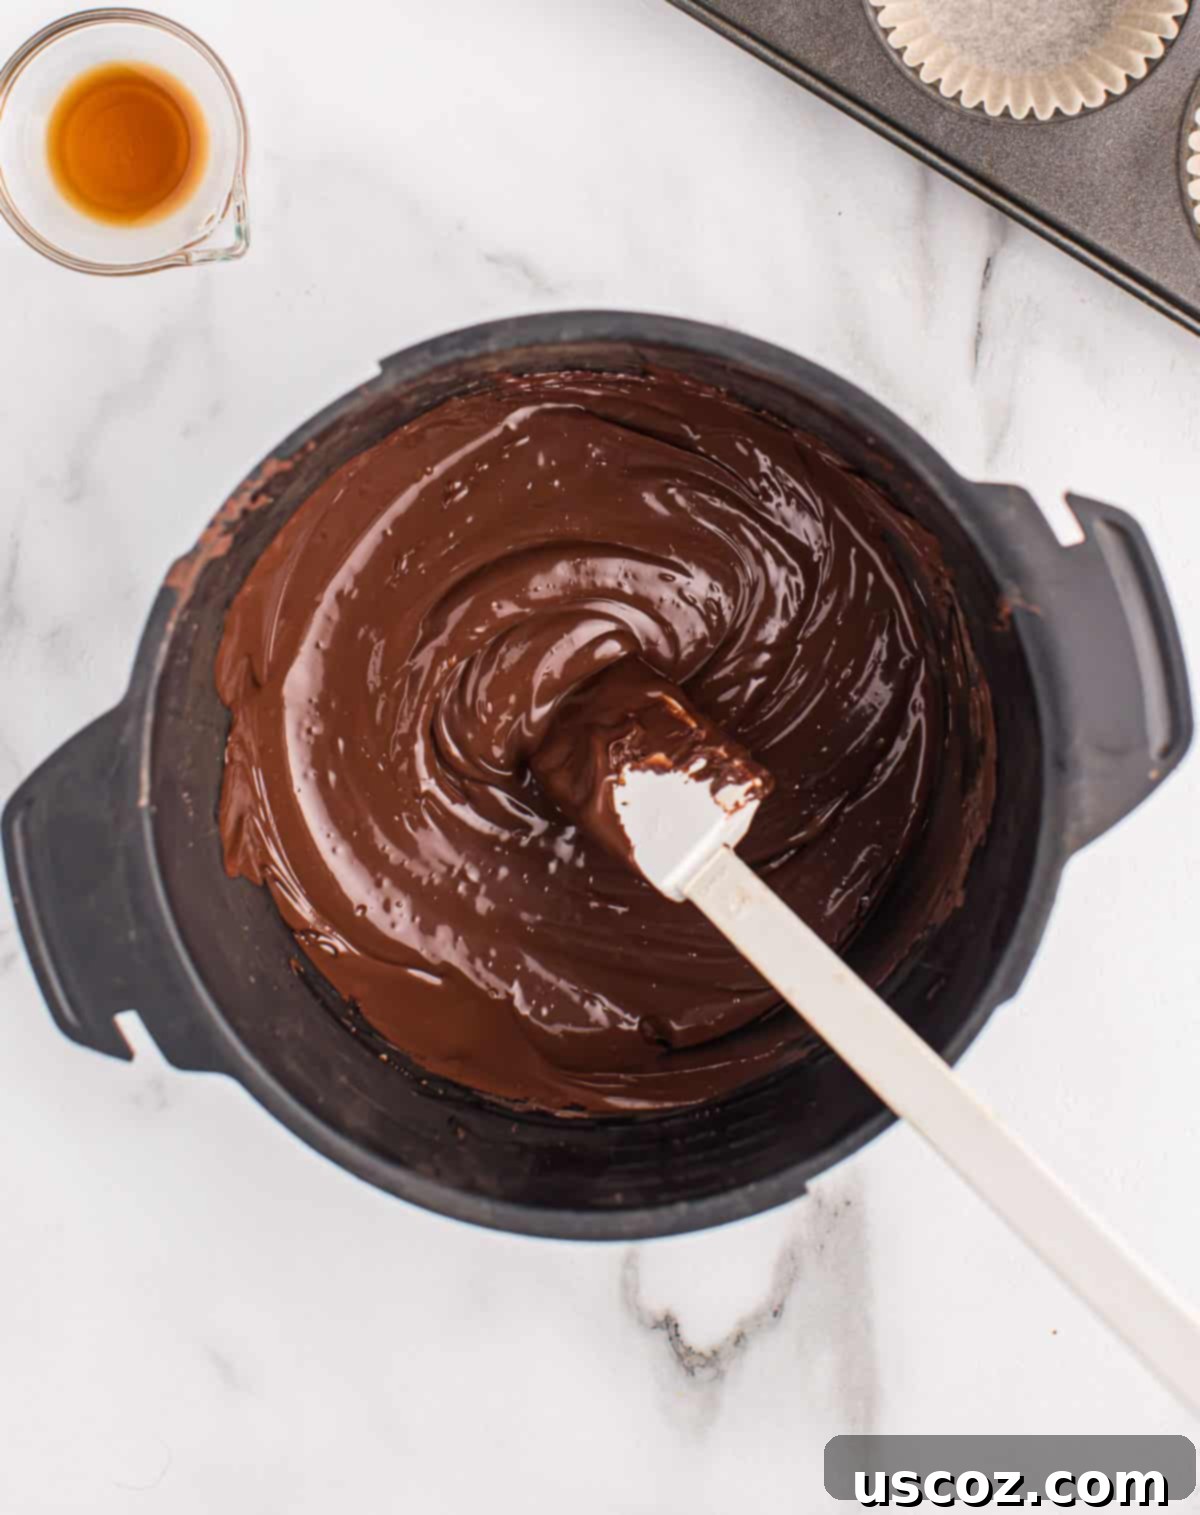
Step 1: Prepare the Chocolate Base. Place your chosen semi-sweet chocolate chips into a microwave-safe bowl. Microwave the chocolate in short, 20-second increments. After each increment, remove the bowl and stir the chocolate thoroughly. This method is crucial to prevent the chocolate from overheating and seizing (becoming thick and grainy). Continue until the chocolate is completely smooth and melted. Once melted, stir in the vanilla extract, which will enhance the chocolate’s flavor. Set aside briefly.
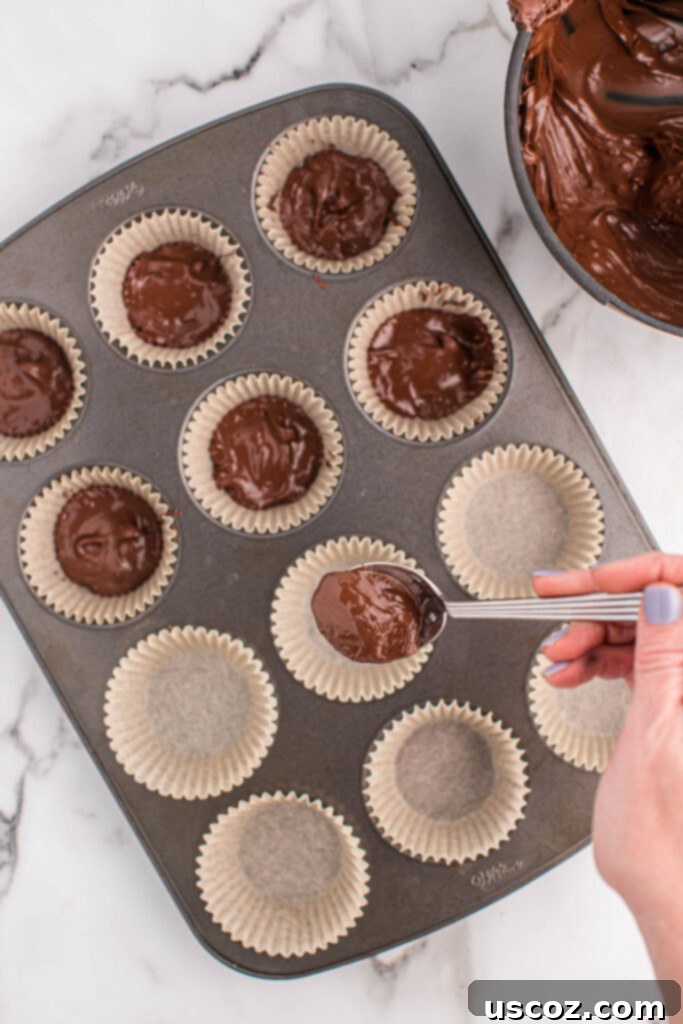
Step 2: Create the First Chocolate Layer. Line a standard 12-cup muffin tin with paper or silicone muffin liners. Spoon approximately 1 ½ teaspoons of the melted chocolate into the bottom of each liner. Gently tap the muffin pan down onto your countertop a few times. This action helps to evenly spread and flatten the chocolate layer, creating a smooth base for your peanut butter cups. Place the muffin tin into the fridge or freezer for 10-15 minutes, or until the chocolate is fully set and firm to the touch.
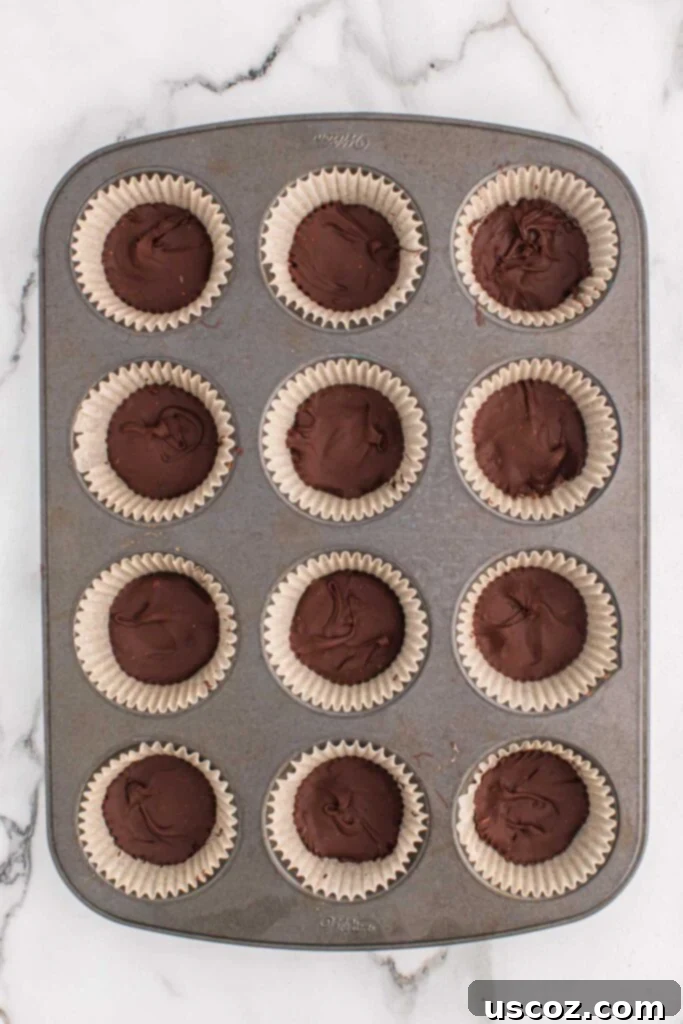
Step 3: Prepare the Peanut Butter Filling. While the chocolate base is chilling, combine the peanut butter, powdered sugar, and fine salt in a medium-sized bowl. Mix these ingredients thoroughly until they are well combined and form a thick, cohesive dough. The mixture should be firm enough to hold its shape but still pliable. Once the first chocolate layer has hardened, retrieve the muffin tin from the freezer.
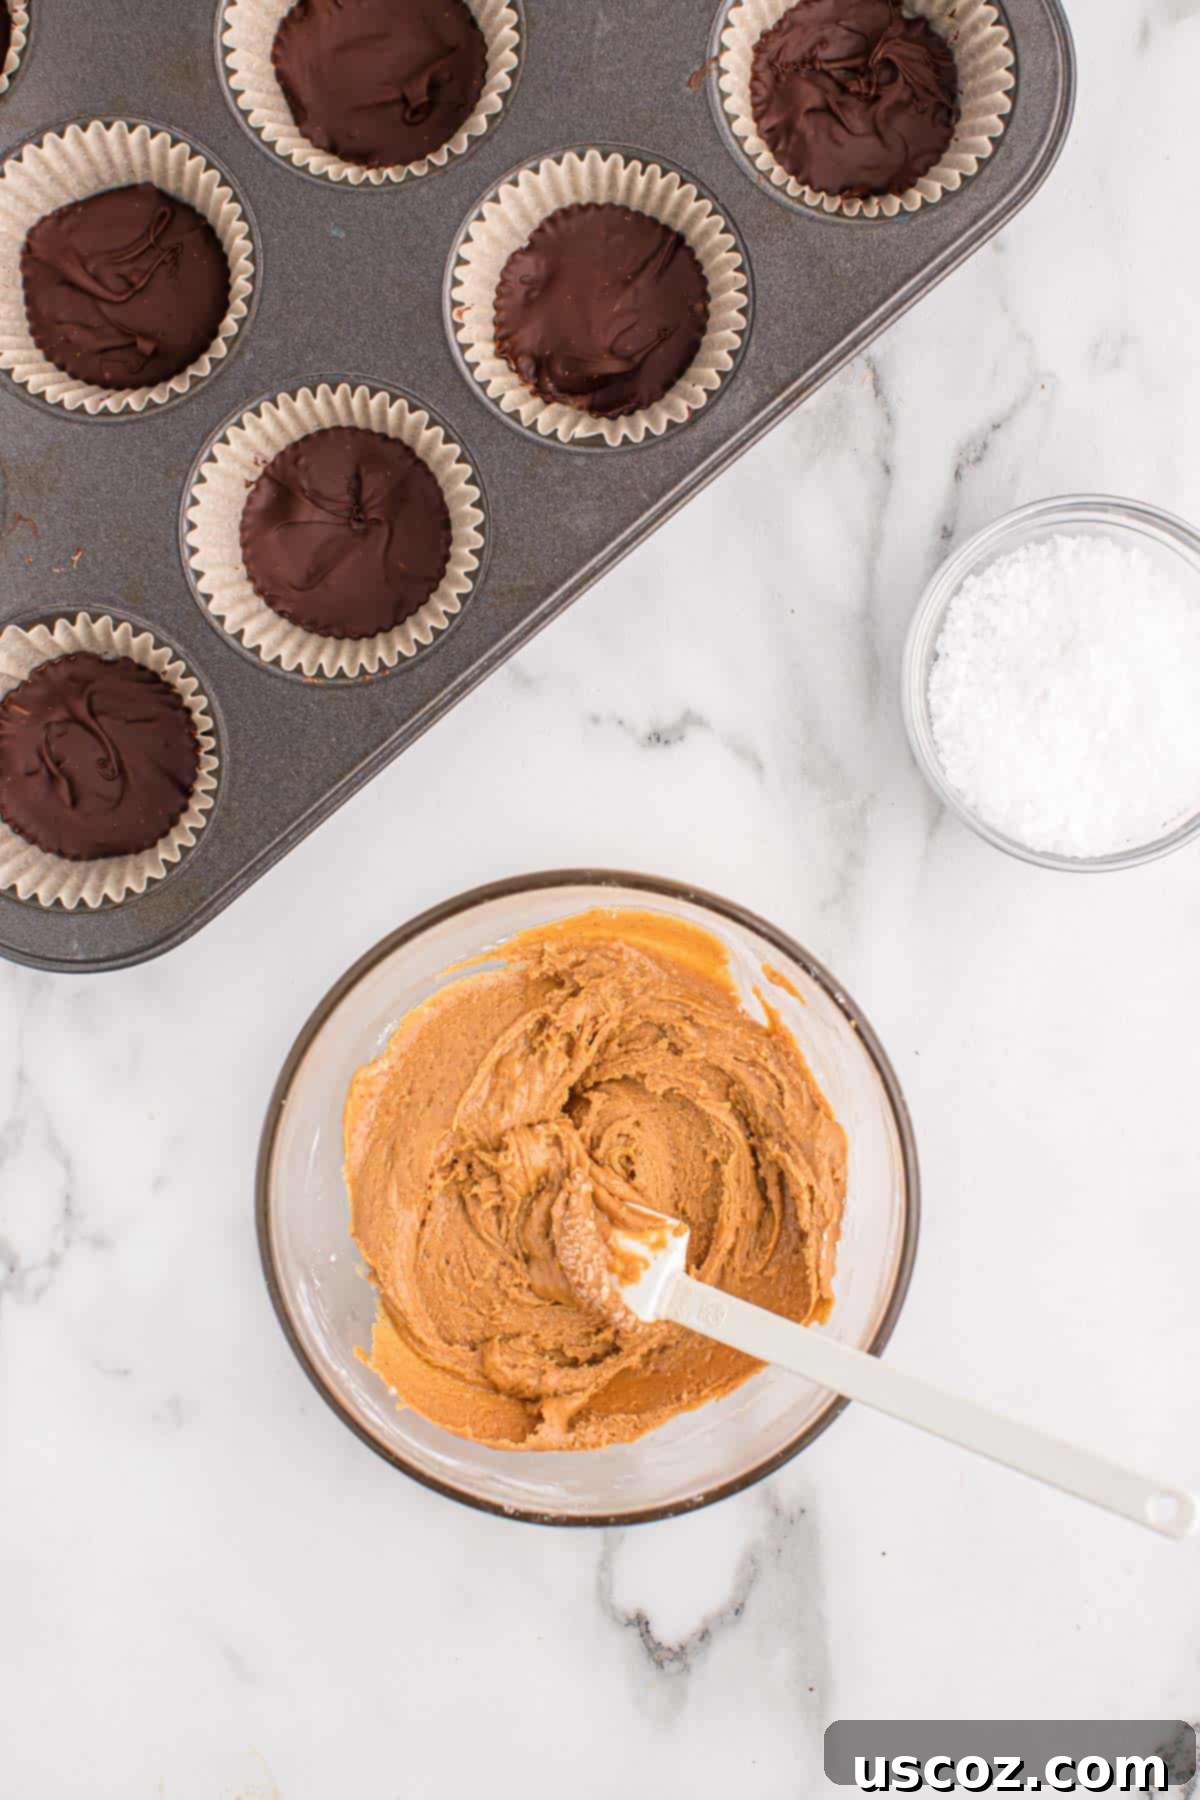
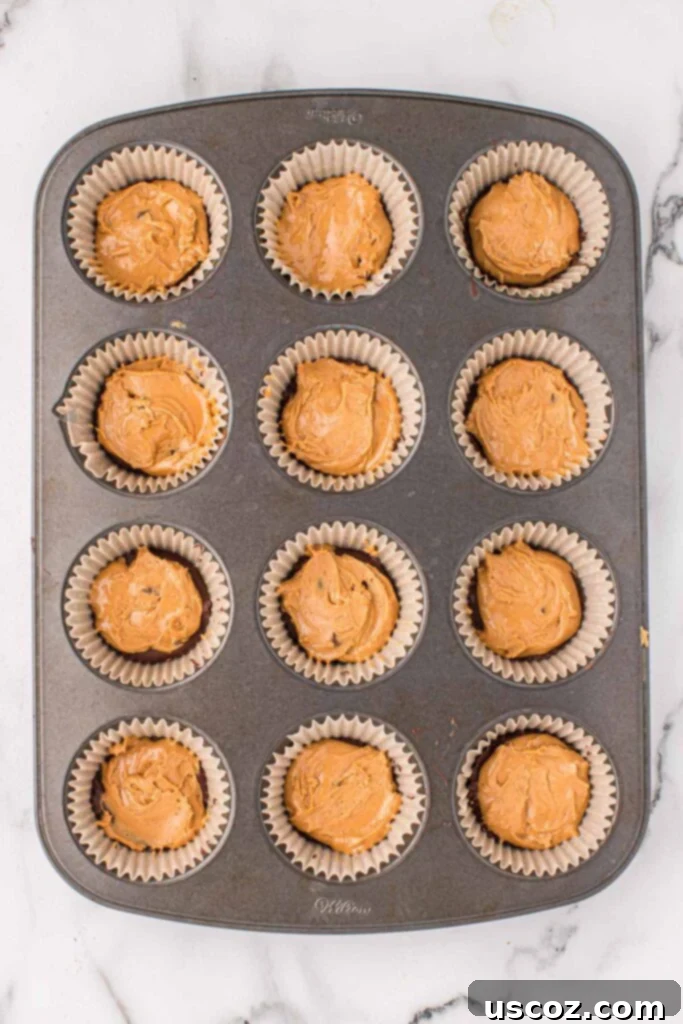
Step 4: Add the Peanut Butter Layer. Evenly distribute the peanut butter mixture among the 12 muffin cups, placing it directly on top of the hardened chocolate layer. You can use your fingers or a small spoon to gently press and flatten the peanut butter, ensuring it forms an even layer. Tap the pan onto the countertop again. This helps to settle the peanut butter layer and remove any air pockets, creating a smooth, flat surface.
- Pro Tip for Chocolate Management: If your remaining melted chocolate has started to harden while you were working on the peanut butter filling, simply pop it back into the microwave for another 5-10 seconds. Stir it well until it’s smooth and pourable again. Be very careful not to overheat it, as burnt chocolate will seize.
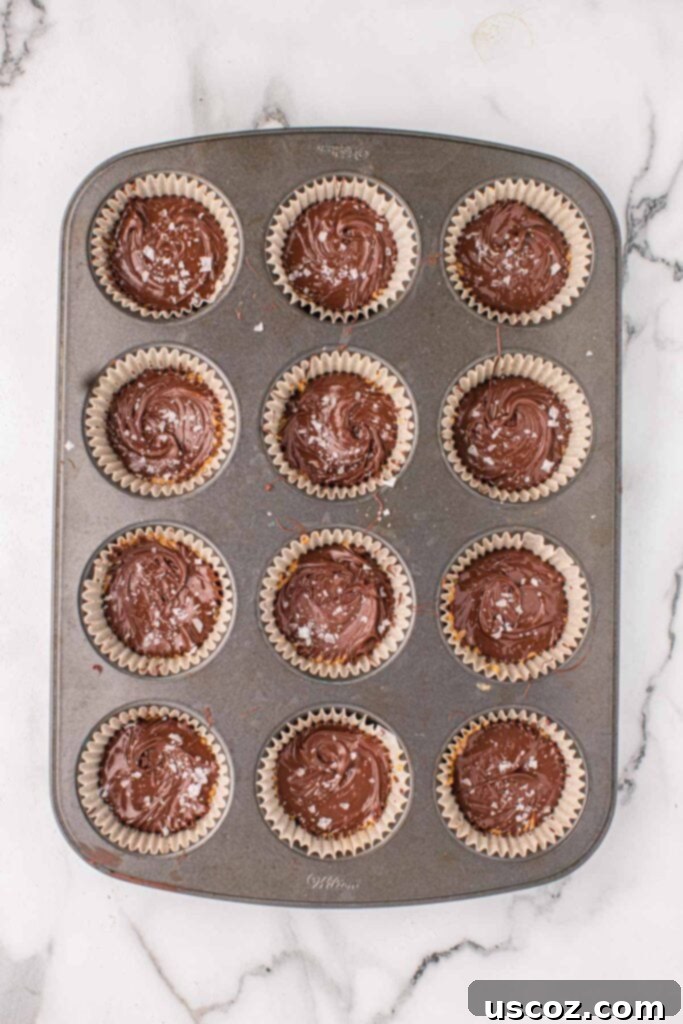
Step 5: Finish with the Top Chocolate Layer and Sea Salt. Drizzle or spoon the remaining melted chocolate over the peanut butter layer in each muffin cup, ensuring it completely covers the filling. As you drizzle, gently tap the pan down onto the counter. This helps the chocolate self-level and creates a smooth, even top layer. Immediately after applying the top chocolate layer (before it begins to set), sprinkle the flaked sea salt over each peanut butter cup. This ensures the salt adheres beautifully to the chocolate. Once topped, place the muffin tin back into the fridge or freezer for another 15-20 minutes, or until the chocolate is fully set and firm.
Peanut Butter Cup Storage and Serving Tips
Proper storage will ensure your homemade peanut butter cups remain fresh and delicious for an extended period. These treats are incredibly versatile and can be enjoyed in various ways!
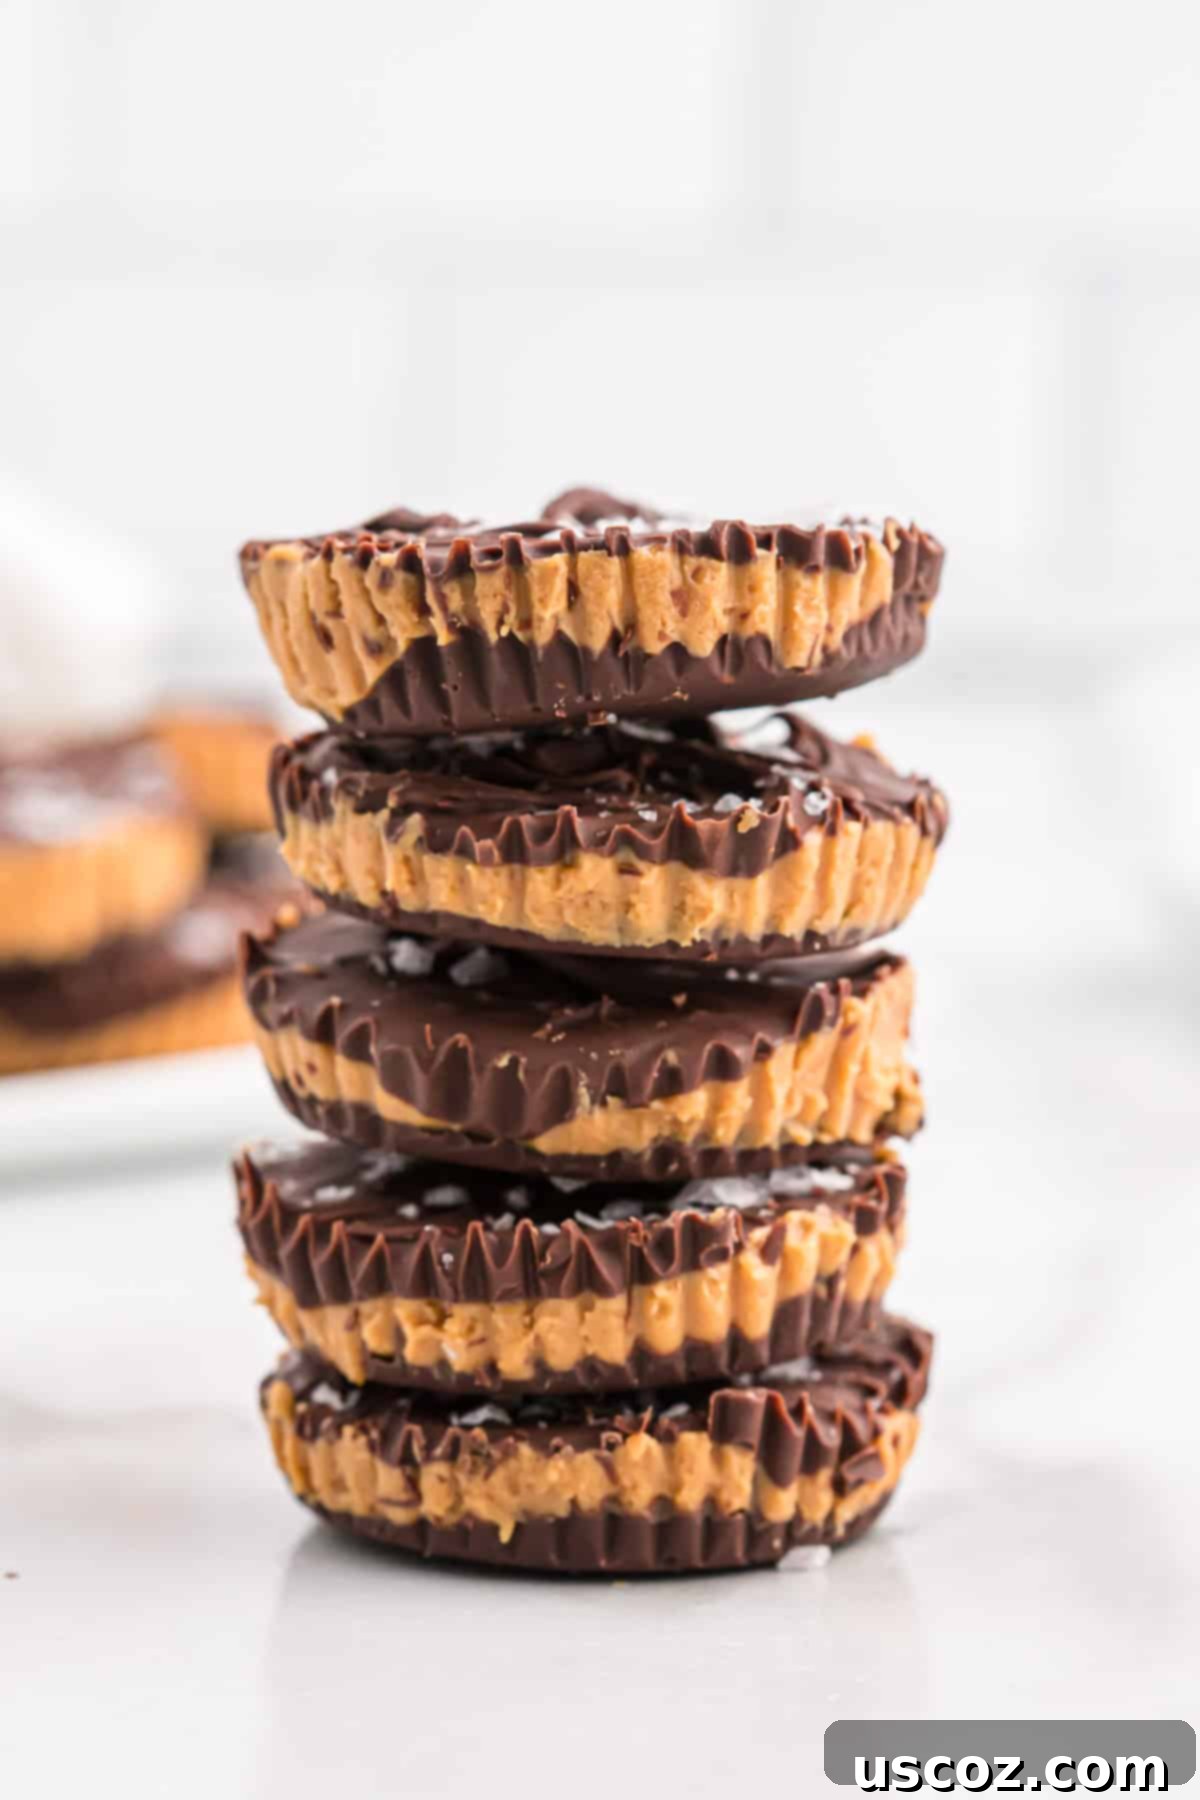
- In the Refrigerator: Store your peanut butter cups in an airtight container in the refrigerator for up to 2 weeks. The cool temperature keeps the chocolate firm and prevents the peanut butter from becoming too soft.
- In the Freezer: For longer-term storage and an amazing texture, place the peanut butter cups in an airtight freezer-safe container. They will last beautifully for 2-3 months.
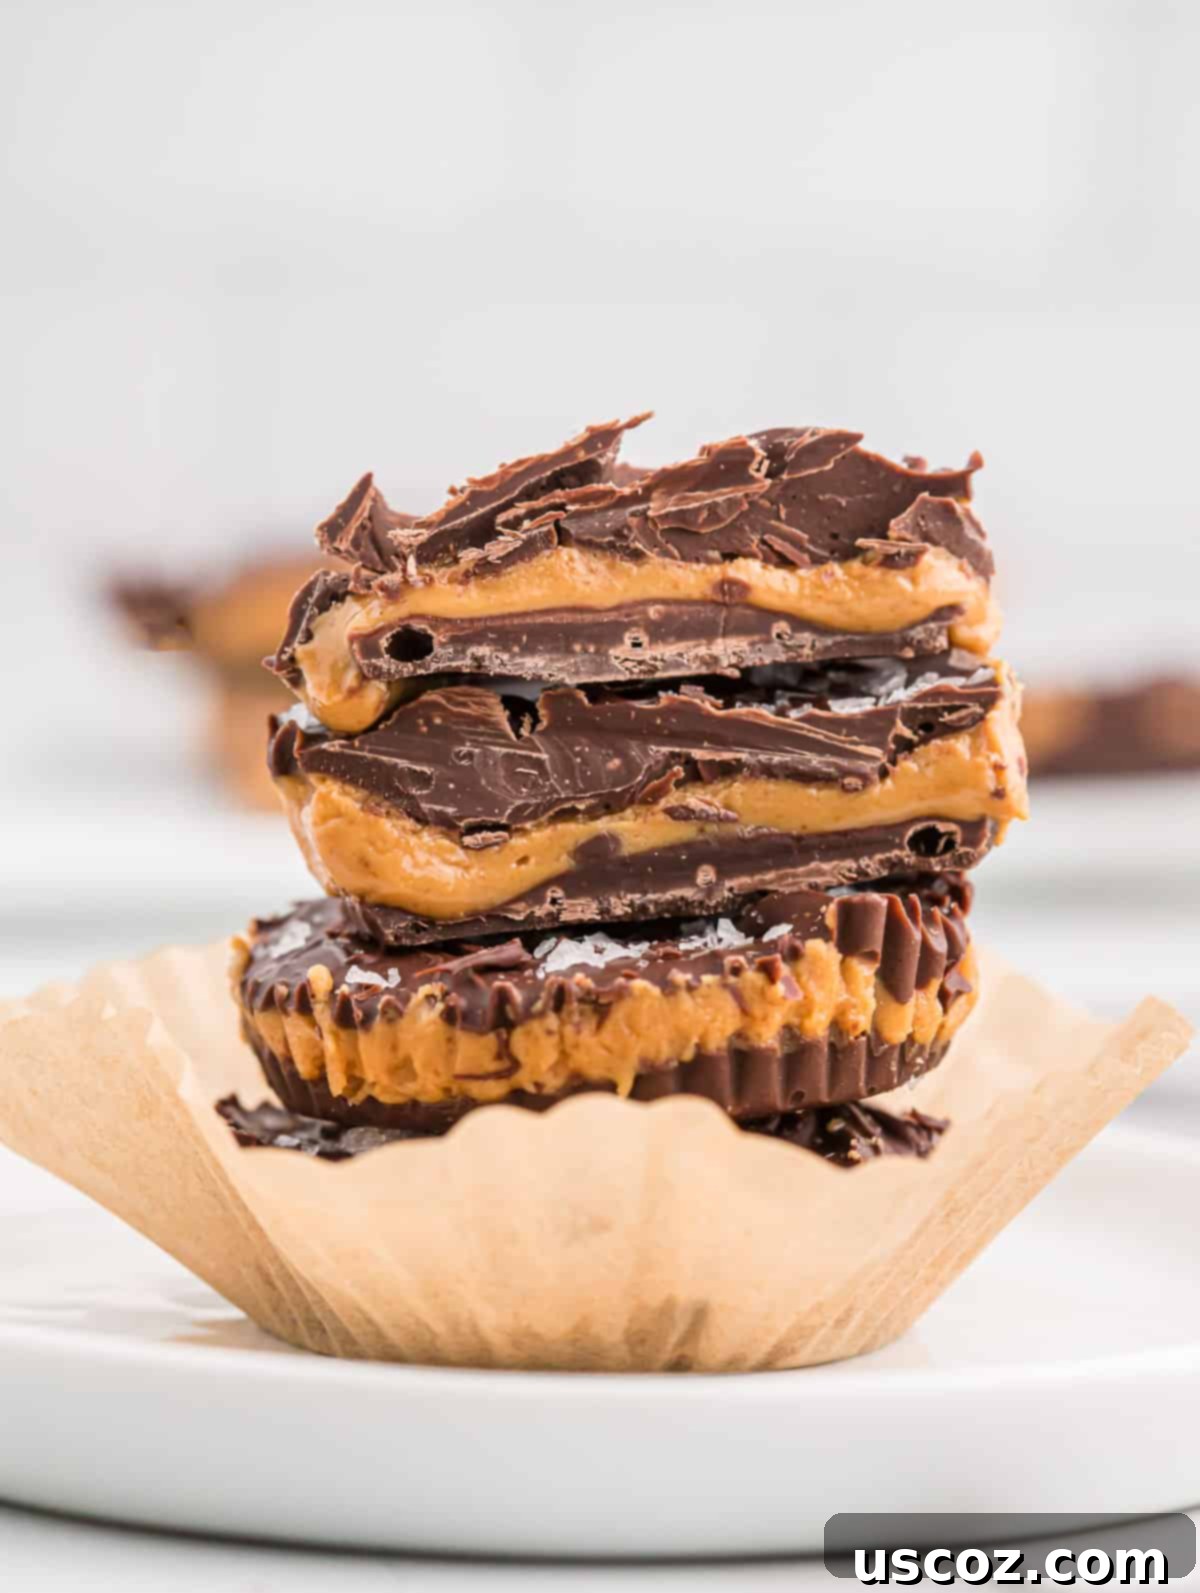
Storing these delightful treats in the freezer is my absolute preferred method. Not only do they last significantly longer, but they also transform into the most incredible quick sweet treat. When a craving strikes, I can simply grab one straight from the freezer! I personally love eating them directly frozen for a wonderfully firm, chewy bite that slowly melts in your mouth. However, if you prefer a slightly softer, creamier texture, allow them to thaw at room temperature for a few minutes (5-10 minutes usually does the trick) before enjoying.
Serving Suggestions:
- Classic Treat: Enjoy them as is, a perfect accompaniment to a cup of coffee or a cold glass of milk.
- Dessert Platter: Arrange them on a dessert platter for parties or gatherings. They are always a crowd-pleaser!
- Crumbled Topping: Crumble a frozen peanut butter cup over a scoop of vanilla ice cream for an instant sundae.
- Gift Idea: Package a few homemade peanut butter cups in a decorative box or bag for a thoughtful, edible gift.
More Irresistible Recipes You’ll Love
If you enjoyed making these homemade peanut butter cups, you’re in for a treat with these other fantastic recipes. Explore more delicious desserts and savory dishes that are just as easy and satisfying!
- Vegan Peanut Butter Cups: A plant-based version for those with dietary restrictions, equally delicious.
- Chocolate Chip Cookies without Brown Sugar: A unique twist on a classic, perfect for when you’re out of brown sugar.
- Protein Peanut Butter Cups: For a healthier, protein-packed version of your favorite treat.
- Cake Mix Cookies: Incredibly simple and quick cookies made from a box of cake mix.
- Energy Balls: Healthy, no-bake bites perfect for a quick snack or breakfast on the go.
- Teriyaki Sauce: A versatile homemade sauce that’s far superior to store-bought versions.
- Cake Mix Brownies: Rich, fudgy brownies made effortlessly with a cake mix.
Homemade Peanut Butter Cups
Save RecipeSaved!
Pin Recipe
Rate Recipe
Print Recipe
Ingredients
- ½ cup creamy no stir peanut butter
- 2 tablespoons powdered sugar
- 12 oz semi-sweet chocolate chips
- ¼ teaspoon vanilla extract
- ¼ teaspoon salt
- Sea salt flakes, for topping
Instructions
-
Place the chocolate chips in a microwave safe bowl and microwave in 20 second increments, stirring each time, until smooth. Be careful not to burn the chocolate or it will seize up.
-
Stir the vanilla extract into the melted chocolate.
-
Line a muffin tin with liners.
-
Place 1 ½ teaspoons of the melted chocolate into each muffin liner.
-
Tap the pan down onto the counter top to flatten the chocolate.
-
Place the muffin tin in the fridge or freezer until set (10-15 minutes).
-
Mix together the peanut butter, powdered sugar and salt in a bowl until combined.
-
Once the first chocolate layer has hardened, remove the muffin tin from the freezer.
-
Distribute the peanut butter mixture evenly into the 12 muffin cups.
-
Tap the pan onto the counter top again to flatten the peanut butter layer.
-
If your chocolate has hardened, you can microwave it for another 10 seconds to help loosen it up.
-
Drizzle the remaining melted chocolate over the tops, tapping the pan down as you go to flatten the layer.
-
Top the peanut butter cups immediately with flaked sea salt before the chocolate hardens.
-
Place in the fridge or freezer to chill until the chocolate is set.
Nutrition
Carbohydrates: 19g,
Protein: 4g,
Fat: 16g,
Saturated Fat: 7g,
Polyunsaturated Fat: 2g,
Monounsaturated Fat: 6g,
Trans Fat: 0.02g,
Cholesterol: 2mg,
Sodium: 97mg,
Potassium: 222mg,
Fiber: 3g,
Sugar: 13g,
Vitamin A: 14IU,
Calcium: 23mg,
Iron: 2mg
Like this recipe? Rate and comment below!
