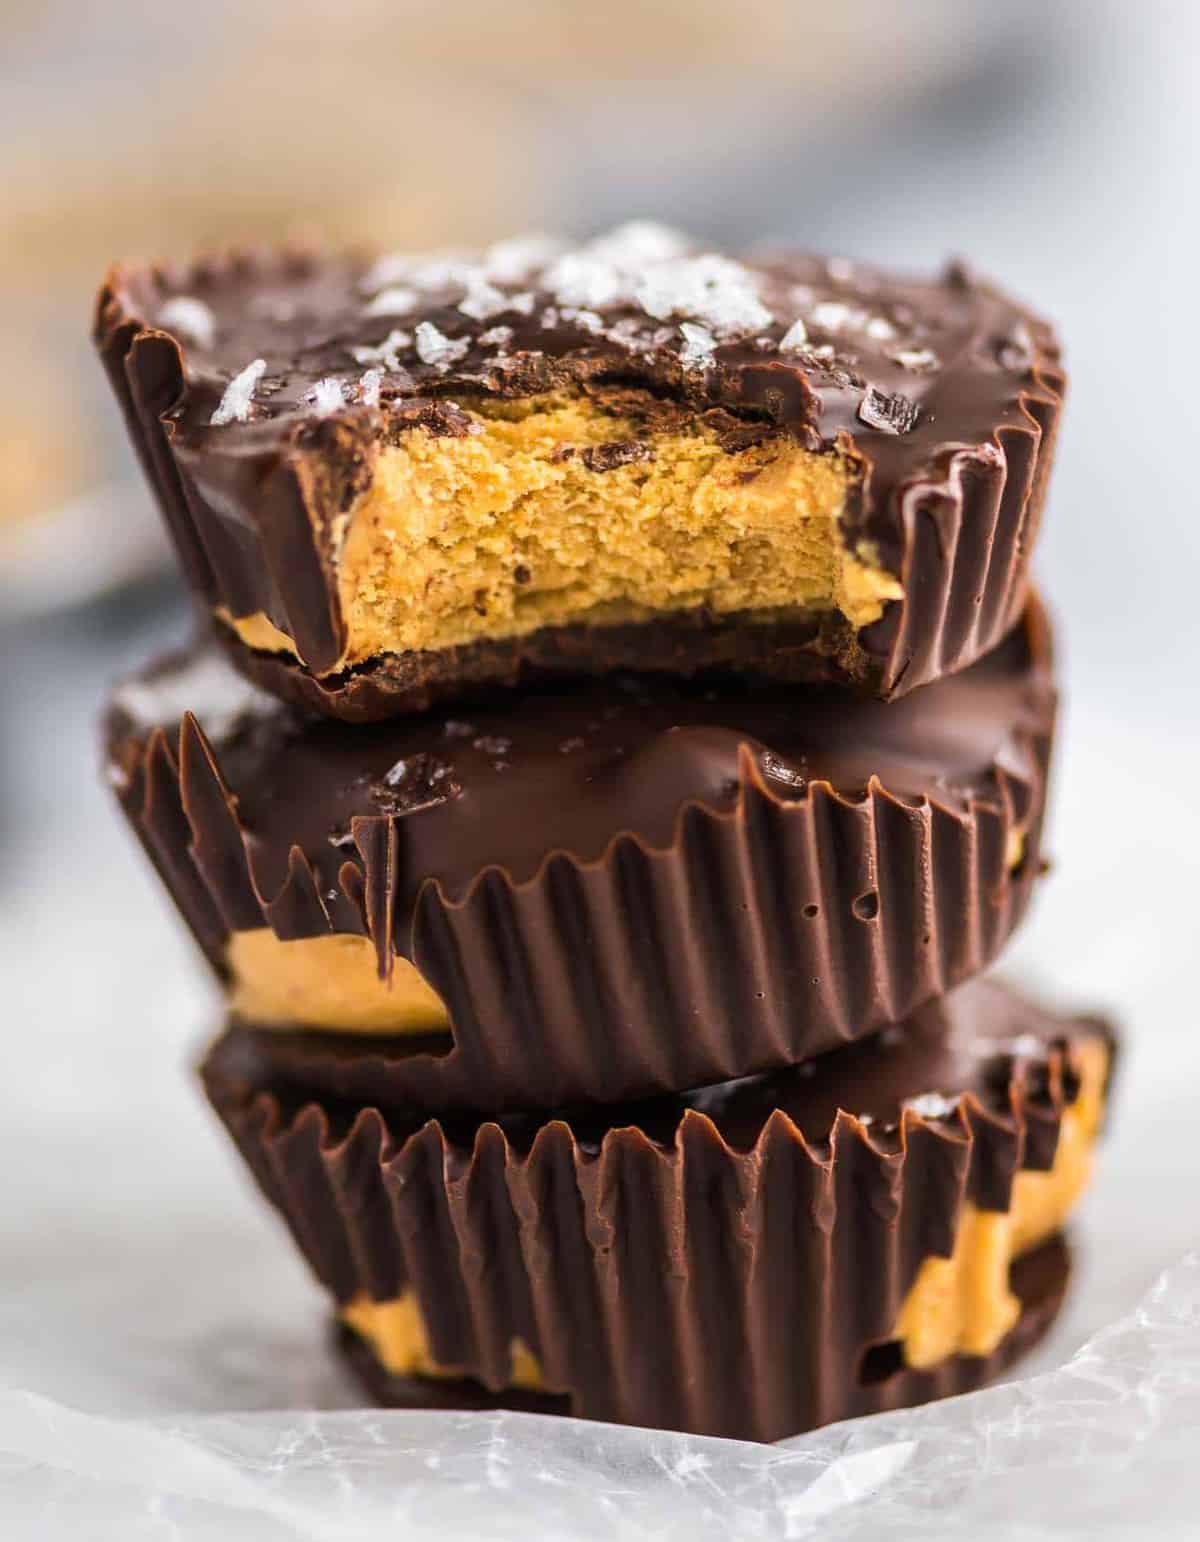
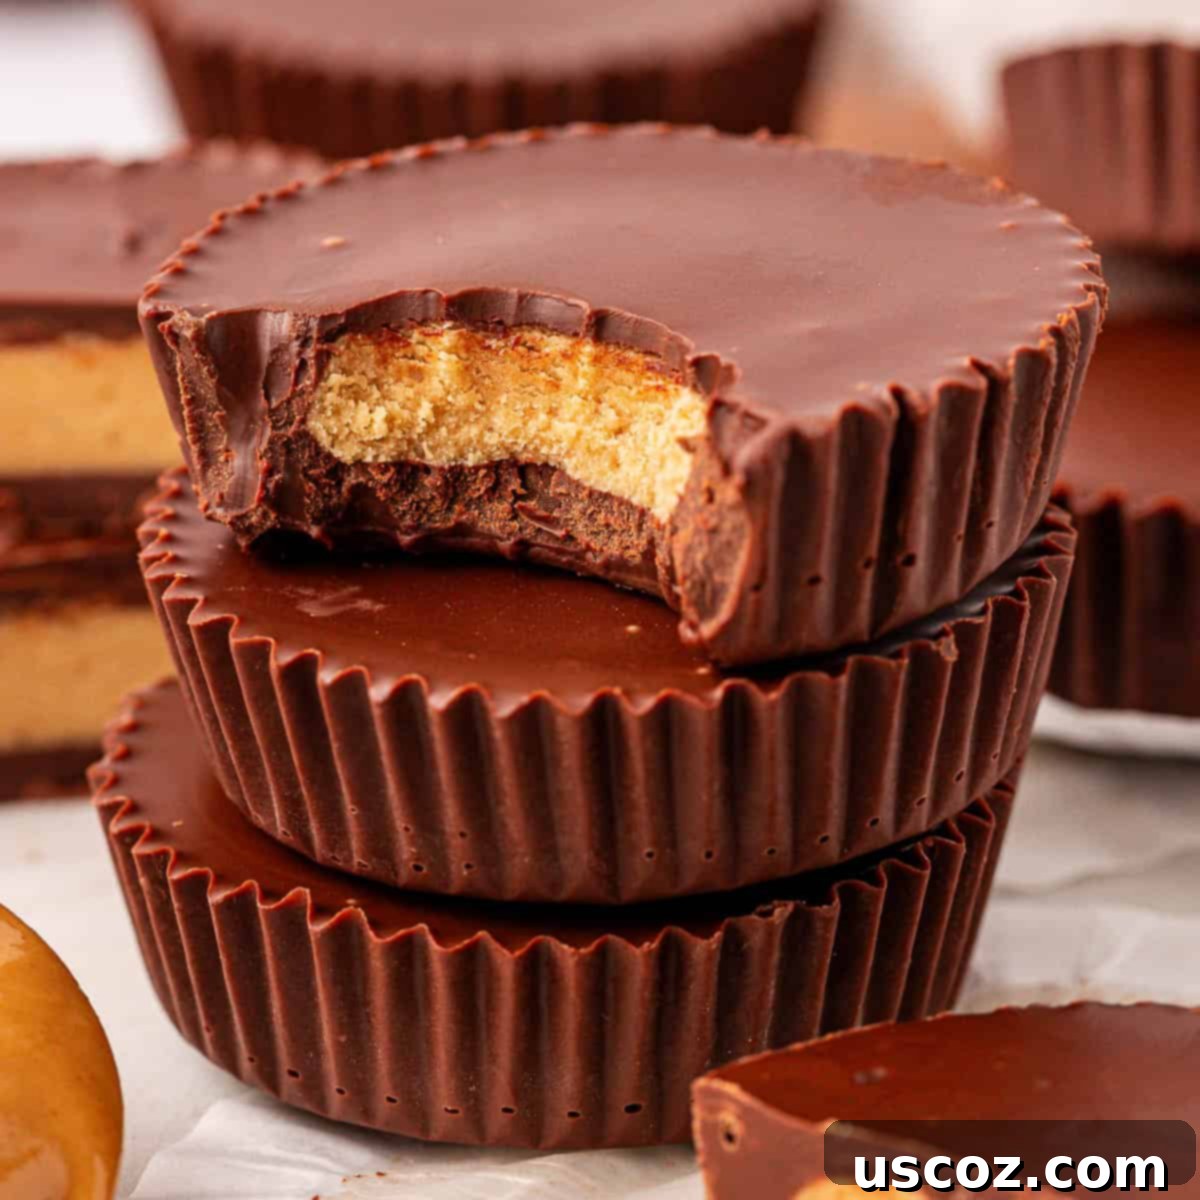
Indulge Guilt-Free: The Ultimate Recipe for Homemade Protein Peanut Butter Cups
Satisfy your sweet tooth with these incredible Protein Peanut Butter Cups! They taste just like your favorite Reese’s Cups, but with a delicious and wholesome boost of extra protein. Enjoy a healthier twist on a classic dessert that’s perfect for a post-workout treat or a smart snack any time of day.
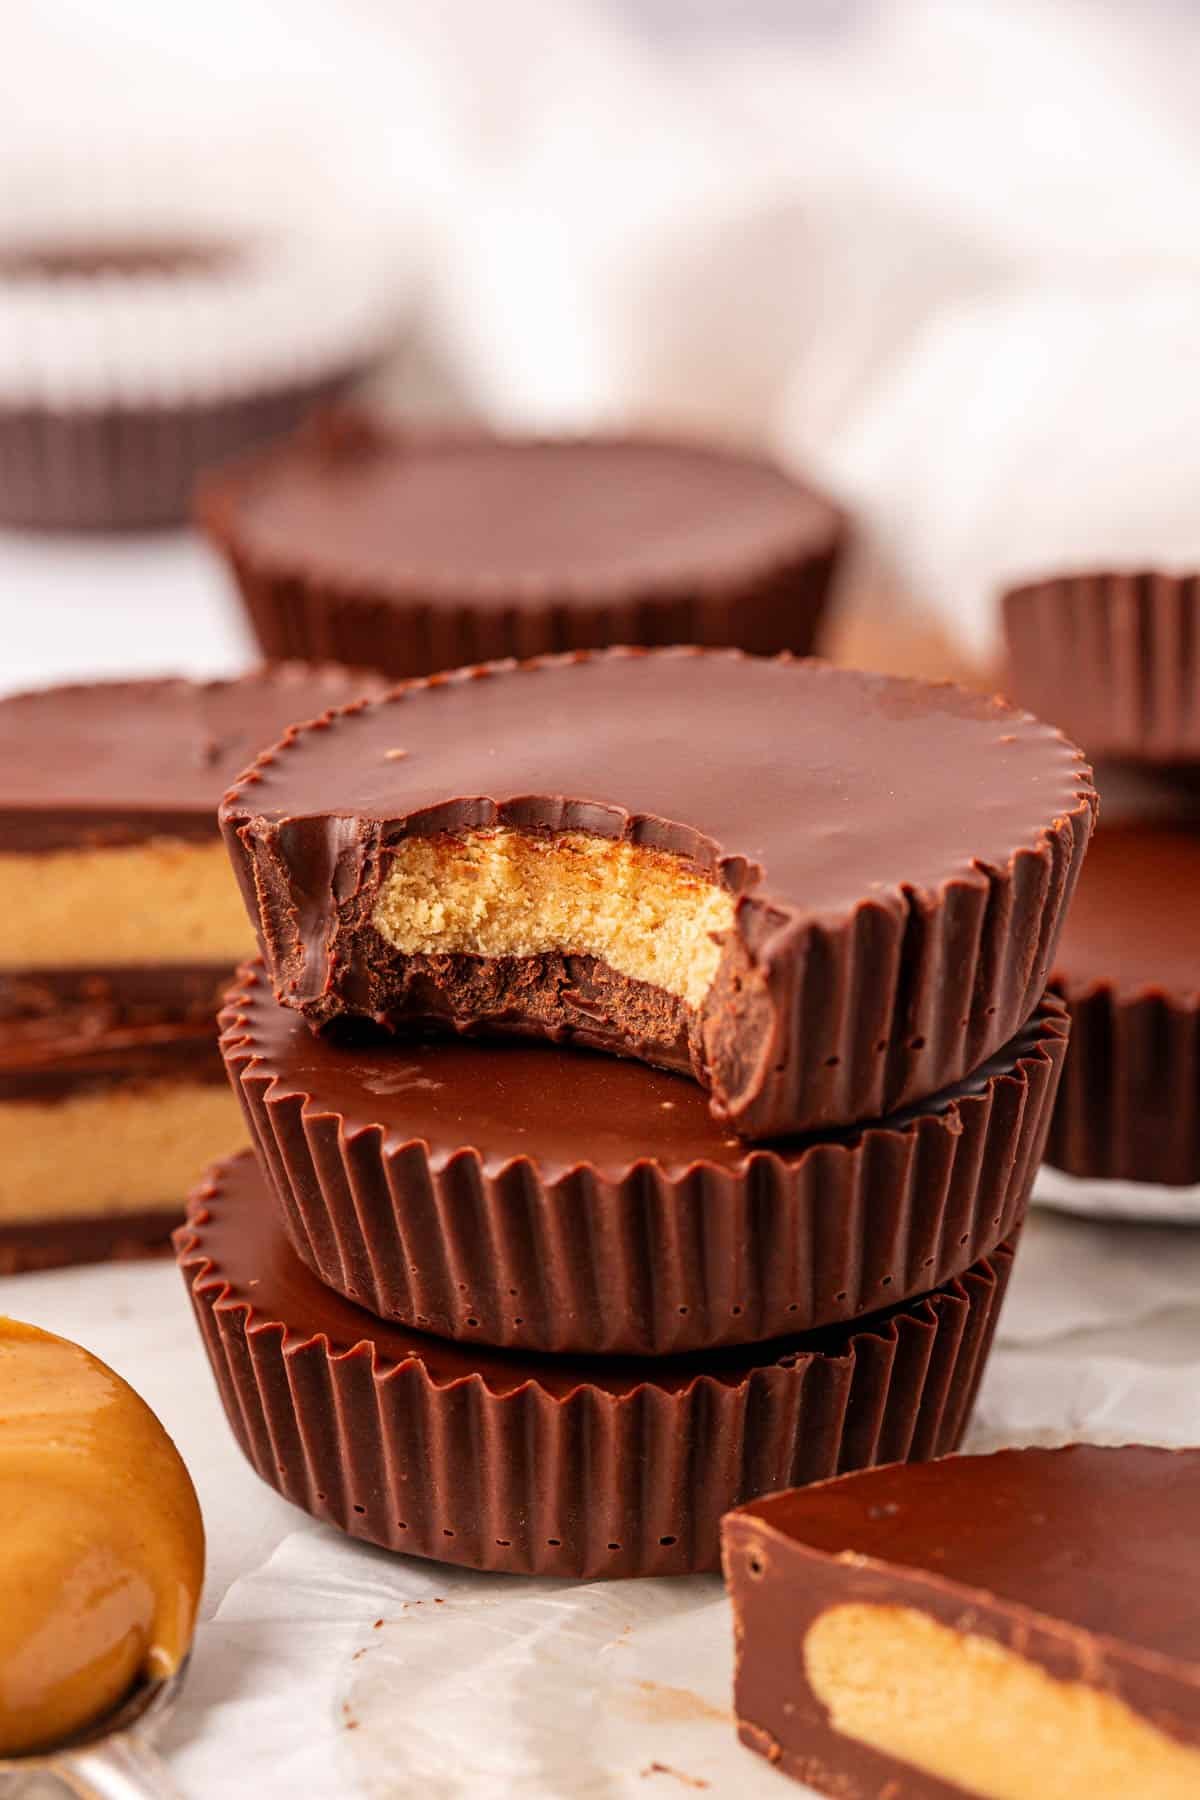
The Irresistible Magic of Peanut Butter Cups
There’s a reason chocolate and peanut butter have long been hailed as one of the greatest flavor combinations. The rich, slightly bitter notes of chocolate perfectly complement the creamy, salty-sweet goodness of peanut butter. This iconic duo evokes a sense of nostalgic comfort and pure indulgence for many.
For years, my go-to desserts have always featured this classic pairing. It’s truly a combination that’s hard to beat! While traditional Reese’s Cups are a beloved treat, I often find myself looking for options that align better with a health-conscious lifestyle without sacrificing flavor.
That’s where these protein-packed peanut butter cups come in. They are quite possibly one of my all-time favorite no-bake desserts. I typically keep a batch of healthier sweet treats like energy balls or no-bake protein bars in my freezer for those moments when a sweet craving strikes. But this time, I wanted to recreate that classic candy experience with a nutritious twist. The result? A protein-enhanced version of those beloved Reese’s Cups that’s incredibly satisfying and surprisingly easy to make at home.
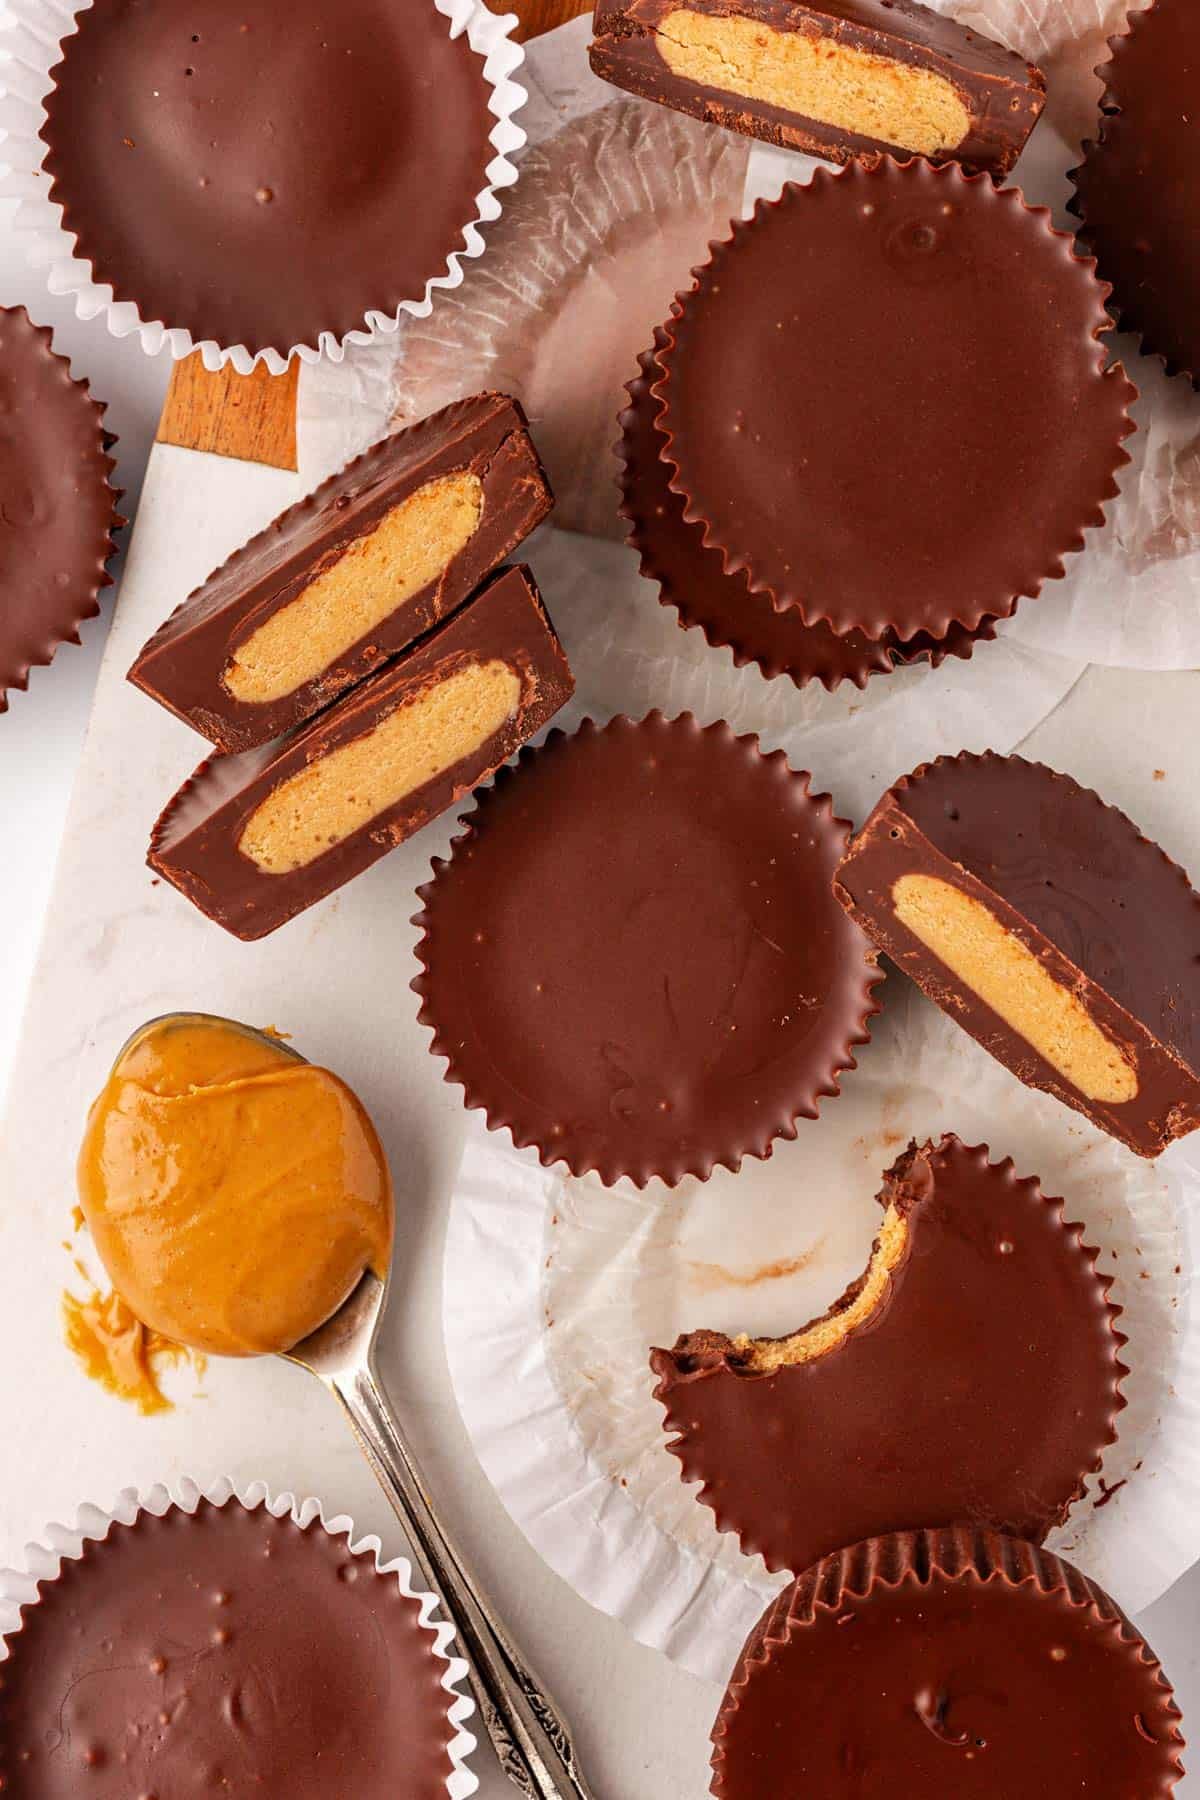
Essential Ingredients and Helpful Notes
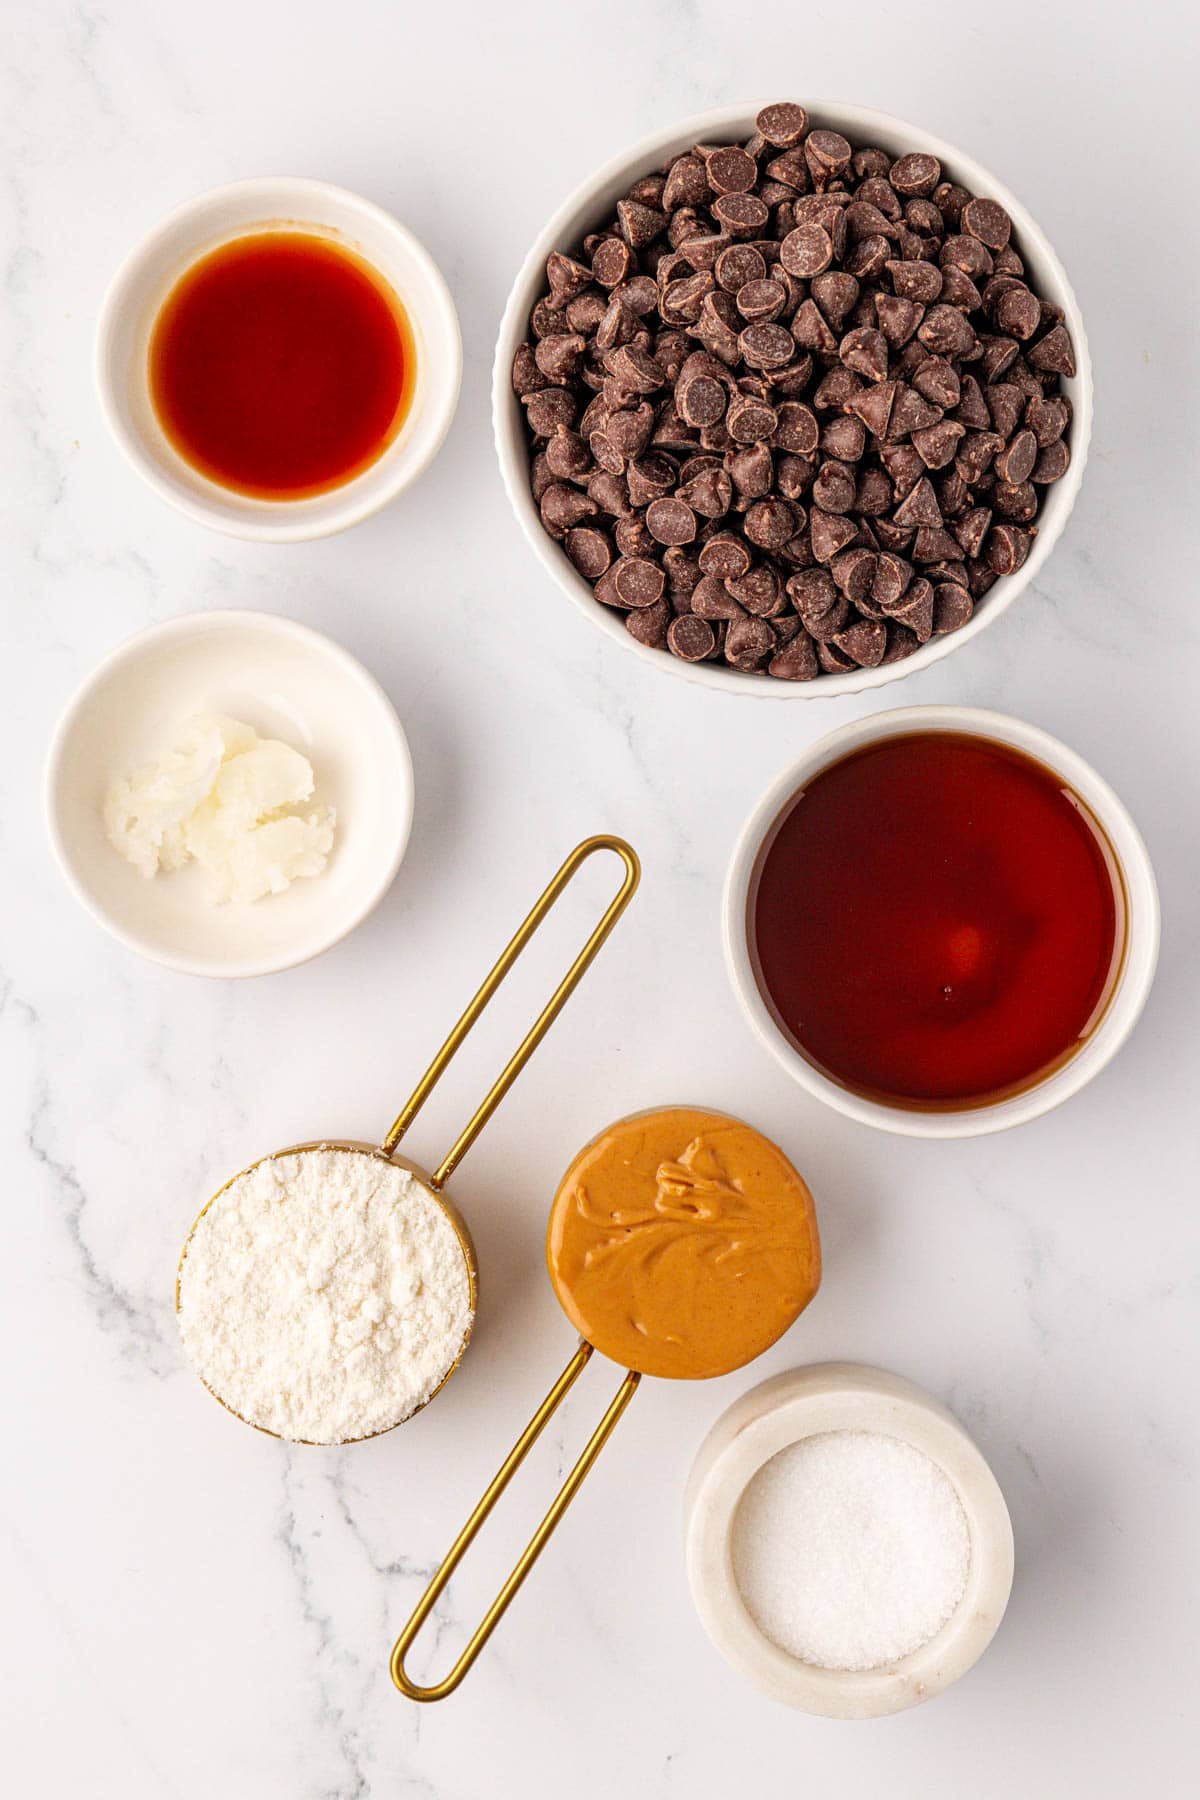
You’ll be delighted to discover just how simple these protein peanut butter cups are to make. Many of the ingredients might already be staples in your pantry! The complete recipe with detailed instructions is available at the bottom of this page, but here’s a closer look at what you’ll need and some tips for each component:
- Semi-sweet chocolate chips: This is the foundation of your cup! Semi-sweet offers a balanced sweetness that pairs wonderfully with peanut butter. If you’re a fan of the richer, more intense flavor of dark chocolate, feel free to substitute semi-sweet chips with dark chocolate chips for a gourmet touch. For those who prefer a sweeter profile, milk chocolate chips can also be used, though they might be higher in sugar. Ensure you choose good quality chocolate for the best melting and flavor.
- Coconut oil: This is a crucial ingredient for achieving that perfectly smooth, glossy chocolate shell that melts beautifully in your mouth. Adding a touch of coconut oil to the chocolate chips helps them melt more evenly and prevents the chocolate from becoming too thick or seizing. It also helps the chocolate set firmly once chilled, giving your cups a satisfying snap.
- Vanilla extract: A touch of vanilla extract in both the chocolate and the peanut butter filling enhances the overall flavor profile, adding warmth and depth that elevates the entire dessert. Don’t skip this!
- Natural creamy peanut butter: For the best results and a healthier profile, opt for natural creamy peanut butter. The ideal choice will have only two ingredients: peanuts and salt. Avoid brands with added sugars, hydrogenated oils, or emulsifiers, as these can alter the texture and flavor of your filling. Natural peanut butter tends to be runnier at room temperature, which is exactly what we want for a smooth filling.
- Vanilla protein powder: This is where the “protein” comes in! Vanilla protein powder not only boosts the nutritional content of your peanut butter cups but also helps firm up the peanut butter filling, giving it that classic, slightly crumbly yet creamy texture found in store-bought versions. You can use whey, casein, or a plant-based vanilla protein powder. Adjust the amount slightly if your protein powder is particularly absorbent, as different brands can vary in texture.
- Salt: A pinch of salt is essential for balancing the sweetness of the chocolate and maple syrup, and it truly brings out the rich flavor of the peanut butter. It’s the secret ingredient that makes these cups taste incredibly indulgent.
- Maple syrup: Pure maple syrup acts as a natural sweetener for the peanut butter filling, providing a lovely depth of flavor compared to refined sugars. It also helps bind the filling ingredients together. You can adjust the amount based on your sweetness preference, or even substitute with honey or agave nectar if you prefer.
Step-by-Step Guide: How to Make Protein Peanut Butter Cups
Making these delightful protein peanut butter cups is a straightforward process that yields incredibly rewarding results. Follow these steps for perfect, homemade treats every time:
Step 1: Melt the Chocolate Base
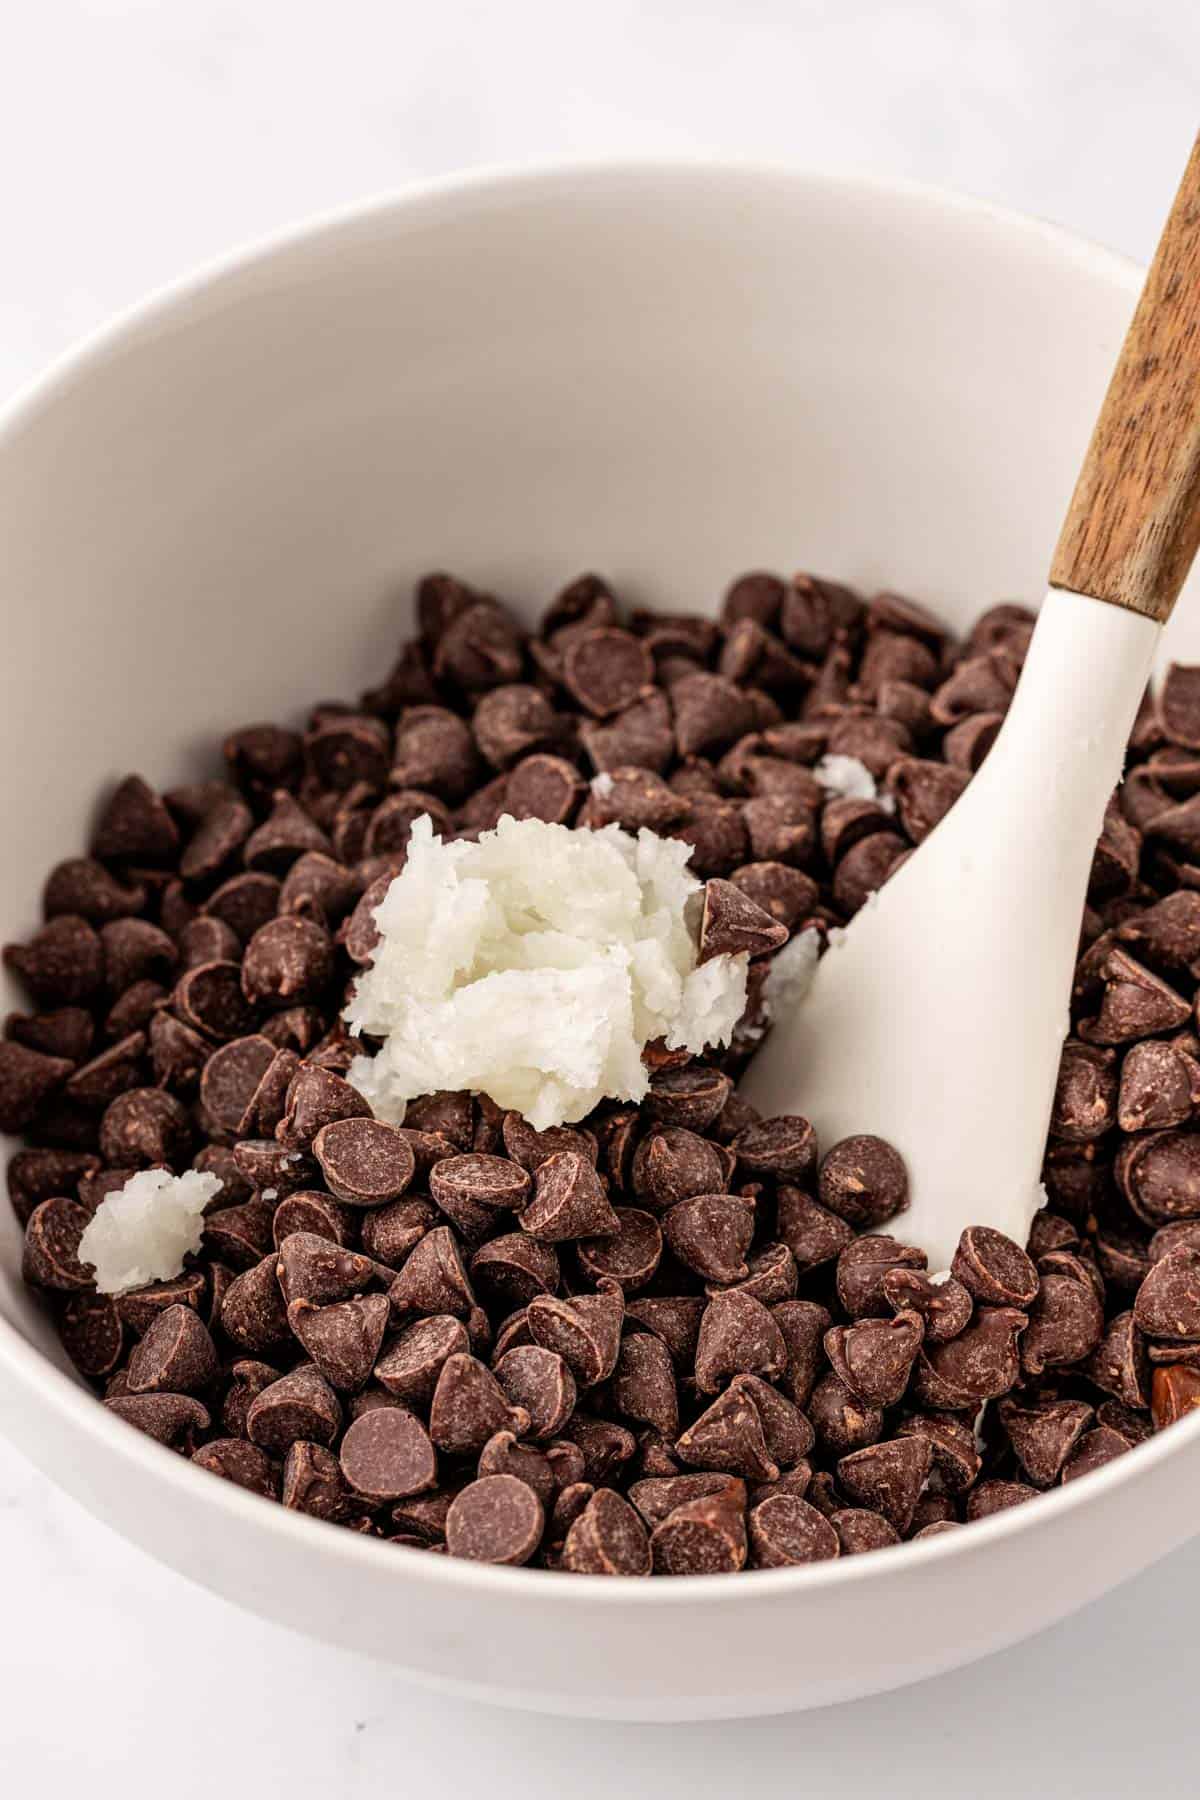
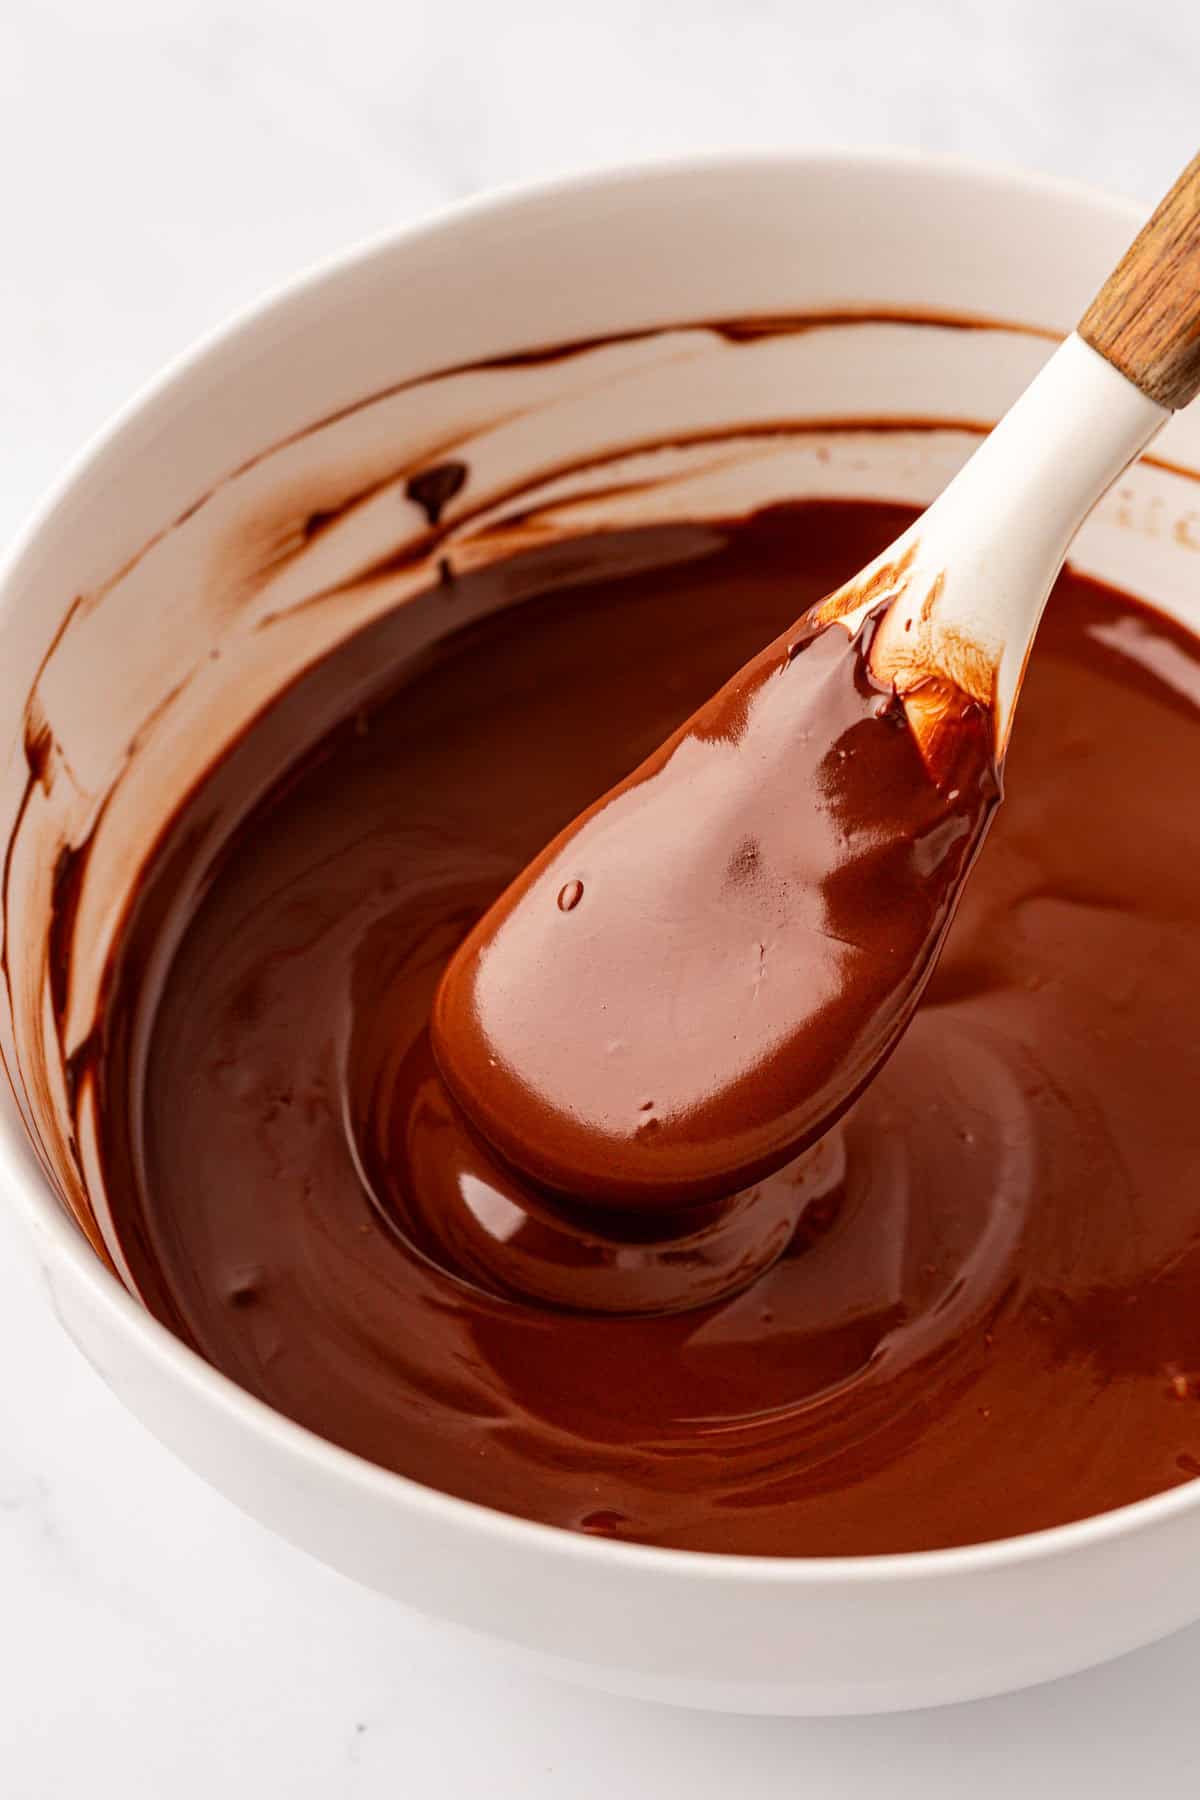
Begin by combining your semi-sweet chocolate chips and coconut oil in a microwave-safe bowl. Microwave the mixture in short 30-second intervals, stirring thoroughly after each interval. This gradual melting process is key to preventing the chocolate from burning or seizing. Continue until the chocolate is completely smooth and lusciously melted, with no lumps remaining. Once melted, stir in the vanilla extract, which adds a beautiful aromatic note to the chocolate.
Step 2: Create the Chocolate Bottom Layer
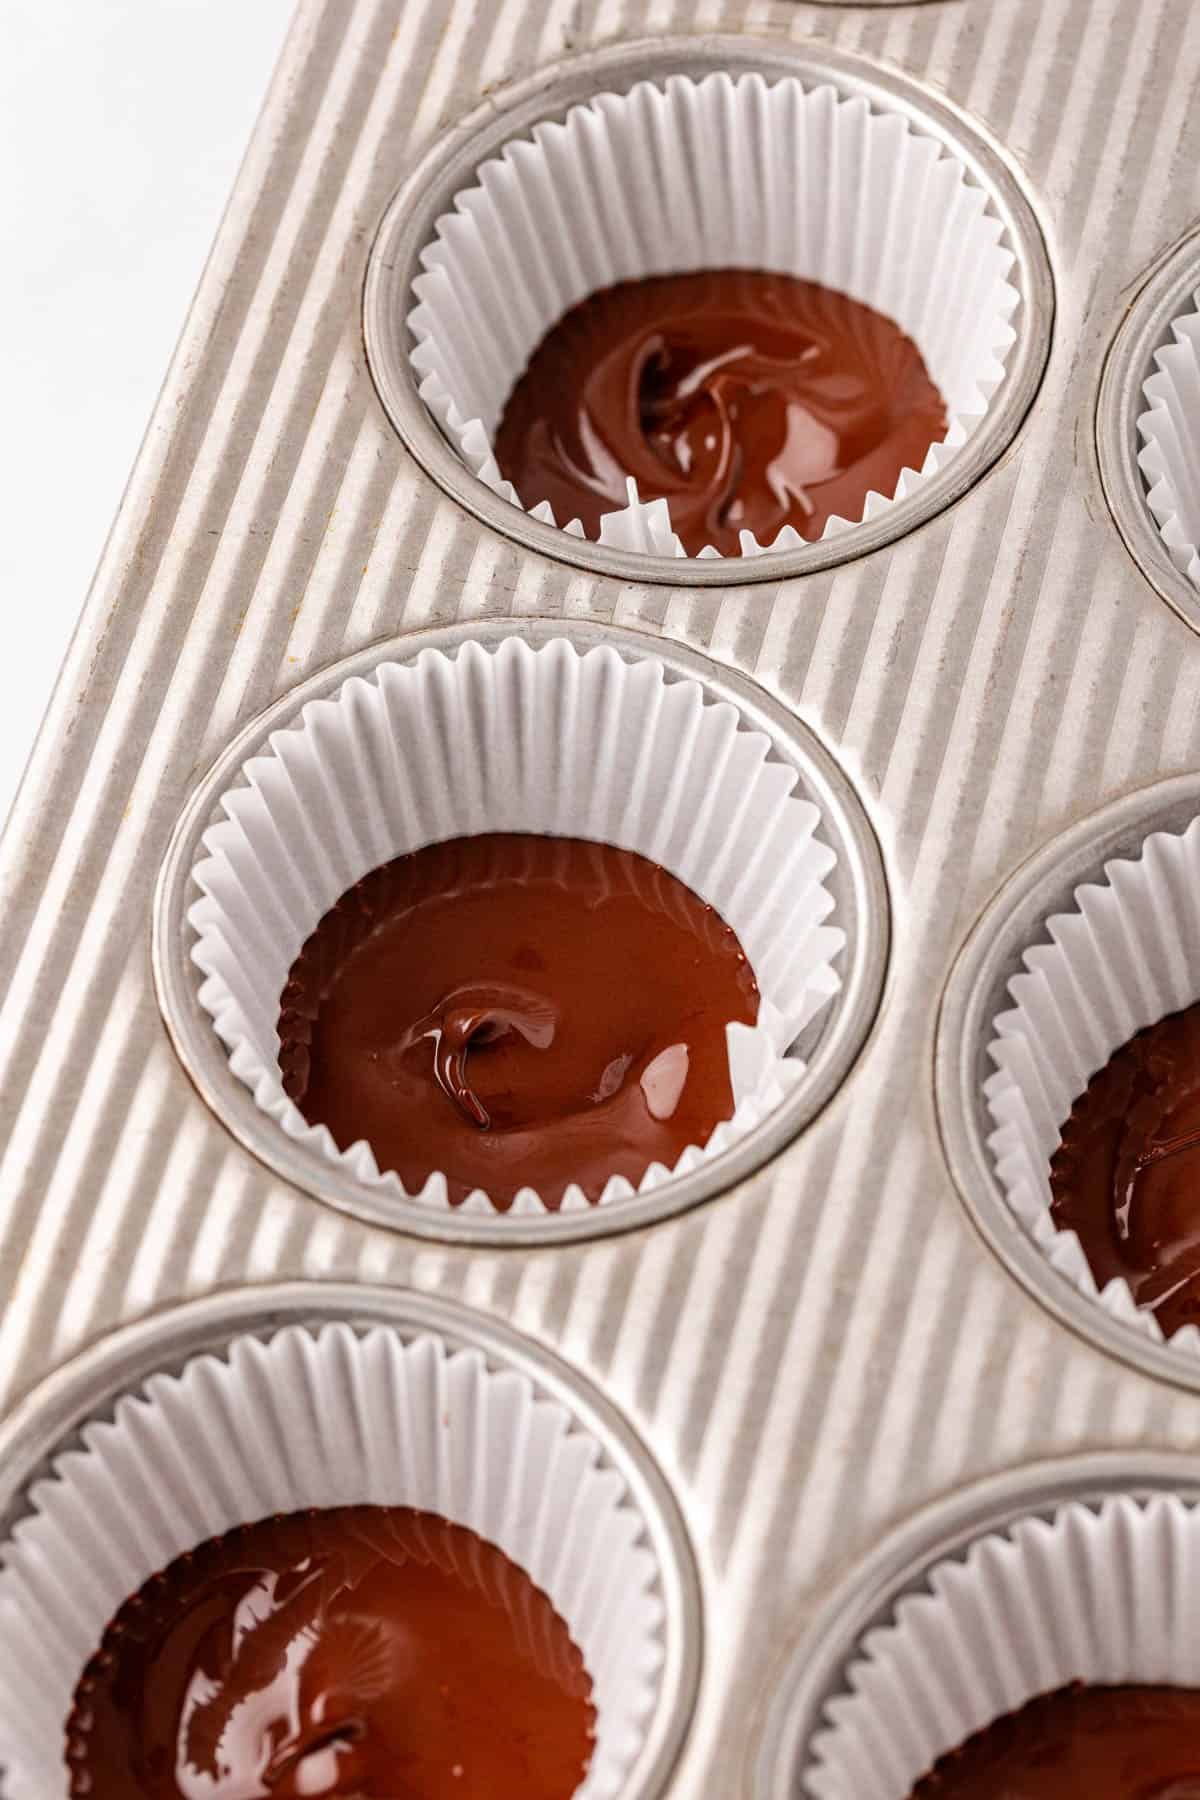
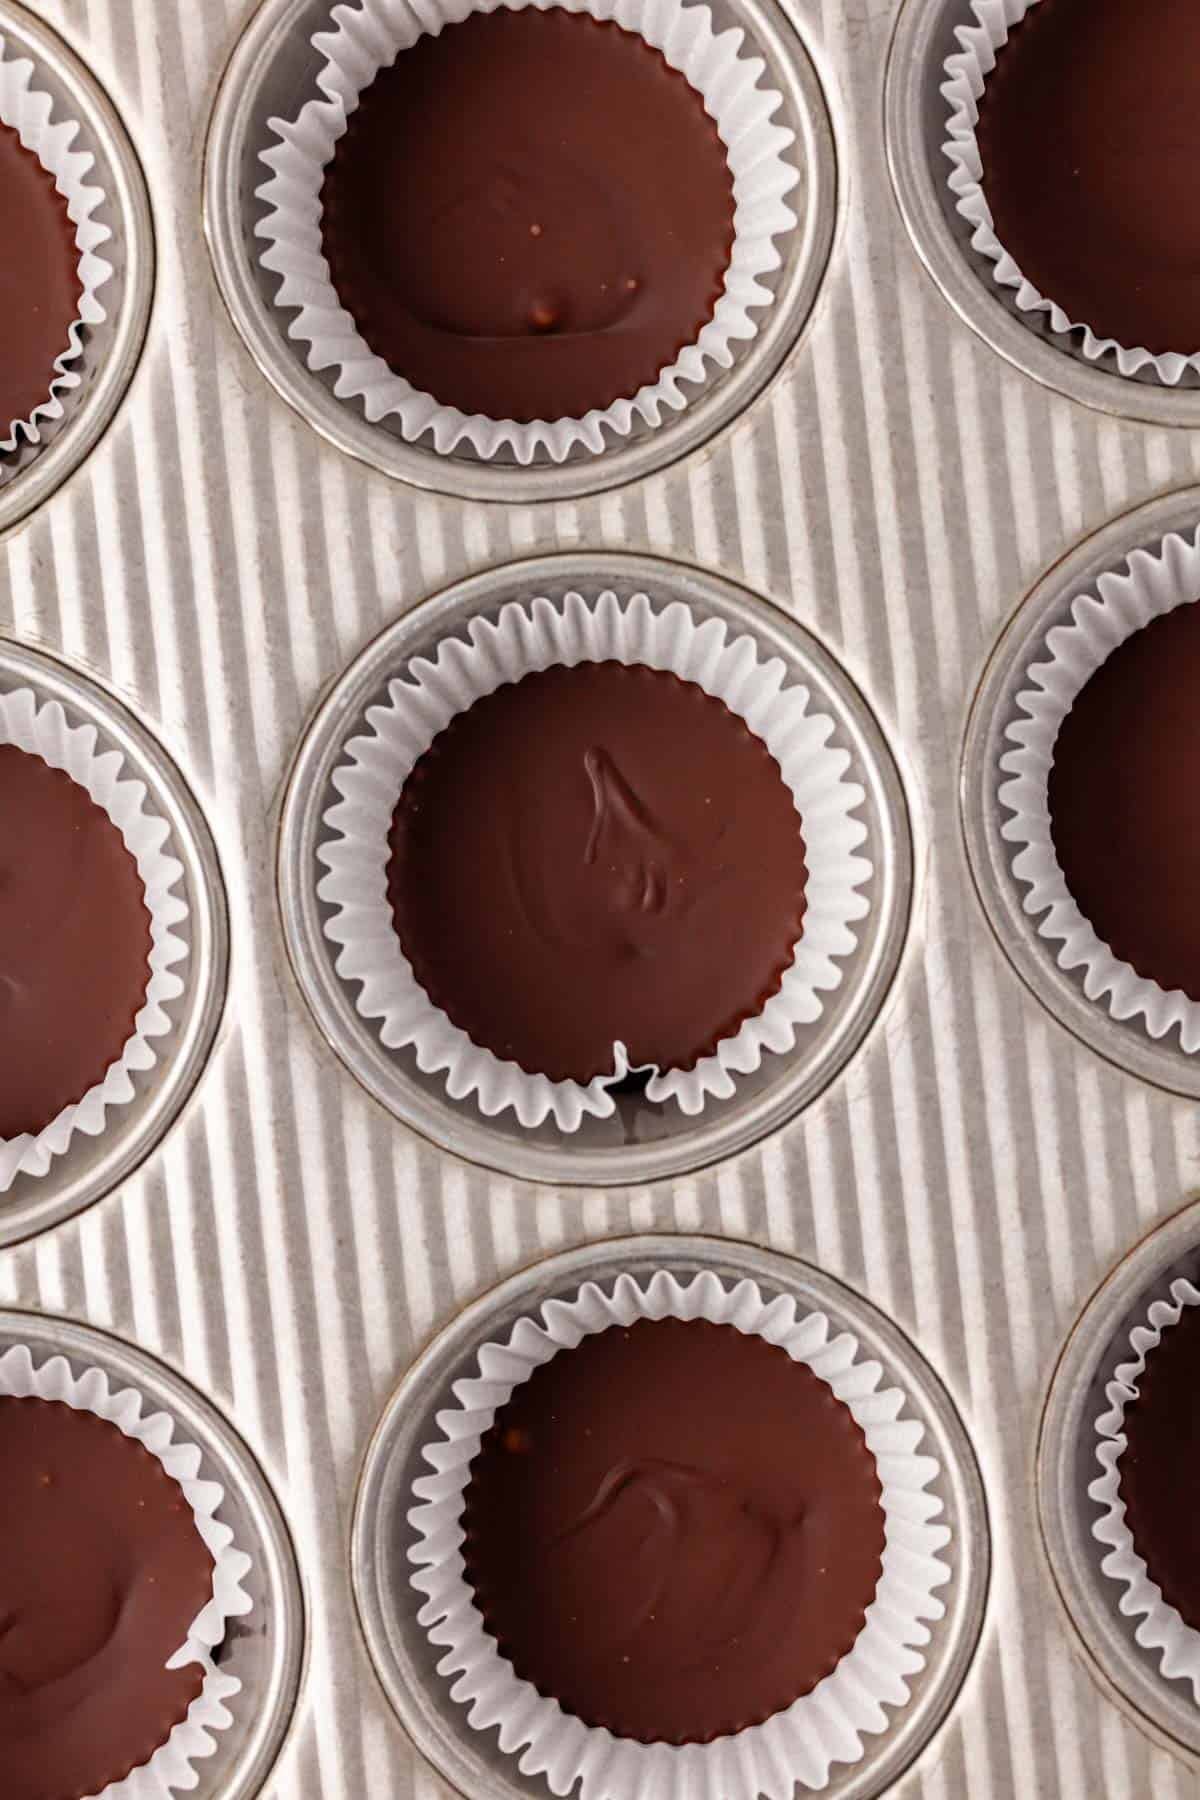
Line a standard muffin tin with 12 parchment paper muffin liners. These liners are essential as they prevent sticking and make for easy removal of your finished cups. Carefully pour one heaping teaspoon of the melted chocolate into the bottom of each muffin liner. Using the back of the spoon, gently spread the chocolate out to cover the entire base of the liner, creating a flat, even layer. Repeat this process for all 12 cups.
Recipe Tip: Perfecting the Chocolate Base
To ensure a perfectly flat and even chocolate bottom layer, once you’ve poured and spread the chocolate in the liners, gently tap the muffin pan on a flat surface or countertop a few times. This helps to remove any air bubbles and settles the chocolate, creating a smooth and uniform base. Don’t skip this step for a professional finish!
Once the chocolate bases are poured, place the muffin tin into the refrigerator. This allows the chocolate to firm up quickly while you prepare the delicious peanut butter filling.
Step 3: Prepare the Protein Peanut Butter Filling
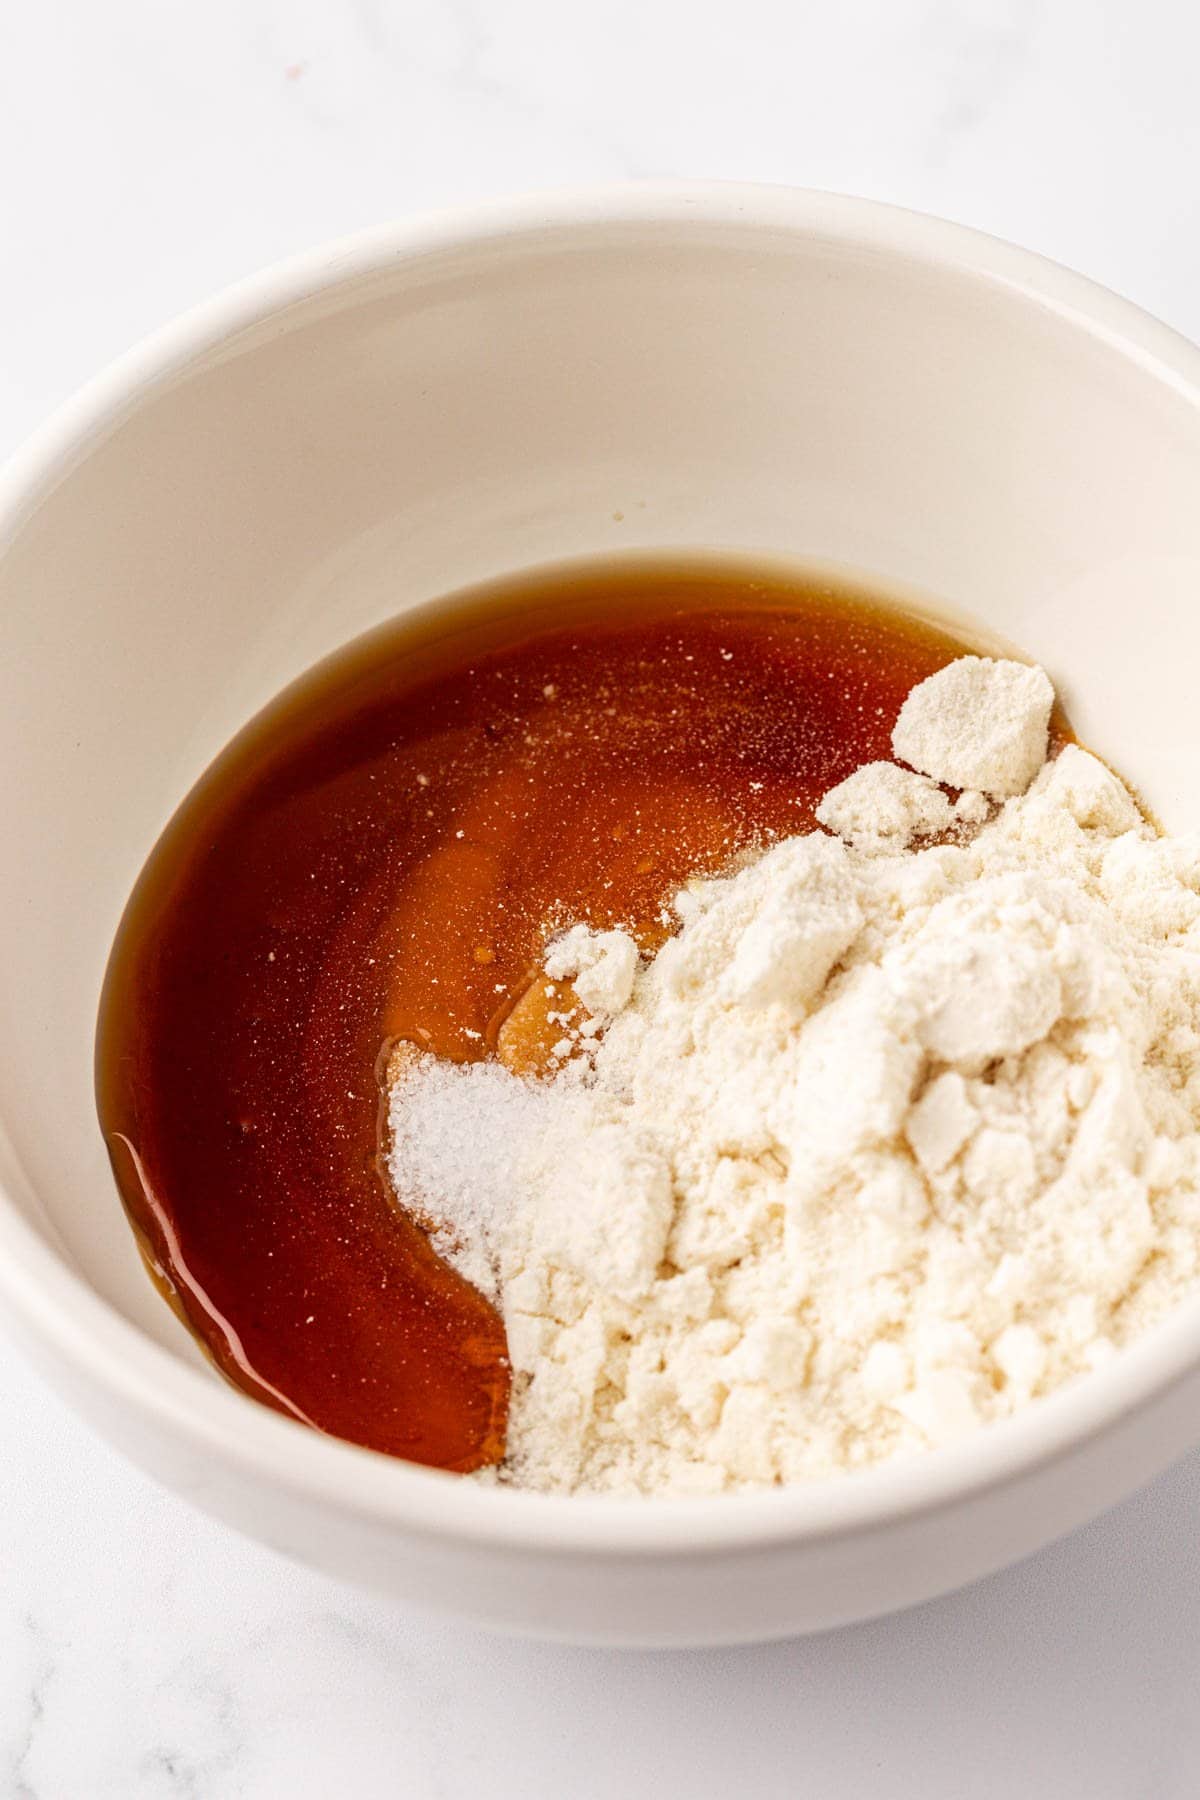
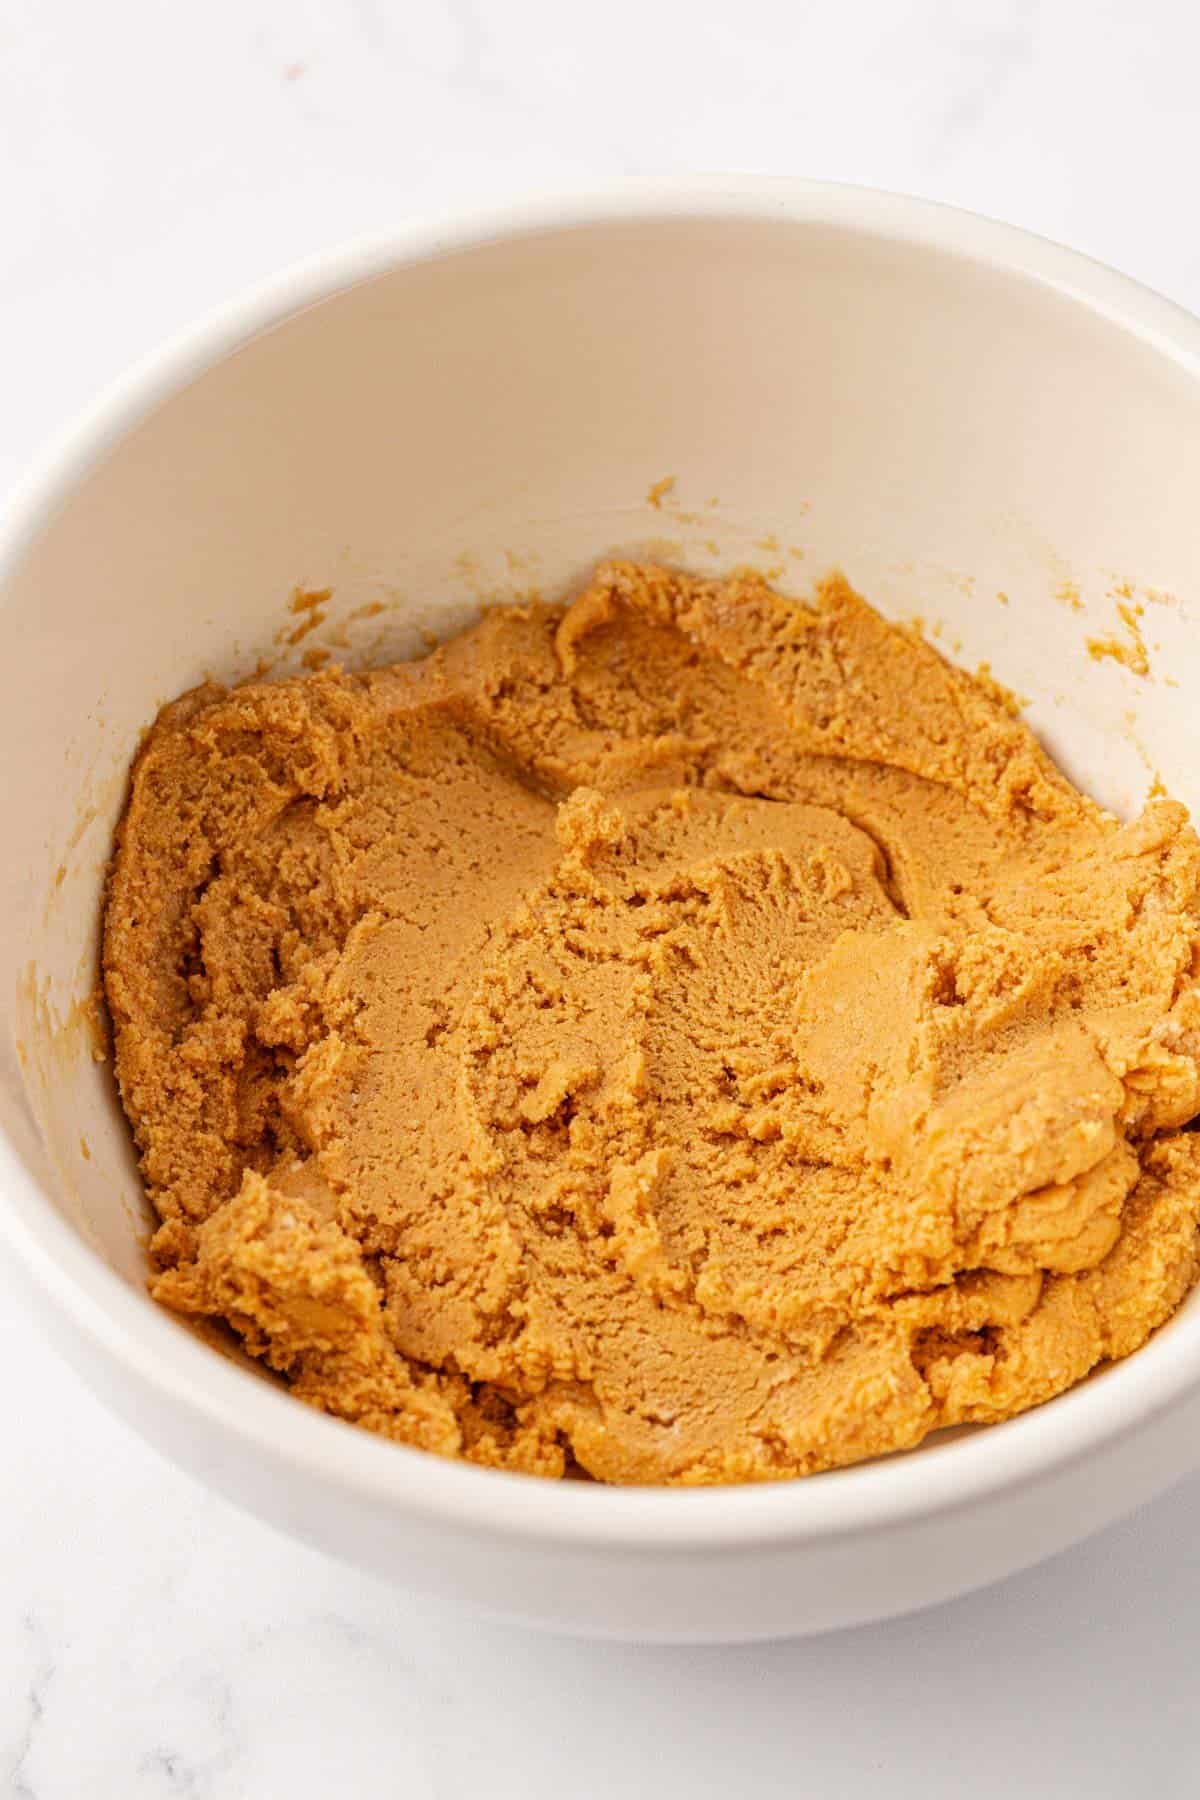
In a separate microwave-safe bowl, place your natural creamy peanut butter. Microwave it for about 15-20 seconds until it becomes warm and runny. This makes it much easier to mix with the other ingredients. Once warmed, stir in the vanilla protein powder, salt, and maple syrup. Mix thoroughly until all ingredients are well combined and you have a thick, dough-like peanut butter mixture. The protein powder will help to firm up the peanut butter, making it easier to handle and shape.
Step 4: Shape the Peanut Butter Discs
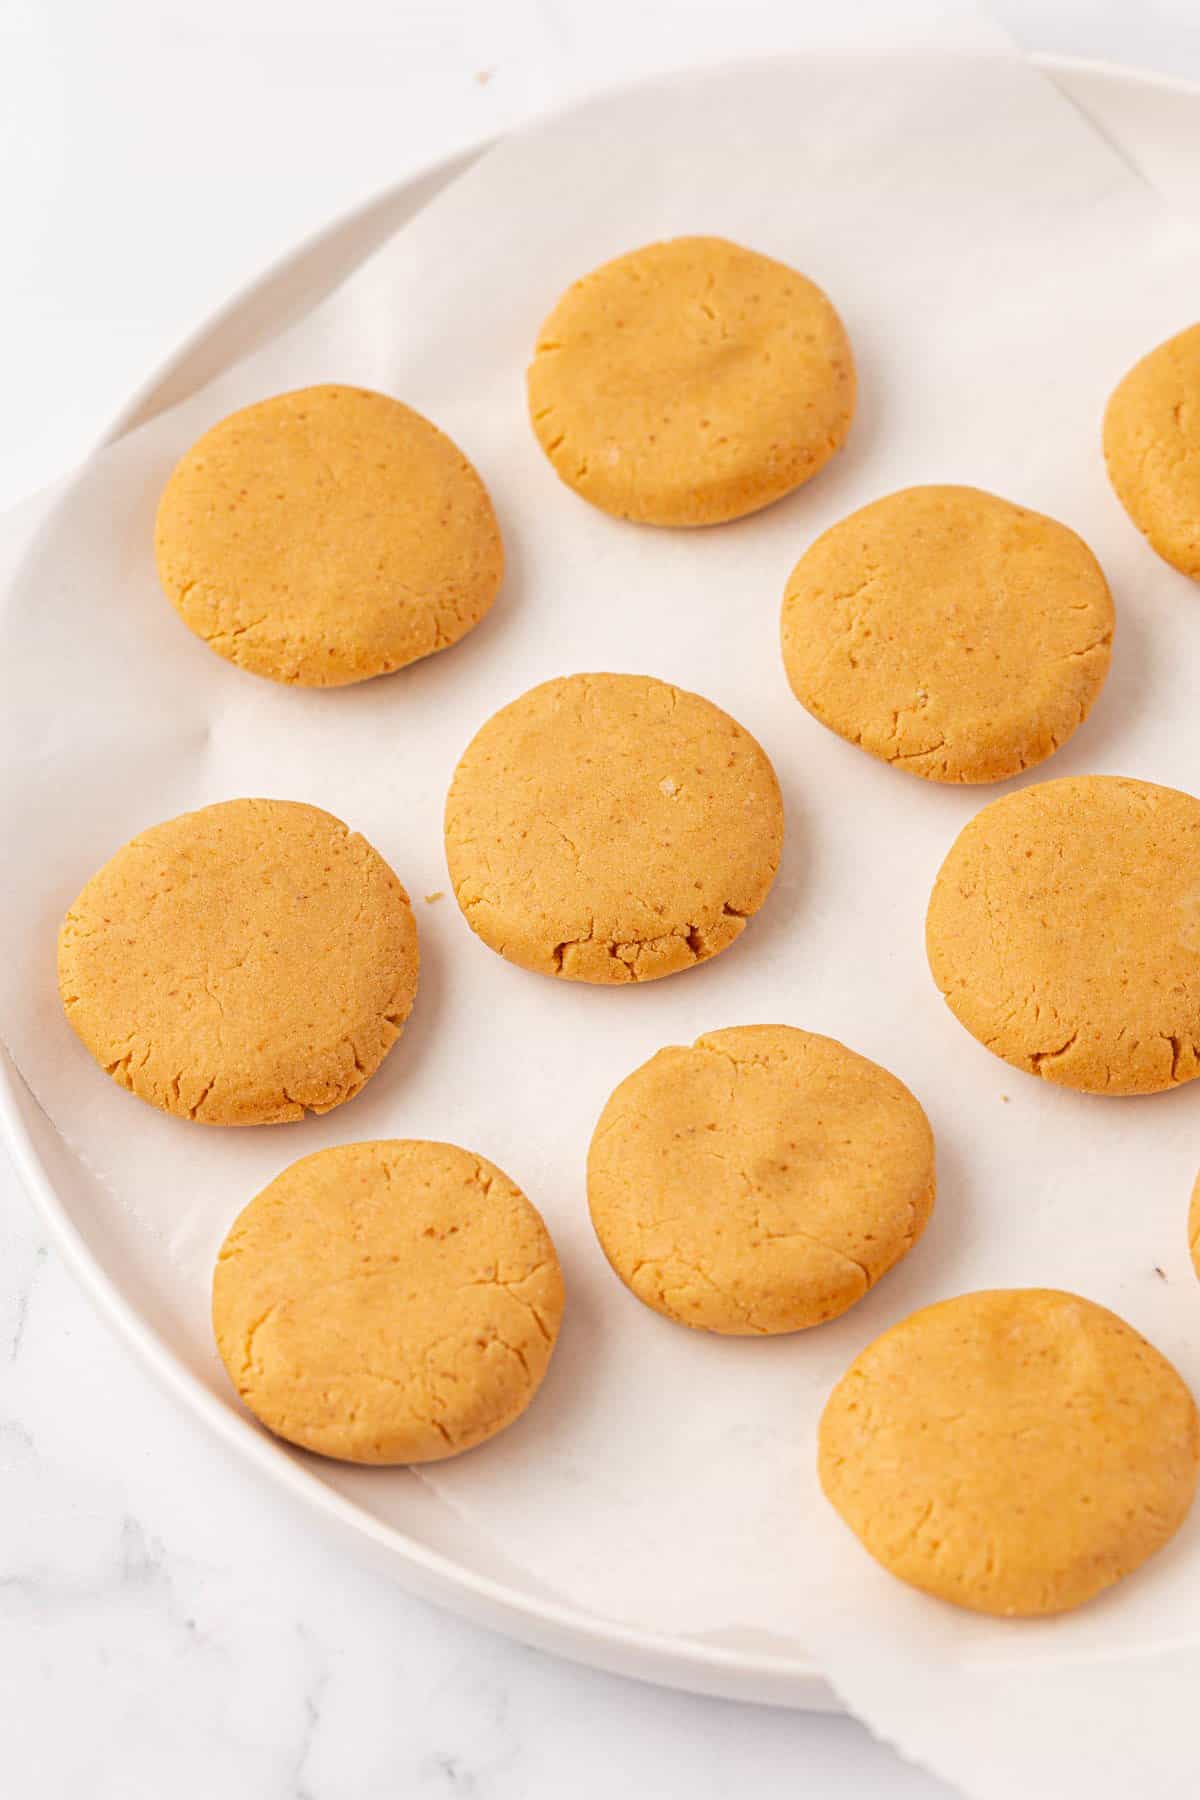
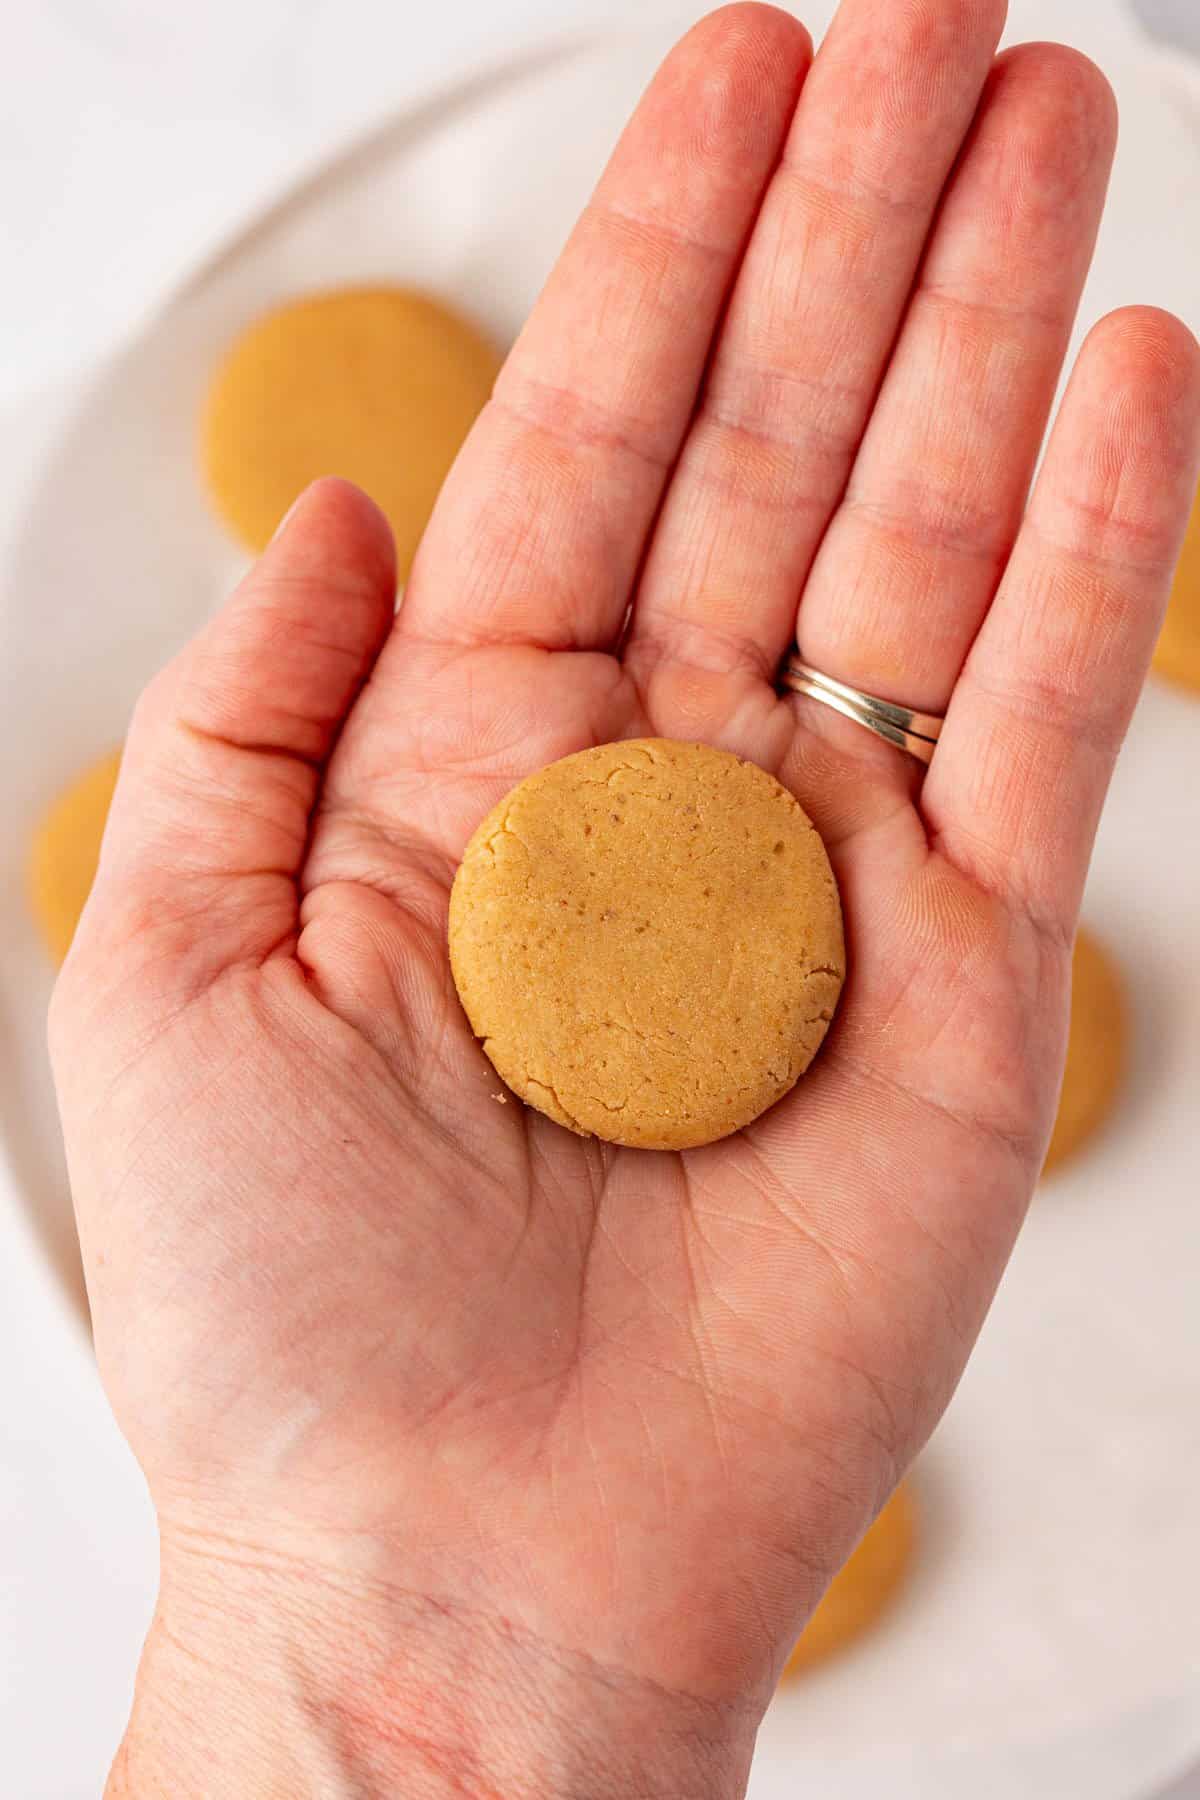
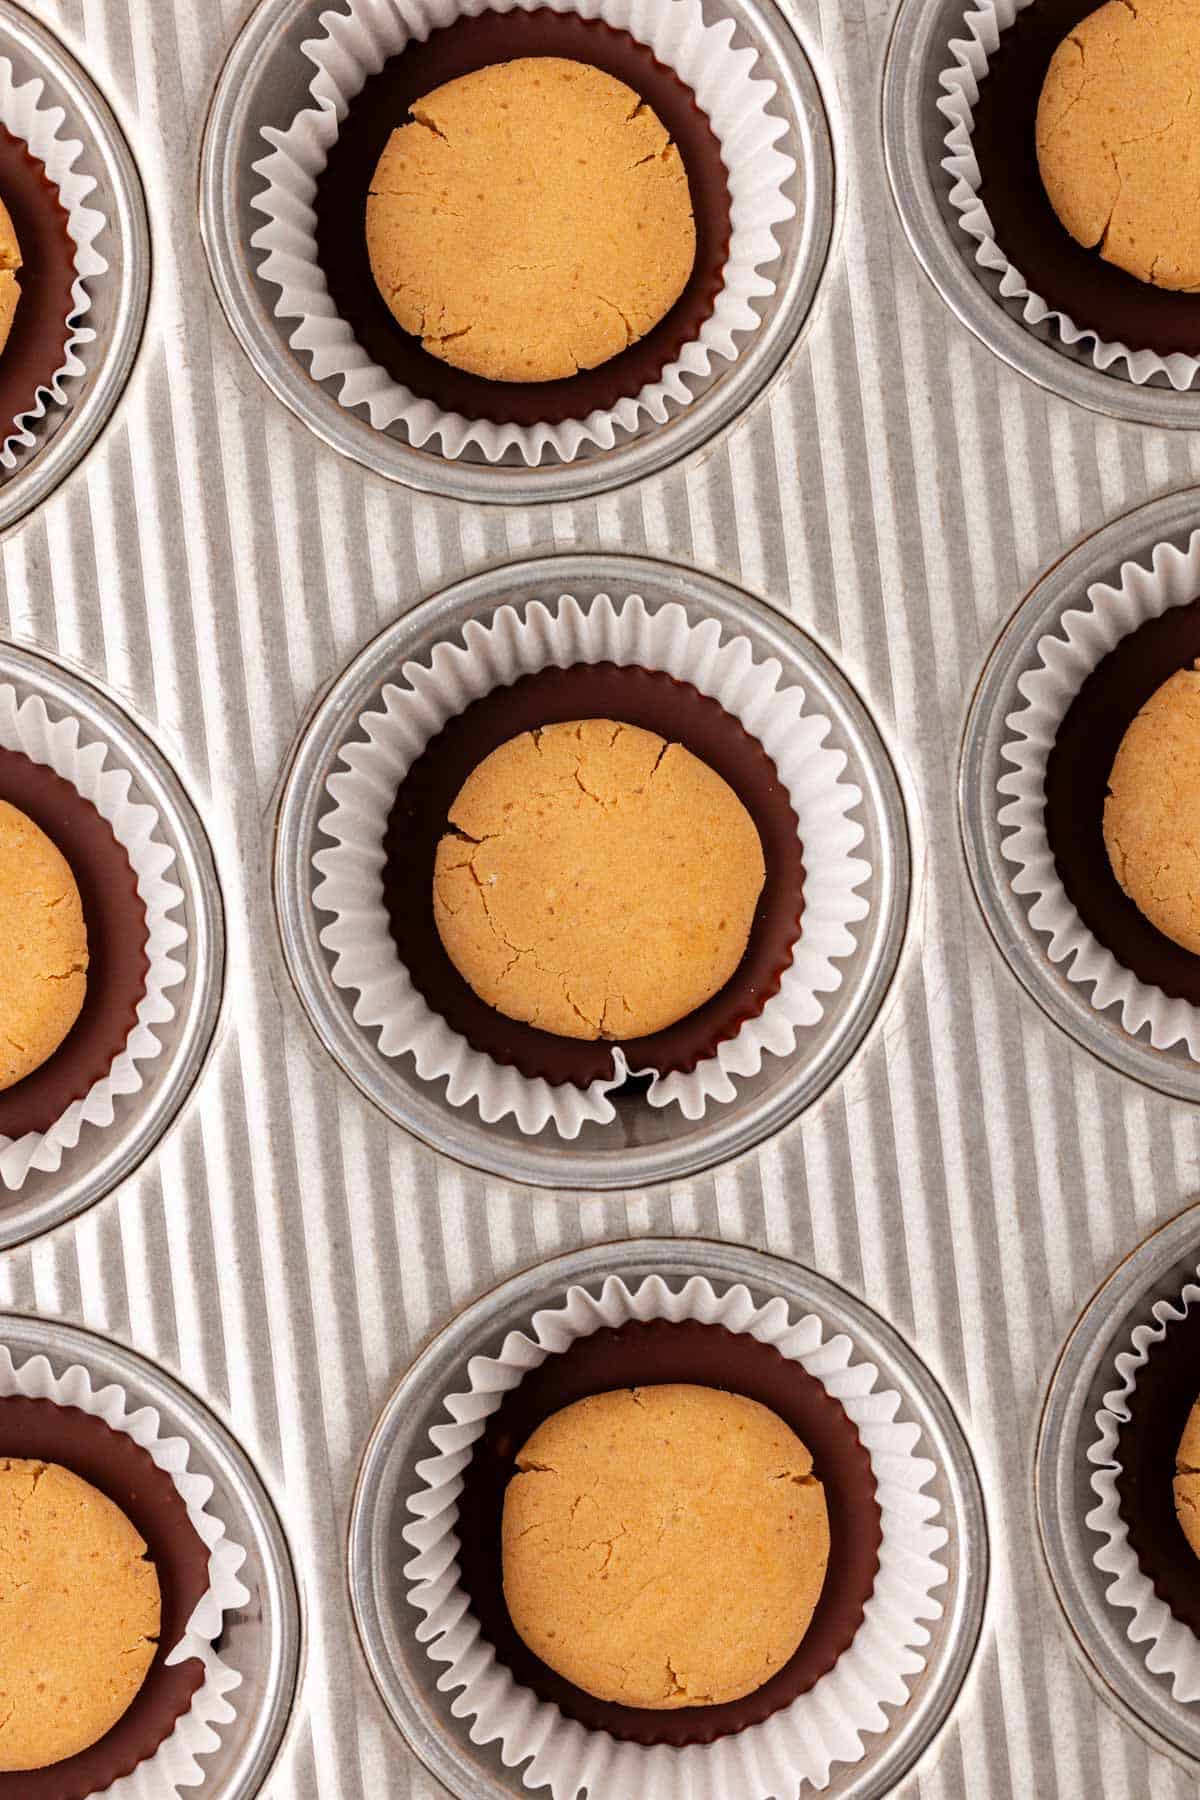
Once your peanut butter filling is mixed and firm enough to handle, divide it into 12 equal portions. Roll each portion into a ball, then gently press it into a disc shape. Aim for discs that are slightly smaller in width than the muffin liners. This ensures they fit neatly on top of the chocolate base and leave enough room for the final chocolate layer to seal around the edges. If the mixture is too sticky, you can slightly dampen your hands or chill the filling for a few minutes to make it easier to work with.
Step 5: Assemble the Layers
Retrieve the muffin tin from the refrigerator; your chocolate bases should now be firm. Carefully place one peanut butter disc directly on top of each hardened chocolate base. Gently press down to ensure it adheres to the chocolate layer without flattening it too much.
Step 6: Drizzle and Smooth the Top Chocolate Layer
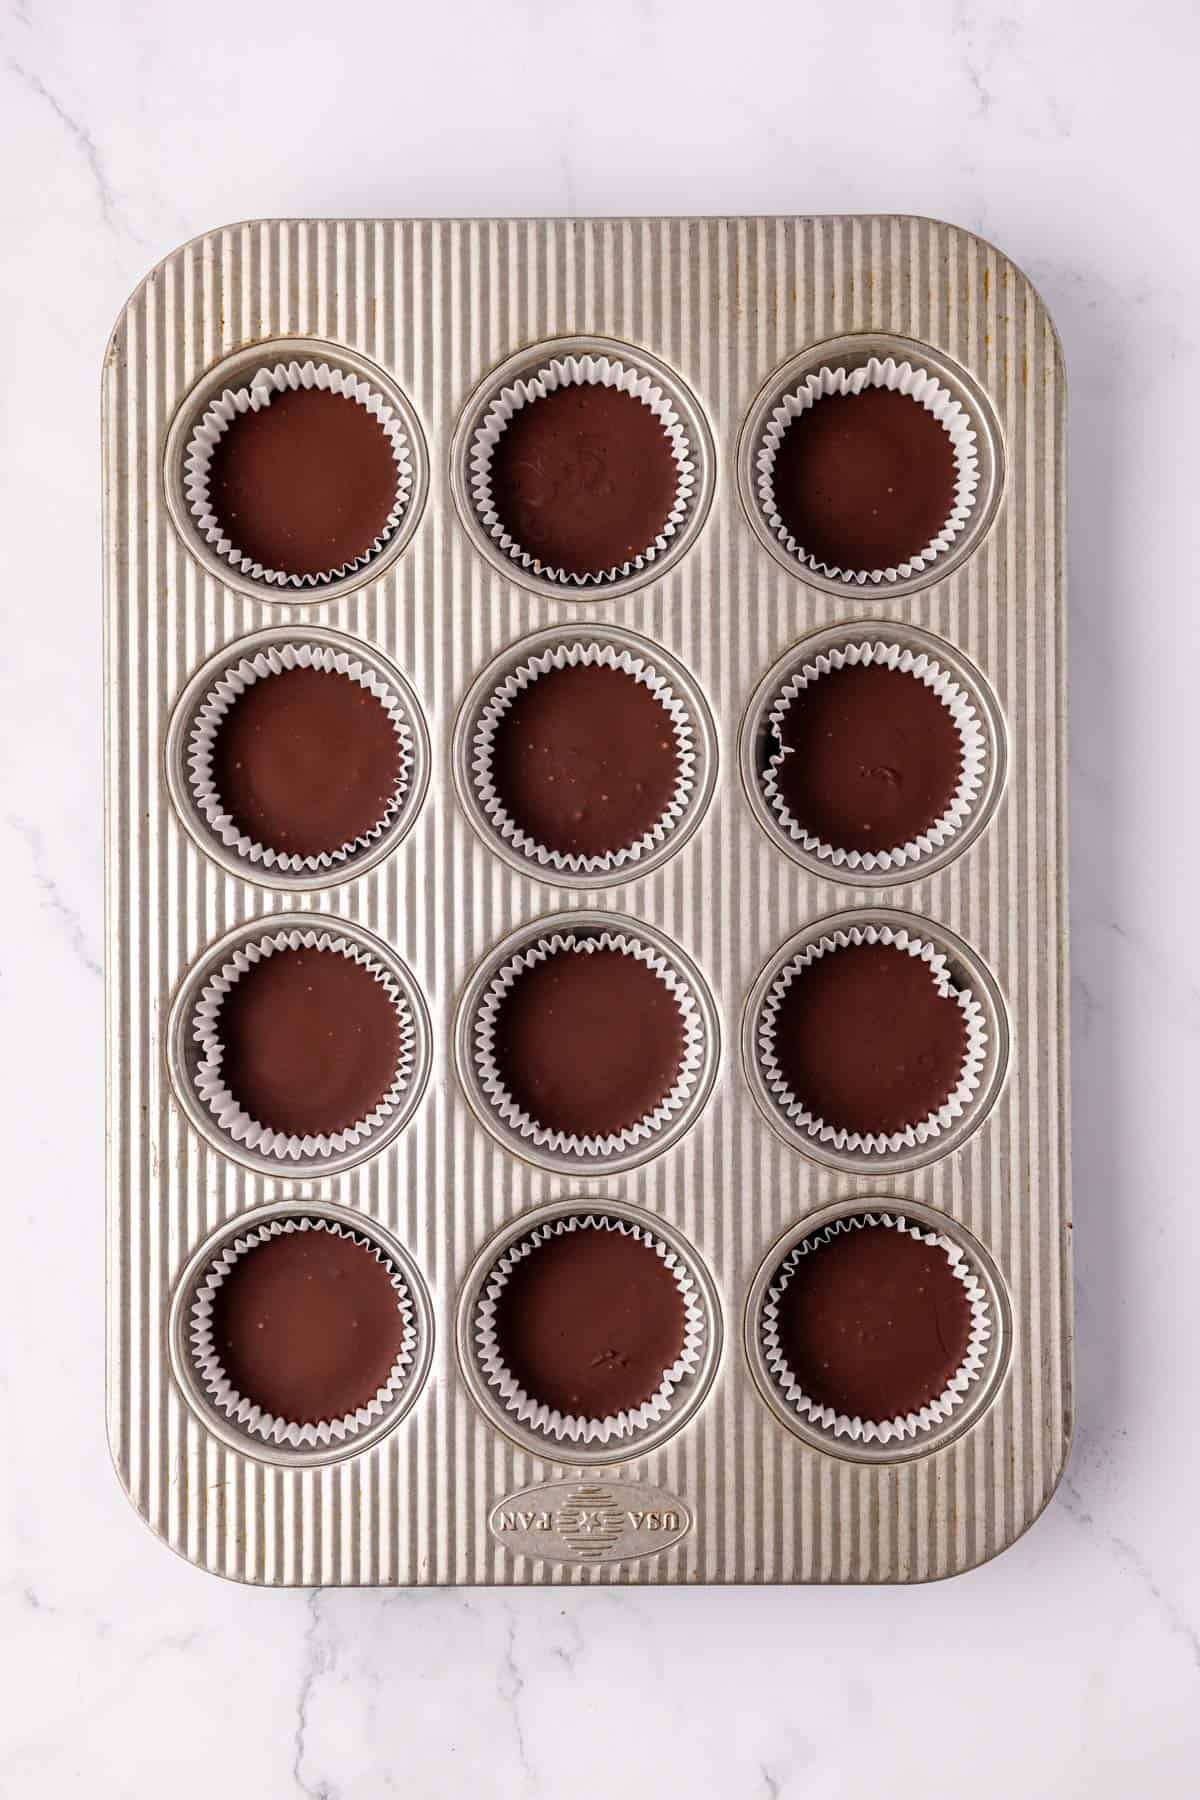
Check your leftover melted chocolate. If it has hardened slightly, microwave it for another 15-20 seconds to bring it back to a smooth, pourable consistency. Now, carefully drizzle the remaining melted chocolate over the tops of the peanut butter discs. Use a spoon or a small offset spatula to gently smooth the chocolate out, ensuring it covers the entire peanut butter layer and extends to the edges of the muffin liner, sealing the cup. This creates the signature smooth top of a peanut butter cup.
Step 7: Chill to Perfection
Once all your cups are topped with chocolate, place the muffin tin back into the refrigerator. Allow them to chill for at least one hour, or until the chocolate is completely set and firm to the touch. This chilling time is essential for the cups to hold their shape and for the chocolate to develop its characteristic snap.
Pro Tip: For Extra Flavor & Texture
If you’re like me and adore the harmonious balance of salty and sweet desserts, consider adding a sprinkle of flaky sea salt over the tops of your protein peanut butter cups immediately after drizzling the final chocolate layer, but before it hardens. The subtle crunch and burst of salt truly elevate the flavors and provide an incredibly gourmet touch. This is my absolute favorite way to enjoy homemade peanut butter cups!
Storing Your Protein Peanut Butter Cups
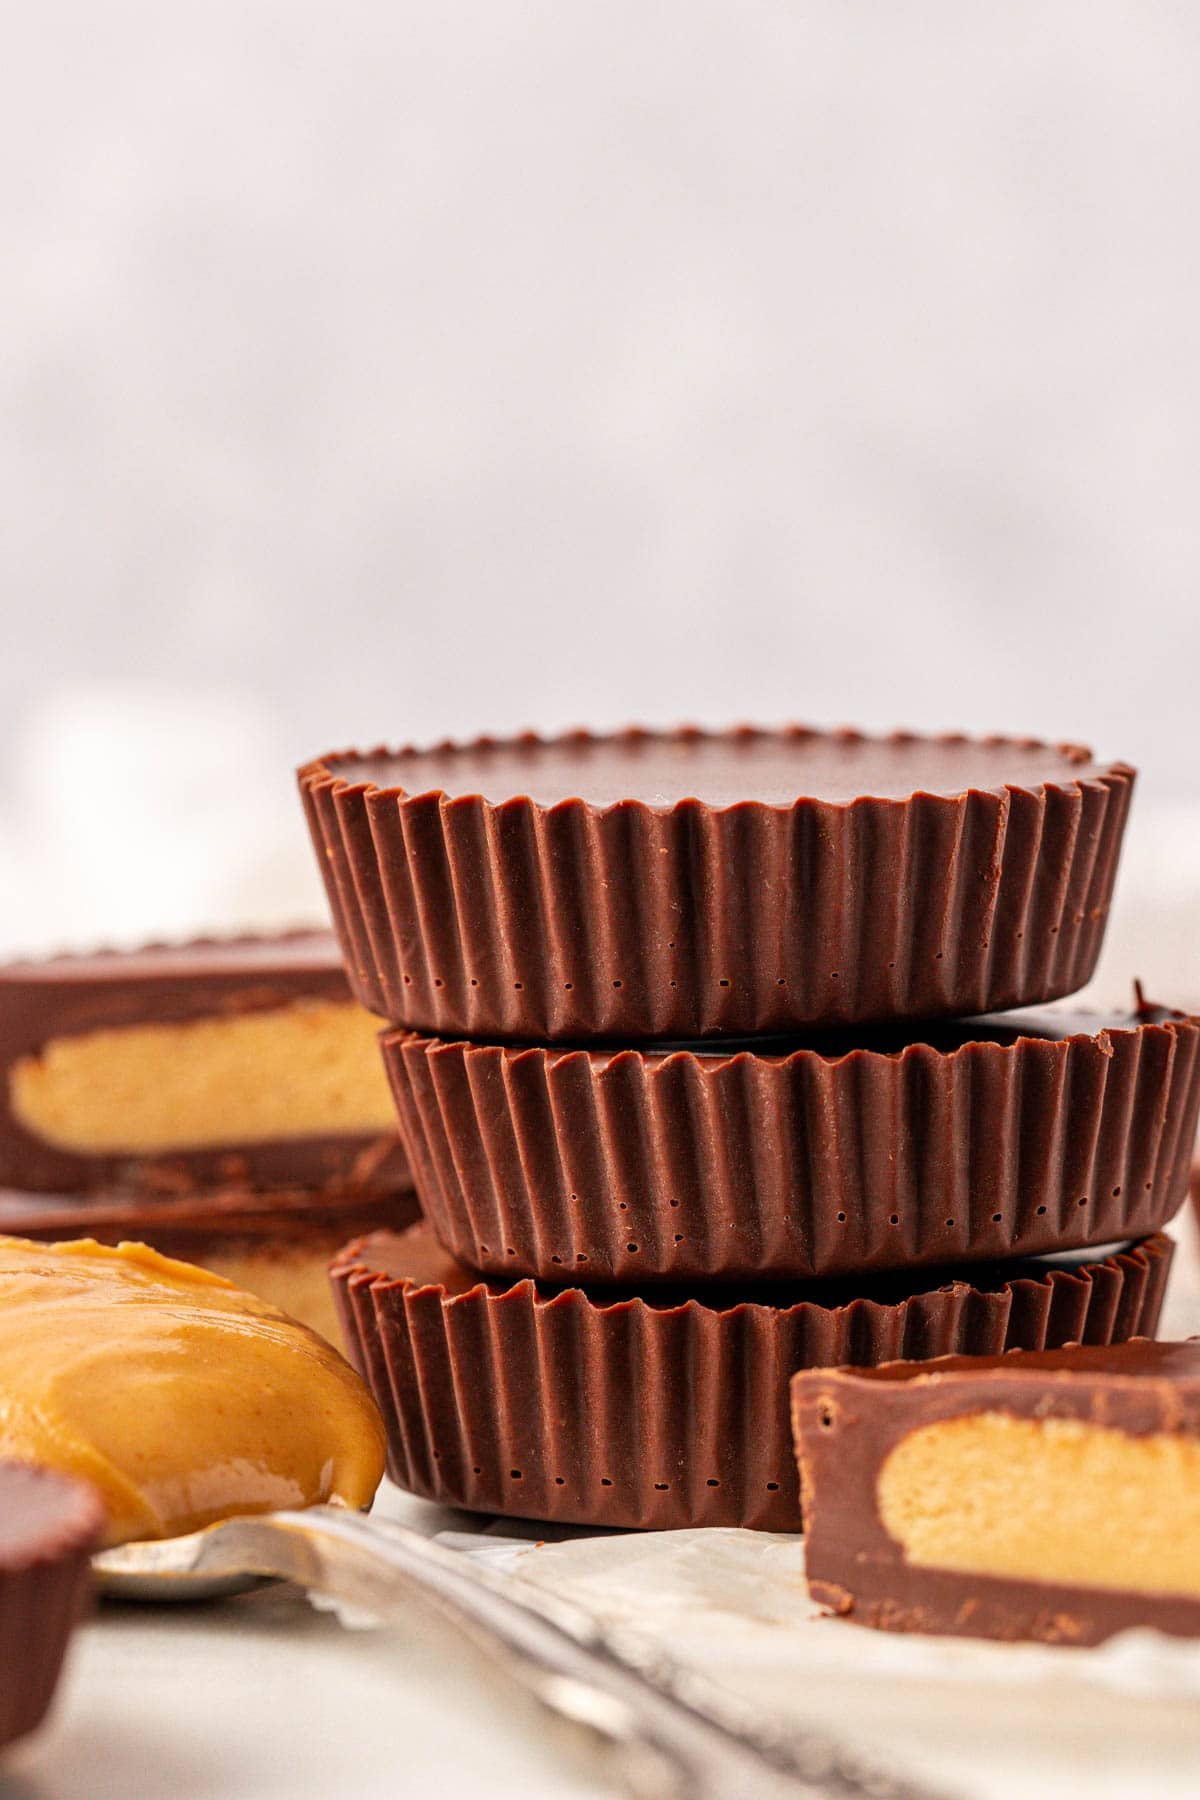
Proper storage is key to enjoying your homemade protein peanut butter cups for longer. Store any leftover cups in an airtight container to maintain their freshness and prevent them from absorbing other odors in the refrigerator. They will keep beautifully for about a week in the refrigerator, ready for when your cravings hit. For even longer storage, you can freeze them for 1-2 months. I personally love the firmer texture and chilled sensation of a cup pulled straight from the freezer!
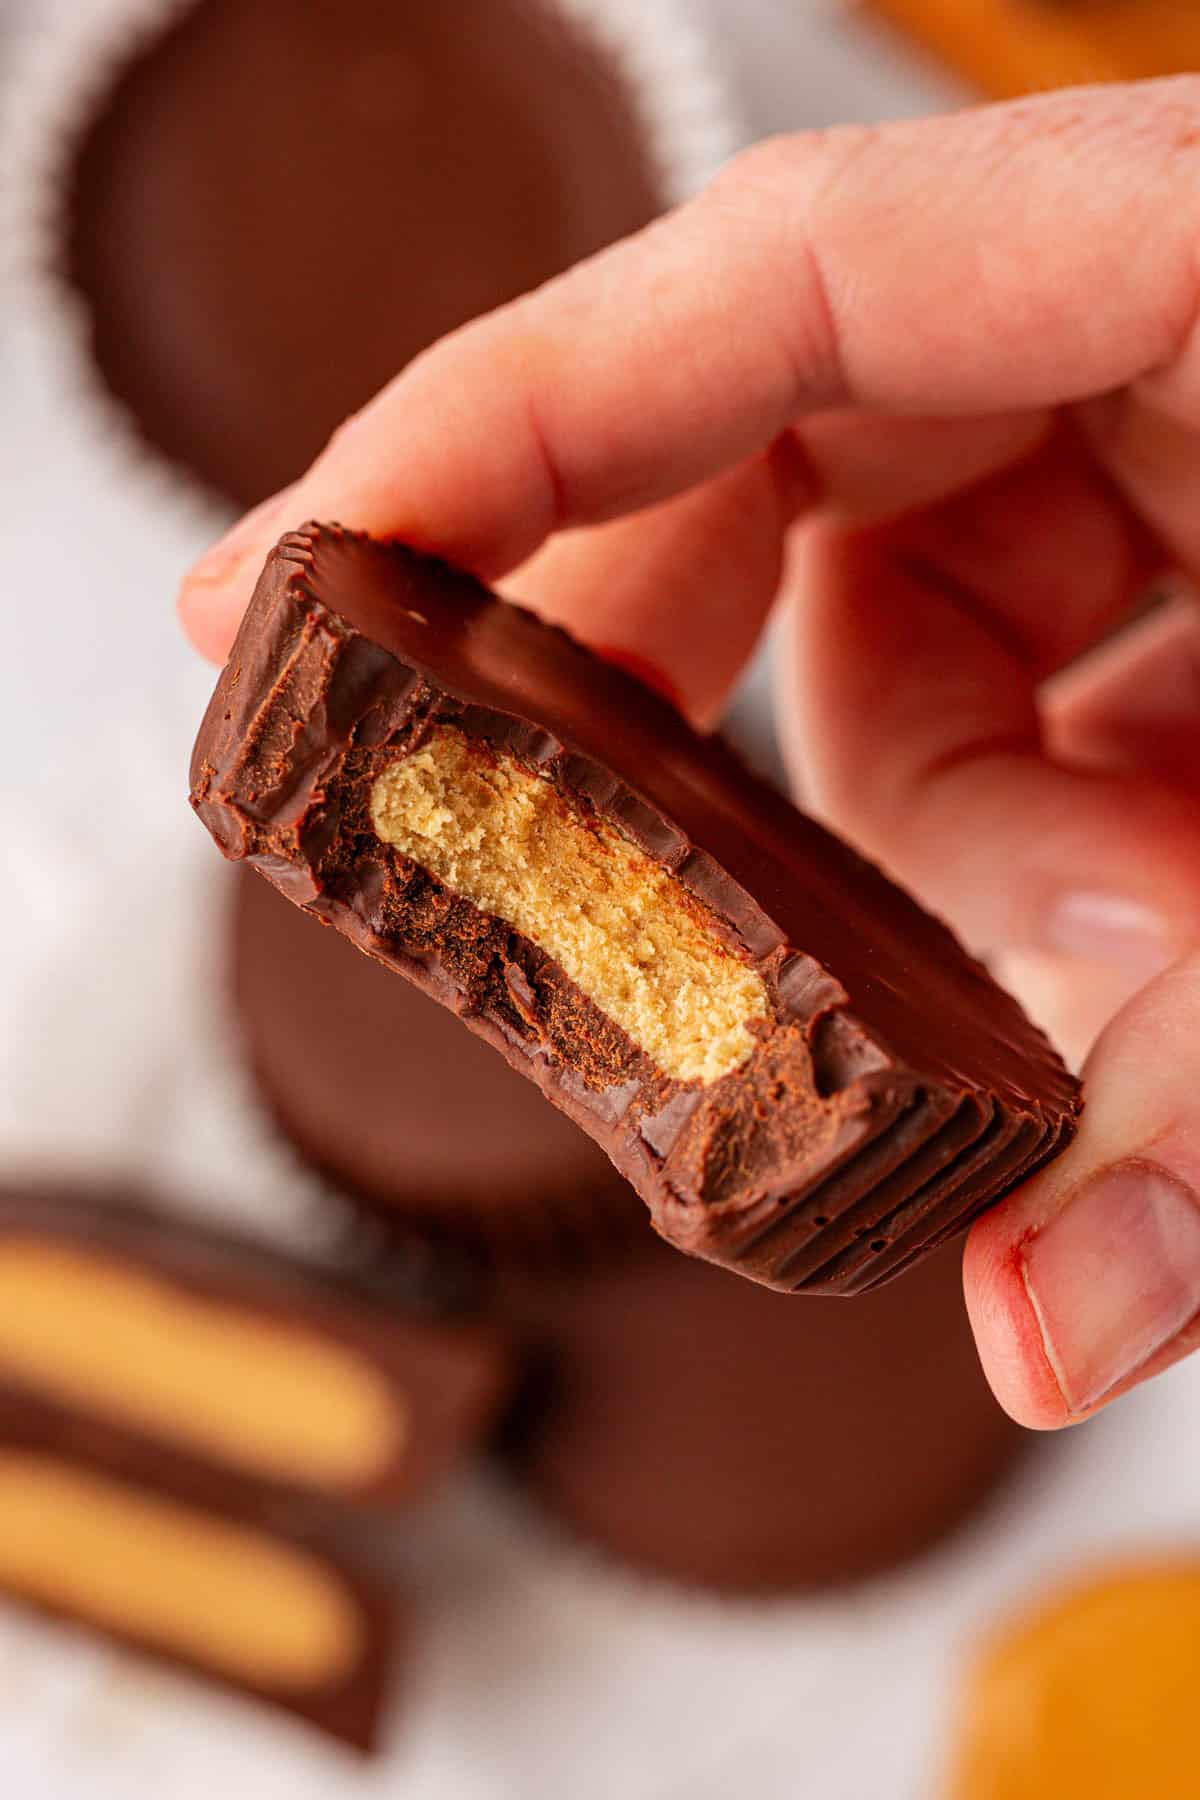
Why You’ll Love These Protein Peanut Butter Cups
There is truly nothing better than having a stash of homemade protein peanut butter cups in your freezer, ready to be enjoyed whenever a craving for something sweet and satisfying strikes. These aren’t just any sweet treat; they’re a healthier indulgence that helps you stay on track with your nutritional goals without feeling deprived.
These protein-packed delights are among my most cherished sweet treats for good reason. They offer an indulgent taste and a luxurious texture that makes them absolutely irresistible. You’ll find yourself craving their perfect balance of rich chocolate and creamy, protein-infused peanut butter.
Beyond their incredible flavor, these cups provide a fantastic boost of protein, making them an excellent choice for a post-workout snack, a mid-afternoon energy boost, or simply a guilt-free dessert. They are also incredibly versatile – feel free to experiment with different types of chocolate (dark, milk), various nut butters, or even a different flavor of protein powder to customize them to your liking.
So, do yourself a favor and give this recipe a try. I’m confident that once you experience the deliciousness and nutritional benefits of these homemade protein peanut butter cups, they’ll become a regular in your healthy dessert rotation!
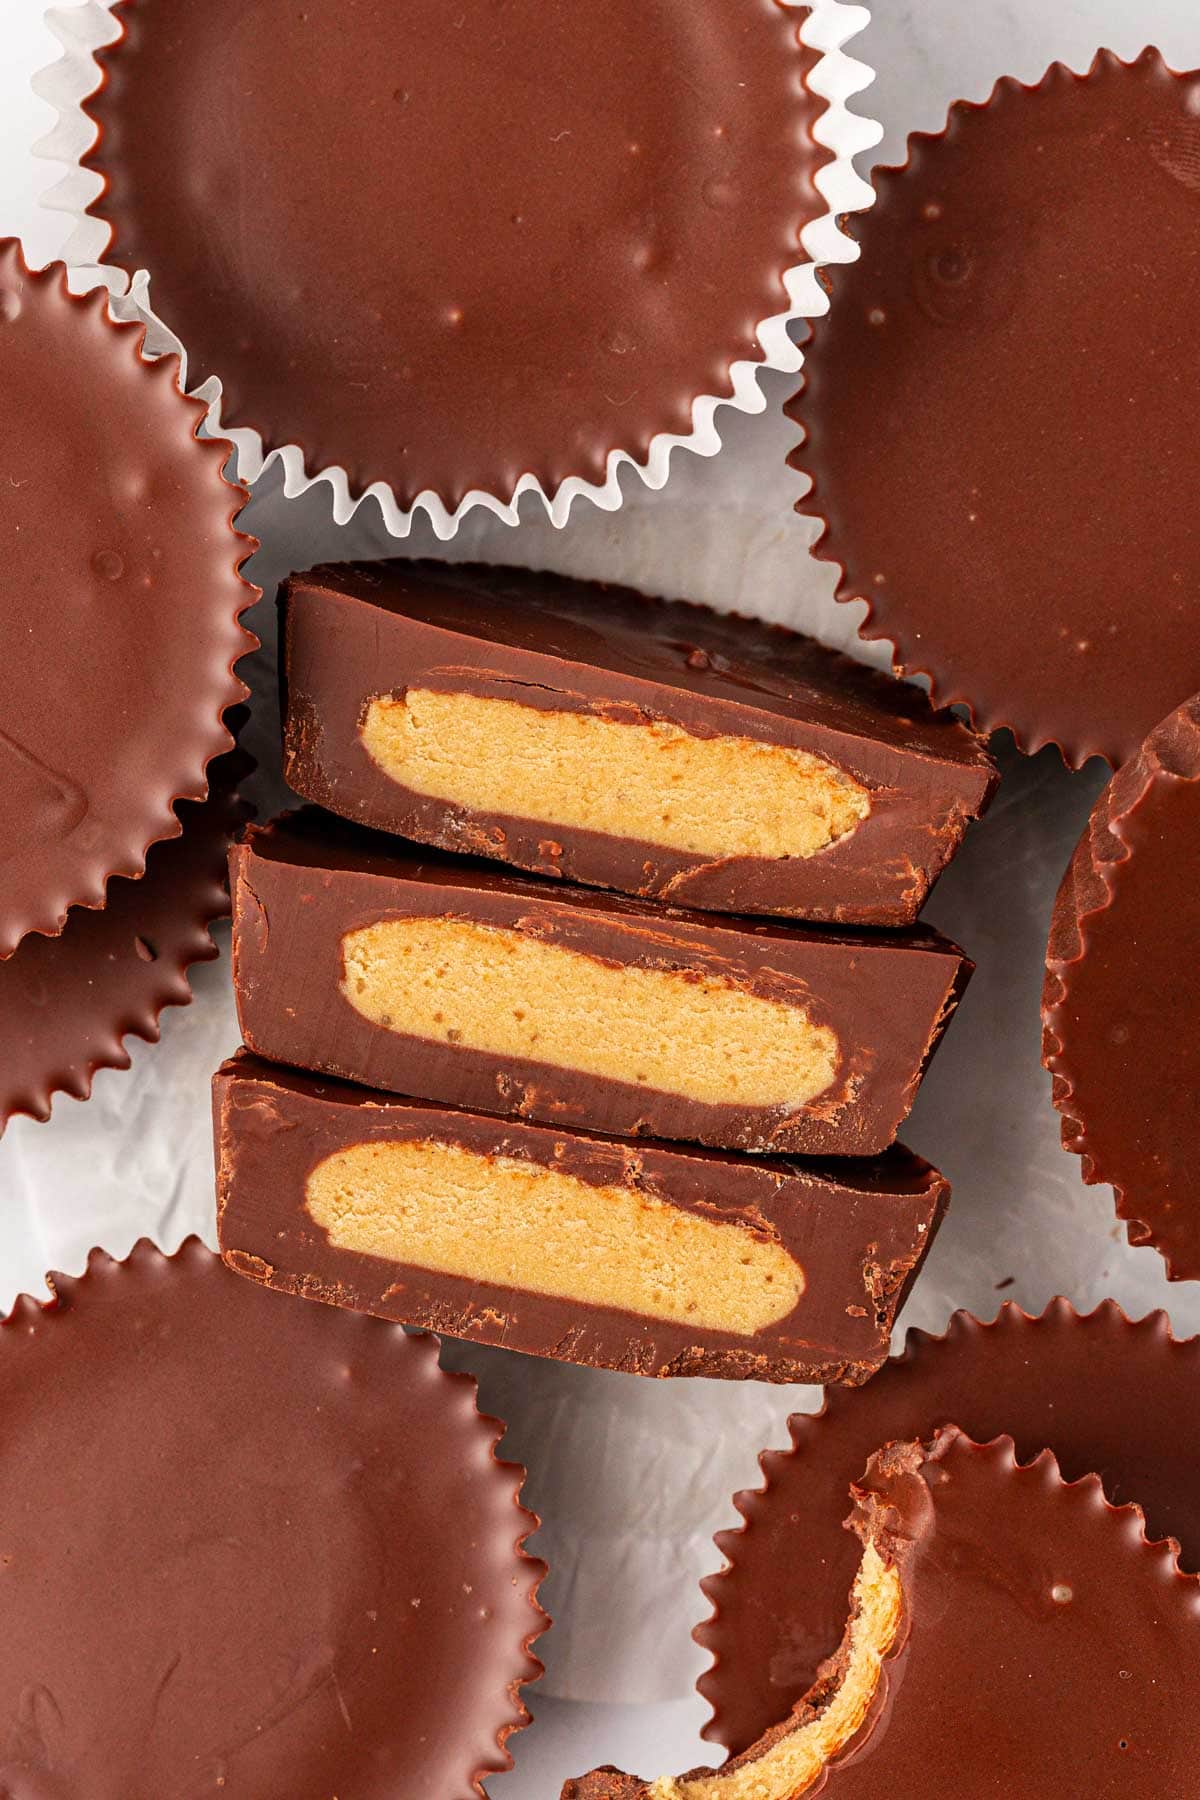
More Delicious Protein Recipes You’ll Love
If you enjoyed these protein peanut butter cups, you’re in for a treat! Here are more fantastic protein-packed recipes to keep your healthy snacking exciting and satisfying:
- Peanut Butter Chocolate Chip Protein Bars: A chewy, wholesome bar packed with the classic combo.
- Peanut Butter Pretzel Energy Bites: The perfect sweet and salty snack for a quick energy boost.
- Protein Overnight Oats: Start your day with a nutritious and convenient breakfast.
- Chocolate Protein Bars: Rich and satisfying, these bars are a chocolate lover’s dream.
- Protein Mug Cake: When you need a quick, warm, and protein-rich dessert in minutes.
- Oatmeal Cookie Energy Bites: All the flavor of an oatmeal cookie in a convenient, healthy bite.
- Almond Butter Protein Balls: A great alternative for almond butter enthusiasts, equally delicious.
- Chocolate Protein Balls: Simple, delicious, and a perfect way to curb chocolate cravings healthily.
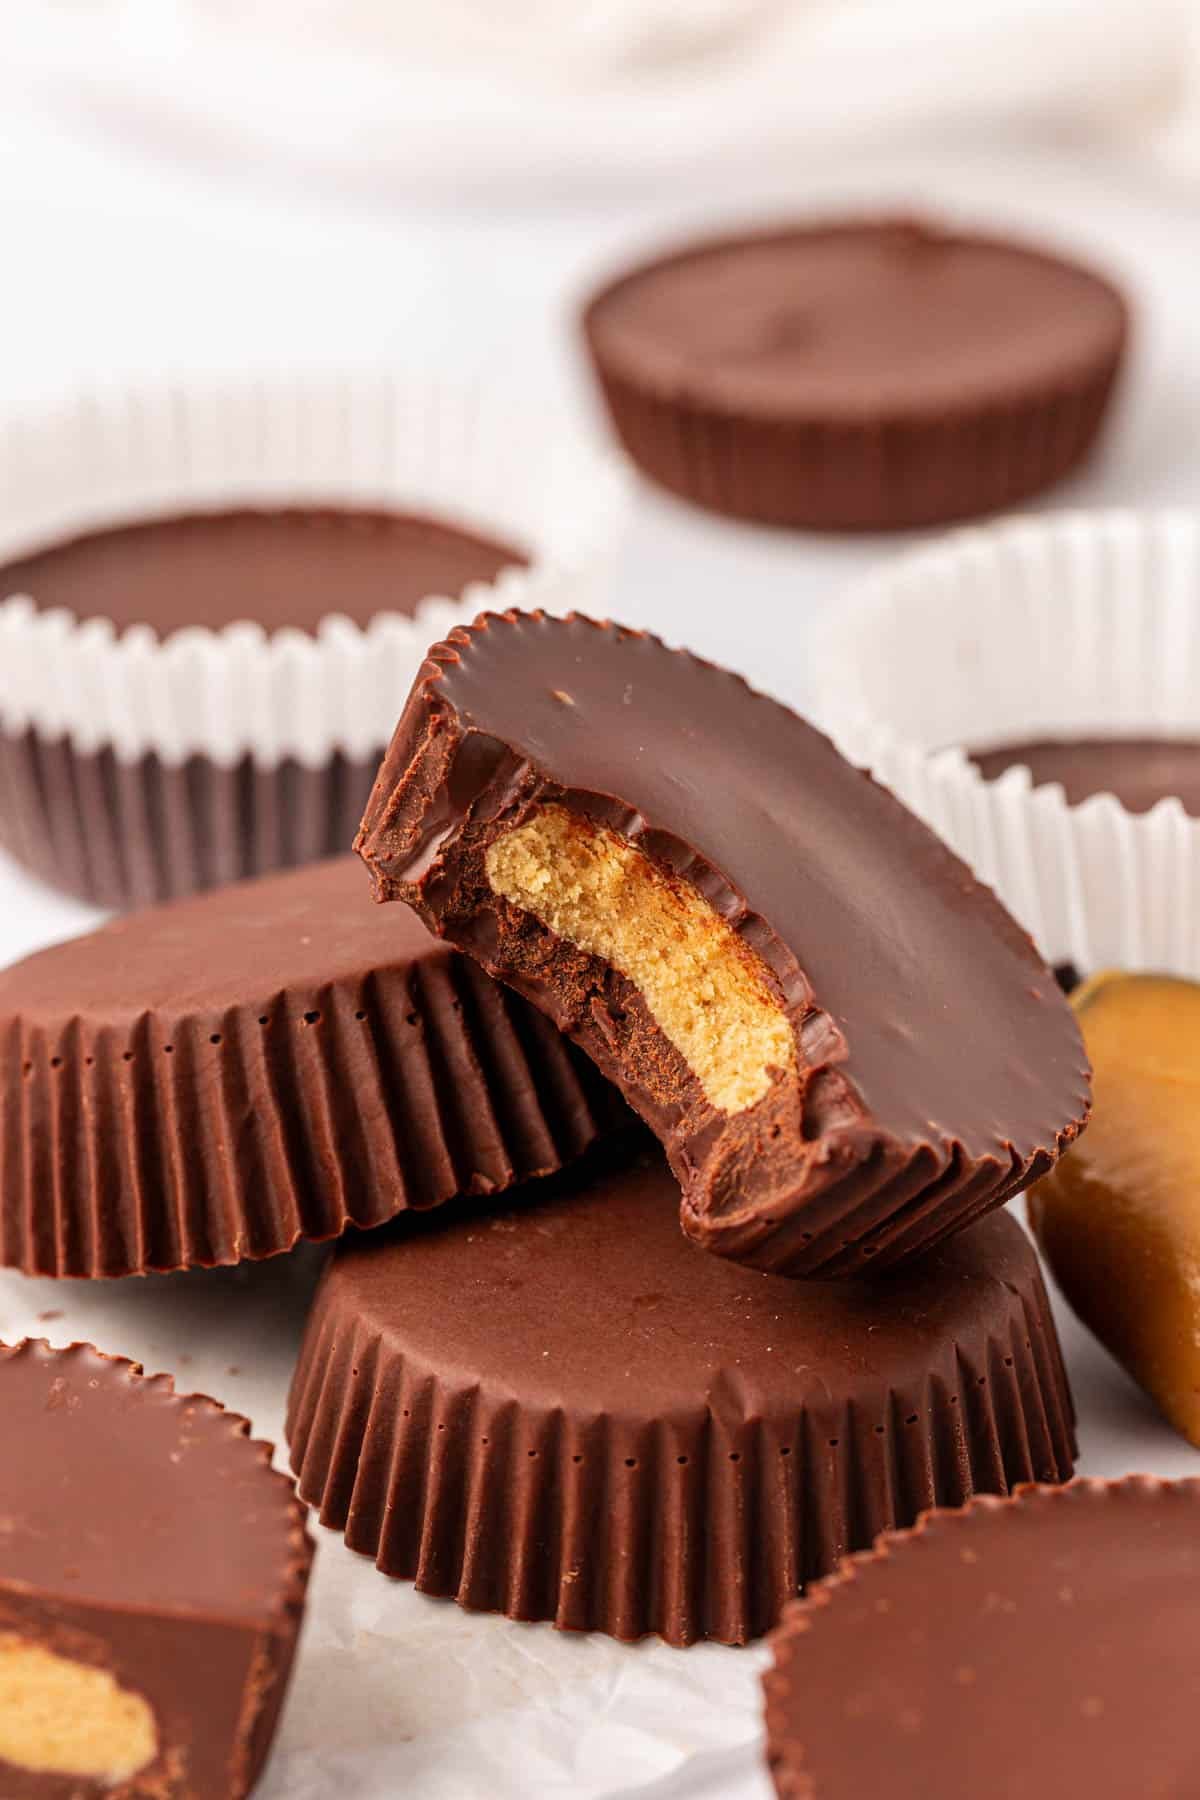
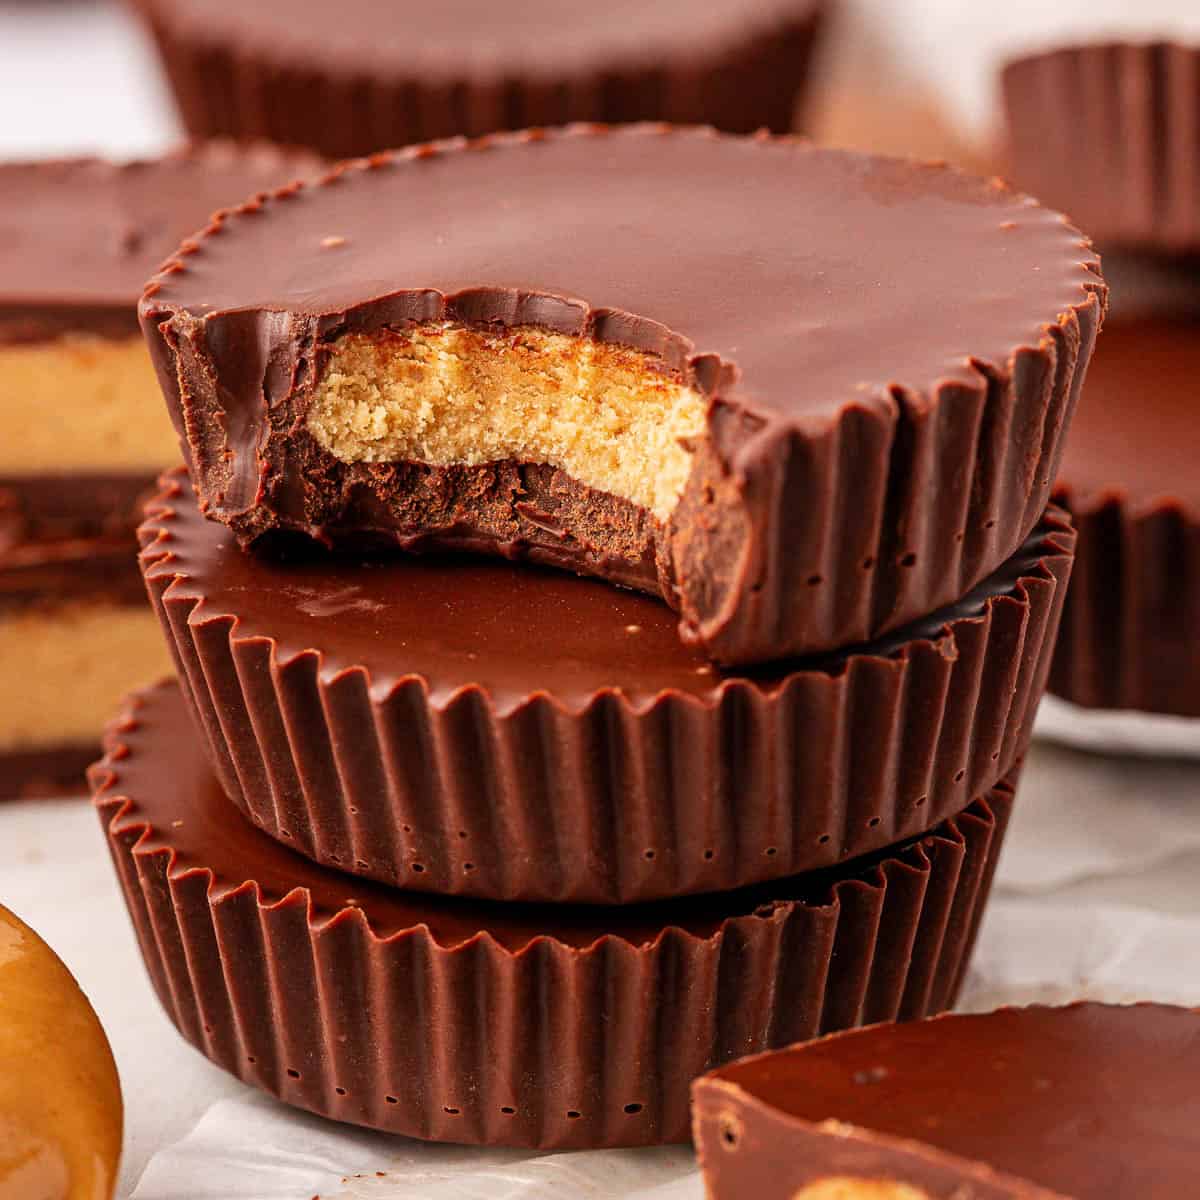
Protein Peanut Butter Cups
Save RecipeSaved!
Pin Recipe
Rate Recipe
Print Recipe
Ingredients
For the Chocolate
- 12 oz semi-sweet chocolate chips
- 1 teaspoon coconut oil, measured solid
- 1/4 teaspoon vanilla extract
For the peanut butter filling
- 1/4 cup natural creamy peanut butter, the only ingredients should be peanuts + salt
- 2 tablespoons pure maple syrup
- 1/3 cup vanilla protein powder
- 1/4 teaspoon salt
Instructions
-
Line a muffin tin with parchment paper muffin liners. This will ensure easy removal and a clean finish for your protein peanut butter cups.
-
Add the chocolate chips and coconut oil to a microwave-safe bowl. Microwave the chocolate chips in 30-second intervals, stirring each time, until melted and smooth. Be patient and stir well between intervals to prevent burning.
-
Once the chocolate is fully melted and smooth, stir in the vanilla extract. This small addition significantly enhances the chocolate’s flavor.
-
Pour 1 heaping teaspoon of the melted chocolate into the bottom of each muffin liner, then spread it out to the edges until it is in a flat, even layer. Gently tap the muffin tin on the counter to level the chocolate and release any air bubbles. Repeat this for all 12 muffin cups.
-
Place the muffin tin in the refrigerator while you make the peanut butter filling. This step helps the chocolate base set quickly.
-
Place the natural peanut butter in a microwave-safe bowl and microwave for 15-20 seconds, until it becomes runny and easier to mix.
-
Stir in the vanilla protein powder, salt, and maple syrup until all ingredients are thoroughly combined and the mixture forms a thick, pliable peanut butter filling.
-
Divide the peanut butter filling into 12 equal portions and shape them into discs that are slightly smaller than the width of the muffin liner. This ensures a perfect fit.
-
Remove the muffin tin from the refrigerator (the chocolate should be firm) and place one peanut butter disc onto the top of each chocolate cup base.
-
If your leftover melted chocolate has hardened, microwave it for another 15-20 seconds to loosen it up again, making it ready for the top layer.
-
Drizzle the remaining chocolate over the tops of the peanut butter discs, carefully smoothing the chocolate out over the top in an even layer to the edges of the liner. This creates the appealing top layer of your protein peanut butter cups.
-
Place the assembled peanut butter cups back into the refrigerator for at least one hour, or until the chocolate is completely set and firm.
-
Store leftover protein peanut butter cups in an airtight container in the refrigerator for up to a week, or in the freezer for 1-2 months for a longer-lasting treat.
Notes
To make these vegan
Making these protein peanut butter cups suitable for a vegan diet is simple! Just ensure you use a high-quality vegan protein powder and verify that your chosen chocolate chips are dairy-free. Many brands offer excellent dark chocolate or semi-sweet vegan options.
Storing
For optimal freshness and enjoyment, store any leftover protein peanut butter cups in an airtight container. You can keep them in the refrigerator for approximately one week. If you prefer a longer shelf life, or simply enjoy a firmer, colder treat, they can be stored in the freezer for 1-2 months. I personally find the texture from the freezer to be incredibly satisfying!
Nutrition
Like this recipe? Rate and comment below!
