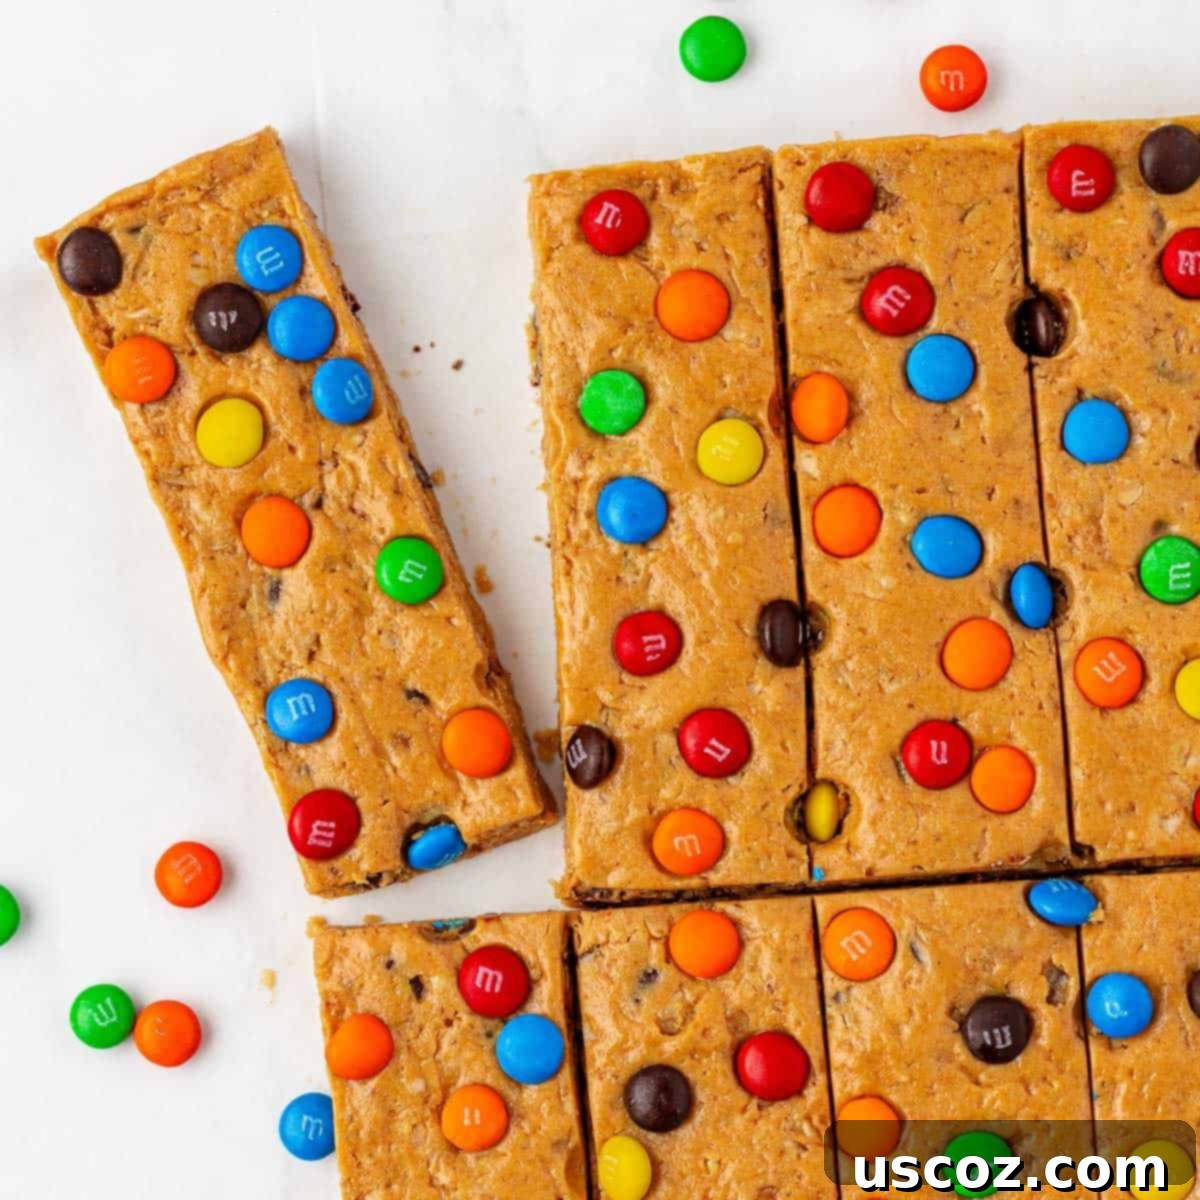
Decadent & Easy: No-Bake Monster Cookie Protein Bars for a High-Protein Treat
Craving a sweet, satisfying snack that also fuels your body? Look no further than these incredibly easy no-bake Monster Cookie Protein Bars! They’re a household favorite, offering a delightful blend of classic monster cookie flavors with the added benefit of a protein boost. Each bar packs an impressive 10 grams of protein, making them taste like a indulgent dessert while secretly being a wholesome, energy-packed treat. Prepare to fall in love with your new go-to healthy snack!
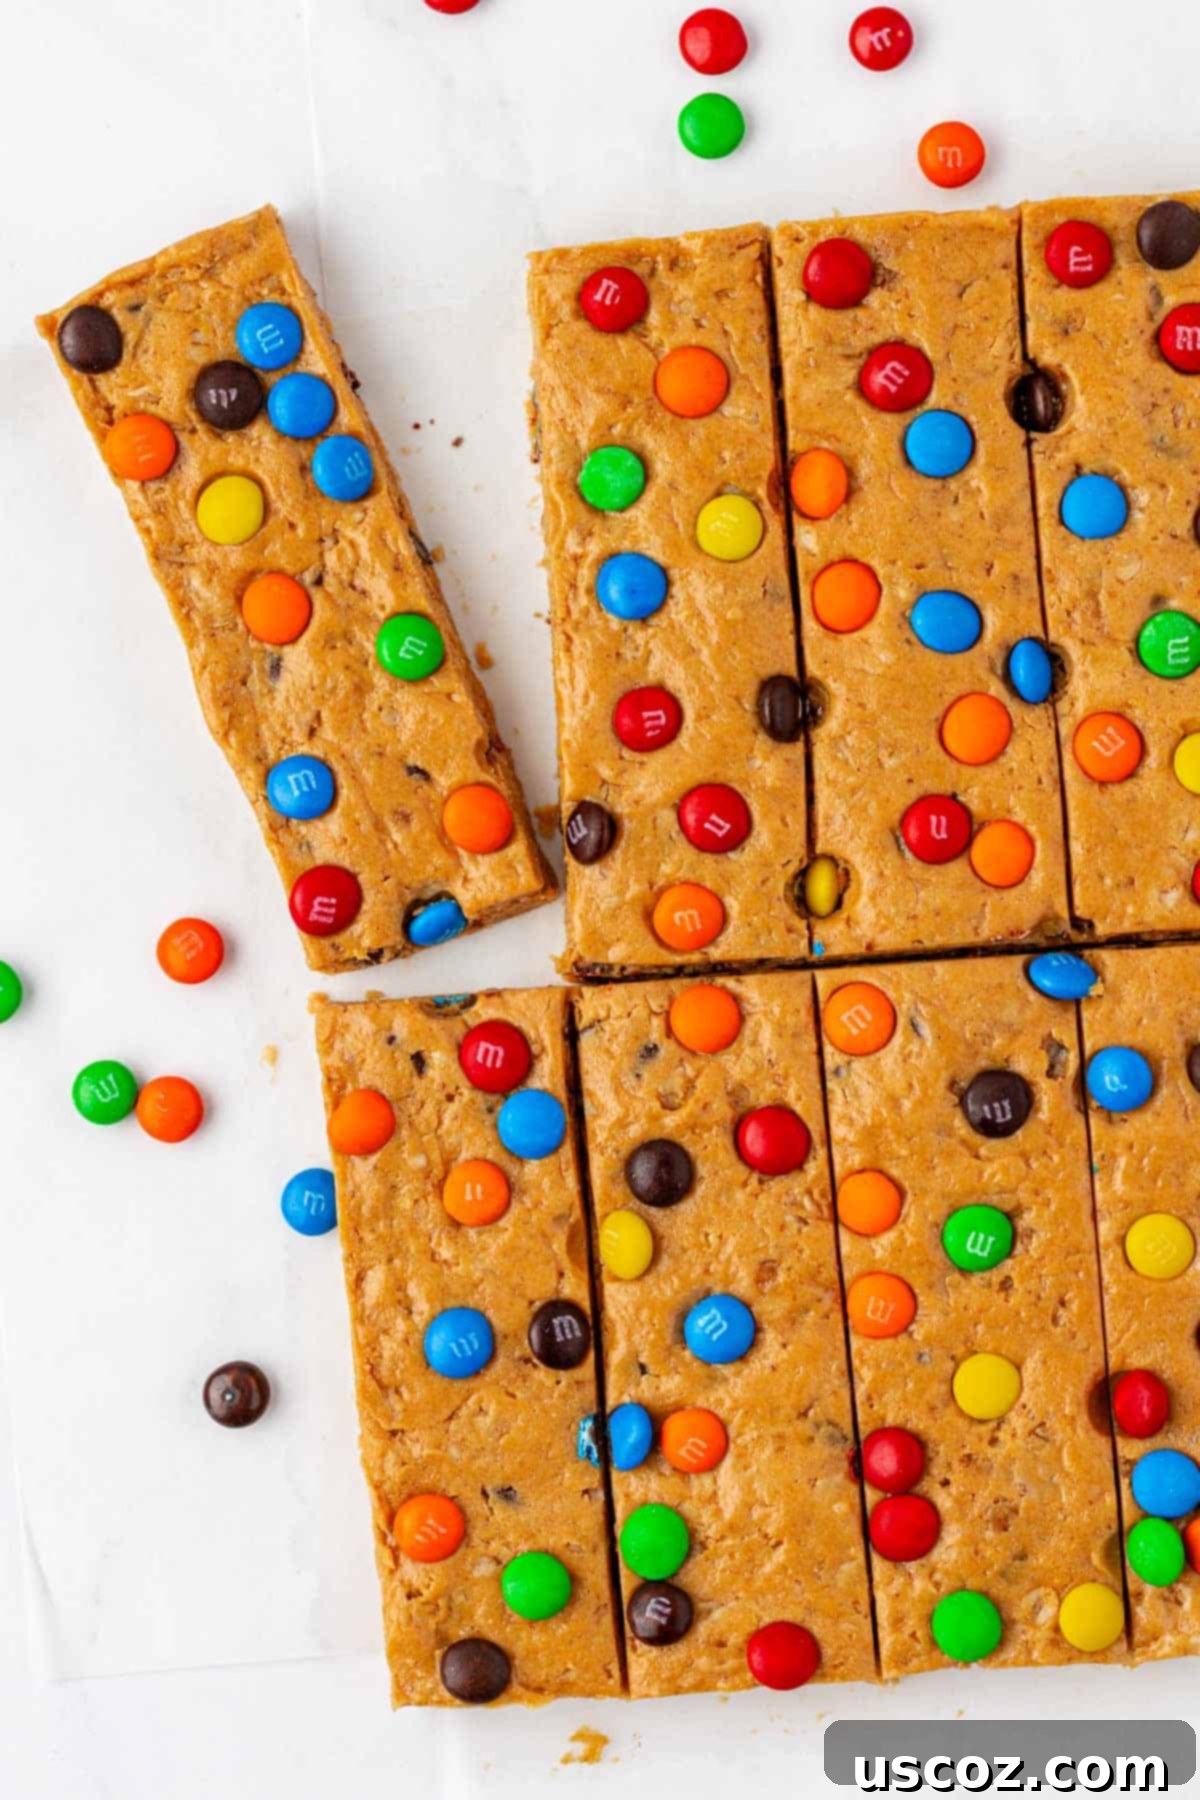
Why Choose Homemade Protein Bars?
In our quest for healthier eating and smarter snacking, homemade protein bars have become an absolute staple. There are countless reasons why whipping up your own batch, especially these delightful Monster Cookie Protein Bars, is a game-changer compared to relying on store-bought options.
Firstly, **ingredient control** is paramount. When you make protein bars at home, you know exactly what goes into them. You can avoid artificial sweeteners, preservatives, and mystery ingredients often found in commercial bars. This transparency is a huge plus, especially for families or individuals with dietary restrictions or specific health goals. You’re in charge of the quality and type of every single component.
Secondly, homemade protein bars are often significantly **more cost-effective**. Buying individual protein bars can add up quickly, especially if you consume them regularly. By purchasing ingredients in bulk and making a larger batch, you can drastically reduce your per-serving cost, stretching your grocery budget further.
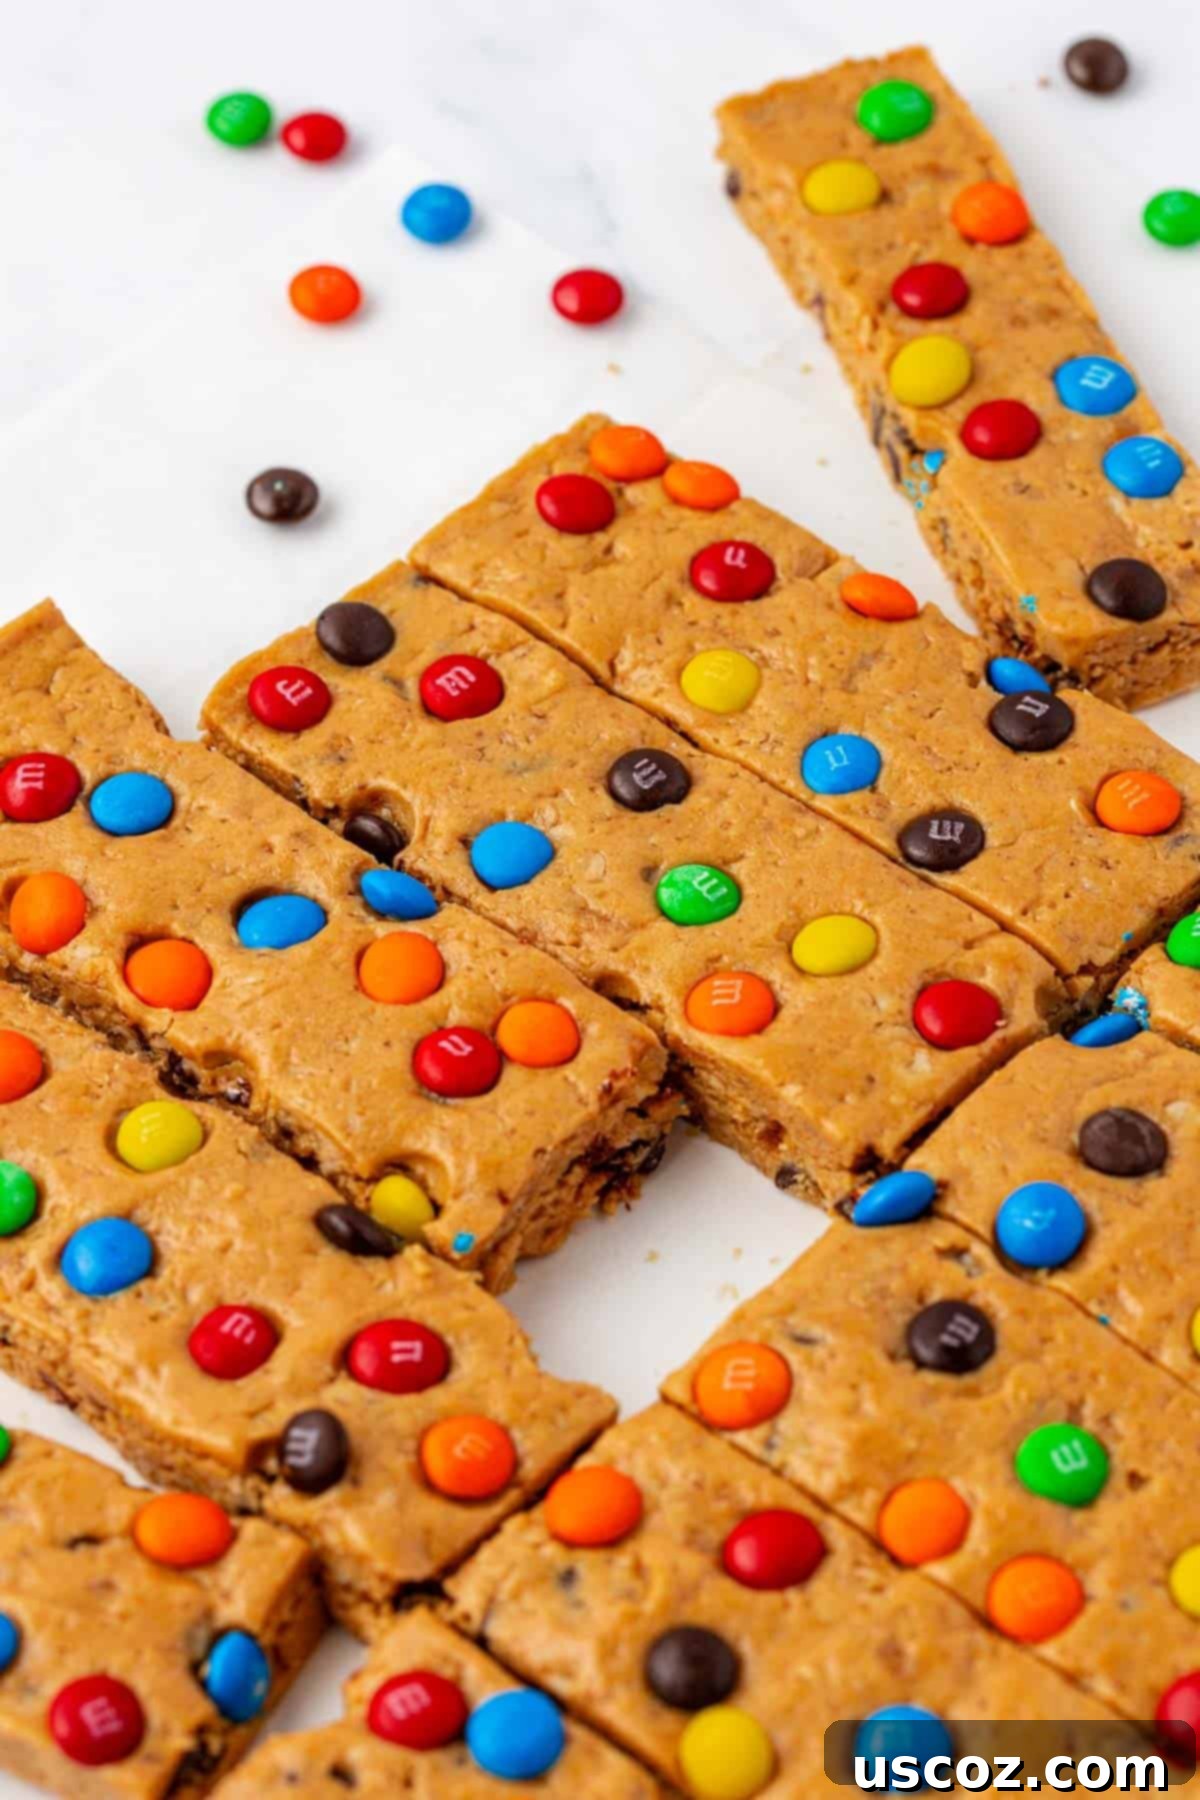
Furthermore, the **freshness and taste** of homemade bars are simply unmatched. Imagine biting into a chewy, flavor-packed bar made just hours ago, bursting with the authentic taste of peanut butter, oats, chocolate, and honey. These Monster Cookie Protein Bars encapsulate that fresh-baked (or rather, fresh-made no-bake!) goodness, proving that healthy snacks don’t have to compromise on flavor. They are truly the latest flavor sensation I’ve dreamed up, and my kids – typically discerning critics – were absolute huge fans!
Finally, the **convenience** cannot be overstated. With just a little bit of prep time, you can create a week’s worth of ready-to-eat snacks. I love making a batch of these protein bars and storing them pre-cut for easy grab-and-go options throughout the week. They rarely last more than a few days in our house because everyone, from the littlest family members to the adults, simply devours them!
Understanding Your Ingredients for Perfect Monster Cookie Protein Bars
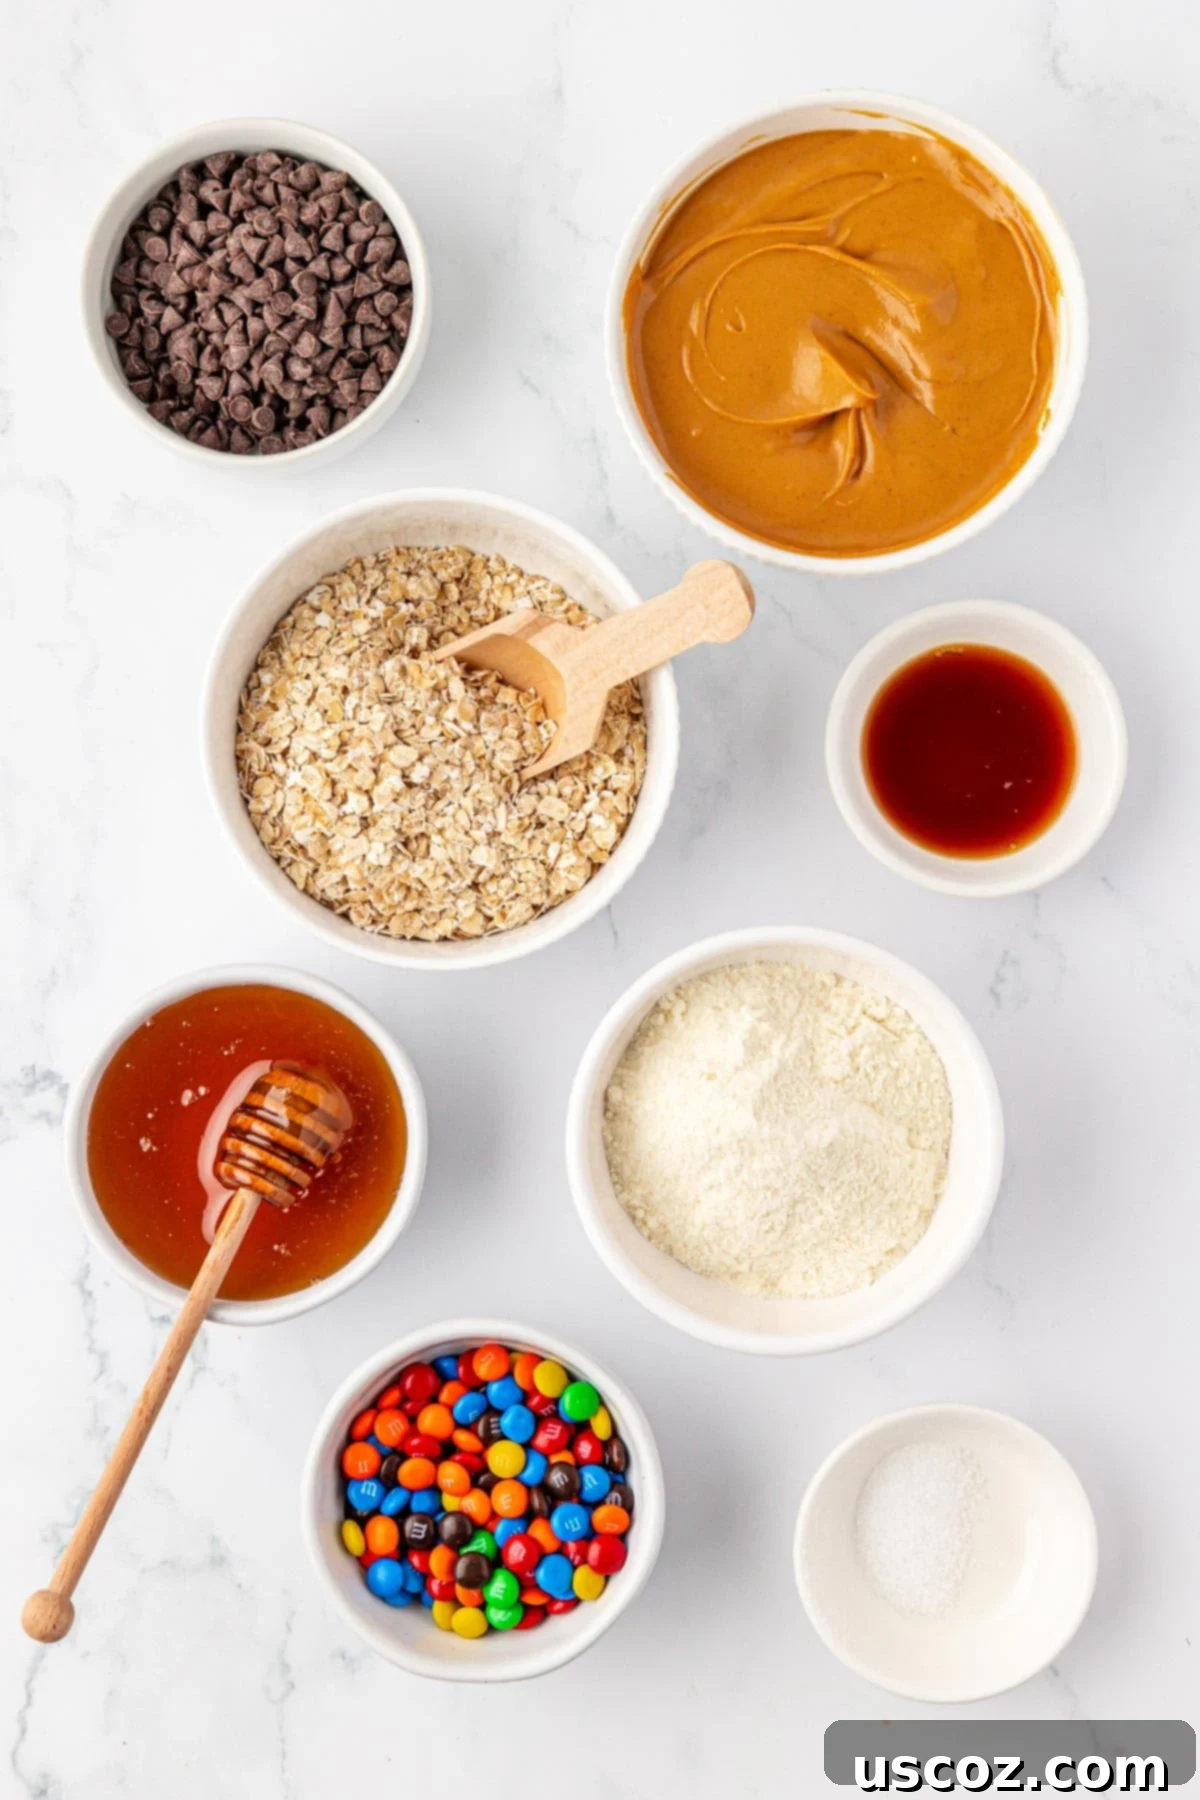
Creating these incredible no-bake Monster Cookie Protein Bars starts with understanding the role each ingredient plays. Here’s a detailed look at everything you’ll need, along with some helpful notes to ensure your bars turn out perfectly. The full recipe and instructions are provided in the recipe card at the bottom of this post.
- No-stir creamy peanut butter: This is a crucial ingredient for achieving the right texture without any hassle. Unlike natural peanut butter, which tends to separate and can be runnier, “no-stir” versions typically contain a small amount of added oil (like palm oil) and sometimes sugar, which helps them maintain a consistent, creamy texture. This consistency is key for binding all the ingredients together perfectly in a no-bake recipe. Always check the label; ideal ingredients usually include peanuts, oil, salt, and a touch of sugar.
- Honey: Beyond being a natural and delicious sweetener, honey acts as the essential sticky binder in this recipe. It helps to hold all the dry ingredients together, giving the bars their characteristic chewy texture and preventing them from crumbling. Its natural sweetness complements the peanut butter beautifully.
- Quick oats: While you might be tempted to use rolled oats, quick oats are specifically recommended here. Their finer texture helps to create a softer, more cohesive, and delightfully chewy monster cookie-like consistency in the bars. They blend seamlessly into the batter, ensuring that classic “cookie” mouthfeel.
- Vanilla protein powder: This is where the “protein” in protein bars comes in! Vanilla flavored protein powder not only boosts the nutritional value of your snack but also contributes a lovely, foundational flavor that pairs wonderfully with peanut butter and chocolate. You can use whey protein, casein protein, or a plant-based alternative (like pea or soy protein). Be aware that different protein powders can absorb liquid differently, so you might need slight adjustments if your batter seems too dry or too wet.
- Vanilla extract: A touch of vanilla extract is essential for enhancing the overall flavor profile, adding a warm, aromatic depth that makes these bars taste even more like a decadent treat.
- Salt: Just a pinch of salt is vital for balancing the sweetness from the honey, chocolate, and M&M’s. It helps to elevate and round out all the flavors, preventing the bars from tasting overly sweet.
- Mini chocolate chips: For that authentic monster cookie experience, mini chocolate chips are ideal. Their smaller size ensures that you get a perfect burst of chocolate in every single bite, rather than large, uneven chunks.
- Mini M&M’s: These colorful candies are the quintessential monster cookie topping! You’ll gently press them onto the top of the bars after spreading the batter to complete that iconic monster cookie look and add a delightful crunch and extra sweetness.
Crafting Your No-Bake Monster Cookie Protein Bars: A Step-by-Step Guide
Making these Monster Cookie Protein Bars is incredibly straightforward, requiring no baking and minimal equipment. Follow these simple steps to create your delicious and nutritious snacks.
Step 1: Combine the Core Ingredients and Mix
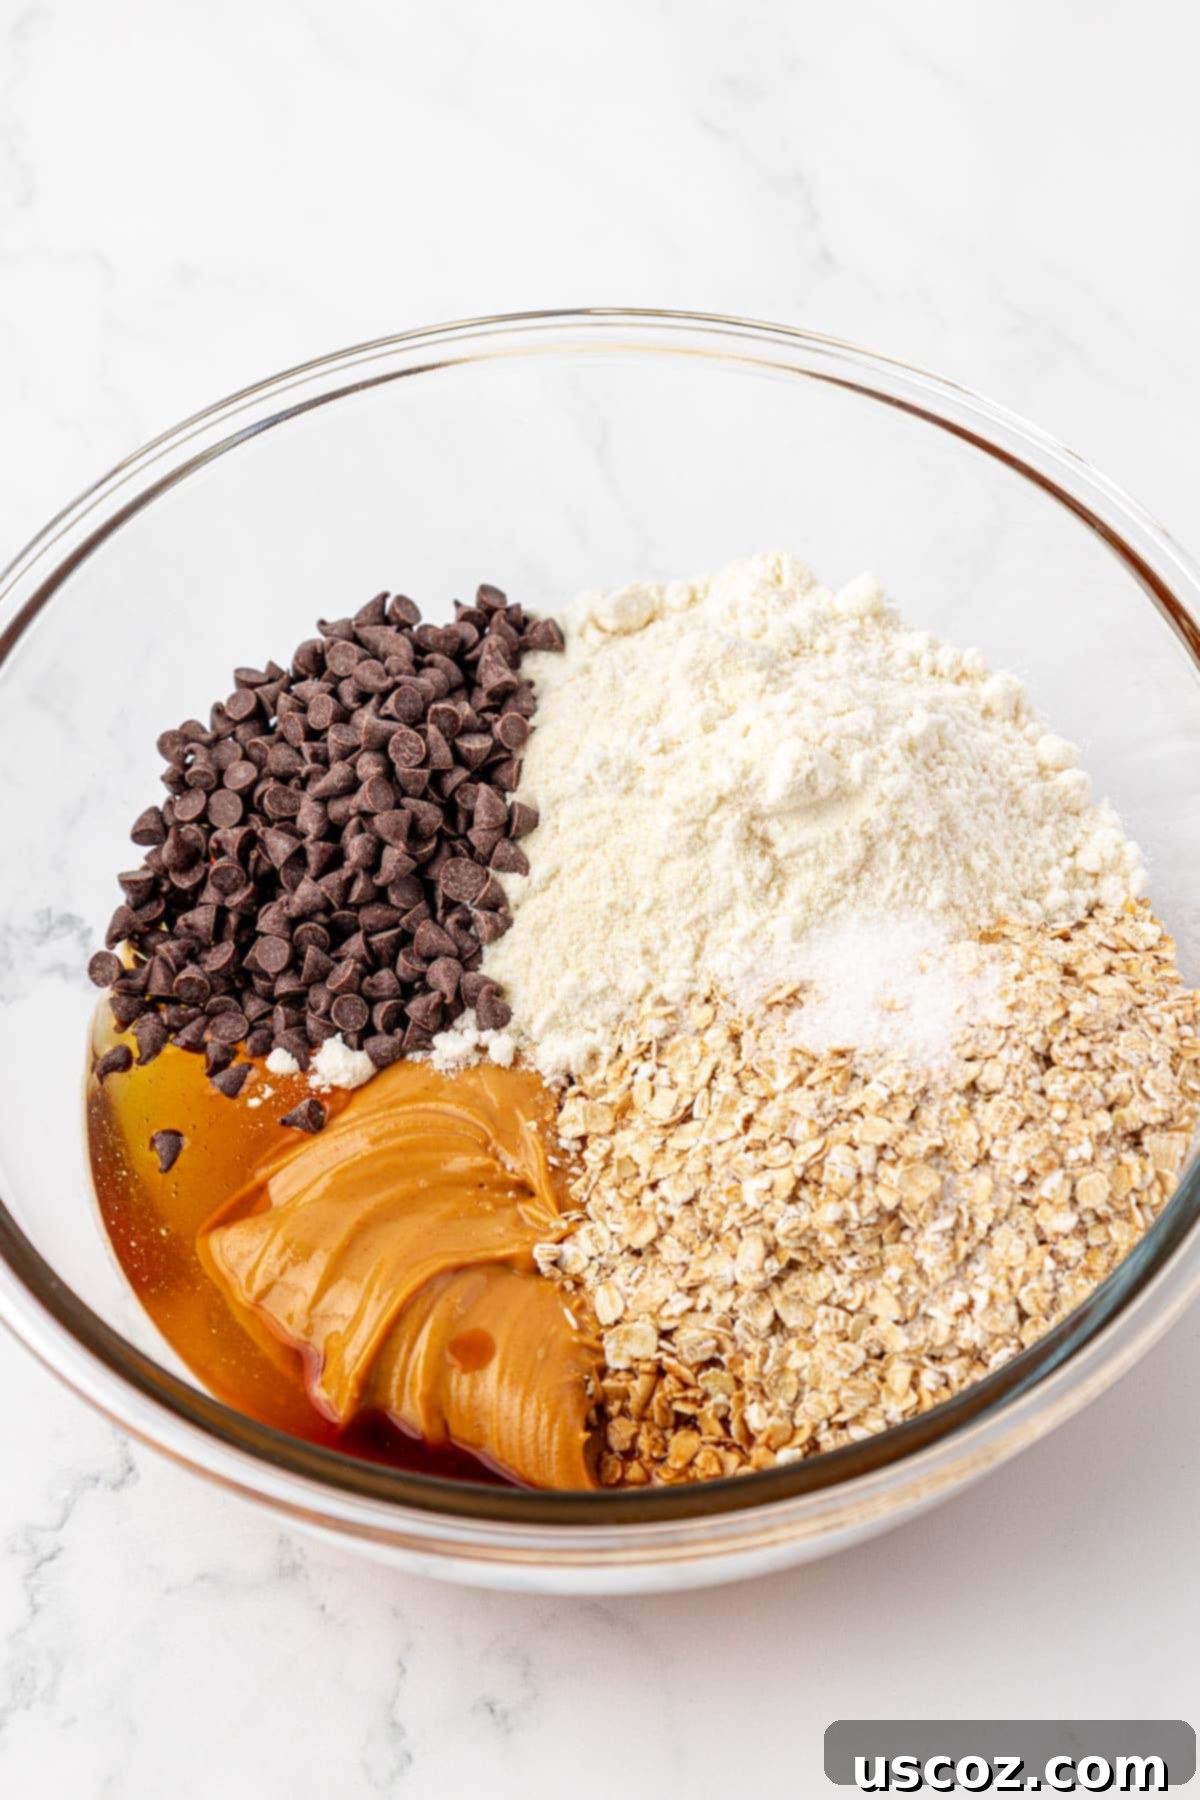
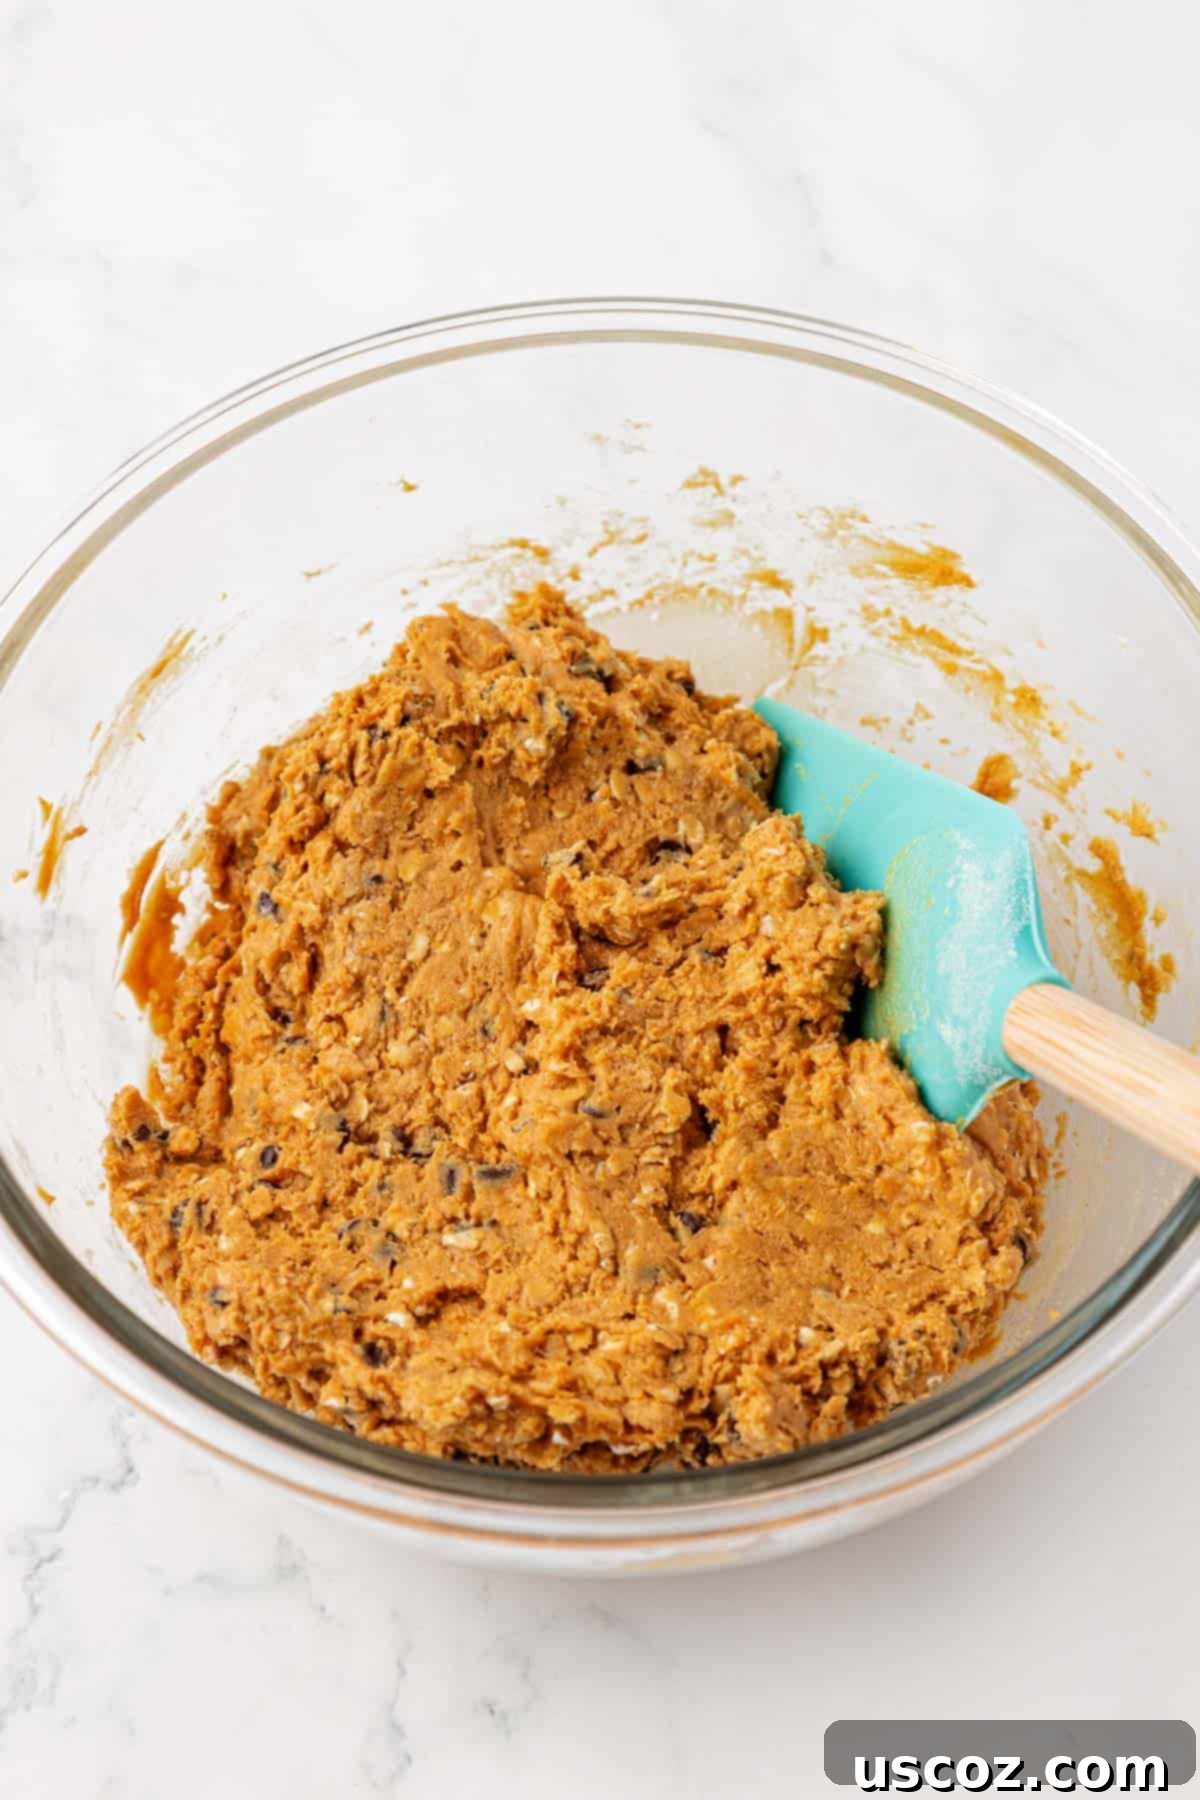
Begin by gathering all your main ingredients. In a large mixing bowl, add the no-stir creamy peanut butter, honey, quick oats, vanilla protein powder, vanilla extract, salt, and mini chocolate chips. Using a sturdy rubber spatula or a strong spoon, mix everything together thoroughly. Continue mixing until all the ingredients are fully incorporated and a thick, uniform batter forms. This might take a few minutes of good arm work!
Expert Tip: The Right Peanut Butter Makes a Difference
It’s crucial to note that this recipe specifically calls for **no-stir creamy peanut butter**. This type of peanut butter has a thicker, more consistent texture than natural peanut butter, which tends to be runnier and separates. If you opt to use natural peanut butter, you will likely need to adjust the quantities of dry ingredients (like adding a bit more oats or protein powder) to achieve the correct batter consistency. The goal is for the batter to be thick and pliable enough to press into a pan without being overly sticky and clinging to your hands. If it’s too sticky, add a tablespoon of oats or protein powder at a time until it’s workable. If it’s too dry, a tiny bit more honey or peanut butter can help.
Step 2: Prepare the Pan and Press the Batter
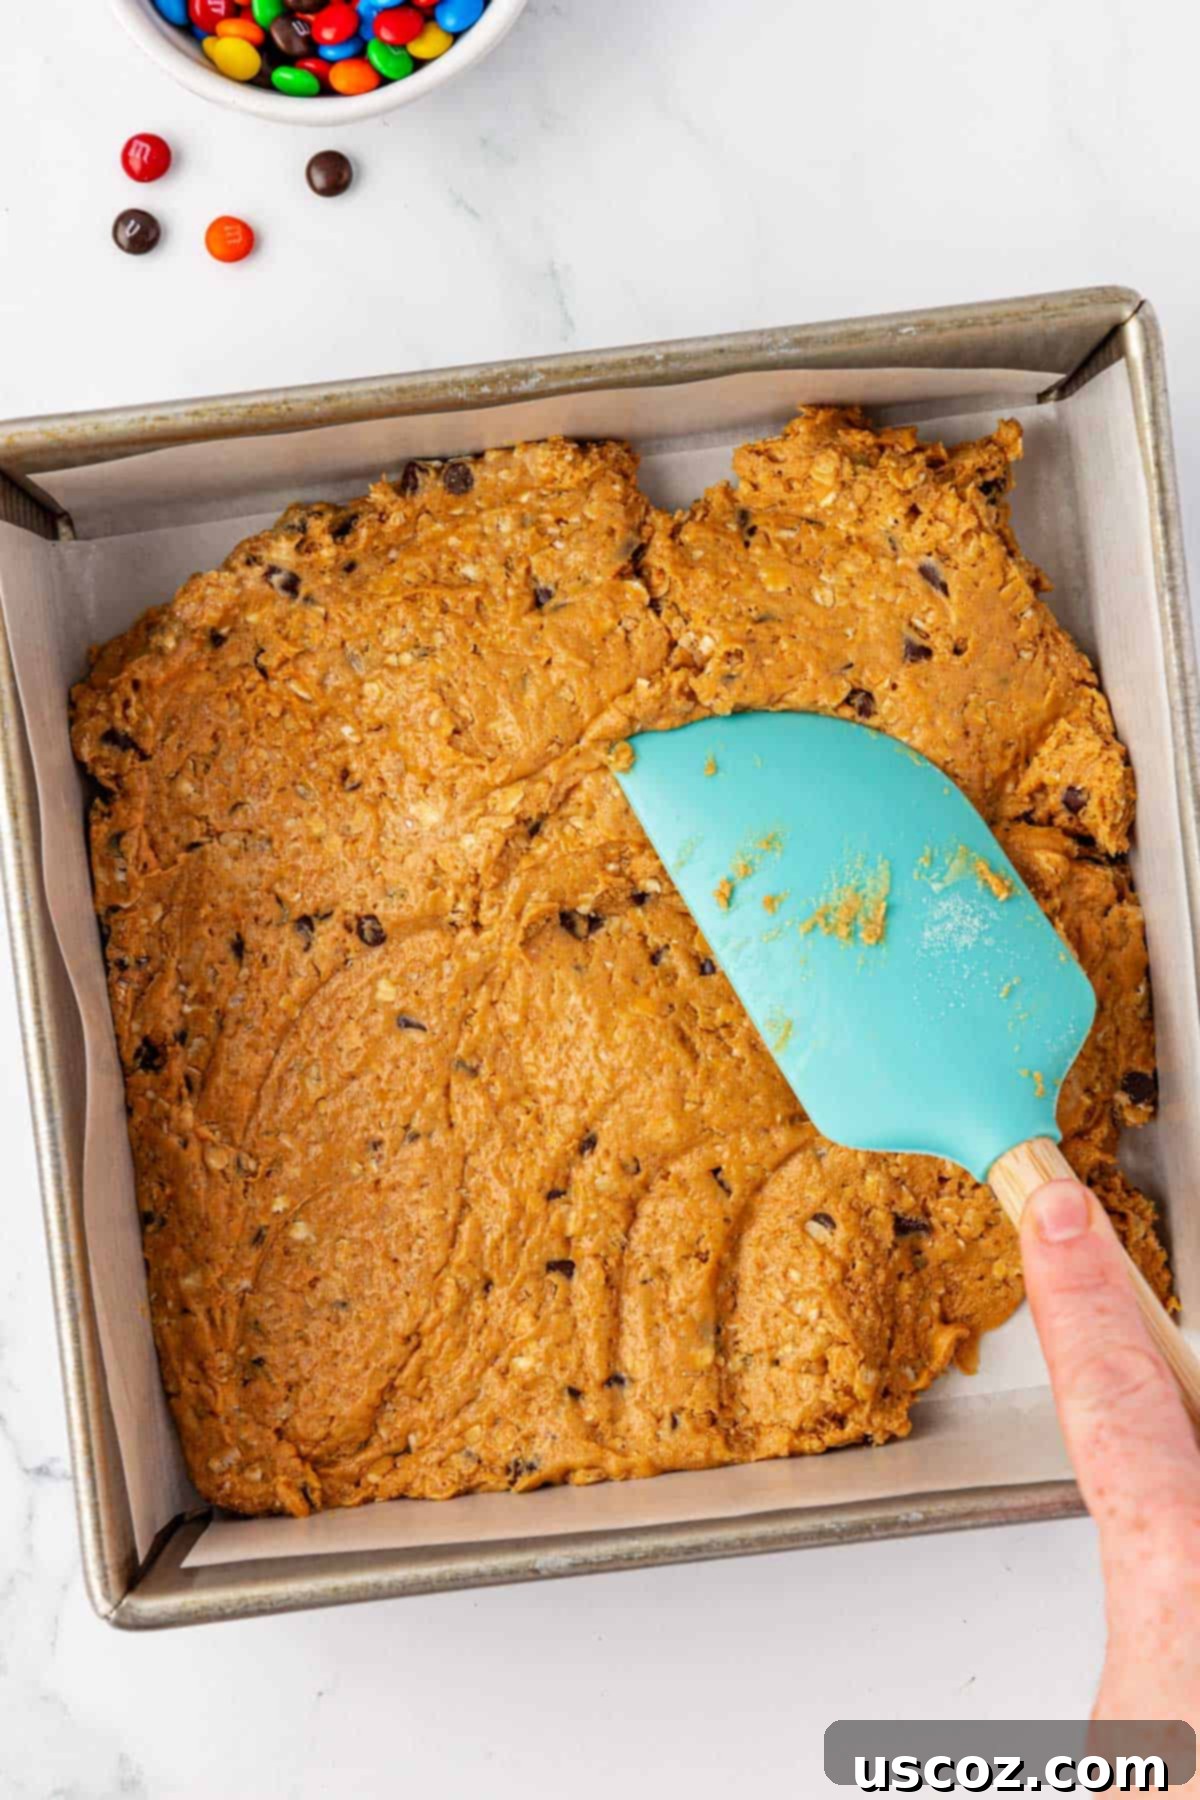
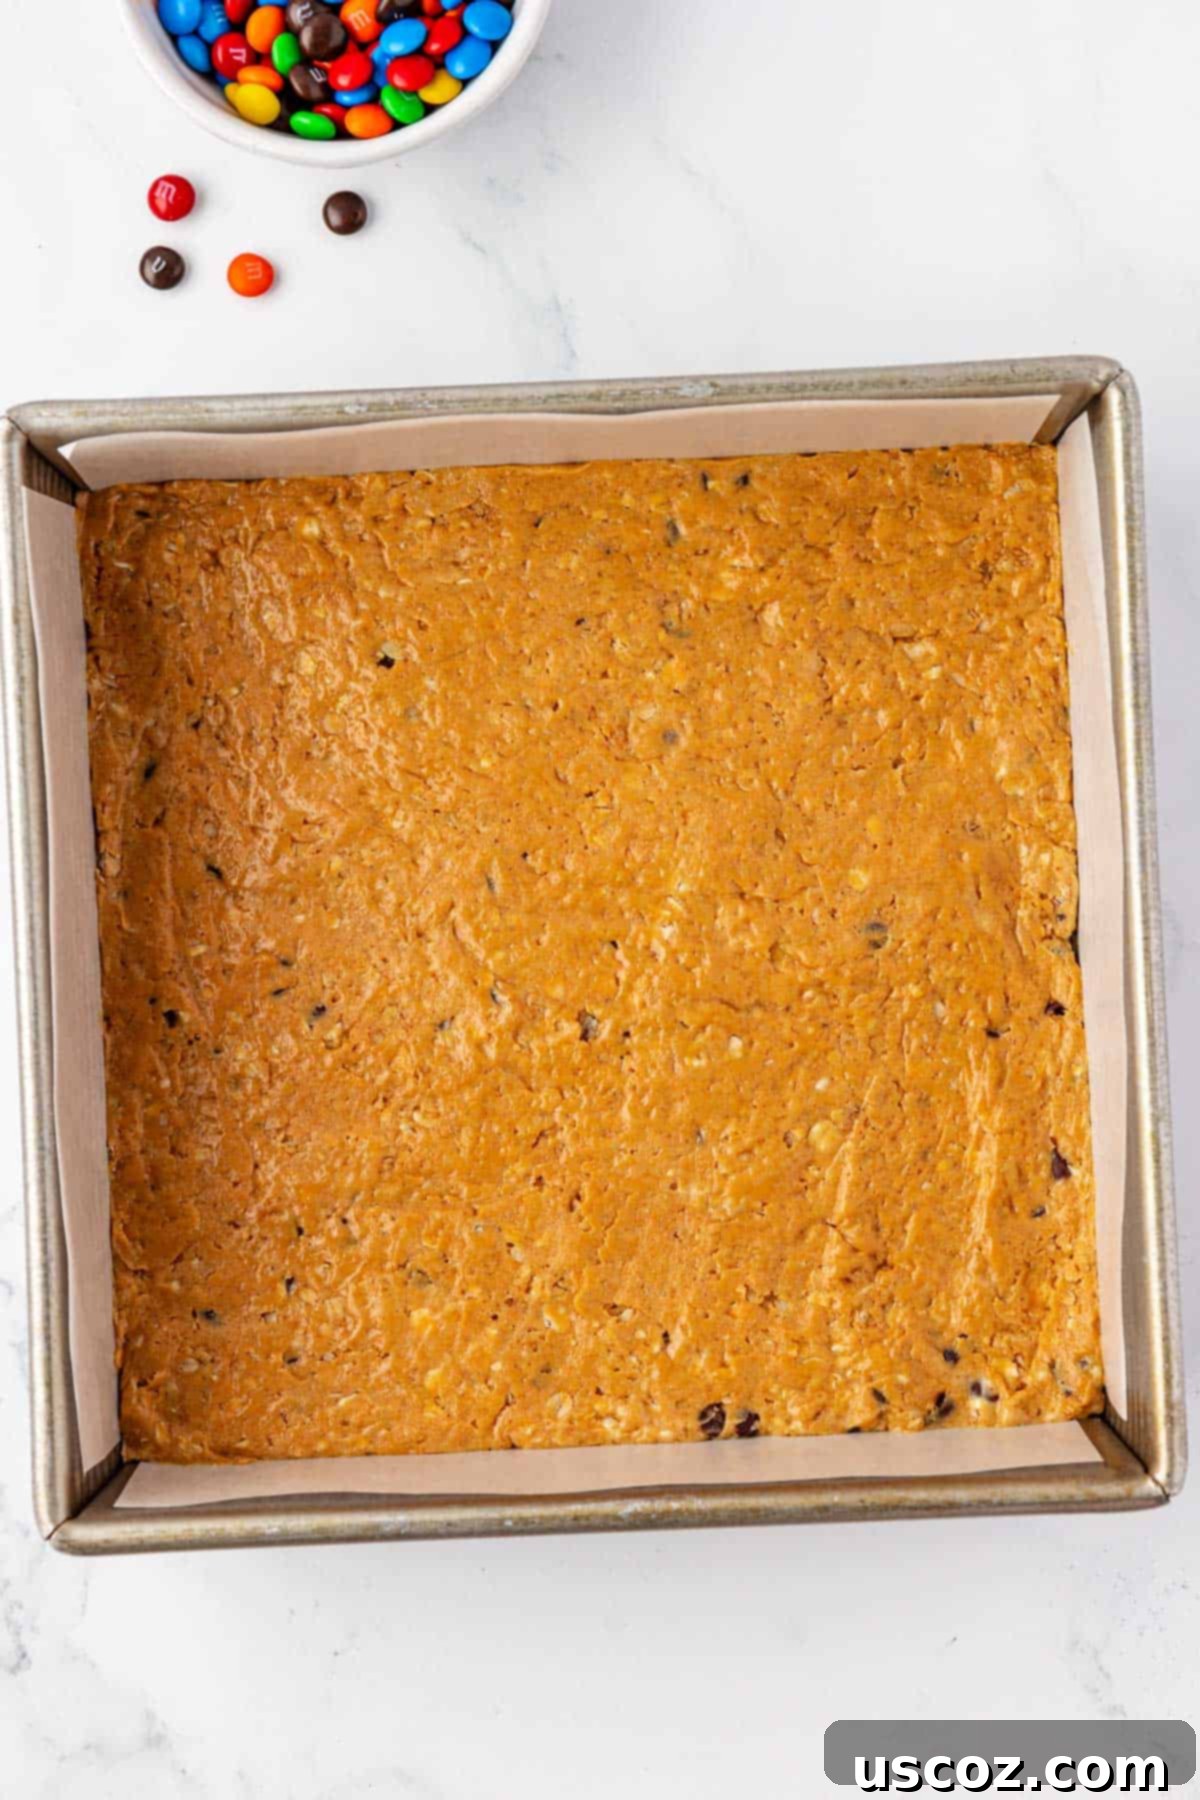
Line an 8×8 inch (20×20 cm) baking dish with parchment paper, allowing the paper to overhang on two sides. This overhang will create “handles” that make it incredibly easy to lift the entire batch of bars out of the pan once they’re firm. Transfer the thick batter into the prepared pan. Using your rubber spatula, or even the back of a spoon (or your hands, lightly moistened if the batter is a bit sticky), press the batter down firmly and evenly into the pan. You want a compact, smooth surface for your bars.
Step 3: Add the Signature Monster Cookie Topping
Once the batter is evenly pressed into the pan, it’s time for the fun part that truly makes them “monster cookie” bars! Sprinkle the mini M&M’s generously over the surface of the batter. Gently press them down lightly with your hand or the back of the spatula to ensure they adhere and don’t fall off once the bars are cut.
Step 4: Chill for Perfection
Place the entire pan into the refrigerator. Allow the bars to chill for at least 1-2 hours, or until they are completely firm. This chilling time is essential, as it allows the peanut butter and honey to solidify, setting the bars so they can be easily cut and handled without falling apart. Don’t rush this step!
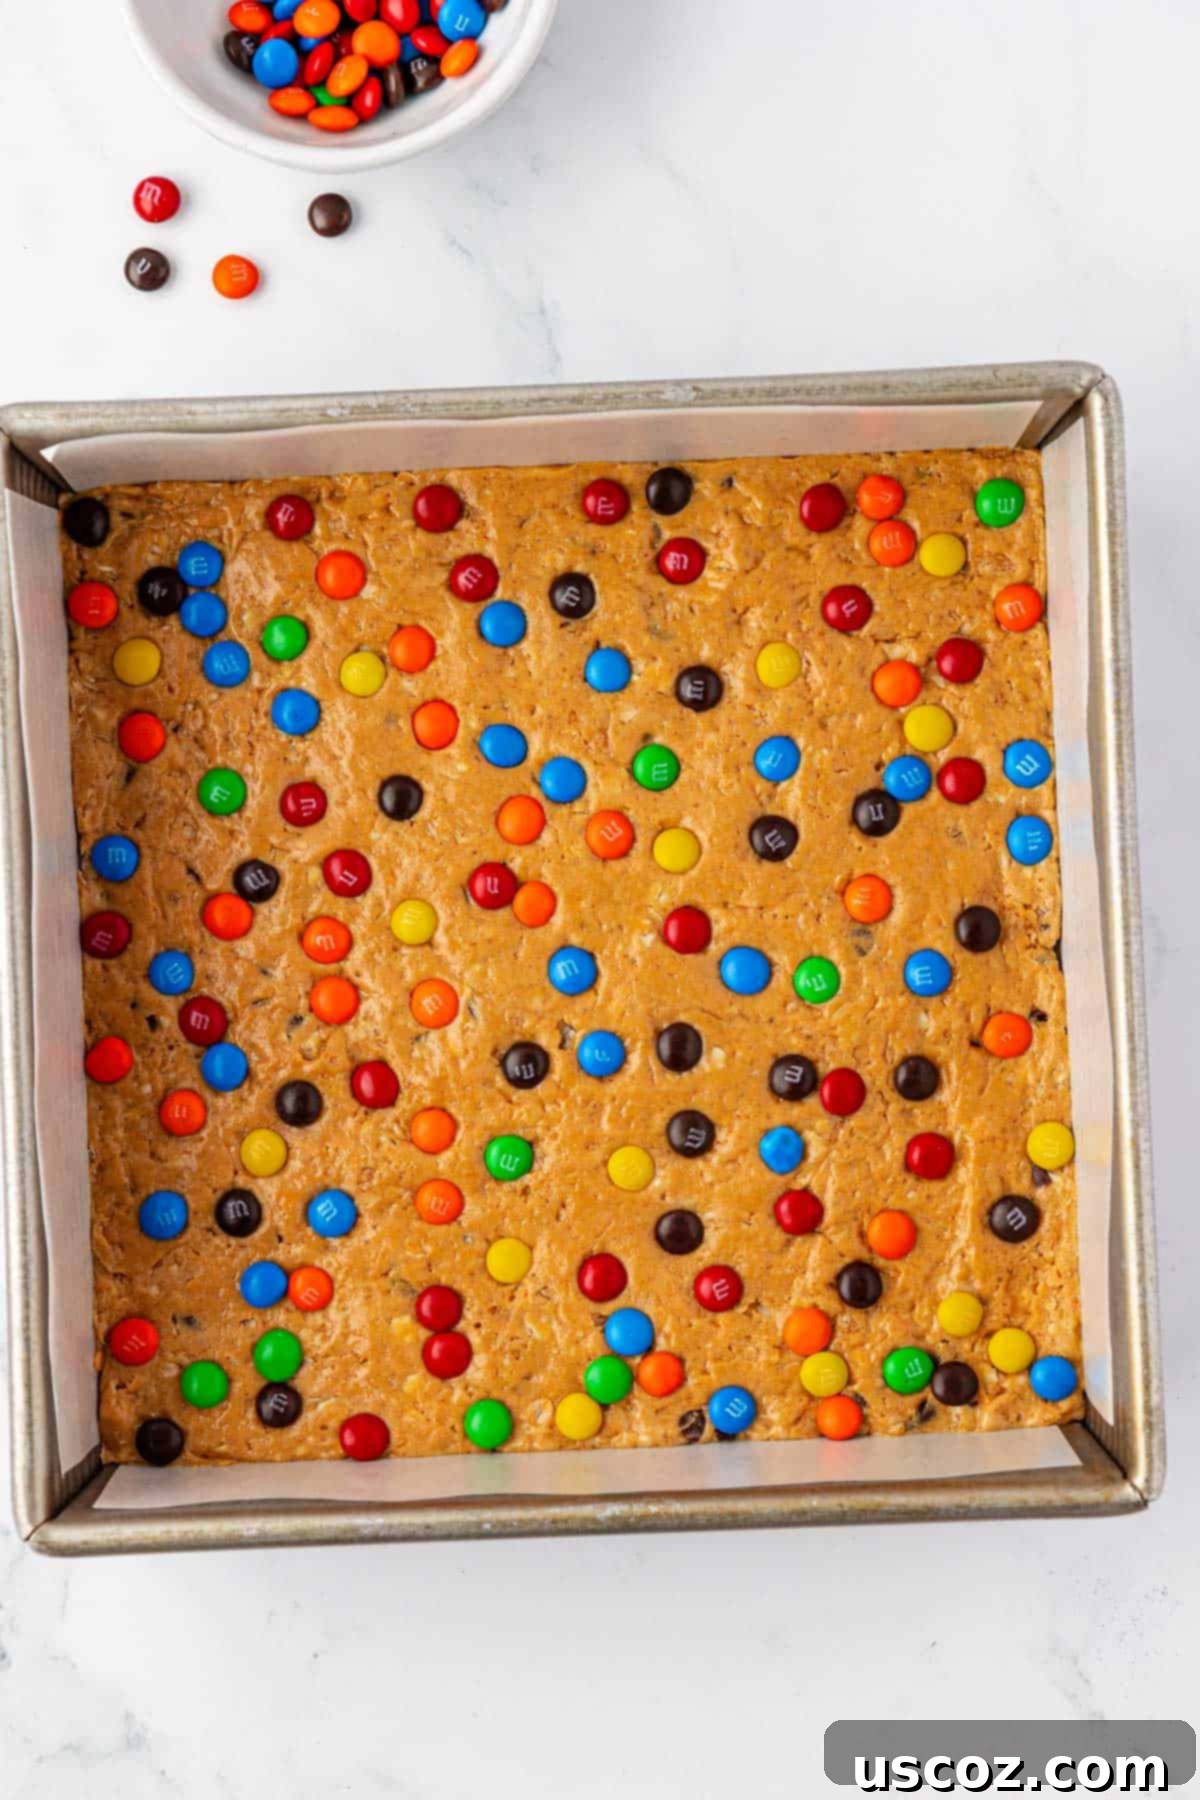
Step 5: Slice and Serve
Once the bars are firm, remove the pan from the refrigerator. Use the parchment paper overhangs to gently lift the entire slab of bars out of the baking dish and onto a cutting board. This technique prevents any sticking and makes clean-up a breeze. Using a sharp knife, cut the large square into 12 equally sized rectangular bars. For smaller appetites or for serving to children, you can even cut these bars in half again to create delightful mini-bars – my kids absolutely adore them!
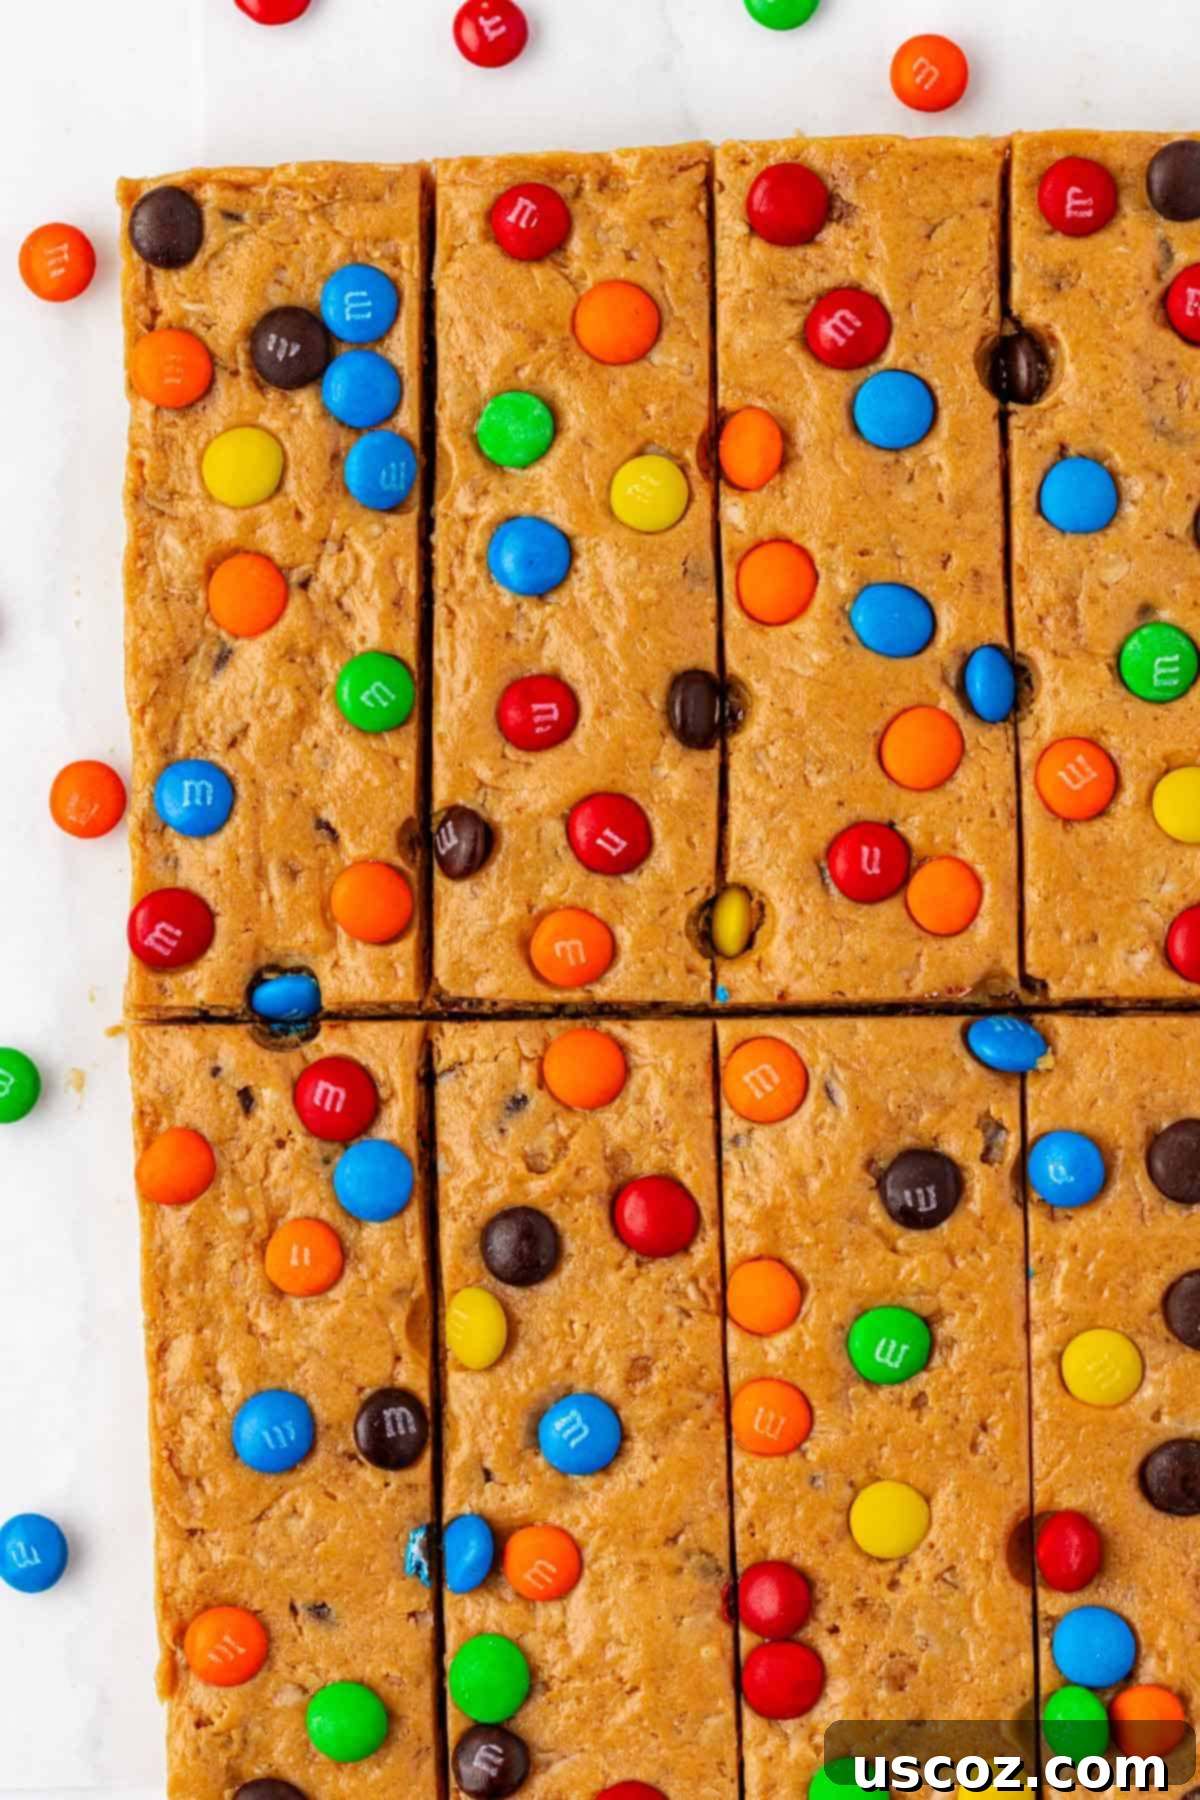
If you’ve never ventured into making homemade protein bars before, this Monster Cookie recipe is the perfect place to start. They truly are so easy, surprisingly versatile, and you don’t need any fancy equipment or hard-to-find ingredients. It’s a fantastic way to enjoy a healthier, protein-packed snack that feels like an indulgence.
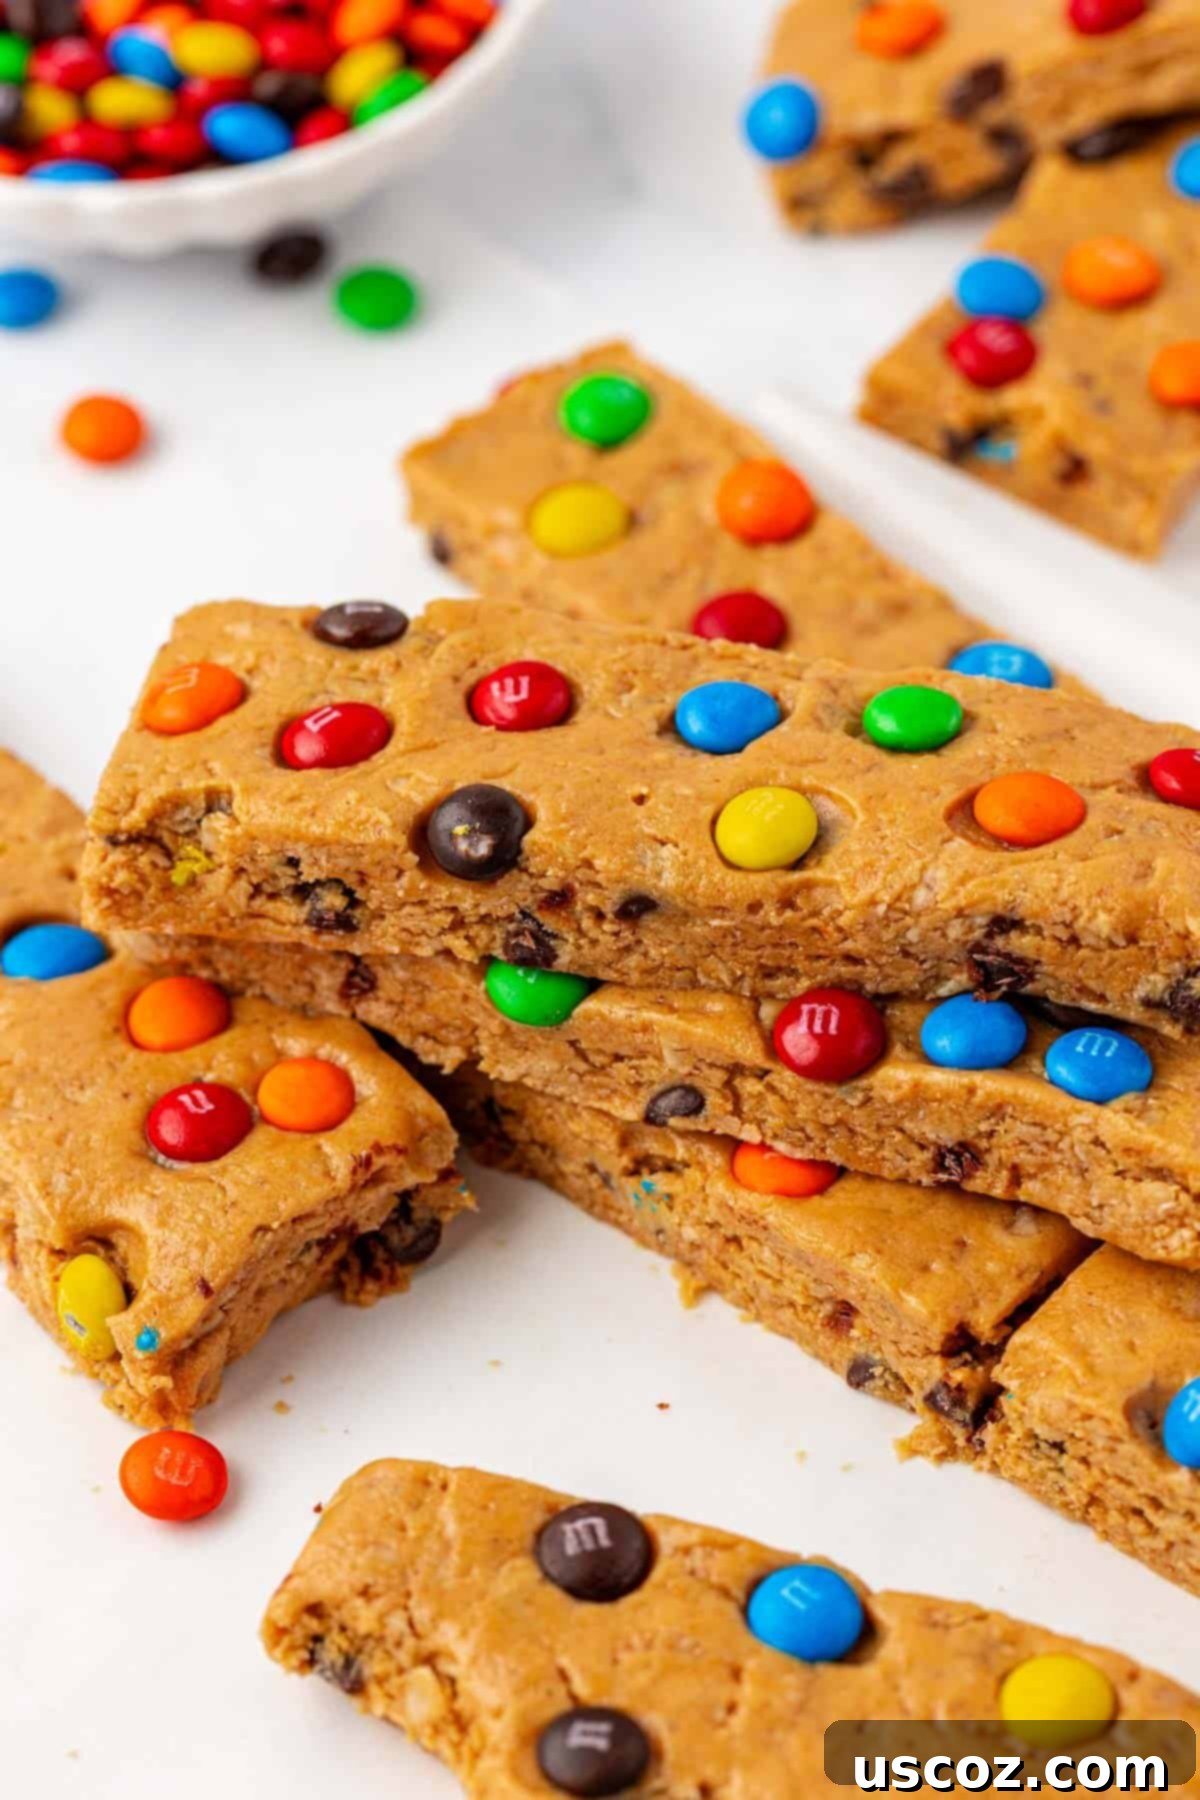
Storage Solutions for Lasting Freshness
Proper storage is key to extending the life and freshness of your homemade protein bars. Any leftover Monster Cookie Protein Bars should be stored in an airtight container to prevent them from drying out or absorbing other flavors from the refrigerator. They will maintain their delicious taste and texture for 5-7 days in the refrigerator.
For longer-term storage, these bars freeze beautifully! You can store them in an airtight freezer-safe container or bag for up to 2-3 months in the freezer. When you’re ready to enjoy a frozen bar, simply take one out and let it thaw for a few minutes at room temperature, or enjoy it chilled directly from the freezer for a firmer bite. Be warned, though: in our house, they’re so popular they rarely, if ever, last more than a couple of days!
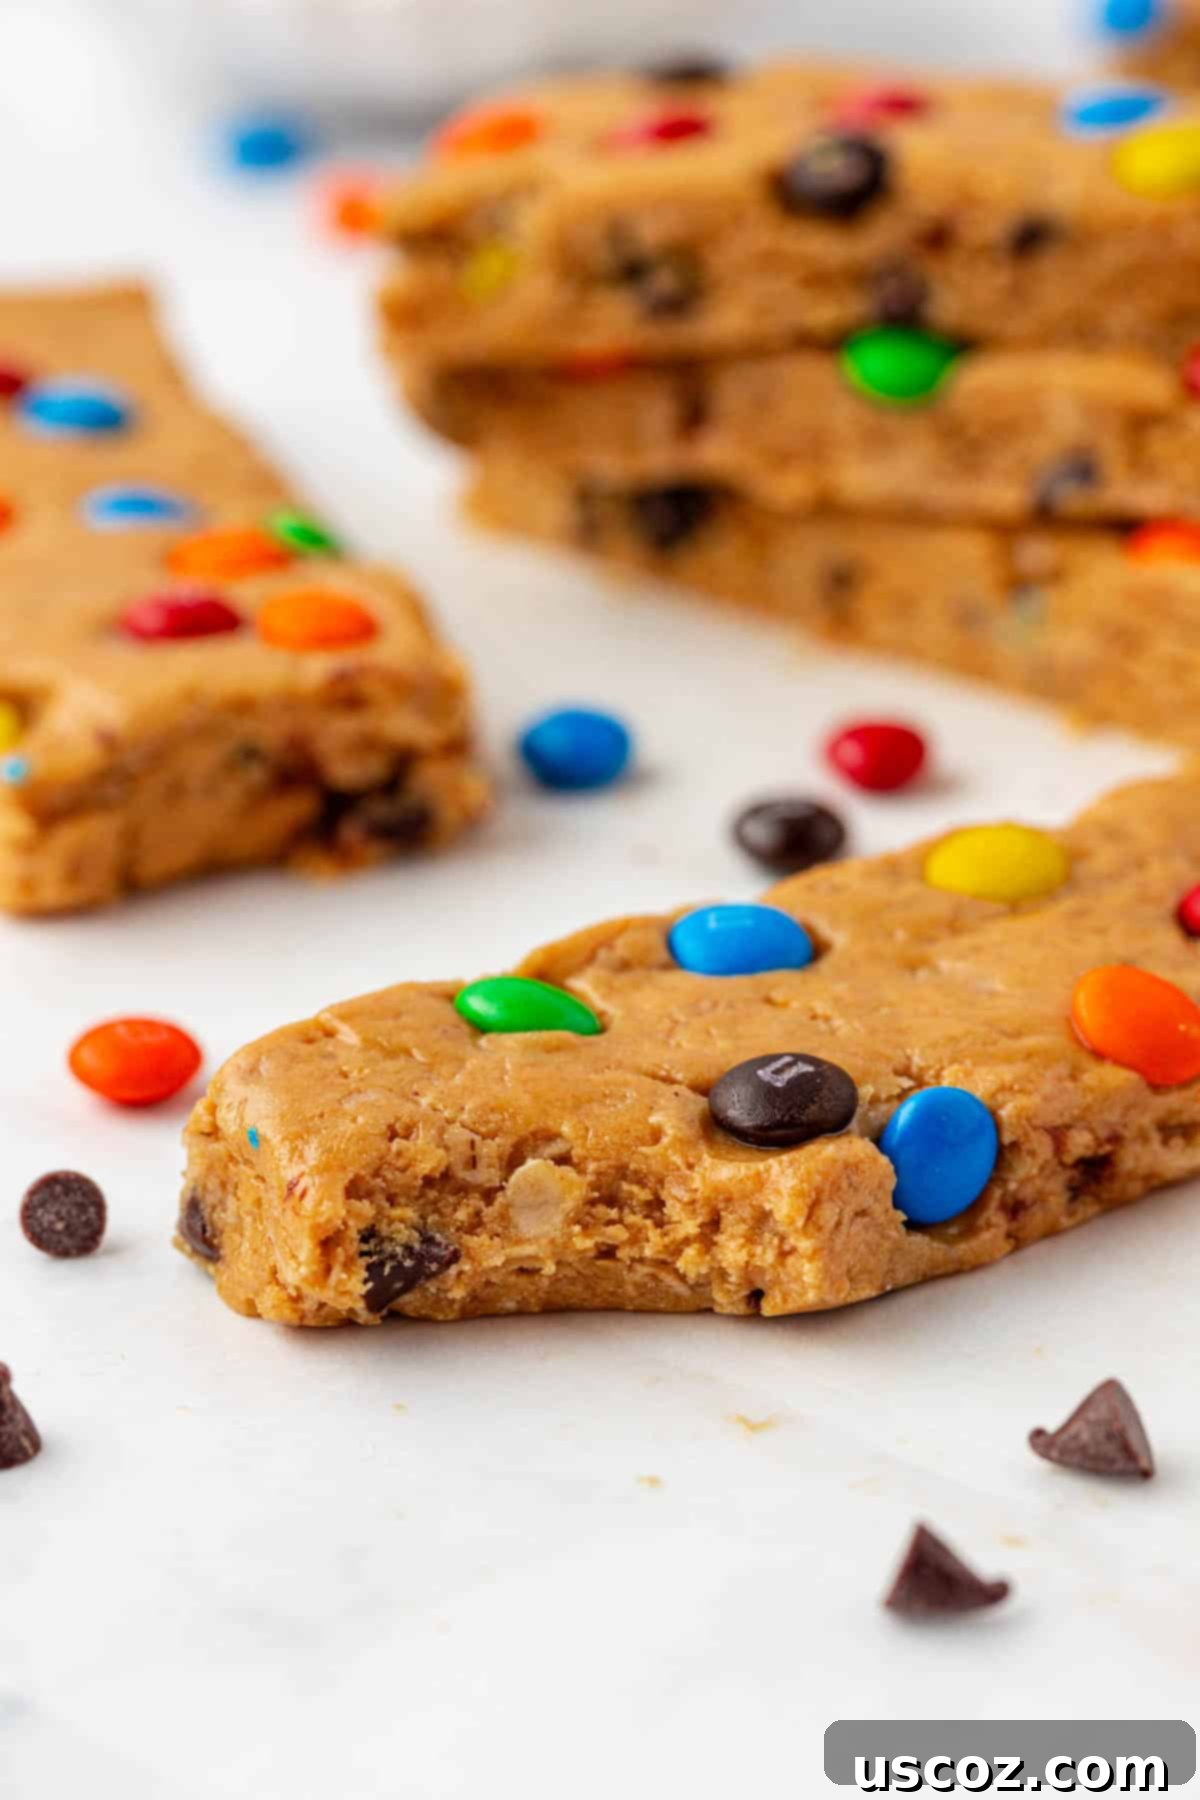
Customize Your Monster Cookie Protein Bars
One of the greatest benefits of making homemade protein bars is the endless potential for customization. While the Monster Cookie flavor is fantastic as is, feel free to get creative with these delicious no-bake treats:
- Nut Butter Alternatives: Not a fan of peanut butter, or have an allergy? You can experiment with other creamy no-stir nut butters like almond butter, cashew butter, or even sunflower seed butter (for a nut-free option). Just be mindful that texture and sweetness might vary slightly, requiring minor adjustments to oats or honey.
- Protein Powder Flavors: While vanilla protein powder provides a classic base, feel free to try other complementary flavors. Chocolate protein powder would make for a richer, double-chocolate monster cookie experience, or even a plain unflavored protein powder if you want the other ingredients to shine more.
- Extra Add-ins: Boost the nutritional content or add more texture! Consider adding flax seeds, chia seeds, finely chopped nuts (like pecans or walnuts), or shredded coconut into the batter. For an extra sweet kick, a drizzle of melted chocolate or peanut butter on top after chilling can be amazing.
- Dietary Adjustments:
- Gluten-Free: Simply ensure you use certified gluten-free quick oats.
- Vegan Option: Replace honey with an equal amount of maple syrup or agave nectar. Make sure your protein powder is plant-based and use vegan mini chocolate chips (most dark chocolate chips are naturally vegan). You would need to omit the M&M’s unless you can find a vegan alternative.
- Reduced Sugar: Opt for sugar-free mini chocolate chips. While honey is a natural sweetener and crucial for binding, you could try reducing it slightly if preferred, but be aware this might affect the bar’s firmness.
Frequently Asked Questions (FAQ)
Can I use natural peanut butter instead of “no-stir”?
Yes, but with caution. Natural peanut butter tends to be runnier and separates, which can affect the overall consistency of your bars. If you use natural peanut butter, you might need to add an extra tablespoon or two of quick oats or protein powder to achieve a firm, pliable dough that holds together well. Always start with the recipe as written and adjust as needed.
What if my batter is too sticky or too dry?
This often comes down to the consistency of your peanut butter or the type of protein powder. If your batter is too sticky, add an additional tablespoon of quick oats or protein powder at a time until it’s easier to handle. If it’s too dry and crumbly, add a teaspoon of honey or a half-tablespoon of peanut butter until it comes together. The ideal batter should be thick and cohesive, but not excessively sticky.
Can I use rolled oats instead of quick oats?
While quick oats are recommended for their finer texture, which contributes to the “cookie” like chewiness, you can use rolled oats. However, the texture of your bars will be noticeably chewier and coarser. If you use rolled oats, you might want to pulse them a few times in a food processor before mixing to break them down slightly for a smoother bar.
How can I make these bars vegan?
To make these Monster Cookie Protein Bars vegan, you’ll need a few substitutions:
- Replace honey with an equal amount of maple syrup or agave nectar.
- Ensure your protein powder is plant-based (e.g., pea protein, soy protein, rice protein).
- Use vegan mini chocolate chips (many dark chocolate chip brands are naturally dairy-free).
- Omit the mini M&M’s, as they contain dairy. You could use additional vegan chocolate chips or other vegan candies instead.
Are these bars suitable for a post-workout snack?
Absolutely! With 10 grams of protein per bar and a good balance of carbohydrates from the oats and healthy fats from the peanut butter, these Monster Cookie Protein Bars are an excellent choice for a post-workout recovery snack. The protein helps with muscle repair, while carbs replenish energy stores, and the healthy fats provide sustained energy.
Explore More Homemade Protein Bar Recipes
If you love the ease and versatility of homemade protein bars, be sure to check out some of our other fantastic recipes. There’s a flavor for every craving!
- No Bake Protein Bars
- Protein Granola Bars
- Chocolate Protein Bars
- Peanut Butter Chocolate Chip Protein Bars
- Chocolate Cashew Protein Bars
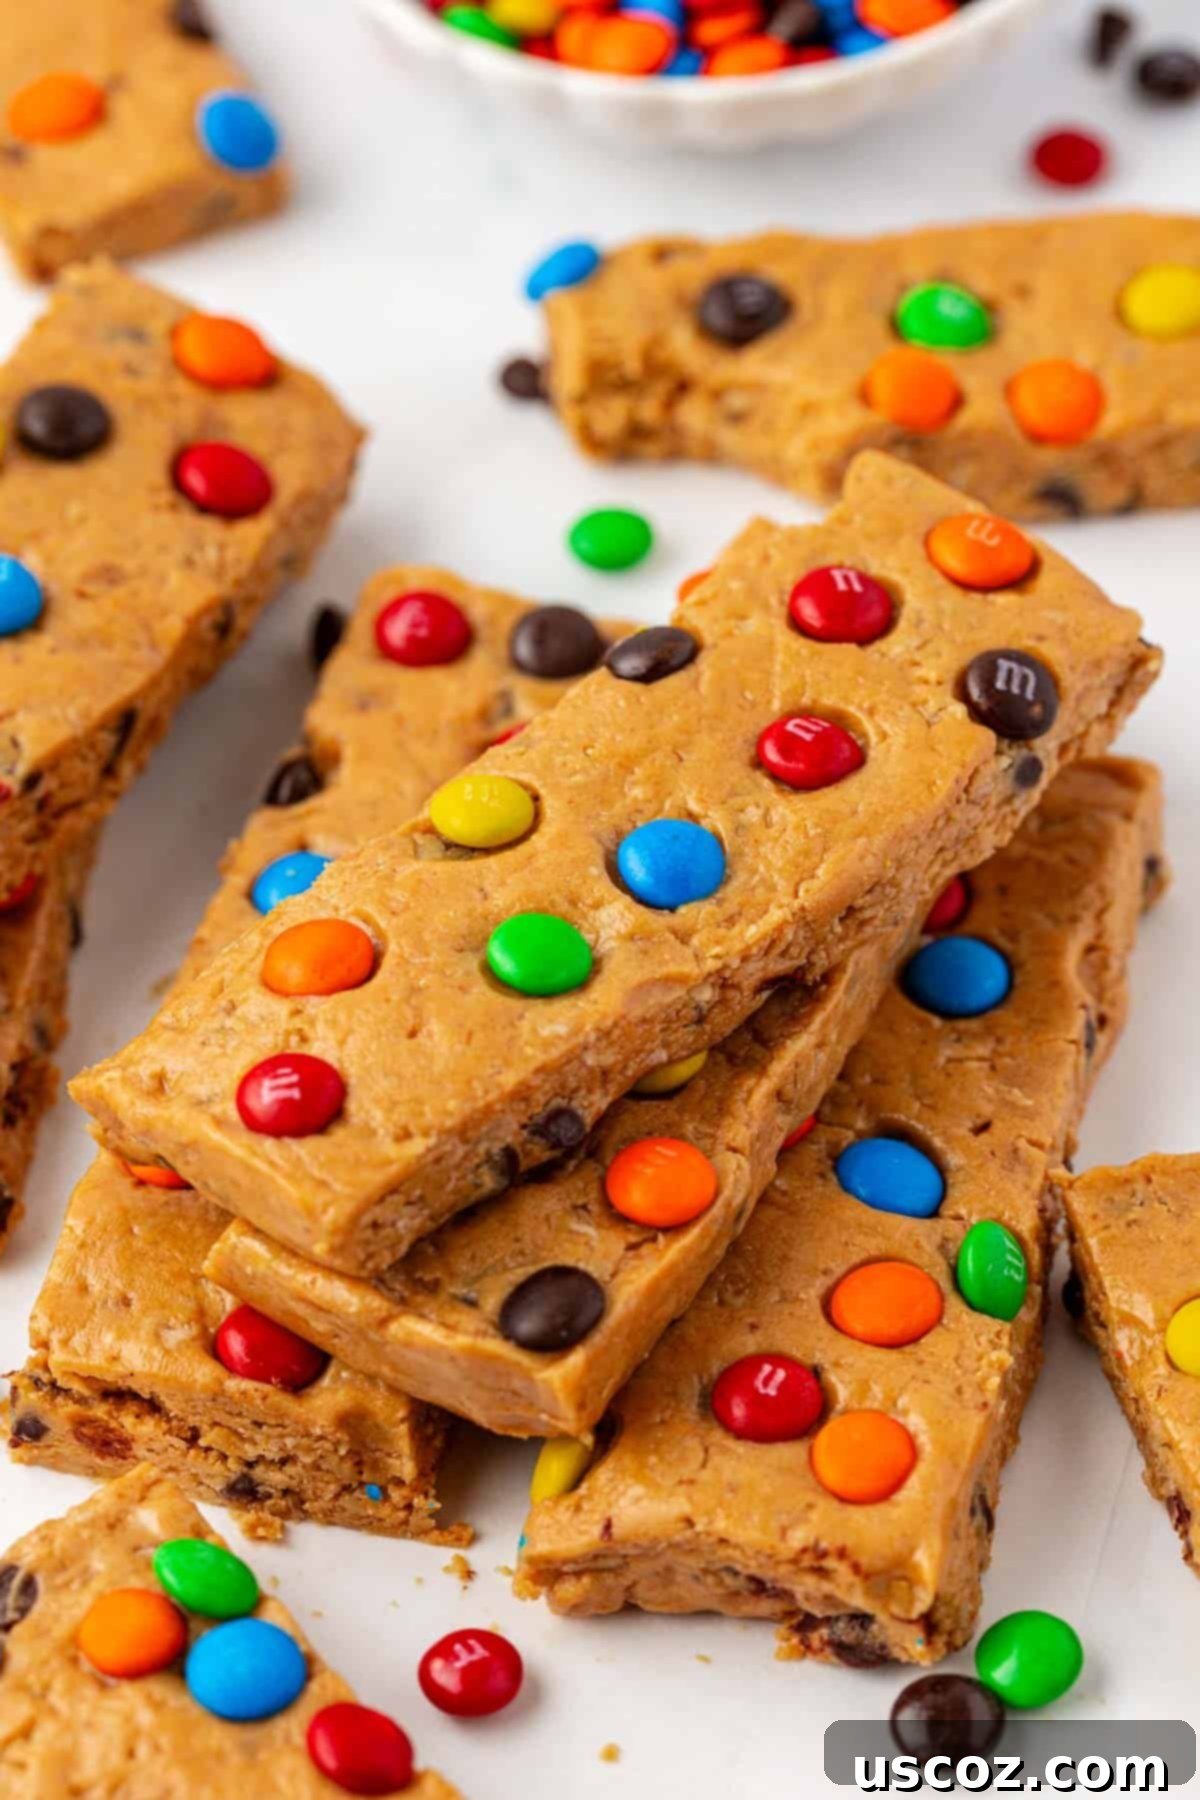
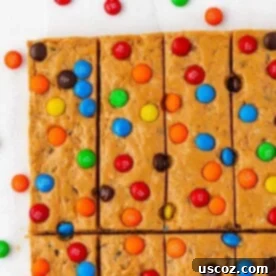
Monster Cookie Protein Bars
By: Joy Shull
These easy no-bake monster cookie protein bars are simple to make and packed with 10 grams of protein each, tasting just like a treat!
Servings: 12 bars
Ingredients
- 1 cup no-stir creamy peanut butter
- 1/3 cup honey
- 2/3 cup quick oats
- ½ cup vanilla protein powder
- 1 teaspoon vanilla extract
- ¼ teaspoon salt
- ¼ cup mini chocolate chips
- 2 tablespoons mini m&m’s
Instructions
- Add the peanut butter, honey, oats, protein powder, vanilla extract, salt, and mini chocolate chips to a large mixing bowl.
- Use a rubber spatula or strong spoon to mix all ingredients together until a thick, uniform batter forms.
- Line an 8×8 inch baking dish with parchment paper, leaving an overhang on two sides for easy removal.
- Spread the prepared batter evenly into the parchment-lined pan, pressing down firmly to create a compact layer.
- Gently press the mini M&M’s onto the top surface of the bars.
- Refrigerate the pan for 1-2 hours, or until the bars are completely firm.
- Using the parchment paper overhangs, carefully lift the firm slab of bars out of the pan and place it onto a cutting board.
- Cut the large square into 12 rectangular bars. Enjoy!
Notes
Store leftover protein bars in an airtight container in the refrigerator for 5-7 days, or in the freezer for up to 2-3 months. Thaw frozen bars briefly before eating.
Nutrition
Calories: 224 kcal,
Carbohydrates: 20g,
Protein: 10g,
Fat: 13g,
Saturated Fat: 3g,
Polyunsaturated Fat: 3g,
Monounsaturated Fat: 6g,
Trans Fat: 0.01g,
Cholesterol: 8mg,
Sodium: 152mg,
Potassium: 156mg,
Fiber: 2g,
Sugar: 14g,
Vitamin A: 26IU,
Vitamin C: 0.1mg,
Calcium: 35mg,
Iron: 1mg
Like this recipe? Rate and comment below!
