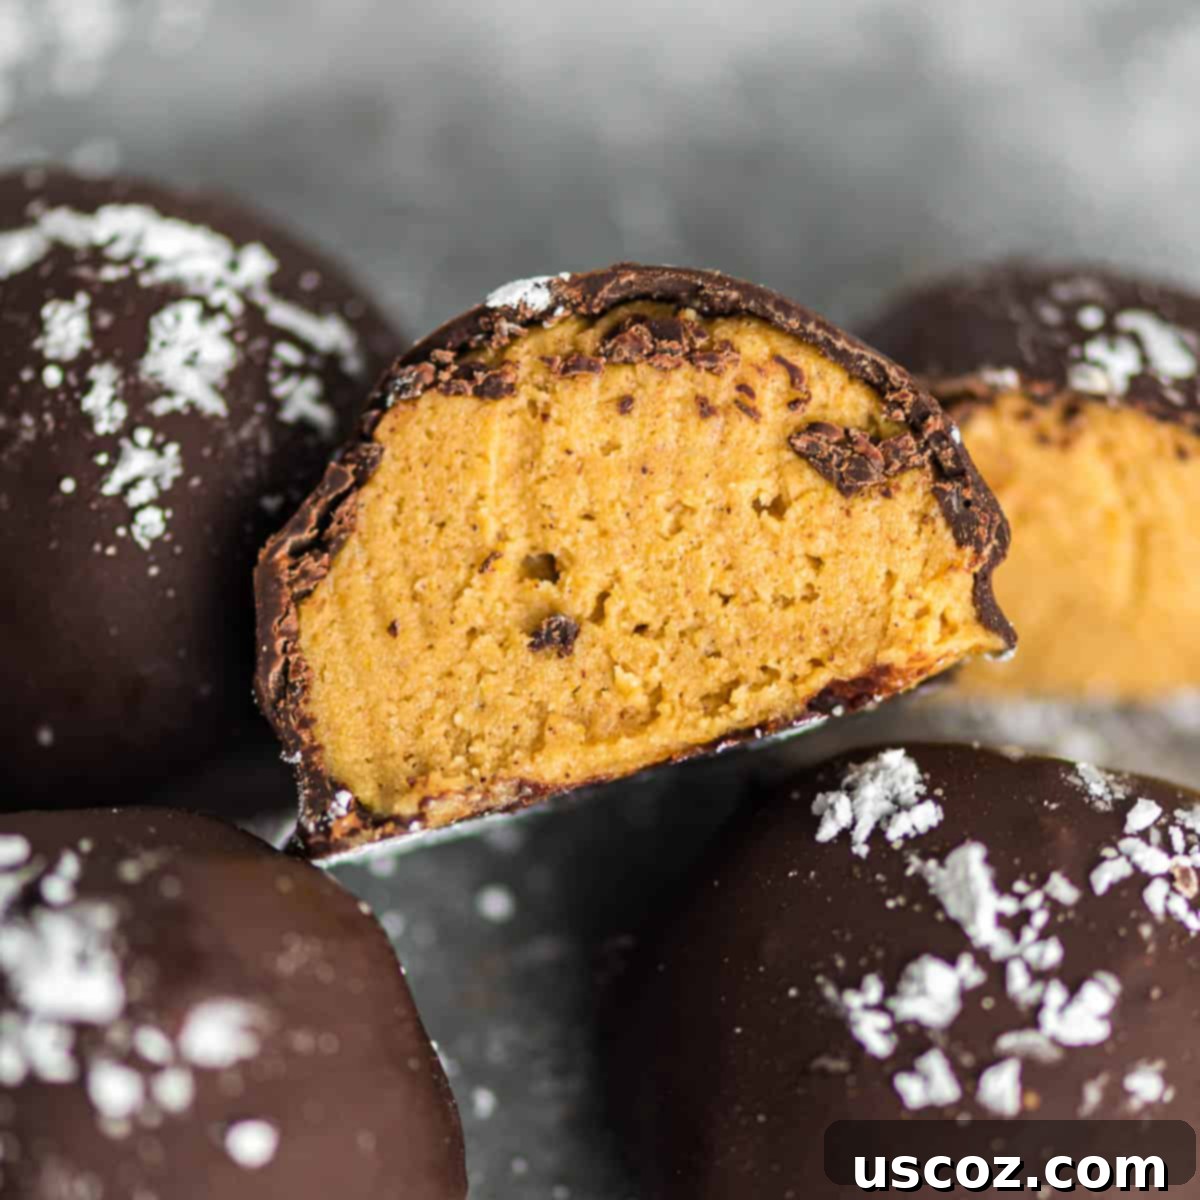
Irresistible No-Bake Pumpkin Cheesecake Balls: Your Ultimate Fall Dessert Recipe
Embrace the cozy flavors of autumn with these incredibly easy and delicious pumpkin cheesecake balls. A perfect no-bake treat, they capture the essence of fall in every bite, blending creamy pumpkin and rich cheesecake into an irresistible truffle. Prepare to fall in love – you won’t be able to stop at just one!
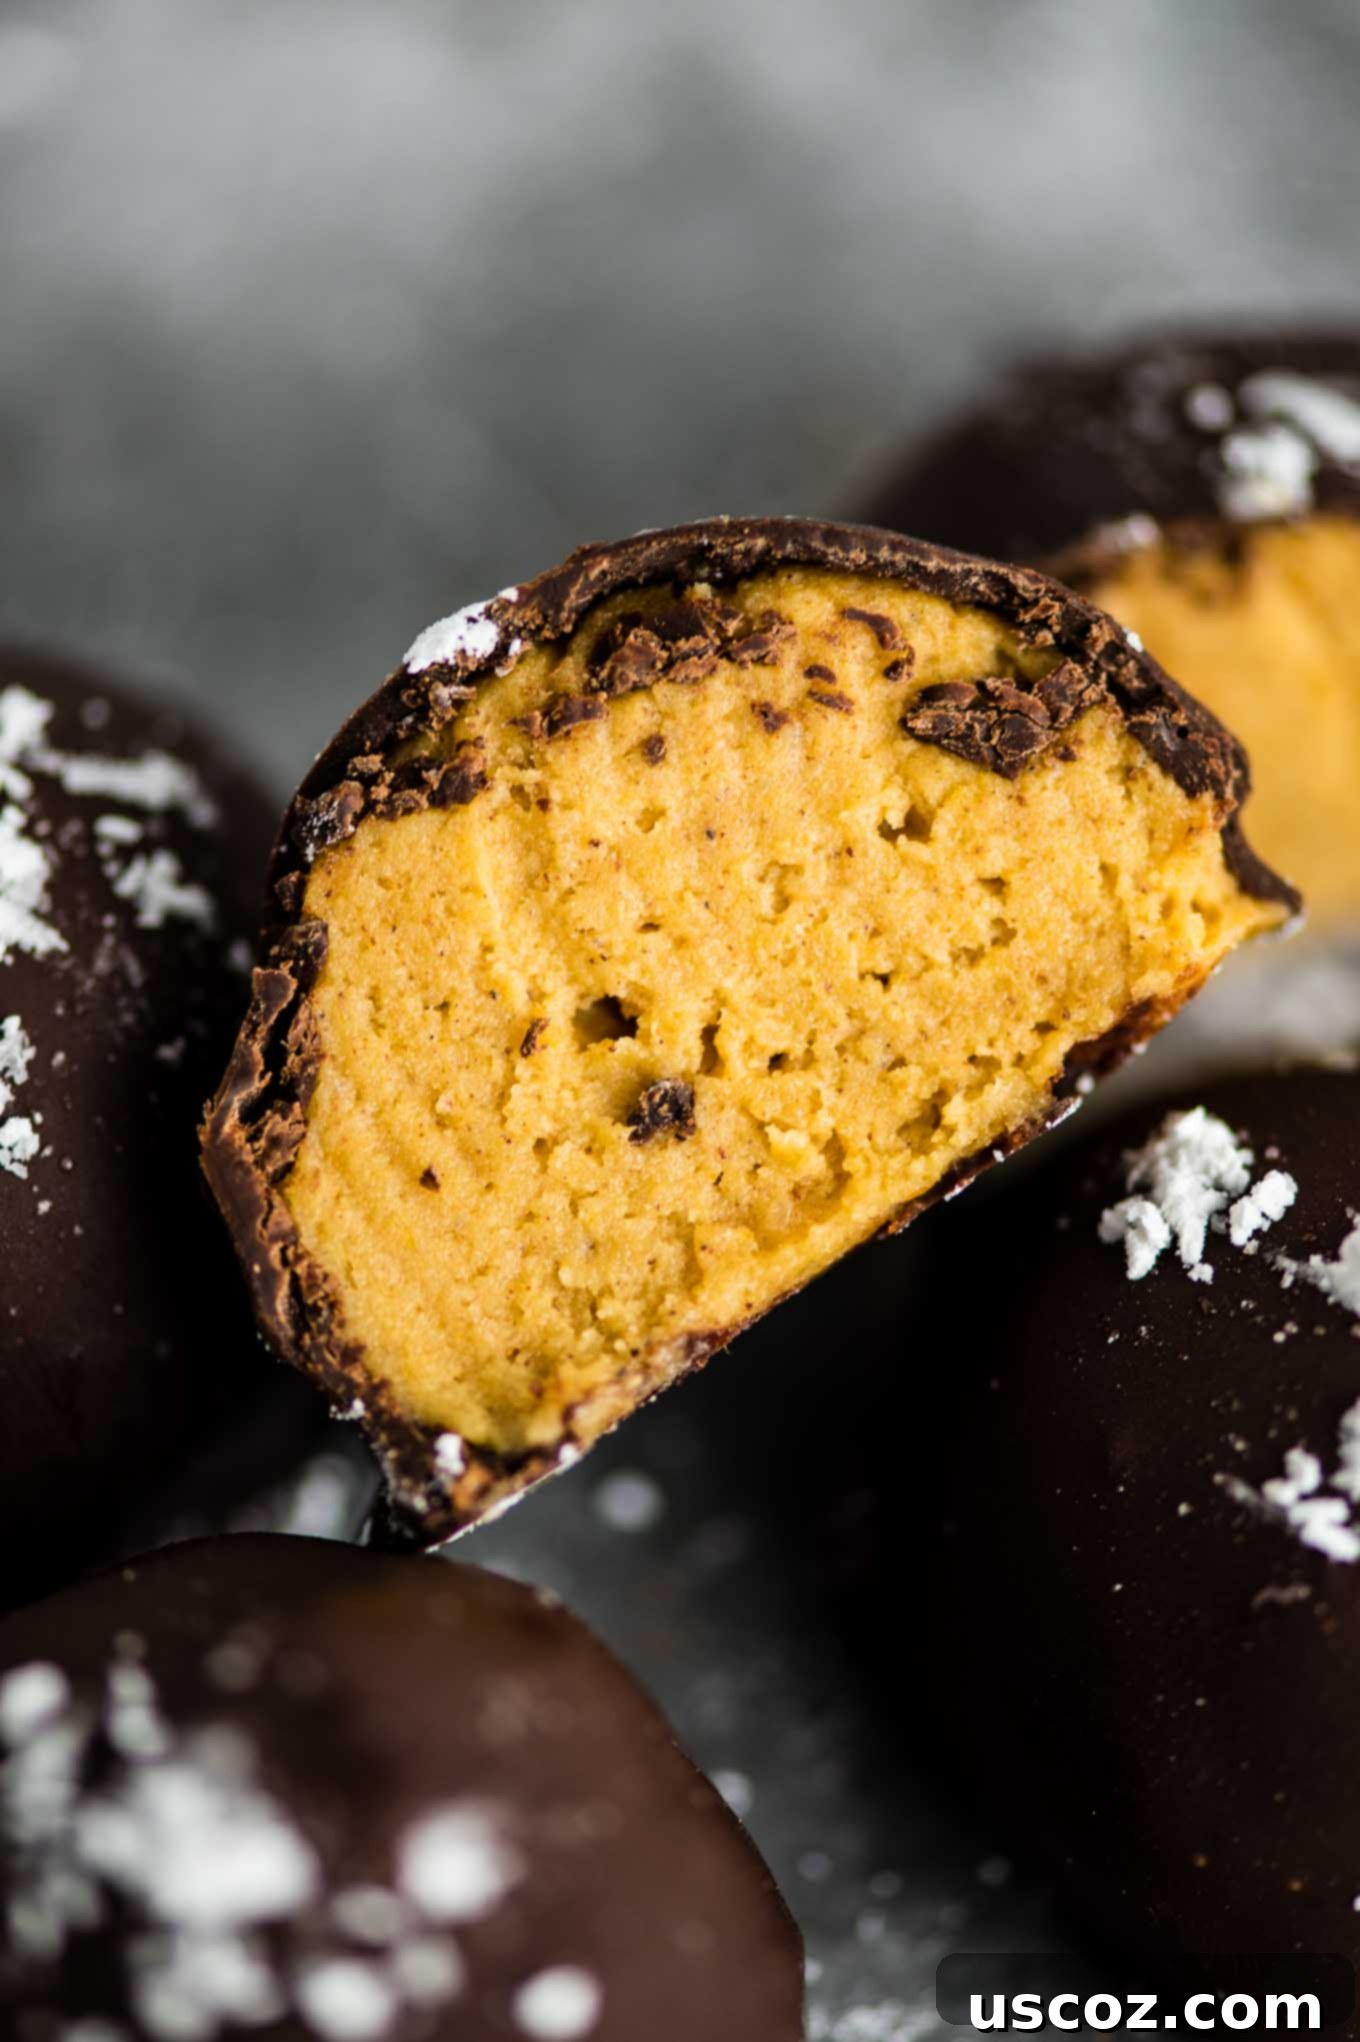
Why You’ll Love These No-Bake Pumpkin Cheesecake Balls
These pumpkin cheesecake truffles are more than just a dessert; they’re a celebration of autumn. Combining the creamy tang of cheesecake with the warm, spiced notes of pumpkin, all wrapped in a crisp chocolate shell, they offer a truly delightful experience. What makes them even better? They require absolutely no baking! This makes them the ultimate stress-free dessert for holiday gatherings, potlucks, or simply satisfying your sweet tooth on a crisp fall evening. Their bite-sized nature also makes them perfect for sharing (or not!).
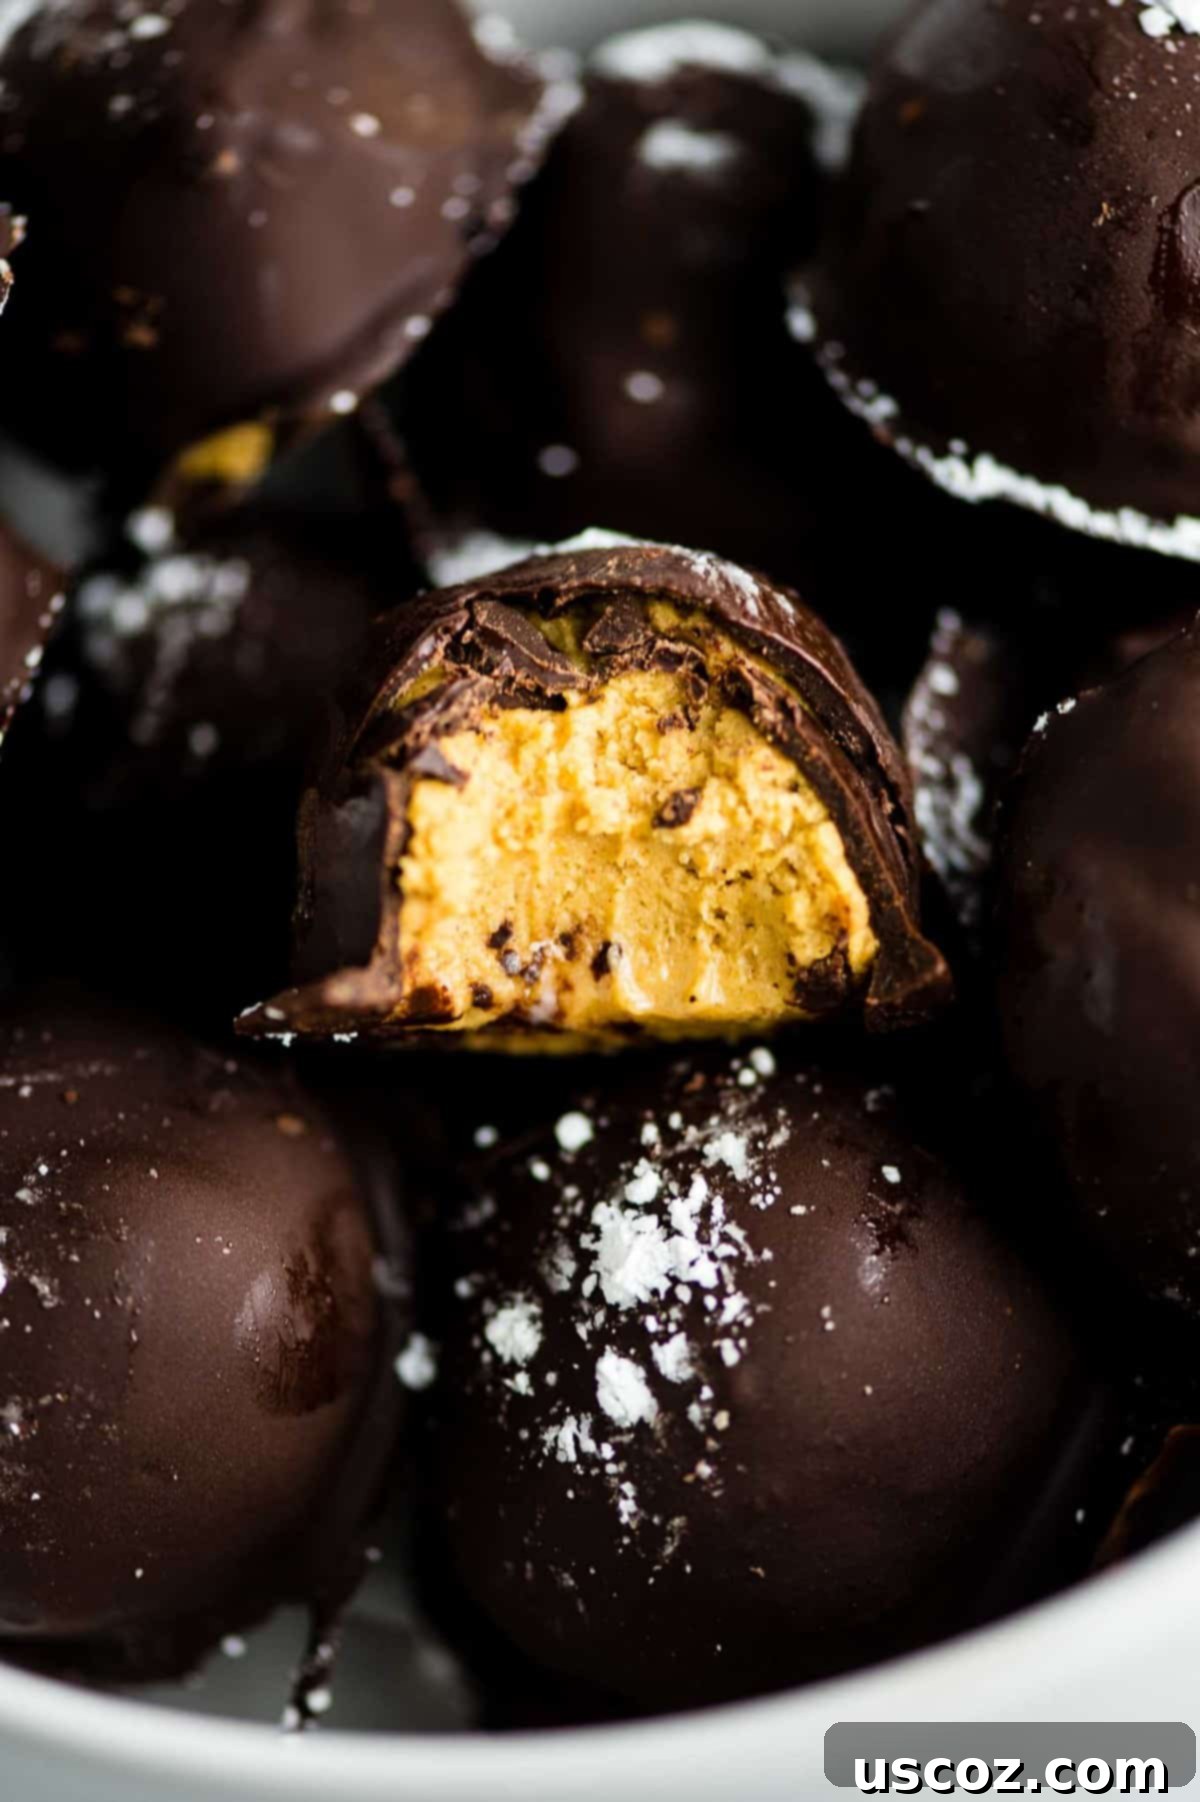
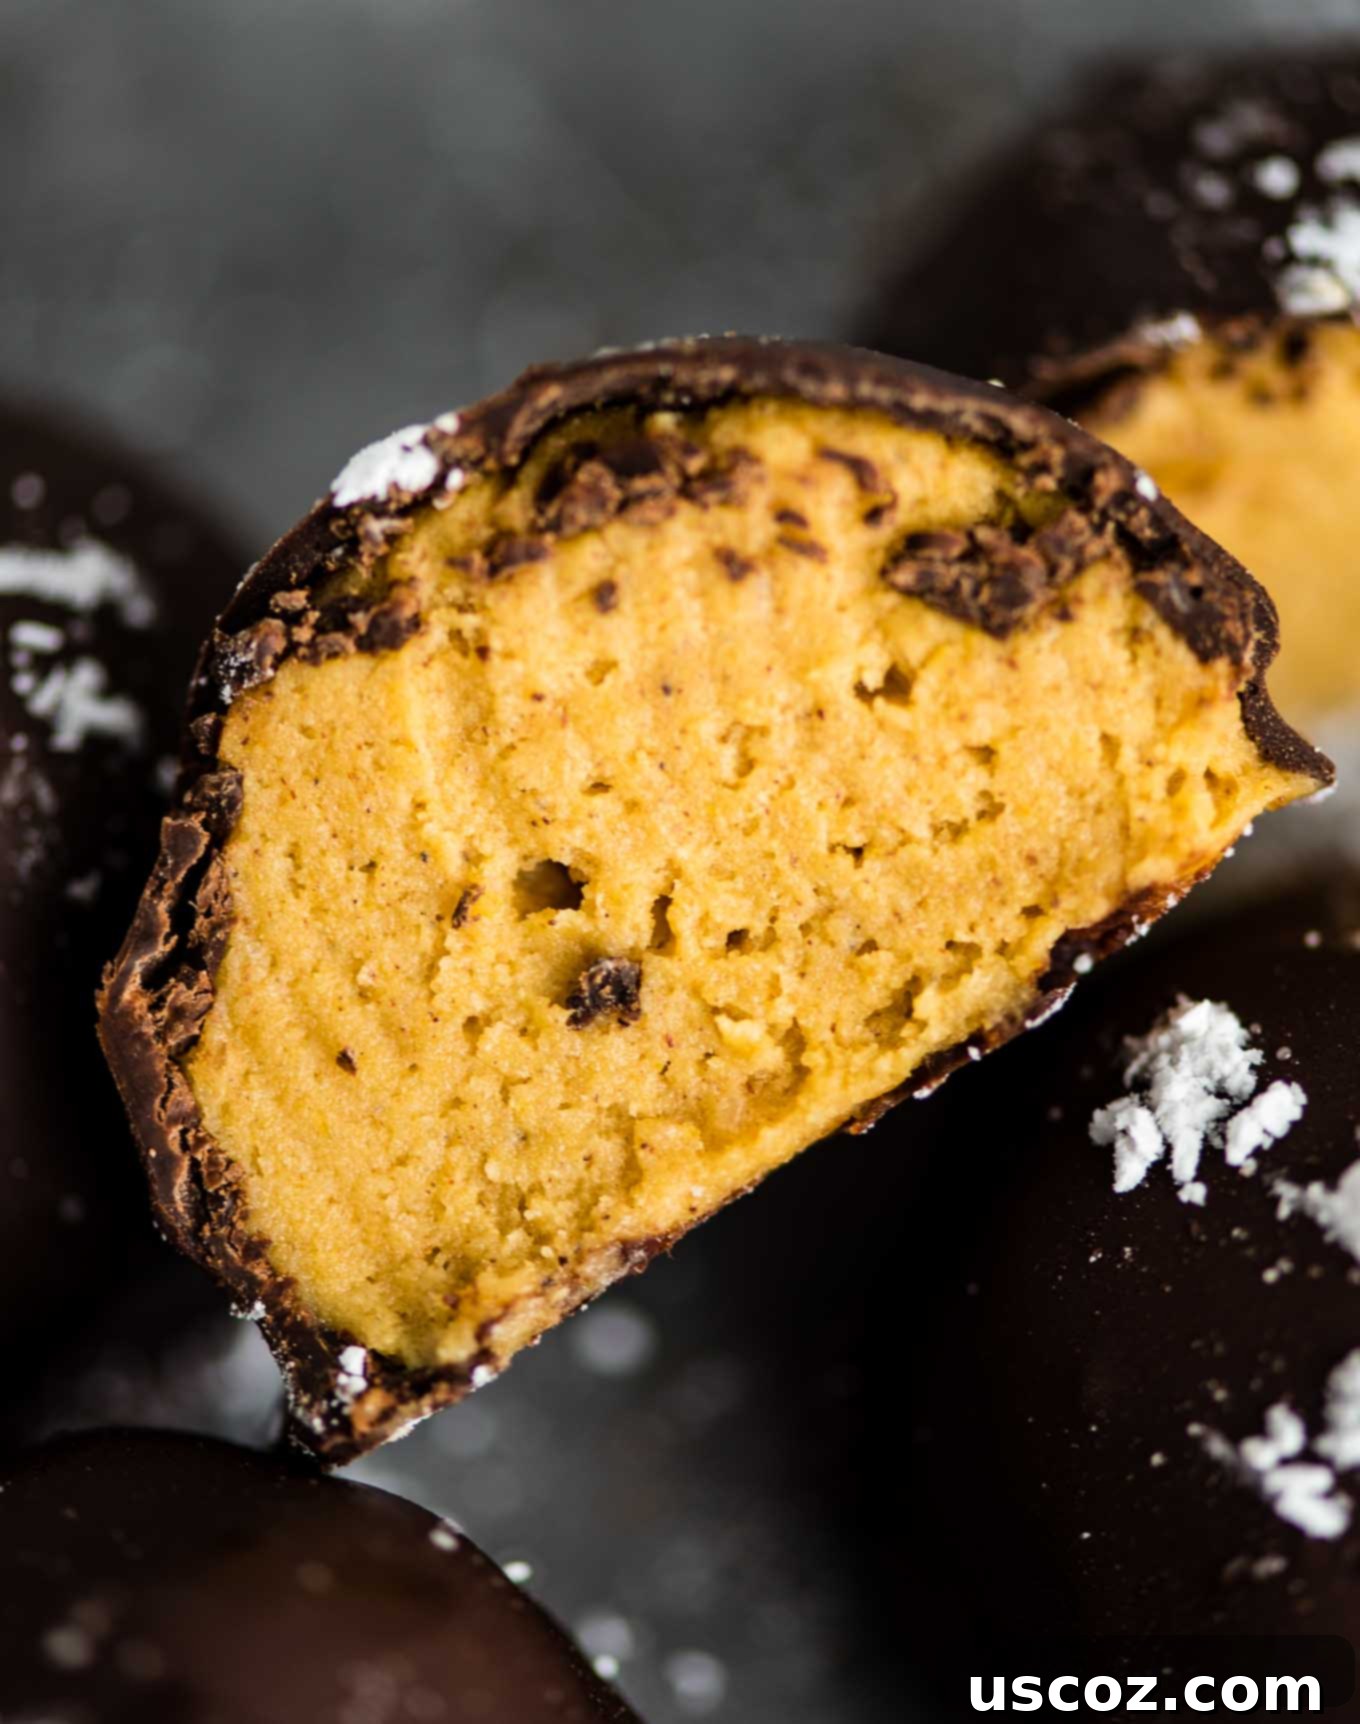
The core of this recipe is a luxurious filling made from smooth cream cheese, genuine canned pumpkin puree, and finely crushed graham crackers, mimicking a classic cheesecake crust. This delectable mixture is then meticulously dipped into a luscious dark chocolate coating and often finished with a delicate dusting of powdered sugar. The result is a treat that is as beautiful to look at as it is delicious to eat. If you’re looking for a standout fall recipe that’s both impressive and simple, these no-bake cheesecake balls are your answer.
Key Ingredients for Perfect Pumpkin Cheesecake Balls
Crafting these delightful pumpkin cheesecake truffles requires a thoughtful selection of ingredients. Each component plays a crucial role in achieving the perfect balance of flavor and texture. Here’s what you’ll need to gather, along with some helpful tips:
- Cream Cheese: Always start with full-fat cream cheese for the creamiest, richest texture. Ensure it’s softened to room temperature before beating to prevent lumps and achieve a smooth consistency.
- Canned Pumpkin: This is crucial – make sure you’re using pure canned pumpkin puree, not pumpkin pie filling. Pie filling contains added spices and sugar, which will alter the flavor profile of these truffles.
- Powdered Sugar: Also known as confectioners’ sugar, this fine sugar blends seamlessly into the cream cheese mixture, ensuring a smooth, melt-in-your-mouth filling without any graininess.
- Powdered Graham Cracker Crumbs: These provide that iconic cheesecake crust flavor and a bit of structure. For the best results, crush them to an almost flour-like consistency using a food processor or blender.
- Pumpkin Pie Spice: This fragrant blend of cinnamon, nutmeg, ginger, and cloves is the heart of the pumpkin flavor, bringing warmth and aromatic depth to the truffles.
- Salt: Just a pinch of salt is essential to balance the sweetness and enhance all the other flavors, making them pop.
- Coconut Flour: I personally prefer coconut flour for its unique ability to bind the mixture without adding excessive sugar, creating a firm yet tender truffle. However, if you don’t have it on hand or prefer not to use it, you can easily substitute additional finely crushed graham cracker crumbs to achieve the desired consistency.
- Dark Chocolate Chips: For the irresistible chocolate shell! The filling is quite sweet, so a more bitter 70% dark chocolate provides a beautiful contrast. You can also use semi-sweet, milk, or even white chocolate depending on your preference.
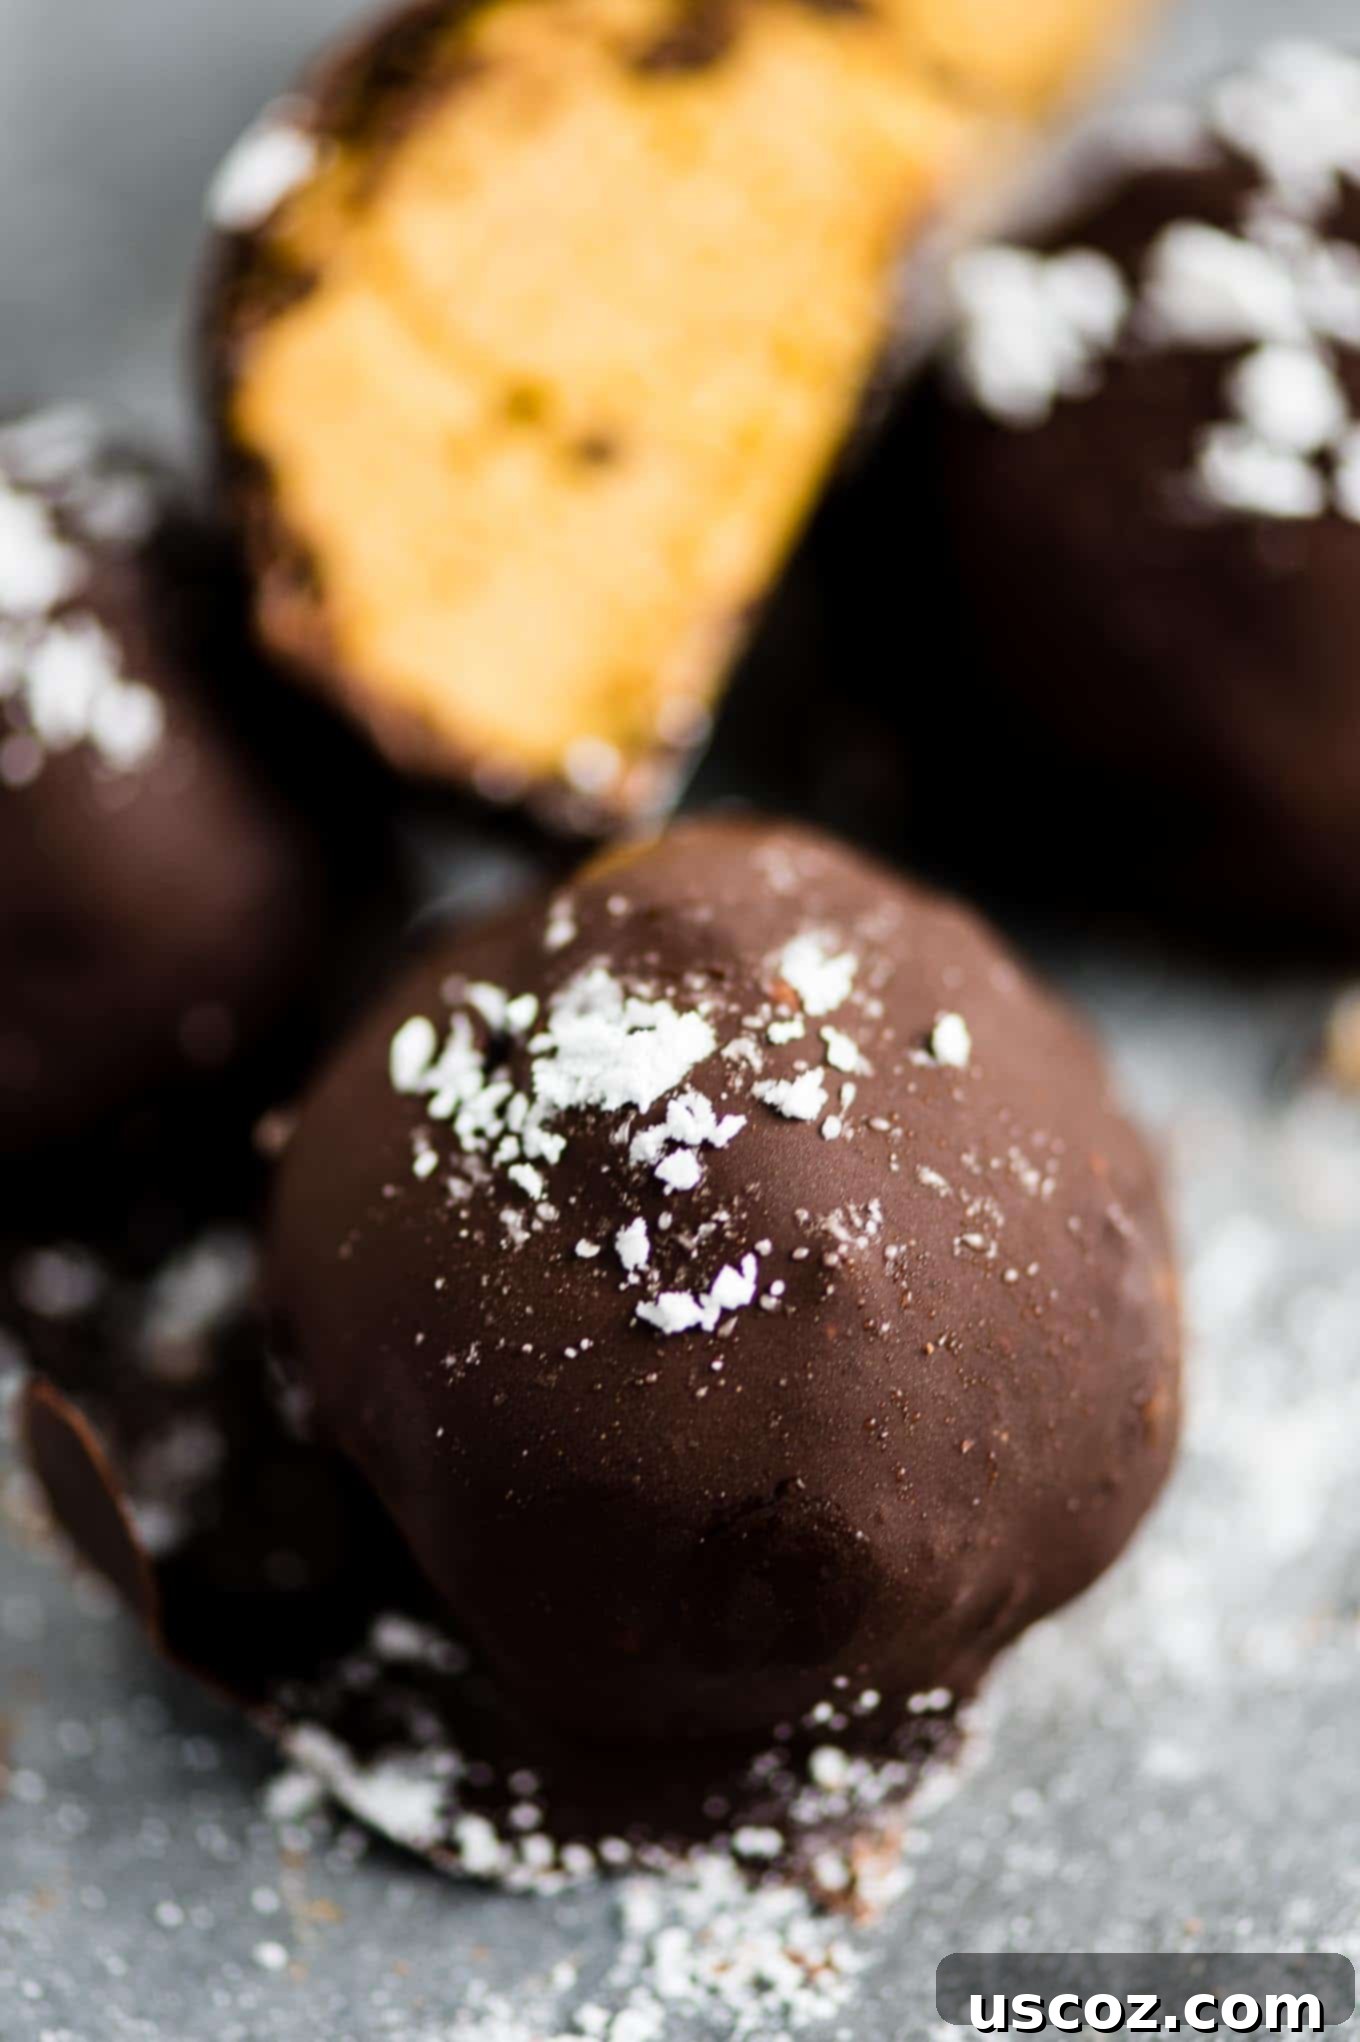
Essential Equipment for No-Bake Pumpkin Cheesecake Balls
While this recipe is incredibly simple, having the right tools can make the process even smoother and more enjoyable. Here’s a quick list of what you might find useful:
- Electric Mixer (Stand or Handheld): Essential for beating the cream cheese and powdered sugar until light and fluffy, and for thoroughly combining the filling ingredients.
- Blender or Food Processor: Crucial for transforming graham crackers into fine, flour-like crumbs, which is key for the truffle’s texture.
- Mini Cookie Scoop: A game-changer for portioning out uniform truffle balls quickly and easily. It saves time and ensures consistent sizes.
- Baking Sheet: For chilling the truffle mixture and setting the chocolate-dipped balls.
- Wax Paper or Parchment Paper: To line the baking sheet, preventing sticking and making cleanup a breeze.
- Microwave-Safe Bowl or Double Boiler: For melting the chocolate chips smoothly.
- Fork: Ideal for dipping the truffles into the melted chocolate, allowing excess chocolate to drip off.
- Toothpicks: Handy for carefully sliding the chocolate-covered truffles from the fork back onto the baking sheet.
How to Make Pumpkin Cheesecake Balls: Step-by-Step Guide
Creating these delightful no-bake pumpkin cheesecake balls is a straightforward and rewarding process. Follow these detailed steps for perfect results every time.
Step 1: Cream the Cheese and Sugar
In a large mixing bowl, beat the softened block of cream cheese together with the powdered sugar. Continue beating until the mixture is completely smooth, light, and fluffy. This step is vital for a creamy truffle interior, so take your time to ensure no lumps remain.
Step 2: Prepare Graham Cracker Crumbs
The “crust” flavor comes from finely crushed graham crackers. Use either a blender or a food processor to pulverize the graham crackers until they reach an almost flour-like, very fine consistency. This ensures they integrate smoothly into the filling without large, chunky bits. Once crushed, measure out exactly 1 cup of these fine crumbs.
Step 3: Combine All Filling Ingredients
Add the prepared graham cracker crumbs, canned pumpkin puree (remember, not pie filling!), pumpkin pie spice, salt, and coconut flour to the cream cheese mixture. Beat everything together until all ingredients are well combined and the mixture is smooth and uniform. This forms the delicious core of your truffles.
- A note about the coconut flour: Coconut flour is fantastic for thickening the truffle mixture without adding extra sweetness, giving it a great texture. If you don’t have coconut flour, or prefer not to use it, simply substitute with additional finely crushed graham cracker crumbs until the batter reaches a firm, scoopable consistency.
Step 4: Scoop and Chill the Truffle Mixture
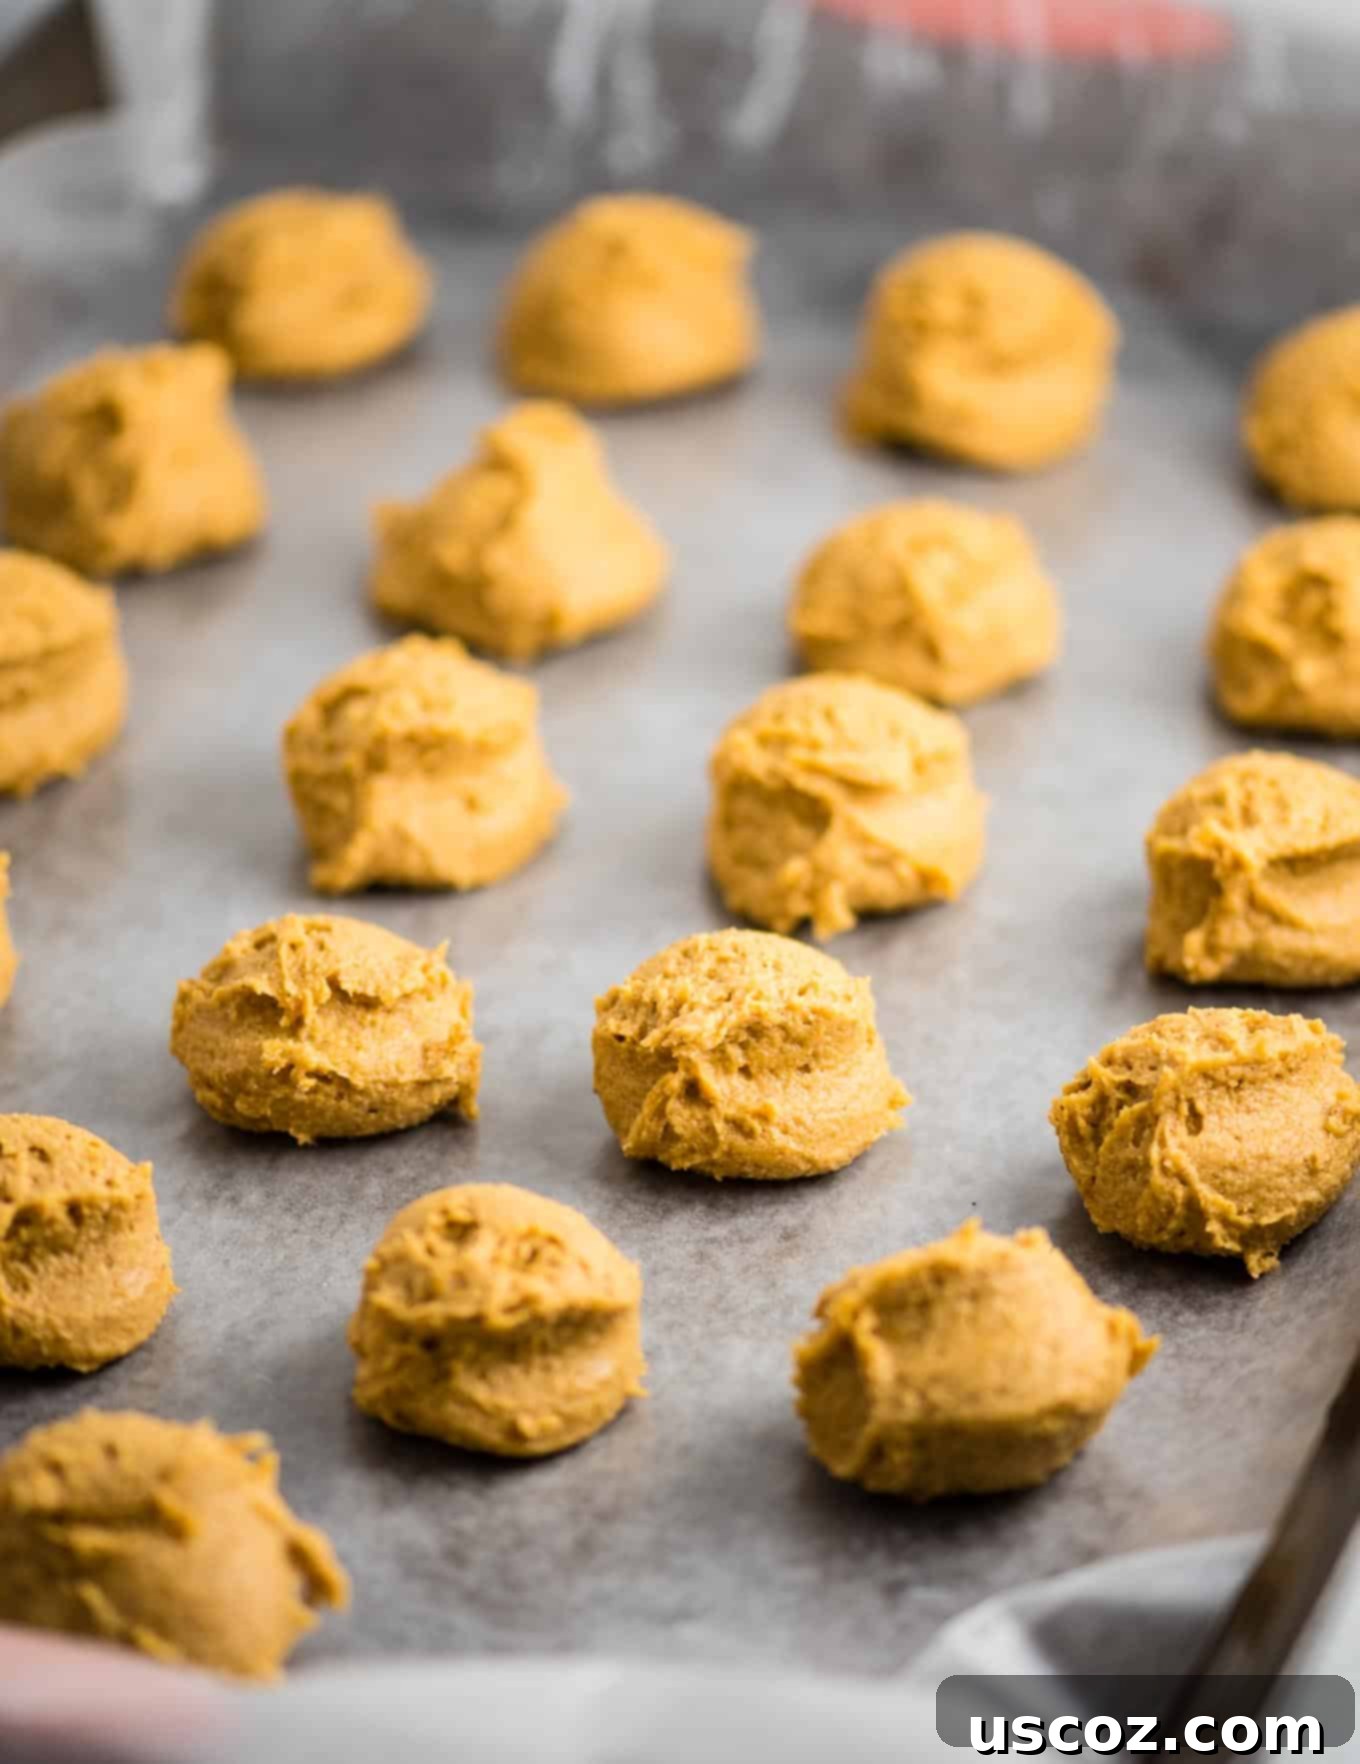
Line a baking sheet with wax paper or parchment paper. Using a mini cookie scoop is highly recommended for this step as it makes creating uniform balls incredibly easy. Scoop small portions of the pumpkin cheesecake mixture onto the lined baking sheet. An important note here: the dough will be quite sticky at this stage, so avoid trying to shape them perfectly with your hands just yet. Simply scoop them onto the sheet.
Step 5: Chill for Firmness
Place the baking sheet with the scooped truffle mixture into the refrigerator for at least one hour. Chilling is a crucial step as it allows the mixture to firm up significantly, making it much easier to handle and roll into perfectly round, beautiful balls before they get their chocolate coating.
Step 6: Roll and Dip the Truffles
Once the batter has thoroughly chilled and firmed up, remove it from the fridge. Take each scooped ball and gently roll it between your palms to smooth out any imperfections and create perfectly round truffle shapes. Meanwhile, melt your chosen chocolate chips until smooth (you can use a microwave in short bursts, stirring frequently, or a double boiler). Once rolled, dip each truffle completely into the melted chocolate. Use a fork to lift it out, gently tapping off any excess chocolate.
Step 7: Finish with Powdered Sugar
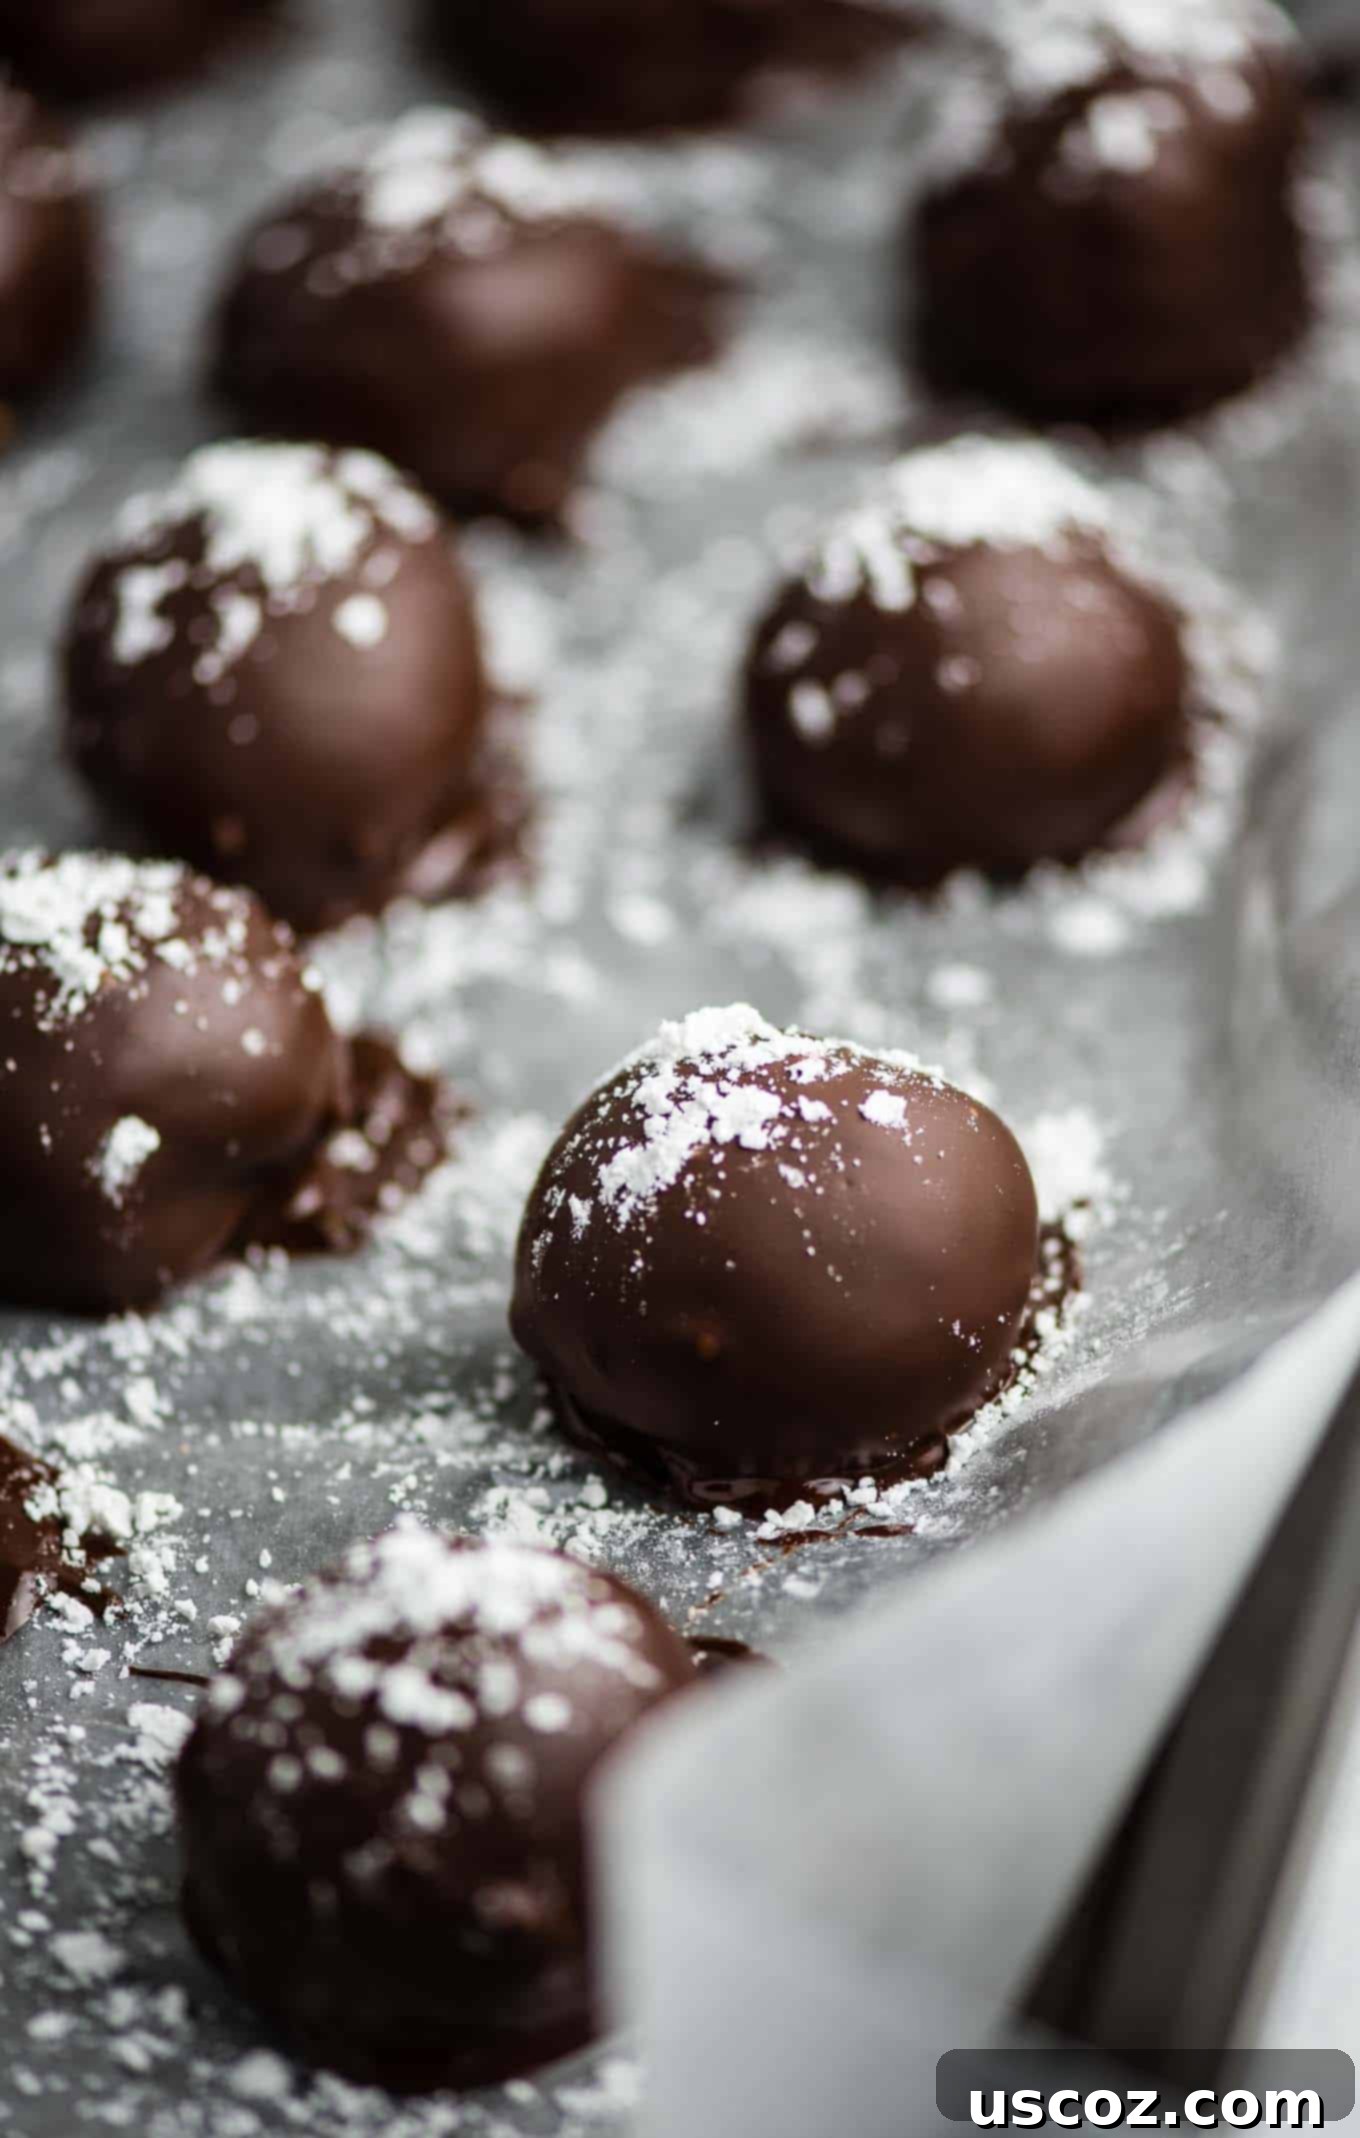
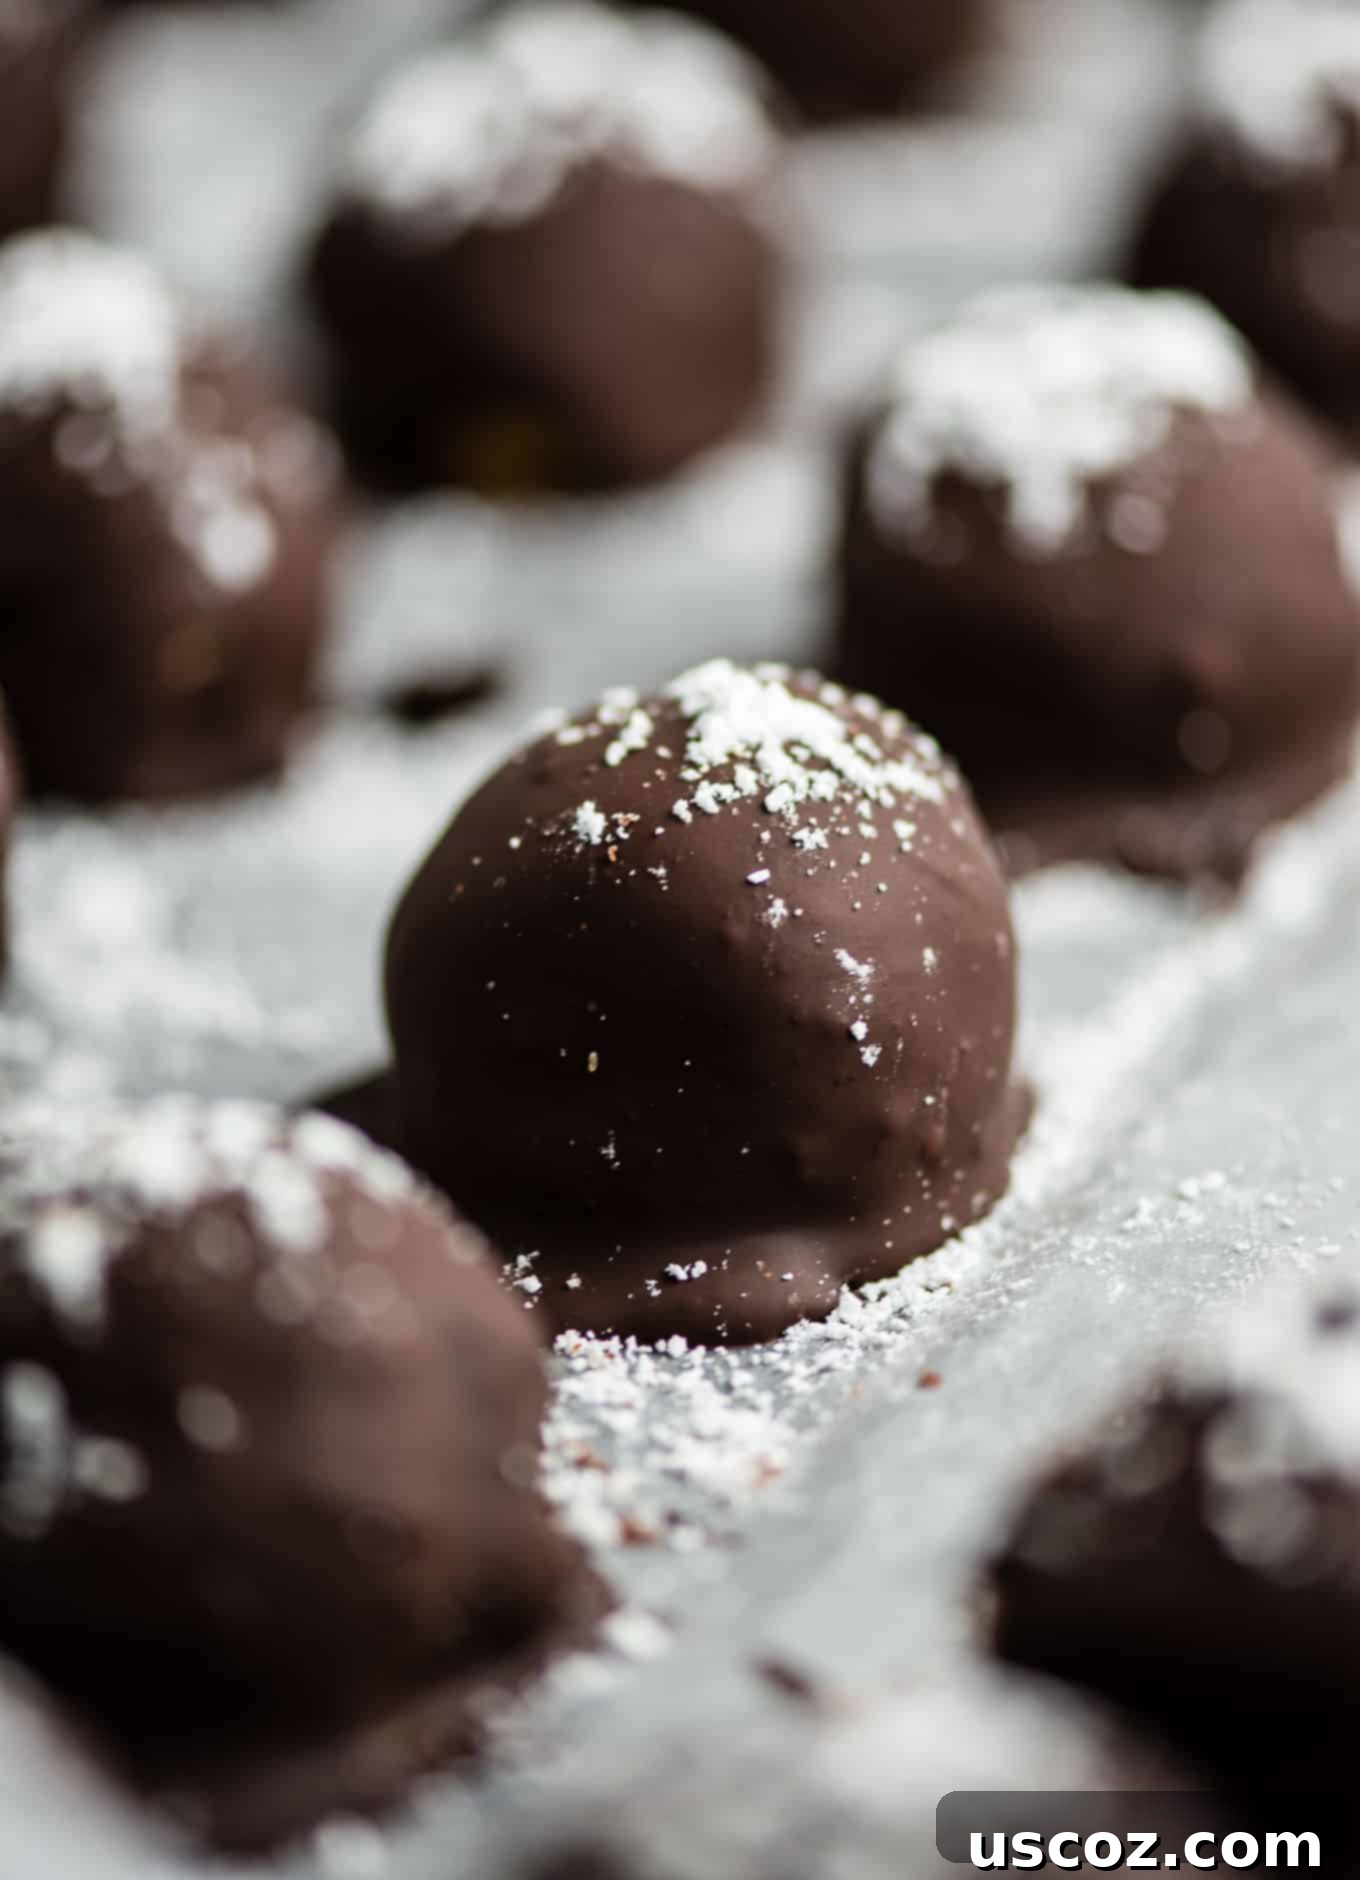
As soon as you’ve dipped a truffle, use a toothpick to carefully slide it off the fork and back onto the wax paper-lined baking sheet. Immediately sprinkle the top with powdered sugar for a lovely finish. Repeat this process with all the remaining truffles, working efficiently so the chocolate doesn’t set before you can dust it.
Choosing the Perfect Chocolate for Dipping Truffles
The chocolate coating is more than just a shell; it’s an integral part of the truffle’s flavor profile. The sweetness of the pumpkin cheesecake filling pairs wonderfully with various types of chocolate, allowing for customization to your taste.
- Dark Chocolate Chips (70% Cacao): My personal recommendation! The inherent sweetness of the cheesecake filling finds a perfect counterpoint in the slight bitterness of dark chocolate. A 70% cacao variety offers a sophisticated depth of flavor that really elevates these truffles.
- Milk Chocolate Chips: For those who prefer a sweeter, creamier chocolate experience, milk chocolate chips are an excellent choice. They will create a milder, more classic truffle flavor.
- White Chocolate Chips: If you’re looking for a visually stunning contrast or a different flavor profile, white chocolate works beautifully. You can also tint white chocolate with food coloring for festive occasions.
- Semi-Sweet Chocolate Chips: A versatile and popular option, semi-sweet chocolate offers a good balance between sweet and slightly bitter, appealing to most palates.
No matter your choice, ensure your chocolate is melted smoothly for an even, beautiful coating. You can melt chocolate using a microwave (in 30-second intervals, stirring well each time) or a double boiler for a gentler melt.
Step 8: Final Chill and Enjoy!
Once all your pumpkin cheesecake truffles are dipped and topped, return the baking sheet to the refrigerator. Allow them to chill for an additional 1 to 2 hours, or until the chocolate coating is completely firm and set. This final chill ensures the truffles hold their shape perfectly and offers the best texture. Once firm, grab one (or two!) and savor the delightful combination of pumpkin, cheesecake, and chocolate. Store any leftover truffles in an airtight container in the fridge for several days.
Tips for Perfectly Crafted Pumpkin Cheesecake Balls
Achieving bakery-worthy no-bake pumpkin cheesecake balls is simple with a few expert tips:
- Room Temperature Cream Cheese is Key: Don’t rush this step! Softened cream cheese ensures a smooth, lump-free filling. If it’s too cold, your mixture will be grainy.
- Fine Graham Cracker Crumbs: The finer your graham cracker crumbs, the smoother your truffle filling will be. Aim for a flour-like consistency.
- Don’t Skimp on Chilling Time: Chilling the mixture twice is essential. The first chill makes the sticky dough manageable for rolling. The second chill sets the chocolate coating and firms up the truffles completely.
- Work Quickly While Dipping: Have all your truffles rolled and ready before melting the chocolate. Dip them one by one, allowing excess chocolate to drip off, and immediately add any toppings before the chocolate sets.
- Use a Mini Cookie Scoop: This small tool is invaluable for creating uniform truffle sizes, ensuring they look professional and appealing.
- Experiment with Toppings: While powdered sugar is classic, consider a sprinkle of cinnamon, a drizzle of white chocolate, or finely chopped nuts for extra flair and flavor.
Variations and Customizations for Your Pumpkin Cheesecake Truffles
These no-bake pumpkin cheesecake balls are fantastic as is, but they’re also incredibly versatile. Feel free to get creative with these delicious variations:
- Chocolate Variety: As mentioned, switch up your chocolate coating! White chocolate will give a sweet, creamy contrast and can be colored for holidays. Milk chocolate offers a familiar, comforting sweetness, while a very dark chocolate (like 80% cacao) will provide a more intense, less sweet experience.
- Crunchy Coatings: Instead of (or in addition to) powdered sugar, roll the dipped truffles in finely chopped pecans or walnuts, toasted coconut flakes, mini chocolate chips, or even more graham cracker crumbs.
- Spiced Dusting: A light dusting of cinnamon or a mix of cinnamon and nutmeg can enhance the pumpkin spice flavor even further.
- Decorative Drizzles: After the chocolate shell has set, melt a contrasting chocolate (e.g., white chocolate over dark chocolate) and drizzle it over the truffles for an elegant touch.
- Internal Add-ins: For extra texture, consider folding a small amount of finely chopped candied ginger or mini chocolate chips directly into the pumpkin cheesecake filling before chilling.
How to Store Your Delicious Pumpkin Cheesecake Balls
Proper storage is key to keeping these no-bake pumpkin cheesecake balls fresh and delightful for as long as possible. Since they contain cream cheese, refrigeration is a must.
- In the Refrigerator: Store any leftover pumpkin cheesecake balls in an airtight container or a sealed zip-top bag in the refrigerator. They will maintain their best quality for up to 5 days. This keeps the filling firm and the chocolate coating intact.
- In the Freezer: Yes, you can freeze these! For longer storage, arrange the fully set truffles in a single layer on a baking sheet and freeze until solid. Once frozen, transfer them to an airtight freezer-safe container or bag. They will keep well for up to 1 month. While the texture might slightly change (becoming a bit firmer), they are still absolutely delicious when thawed. To enjoy, simply move them from the freezer to the refrigerator a few hours before serving to allow them to thaw gently.
Always keep these treats chilled until ready to serve, especially if you’re bringing them to a gathering. This ensures they remain firm and delicious.
More Fall-Inspired Pumpkin Recipes to Love
If you’re as big a fan of pumpkin as we are, you’ll want to explore these other fantastic recipes perfect for the fall season:
- Classic Pumpkin Bread
- Delightful Mini Pumpkin Muffins
- Irresistible Vegan Pumpkin Chocolate Chip Cookies
- Moist Pumpkin Cake with Cream Cheese Frosting
- Nutritious Pumpkin Banana Bread
- Wholesome Gluten-Free Pumpkin Pie Cookies
Frequently Asked Questions (FAQs)
Here are some common questions you might have when making these delicious no-bake pumpkin cheesecake balls:
- Can I use pumpkin pie filling instead of canned pumpkin puree?
No, it’s highly recommended to use pure canned pumpkin puree. Pumpkin pie filling contains added sugars and spices, which will significantly alter the sweetness and spice balance of this recipe. The recipe is formulated for plain pumpkin puree.
- Can I make these truffles ahead of time?
Absolutely! These pumpkin cheesecake balls are perfect for making in advance. They need to chill for a few hours anyway, so you can easily prepare them a day or two before your event. Just keep them stored in an airtight container in the refrigerator.
- How long do these no-bake cheesecake balls last?
When stored properly in an airtight container in the refrigerator, these truffles will stay fresh for up to 5 days. For longer storage, they can be frozen for up to one month.
- What if my truffle mixture is too sticky to roll?
The mixture will be sticky before its initial chill. Ensure you chill it for the full hour (or even slightly longer) to firm it up. If after chilling it’s still too sticky, you can add a tablespoon or two more of finely crushed graham cracker crumbs or coconut flour until it’s easier to handle.
- Do I have to dip them in chocolate?
While the chocolate shell adds a wonderful contrast and professional finish, it’s not strictly necessary. You could simply roll the chilled pumpkin cheesecake balls in more graham cracker crumbs, powdered sugar, or even a mix of cinnamon sugar for a simpler, uncoated treat. However, the chocolate coating helps them hold their shape better and adds to the overall flavor experience.
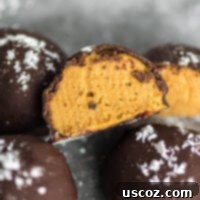
No Bake Pumpkin Cheesecake Balls
Saved!
Pin Recipe
Rate Recipe
Print Recipe
Ingredients
- 8 oz cream cheese, softened
- 1/2 cup canned pumpkin
- 1 cup powdered sugar
- 1 cup powdered graham cracker crumbs
- 2 teaspoons pumpkin pie spice
- 1/4 teaspoon salt
- 1/4 cup coconut flour**
- 2 cups 70% dark chocolate chips, see notes
Instructions
-
Beat the softened cream cheese and powdered sugar together in a bowl until the mixture is light, fluffy, and completely smooth.
-
In a blender or food processor, finely crush the graham crackers until they resemble a fine powder or flour. Measure out 1 cup of these crumbs.
-
To the cream cheese mixture, add the canned pumpkin puree, graham cracker crumbs, pumpkin pie spice, salt, and coconut flour**. Beat until all ingredients are thoroughly combined and the batter is smooth.
-
Line a baking sheet with wax paper or parchment paper.
-
Using a mini cookie scoop (or two spoons), drop approximately 22 small, evenly sized balls of the sticky batter onto the prepared baking sheet. Do not worry about perfect shaping at this stage, as the batter will be very sticky.
-
Place the baking sheet with the pumpkin cheesecake balls into the refrigerator and chill for at least 1 hour, or until the mixture is firm enough to handle.
-
While the balls are chilling, melt your chosen chocolate chips until smooth. You can do this in a microwave-safe bowl in 30-second intervals, stirring, or using a double boiler.
-
Once the batter is firm, remove the balls from the fridge. Take each ball and gently roll it between your palms to smooth out any imperfections and create a perfectly round truffle shape.
-
Carefully drop one truffle ball into the melted chocolate. Use a fork to lift it out, allowing any excess chocolate to drip back into the bowl.
-
Using a toothpick, gently assist the truffle off the fork and back onto the wax paper-lined baking sheet. Immediately sprinkle the top with powdered sugar (or desired topping) before the chocolate sets.
-
Repeat the dipping and topping process with all the remaining pumpkin cheesecake balls, working efficiently.
-
Once all truffles are coated, refrigerate them for at least 1 to 2 hours, or until the chocolate shell is completely firm and set.
-
Store any leftover pumpkin cheesecake truffles in an airtight container in the fridge for up to 5 days.
Notes
** If you do not wish to use coconut flour, you can substitute it with an equal amount or slightly more finely crushed graham cracker crumbs to achieve the desired consistency.
Nutrition
Carbohydrates: 19g,
Protein: 2g,
Fat: 9g,
Saturated Fat: 7g,
Polyunsaturated Fat: 0.2g,
Monounsaturated Fat: 1g,
Cholesterol: 11mg,
Sodium: 105mg,
Potassium: 137mg,
Fiber: 1g,
Sugar: 12g,
Vitamin A: 1007IU,
Vitamin C: 0.4mg,
Calcium: 65mg,
Iron: 1mg
Like this recipe? Rate and comment below!
If you loved making these no-bake pumpkin cheesecake balls, don’t forget to share your creations! Tag me on Instagram @buildyourbite and use the hashtag #buildyourbite. Your delicious fall desserts inspire others!
