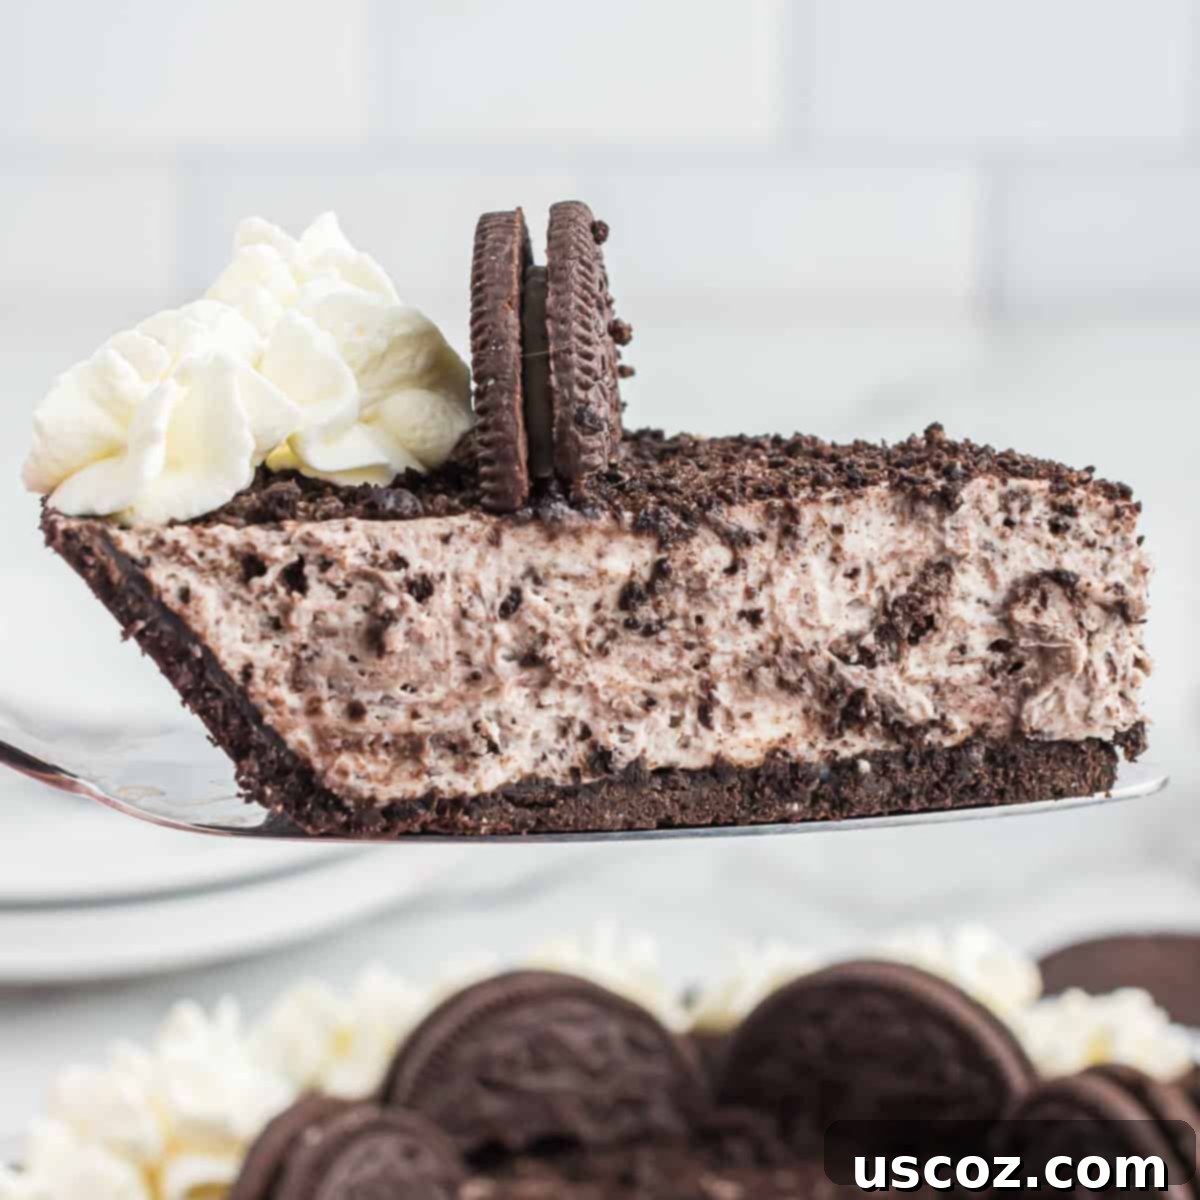
The Ultimate No-Bake Oreo Pie: Your Easiest Dream Dessert Recipe
This No-Bake Oreo Pie is truly the ultimate easy dessert, perfect for any occasion! Whether you’re hosting a party, celebrating a holiday, or simply craving a delicious treat, this cookies and cream pie comes together with minimal effort and delivers maximum flavor. Its rich, creamy texture combined with the iconic crunch of Oreo cookies makes it an irresistible delight that everyone, from kids to adults, will adore.

Why This No-Bake Oreo Pie is Your New Favorite Dessert!
There’s something incredibly satisfying about a dessert that requires no oven time, yet tastes like it took hours to prepare. This no-bake Oreo pie fits that description perfectly. It’s an ideal “ice box” pie, meaning you simply assemble it and let your refrigerator do the rest of the work. The beauty of this recipe lies in its simplicity and the delightful combination of textures and flavors it offers.
Unlike many no-bake pies that rely on instant pudding mixes, this version boasts a luxurious, homemade filling. We combine freshly whipped heavy cream with smooth, tangy cream cheese and vanilla extract, then fold in generous amounts of finely crushed Oreos. This creates a light, airy, yet rich and decadent filling that truly sets this pie apart. The cool, creamy center perfectly complements the crunchy, chocolatey Oreo pie crust.
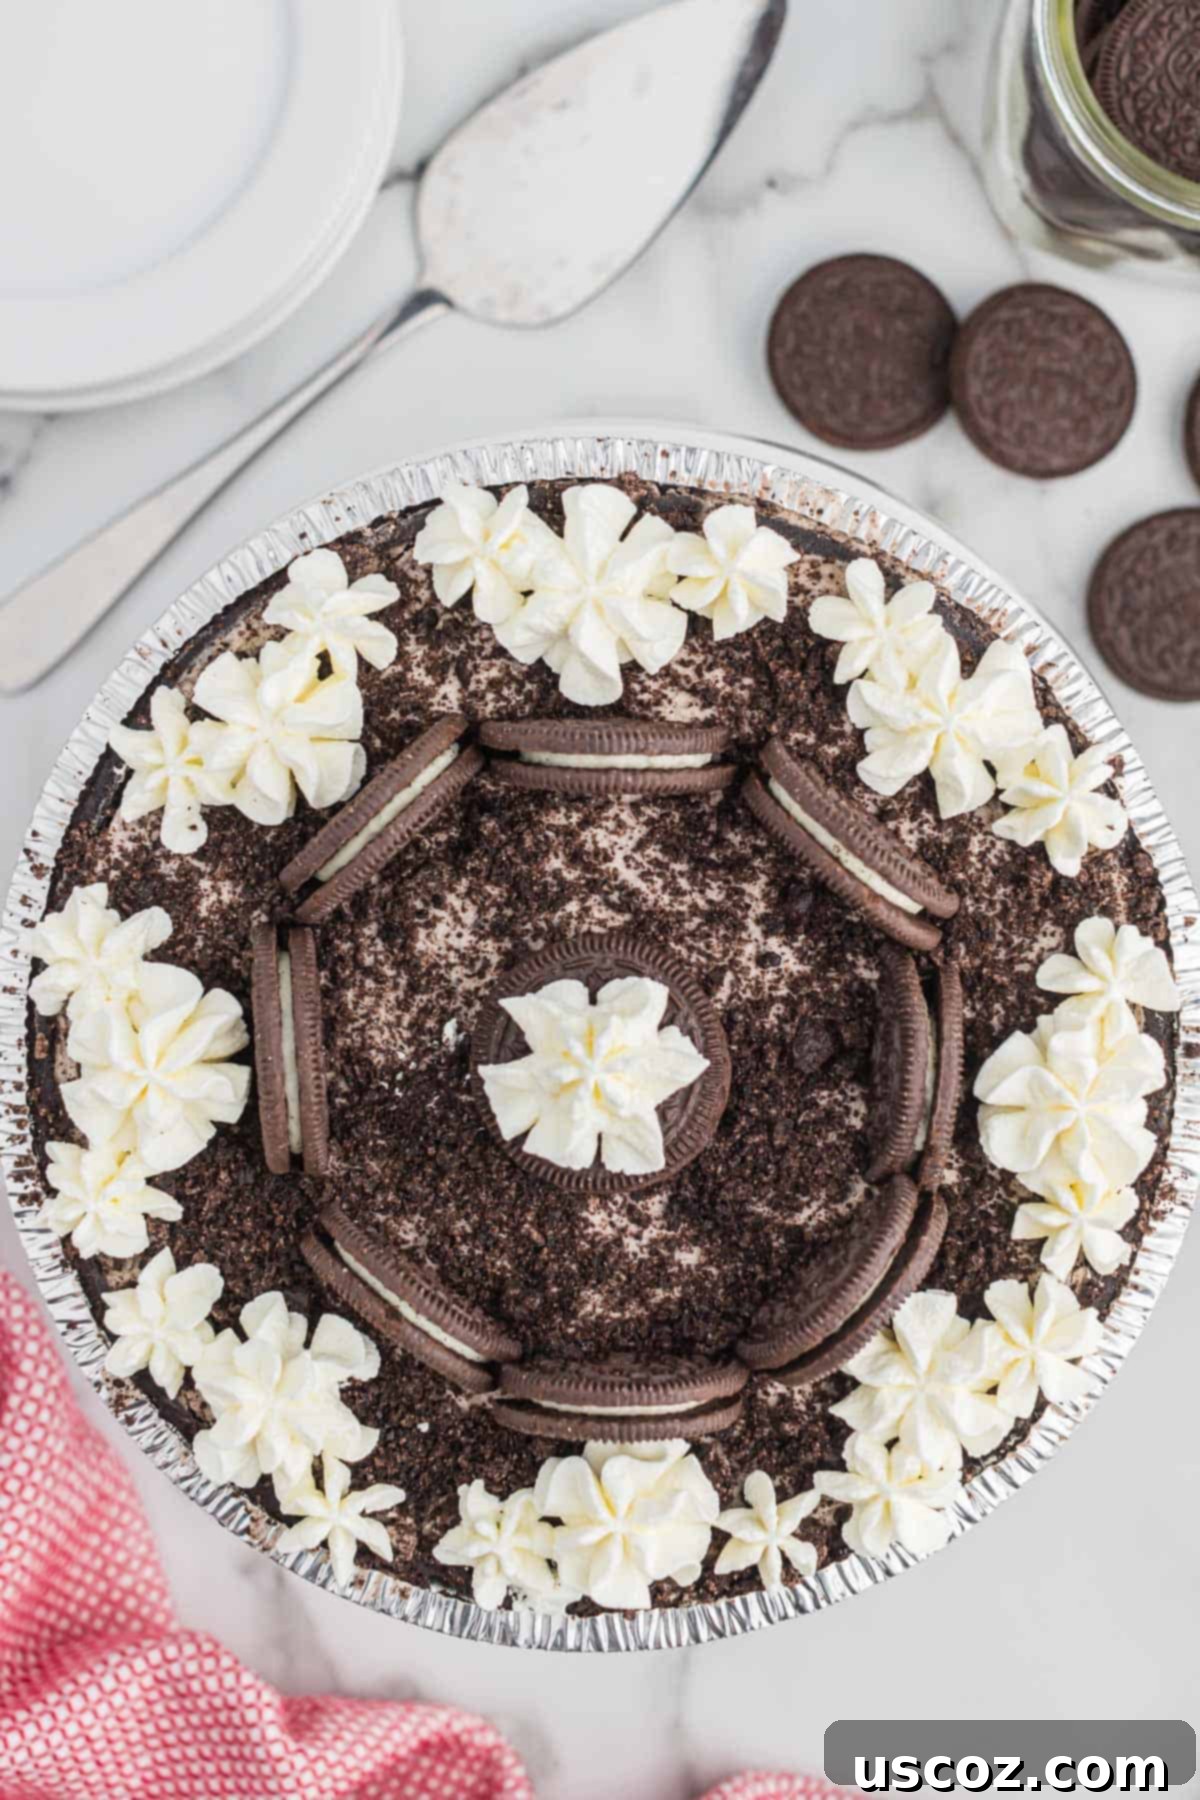
Whether you choose to embellish it with extra whipped cream and whole Oreos, or keep it elegantly plain, this cookies and cream pie is a surefire hit. Its rich flavor and appealing appearance make it a fantastic centerpiece for any dessert table. Just a few simple steps—mixing ingredients, pouring into a pre-made crust, and chilling—and you’ll have a show-stopping dessert ready to serve in just a few hours. For the best results and an easier slice, we recommend letting it chill overnight.
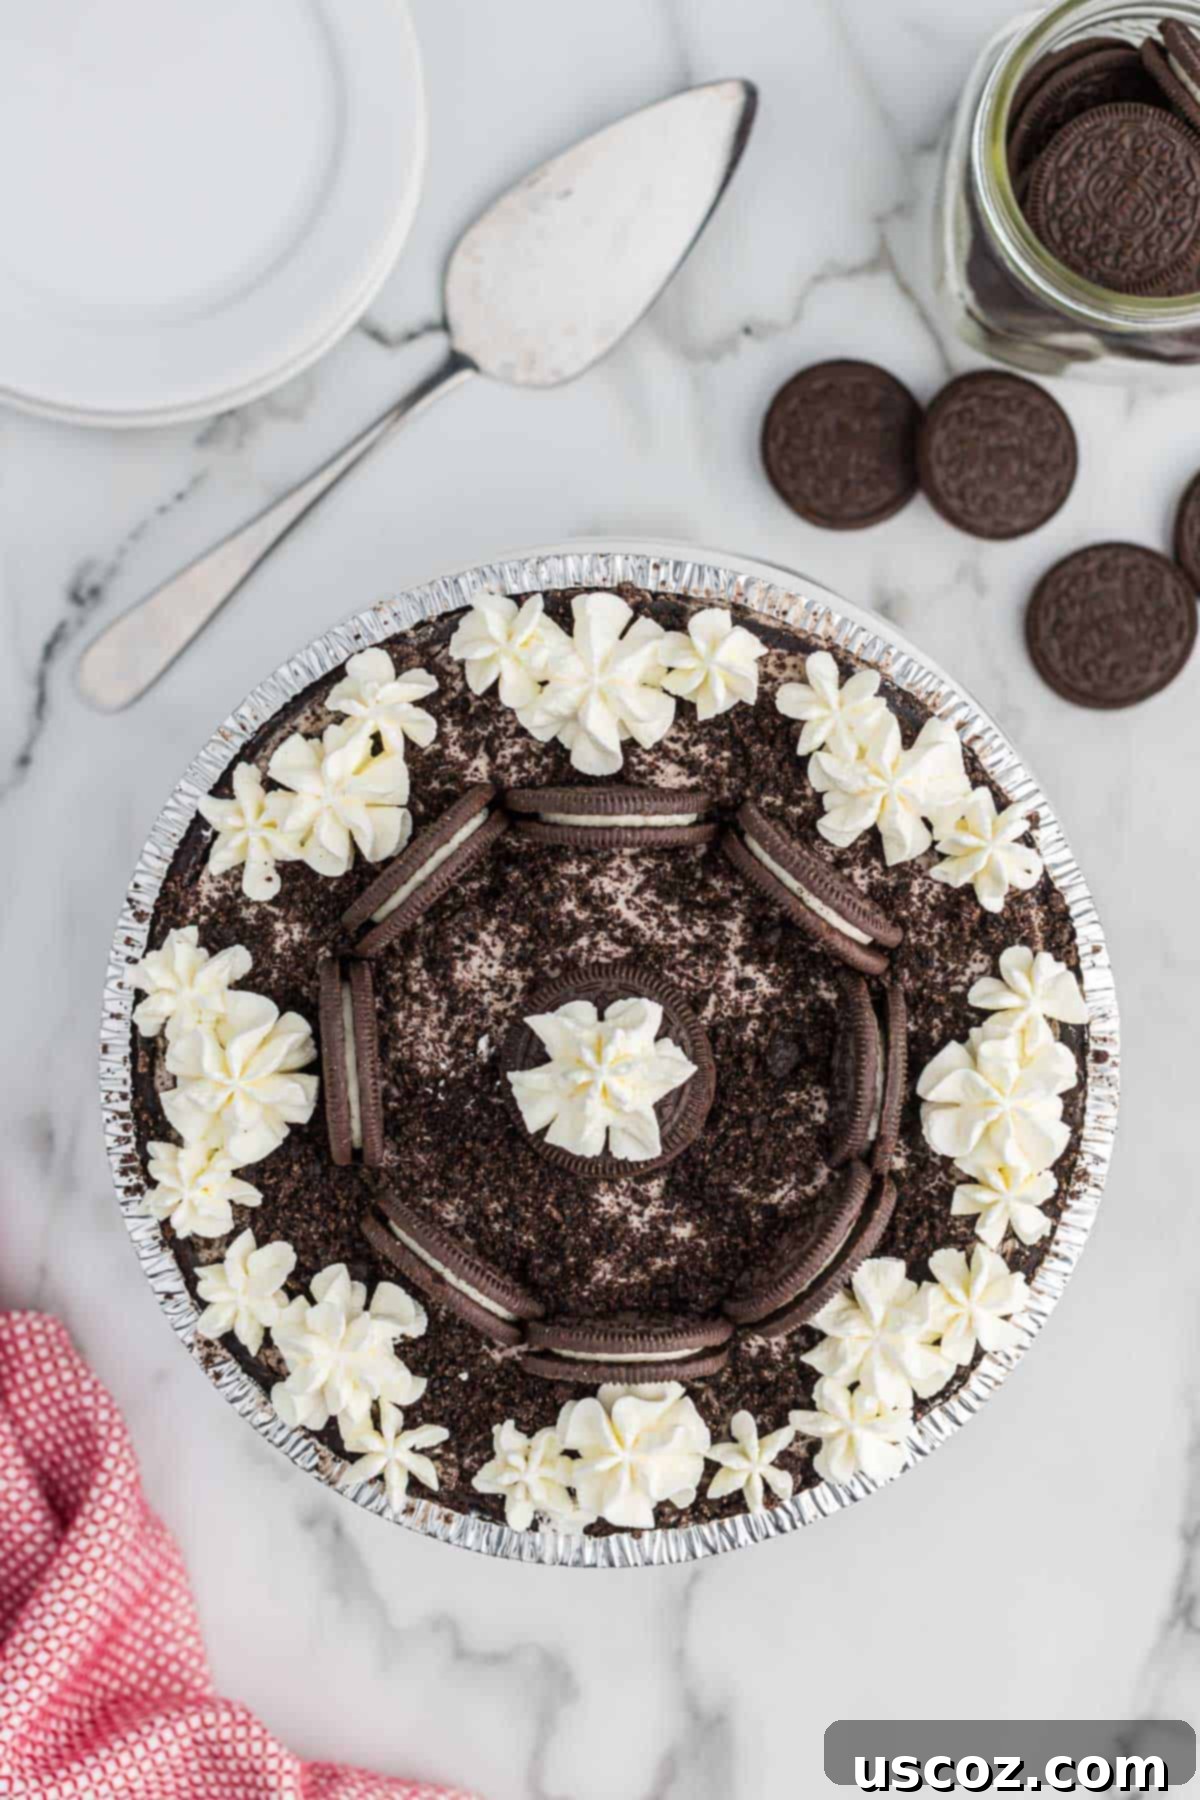
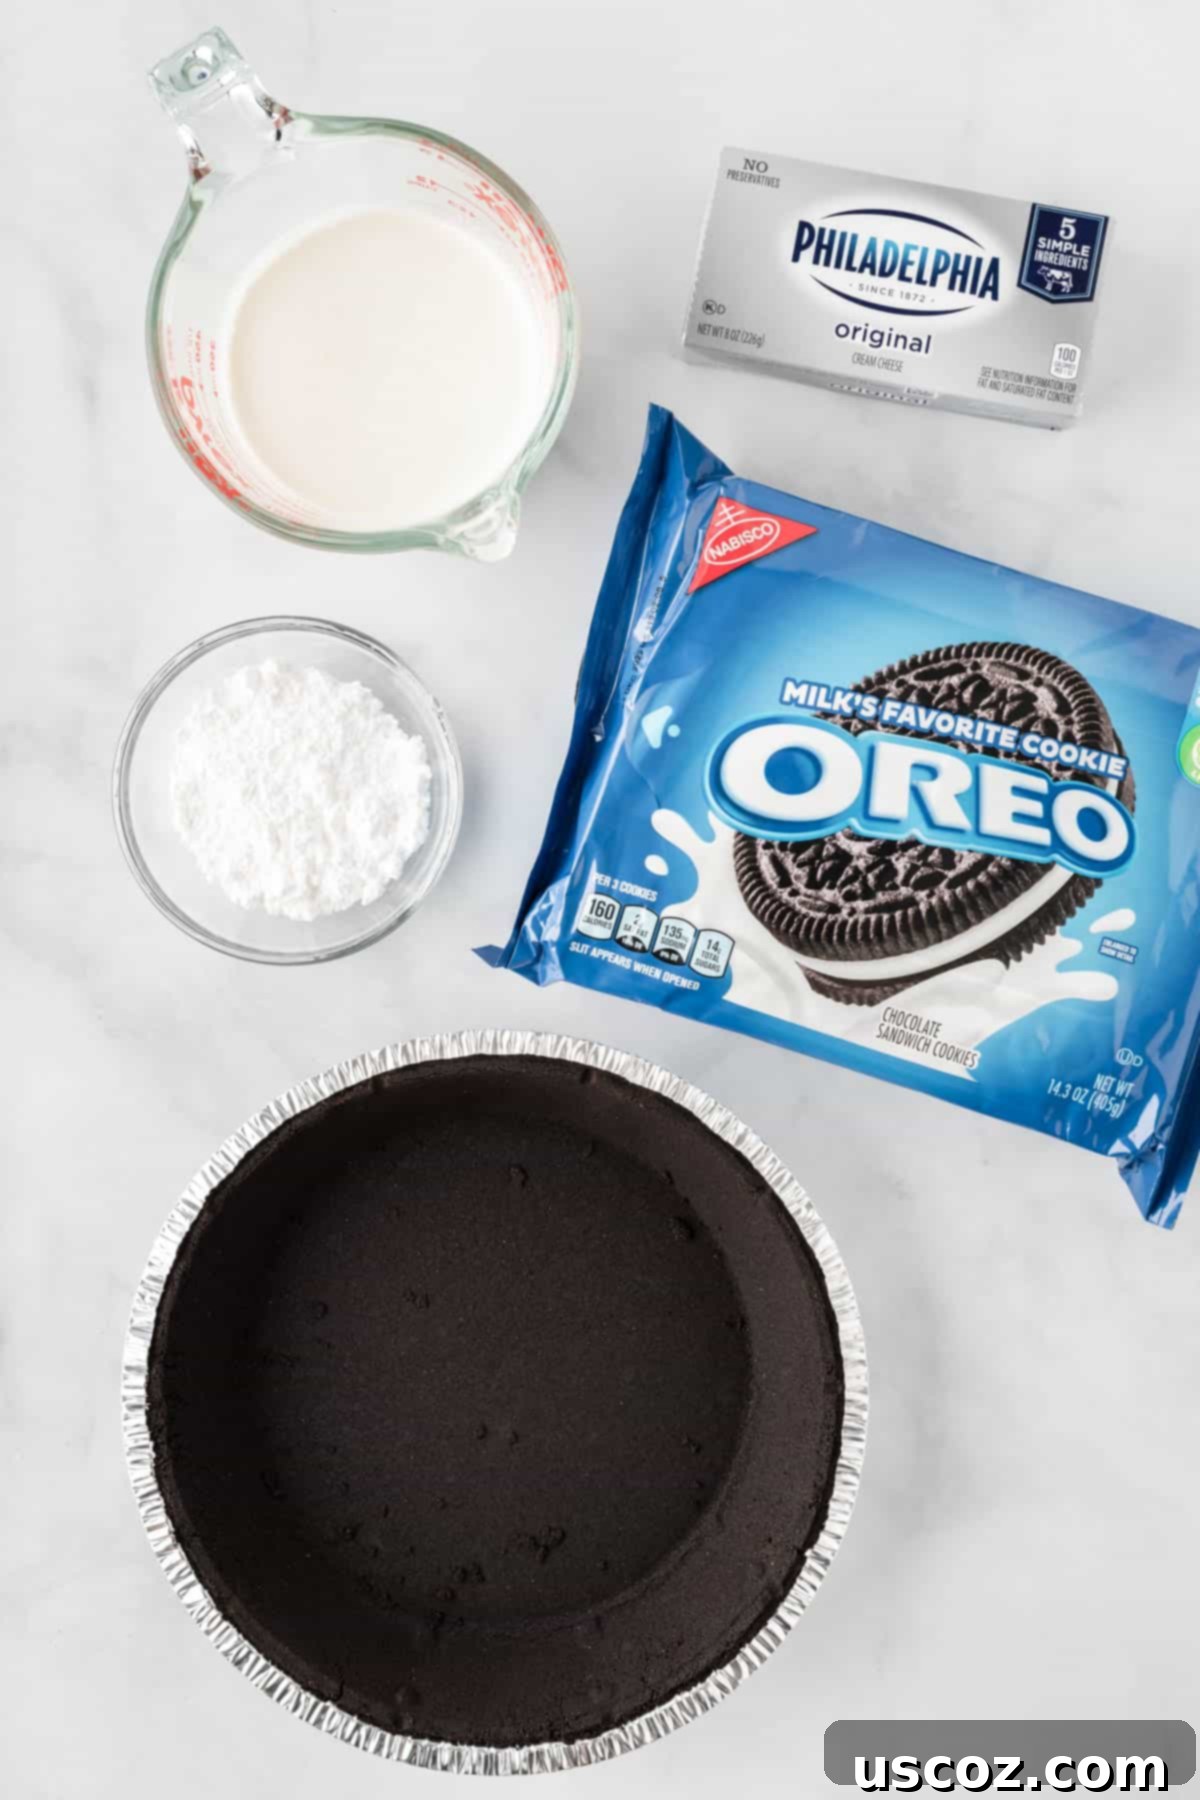
While you’ll find the complete recipe card with precise measurements and detailed instructions at the bottom of this post, here’s a quick overview of the essential ingredients you’ll need to create this amazing no-bake Oreo pie.
Ingredients to Make Your Perfect Oreo Pie
Only a handful of common ingredients are needed for this delightful dessert. The key is in the quality and how they’re prepared!
- Heavy Cream: This is the foundation for our homemade whipped cream filling, providing a light, airy, and rich base that is far superior to aerosol cans or store-bought whipped toppings. Ensure it’s very cold for optimal whipping.
- Powdered Sugar: Also known as confectioners’ sugar, it sweetens the whipped cream and cream cheese mixture while dissolving smoothly, preventing a grainy texture. Adjust the amount to your preferred sweetness level.
- Cream Cheese: Softened cream cheese adds a wonderful tang and richness to the filling, balancing the sweetness of the Oreos and sugar. Make sure it’s at room temperature for a lump-free, creamy consistency.
- Oreos: The star of the show! You’ll need a good number of these iconic chocolate sandwich cookies, both for crushing into the filling and for topping. Regular Oreos work best, but feel free to experiment with different flavors for a fun twist.
- Oreo Pie Crust: A pre-made Oreo pie crust (usually 6 oz) makes this recipe incredibly fast and convenient. If you’re feeling ambitious, you can also make your own by crushing Oreos and mixing them with melted butter.
How to Make Your Creamy No-Bake Oreo Pie: Step-by-Step
Making this irresistible no-bake Oreo pie is incredibly straightforward. Just follow these simple steps, and you’ll be enjoying a slice of heaven in no time!
Step 1: Prepare the Homemade Whipped Cream
In a large, chilled mixing bowl, combine the very cold heavy cream and powdered sugar. Using an electric mixer (handheld or stand mixer with a whisk attachment), beat on medium-high speed until stiff peaks form. This means when you lift the beaters, the whipped cream holds its shape firmly. Be careful not to overbeat, or it could turn into butter!
Step 2: Whip the Cream Cheese Base
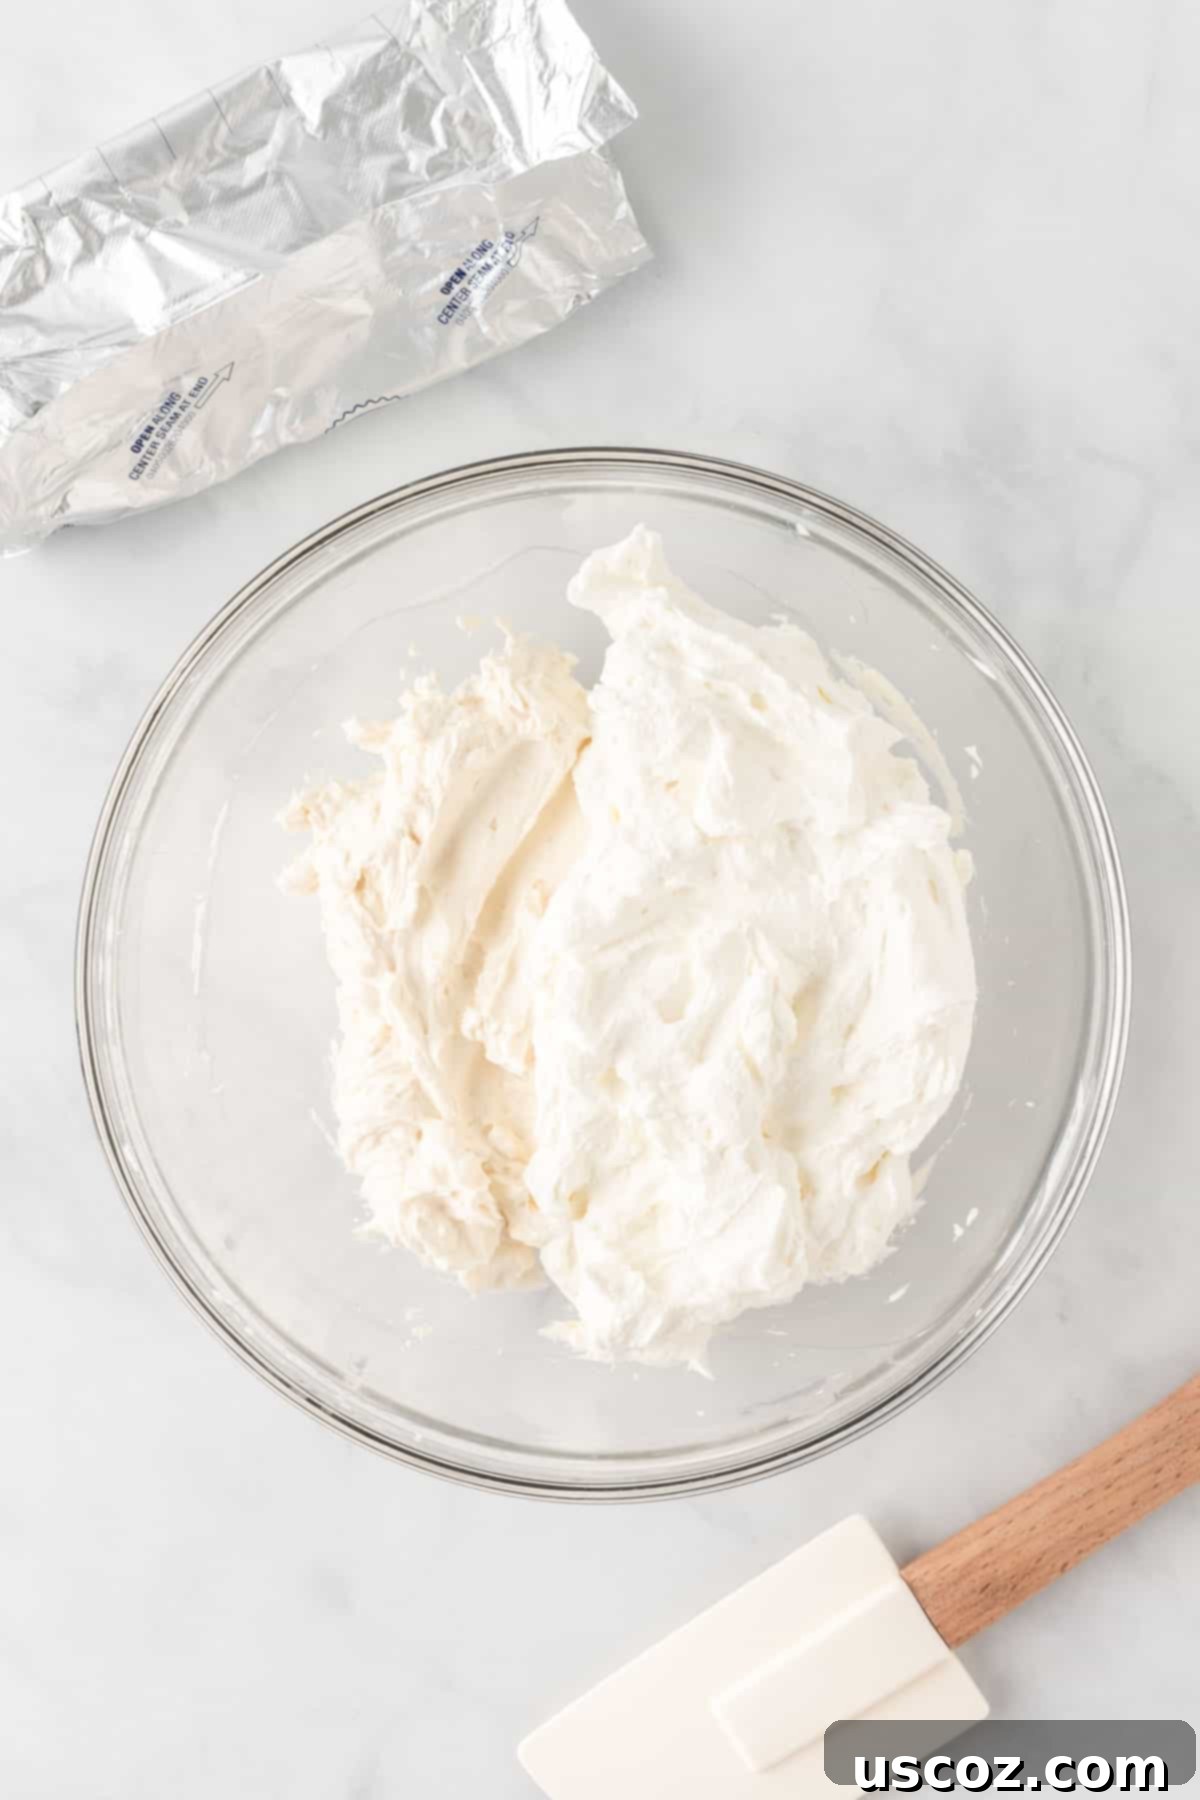
In a separate medium bowl, place the softened cream cheese and a splash of vanilla extract (if using). Beat with an electric mixer until the cream cheese is completely smooth and creamy, with no lumps. Softened cream cheese is crucial here for a silky-smooth filling.
Step 3: Combine the Creamy Fillings
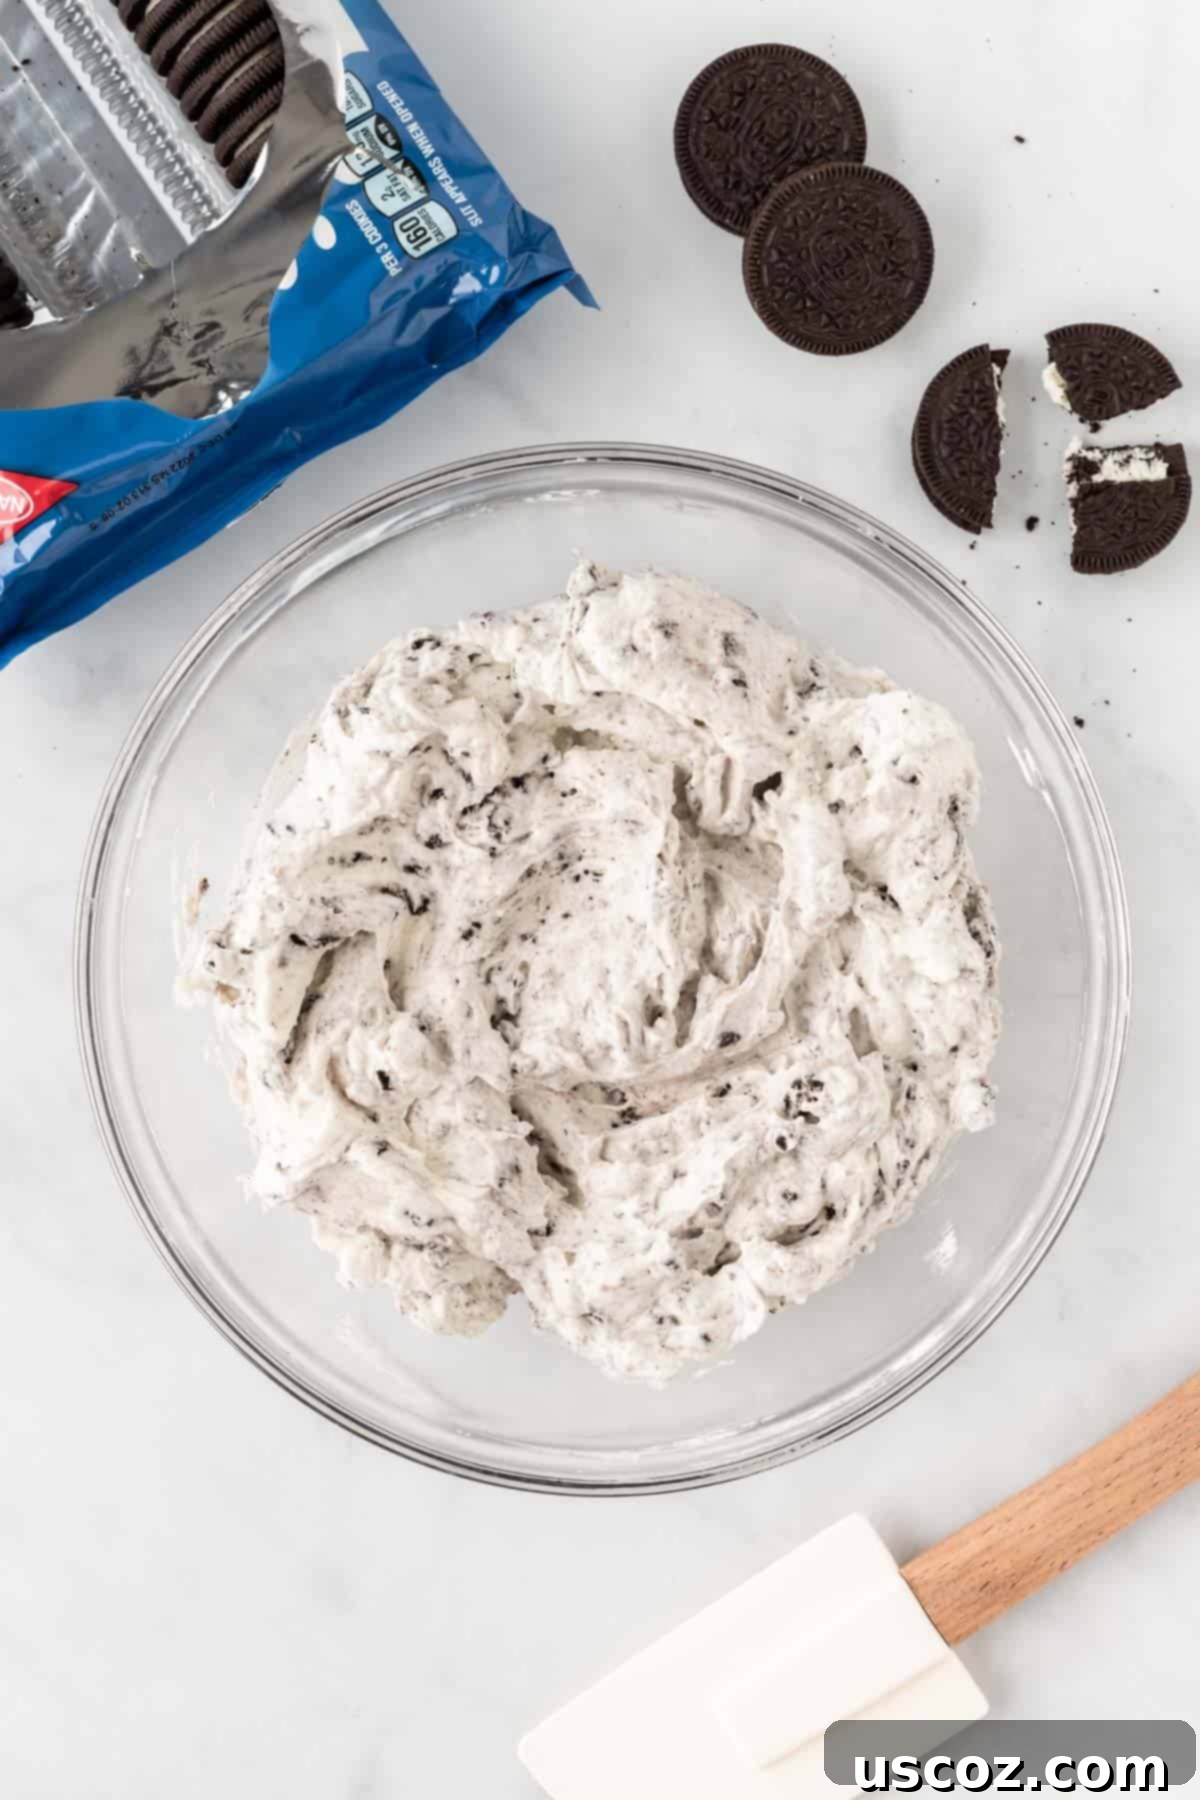
Gently fold the whipped cream into the cream cheese mixture. Use a rubber spatula and mix until just combined, being careful not to deflate the whipped cream. This creates a light and airy yet rich base for your pie filling.
Step 4: Incorporate the Crushed Oreos
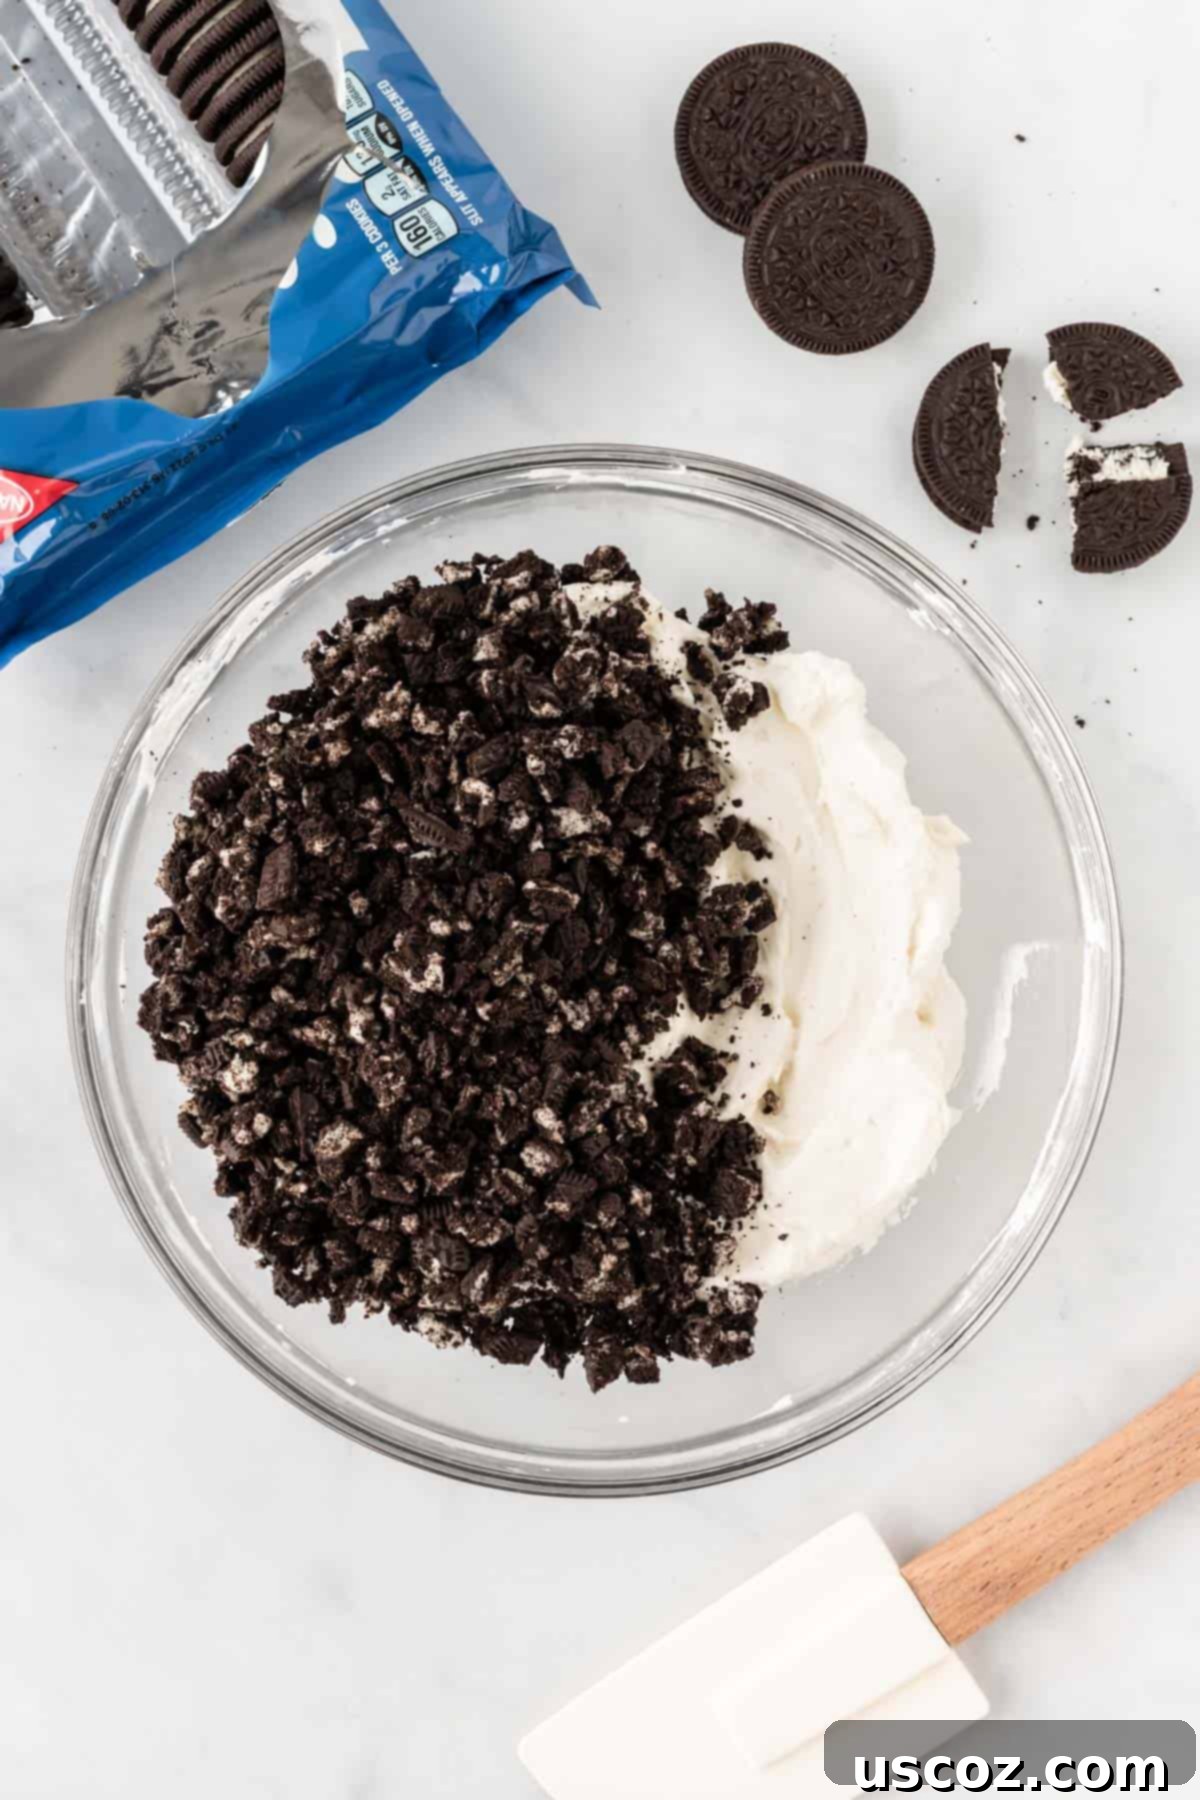
Take your finely crushed Oreos (you can use a food processor or a Ziploc bag and a rolling pin) and fold them into the creamy pie filling. Stir until the Oreo pieces are evenly distributed throughout the mixture. Remember to reserve a few tablespoons of crushed Oreos for topping your finished pie.
Step 5: Fill the Pie Crust and Garnish
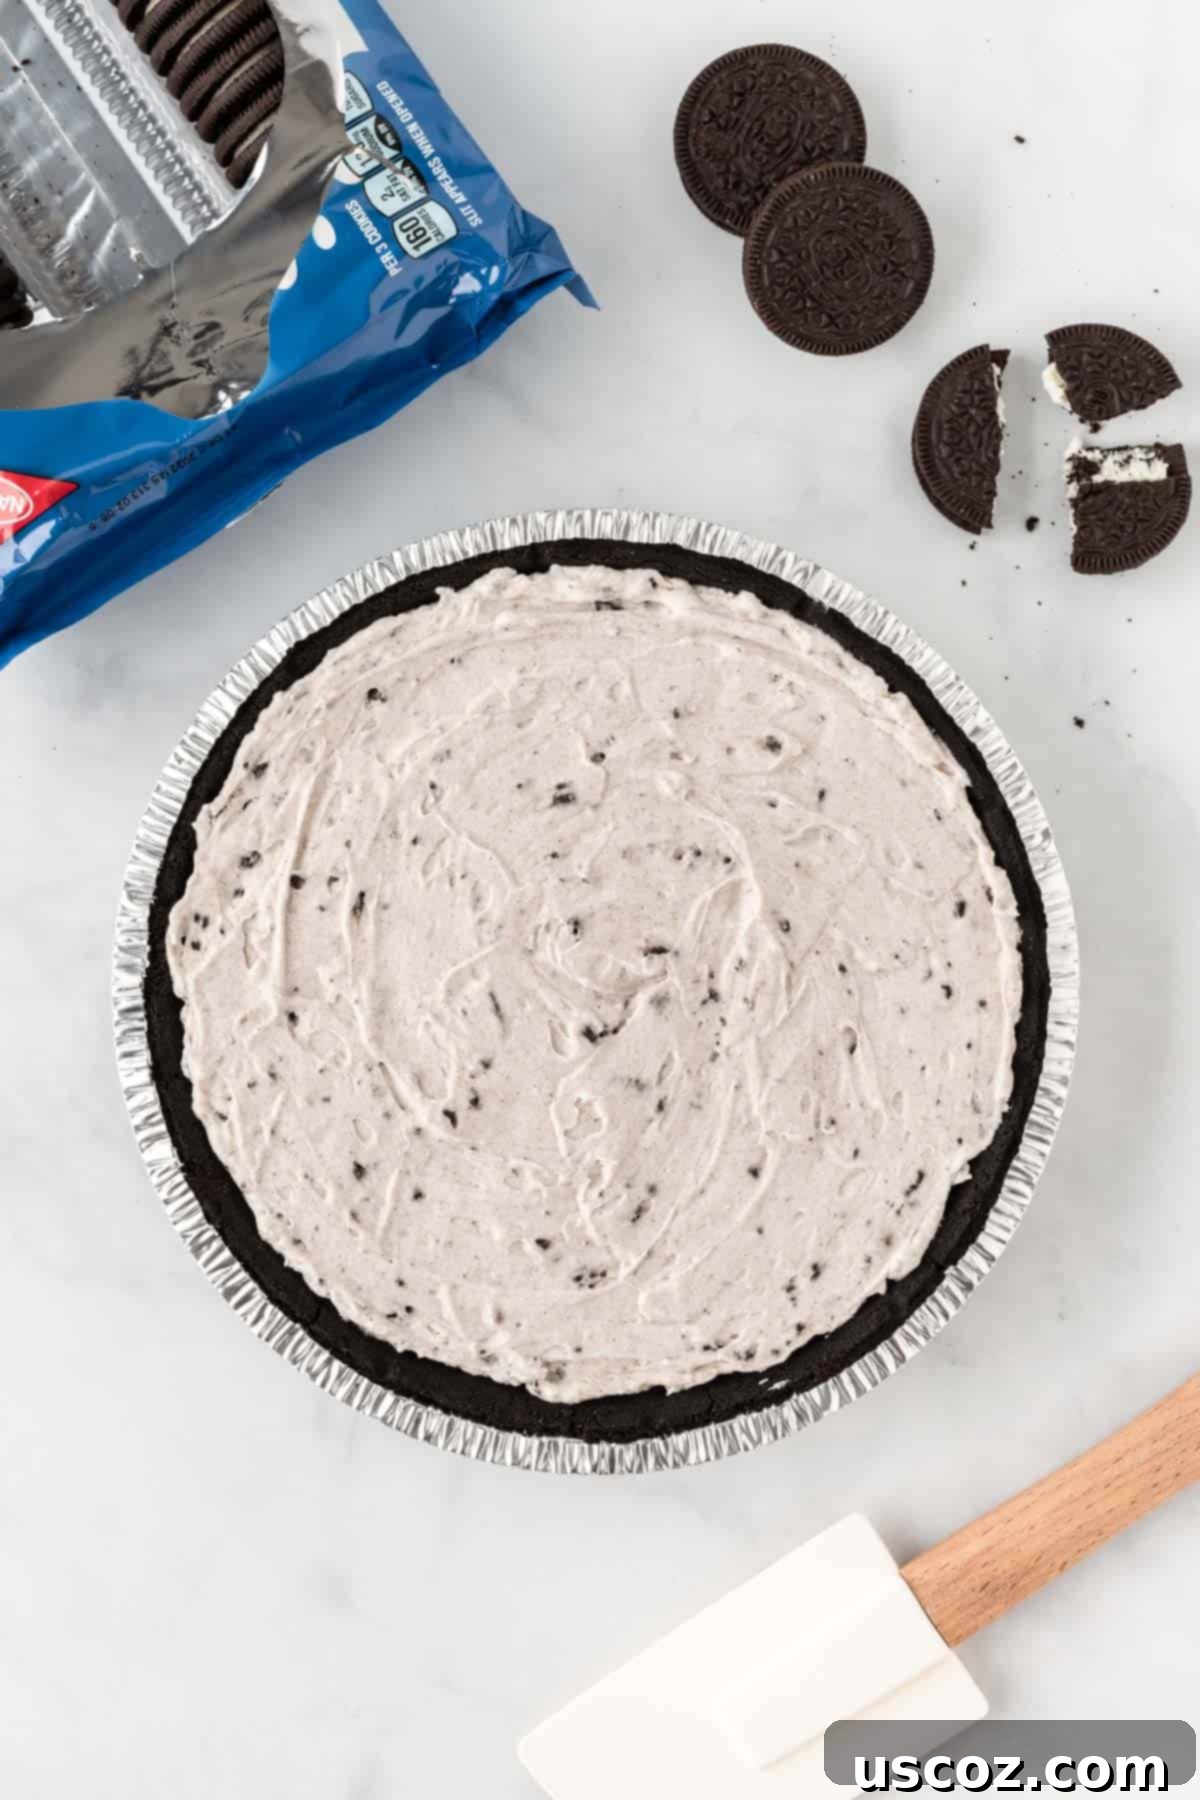
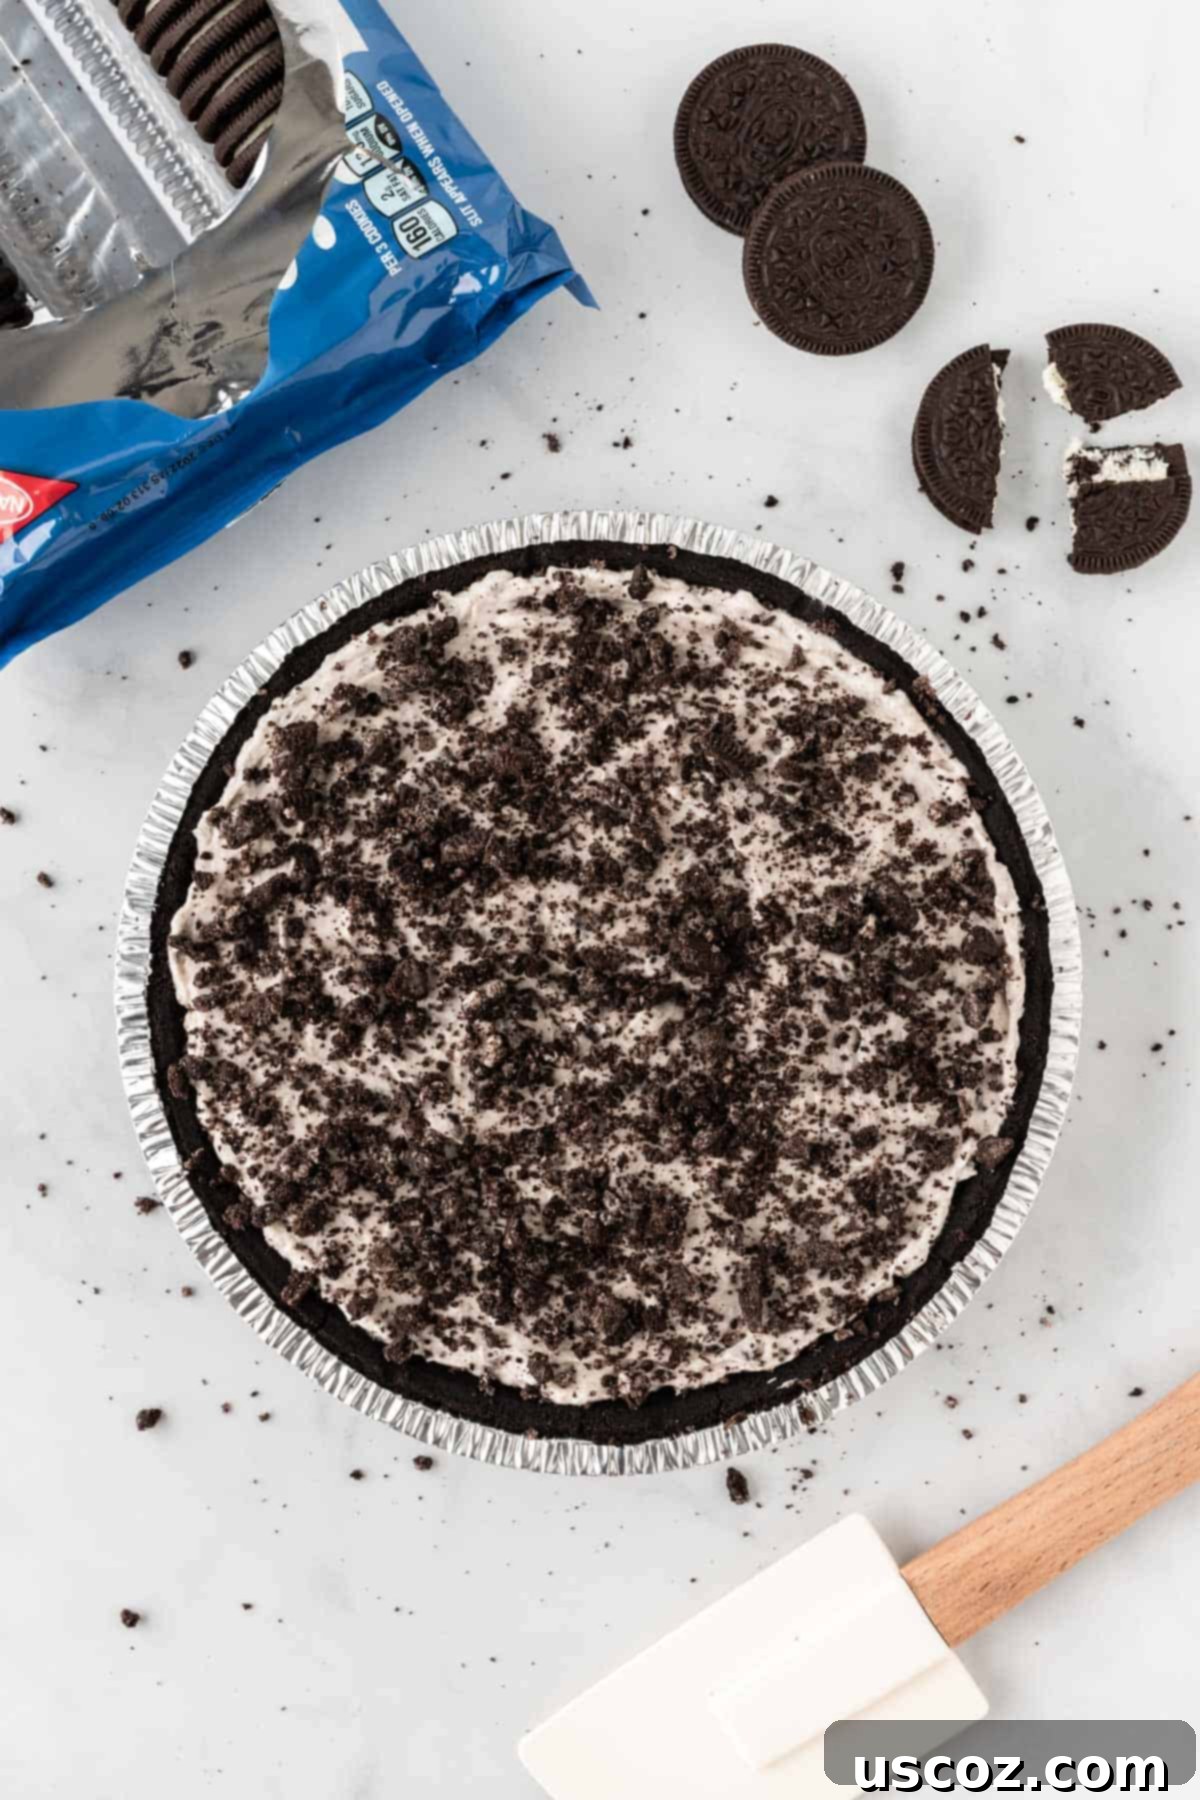
Carefully spoon the prepared Oreo pie filling into your ready-made Oreo pie crust. Use a rubber spatula to gently smooth the top of the filling, ensuring it’s evenly distributed. Then, sprinkle the reserved crushed Oreos generously over the top of the pie for a beautiful and delicious finish.
Step 6: Chill to Perfection
Cover the pie loosely with plastic wrap or aluminum foil. Place it in the refrigerator to chill for a minimum of 4-5 hours. For the absolute best texture, easiest slicing, and firmest set, chilling it overnight is highly recommended. The longer it chills, the more the flavors meld and the pie solidifies.
Joy’s Expert Tips for a Perfect Oreo Pie
For an absolutely perfect no-bake Oreo pie, planning ahead is your best friend! While 4-5 hours is the minimum chilling time, this pie truly shines when left to chill overnight in the refrigerator. The extended chilling period allows the cream cheese and whipped cream filling to fully firm up, making for cleaner slices and a more stable, delightful texture. I always suggest making it the day before your event, so it’s perfectly set and ready to impress when you’re ready to serve!
Another tip: ensure your cream cheese is at room temperature before whipping. This prevents lumps and ensures a smooth, uniform consistency in your filling. For the whipped cream, use a very cold bowl and beaters—you can even chill them in the freezer for 10-15 minutes beforehand—to help the cream whip faster and achieve those perfect stiff peaks.
For those who love to add a touch of elegance, consider topping this pie with additional dollops of fresh whipped cream, a drizzle of chocolate sauce, and a few whole or halved Oreos for a dessert that looks like it came straight from a gourmet bakery. Even without elaborate decorations, this pie is so delicious it will undoubtedly be the star of any holiday gathering or special event. It’s truly a crowd-pleaser that combines the familiar, comforting taste of Oreos with a luxurious, creamy texture.
Versatility and Occasions for Your Oreo Pie
This Oreo pie is not just a dessert; it’s a celebration in itself! Its simple yet spectacular nature makes it suitable for virtually any holiday or gathering. Imagine serving slices of this creamy goodness at Thanksgiving, providing a delightful contrast to traditional pumpkin pie. Or making it a festive addition to your Christmas spread. It’s equally fantastic for spring and summer events like Memorial Day barbecues or Fourth of July picnics, offering a cool and refreshing treat. Even romantic occasions like Valentine’s Day can be sweetened with this cookies and cream dream.
If you’re someone who prefers pie over cake for birthdays, this no-bake wonder is an absolute must-try. It’s guaranteed to be a massive hit, especially with all the Oreo lovers in your life. The combination of the smooth, sweet, and rich cookies and cream filling with the satisfying crunch of the chocolatey pie crust creates a harmonious balance of textures and flavors that will leave everyone asking for more. It’s a dessert that brings smiles and creates lasting memories.
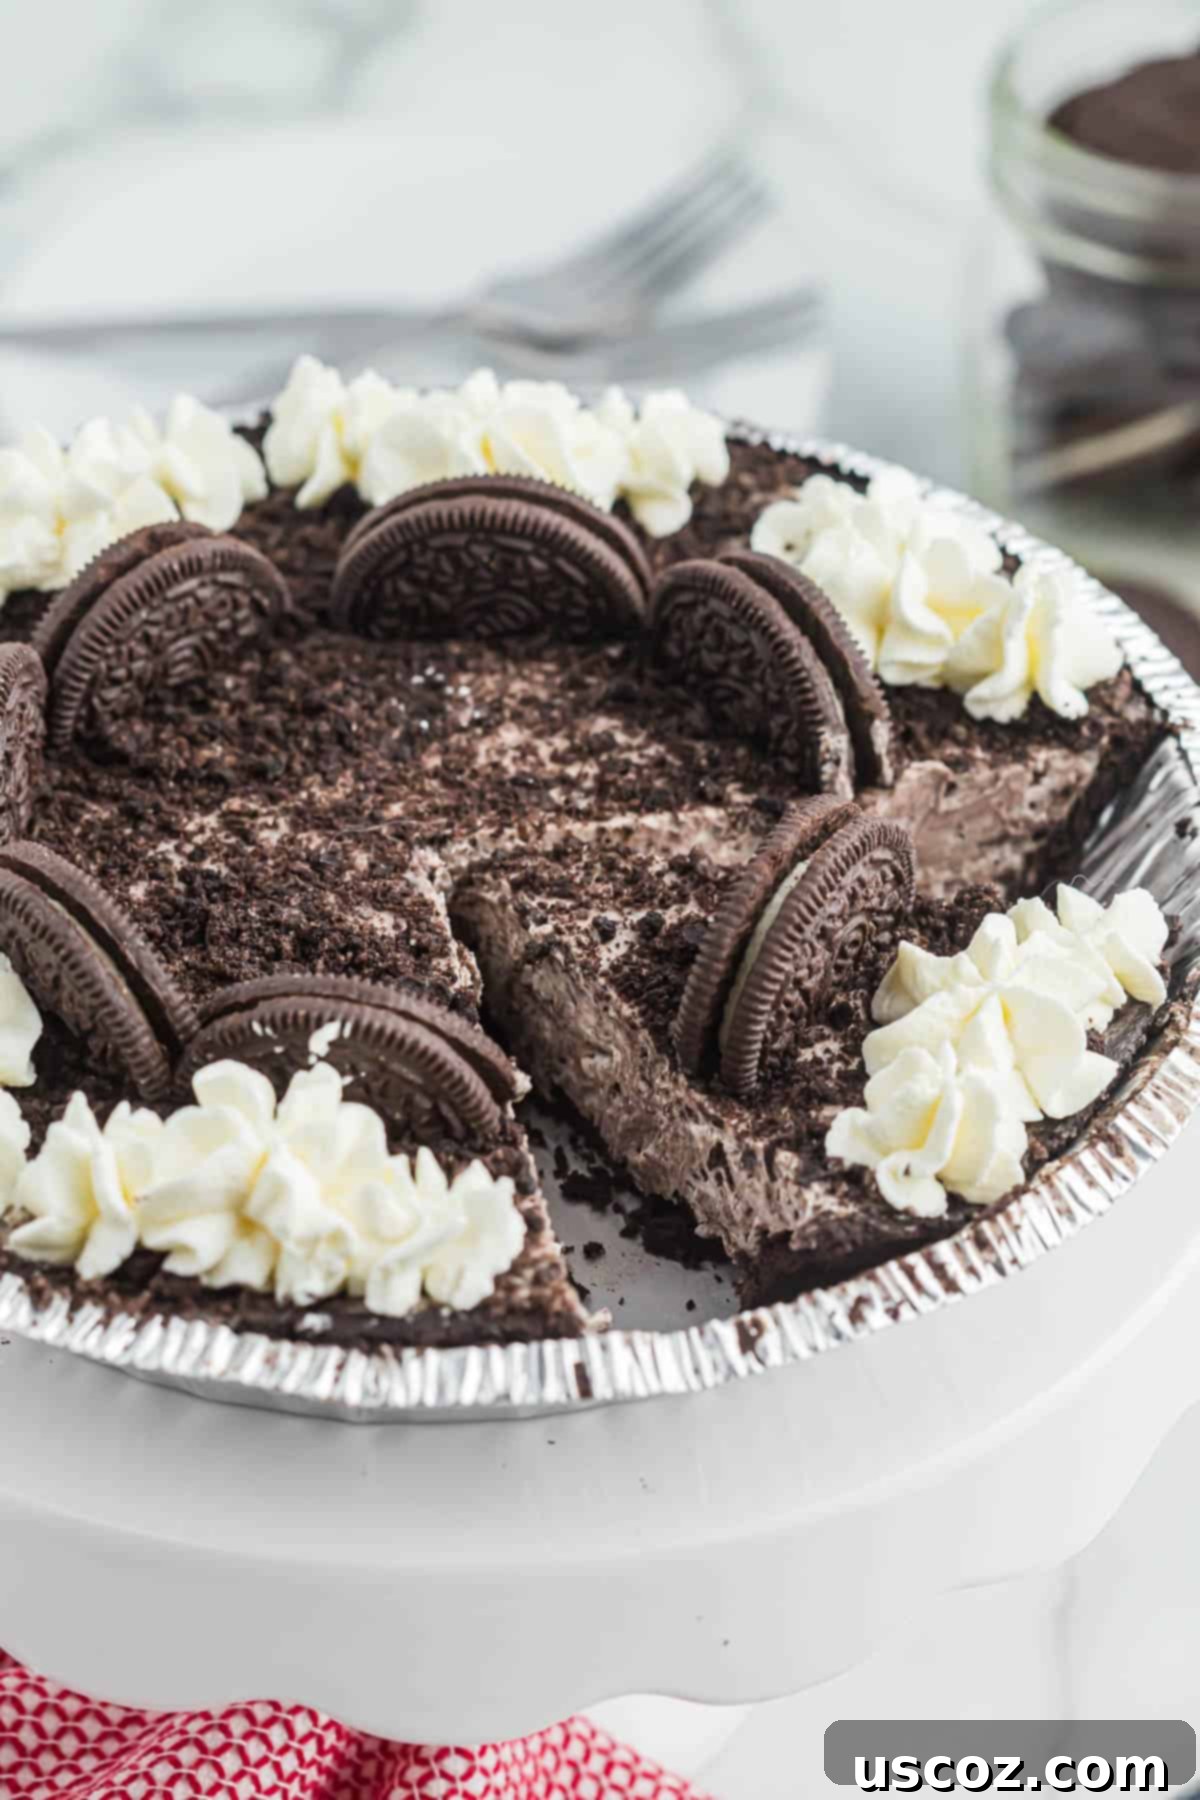
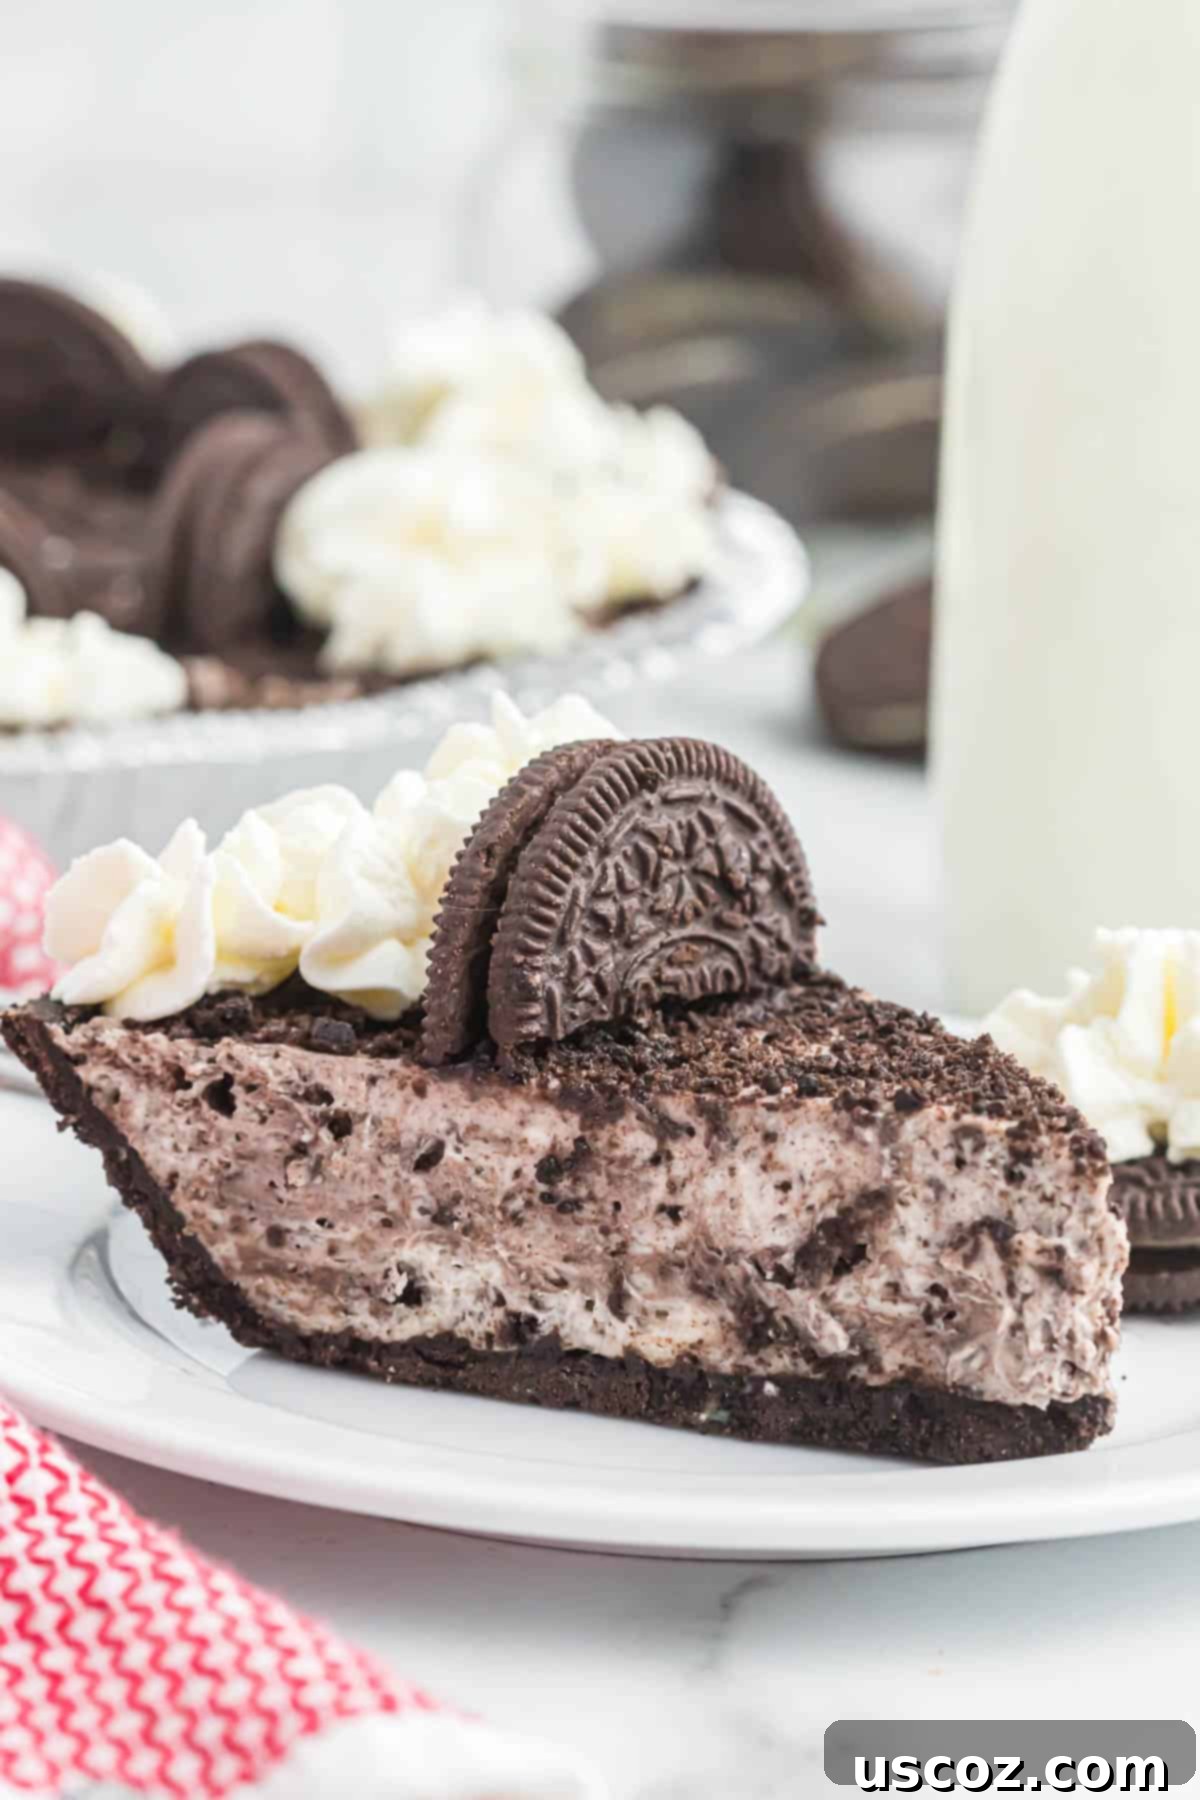
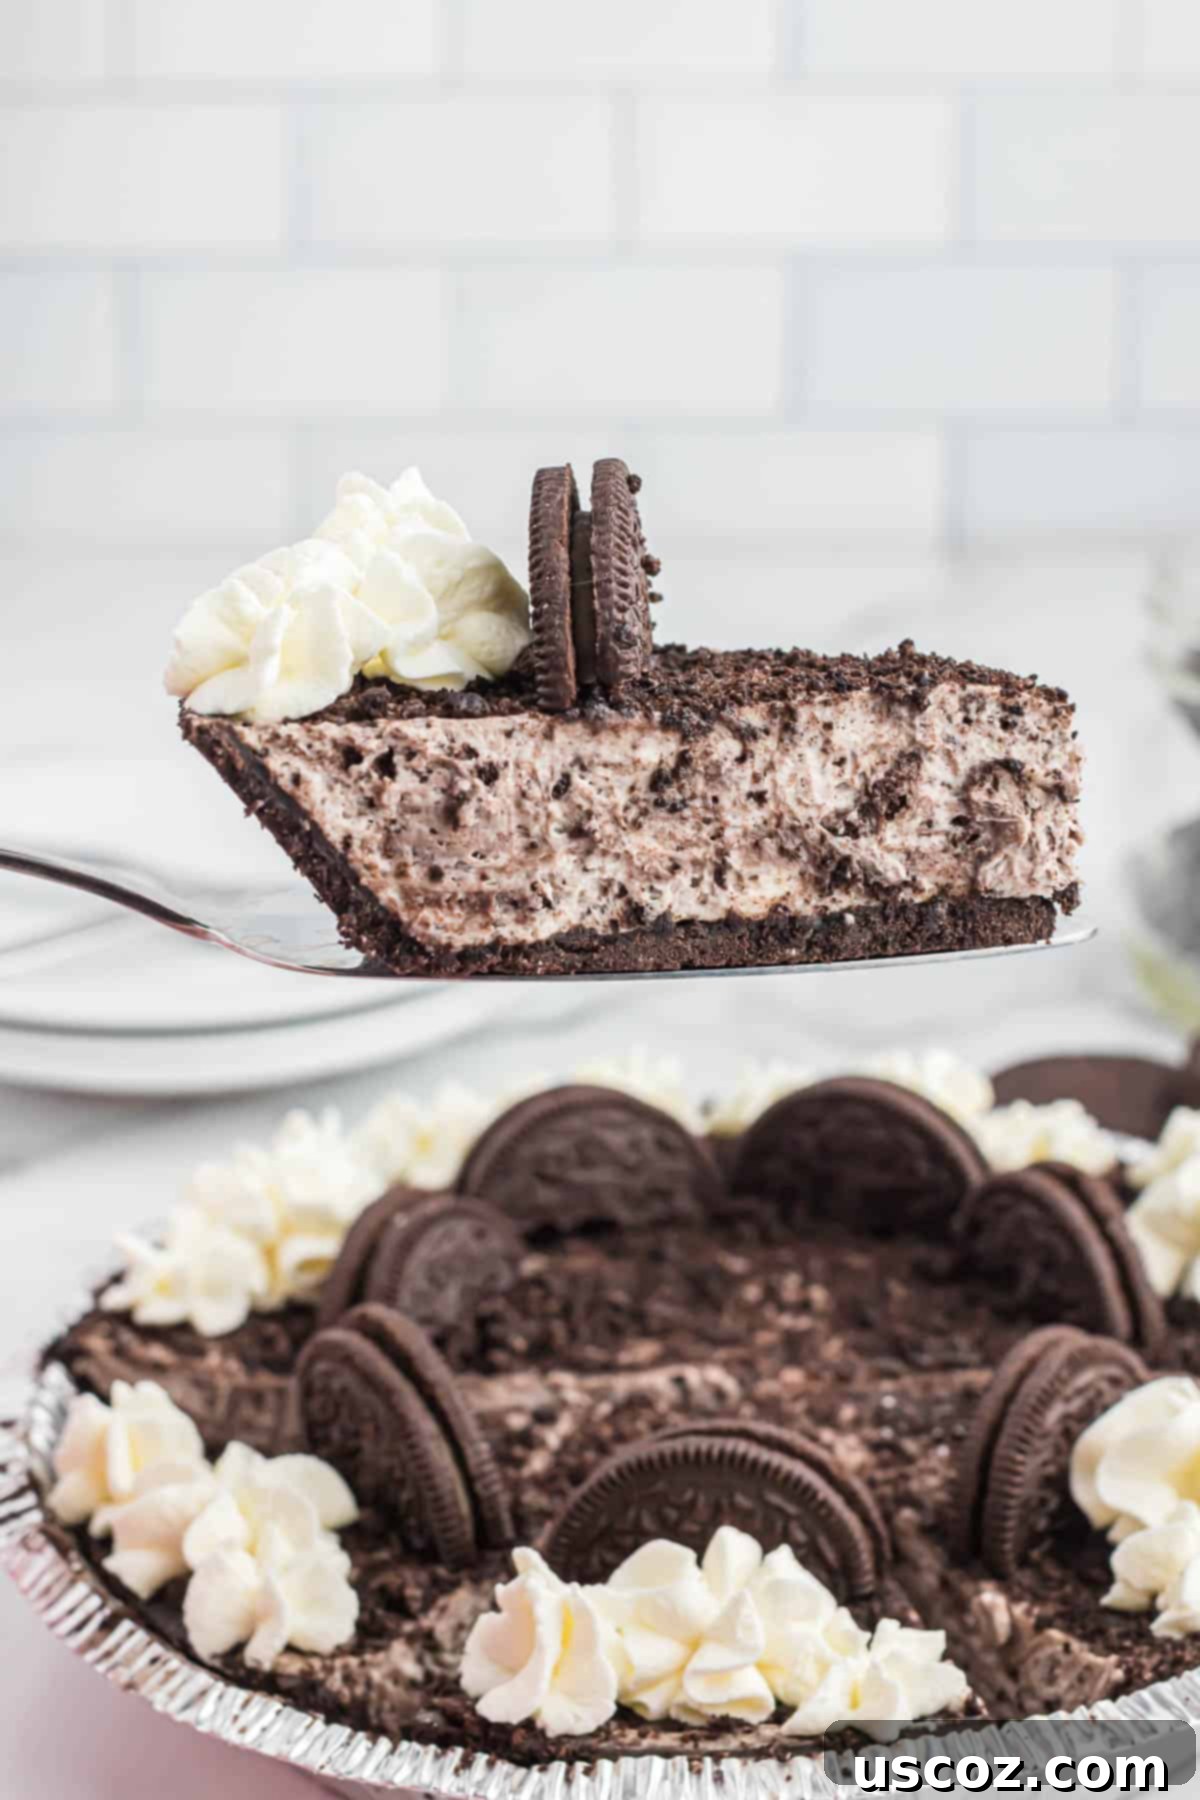
The no-bake filling is exquisitely creamy, perfectly sweet, and bursting with delightful cookies and cream goodness. Each bite is a symphony of smooth, rich creaminess complemented by the textural contrast of finely crushed Oreos. This delectable filling is perfectly paired with a crunchy, chocolatey pie crust, which serves as the ideal sweet complement. Together, they create a dessert experience that is both comforting and sophisticated, simple yet utterly satisfying.
Frequently Asked Questions (FAQ) About No-Bake Oreo Pie
Here are some common questions you might have about making and enjoying your no-bake Oreo pie:
- Can I use a homemade Oreo pie crust instead of store-bought?
Absolutely! A homemade Oreo crust can elevate your pie even further. To make one, finely crush about 25-30 Oreo cookies (about 1.5 cups of crumbs) and mix them with 1/4 cup of melted unsalted butter. Press the mixture firmly into a 9-inch pie plate and chill for at least 30 minutes before adding the filling. - What if I don’t have heavy cream? Can I use Cool Whip?
While homemade whipped cream provides the best texture and flavor, you can substitute it with an equal amount of thawed Cool Whip (or similar whipped topping) for an even quicker preparation. If using Cool Whip, you might need to adjust the amount of powdered sugar as Cool Whip is already sweetened. - Can I use different flavored Oreos?
Yes, get creative! Mint Oreos, Peanut Butter Oreos, or Golden Oreos can all make delicious variations of this pie. Adjust the flavor profile by adding a complementary extract (e.g., peppermint extract with mint Oreos). - How long does this no-bake Oreo pie last in the refrigerator?
When stored properly in an airtight container, leftover Oreo pie will stay fresh and delicious in the refrigerator for up to 5 days. - Can I freeze this Oreo pie?
Yes, this pie freezes beautifully! Wrap the pie tightly in several layers of plastic wrap, then a layer of aluminum foil. Freeze for up to 1-2 months. Thaw it in the refrigerator overnight before serving. This makes it a great make-ahead dessert! - Is this pie too sweet?
This recipe is designed to be sweet without being overwhelmingly so, balancing the richness of the Oreos and cream cheese. However, personal preference varies! You can taste the cream cheese mixture before folding in the whipped cream and adjust the powdered sugar if you desire a sweeter or less sweet pie.
How to Store Your Delectable Oreo Pie
To ensure your no-bake Oreo pie remains as fresh and delicious as possible, proper storage is key. Any leftover pie should be stored in an airtight container in the refrigerator. This will keep it tasting great for up to 5 days. For best results, place individual slices or the entire pie (if not already cut) into a container that prevents air exposure. This maintains its creamy texture and prevents it from absorbing other odors in the fridge.
More Easy No-Bake Desserts to Love
If you’re a fan of effortlessly delicious no-bake treats, you’ll love exploring these other simple and satisfying dessert recipes from our collection:
- Pecan Cream Pie
- No Bake Peanut Butter Pie
- Christmas Oreo Balls
- Pumpkin Cream Pie
- Chocolate Covered Oreos
- Oreo Truffles
- Oreo Dip
- Oreo Spiders
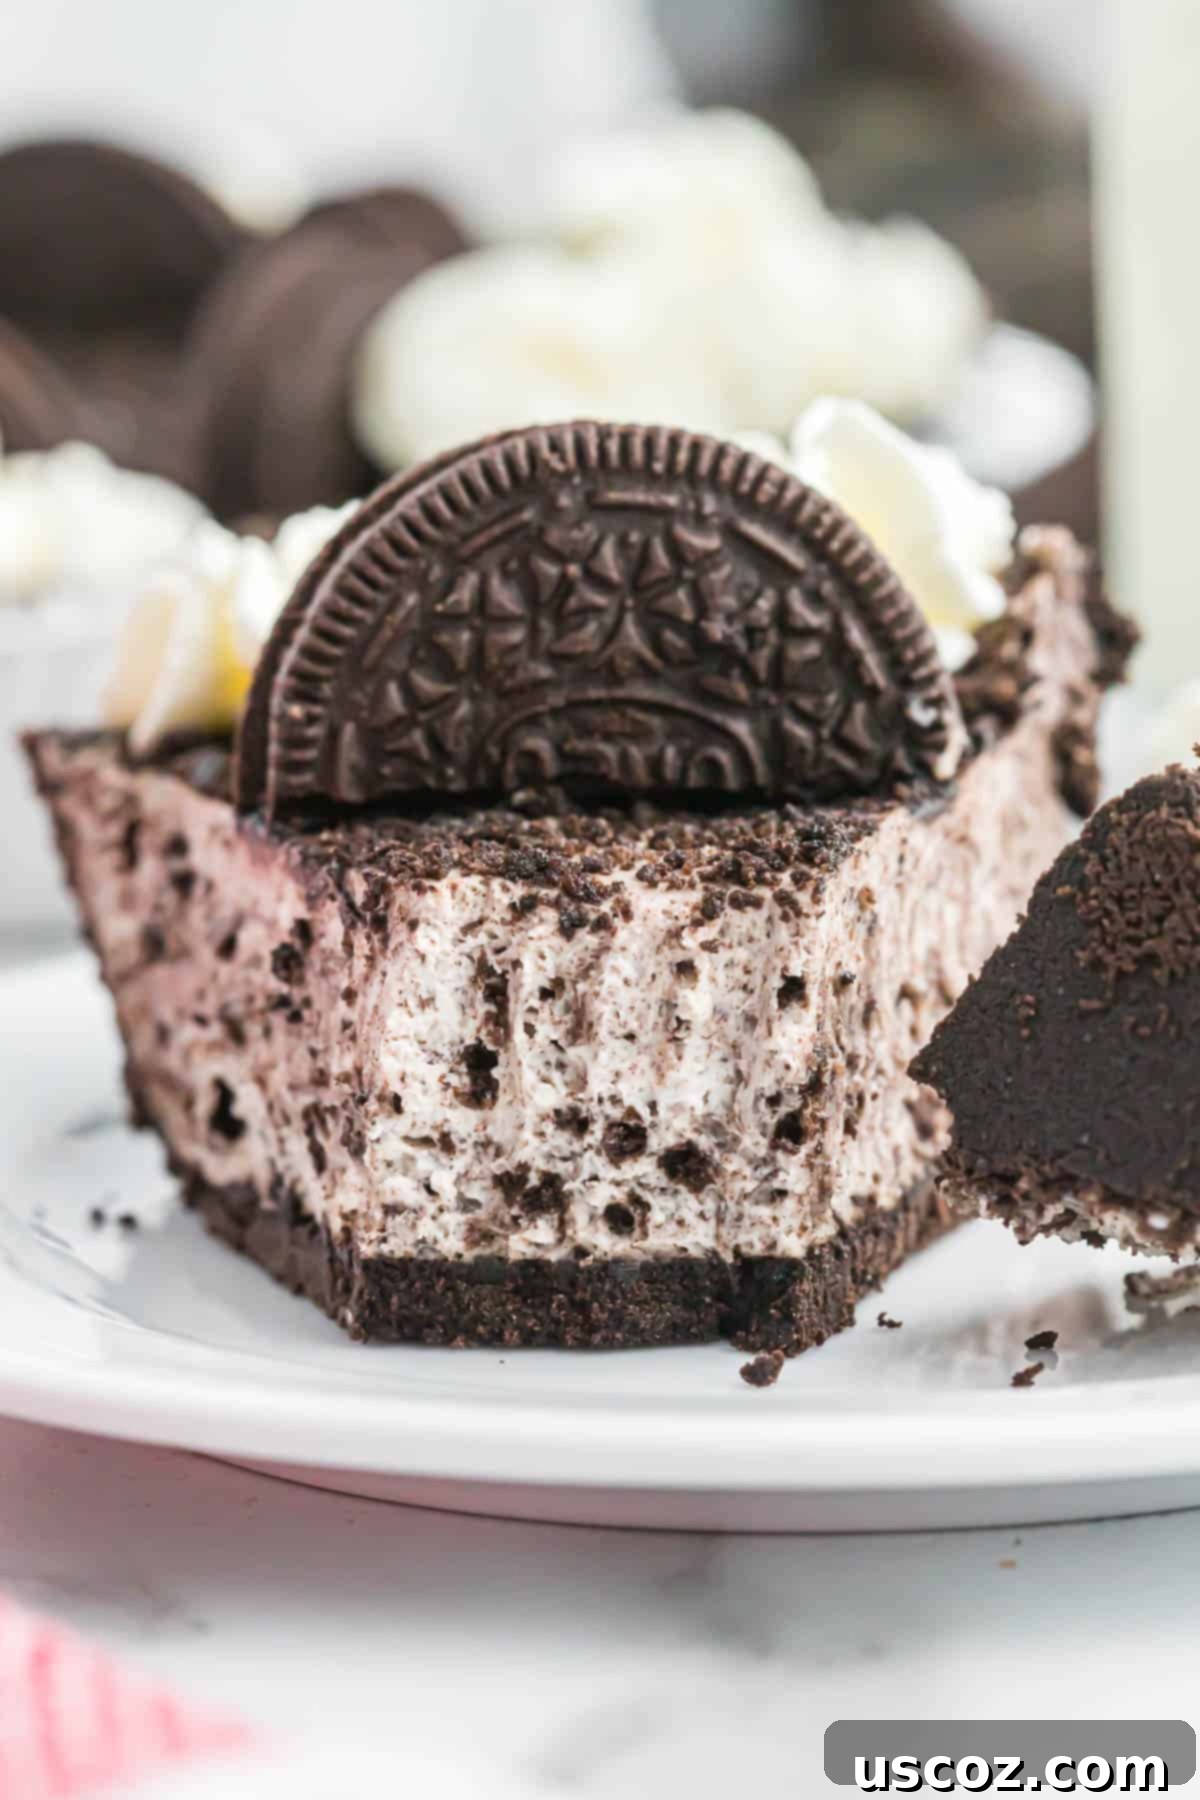
This no-fail cookies and cream pie is an absolute dream for anyone who loves Oreos and easy desserts. With its simple preparation, rich flavors, and delightful textures, it’s sure to become a cherished recipe in your household. Prepare to delight your taste buds and impress your guests with this fantastic, fuss-free treat!

Oreo Pie
Save RecipeSaved!
Pin Recipe
Rate Recipe
Print Recipe
Ingredients
- 1 1/4 cups heavy cream
- 1/4 cup powdered sugar, see notes
- 6 oz oreo pie crust
- 12 oreos, finely chopped/crushed
- 8 oz cream cheese, softened
Instructions
-
Beat the heavy cream and powdered sugar until stiff peaks form
-
In a separate bowl, whip the cream cheese using a mixer
-
Mix together the whipped cream and cream cheese filling
-
Fold in the crushed oreos, reserving a few tablespoons for topping
-
Pour the oreo pie filling into the oreo pie crust and smooth it out evenly using a rubber spatula
-
Top with the remaining crushed oreos
-
Cover the pie and refrigerate at least 4-5 hours, preferably overnight
-
Cut into slices and serve
Notes
Nutrition
Like this recipe? Rate and comment below!
