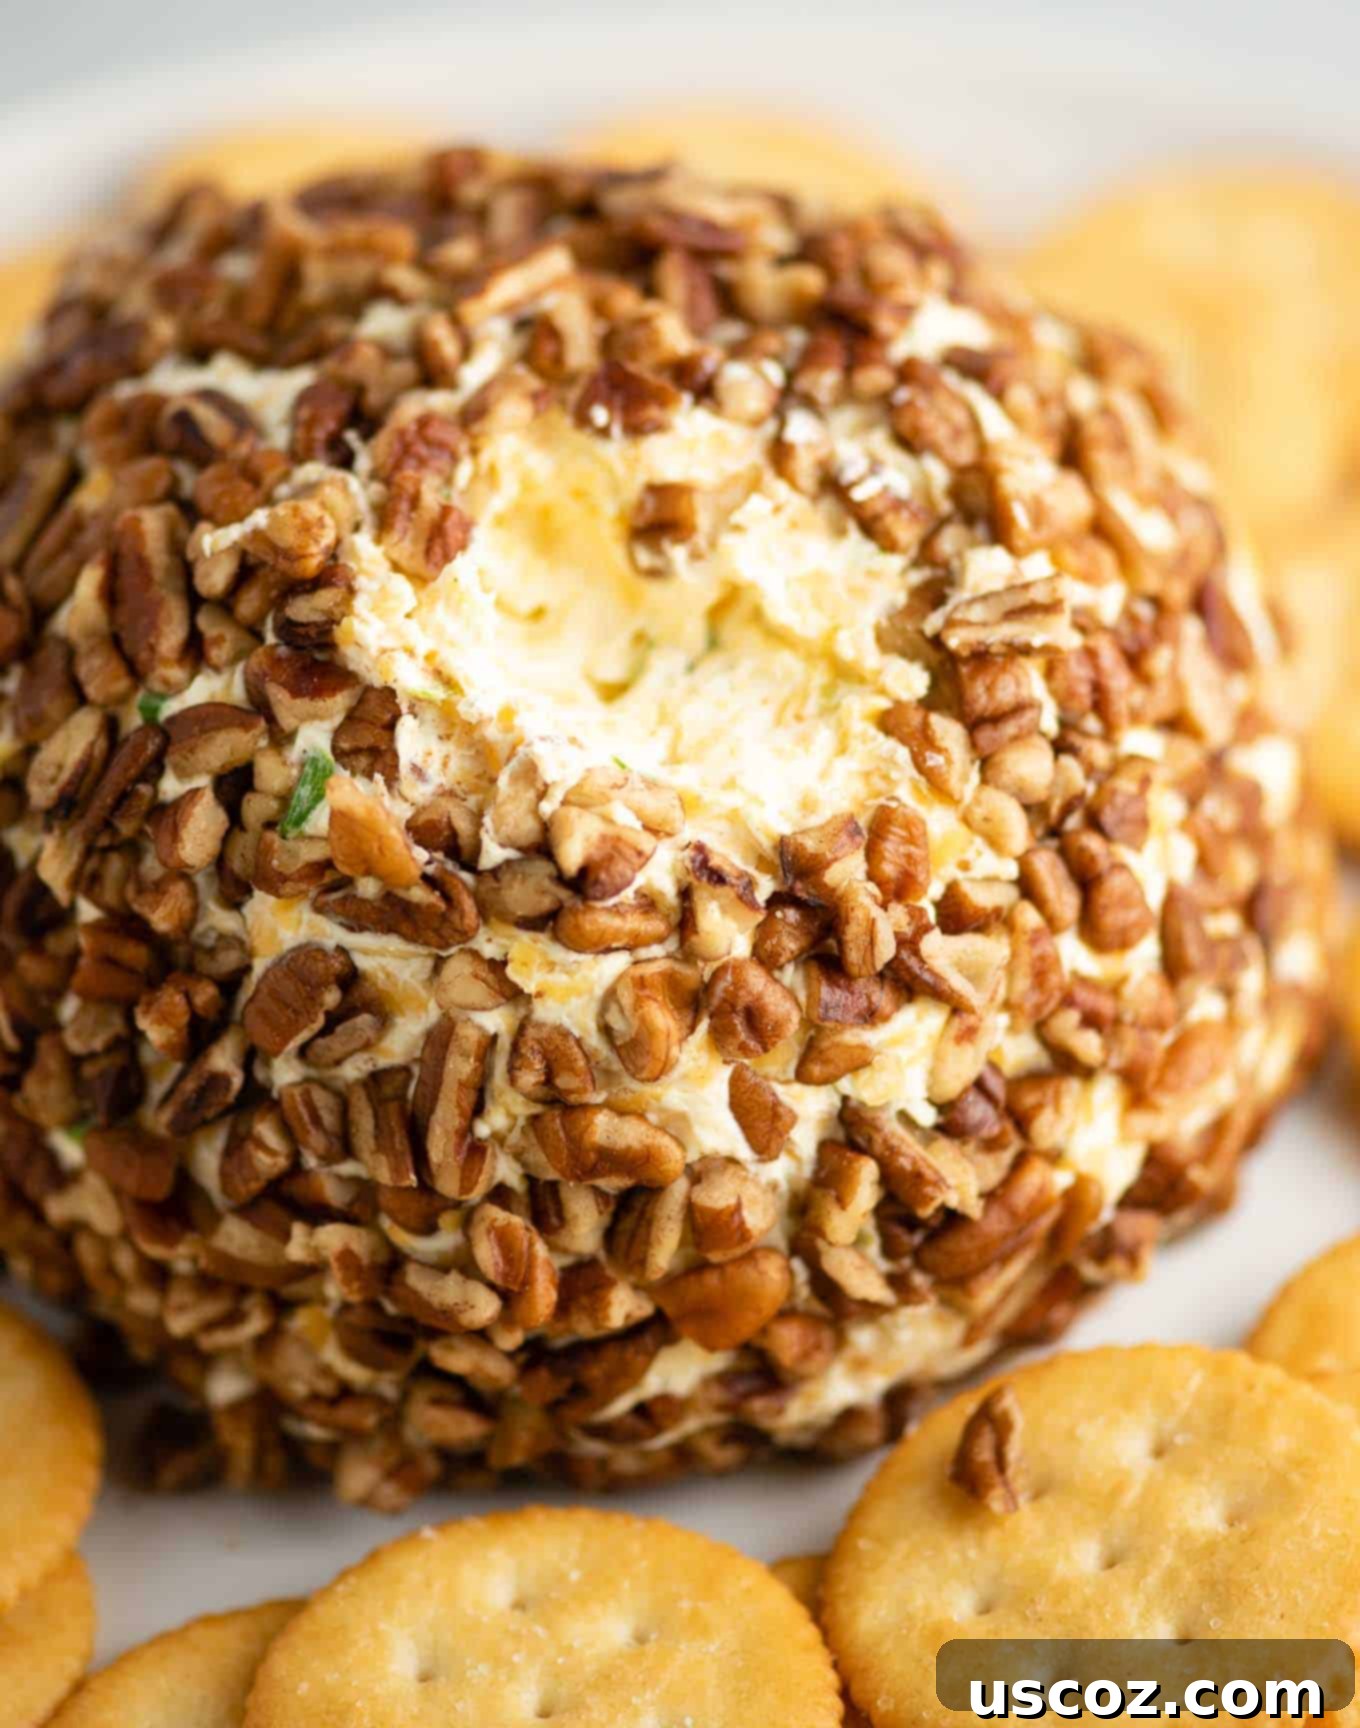
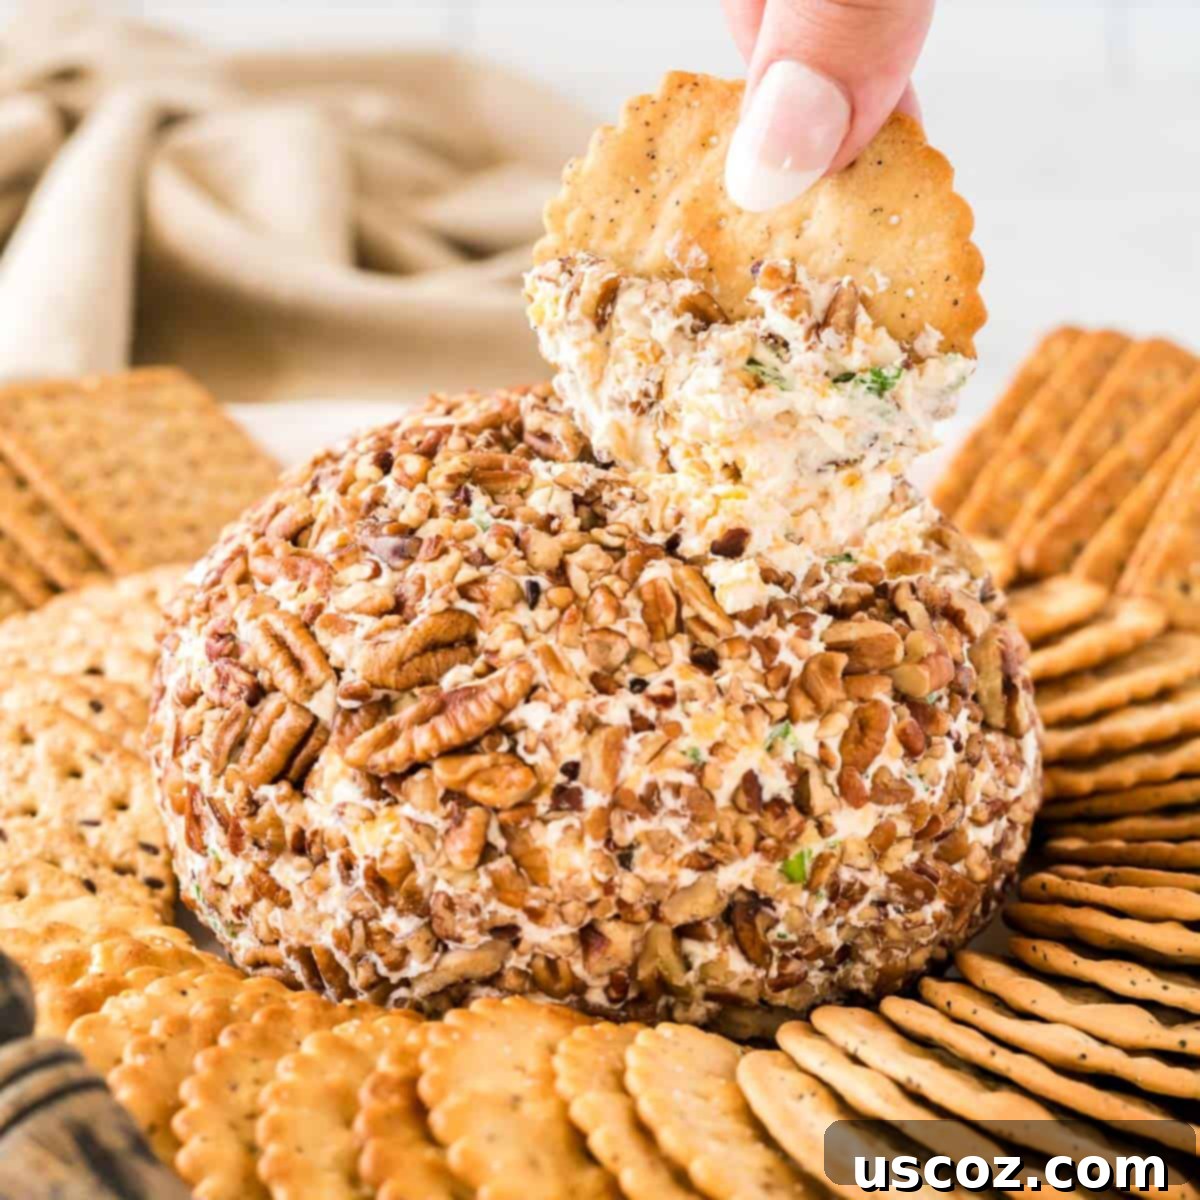
The Ultimate Easy Cheese Ball Recipe: Your Perfect Holiday Appetizer Guide
Master the art of entertaining with this incredibly easy cheese ball recipe, a timeless classic that brings joy to any gathering. Crafted with a rich blend of creamy cheese, zesty green onions, and sharp cheddar, then coated in crunchy pecans, this appetizer is not just a dish – it’s a tradition. Perfect for holiday parties, game nights, or any occasion where delicious, no-fuss food is a must-have, this recipe guarantees a hit every single time.
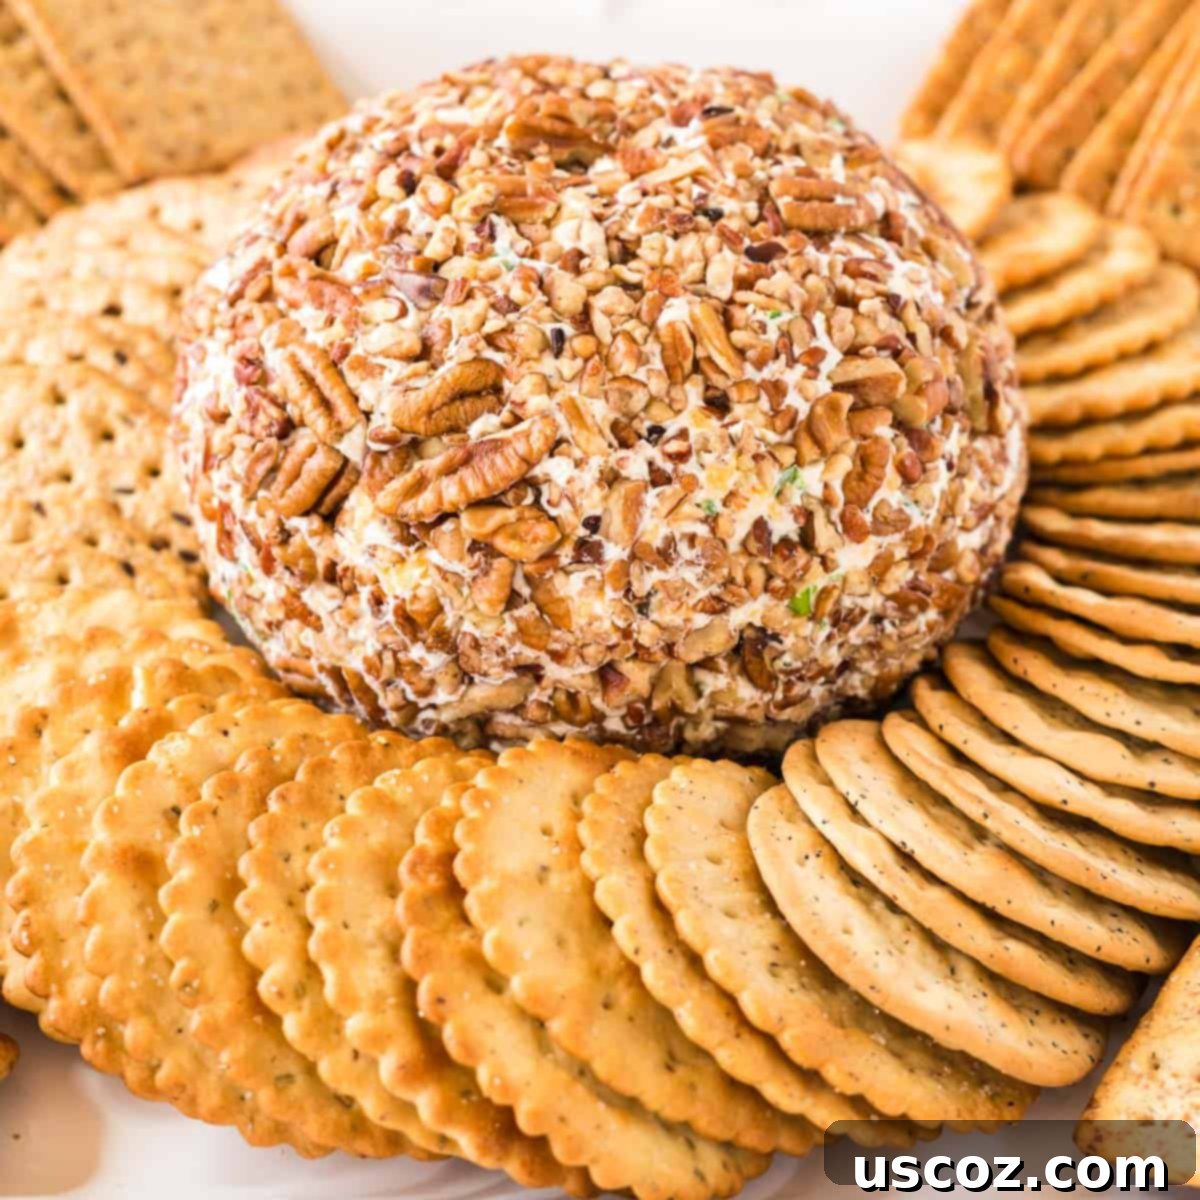
A Timeless Appetizer: The Classic Cheese Ball
For many, the sight of a beautifully crafted cheese ball instantly evokes memories of festive gatherings and cherished family traditions. This particular recipe stands out not only for its incredible flavor but also for its effortless preparation. It’s designed to be your ultimate go-to for an easy, delicious, and impressive appetizer that consistently delights guests, especially during the bustling holiday season.
Forget complicated culinary feats; this recipe utilizes simple, accessible ingredients and comes together in mere minutes of active prep time. The result is a creamy, savory sensation with a delightful textural contrast from the crunchy pecans. Fresh green onions add a vibrant, subtle bite, while cream cheese and sharp cheddar form the irresistible, rich foundation, all perfectly seasoned with a few foundational spices. Whether you’re a seasoned chef or a beginner in the kitchen, this cheese ball is surprisingly simple to master, ensuring you can impress your family and friends with minimal stress.
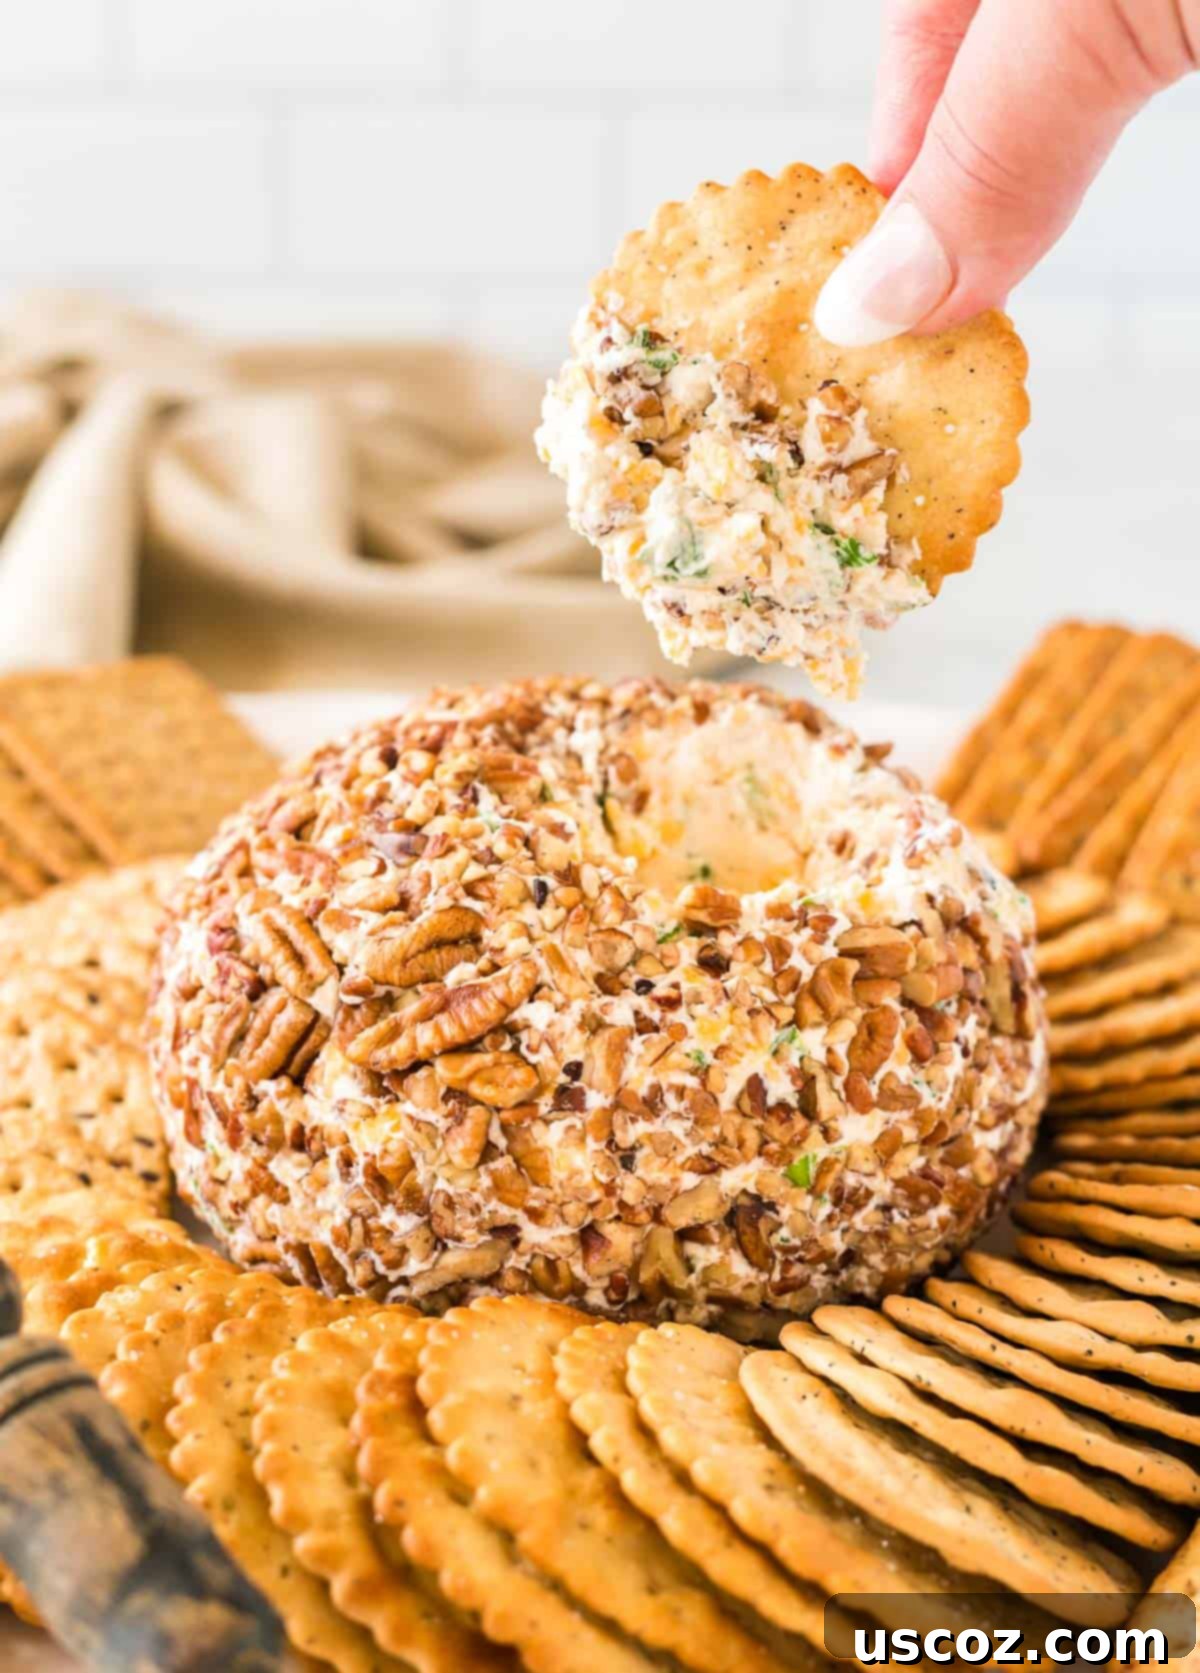
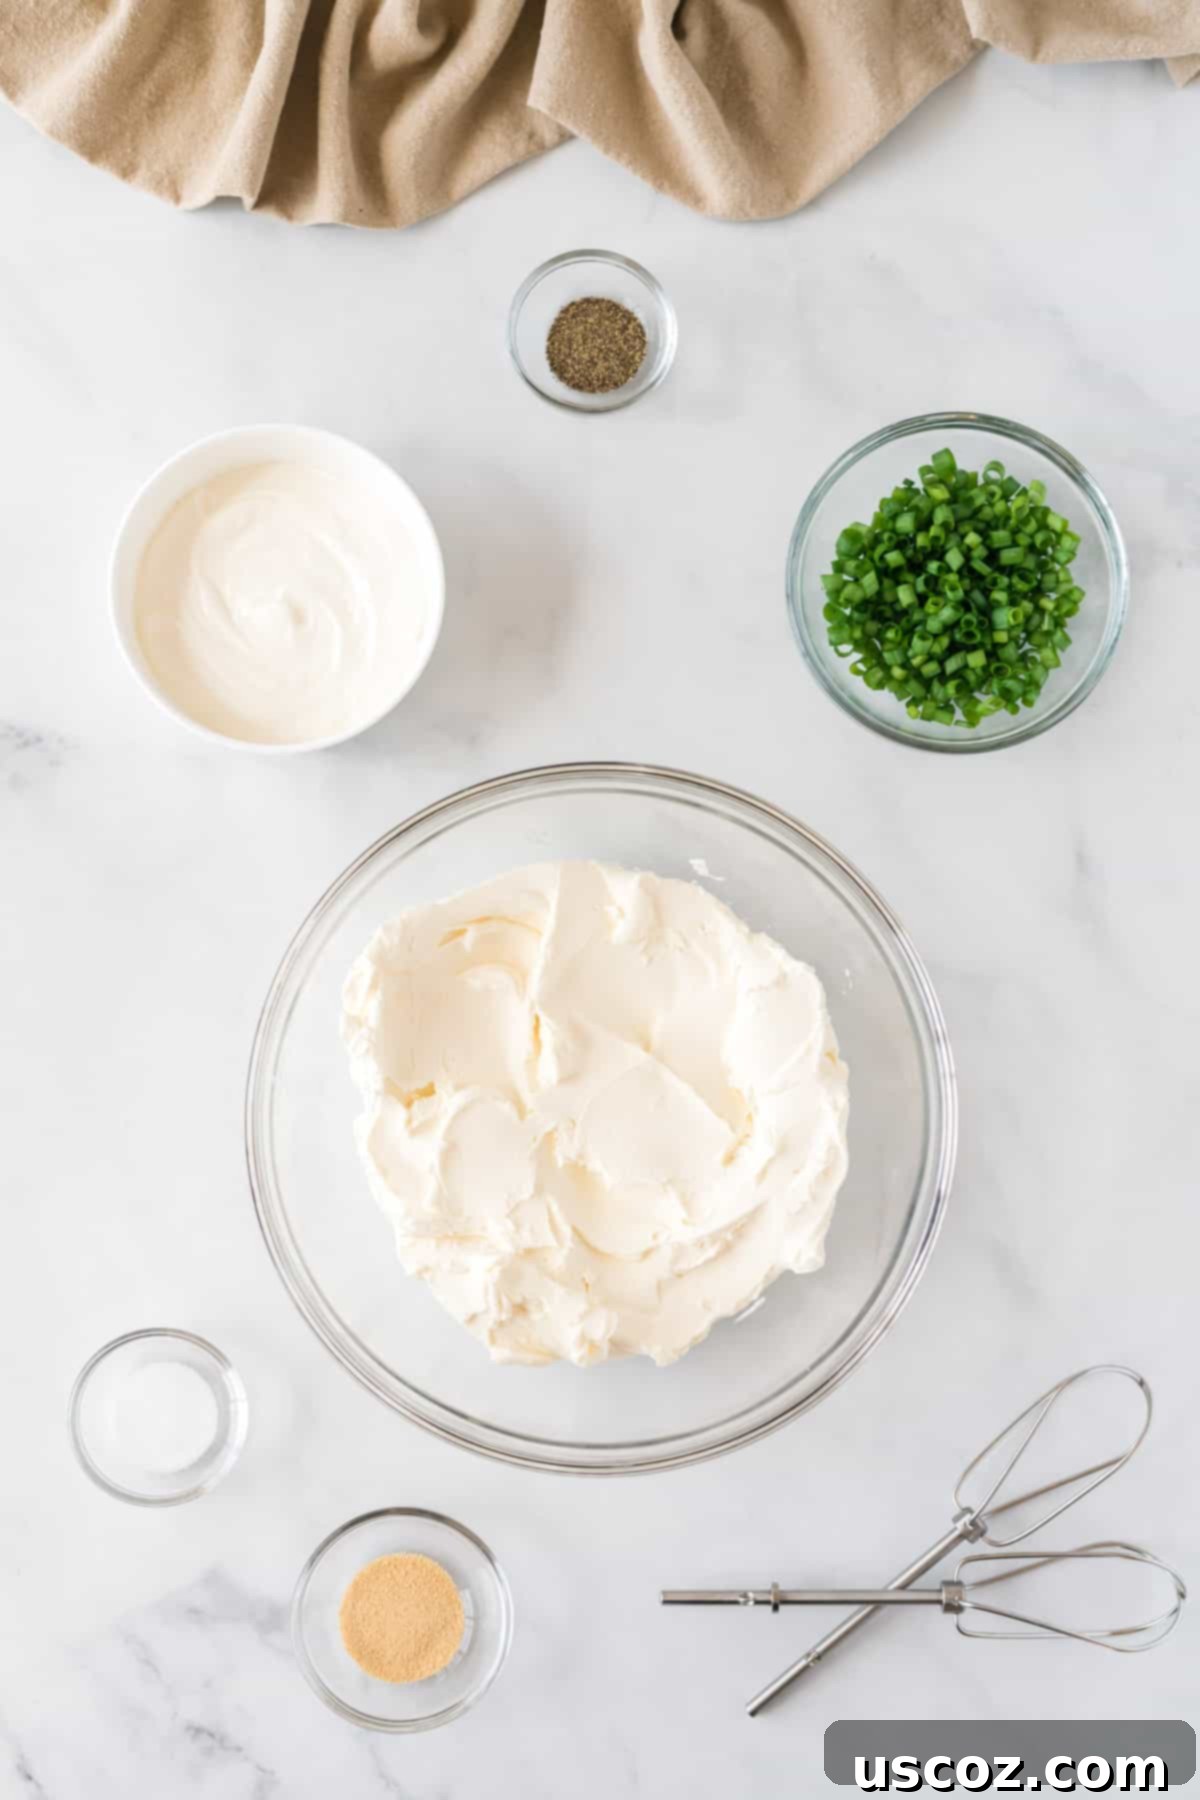
While you’ll find the complete, printable recipe card with exact measurements and detailed instructions towards the bottom of this page, here’s a quick overview of the essential ingredients you’ll need to create this fantastic cheese ball.
Essential Ingredients for Your Perfect Cheese Ball
Crafting this delightful appetizer requires only a handful of common ingredients, most of which you likely already have in your refrigerator. The magic truly happens when these simple components combine to create a symphony of flavors and textures.
- Cream Cheese: The foundational ingredient, providing that irresistible creamy texture. Ensure it’s softened to room temperature for smooth blending.
- Sour Cream: Adds a slight tang and extra creaminess, balancing the richness of the cheese.
- Sharp Cheddar Cheese: The star of the flavor profile. Opt for freshly grated cheese – it truly makes a world of difference in taste and texture compared to pre-shredded varieties.
- Green Onions: These provide a fresh, mild onion flavor and a pop of color, elevating the overall taste.
- Chopped Pecans: Essential for the delightful crunchy coating. They add a nutty depth that complements the creamy cheese perfectly.
- Garlic Powder: A crucial seasoning that infuses the cheese ball with a warm, savory aroma.
- Salt & Pepper: Basic seasonings to enhance all the other flavors and bring everything into harmony.
Each ingredient plays a vital role in achieving the classic flavor and texture of this beloved cheese ball. Don’t underestimate the impact of starting with high-quality, fresh ingredients!
Simple Steps to Making the Best Cheese Ball
Creating this delicious cheese ball is a straightforward process that even novice cooks will find simple and rewarding. Follow these easy steps to achieve a perfectly creamy and flavorful appetizer every time.
Step 1: Soften Your Cream Cheese for a Smooth Base
The first and most critical step is to ensure your cream cheese is properly softened. This is paramount for achieving a smooth, lump-free mixture that blends beautifully with the other ingredients. Depending on your kitchen’s ambient temperature, this usually takes about 30 minutes to an hour when left out on the counter. You can speed up the process by cutting the cream cheese into smaller cubes, but avoid microwaving it, as this can alter its texture too much.
Step 2: Combine the Creamy Foundation
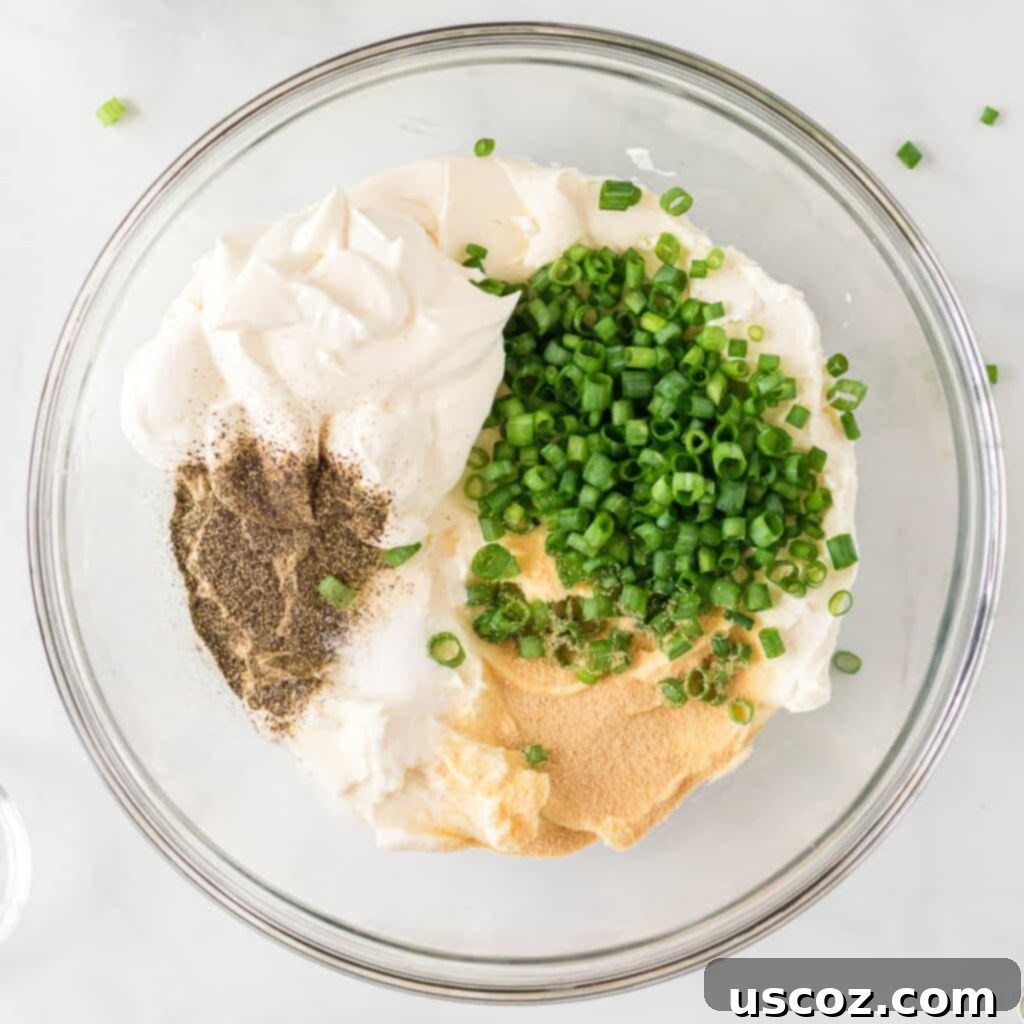
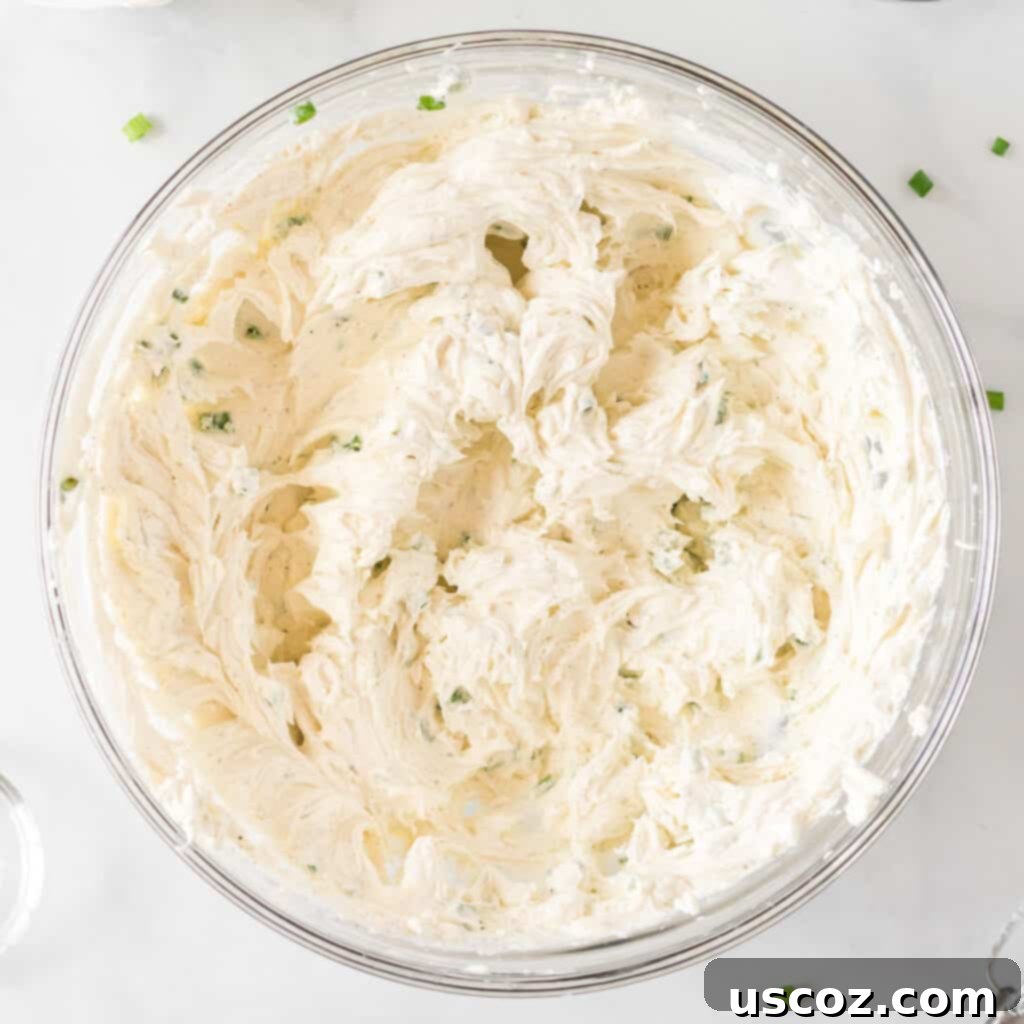
Once your cream cheese is perfectly softened, it’s time to create the creamy base. In a medium mixing bowl, combine the softened cream cheese, sour cream, garlic powder, finely chopped fresh green onions, salt, and pepper. Using a hand mixer, beat these ingredients together until they are thoroughly combined and the mixture is smooth and uniform. This step ensures all flavors are evenly distributed, laying the groundwork for a truly exceptional cheese ball.
Step 3: Incorporate the Sharp Cheddar
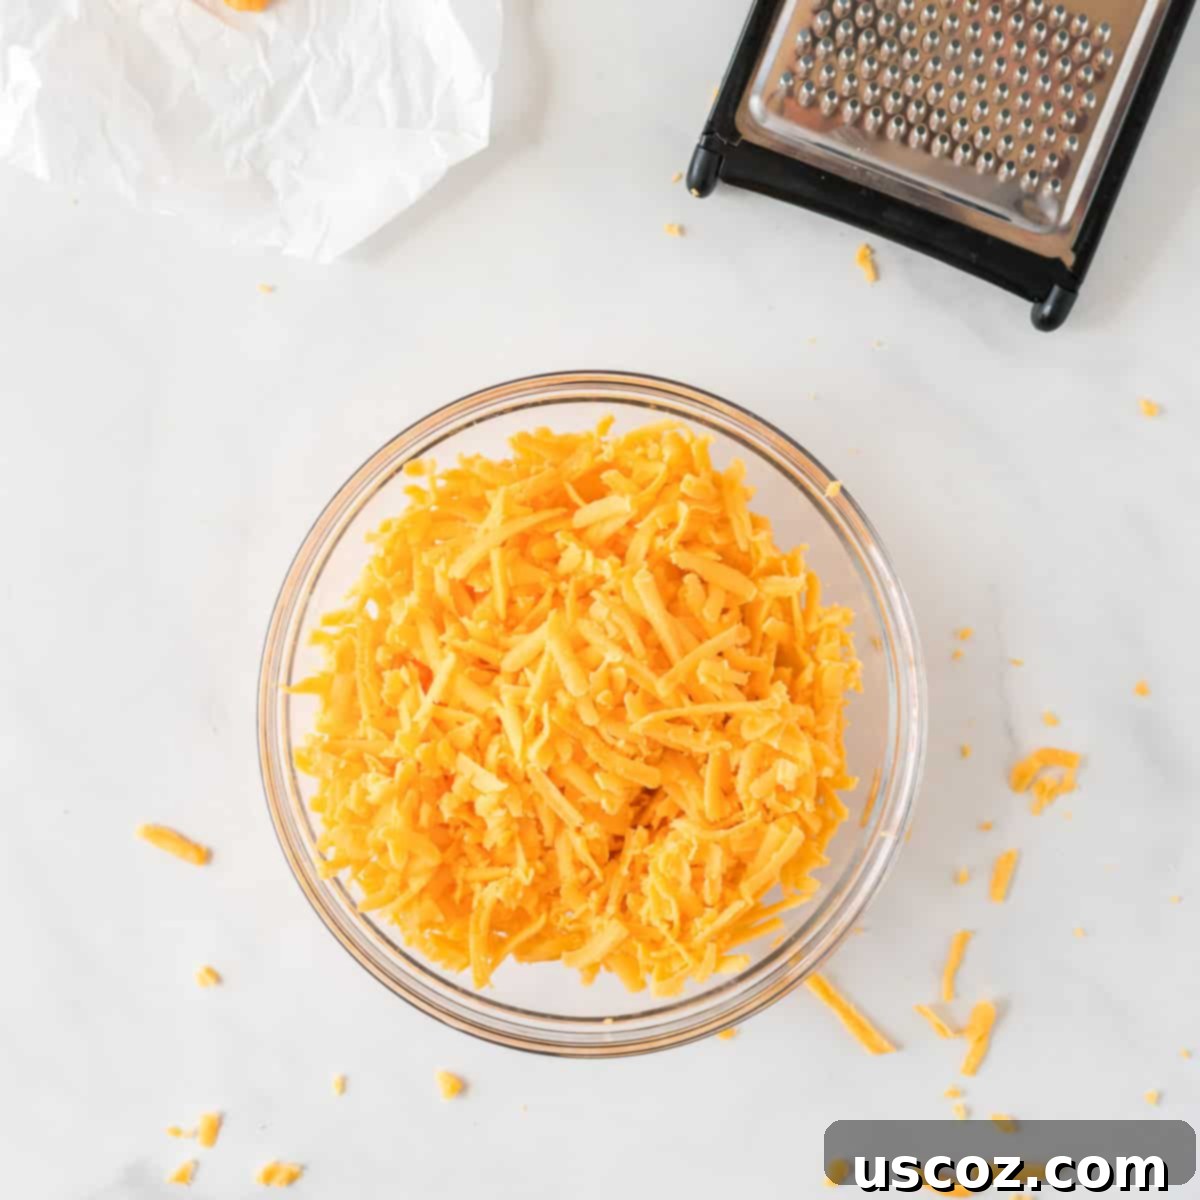
Now, grate 8 ounces of sharp cheddar cheese. The key here is to grate it fresh! Once grated, add the cheddar to your cream cheese mixture and beat it in with the hand mixer until just combined. Be careful not to overmix at this stage; you want the cheddar to be incorporated but still retain some texture.
Joy’s Expert Tip: The Magic of Freshly Grated Cheese
I cannot stress this enough: always take the extra few minutes to grate your cheese fresh. Pre-shredded cheeses often contain anti-caking agents that can slightly alter the texture and melt of the cheese, and they simply don’t offer the same vibrant flavor as a block of freshly grated cheddar. The difference in taste and overall quality for your cheese ball will be remarkably noticeable and well worth the minimal extra effort!
Step 4: Chill for Easier Shaping
Once all your creamy ingredients are mixed, cover the bowl and chill the filling mixture in the refrigerator for approximately an hour. This crucial step allows the mixture to firm up, making it much easier to handle and shape into a perfect ball. Don’t skip this chilling period, as trying to form a warm, soft mixture can be frustrating and messy.

Make-Ahead Marvel: Prep Your Cheese Ball in Advance!
One of the best features of this cheese ball recipe is its make-ahead potential, making it ideal for busy holiday preparations. You can prepare the cheese mixture (steps 1-3) and leave the batter covered in an airtight container in the fridge overnight, or even for up to 2-3 days. When you’re ready to serve, simply take it out, form the ball, roll it in pecans, and it’s ready! This flexibility allows you to spread out your party prep and enjoy a stress-free entertaining experience.
Step 5: Form the Perfect Cheese Ball Shape
Once the mixture has chilled and firmed up, it’s time to shape your cheese ball. Use a spatula to scoop the mixture out of the bowl and roughly form it into a ball shape. For a smooth, even finish, lightly grease your hands (I find a quick spray of olive oil works wonders) before gently shaping the mixture into a neat sphere. This clever trick prevents the cheese from sticking to your hands, making the process incredibly easy and clean.
Recipe Tip: Greased Hands for a Smooth Finish
The secret to a perfectly smooth and evenly shaped cheese ball lies in simply oiling your hands before you begin shaping. Whether you use a light olive oil spray or just a dab of neutral cooking oil, this creates a barrier that prevents the sticky cheese mixture from clinging to your skin, making the shaping process effortless and mess-free. This little trick is a game-changer!
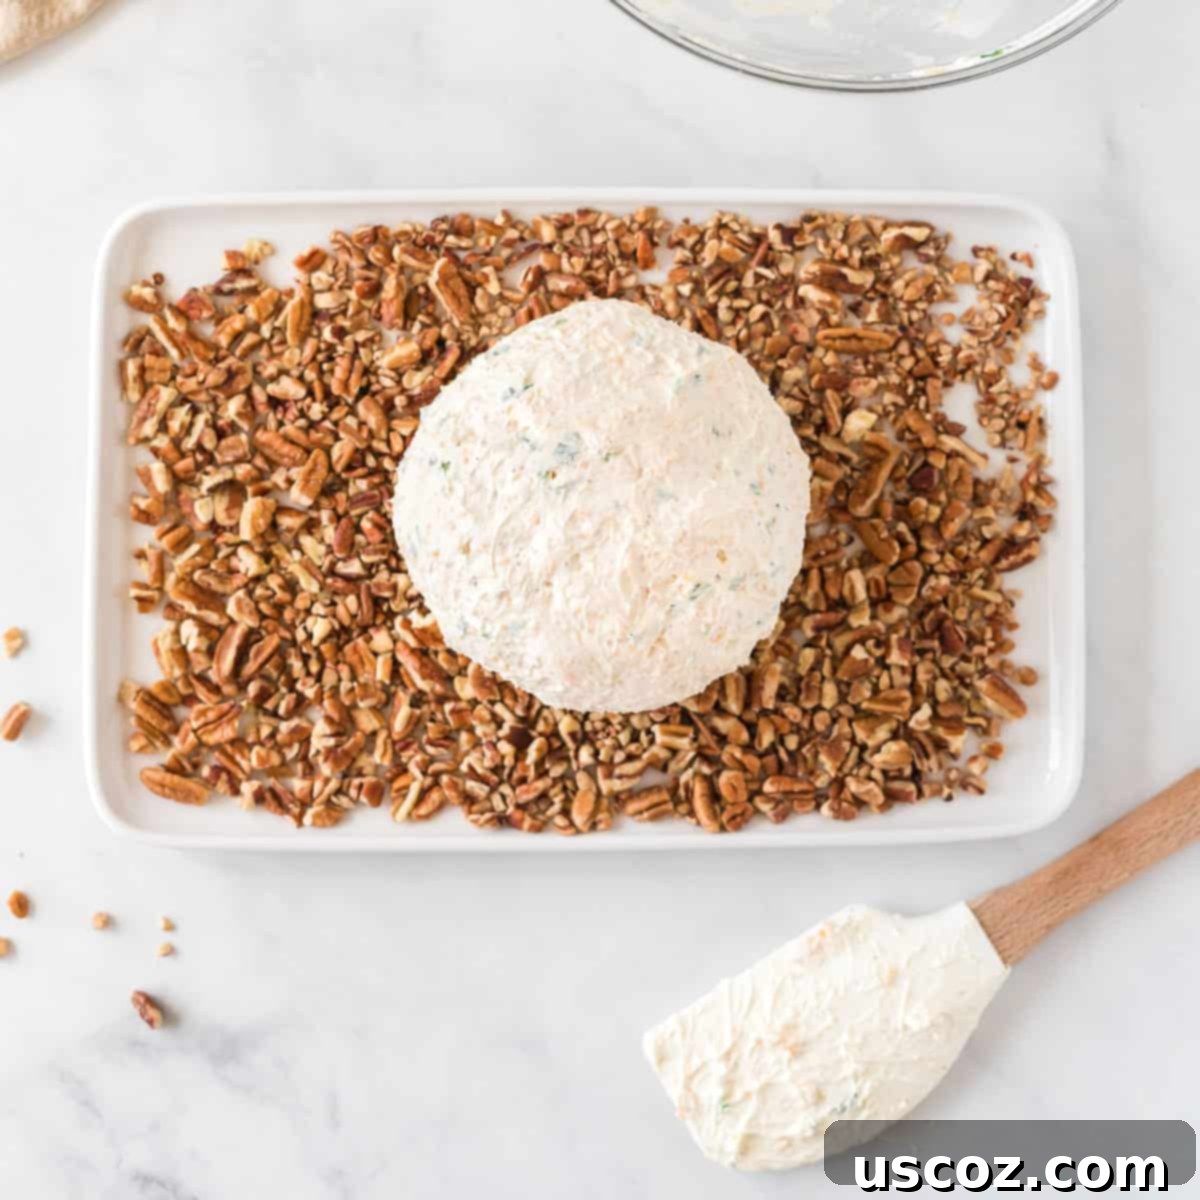
Step 6: Roll in Crunchy Pecan Pieces
Once your cheese ball is perfectly shaped, it’s time for its delicious exterior. Spread about a cup of chopped pecan pieces onto a plate or shallow dish. Gently roll the cheese ball in the pecans, pressing lightly to ensure an even and thorough coating on all sides. The pecans not only add a wonderful crunch but also a beautiful rustic appearance, making your cheese ball even more appealing.
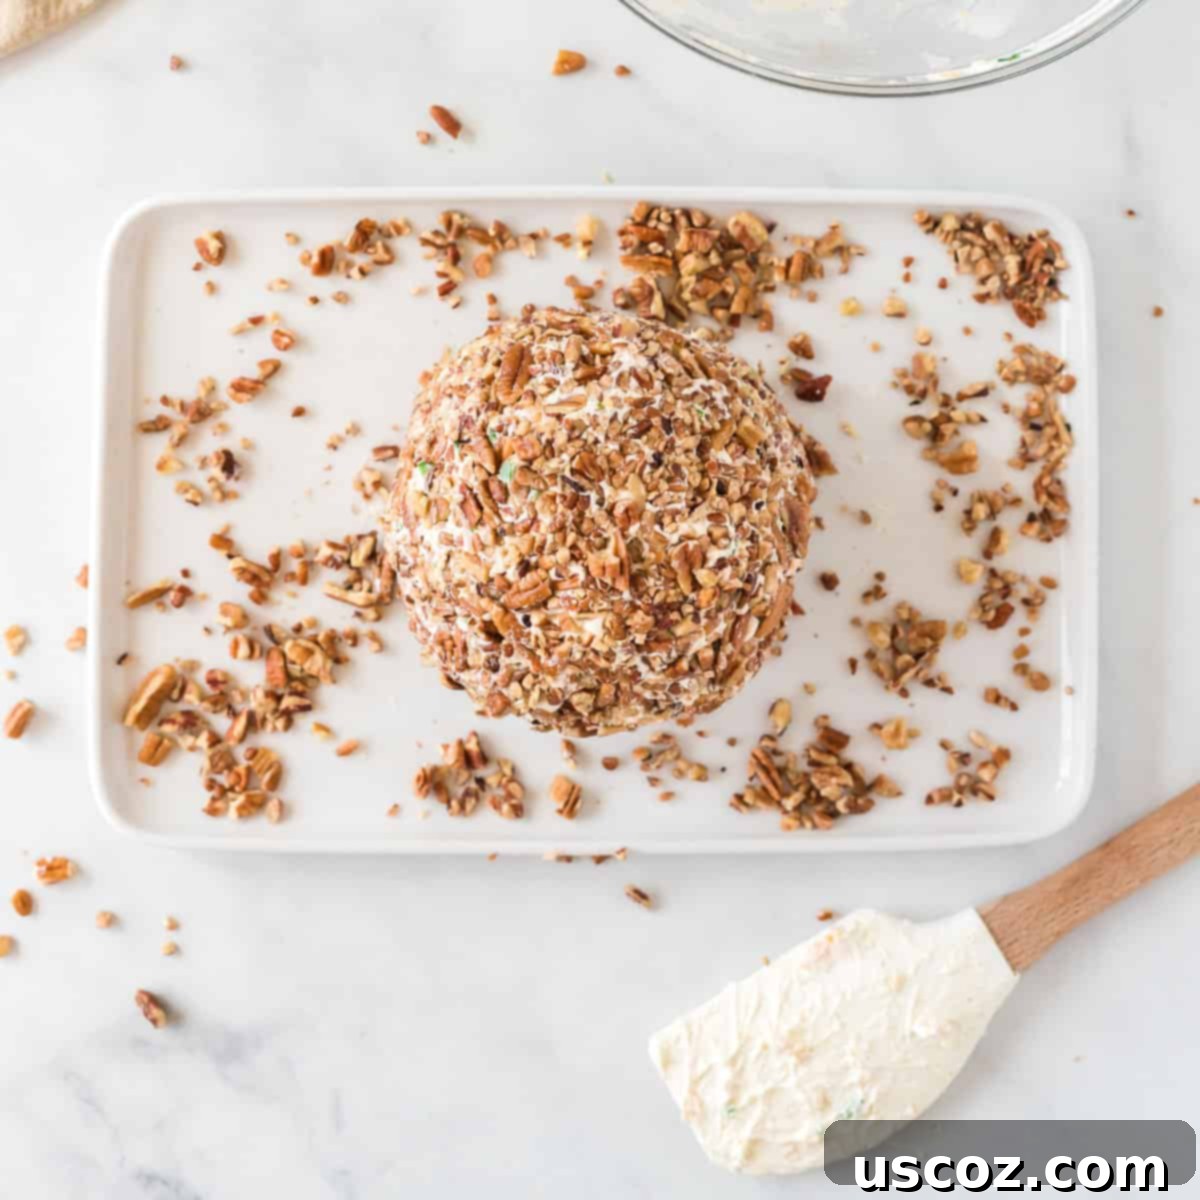
Step 7: Final Touches and Serving
Ensure your cheese ball is thoroughly coated with the chopped pecans, adding more if needed until no creamy spots are visible. For optimal flavor and texture, I recommend chilling the fully assembled cheese ball for another 30 minutes to an hour before serving. This allows the flavors to meld beautifully and the ball to firm up completely. Once chilled, your masterpiece is ready to be presented and enjoyed!
Tips for Cheese Ball Success: Achieve Appetizer Perfection
To truly elevate your cheese ball game and ensure a flawless result every time, consider these helpful tips:
- Always Grate Your Cheese Fresh: As mentioned, this is a non-negotiable step for superior flavor and texture. The difference between freshly grated and pre-shredded cheese is night and day. While sharp cheddar is fantastic, feel free to experiment with medium cheddar or a blend of cheeses like Monterey Jack or mild white cheddar for subtle variations.
- Room Temperature Cream Cheese is Key: Ensure your cream cheese is completely softened. Hard cream cheese will lead to a lumpy mixture and make beating much harder. Plan ahead and let it sit out for at least 30 minutes to an hour.
- Save Time with Pecan Pieces: While you can chop whole pecans yourself, buying pre-chopped pecan pieces can be a real time-saver, especially when preparing for a party. If you want to add an extra layer of flavor, lightly toast the pecans in a dry pan for a few minutes before coating the cheese ball – this brings out their natural oils and nuttiness.
- Serving Utensil Matters: A simple butter knife is usually the best tool for guests to serve themselves from a cheese ball. Its flat blade makes it easy to scoop a portion without deforming the entire ball.
- Keep it Chilled Until Serving: For food safety and optimal texture, do not leave your cheese ball at room temperature for longer than 2 hours. Always refrigerate it until just before you’re ready to put it out for guests.
- Don’t Be Afraid to Experiment with Flavor: While this classic recipe is perfect as is, feel free to get creative with additional seasonings like a pinch of cayenne pepper for a subtle kick, a dash of Worcestershire sauce for umami, or finely chopped chives for extra oniony freshness.
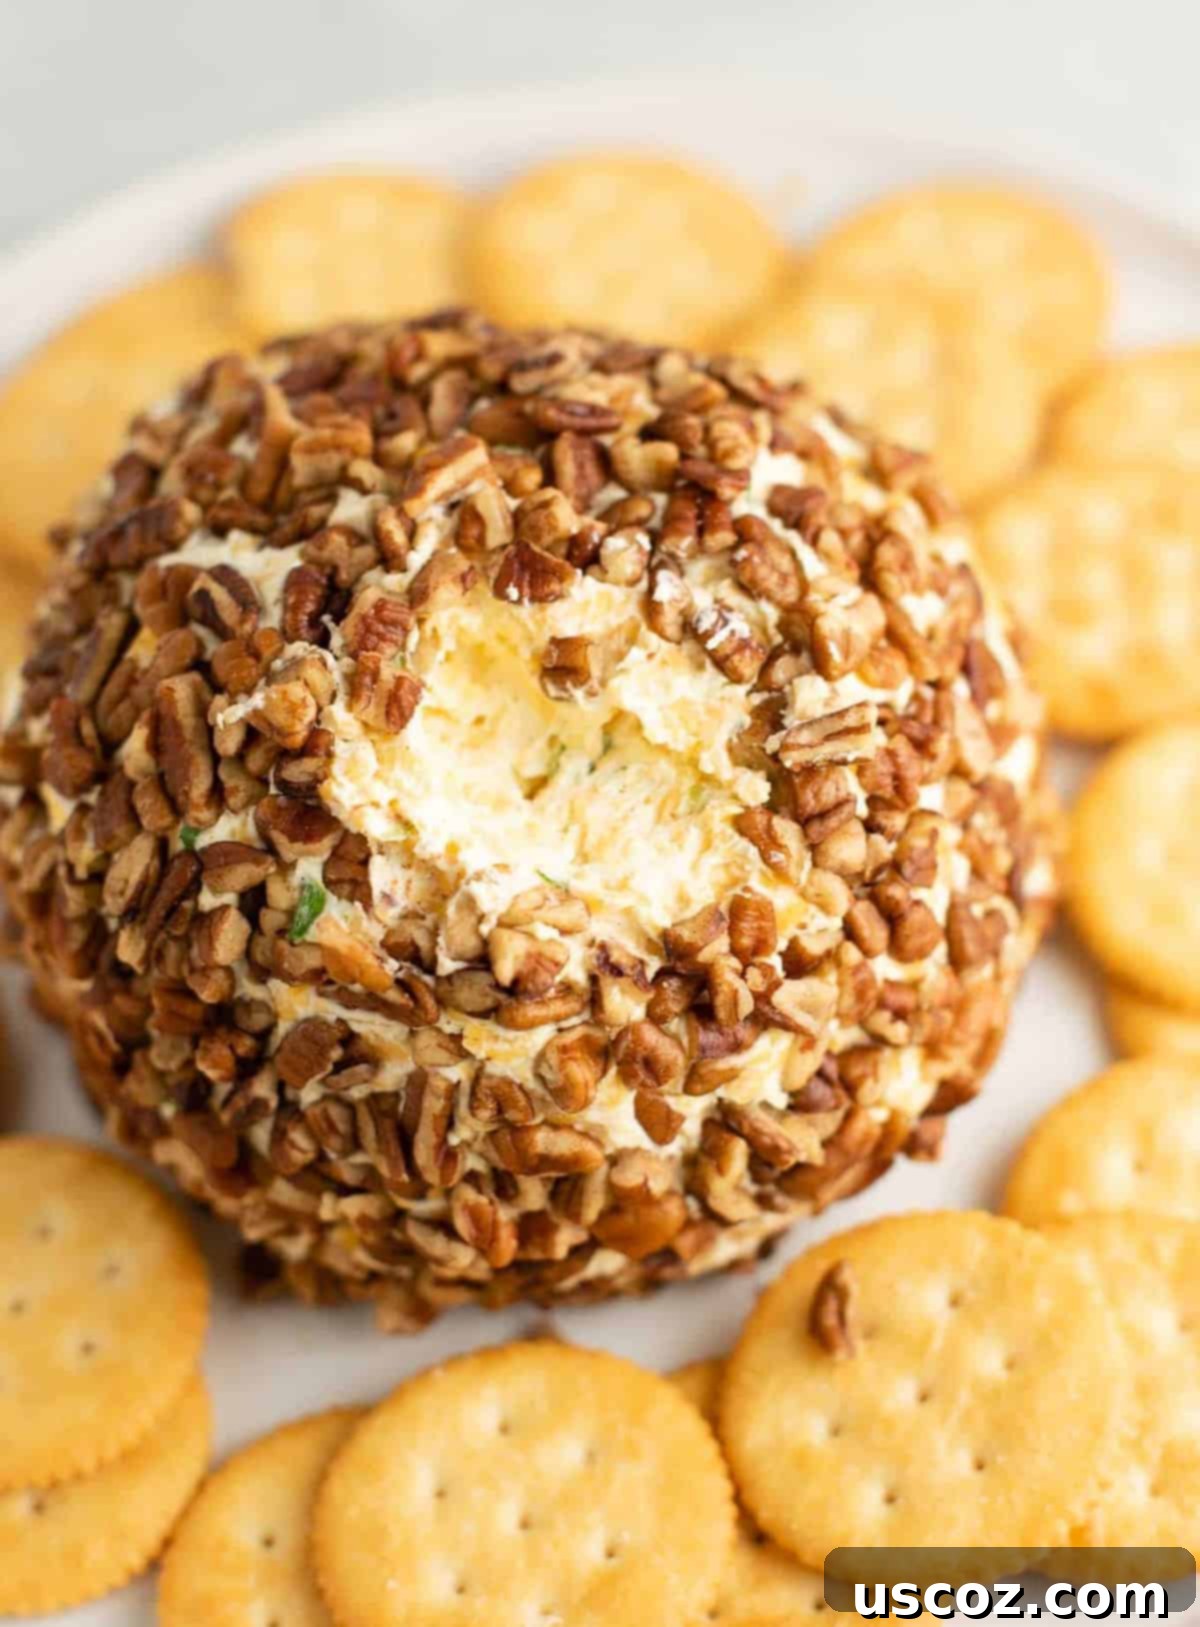
Perfect Pairings: What Crackers and Accompaniments to Serve
The beauty of a cheese ball lies in its versatility, and choosing the right accompaniments can truly enhance the experience. While any cracker will be delicious, here are some top recommendations for pairing with this classic cheese ball:
- Ritz Crackers: A personal favorite! Their buttery, slightly salty flavor and crisp texture are a match made in heaven for the creamy cheese ball.
- Triscuits: For those who prefer a heartier, whole-grain option, Triscuits offer a satisfying crunch and a robust flavor that stands up well to the richness of the cheese.
- Pita Chips: Their sturdy nature and often subtle seasoning make them excellent for scooping, and their slight crunch adds another textural dimension.
- Wheat Thins: A lighter, slightly sweet and savory cracker that complements the cheese ball without overpowering it.
- Pretzel Chips: If you love a salty kick, pretzel chips provide a fantastic crispness and a salty contrast that perfectly balances the creamy cheese.
- Club Crackers: These delicate, buttery crackers are another classic choice that won’t distract from the cheese ball’s star flavors.
- Vegetable Sticks: For a lighter, healthier option, offer an array of colorful vegetable sticks like carrots, celery, bell pepper strips, or cucumber slices. Their freshness provides a great contrast.
- Bagel Chips or Crostini: These offer a more substantial bite and can be a great canvas for the cheese ball.
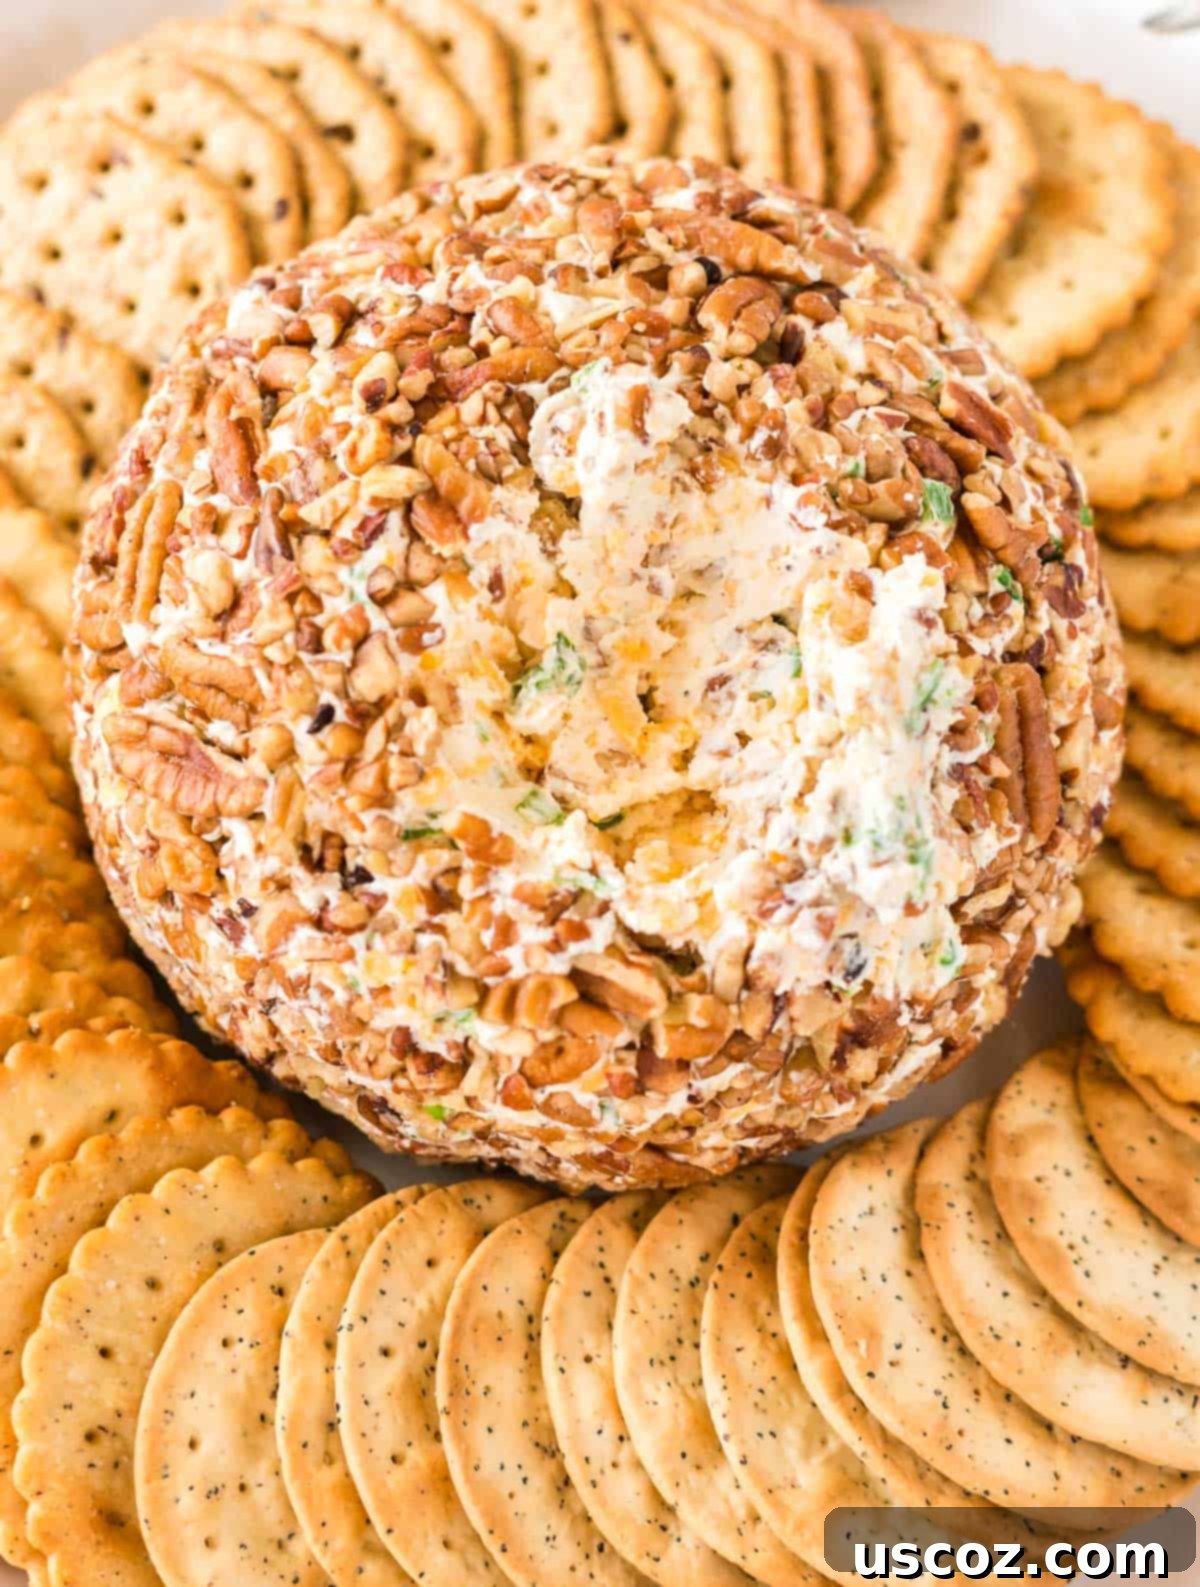
Arrange your cheese ball on a beautiful platter surrounded by a colorful assortment of these dippers for an inviting and elegant presentation that will surely impress your guests.
Storing Your Delicious Leftovers
While cheese balls are notoriously popular and rarely leave leftovers, if you happen to have any remaining, rest assured they store beautifully. Simply transfer any leftover cheese ball into an airtight container and store it in the refrigerator. It will maintain its freshness and delicious flavor for 3 to 5 days. Though, speaking from experience in our household, it’s highly doubtful it will last that long – any remnants are usually quickly devoured!
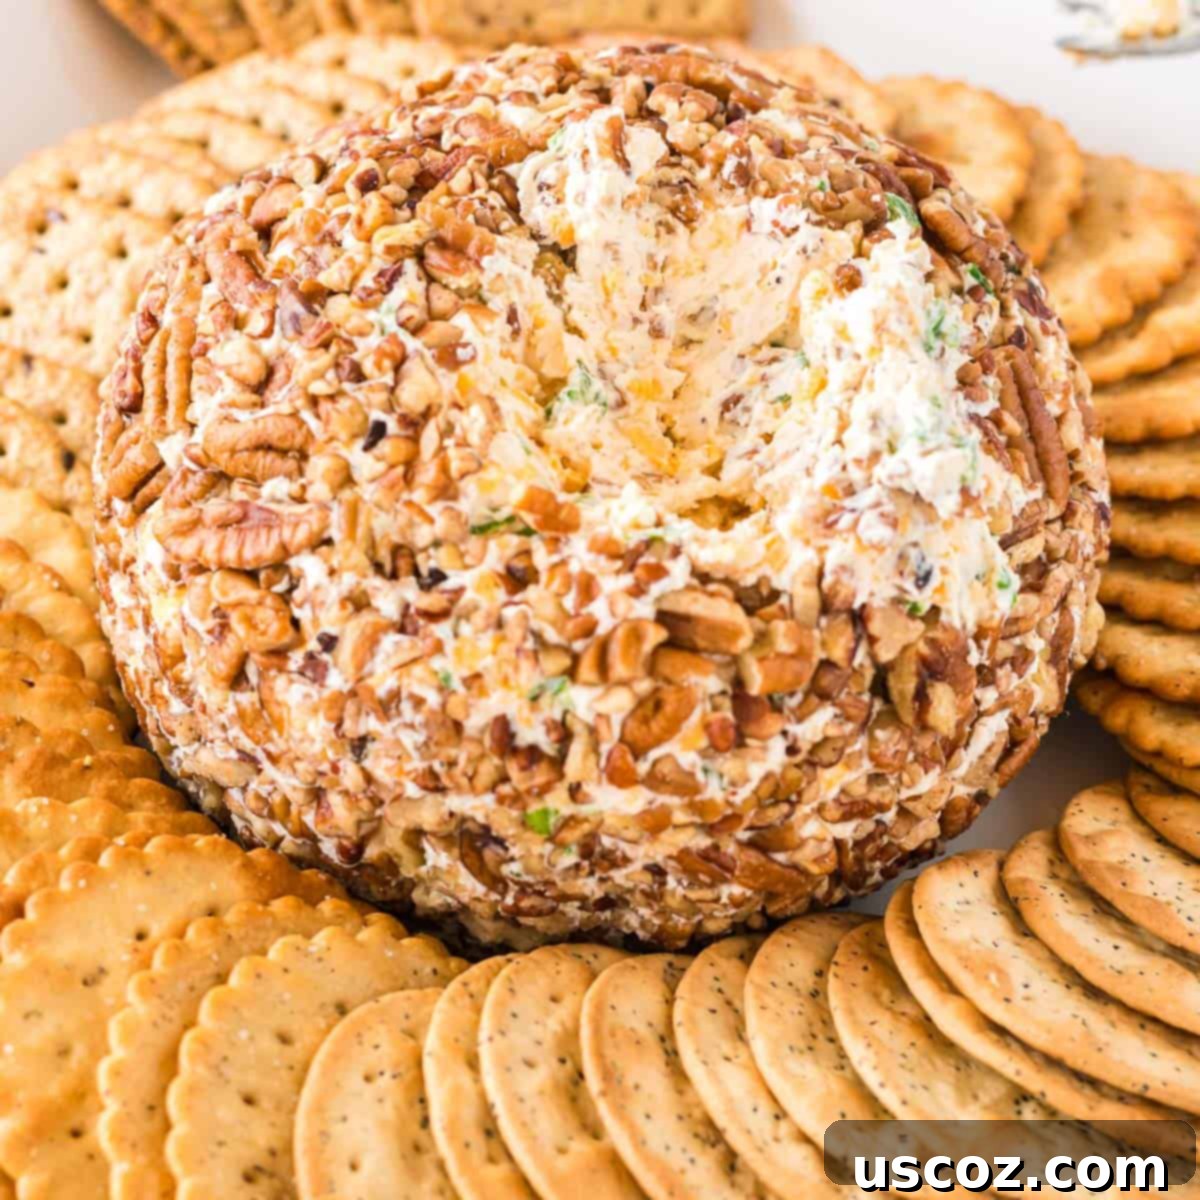
Explore More Delicious Appetizer Recipes
If you’ve enjoyed this classic cheese ball, you’ll be thrilled to discover other fantastic appetizer recipes that are just as easy to make and guaranteed to impress. Perfect for any occasion, from casual gatherings to elegant parties, these dishes will round out your culinary repertoire.
- Pumpkin Cheese Ball: A seasonal twist on the classic, perfect for fall festivities.
- Pimento Cheese Ball: For those who love the zesty kick of pimento cheese in a shareable format.
- Creamy Spinach Dip: A rich and savory dip that’s always a crowd-pleaser, wonderful with bread or crackers.
- Cream Cheese Fruit Dip: A lighter, sweet option perfect for pairing with fresh fruits.
- Homemade Veggie Dip: Elevate your vegetable platter with this flavorful, easy-to-make dip.
- Pimento Cheese Spread: A Southern staple, fantastic on sandwiches or as a dip.
- Sour Cream Potato Chip Dip: The ultimate classic for chip lovers, simple yet irresistibly good.
- Slow Cooker Spinach Artichoke Dip: A warm, bubbly, and incredibly easy dip that cooks itself!
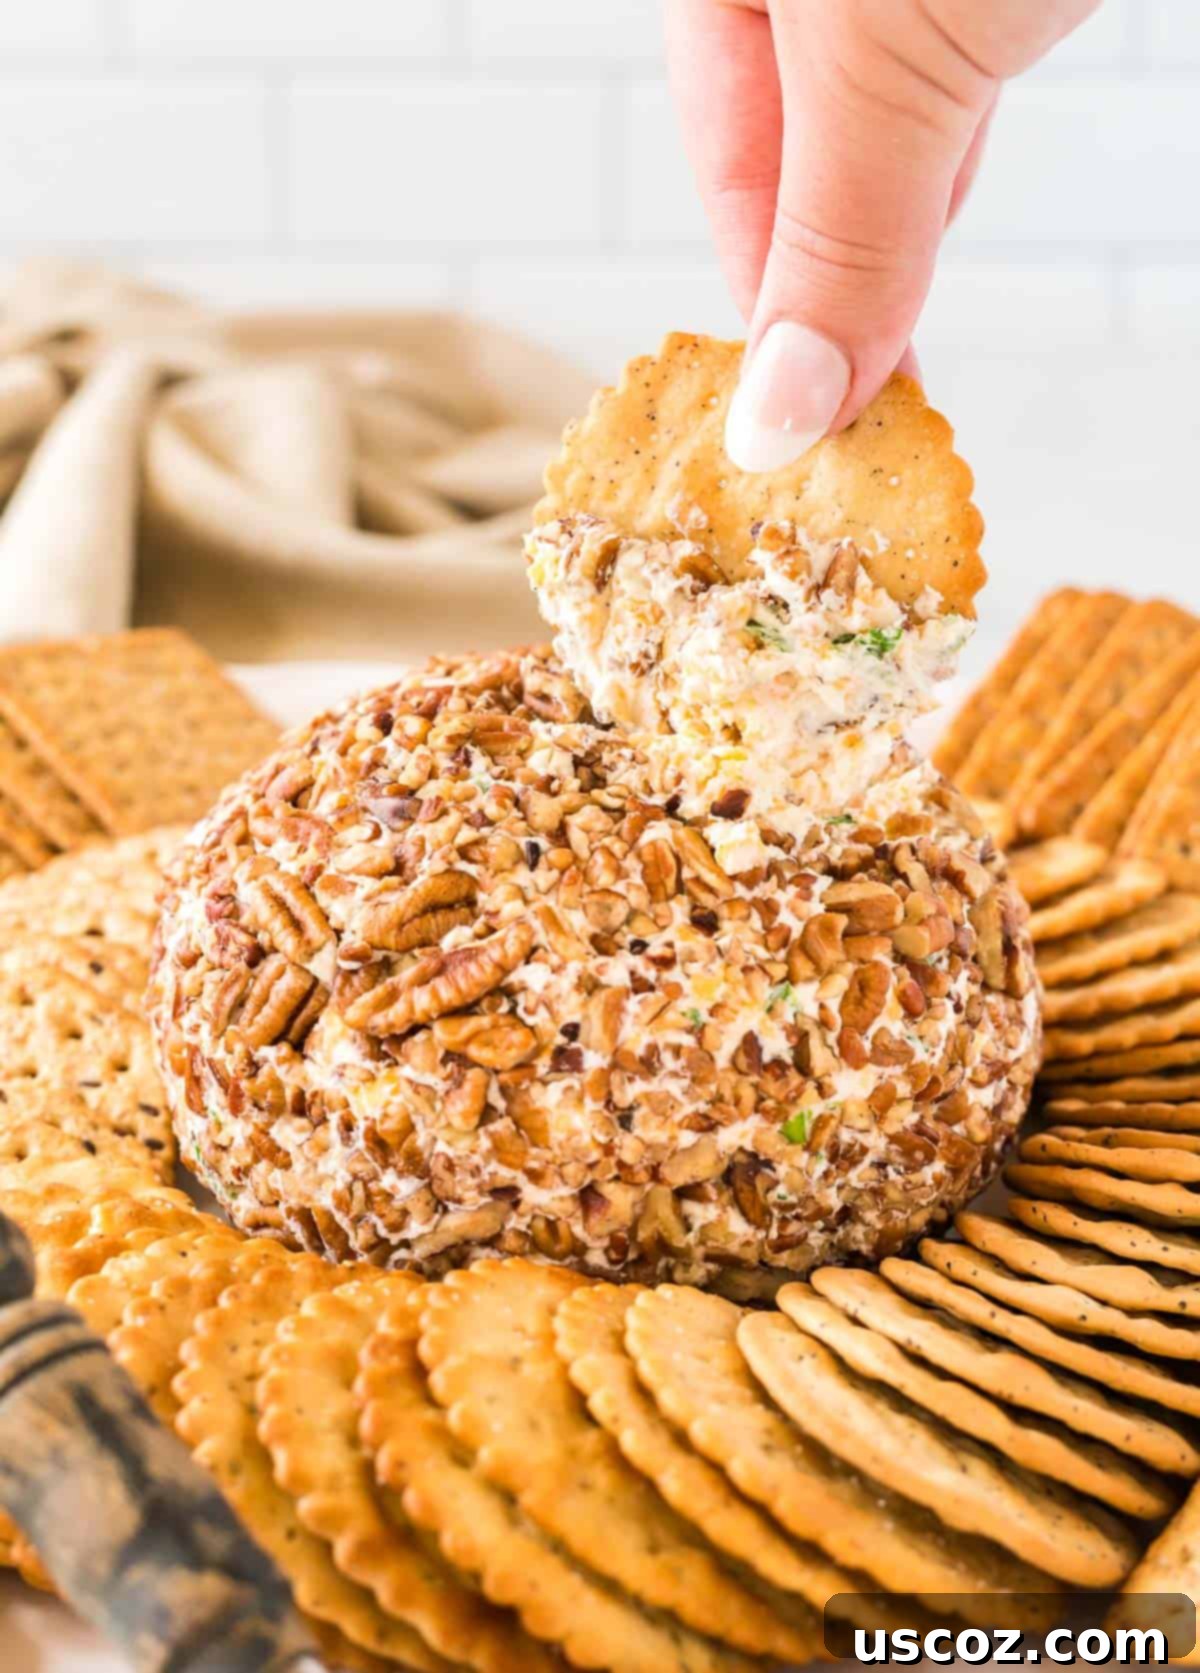
This classic cheese ball is more than just an appetizer; it’s a delightful centerpiece for any holiday or gathering. Its blend of rich, creamy flavors with the satisfying crunch of pecans makes it an irresistible treat that guests will adore. Enjoy preparing and sharing this easy, crowd-pleasing recipe!

Classic & Easy Cheese Ball Recipe
Joy Shull
15 minutes
1 hour
1 hour
15 minutes
16
Save Recipe
Saved!
Pin Recipe
Rate Recipe
Print Recipe
Ingredients
- 16 oz cream cheese, softened to room temperature
- 1/2 cup sour cream
- 8 oz sharp cheddar cheese, freshly grated for best flavor
- 1/2 teaspoon garlic powder
- 1/4 cup fresh green onions, minced or finely diced
- 1/4 teaspoon salt
- 1/2 teaspoon black pepper
- 1 cup pecan pieces, plus more for coating if desired
Instructions
-
In a medium bowl, beat together the softened cream cheese, sour cream, garlic powder, green onions, salt, and pepper until the mixture is smooth and well combined using a hand mixer.
-
Take your block of sharp cheddar cheese and grate it fresh. This enhances the flavor significantly.
-
Gently beat the freshly grated sharp cheddar cheese into the cream cheese mixture until just incorporated. Avoid overmixing.
-
Cover the cheese mixture and refrigerate for about an hour, or until it has firmed up enough to be easily shaped. This step is crucial for a well-formed cheese ball.
-
Once chilled, use a spatula to loosen the mixture from the bowl. Lightly grease your hands (olive oil spray works wonderfully) and form the mixture into a ball shape. Roll the cheese ball evenly in the pecan pieces until it is completely coated on all sides.
-
Serve your freshly made cheese ball with an assortment of your favorite crackers, vegetable sticks, or other dippers, and enjoy this classic appetizer!
Video
Notes
Store any leftover cheese ball in an airtight container in the refrigerator for 3 – 5 days. For best freshness, cover any exposed areas of the cheese ball if not fully coated in pecans.
Nutrition
Carbohydrates: 3g,
Protein: 6g,
Fat: 21g,
Saturated Fat: 10g,
Polyunsaturated Fat: 2g,
Monounsaturated Fat: 7g,
Cholesterol: 47mg,
Sodium: 221mg,
Potassium: 92mg,
Fiber: 1g,
Sugar: 2g,
Vitamin A: 587IU,
Vitamin C: 0.4mg,
Calcium: 141mg,
Iron: 0.3mg
Like this recipe? Rate and comment below!
