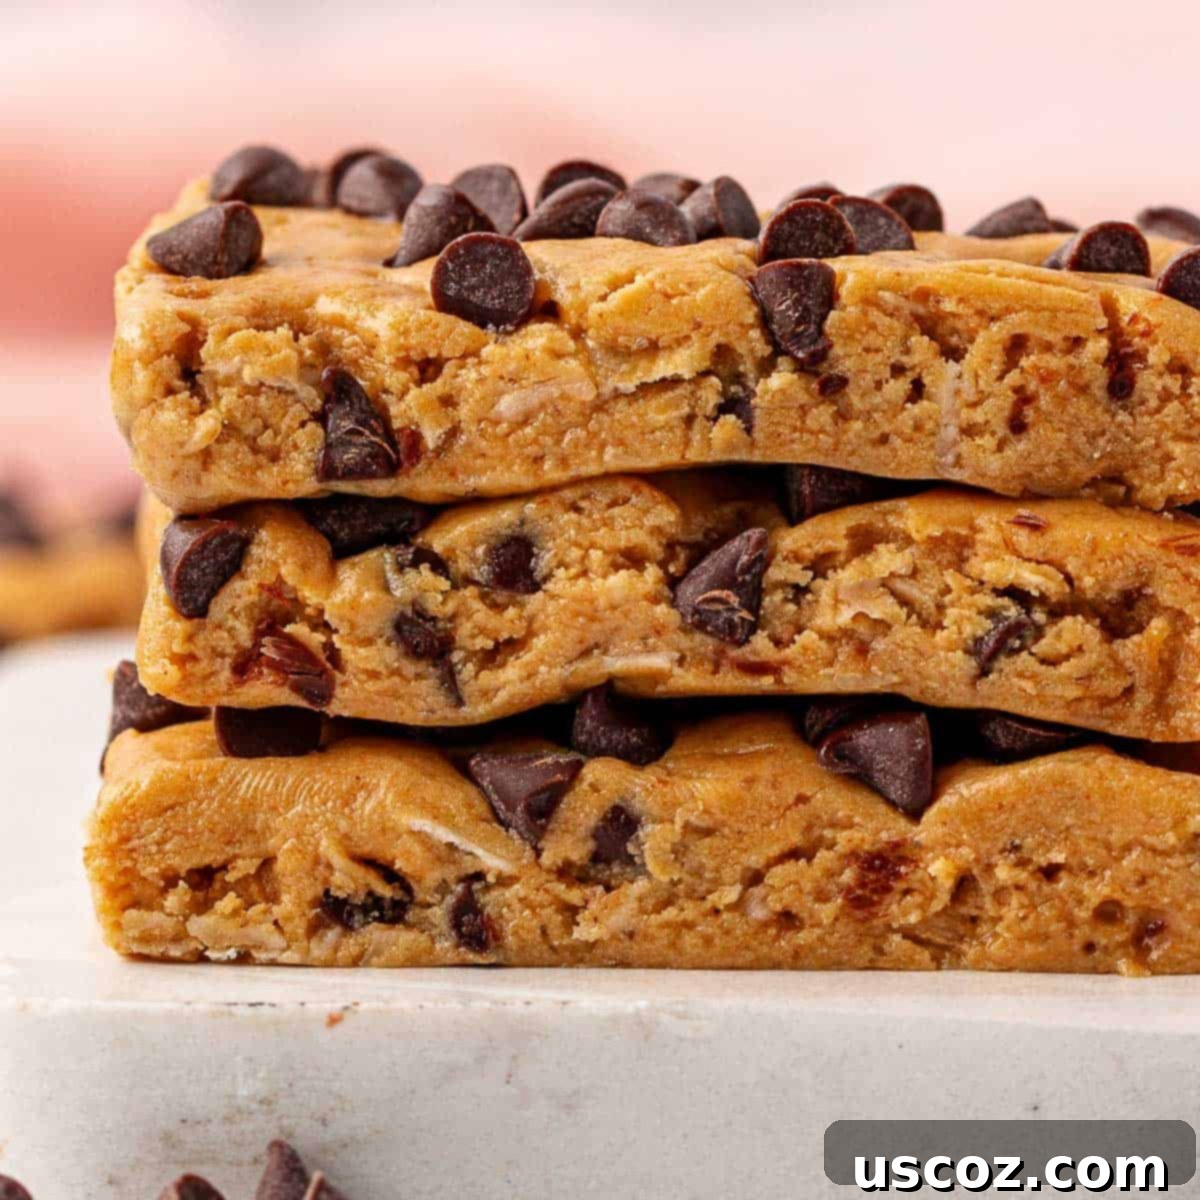
Easy No-Bake Peanut Butter Chocolate Chip Protein Bars: Your Ultimate Homemade Snack
Discover the magic of homemade snacks with our incredibly easy, no-bake Peanut Butter Chocolate Chip Protein Bars. These delicious and satisfying bars come together in just minutes, offering a perfect blend of sweet and savory in every bite. Forget complicated recipes or expensive store-bought options; these quick and healthy protein bars are your new go-to for a convenient, energizing treat!
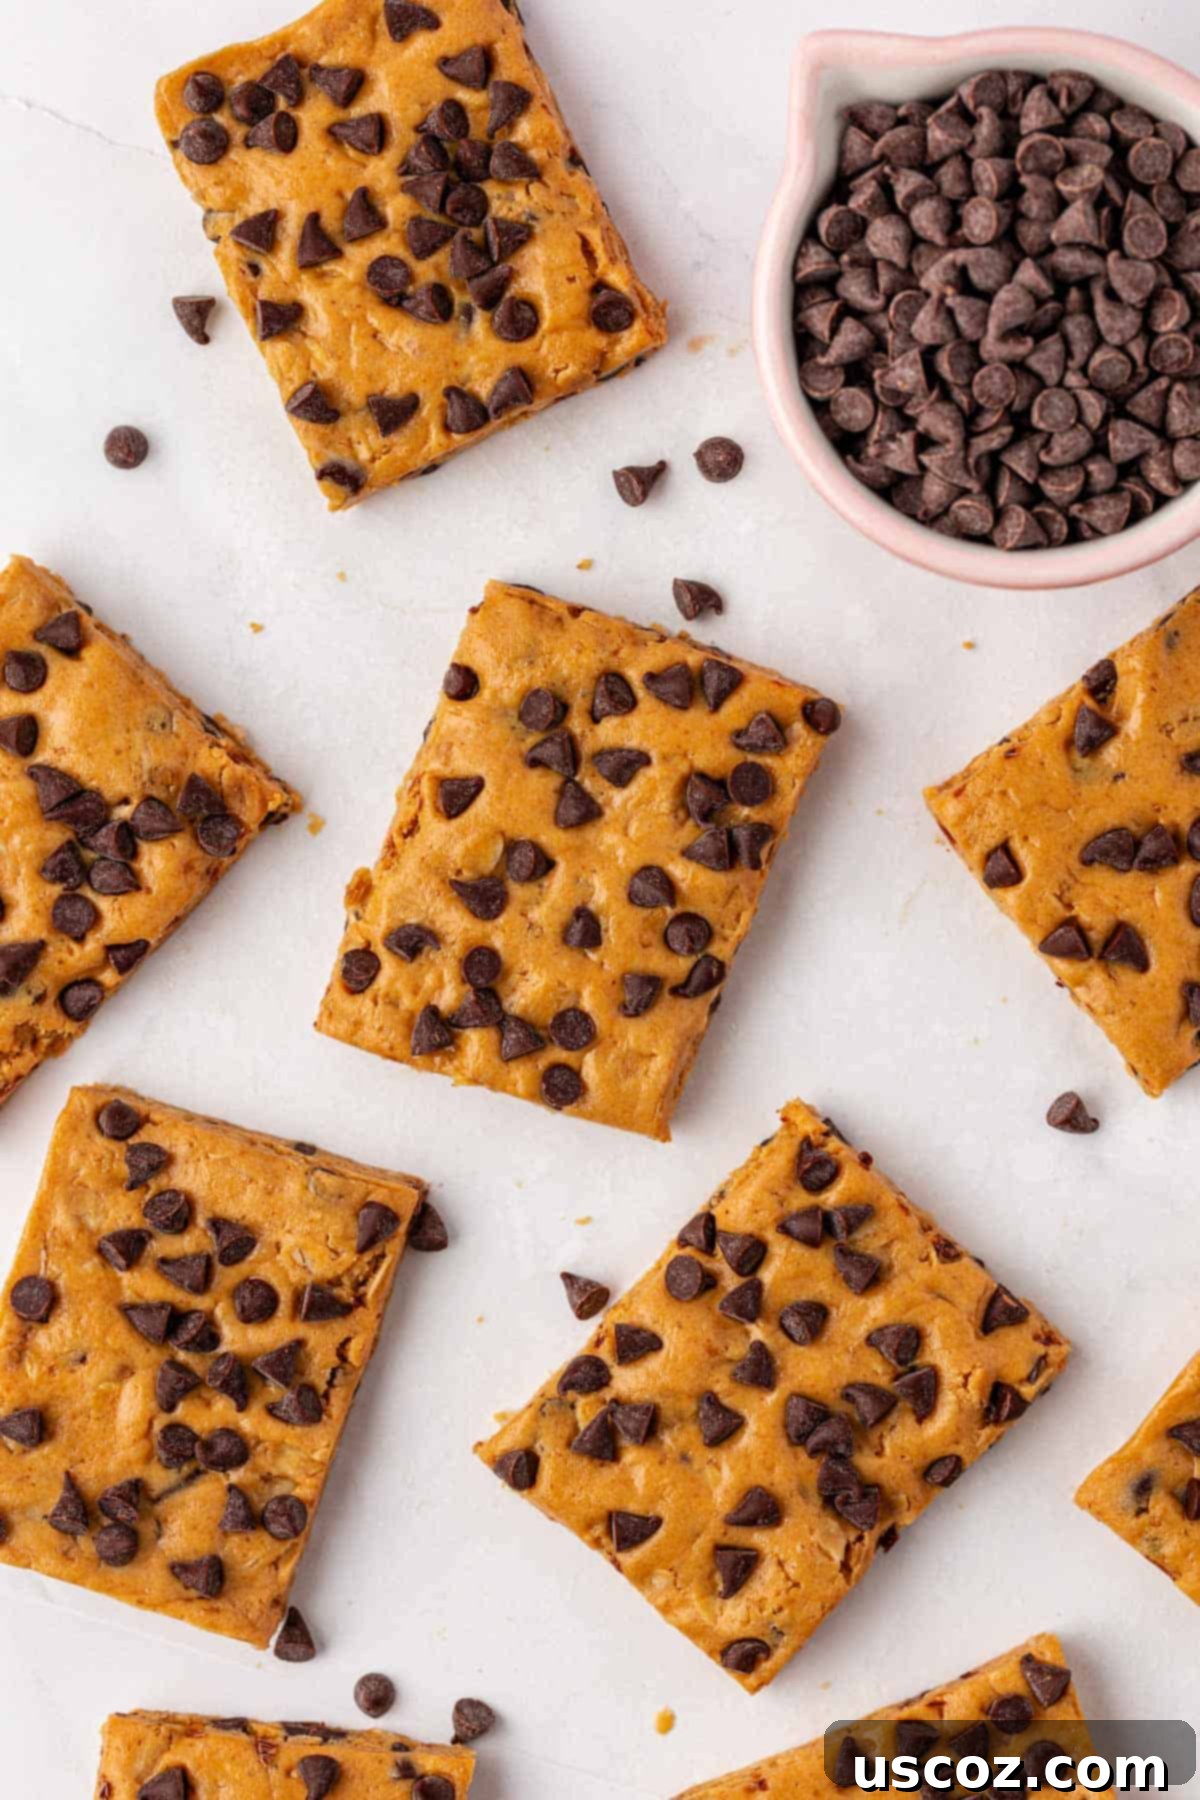
Why Homemade Protein Bars Are a Game-Changer
If you’ve never considered making your own protein bars at home, prepare to be amazed by the simplicity and incredible benefits! Many people assume that making protein bars from scratch is a complex culinary endeavor, but the truth is, it’s far easier and more rewarding than you might think.
For too long, I relied on store-bought protein bars, often paying a premium for options that frequently contained a lengthy list of ingredients, many of which were difficult to pronounce. The moment I started experimenting with homemade versions, everything changed. Not only did I discover that crafting my own protein bars was significantly cheaper, but the taste was also undeniably superior. You get to control every ingredient, ensuring a healthier, fresher, and more satisfying snack.
These homemade bars strip away the unnecessary additives and fillers often found in commercial products, focusing on wholesome, delicious ingredients that provide genuine nourishment. Plus, the classic combination of peanut butter and chocolate chips is a universally loved flavor profile, guaranteed to be a hit with everyone in your household.
With just a handful of staple ingredients (six, plus a pinch of salt!), these protein bars are incredibly simple to prepare, requiring minimal effort and no baking whatsoever. They’re perfect for busy individuals, athletes, or anyone looking for a convenient, healthy snack to power through their day.
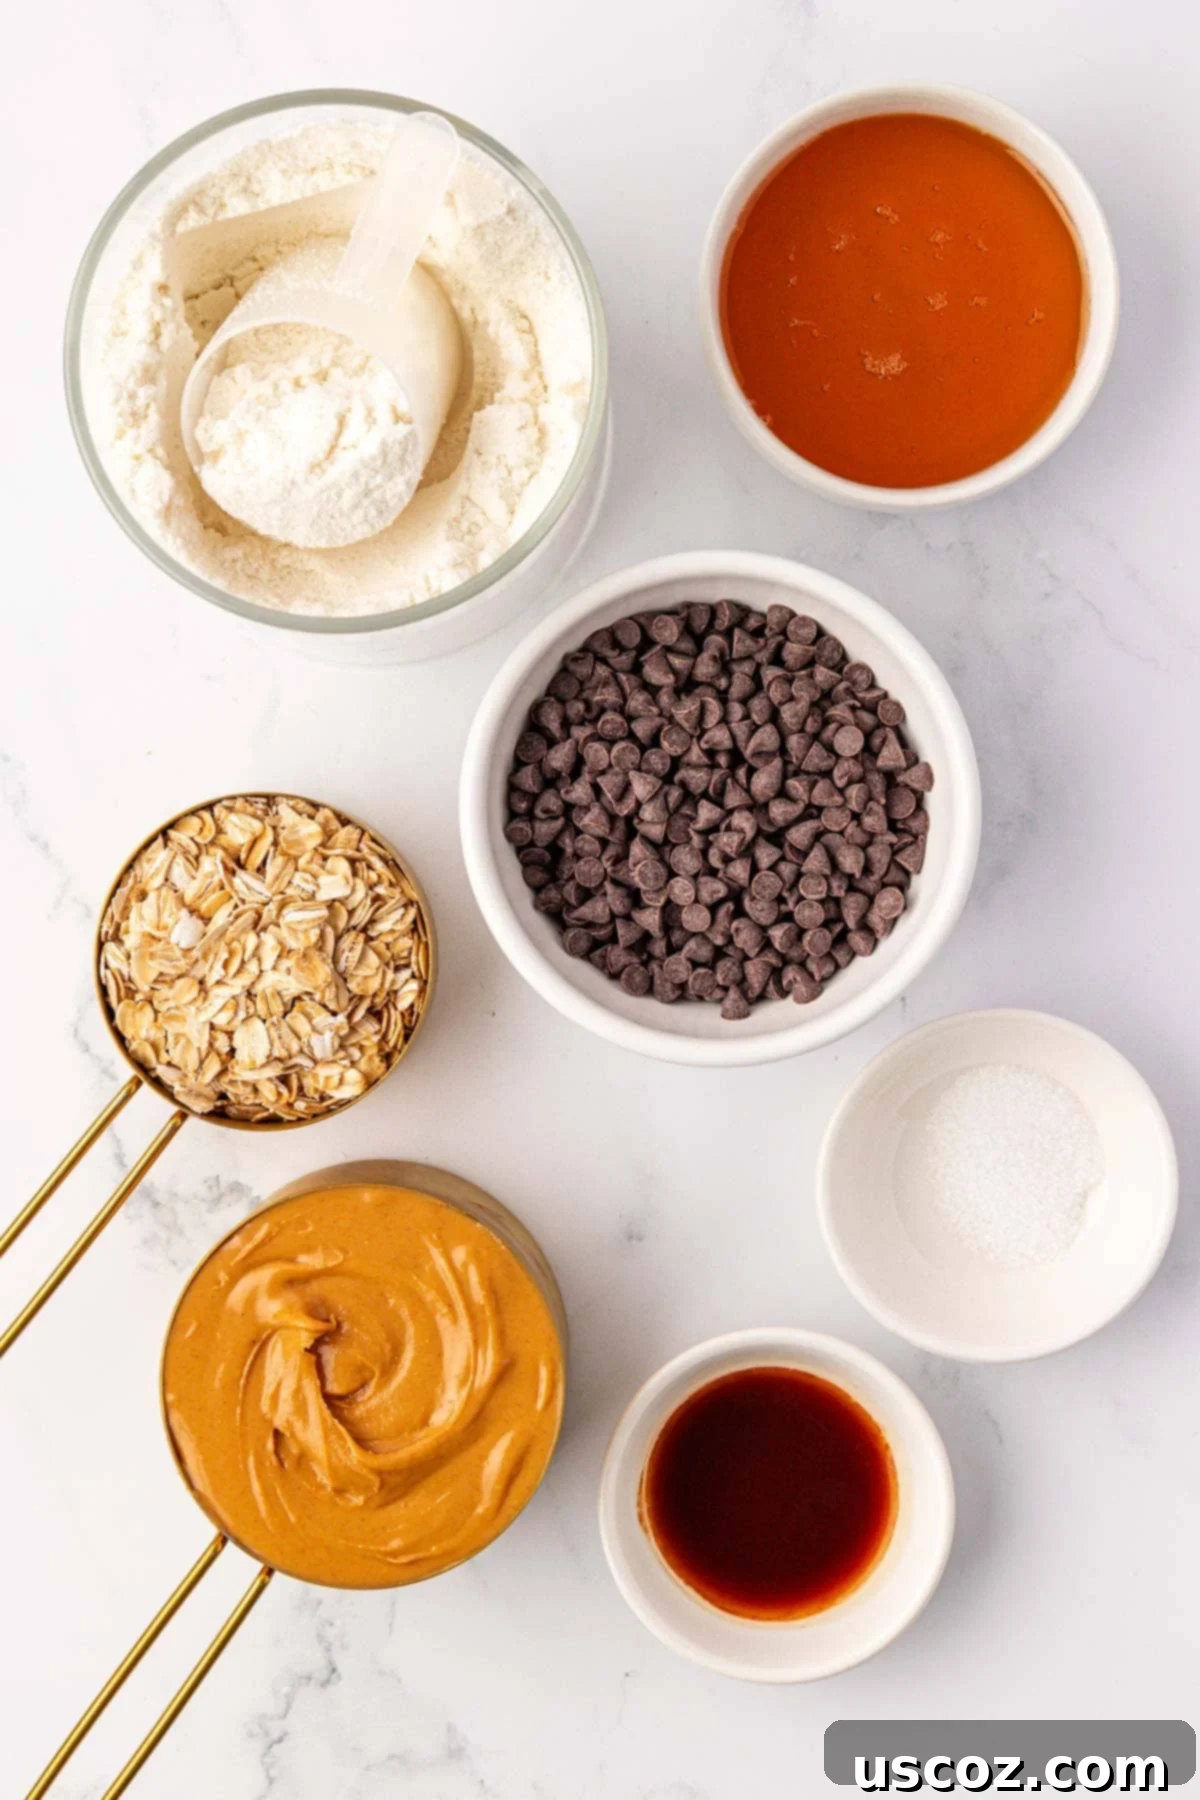
Essential Ingredients for Your No-Bake Protein Bars
Crafting these delectable protein bars requires a simple yet effective list of ingredients, each playing a crucial role in both flavor and texture. The full recipe with detailed instructions can be found at the bottom of this post, but let’s dive into what makes these bars so special:
- No-Stir Creamy Peanut Butter: This is the foundation of our bars, providing rich flavor and essential binding. Look for a brand that is thick and creamy, often with a little bit of added sugar and oil (ingredients usually include peanuts, oil, sugar, and salt). This type of peanut butter offers the perfect consistency for holding the bars together without separating. Natural, runny peanut butter can sometimes make the mixture too soft, so opt for a “no-stir” variety for best results.
- Honey: Our natural, sticky sweetener that acts as the primary binder. Honey not only adds a wonderful sweetness but also helps create the chewy texture we love in a good protein bar. It’s a fantastic natural alternative to refined sugars and contributes to the bar’s overall stickiness, ensuring it holds its shape. You can experiment with maple syrup for a vegan option, but be aware it might slightly alter the texture and sweetness level.
- Rolled Oats (Old Fashioned Oats): These provide a delightful chewy texture and add a good source of fiber to the bars. Rolled oats are less processed than instant oats and contribute to the structural integrity, preventing the bars from being too dense or crumbly. They also make the bars more filling and satisfying.
- Vanilla Protein Powder: The star ingredient for that protein boost! I typically use vanilla whey protein powder, as its mild flavor complements the peanut butter and chocolate perfectly. However, don’t hesitate to try chocolate protein powder for an even richer, double-chocolate experience, or even an unflavored variety if you prefer the pure taste of peanut butter and chocolate to shine. Plant-based protein powders can also work, but some may absorb liquid differently, so you might need slight adjustments to the consistency.
- Vanilla Extract: A touch of vanilla enhances all the other flavors, adding depth and warmth to the overall taste profile. It’s a small addition that makes a big difference.
- Salt: Just a quarter teaspoon of salt is all it takes to balance the sweetness and make the peanut butter and chocolate flavors pop. It’s a secret weapon in many dessert recipes for a reason!
- Mini Chocolate Chips: These tiny morsels are essential for adding bursts of sweetness and a satisfying crunch in every single bite. Mini chocolate chips distribute more evenly throughout the mixture, ensuring chocolatey goodness in every piece. Feel free to use dark, milk, or semi-sweet chocolate chips based on your preference.
How to Make Peanut Butter Chocolate Chip Protein Bars: Step-by-Step
The beauty of these no-bake protein bars lies in their straightforward preparation. Follow these simple steps, and you’ll have a batch of delicious, healthy snacks ready in no time!
Step 1: Combine the Core Ingredients
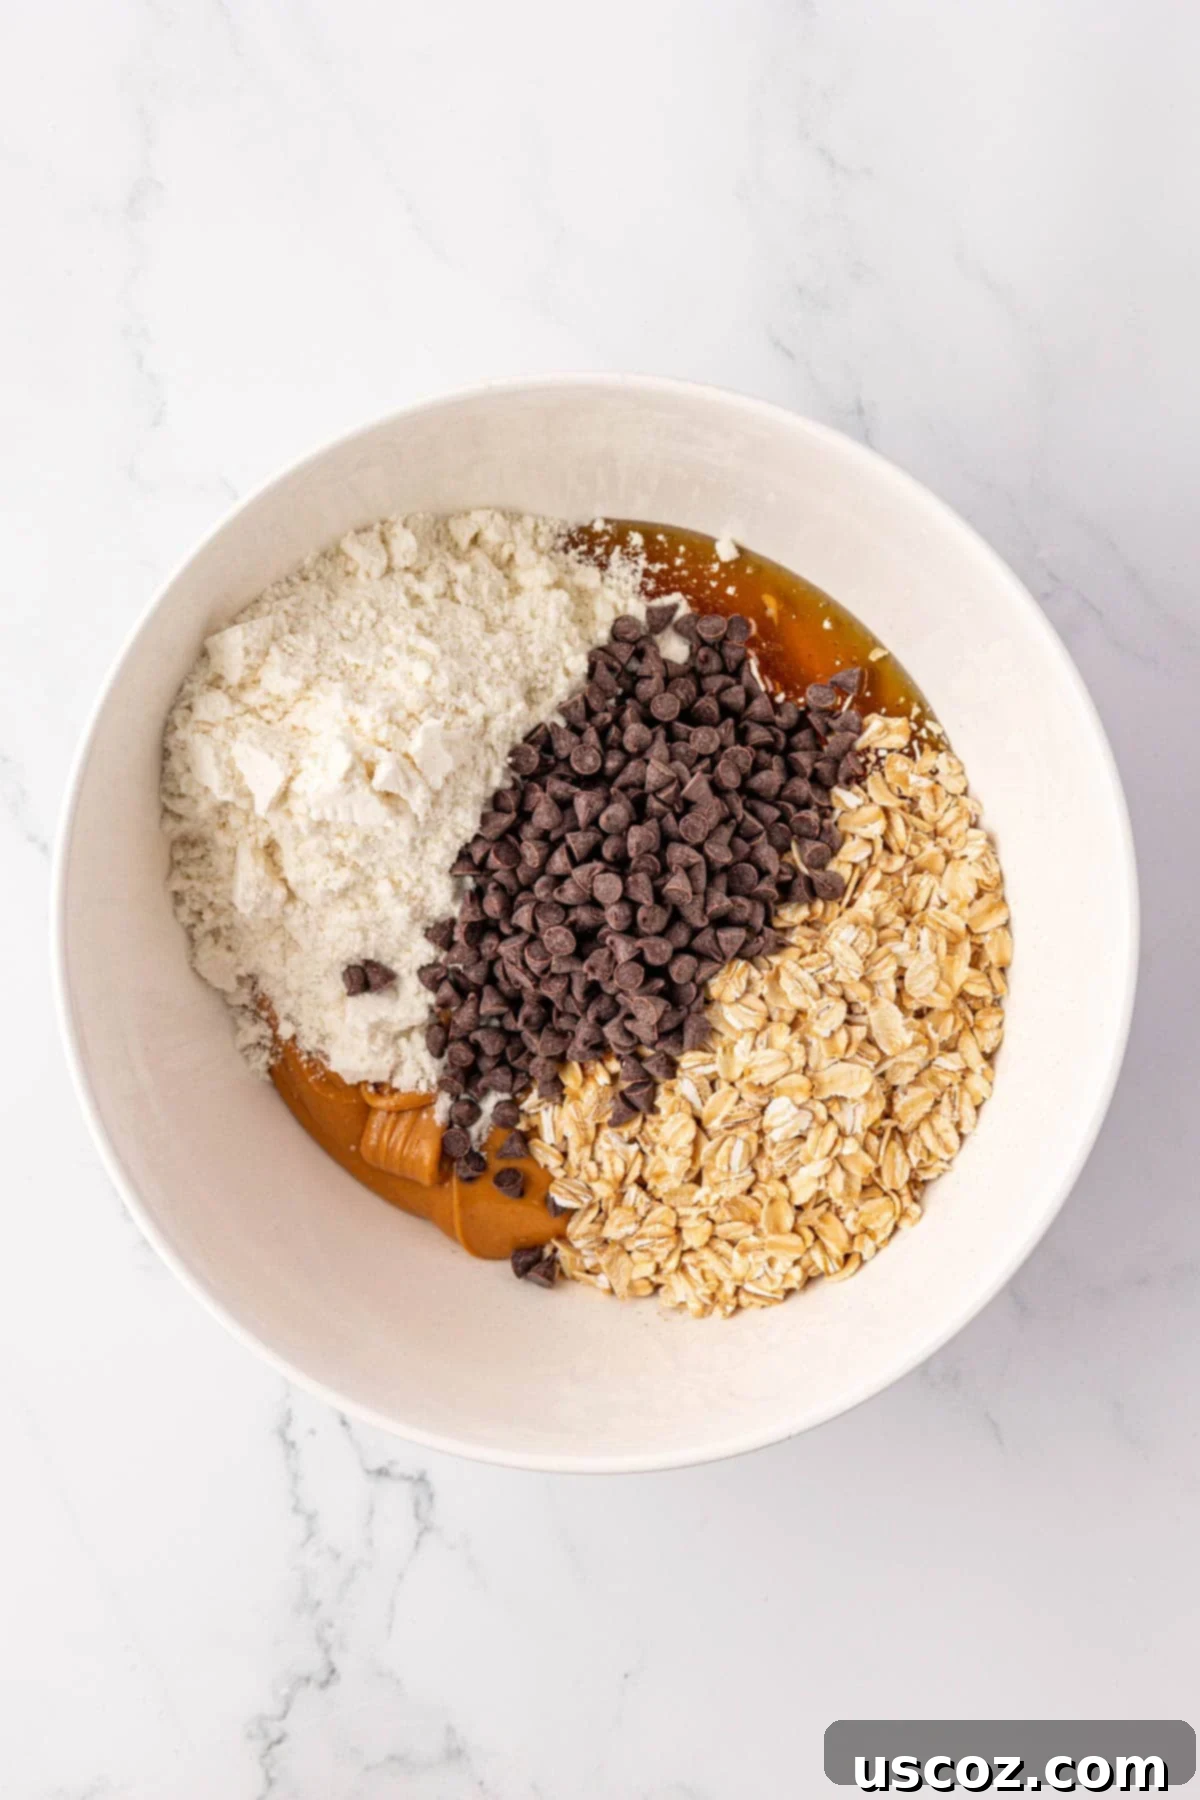
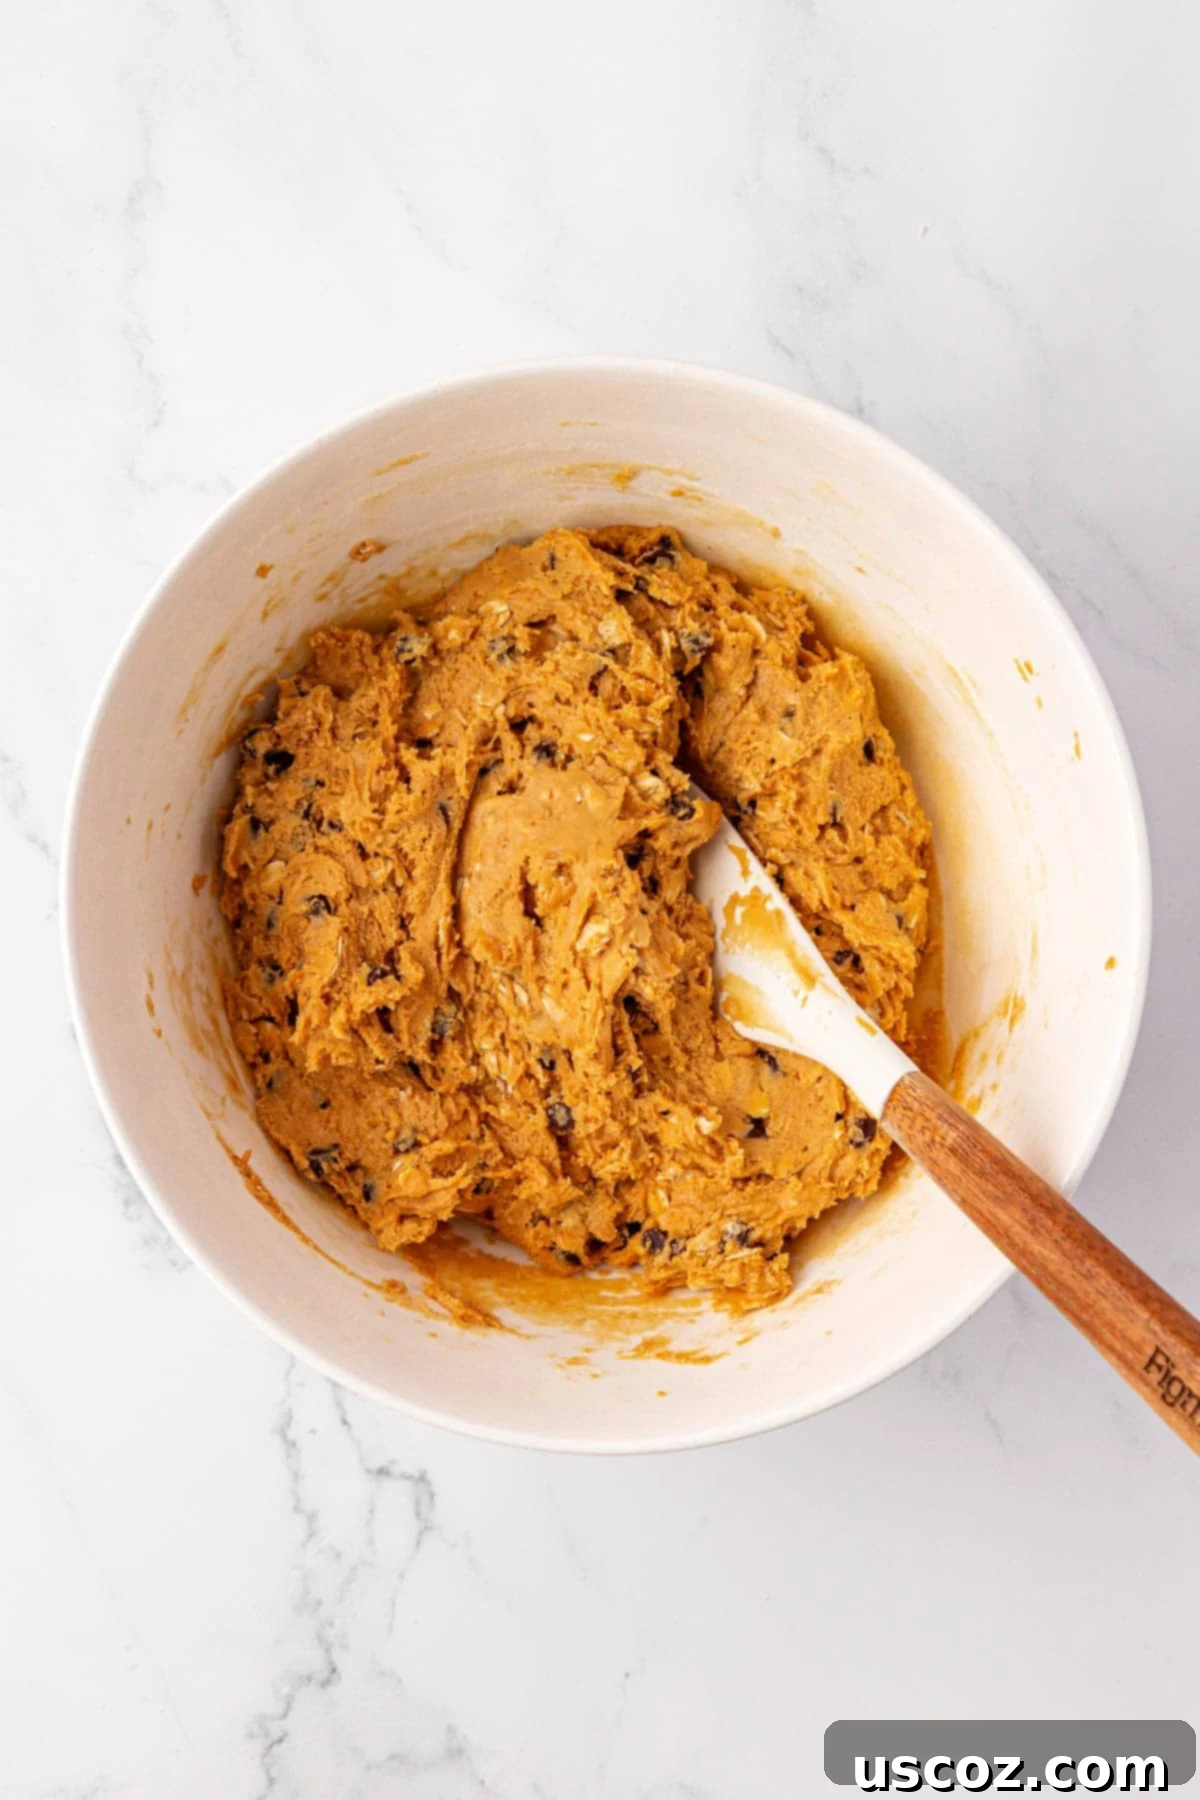
In a large mixing bowl, combine the no-stir creamy peanut butter, honey, rolled oats, vanilla protein powder, vanilla extract, and salt. Add half of the mini chocolate chips to the mixture now; the other half will be used for topping later. Using a sturdy rubber spatula or a strong spoon, stir all the ingredients together thoroughly. Continue mixing until a thick, uniform batter forms. This requires a bit of elbow grease, but it’s crucial for ensuring all ingredients are well incorporated and the bars will hold together.
Step 2: Prepare Your Pan and Press the Mixture
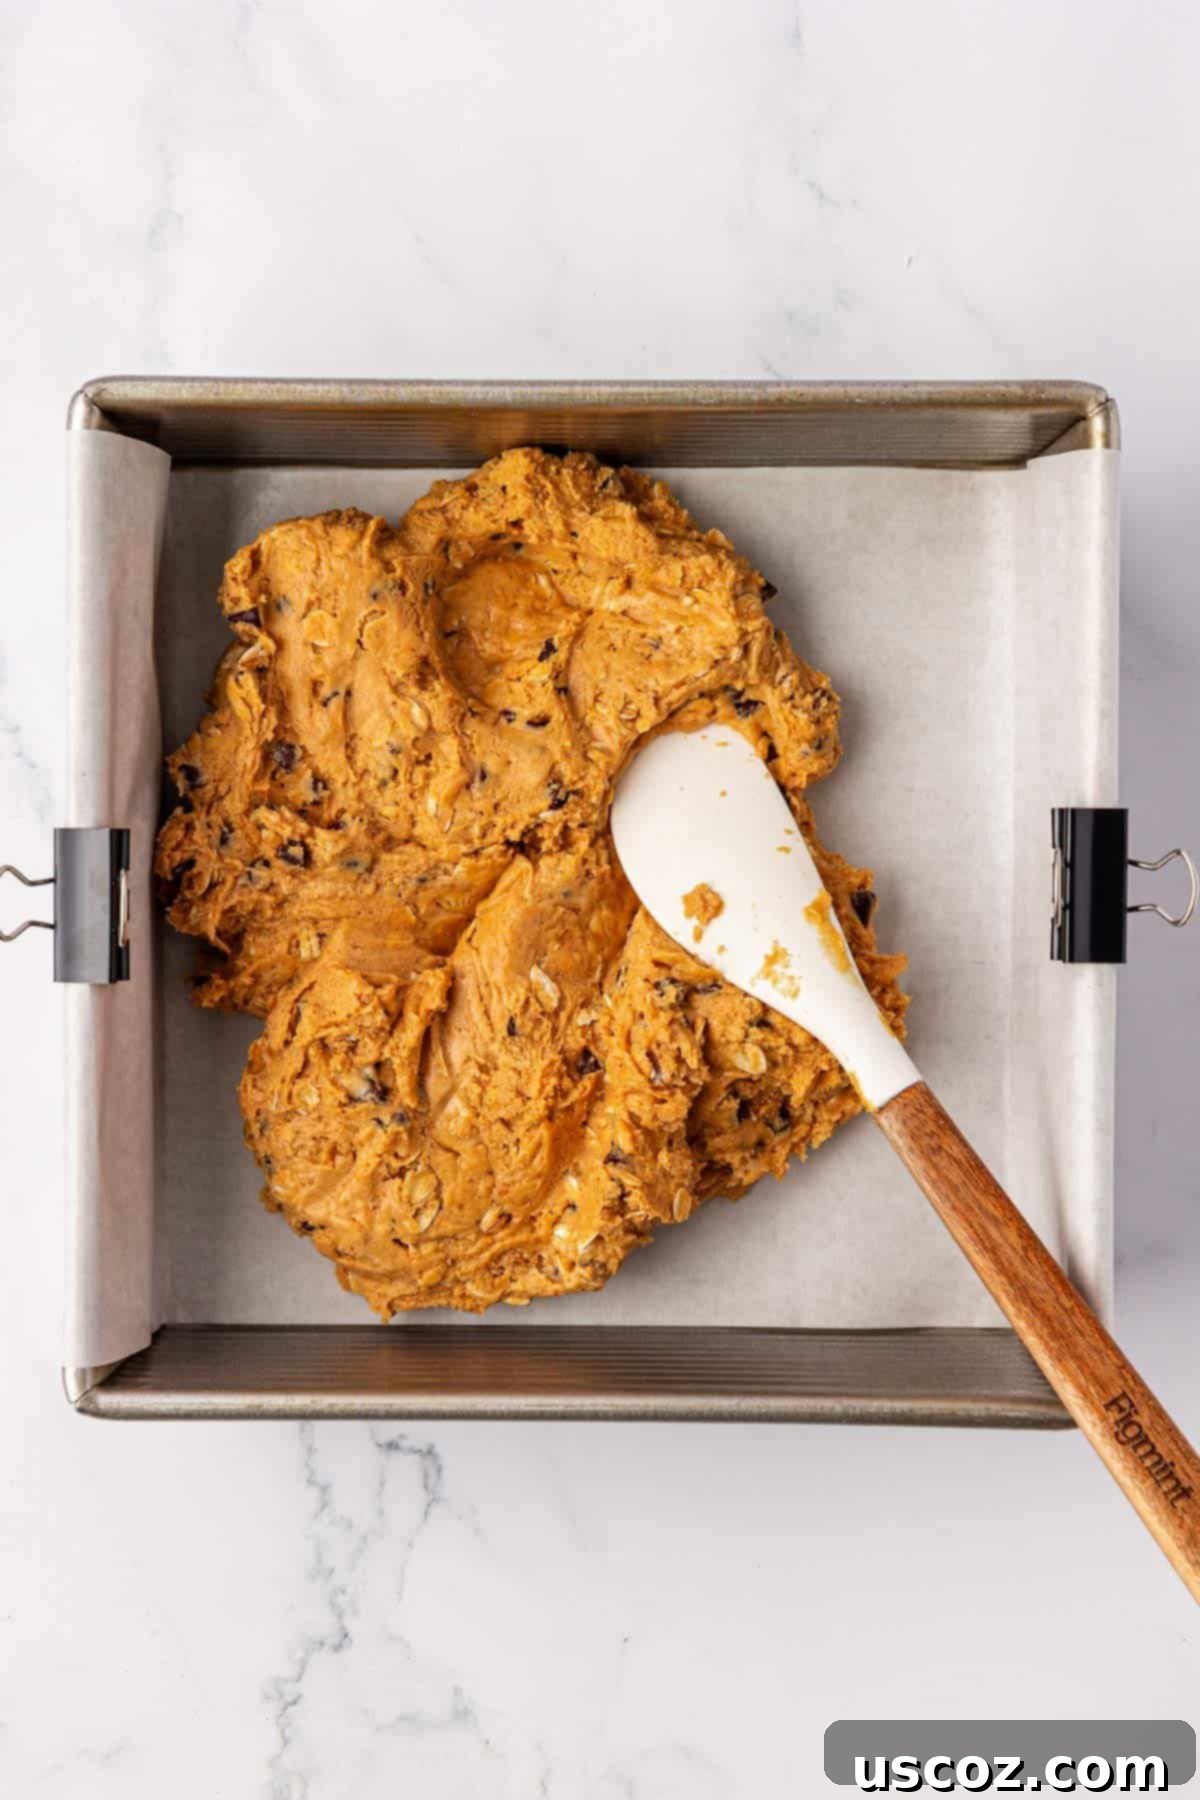
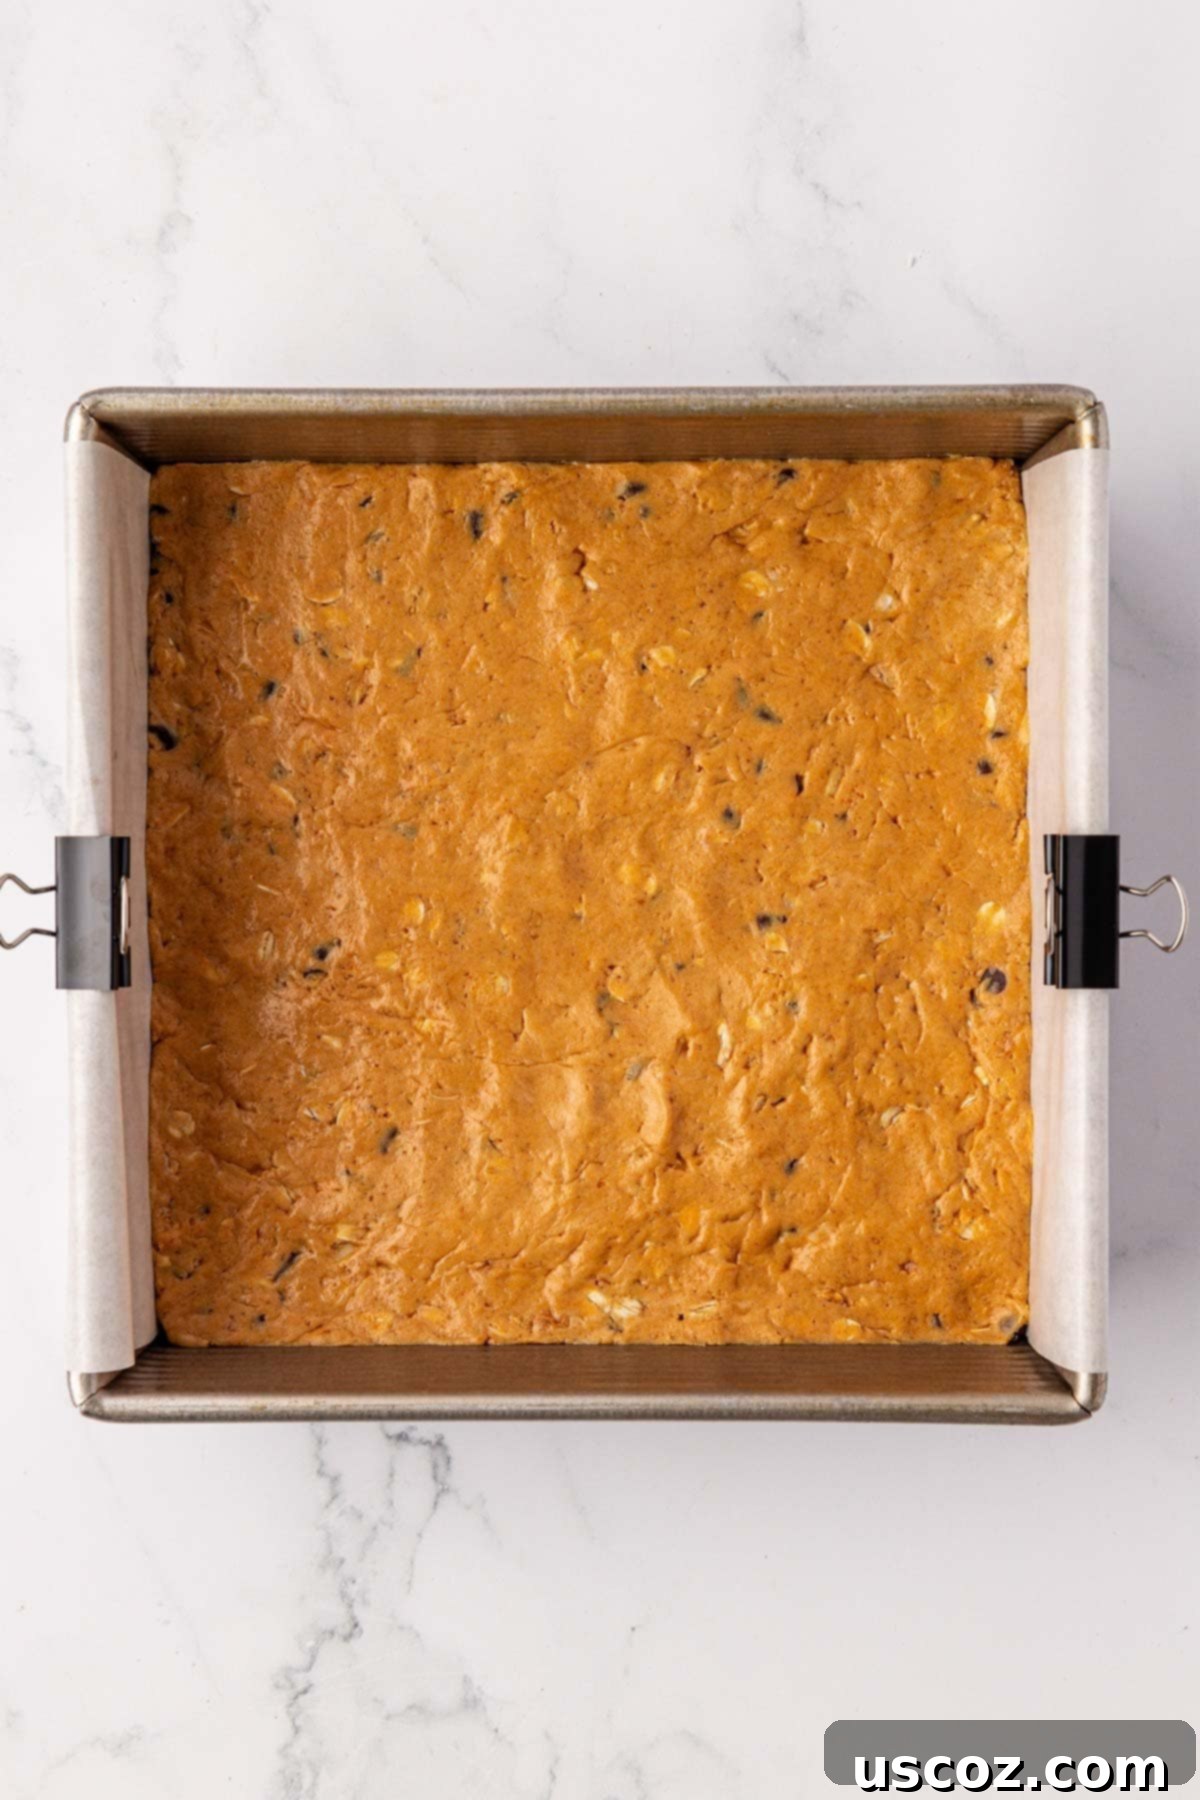
Line an 8×8 inch baking dish with parchment paper. It’s crucial to leave enough overhang on the edges of the parchment paper; this acts as a “handle” later, allowing you to easily lift the firm bars out of the pan without sticking. Once the pan is lined, transfer the thick batter into it.
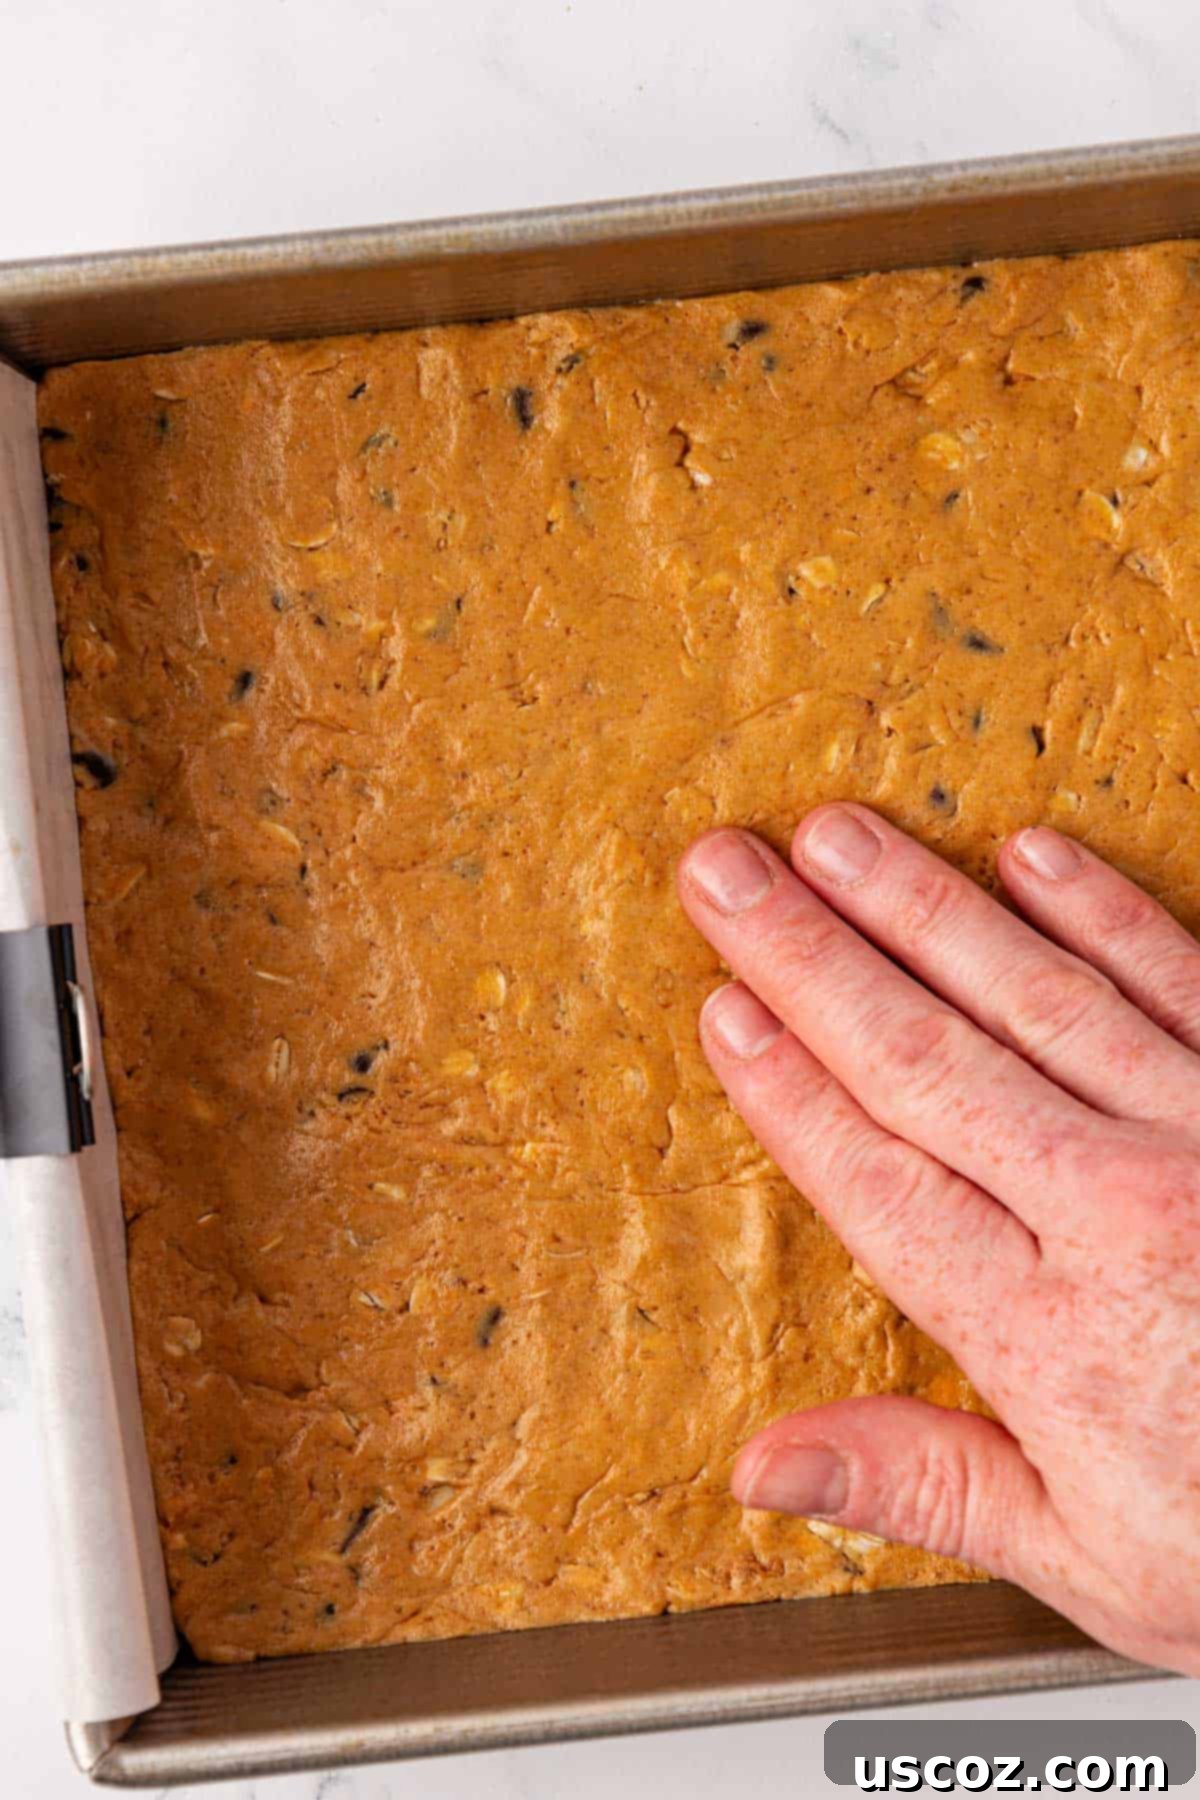
Now, with clean hands or the back of a spatula, press the batter down firmly and evenly into the parchment paper-lined pan. Make sure it’s spread from edge to edge, creating a compact and consistent layer. This ensures uniform bars that hold together well when sliced.
Step 3: Add the Finishing Touch
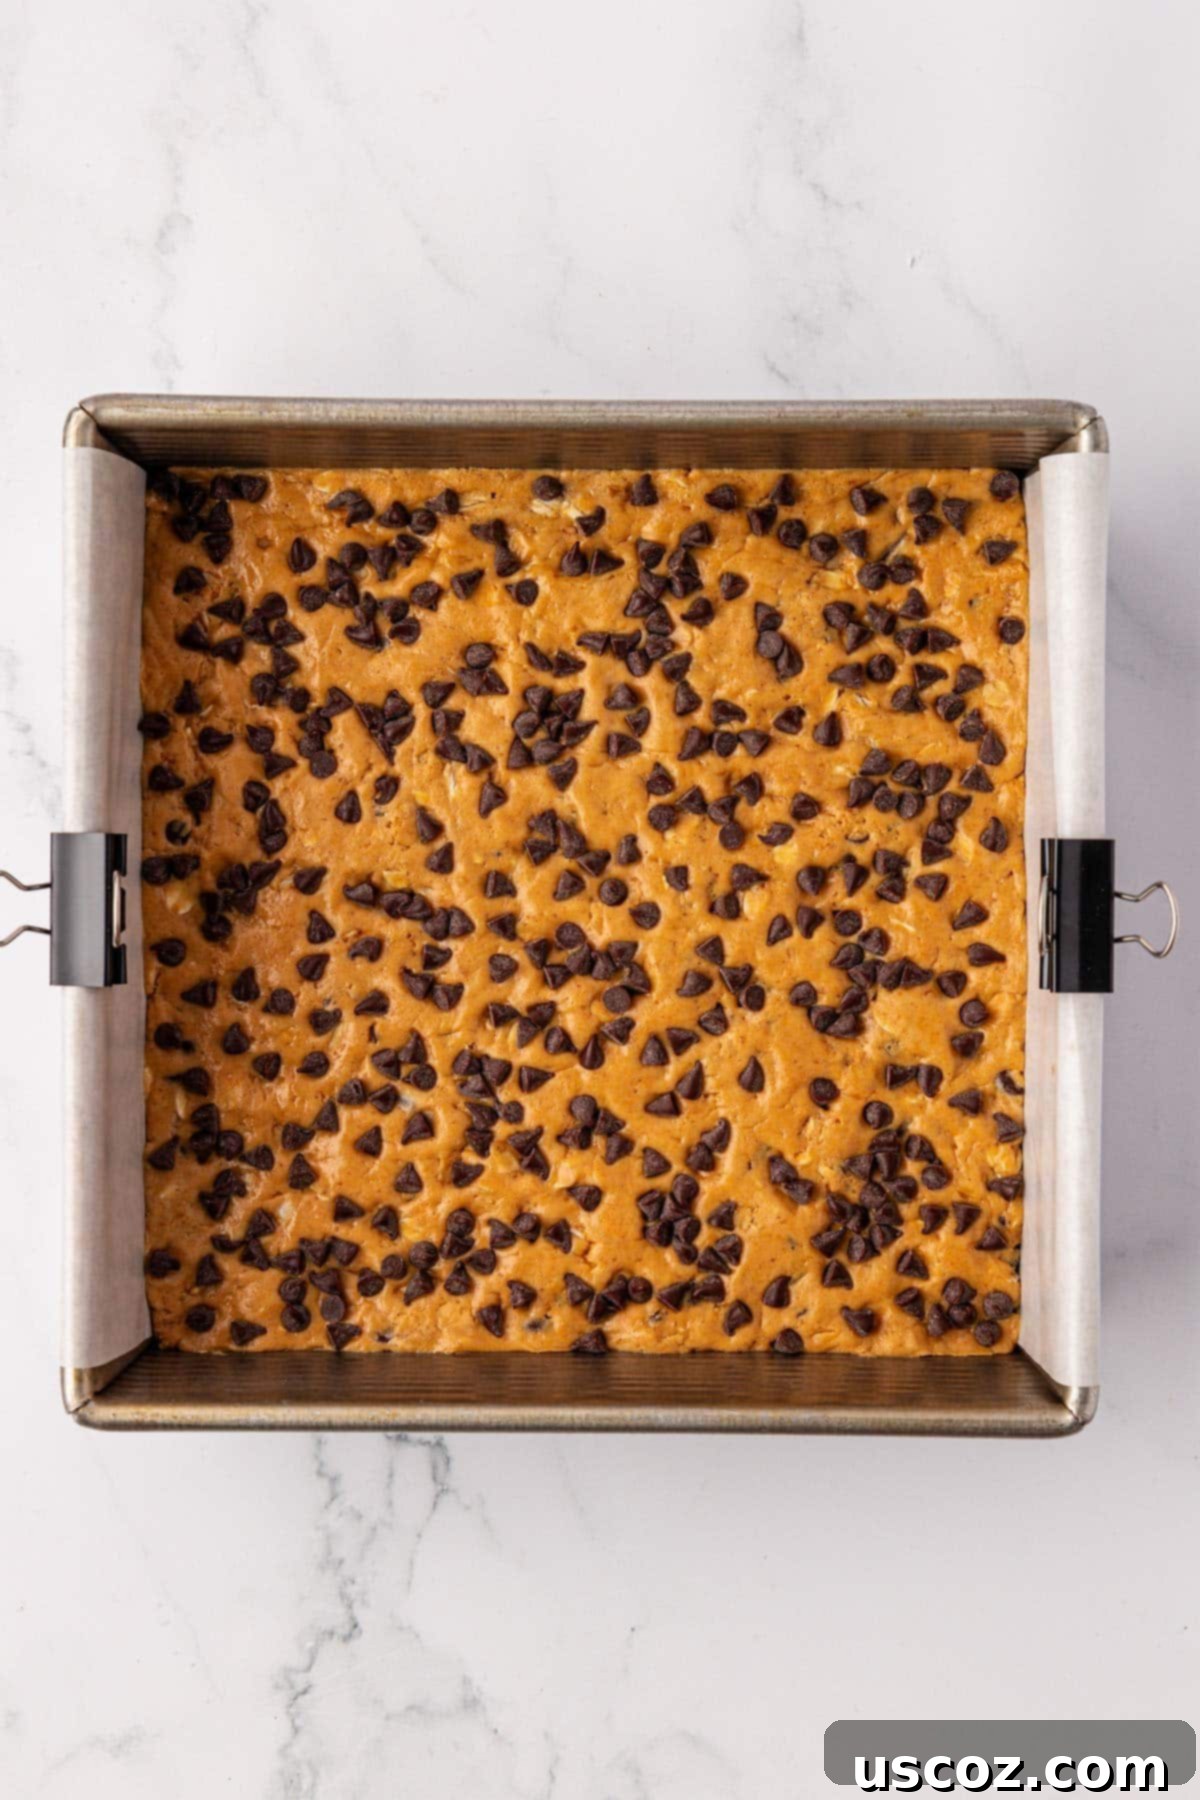
Once the base is evenly pressed, take the remaining ¼ cup of mini chocolate chips and sprinkle them over the top. Gently press them into the surface of the bars. This not only adds an appealing visual element but also ensures an extra burst of chocolate in every bite, elevating the classic flavor combination.
Step 4: Chill to Perfection
Place the pan containing the protein bar mixture into the refrigerator. Allow them to chill for 1-2 hours, or until they are completely firm. This chilling time is crucial for the bars to set properly, making them easy to cut and handle. Don’t rush this step, as well-chilled bars will have the best texture and hold their shape.
Step 5: Slice and Serve
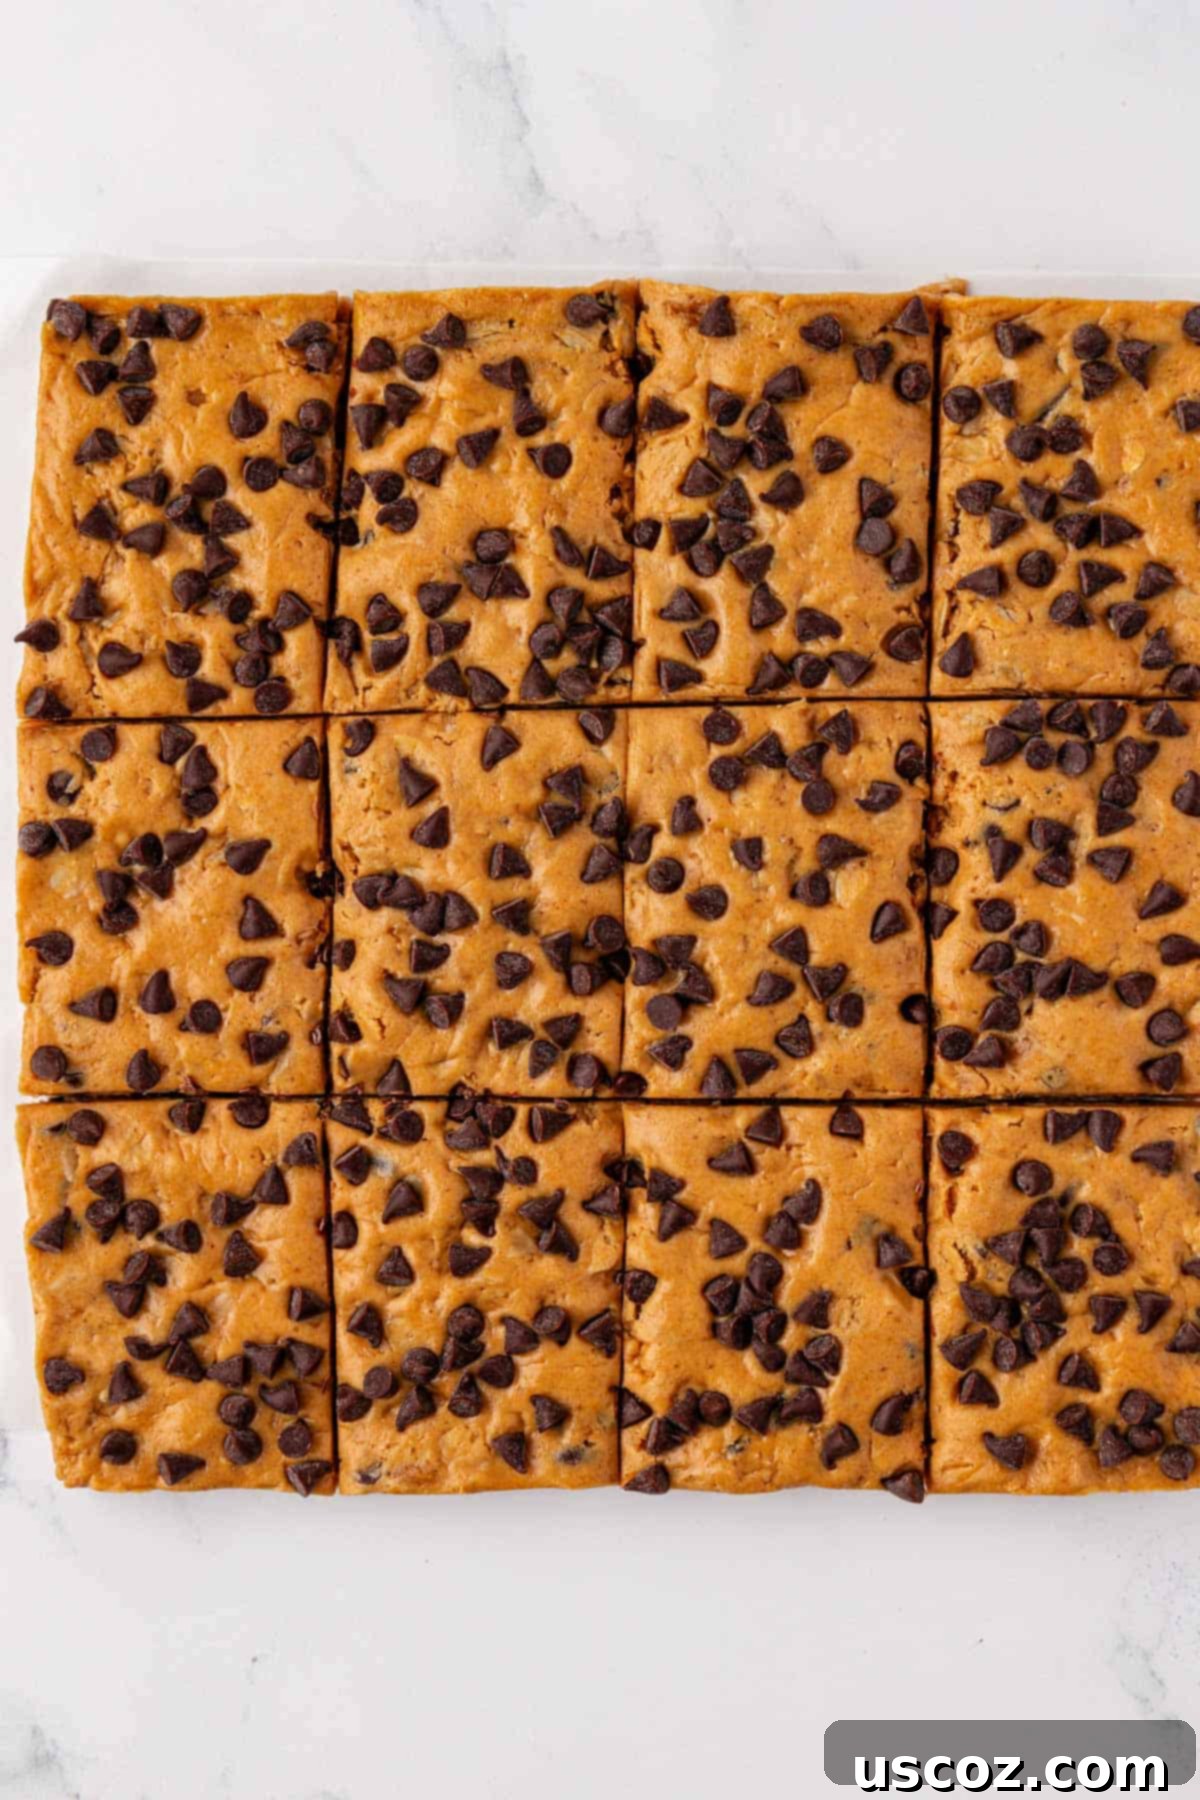
Once the bars are firm, use the parchment paper overhang to gently pull the entire block of batter out of the pan. Place it on a cutting board. Using a sharp knife, cut the block into 12 equally sized protein bars. For smaller portions, or if you’re making these for kids, you can easily cut them into 18 or 24 pieces. The nutritional information provided in the recipe card is based on 12 bars, so adjust your serving size expectations accordingly if you cut them smaller.
Recipe Tip: Customizing Your Bar Size
While the suggested serving size for these delicious protein bars is 12, feel free to adjust the cutting to suit your needs. For a quick, smaller bite, or to create kid-friendly portions, try cutting the pan into 18 or even 24 pieces. This flexibility allows you to manage portion sizes for different dietary goals or simply to make them last longer!
The Importance of Texture in Homemade Protein Bars
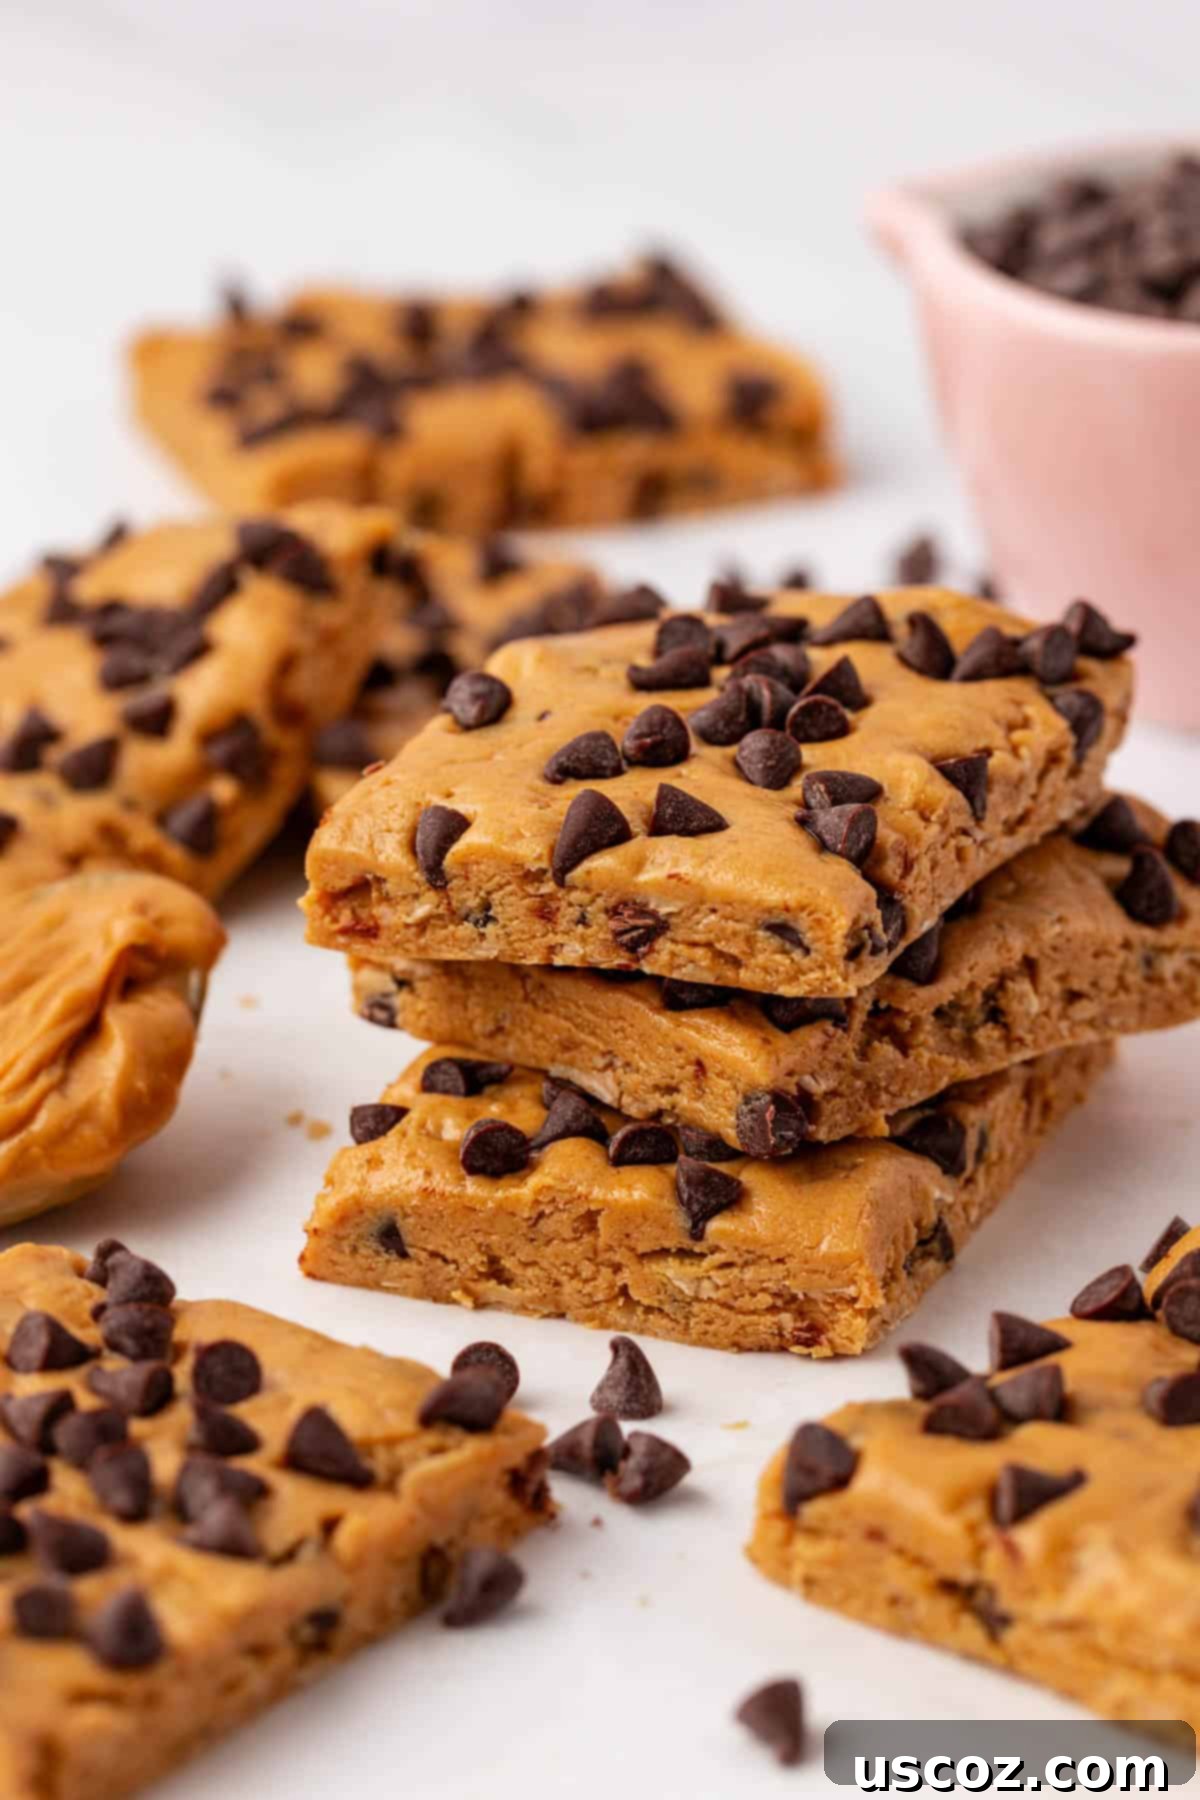
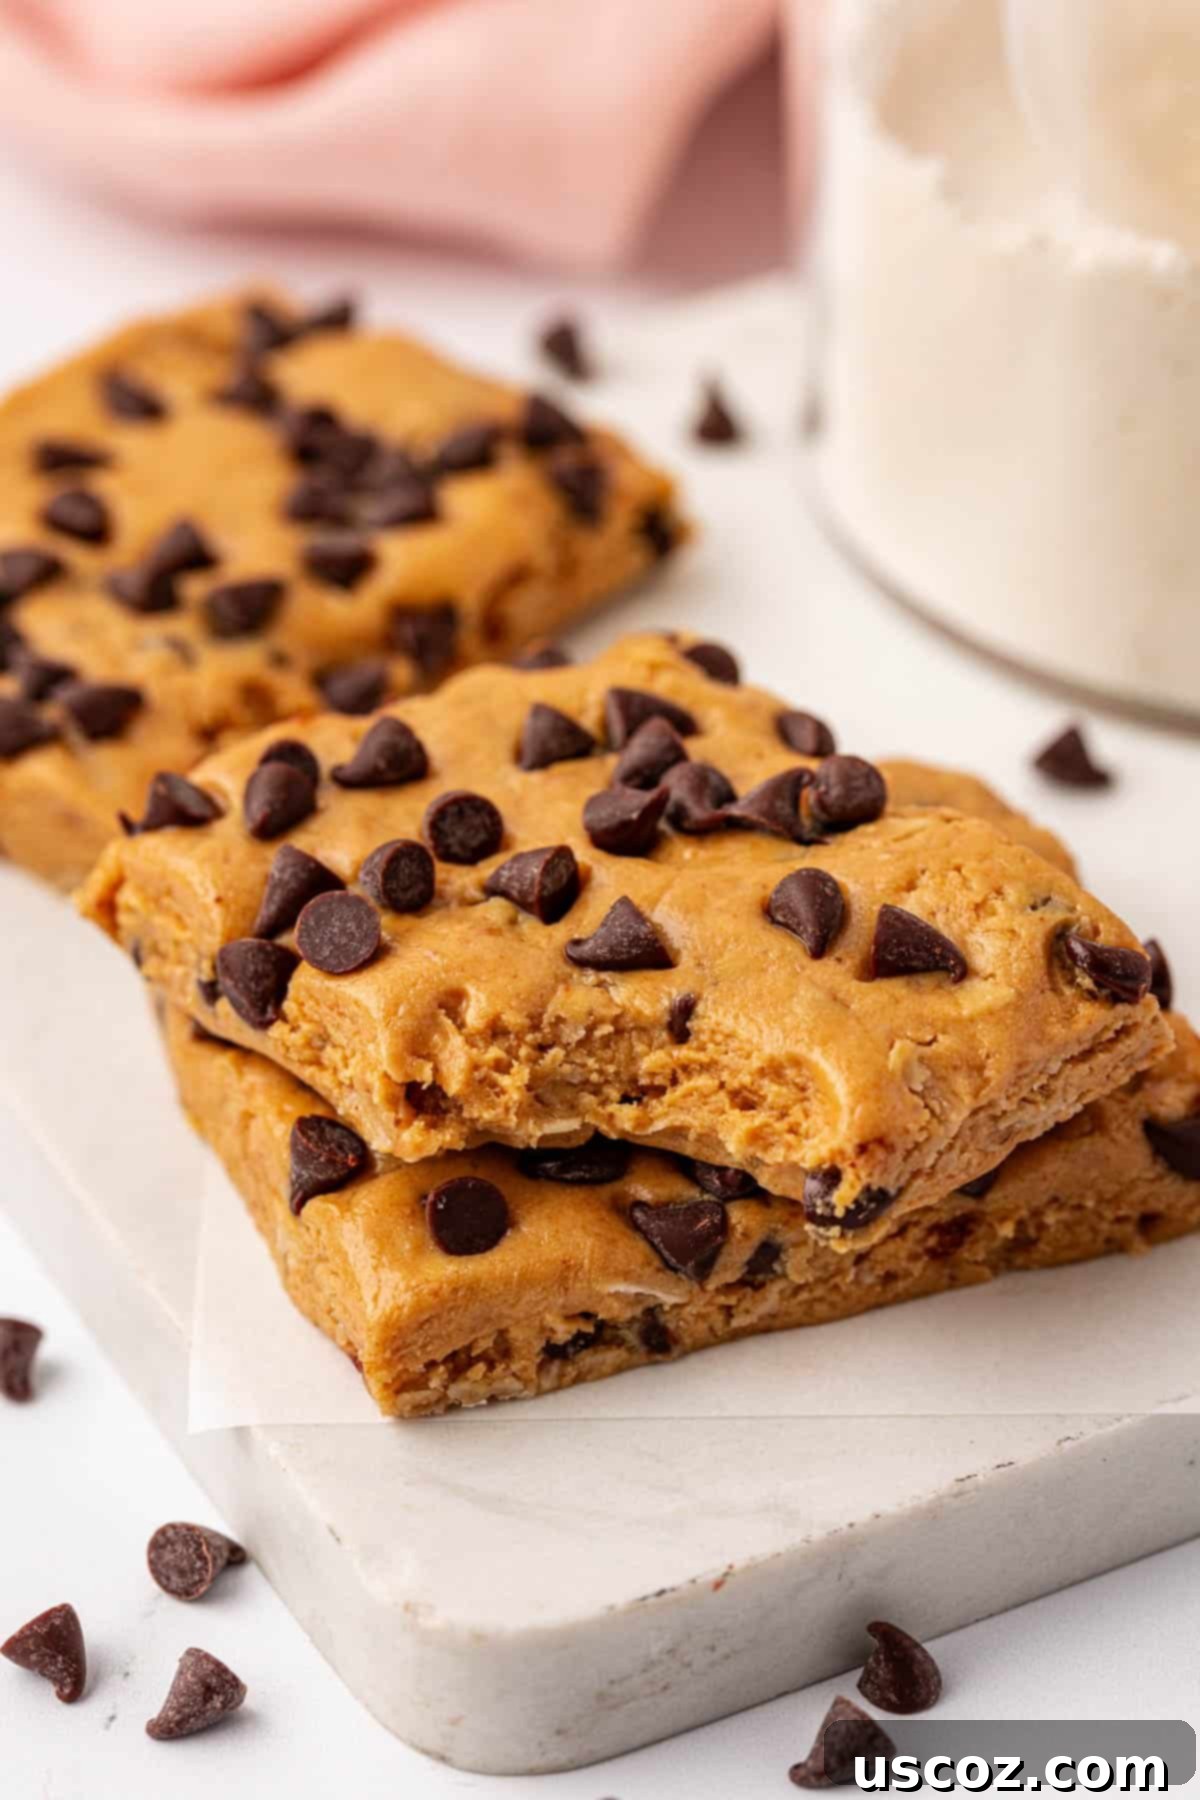
When it comes to homemade protein bars and protein balls, I’ve learned that texture is paramount. A perfectly balanced texture can elevate a good snack to a great one. These peanut butter chocolate chip protein bars hit all the right notes with their delightful chewiness from the oats and the satisfying crunch from the mini chocolate chips.
This combination ensures that every bite is not only flavorful but also texturally interesting, preventing the bars from feeling too soft, crumbly, or dense. The interplay of soft, chewy, and crunchy elements makes these bars incredibly enjoyable and much more appealing than many store-bought alternatives that can often be dry or have an artificial mouthfeel. It’s this attention to detail that makes them truly irresistible!
Storing Your Homemade Protein Bars
Proper storage is key to enjoying your homemade protein bars for as long as possible. Once cut, store any leftover bars in an airtight container to maintain their freshness and prevent them from drying out or absorbing other refrigerator odors.
- Refrigerator Storage: These bars will stay fresh and delicious for 5-7 days when stored in the refrigerator. The cool temperature helps them retain their firm texture.
- Freezer Storage: For longer-term storage, these protein bars freeze beautifully! Wrap individual bars tightly in plastic wrap, then place them in a freezer-safe airtight container or a heavy-duty freezer bag. They will keep well in the freezer for 2-3 months. When you’re ready to enjoy one, simply pull it out of the freezer and let it thaw at room temperature for a few minutes, or grab it on your way out the door – it’ll be perfectly thawed by snack time!
Having a batch of these ready in your fridge or freezer makes healthy snacking incredibly convenient, especially for meal prep or busy weeks.
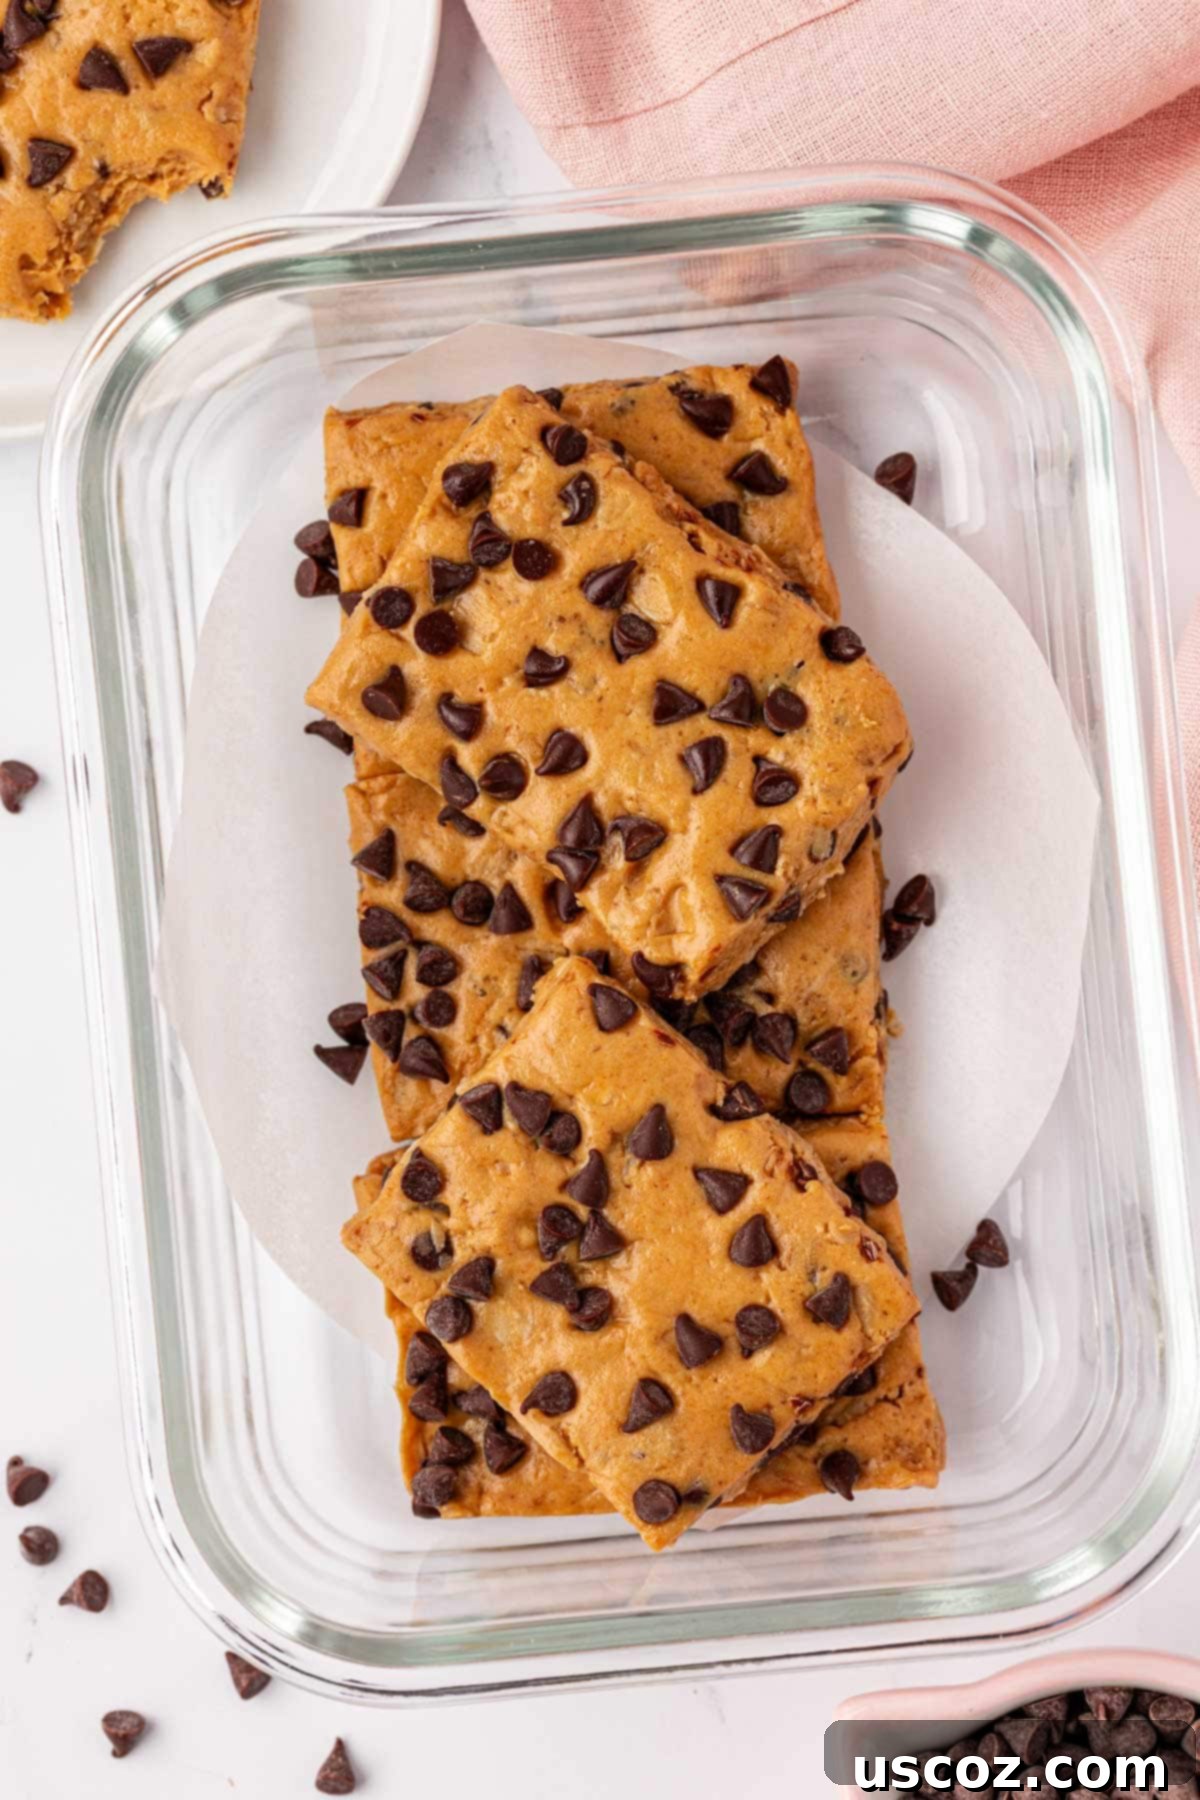
Why These Bars Are Simply The Best
I genuinely encourage you to give these incredibly easy homemade protein bars a try. They are a game-changer for anyone looking for a wholesome, satisfying, and delicious snack that can keep up with a busy lifestyle. In my opinion, these bars far surpass many popular commercial options like “Perfect Bars” in both taste and value.
The cost savings alone are substantial, but the real win is the superior flavor and knowing exactly what goes into your food. In our house, a batch of these rarely lasts more than two days—a testament to how quickly they disappear because everyone loves them! They’re perfect for a post-workout refuel, a quick breakfast on the go, or a healthy treat to curb those afternoon cravings.
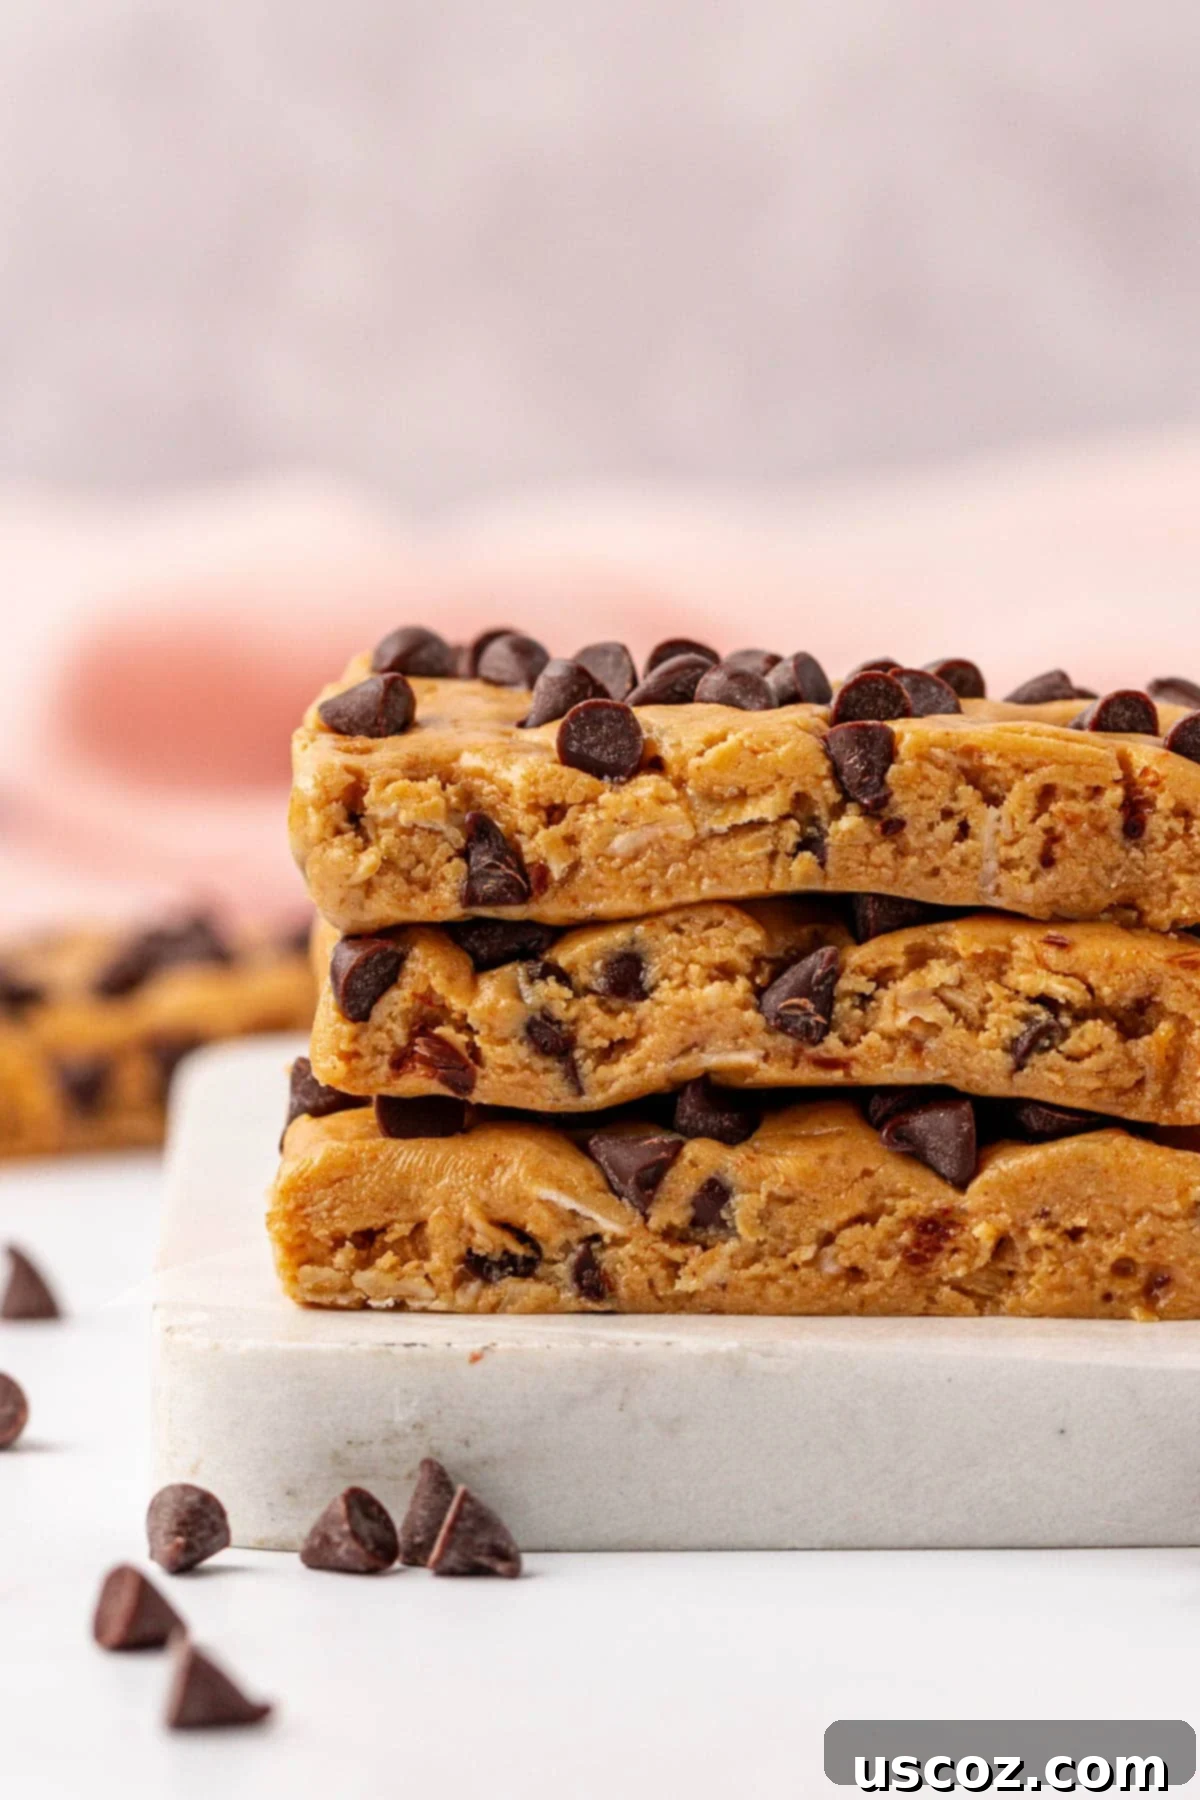
Discover More Delicious & Healthy Protein Snacks
If you loved these Peanut Butter Chocolate Chip Protein Bars, you’re in for a treat! We have a wide array of other protein-packed snack recipes that are just as easy to make and equally delicious. Perfect for satisfying cravings, fueling your workouts, or simply enjoying a healthier treat throughout your week. Explore some of our other favorites:
- Chocolate Protein Bars: For the ultimate chocolate lover.
- Monster Cookie Protein Bars: A fun, flavorful twist on classic monster cookies.
- Classic Energy Bites: Pop-able and endlessly customizable.
- Pecan Pie Energy Bites: All the flavor of pie in a healthy bite.
- Protein Granola Bars: Hearty and satisfying for any time of day.
- No Bake Protein Bars: Another fantastic no-bake option.
- Peanut Butter Pretzel Energy Bites: A perfect balance of sweet and salty.
- Chocolate Cashew Protein Bars: Rich and creamy with a hint of cashew.
- Cinnamon Roll Energy Bites: Indulgent flavors without the guilt.
- Peanut Butter Crunch Energy Bites: Extra crunch for peanut butter fanatics.
- Protein Peanut Butter Cups: A healthier take on a beloved classic.
- Chocolate Cashew Energy Bites: Simple, delicious, and energizing.
- Monster Cookie Energy Balls: Another variation on the popular monster cookie theme.
- Strawberries & Cream Energy Bites: A light and fruity option.
- Cookies & Cream Protein Balls: A delightful treat for cookie lovers.
- Protein Mug Cake: A quick, single-serving dessert.
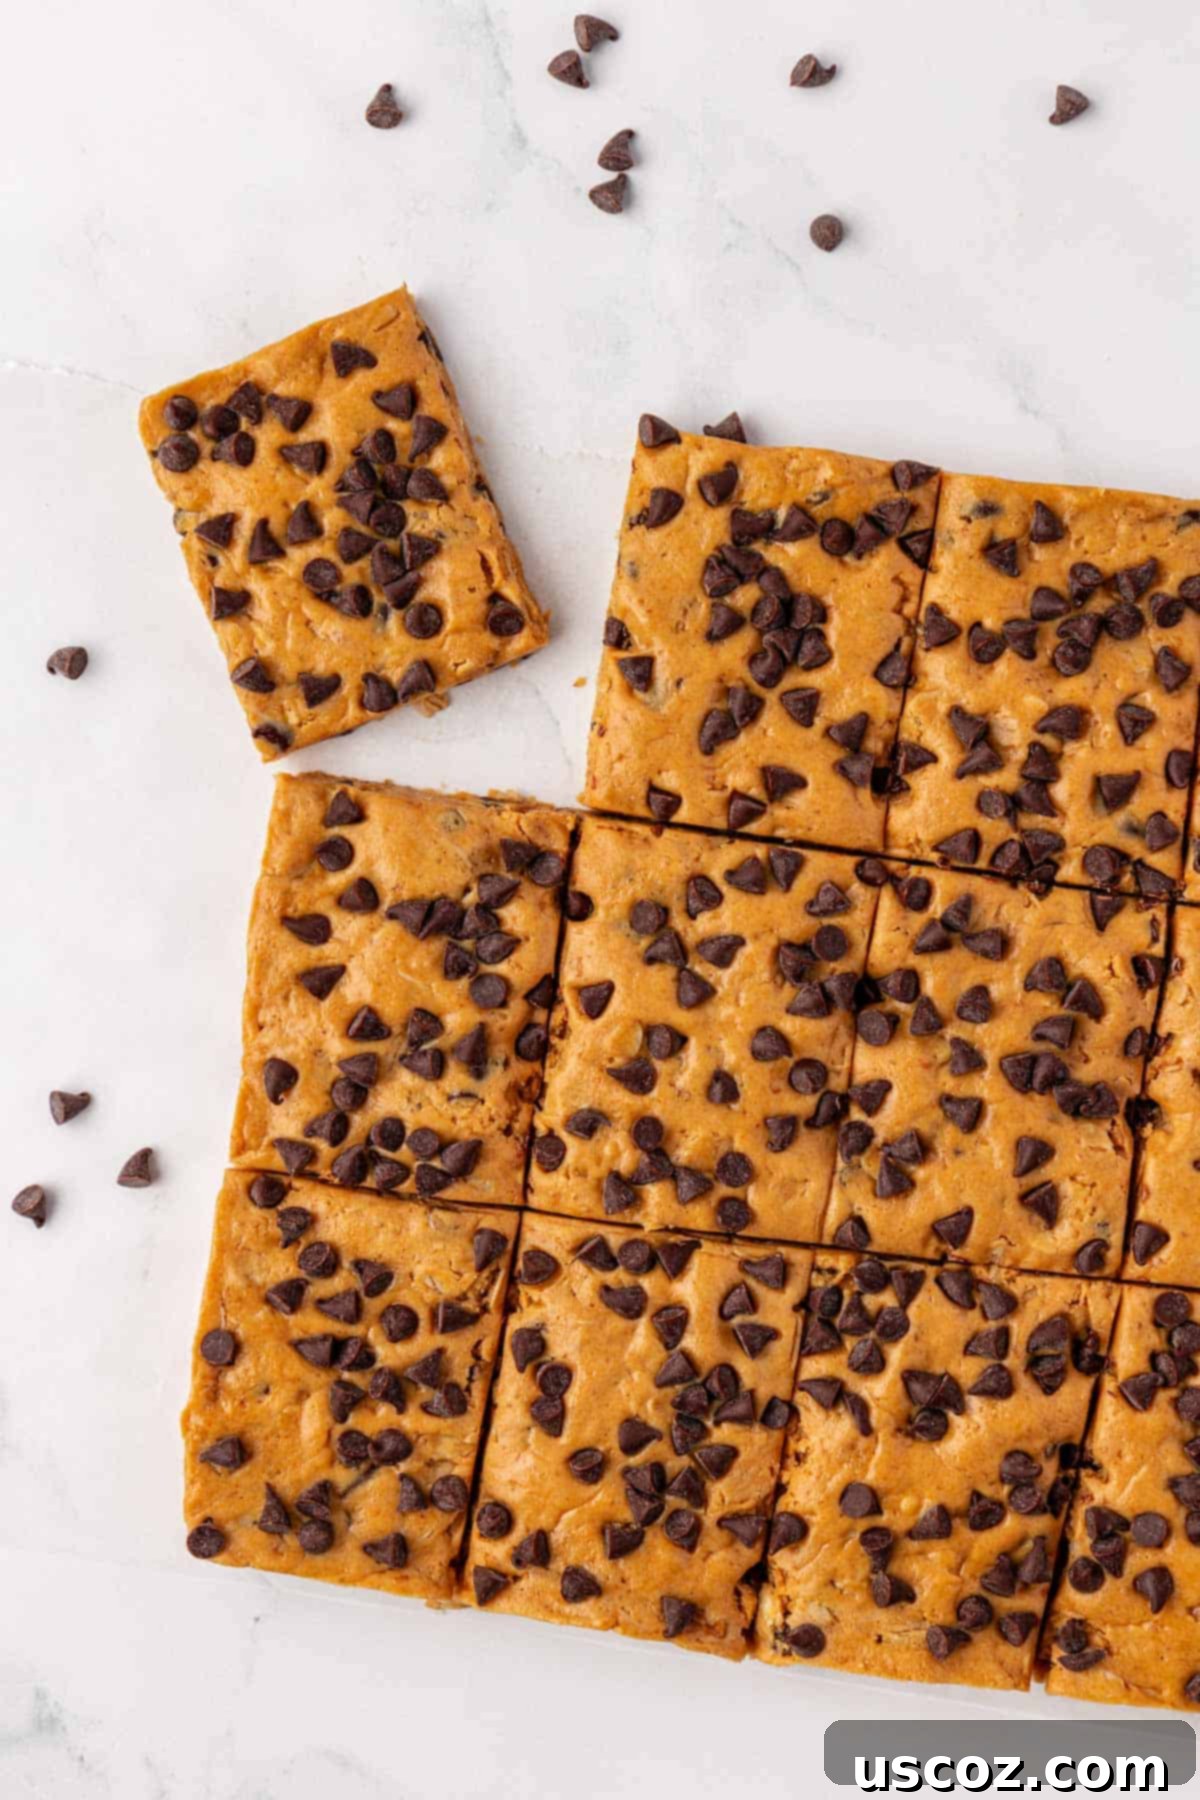
Peanut Butter Chocolate Chip Protein Bars
By: Joy Shull
These easy no-bake peanut butter chocolate chip protein bars come together in minutes, offering a delicious and healthy homemade snack option!
Ingredients
- 1 cup no-stir creamy peanut butter
- 1/3 cup honey
- 1/2 cup old fashioned oats
- 2/3 cup vanilla protein powder
- 1 teaspoon vanilla extract
- 1/4 teaspoon salt
- 1/2 cup mini chocolate chips, divided
Instructions
- Combine Wet & Dry: In a large mixing bowl, add the creamy peanut butter, honey, rolled oats, protein powder, vanilla extract, salt, and ¼ cup of the mini chocolate chips.
- Mix Thoroughly: Use a rubber spatula or sturdy spoon to stir all the ingredients together until a thick, uniform batter forms. Ensure everything is well combined.
- Prepare Pan: Line an 8×8 inch dish with parchment paper, allowing enough overhang on the sides to easily lift the bars out later.
- Press Batter: Press the thick batter down evenly and firmly into the parchment paper-lined pan, spreading it from edge to edge.
- Top with Chocolate Chips: Press the remaining ¼ cup of mini chocolate chips into the tops of the bars for an extra chocolatey finish.
- Chill: Place the pan in the refrigerator and chill for 1-2 hours, or until the bars are firm enough to cut.
- Cut & Serve: Once firm, use the parchment paper overhang to remove the batter from the pan. Slice the block into 12 protein bars. Serve immediately or store.
Nutrition Information (per bar, based on 12 servings)
Calories: 231kcal, Carbohydrates: 21g, Protein: 10g, Fat: 13g, Saturated Fat: 3g, Polyunsaturated Fat: 3g, Monounsaturated Fat: 6g, Trans Fat: 0.01g, Cholesterol: 13mg, Sodium: 162mg, Potassium: 164mg, Fiber: 2g, Sugar: 15g, Vitamin A: 17IU, Vitamin C: 0.1mg, Calcium: 52mg, Iron: 1mg
Like this recipe? Rate and comment below!
Your feedback helps us create more amazing recipes!
