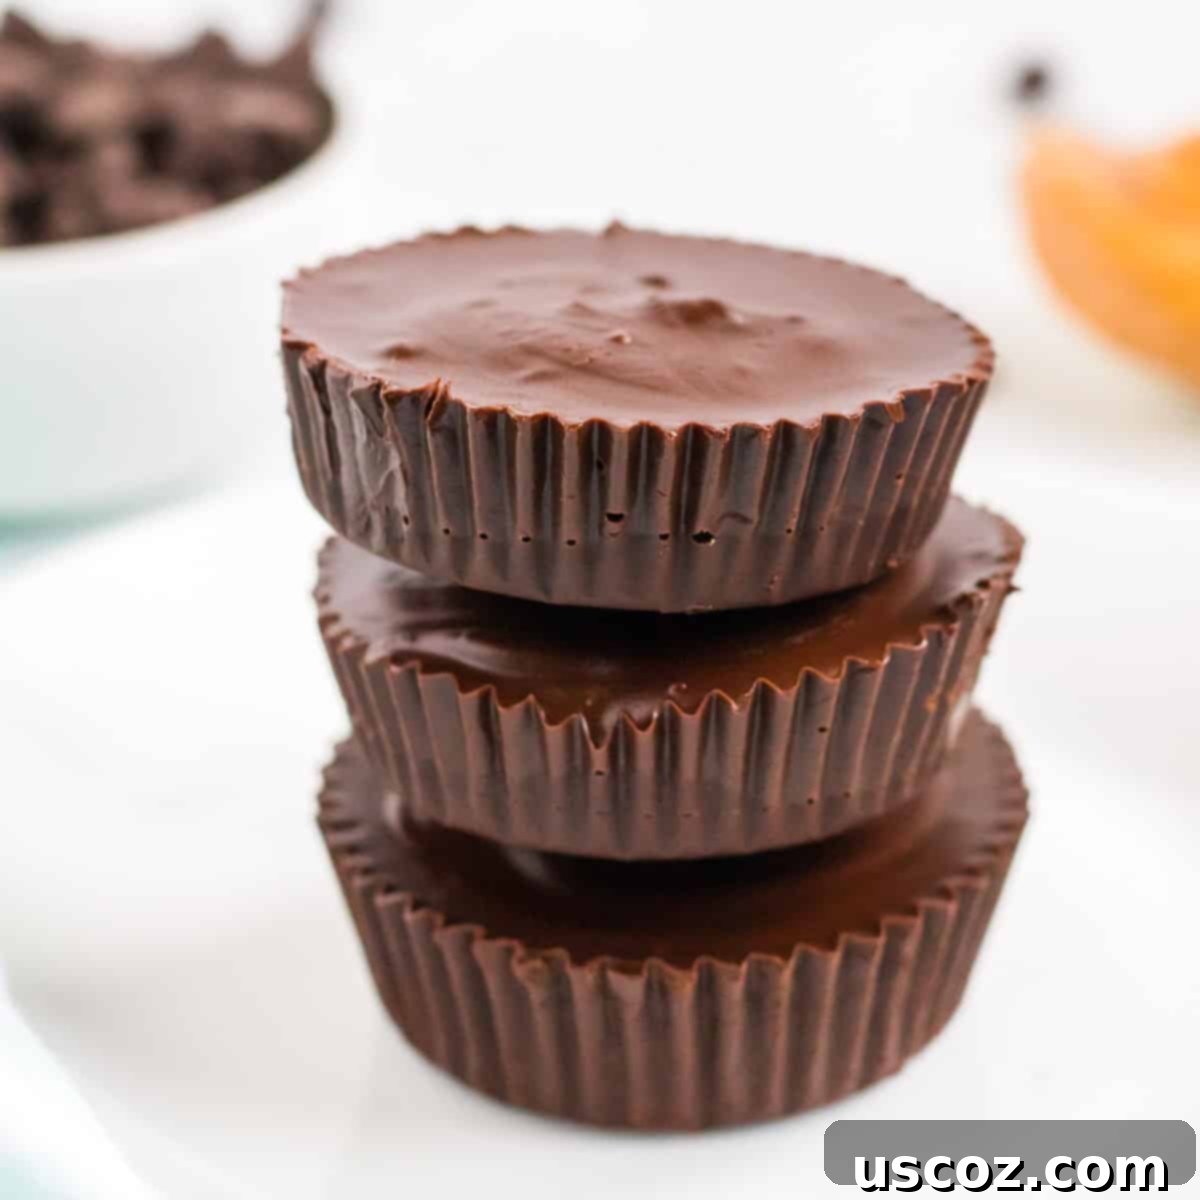
Ultimate Homemade Vegan Peanut Butter Cups: Better Than Reese’s, Easy & Gluten-Free
These Vegan Peanut Butter Cups are crafted with simple, wholesome ingredients and deliver a flavor experience far superior to any store-bought equivalent, including Reese’s. Prepare for an incredibly easy and absolutely delicious vegan dessert that will become your new favorite!
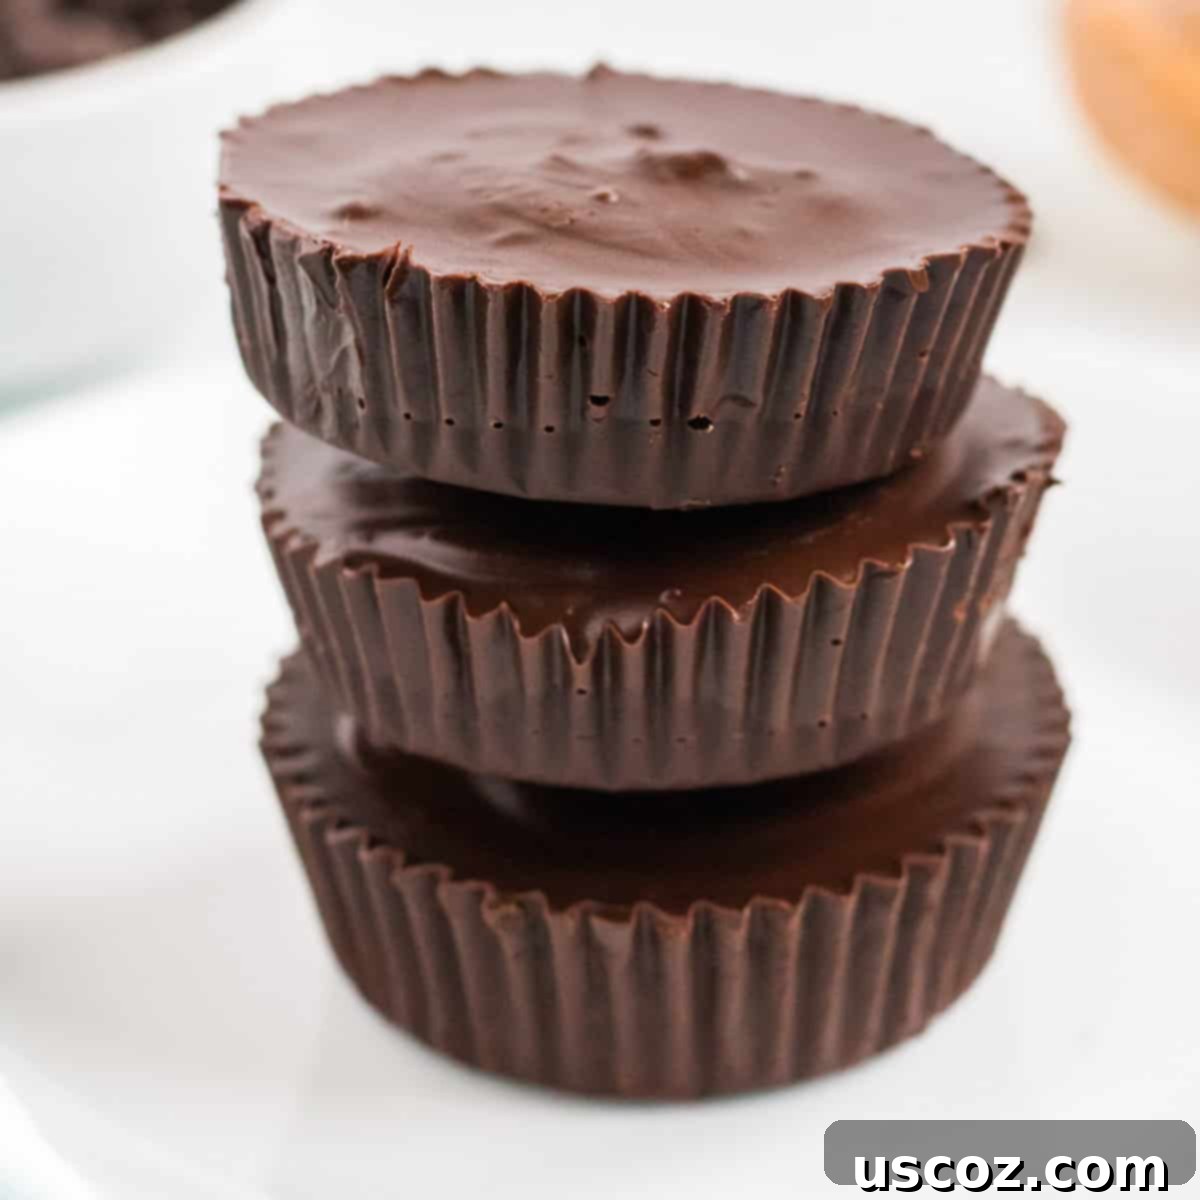
If you’re anything like me, growing up, peanut butter cups were the ultimate indulgence. While other kids reached for fruity candies, my heart always belonged to that irresistible combination of rich chocolate and creamy peanut butter. Fast forward to today, and these homemade vegan peanut butter cups have become my go-to no-bake dessert, consistently outshining their conventional counterparts.
Not only are they incredibly easy to make, coming together in mere minutes, but they are also naturally gluten-free and dairy-free. This means everyone can enjoy this classic treat without compromise. Forget about complex ingredients or lengthy baking processes; all you need are a few pantry staples and a little freezer time to create these perfect chocolate and peanut butter delights.
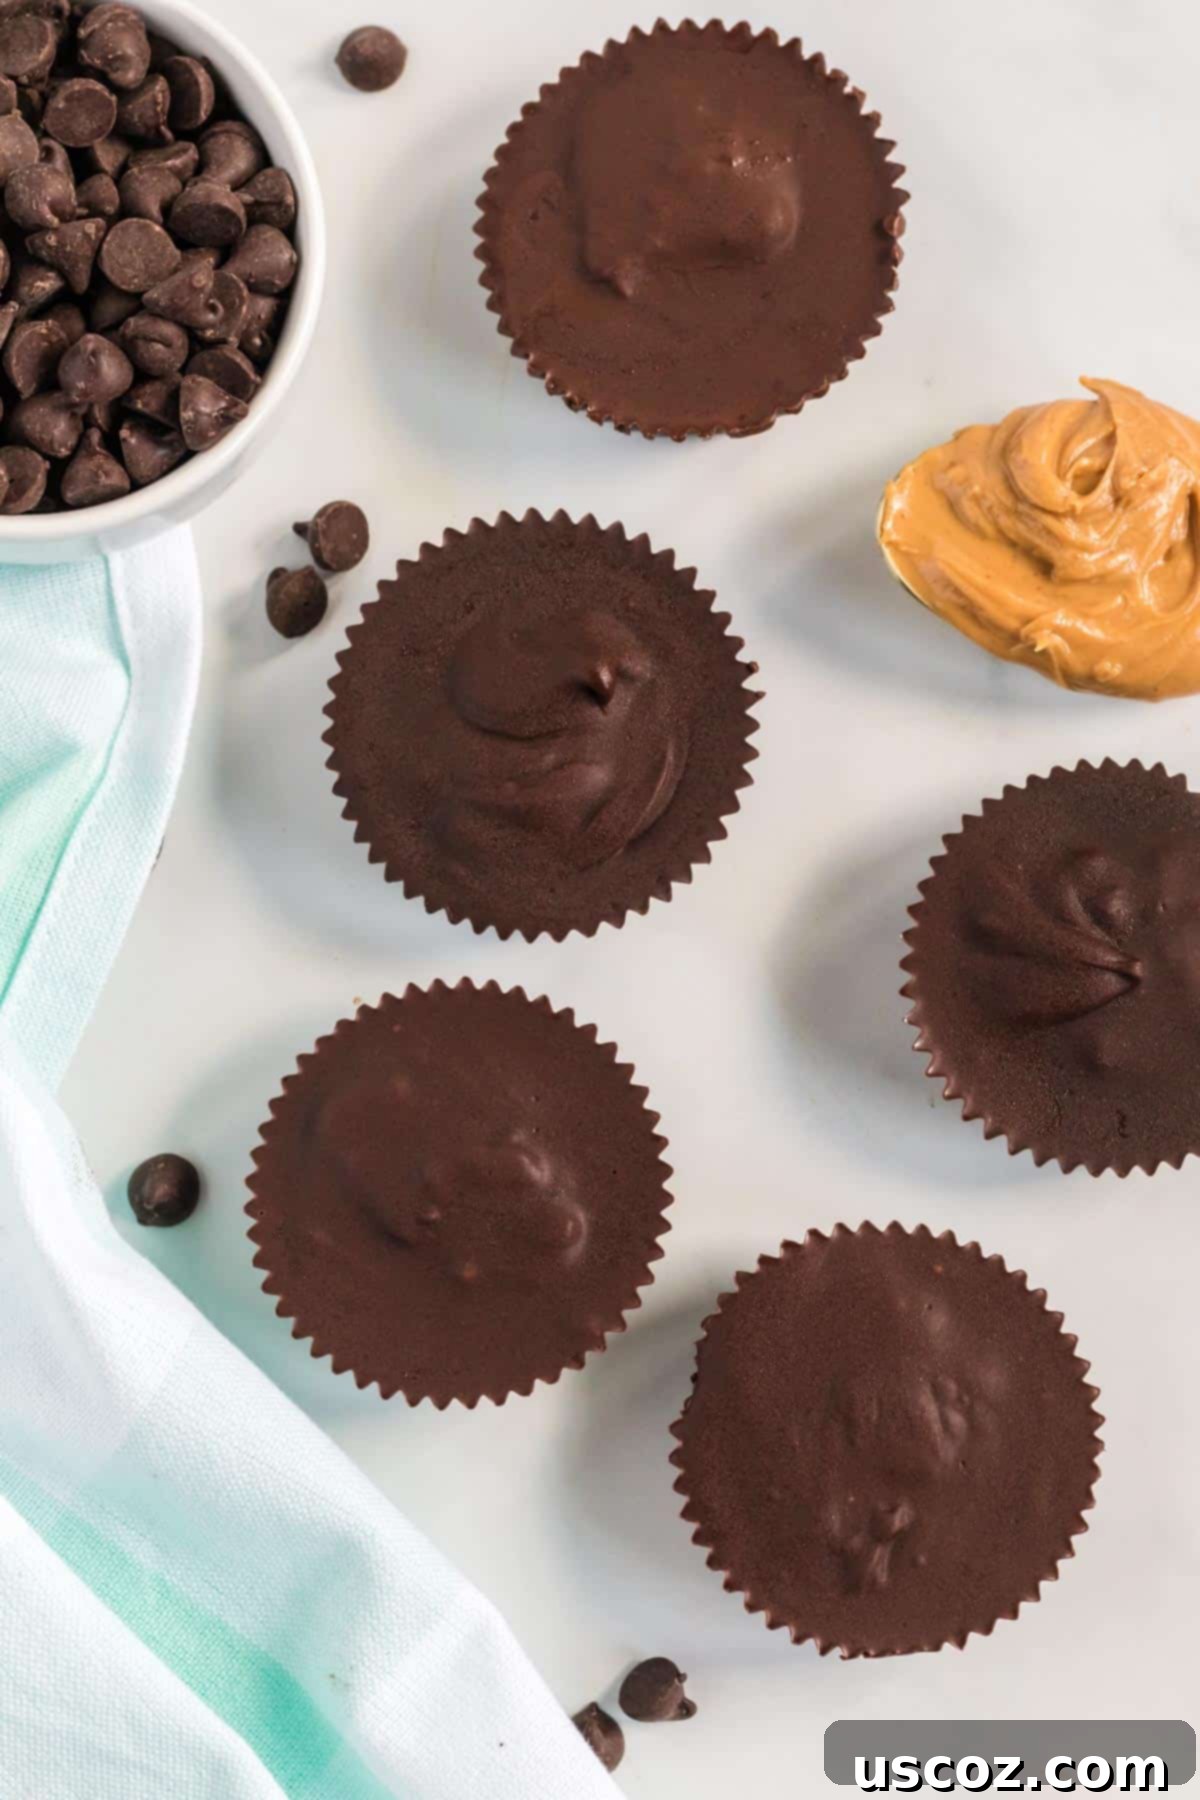
Why Homemade Vegan Peanut Butter Cups are the Best
These aren’t just any ordinary chocolate peanut butter cups; they are a revelation. While store-bought brands like Reese’s offer convenience, they often come with a long list of artificial ingredients, excessive sugar, and dairy. Our homemade version takes the classic flavor profile and elevates it, making it accessible to those on a vegan or gluten-free diet, and frankly, anyone who appreciates a truly exquisite dessert.
The unparalleled flavor of these cups stems from the quality of the ingredients and the freshness of a homemade treat. Unlike processed candies, you control every element, resulting in a cleaner, richer, and more authentic taste that you’ll crave again and again. They share a delightful similarity with my healthy no-bake peanut butter truffles, but in the iconic, satisfying cup form.
Essential Ingredients for Your Perfect Vegan Peanut Butter Cups
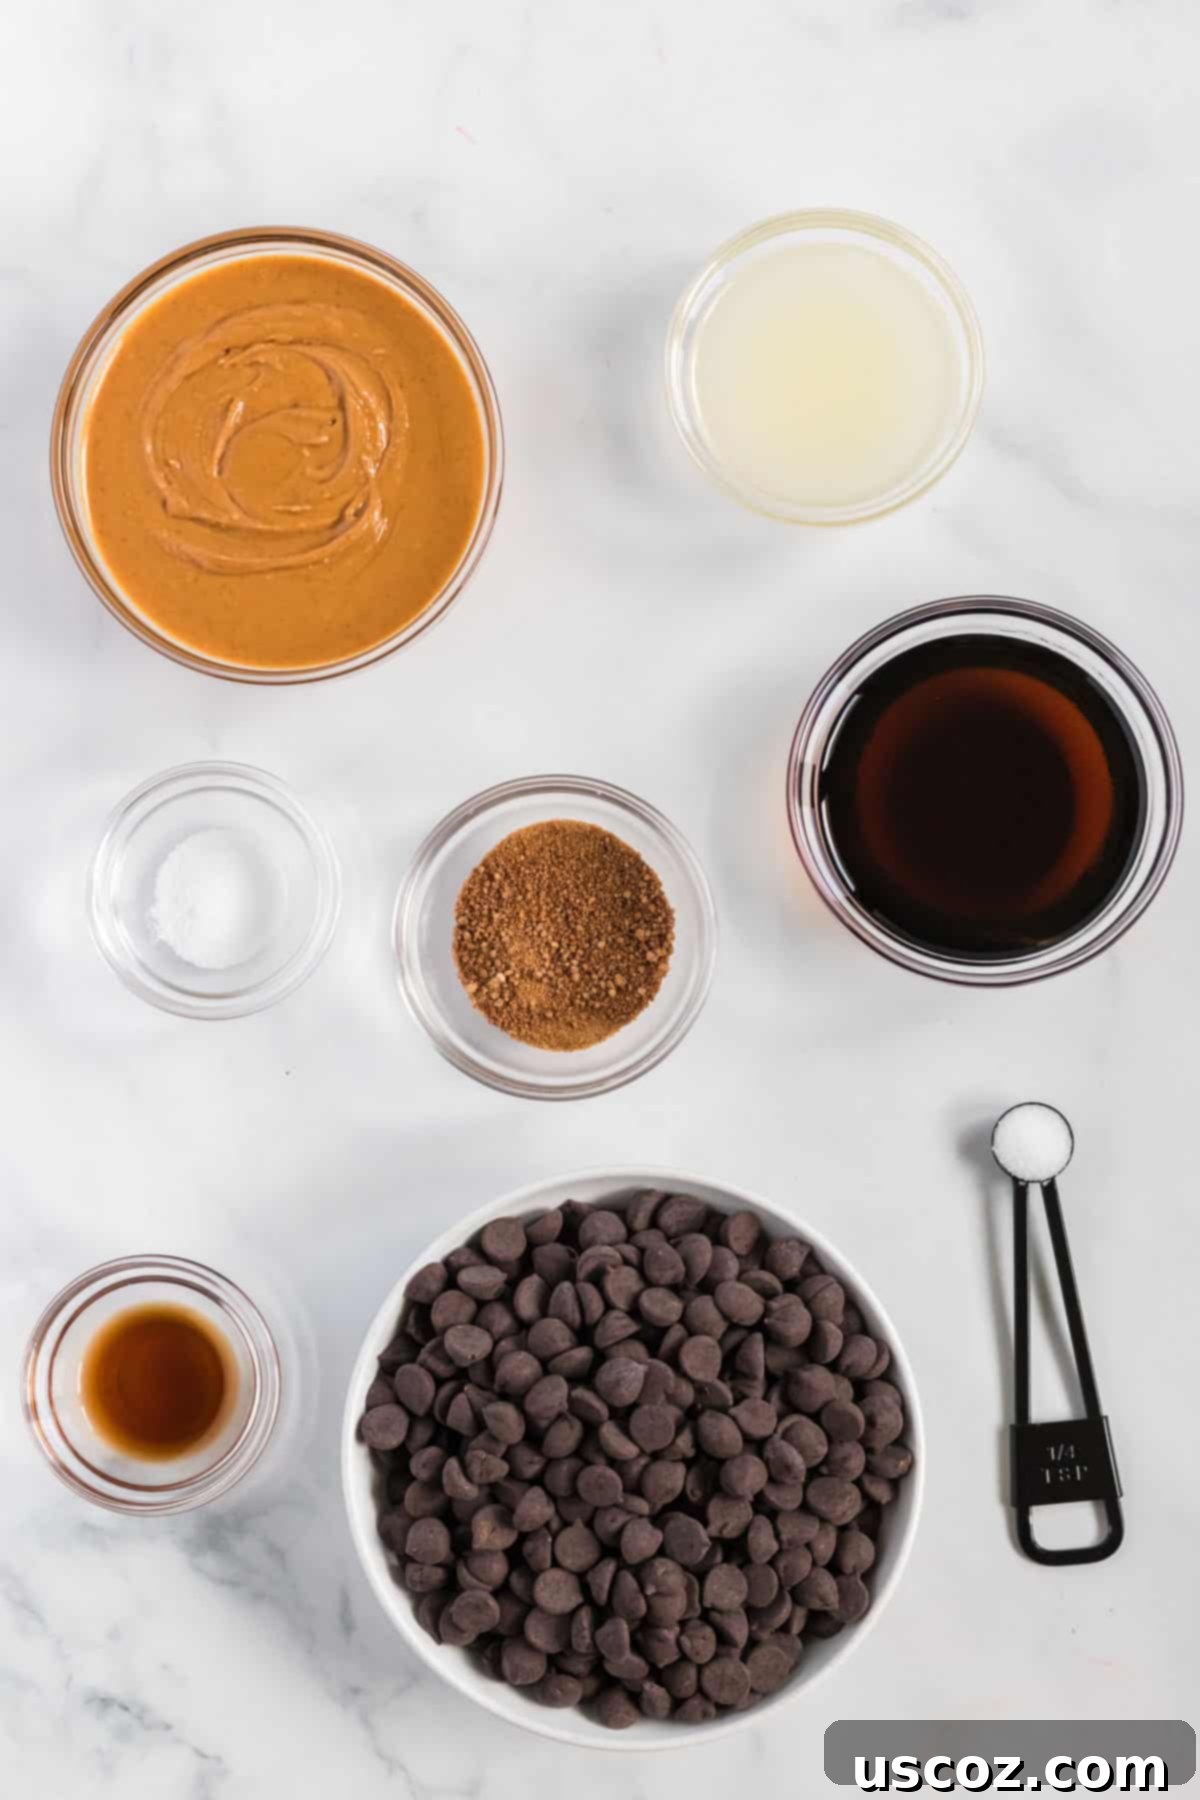
Creating these delightful dairy-free chocolate peanut butter cups requires just a few simple ingredients, all chosen to ensure optimal flavor and texture. The magic lies in the combination and quality of each component:
- Creamy Peanut Butter: The star of the show! Opt for an all-natural, unsweetened variety where the only ingredients are peanuts and salt. This is crucial for achieving the perfect consistency and a rich, authentic peanut flavor. Chilling it beforehand helps it thicken for a firmer filling.
- Coconut Oil: This acts as the setting agent for both the chocolate and peanut butter layers, giving the cups their satisfying firm texture when chilled. It also adds a subtle richness and gloss to the chocolate.
- Semi-Sweet Vegan Chocolate Chips: Look for chocolate chips that are explicitly labeled “vegan” or “dairy-free.” Semi-sweet provides a balanced sweetness that perfectly complements the peanut butter. You can also use dark chocolate for a less sweet, more intense flavor.
- Pure Maple Syrup: A natural sweetener that adds a lovely depth of flavor to the peanut butter filling. Its liquid form also helps bind the filling together.
- Coconut Palm Sugar: This unrefined sugar contributes a caramel-like note and a slight grittiness (in a good way!) to the peanut butter filling, mimicking the texture of traditional peanut butter cups.
- Vanilla Extract: Enhances the overall flavor profile of both the chocolate and the peanut butter, adding a warm, aromatic note.
- Salt: A pinch of sea salt in both layers is key to balancing the sweetness and intensifying the chocolate and peanut butter flavors. Don’t skip it!
How to Make the Best Vegan Peanut Butter Cups: Step-by-Step
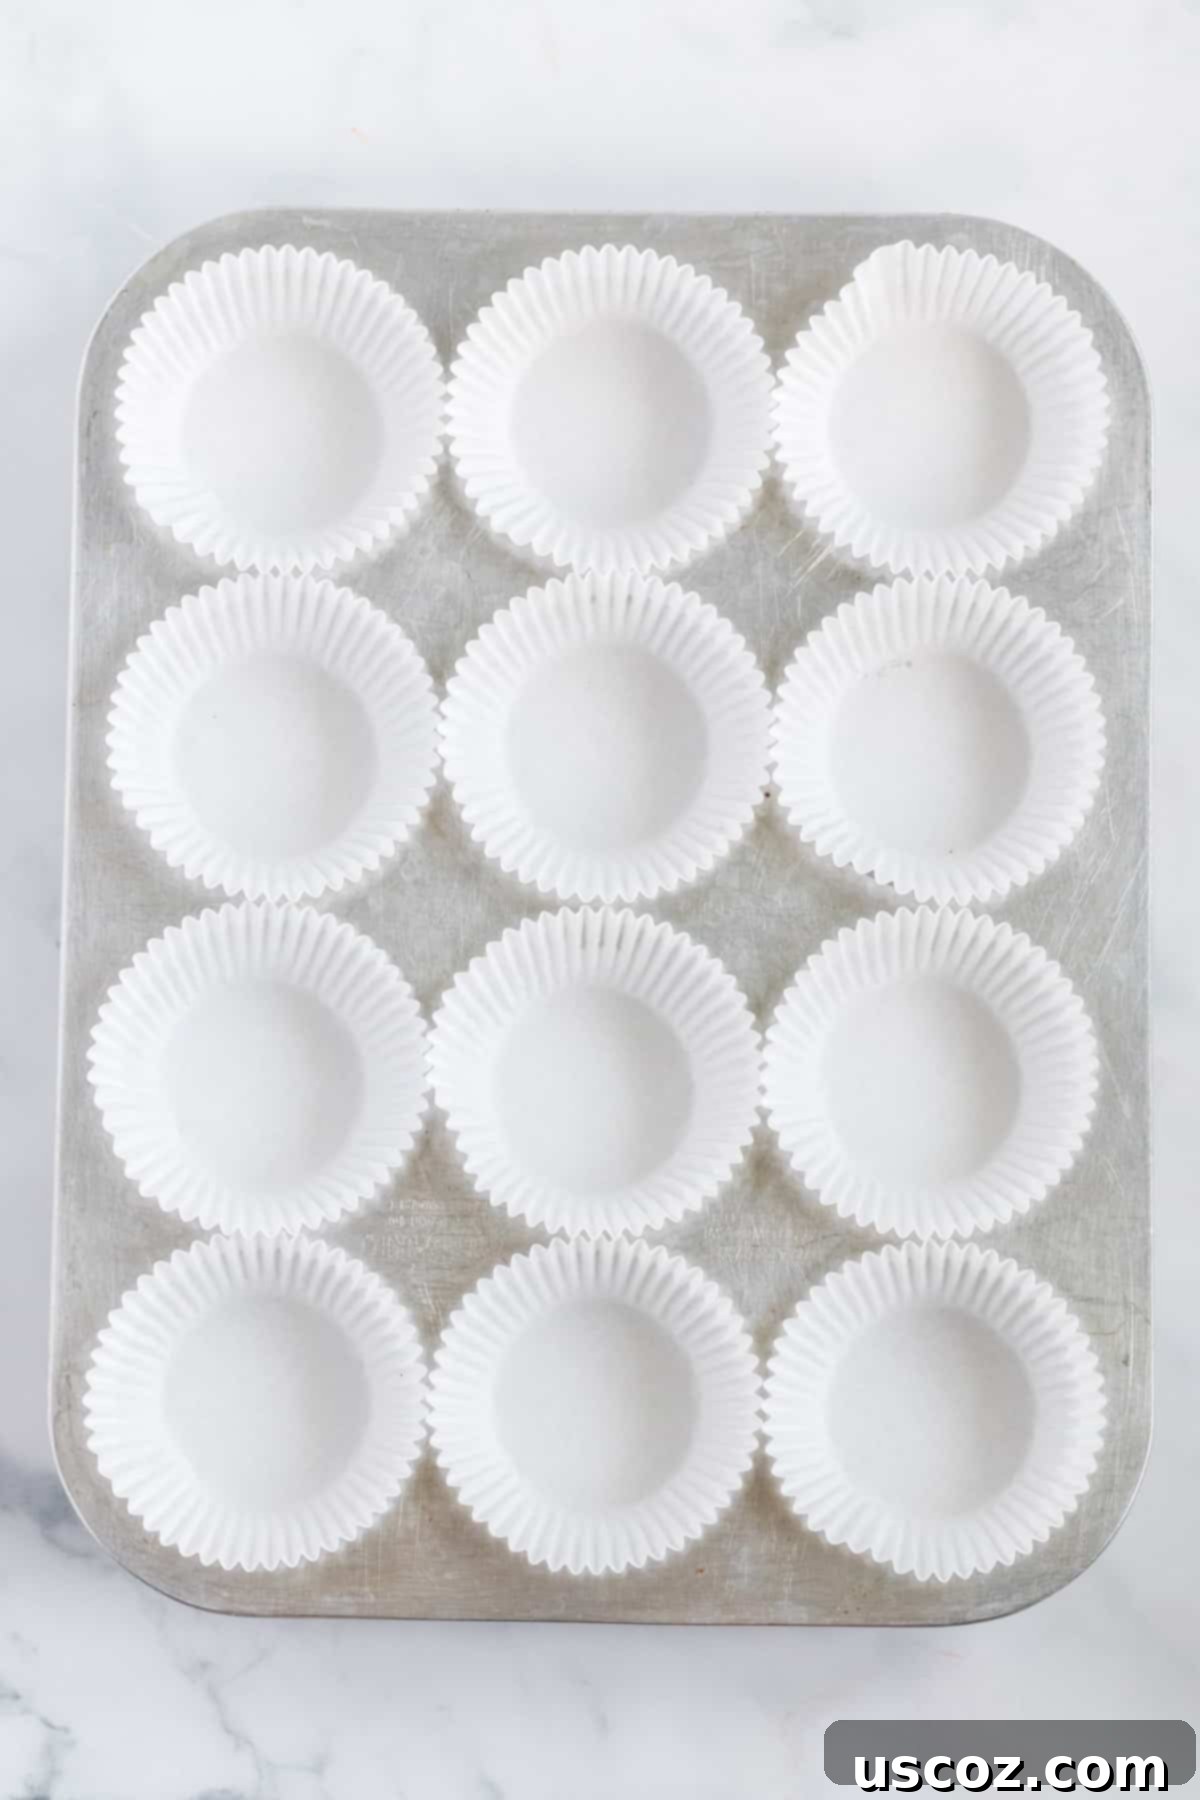
The beauty of these easy no-bake vegan desserts is their simplicity. You don’t need any specialized equipment or advanced culinary skills. Just a standard muffin tin with paper liners, and you’re ready to create these indulgent treats. This process is so straightforward, it’s perfect for a quick snack or even a fun activity to do with kids!
Creating the Luscious Chocolate Shell
The foundation of any great peanut butter cup is its chocolate shell. This crucial step sets the stage for the perfect dessert.
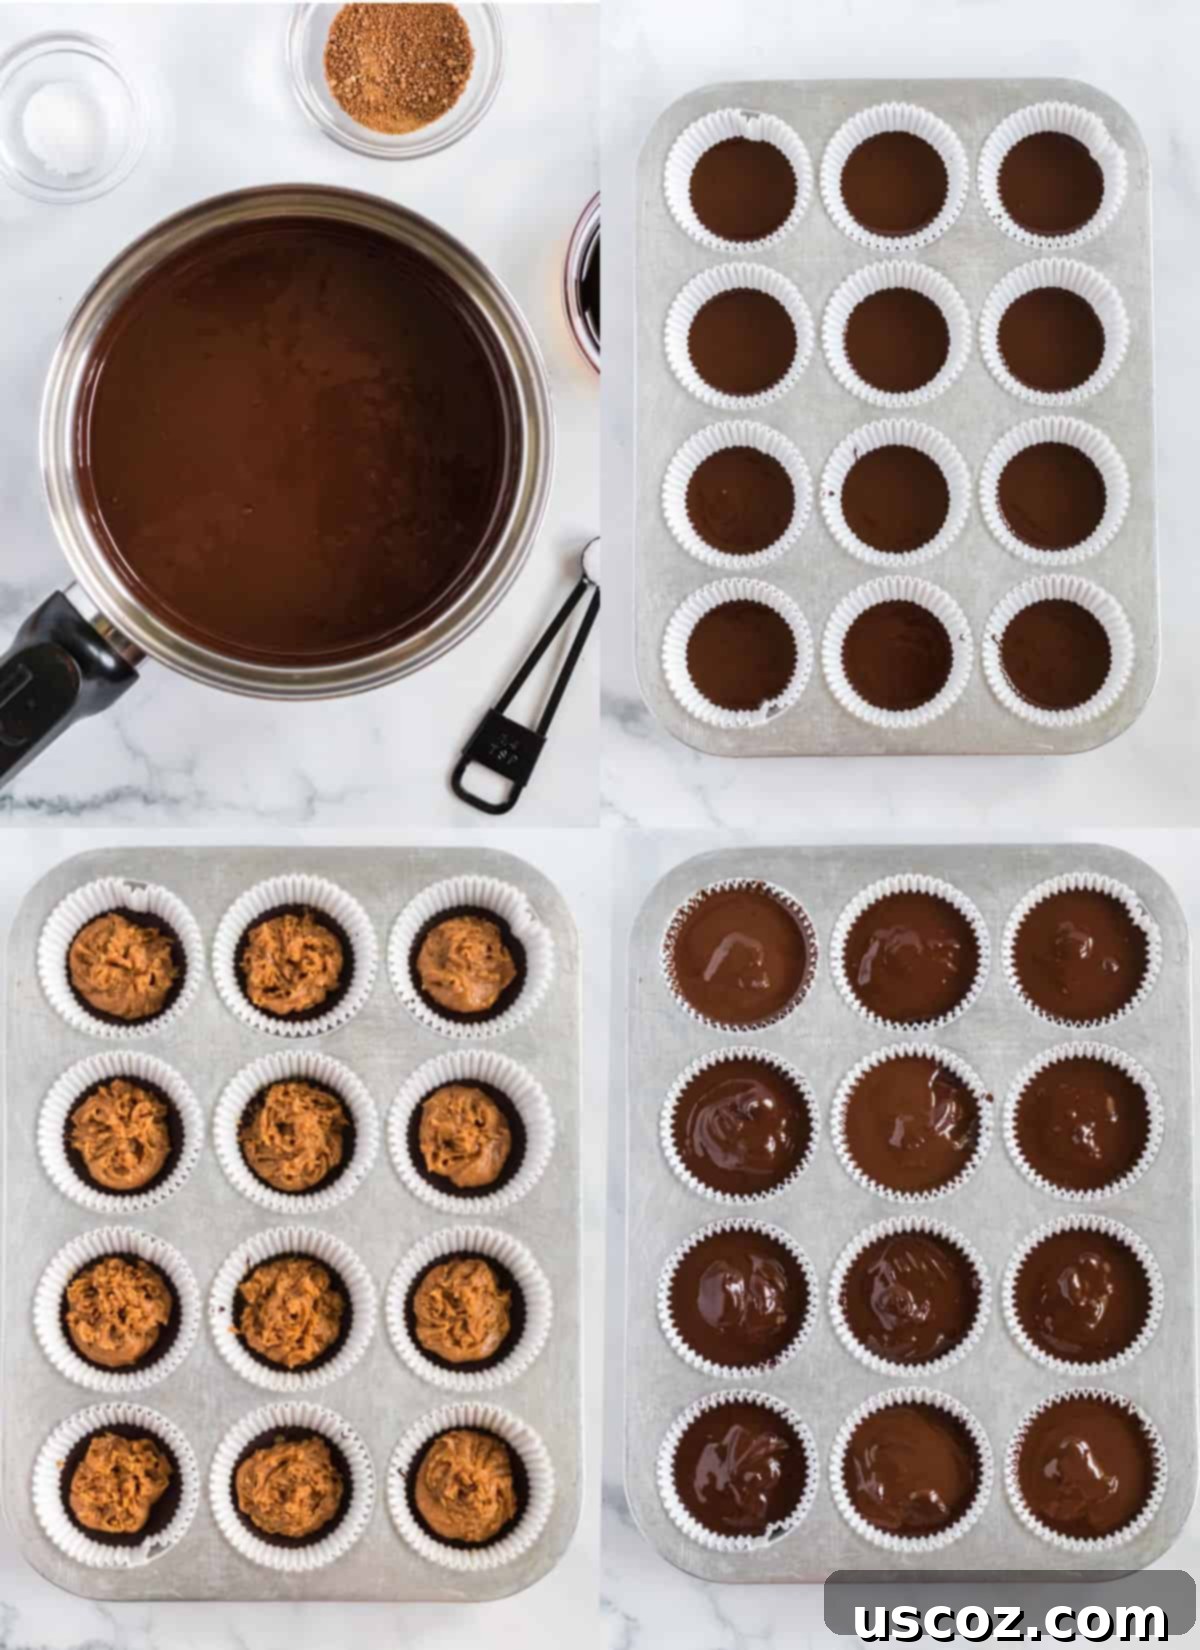
- Step 1: Melt the Chocolate and Coconut Oil. In a saucepan over low heat, gently melt your vegan chocolate chips and coconut oil. Stir continuously to prevent burning and ensure a smooth, glossy consistency. Alternatively, you can use a microwave, heating in 30-second intervals and stirring thoroughly between each, until completely melted. Patience is key here to achieve a perfect, unburnt chocolate.
- Step 2: Enhance the Flavor. Once your chocolate mixture is beautifully melted, stir in the sea salt and vanilla extract. These additions are not just for flavor; salt balances the sweetness, while vanilla adds an aromatic depth that elevates the chocolate.
- Step 3: Lay the First Layer. Line a 12-cup muffin tin with paper liners. Pour about 2 teaspoons of the melted chocolate mixture into the bottom of each liner. Gently tap the muffin tin on your counter a few times to spread the chocolate evenly and release any air bubbles.
- Step 4: Chill to Set. Transfer the muffin tin to the freezer for approximately 10-15 minutes, or until the chocolate layer is completely solid. This brief chilling period is essential for creating a firm base for your peanut butter filling and allows you the perfect window to prepare the next layer.
Whipping Up the Irresistible Peanut Butter Filling
The heart of these homemade vegan treats is the rich, slightly sweet, and perfectly textured peanut butter filling. Getting the right consistency is key, and it’s surprisingly simple.
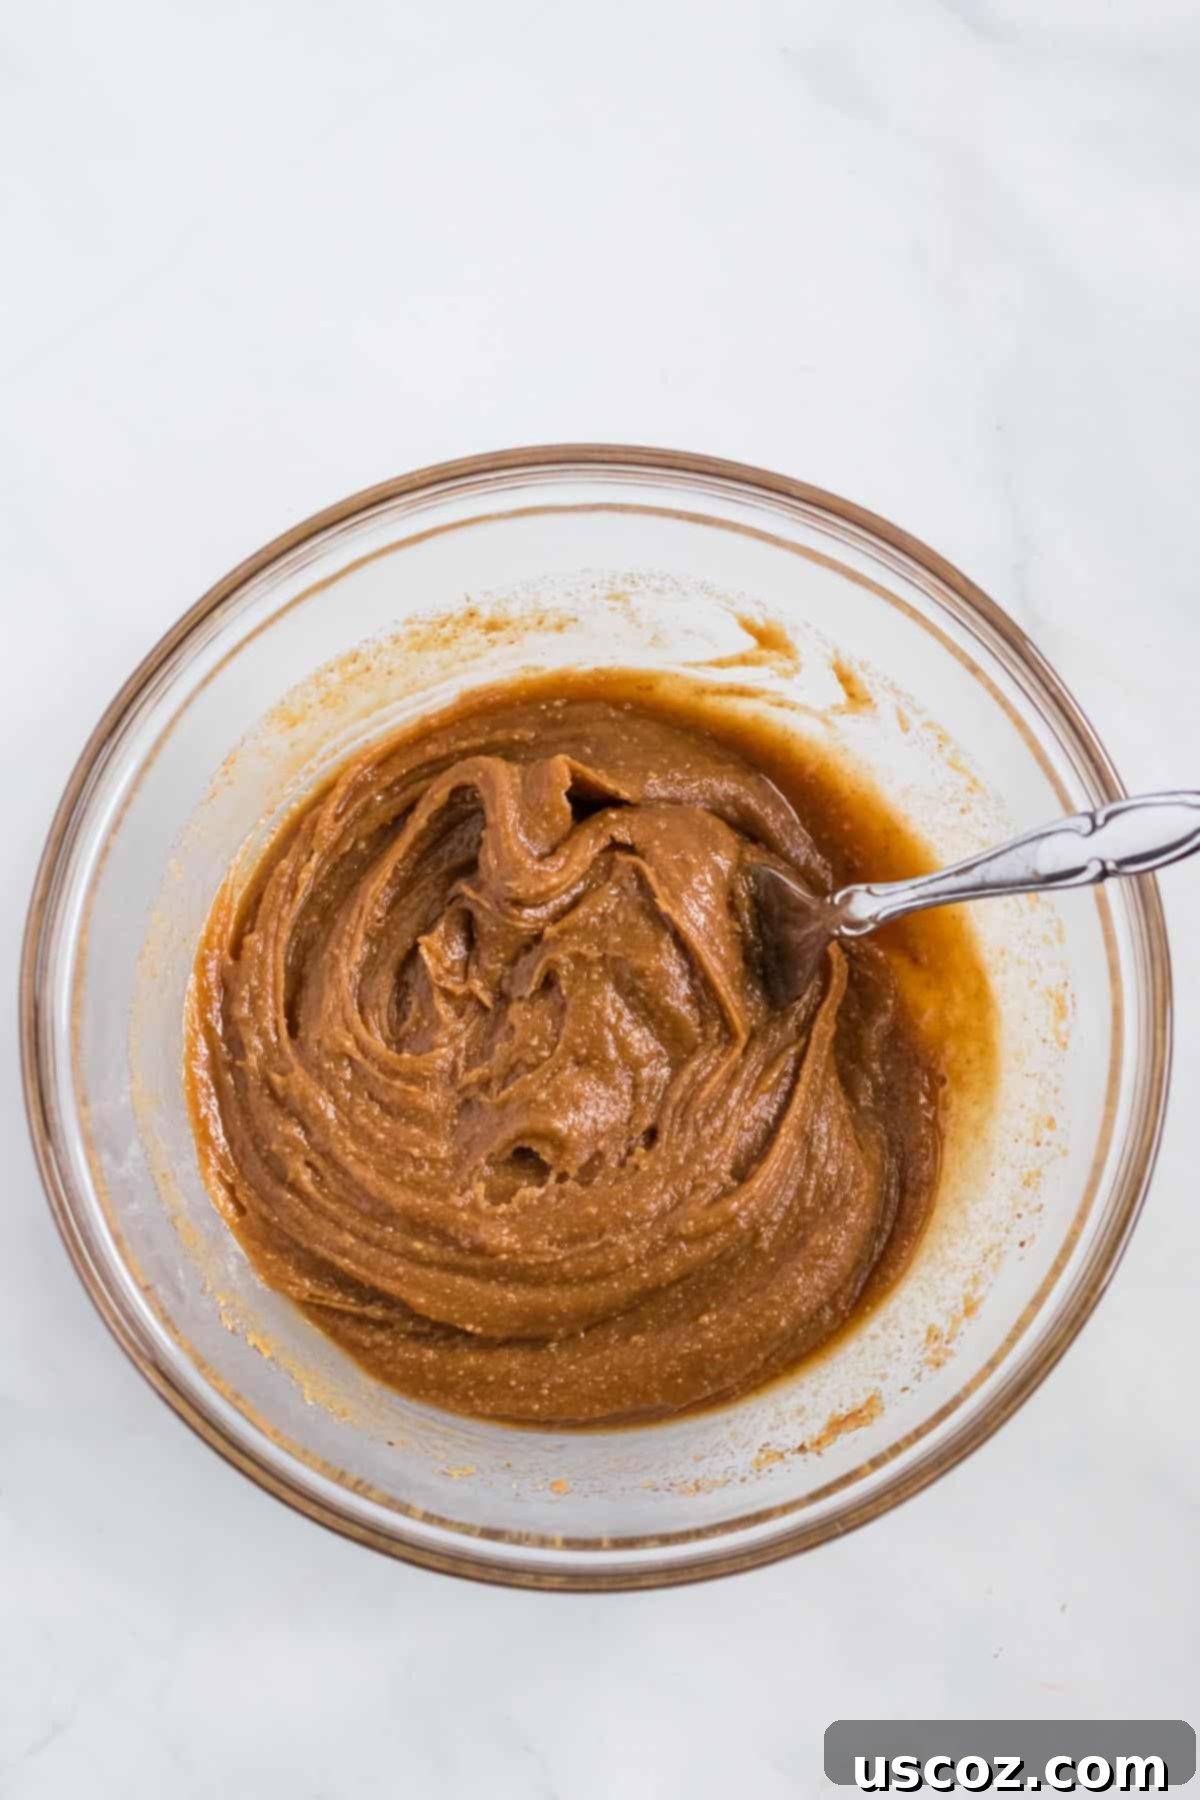
- Step 5: Combine Peanut Butter Filling Ingredients. In a medium bowl, whisk together the chilled all-natural peanut butter (remember, thick and not drippy!), pure maple syrup, an additional pinch of sea salt, and coconut palm sugar. Mix thoroughly until all ingredients are well combined and the mixture forms a thick, scoopable consistency. This filling is so delicious, you might be tempted to eat it by the spoonful!
Assembling and Finishing Your Peanut Butter Cups
This is where your vegan peanut butter cups truly come to life, layered with decadent chocolate and creamy filling. The assembly is quick and satisfying.
- Step 6: Add the Peanut Butter Layer. Retrieve your muffin tin from the freezer. Evenly distribute the peanut butter filling into each of the 12 muffin cups, pressing it gently to form a flat layer over the hardened chocolate. A small spoon or the back of a measuring spoon works perfectly for this.
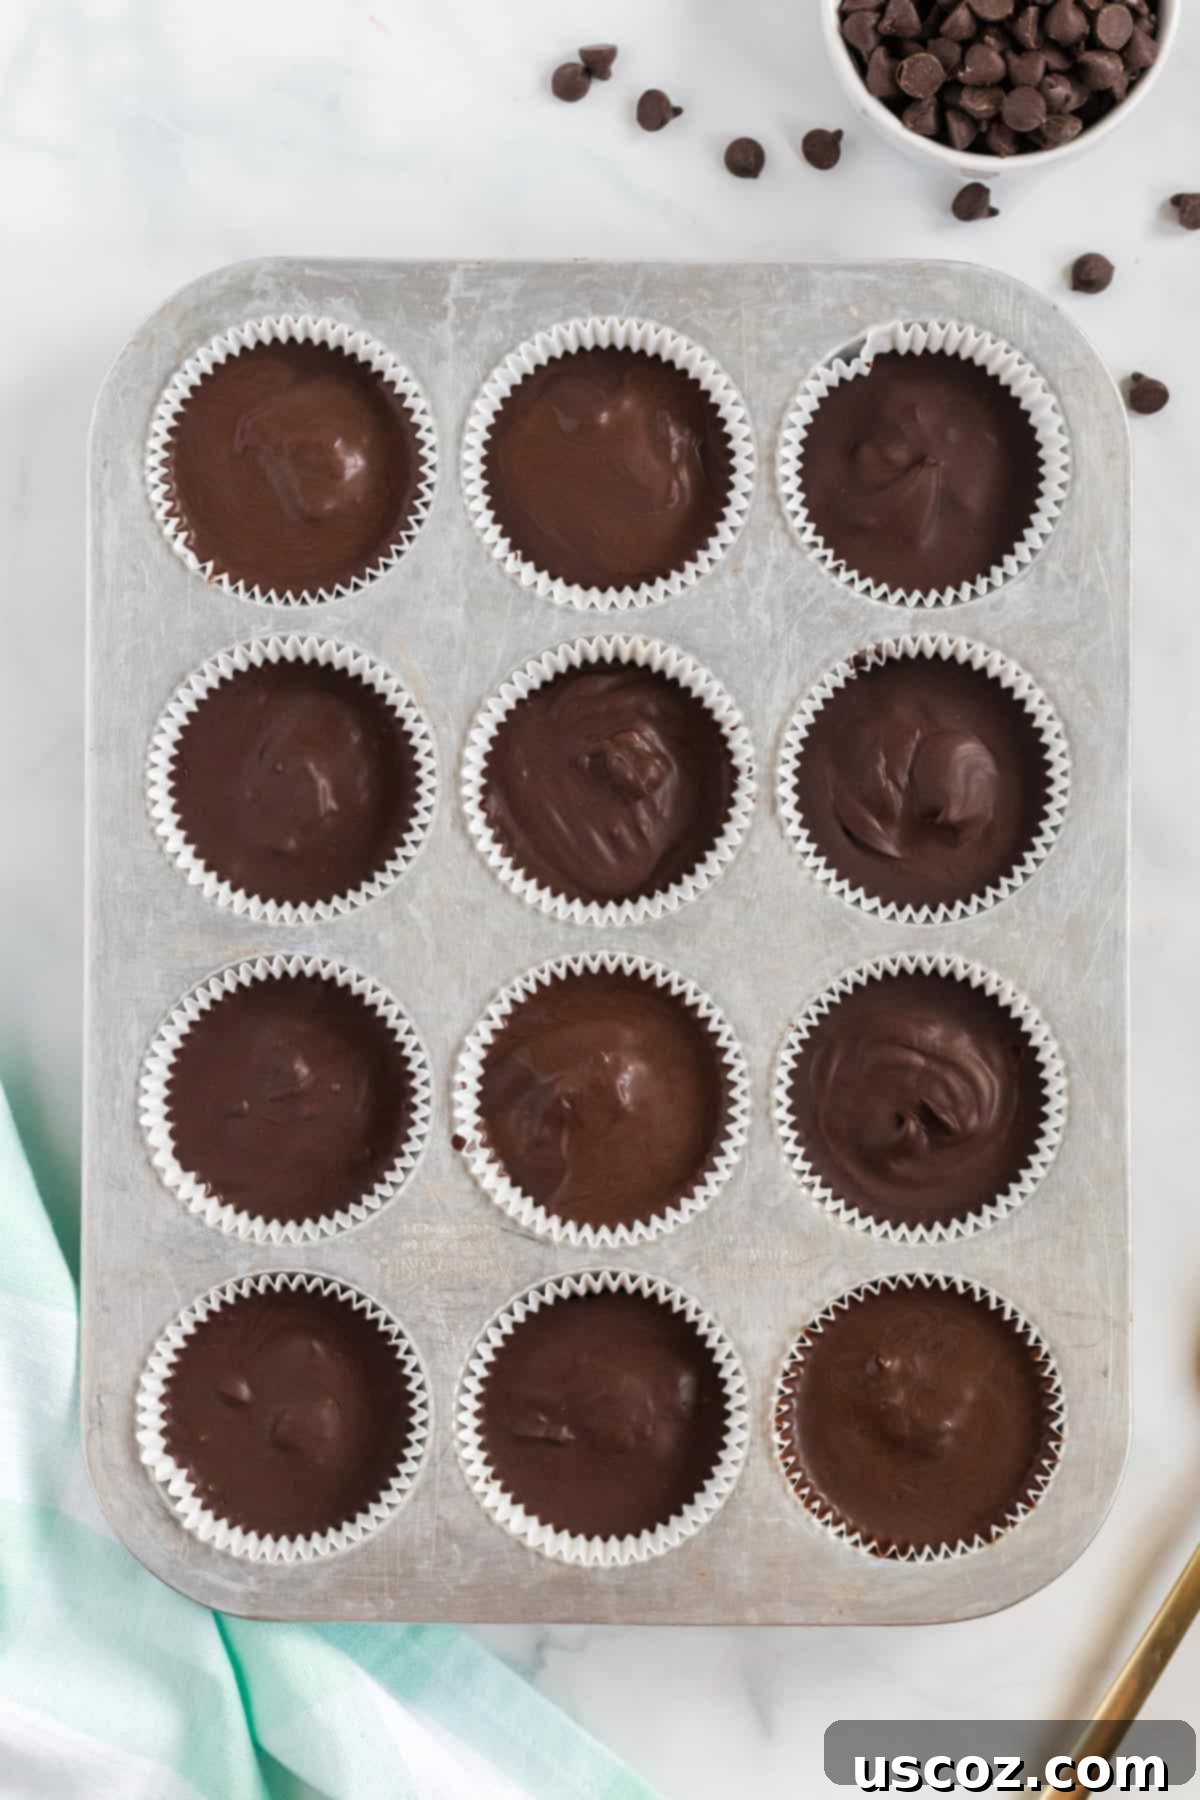
- Step 7: Top with More Chocolate. Pour the remaining melted chocolate mixture over the peanut butter filling in each cup, ensuring the peanut butter is completely covered. You want a smooth, even top layer that encapsulates the deliciousness within.
- Step 8: Final Freeze. Return the muffin tin to the freezer for another 15 minutes, or until the top chocolate layer is completely set and firm. Once solid, these delightful homemade treats are ready to be unwrapped and enjoyed!
These chocolate and peanut butter delights look incredibly impressive, yet the entire process is surprisingly simple and not at all time-consuming. They make for a wonderful activity to do with children, who will love helping with the mixing and layering.
Tips for the Most Delicious Vegan Peanut Butter Cups
To ensure your homemade peanut butter cups are consistently perfect, here are a few expert tips:
- Choose the Right Peanut Butter: This is arguably the most crucial tip. Always use natural peanut butter that lists only peanuts and salt as ingredients. Avoid brands with added sugars or oils, as these can make the filling too runny and prevent it from setting properly. Chilling your natural peanut butter in the fridge for an hour or two before mixing can also help achieve a thicker, more stable filling.
- Don’t Rush the Melting Chocolate: Whether using a double boiler or microwave, melt the chocolate slowly and gently. Overheating chocolate can cause it to seize or burn, making it unusable. Low and slow is the way to go for a perfectly smooth chocolate shell.
- Even Layers are Key: For that classic peanut butter cup experience, aim for relatively even layers of chocolate and peanut butter. This ensures a balanced bite every time. Tapping the muffin tin after adding each chocolate layer helps it settle flat.
- Customize Your Sweetness: Feel free to adjust the amount of maple syrup and coconut palm sugar in the peanut butter filling to suit your taste. If your chocolate chips are very dark, you might prefer a slightly sweeter filling, and vice versa.
- A Touch of Salt: That small amount of sea salt in both the chocolate and peanut butter layers is magical. It doesn’t make the cups salty, but rather enhances and brings out the full depth of the chocolate and peanut butter flavors. Don’t omit it!
Storage and Serving Suggestions for Your Vegan Treats
These dairy-free peanut butter cups are not just easy to make; they’re also incredibly versatile in how you can store and enjoy them. Their shelf life depends on your preferred texture and storage method.
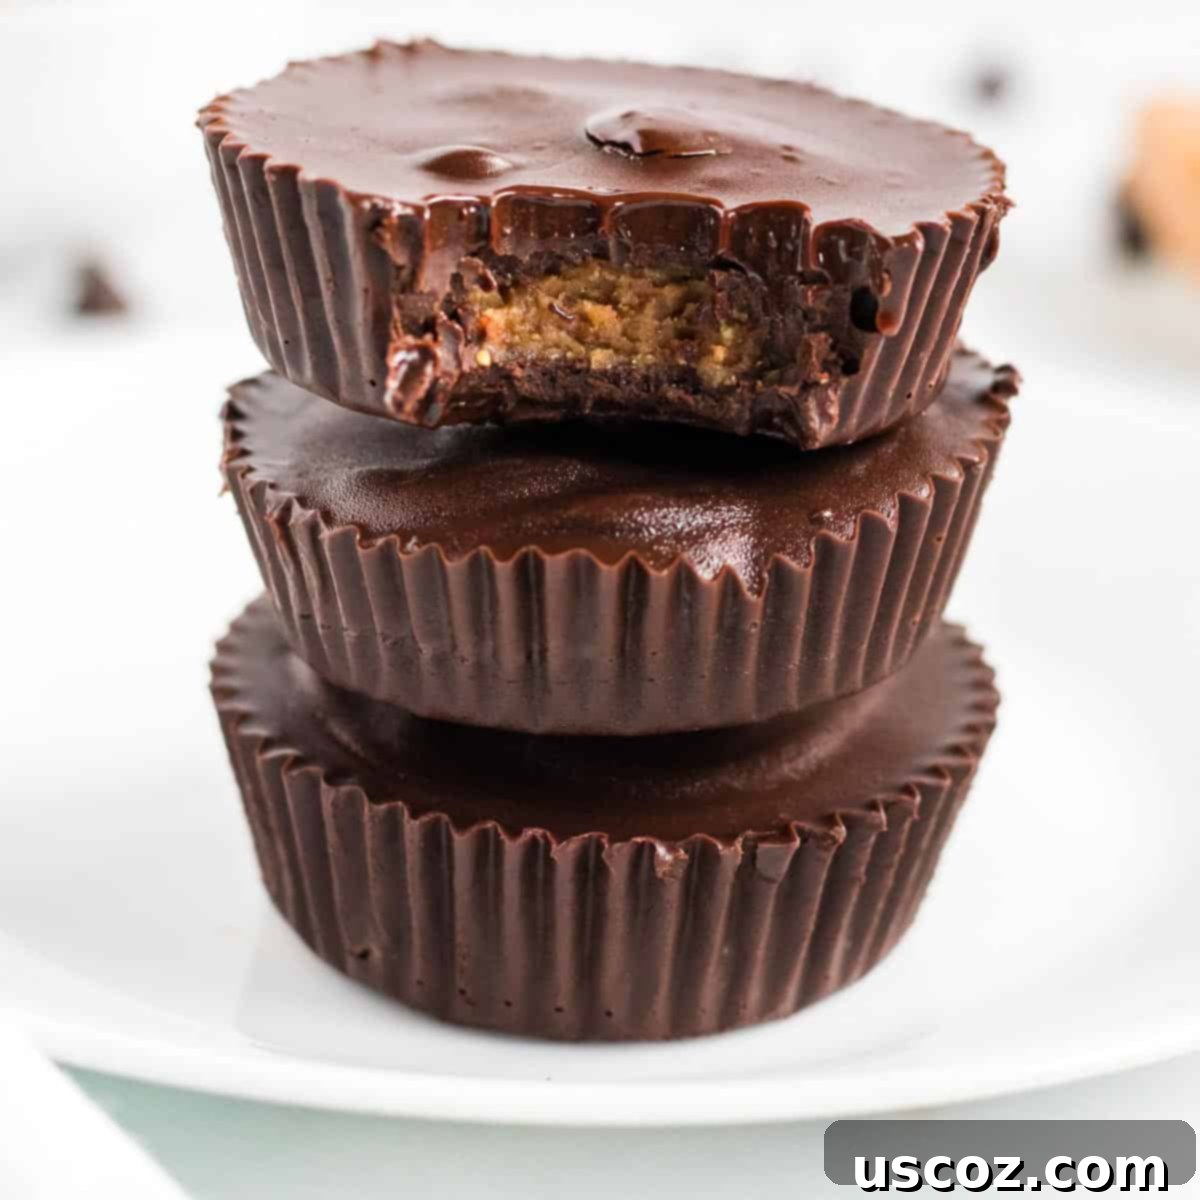
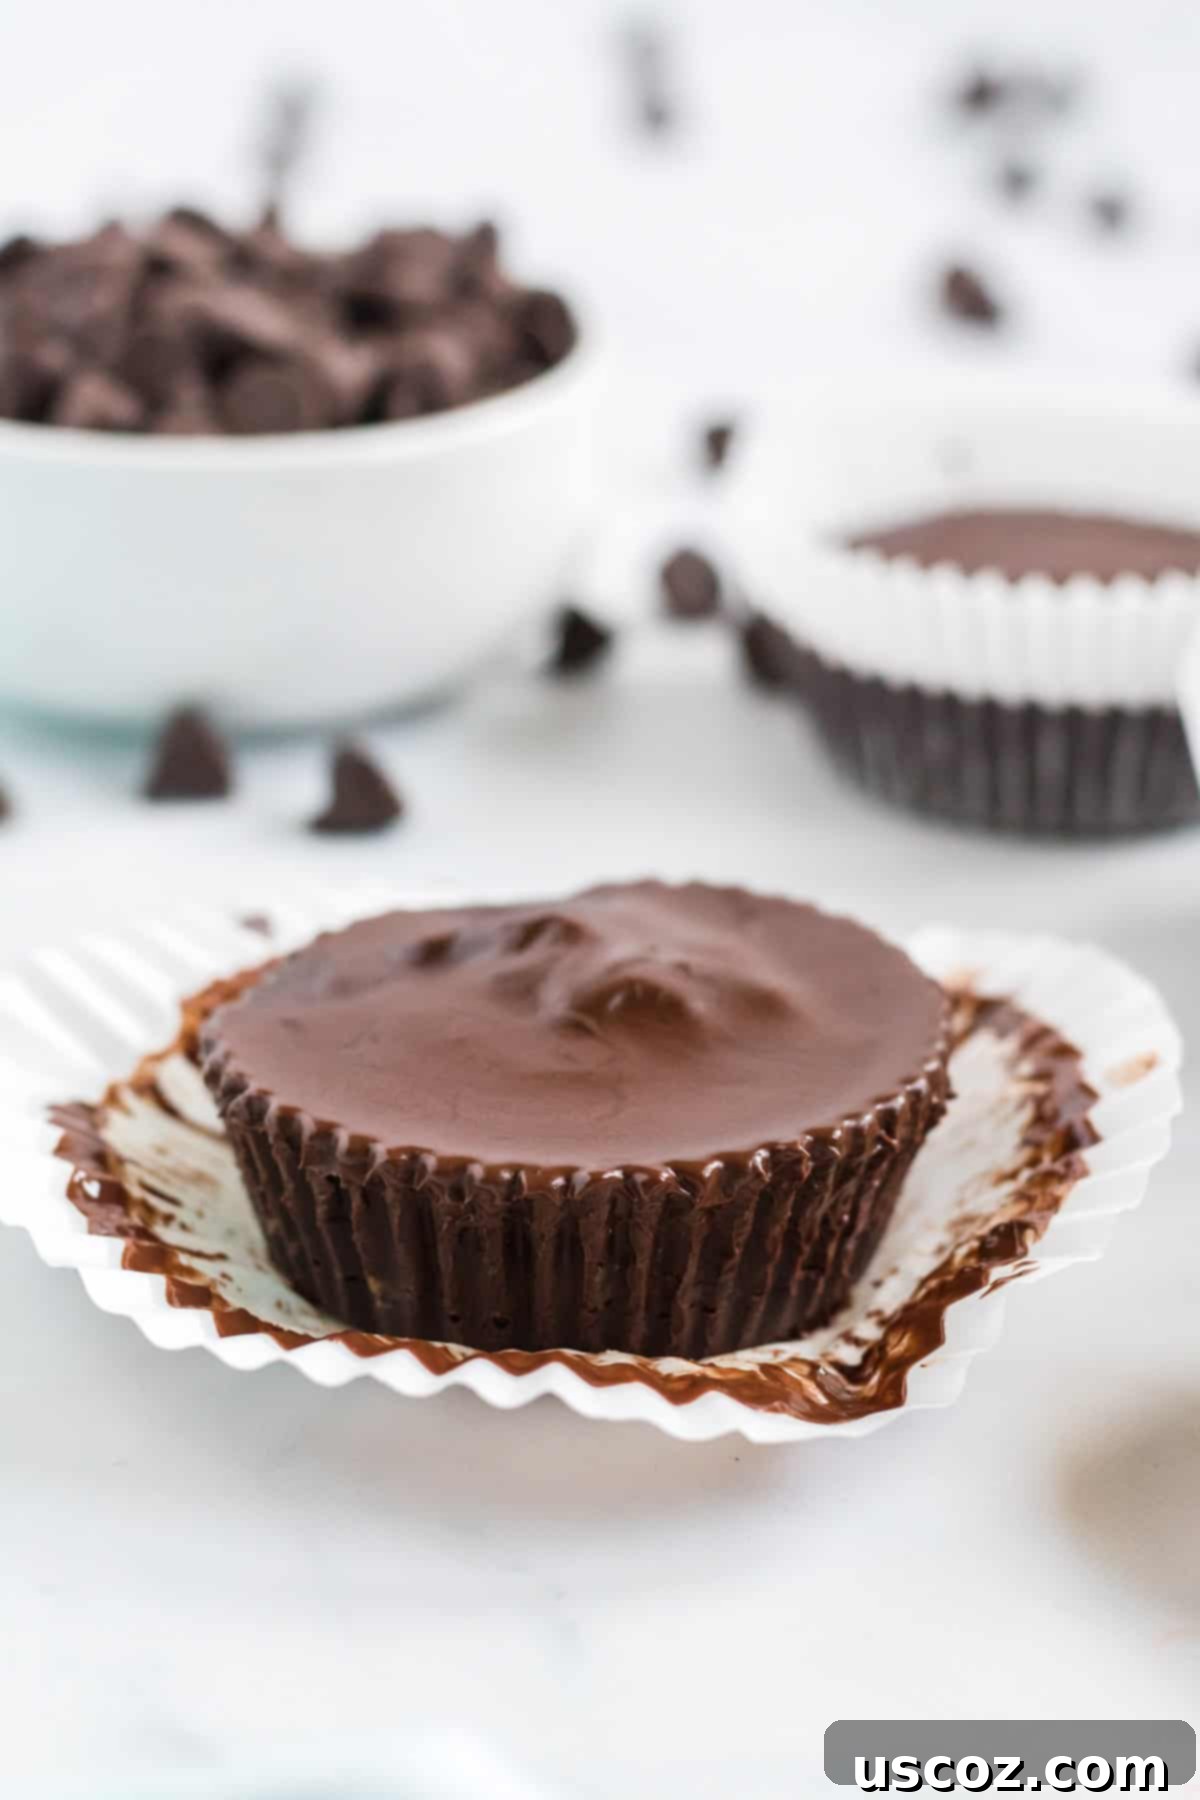
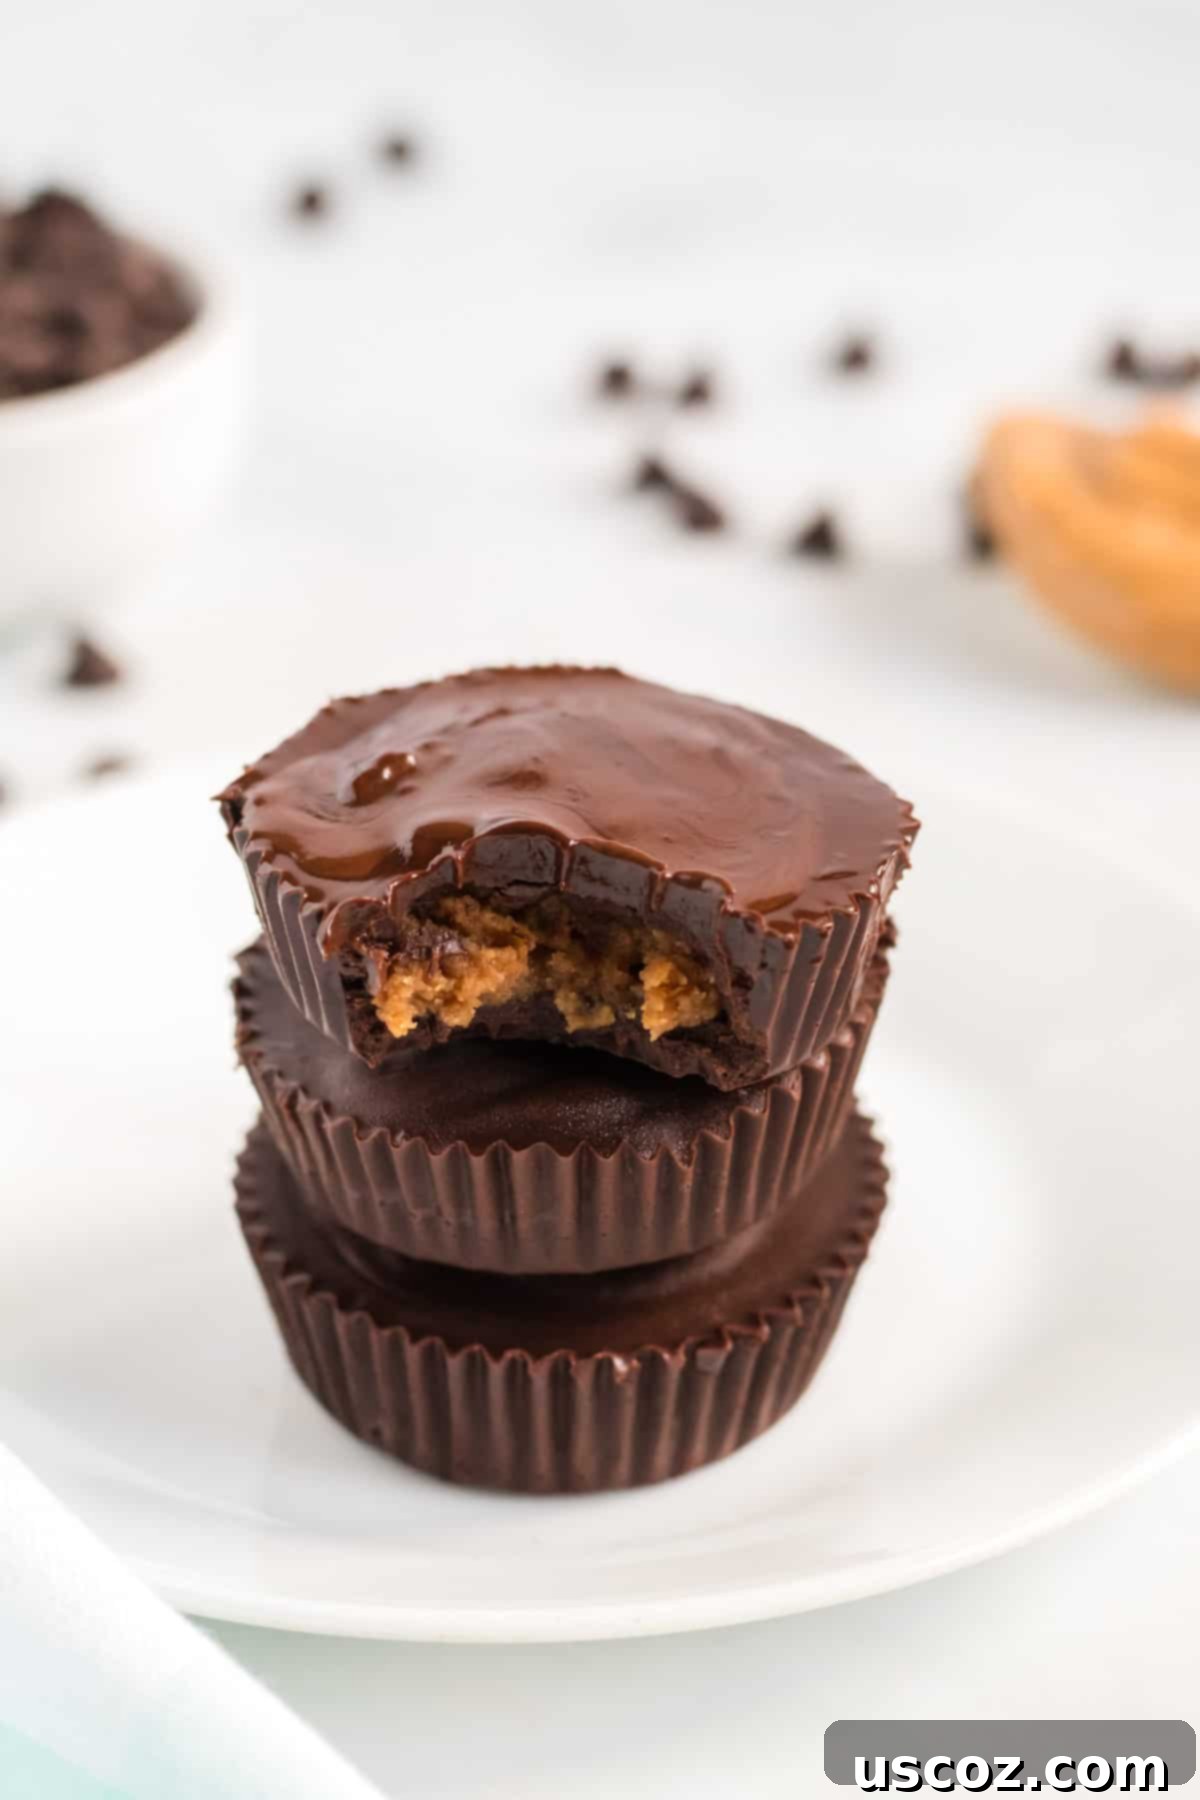
The beauty of this recipe is that the chocolate shell becomes wonderfully firm when chilled. You can store your completed peanut butter cups in an airtight container or a freezer-safe bag in either the fridge or the freezer. I personally love mine straight from the freezer – the chocolate is extra snappy, and the peanut butter filling has a firmer, almost fudge-like consistency. If you prefer a softer, creamier peanut butter center, simply remove them from the freezer a minute or two before eating, or store them in the refrigerator.
These cups tend to disappear quickly in my house, often within a day! If you’re hoping for leftovers or planning to share, I highly recommend making a double batch. They’re perfect for satisfying those everyday chocolate emergencies, and having a stash in the freezer is always a good idea.
Creative Ways to Enjoy Your Homemade Vegan Peanut Butter Cups
While these are perfectly delightful on their own, don’t hesitate to get creative with how you serve them:
- Ice Cream Mix-In: Chop a few cups into small pieces and stir them into your favorite vegan vanilla ice cream for a decadent “Reese’s” style ice cream. A drizzle of homemade magic shell or chocolate syrup will take it to the next level!
- Dessert Platter Star: Arrange them on a dessert platter with other vegan treats for parties or gatherings. Their classic appeal makes them a crowd-pleaser.
- Gourmet Gifting: Package a few in a decorative box or bag for a thoughtful homemade gift that any chocolate and peanut butter lover will adore.
- Crumble Topping: Roughly chop them and sprinkle over vegan brownies, cakes, or even oatmeal for an extra layer of texture and flavor.
Why These Vegan & Gluten-Free Peanut Butter Cups are a Must-Try
Since I first published this recipe years ago, these homemade vegan peanut butter cups have consistently been a smash hit. Their addictive combination of rich chocolate and creamy peanut butter makes them disappear almost as quickly as they’re made. Every batch turns out perfect, offering a consistent and reliable treat.
I’ve sampled numerous store-bought vegan peanut butter cups, and honestly, none come close to the depth of flavor and satisfying texture of these homemade beauties. The ability to control the quality of ingredients, from the natural peanut butter to the dairy-free chocolate, makes all the difference.
If you’re a devoted fan of the chocolate and peanut butter pairing, you absolutely must try this recipe. It’s a game-changer for anyone seeking a healthier, more flavorful, and entirely plant-based alternative to their favorite candy. These aren’t just a substitute; they’re an upgrade.
More Vegan Dessert Inspiration
- Vegan Peanut Butter Fudge: Another fantastic option for peanut butter enthusiasts.
- Vegan Pumpkin Chocolate Chip Cookies: A seasonal favorite that’s always a hit.
- Best Vegan Apple Crisp: A comforting classic, perfect with a scoop of vegan ice cream.
- Vegan Chocolate Chip Cookies: The quintessential cookie, made vegan.
- Vegan Blueberry Peach Crisp: A delightful fruity dessert for any occasion.
- Homemade Magic Shell: Perfect for drizzling over ice cream or these very peanut butter cups!
Vegan Peanut Butter Cups
Save RecipeSaved!
Pin Recipe
Rate Recipe
Print Recipe
Ingredients
For the Chocolate Layer
- 10 oz semi sweet dairy free chocolate chips
- 2 tablespoons coconut oil
- 1/4 teaspoon sea salt
- 1/4 teaspoon vanilla extract
For the Peanut Butter Filling
- 3/4 cup all natural peanut butter, chilled in the fridge (the only ingredients should be peanuts and salt)
- 1/4 cup pure maple syrup
- 1/4 teaspoon sea salt
- 1 tablespoon coconut palm sugar
Instructions
-
Start by melting the chocolate layer. Add 2 tablespoons of coconut oil to a saucepan and heat on low heat, until melted
-
Add 10 oz bag of chocolate chips, stirring on low heat, until melted (can take 5 minutes) *be sure not to burn chocolate and only melt on low* Alternatively you can microwave in small increments and stir until melted, but be careful not to burn the chocolate.
-
Once chocolate is melted, add in 1/4 teaspoon sea salt and 1/4 teaspoon vanilla extract and stir to combine
-
Once the chocolate mixture is stirred and melted, line a 12 cup muffin tin with paper muffin liners
-
Pour 2 teaspoons of chocolate mixture in the bottom of each muffin liner. Once you are done filling each liner, tap the pan down a few times to get the chocolate to sit flat.
-
Place muffin tin in freezer for 10-15 minutes, or until chocolate is set
-
While chocolate is hardening, make the peanut butter mixture
-
Add 3/4 cup of chilled peanut butter (see note above) to a bowl *note – peanut butter should be thick not drippy)
-
Add maple syrup, sea salt, and coconut palm sugar and stir with a fork until well combined
-
Remove muffin tin from freezer and place distribute the peanut butter mixture on top of each layer of chocolate, flattening it down in the center
-
Drizzle remaining chocolate mixture over the tops of each muffin cup, making sure to cover the peanut butter completely
-
Freeze for 15 minutes, or until chocolate is set
-
Store peanut butter cups in the freezer or fridge. I like to keep mine in a ziploc bag in the freezer
Video
Nutrition
Like this recipe? Rate and comment below!
