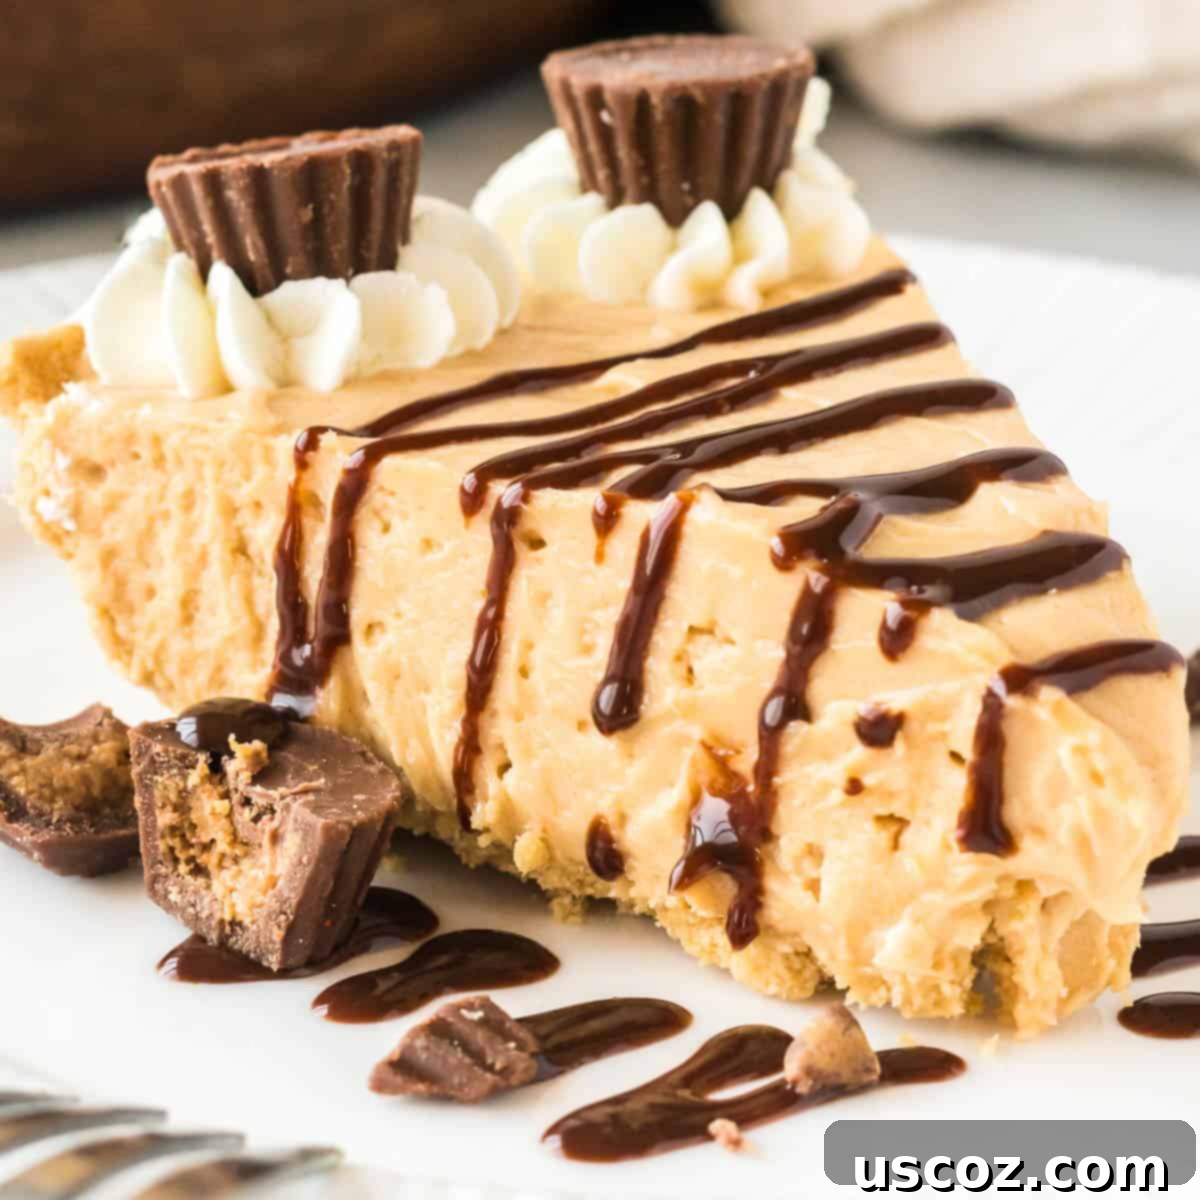
The Ultimate No-Bake Peanut Butter Pie: An Effortless & Creamy Dessert Dream
Prepare to indulge in the easiest and most decadent dessert you’ll ever make! This No Bake Peanut Butter Pie is incredibly simple, requiring no oven, and features a lusciously creamy filling set in a convenient ready-made graham cracker crust. It’s the perfect treat for any occasion, promising a melt-in-your-mouth experience that will delight every peanut butter lover.
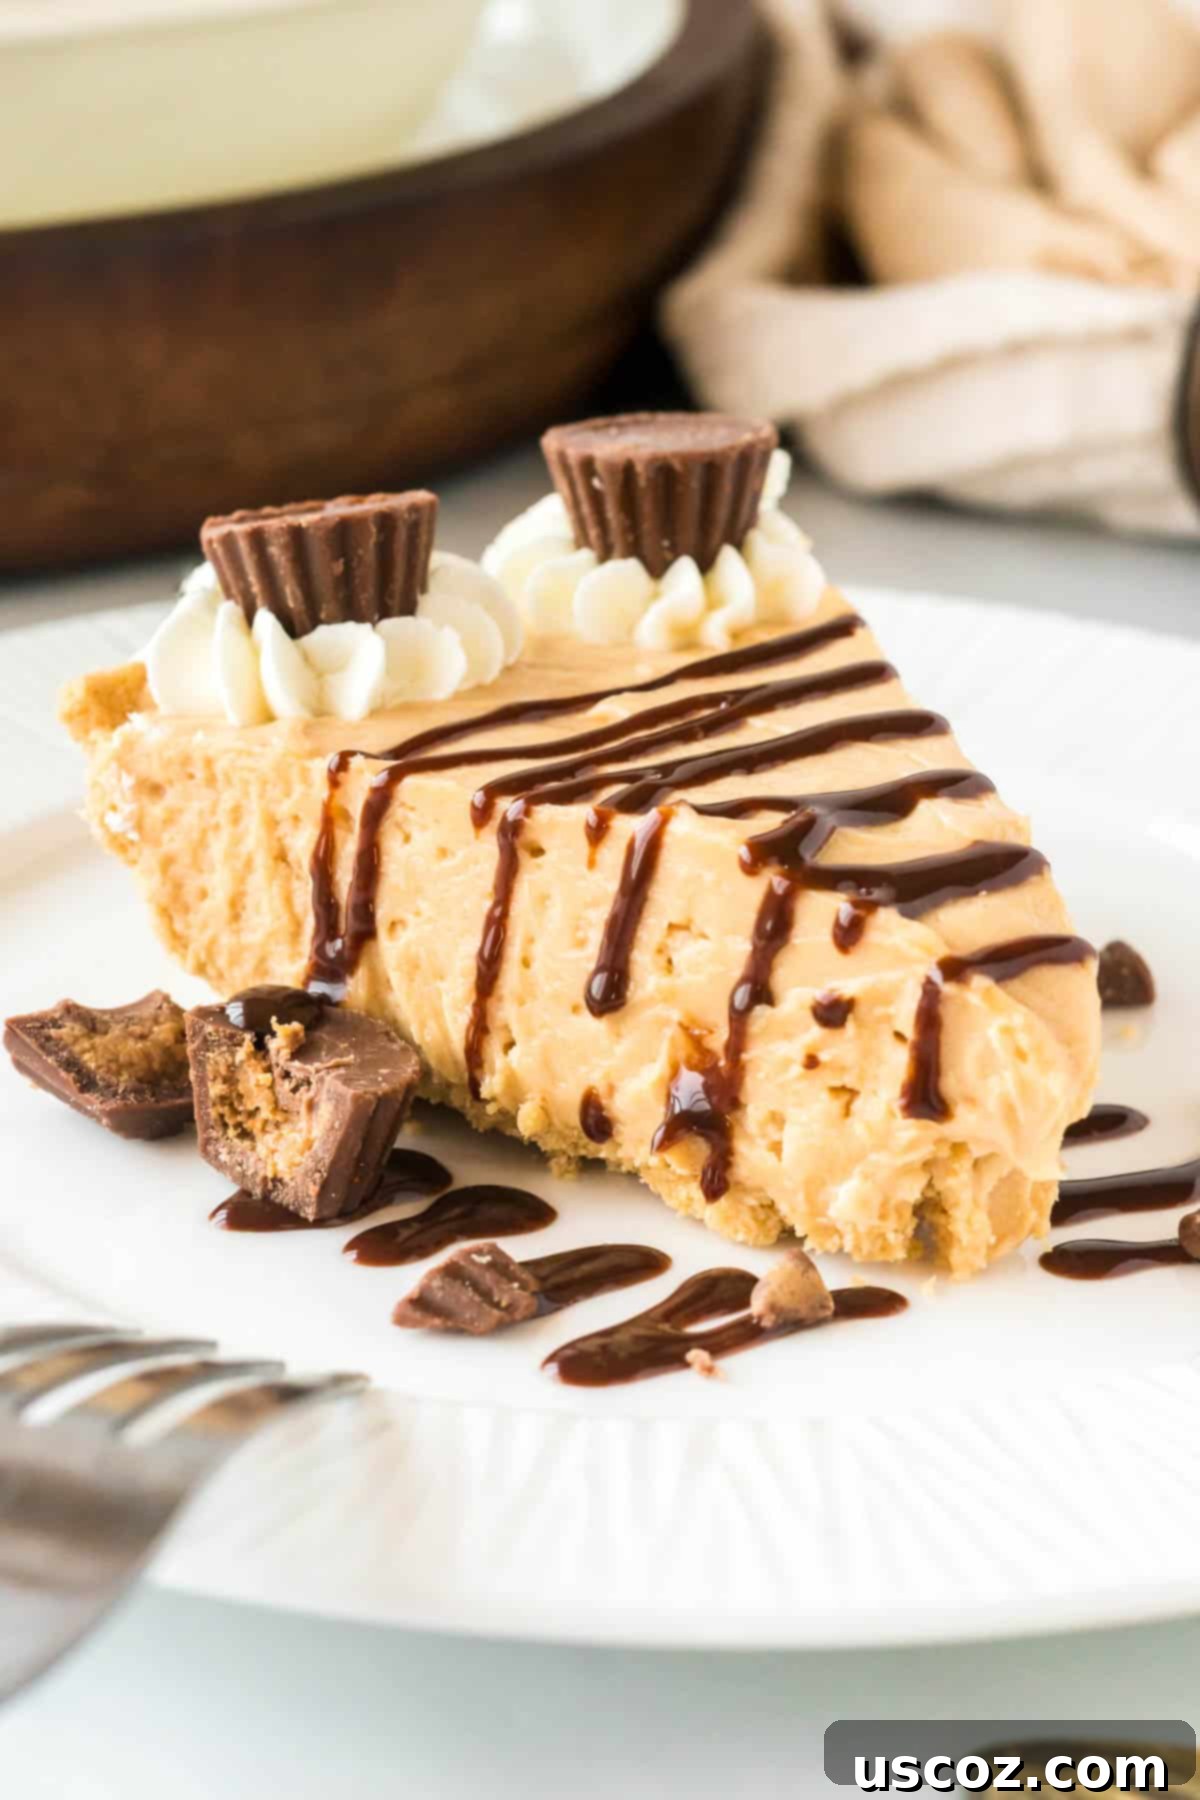
Why This No-Bake Peanut Butter Pie is Your Next Favorite Dessert
There’s something truly magical about a dessert that delivers on taste without demanding hours in the kitchen. This no-bake peanut butter pie recipe is the epitome of such magic. It’s incredibly yummy, featuring a light and airy whipped creamy filling that simply melts in your mouth with every bite. The rich, nutty flavor of peanut butter perfectly balances the sweetness, creating a harmonious symphony of taste and texture.
Whether you’re hosting a dinner party, planning a family gathering, or simply craving a sweet escape, this pie is an excellent choice. Its simplicity means less stress for you, and its irresistible flavor guarantees happy faces all around. You can serve this pie elegantly as is, allowing its natural beauty and flavor to shine, or you can get creative with decorations to match your mood or the occasion. It’s a truly indulgent no-bake dessert that everyone, from kids to adults, will absolutely adore!
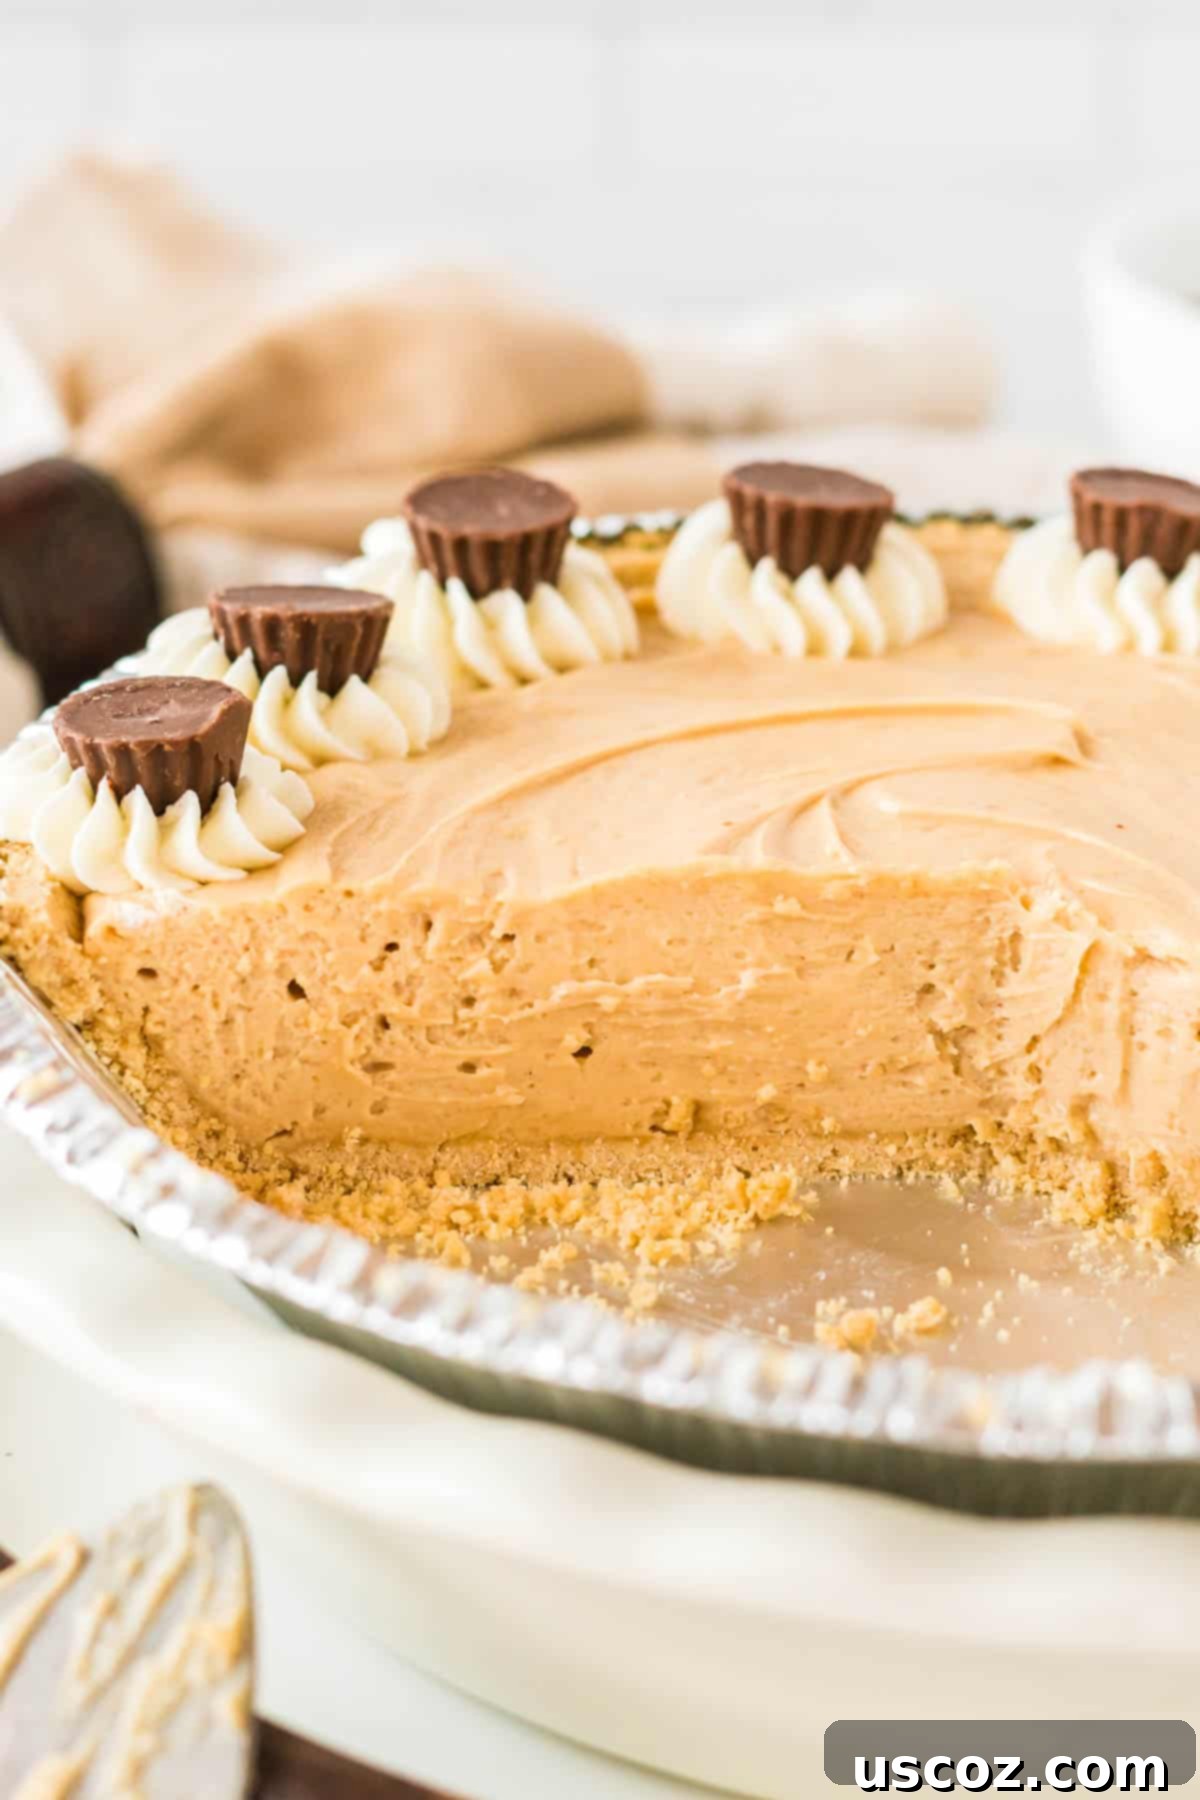
You’ll find the complete, detailed recipe with step-by-step instructions and exact measurements further down this post, nestled in our easy-to-follow recipe card.
Essential Ingredients for Your Creamy Peanut Butter Pie
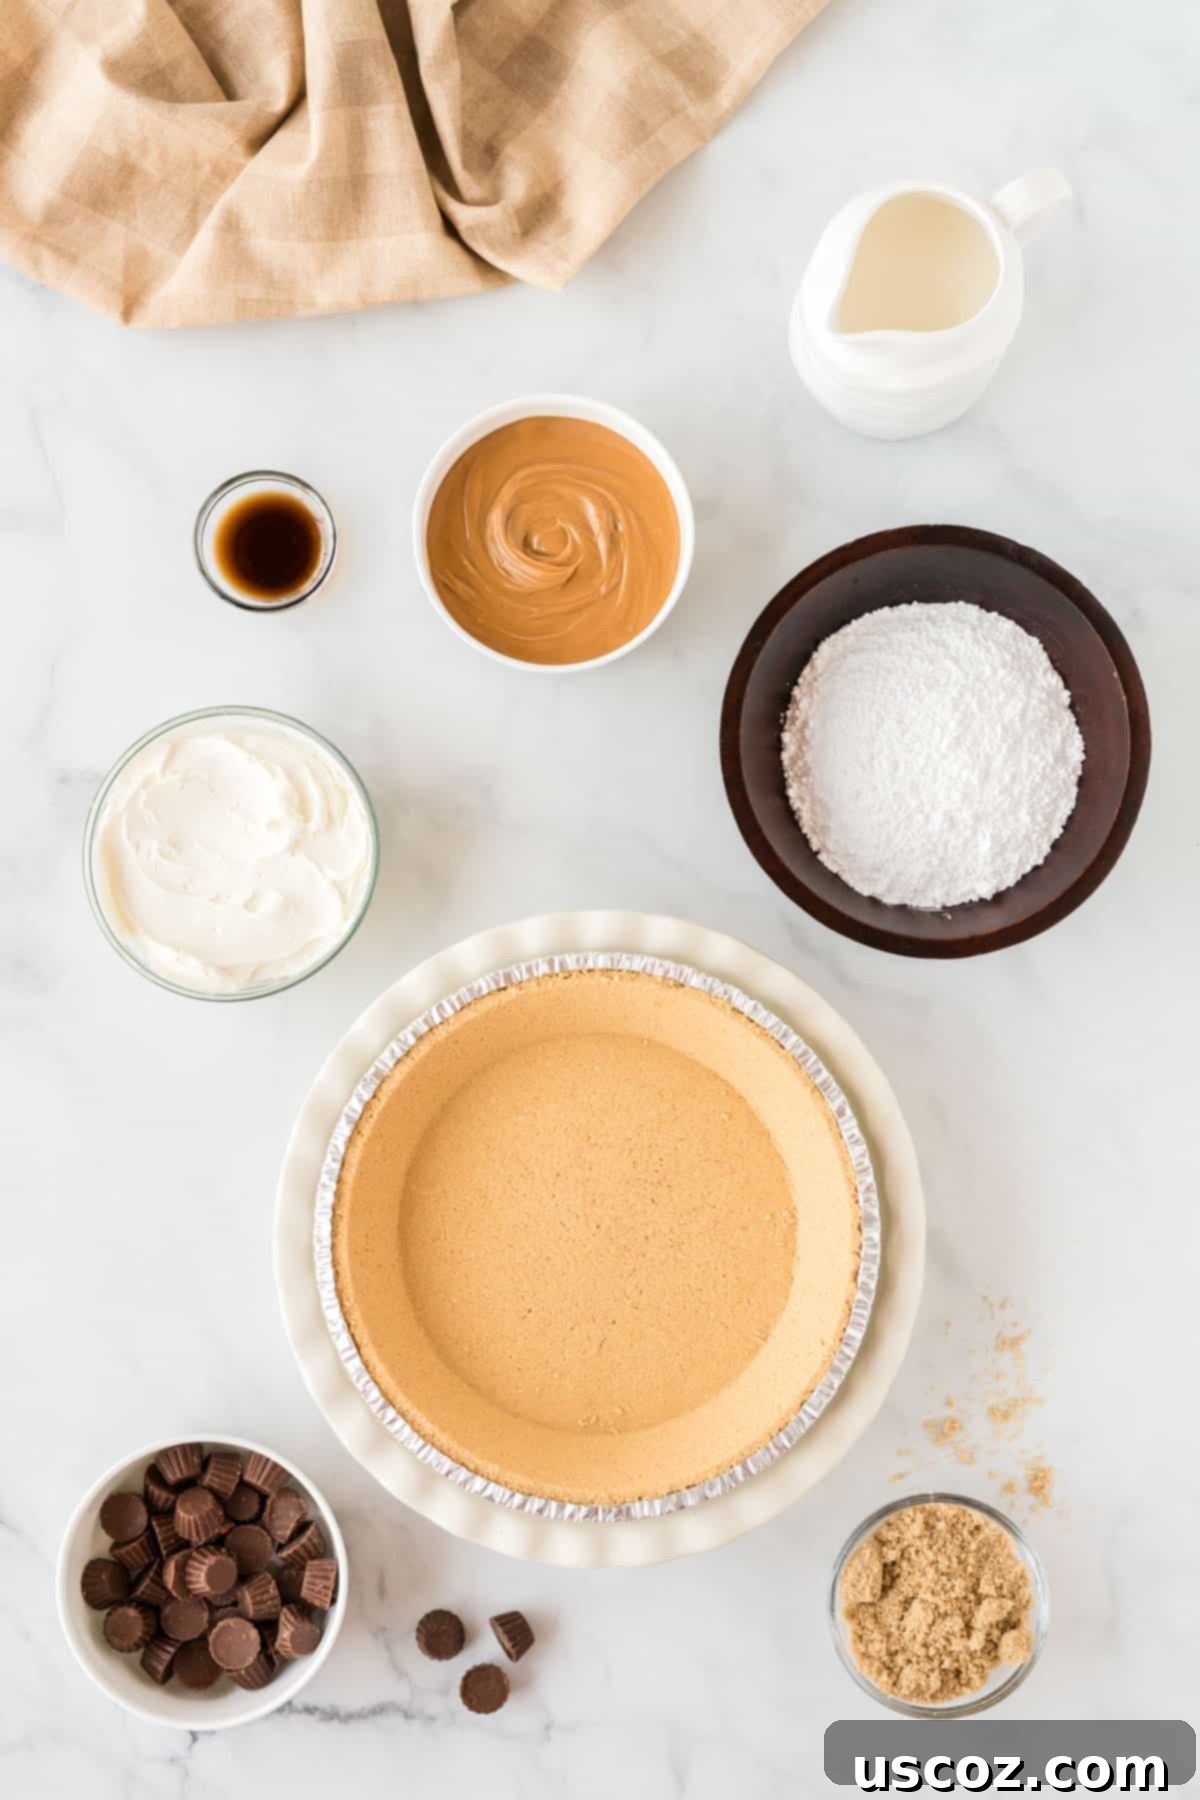
Creating this dream dessert requires just a handful of common ingredients, making it accessible and straightforward. Here’s what you’ll need to gather:
- Graham cracker pie crust: This is our secret weapon for any no-bake pie! A pre-made crust saves time and eliminates the need for baking, giving you that classic crumbly base without any effort. Choose a standard 6 oz (or 9-inch) crust for this recipe.
- Creamy no-stir peanut butter: For the smoothest, most luxurious filling, opt for a creamy, no-stir variety. Brands like Jif or Skippy work wonderfully, ensuring a consistent texture throughout your pie. Avoid natural peanut butter that separates, as it can affect the filling’s consistency.
- Cream cheese: Softened cream cheese is crucial for a smooth, lump-free filling. It adds a delightful tang and helps to stabilize the pie, giving it that perfect cheesecake-like texture. Remember to let it sit out at room temperature for at least 30 minutes before mixing.
- Heavy cream: This is the star ingredient for creating our homemade whipped cream filling, which lends an incredible lightness and airiness to the pie. Make sure it’s very cold for the best whipping results.
- Powdered sugar: Also known as confectioners’ sugar, this fine sugar dissolves easily, ensuring a silky-smooth texture in both the whipped cream and the peanut butter mixture. It also adds the perfect touch of sweetness.
- Vanilla extract: A splash of vanilla enhances all the other flavors, adding a warm, aromatic depth that completes the dessert.
- Brown sugar: A small amount of brown sugar adds a subtle molasses note and a deeper, richer sweetness that complements the peanut butter beautifully.
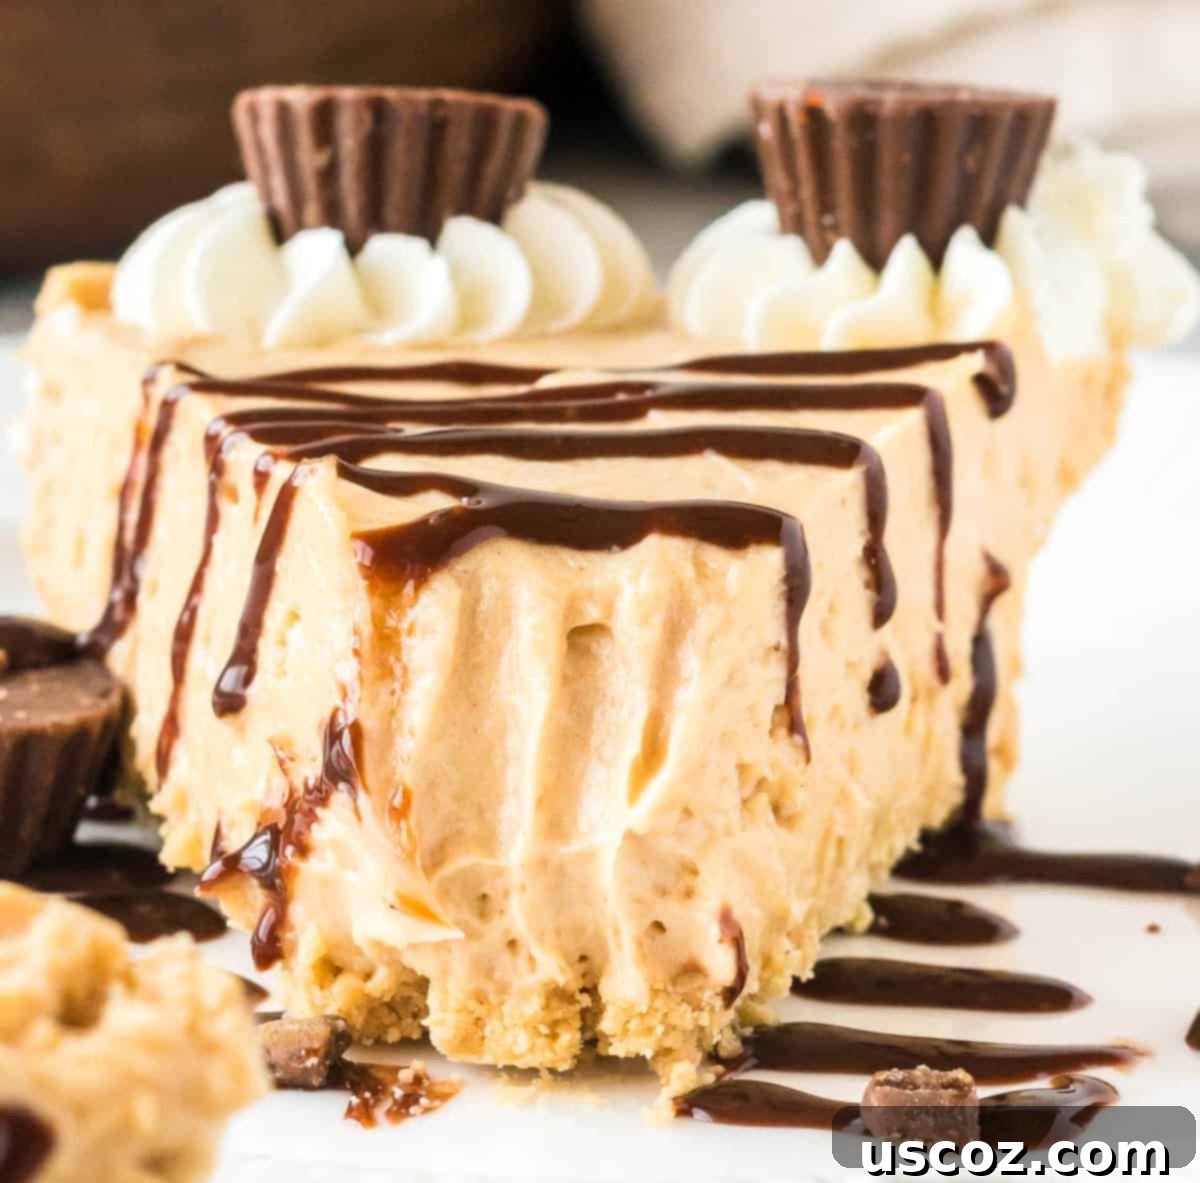
- Optional Toppings: Elevate your pie with delightful finishing touches like Reese’s minis for that classic chocolate-peanut butter combo, a generous drizzle of chocolate syrup, or a sophisticated swirl of melted peanut butter.
Crafting Your No-Bake Peanut Butter Pie: A Simple Guide
Making this pie is incredibly straightforward, perfect for beginner bakers and seasoned pros alike. Follow these simple steps for a show-stopping dessert:
Step 1: Prepare the Whipped Cream Foundation
In a large mixing bowl, combine the cold heavy cream and powdered sugar. Using an electric mixer (handheld or stand mixer with a whisk attachment), beat on medium-high speed until stiff peaks form. The whipped cream should be firm enough to hold its shape. This homemade whipped cream will be the airy backbone of our filling, providing a delightful contrast to the rich peanut butter. Set this aside gently.
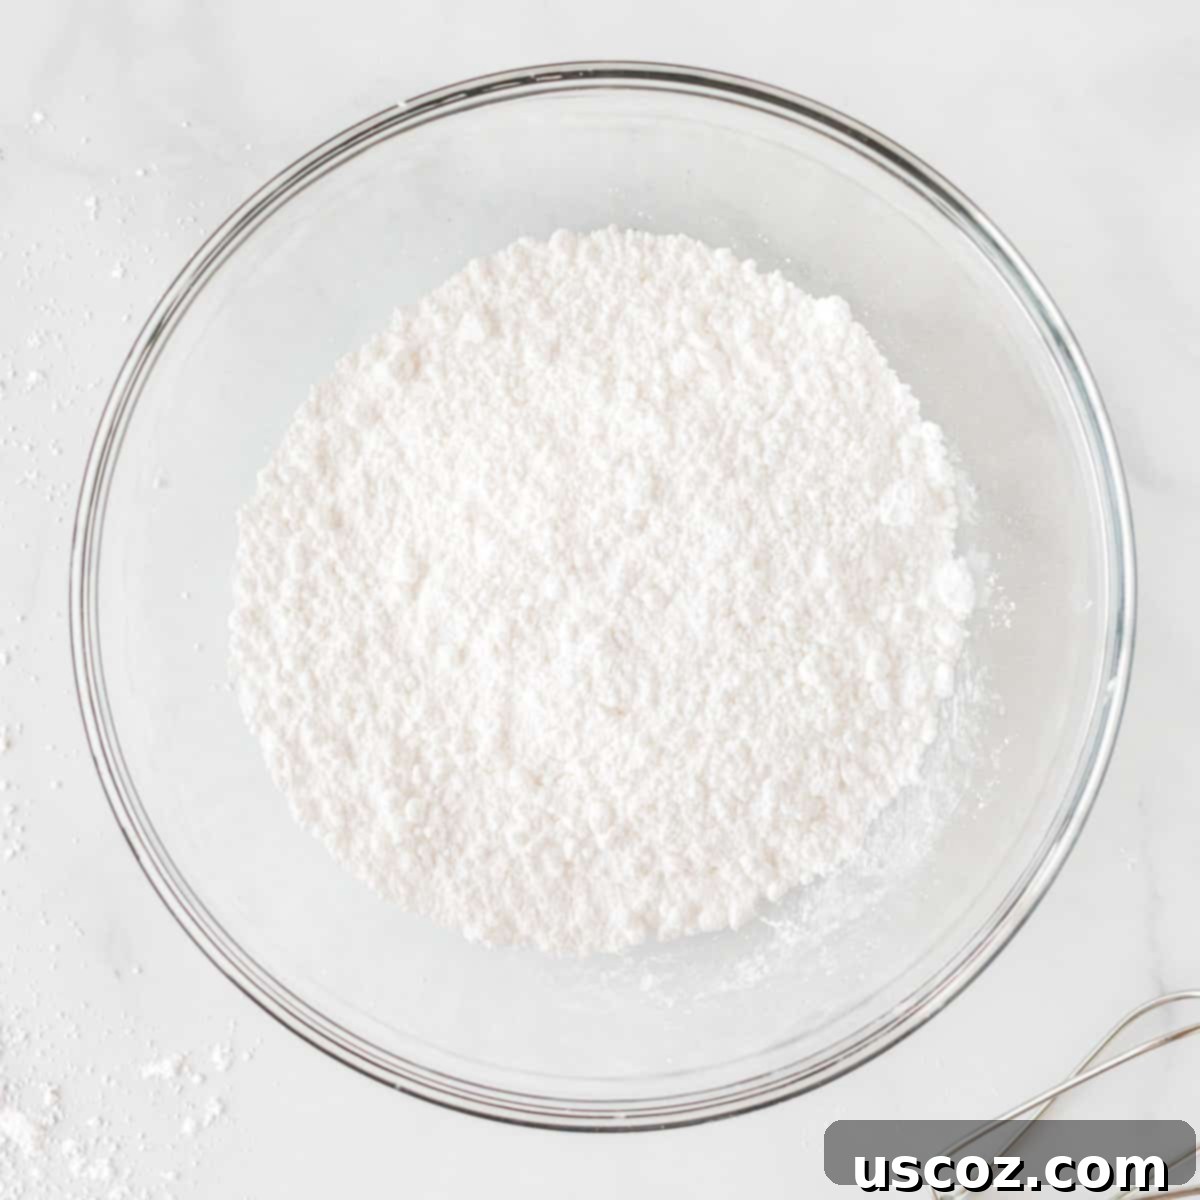
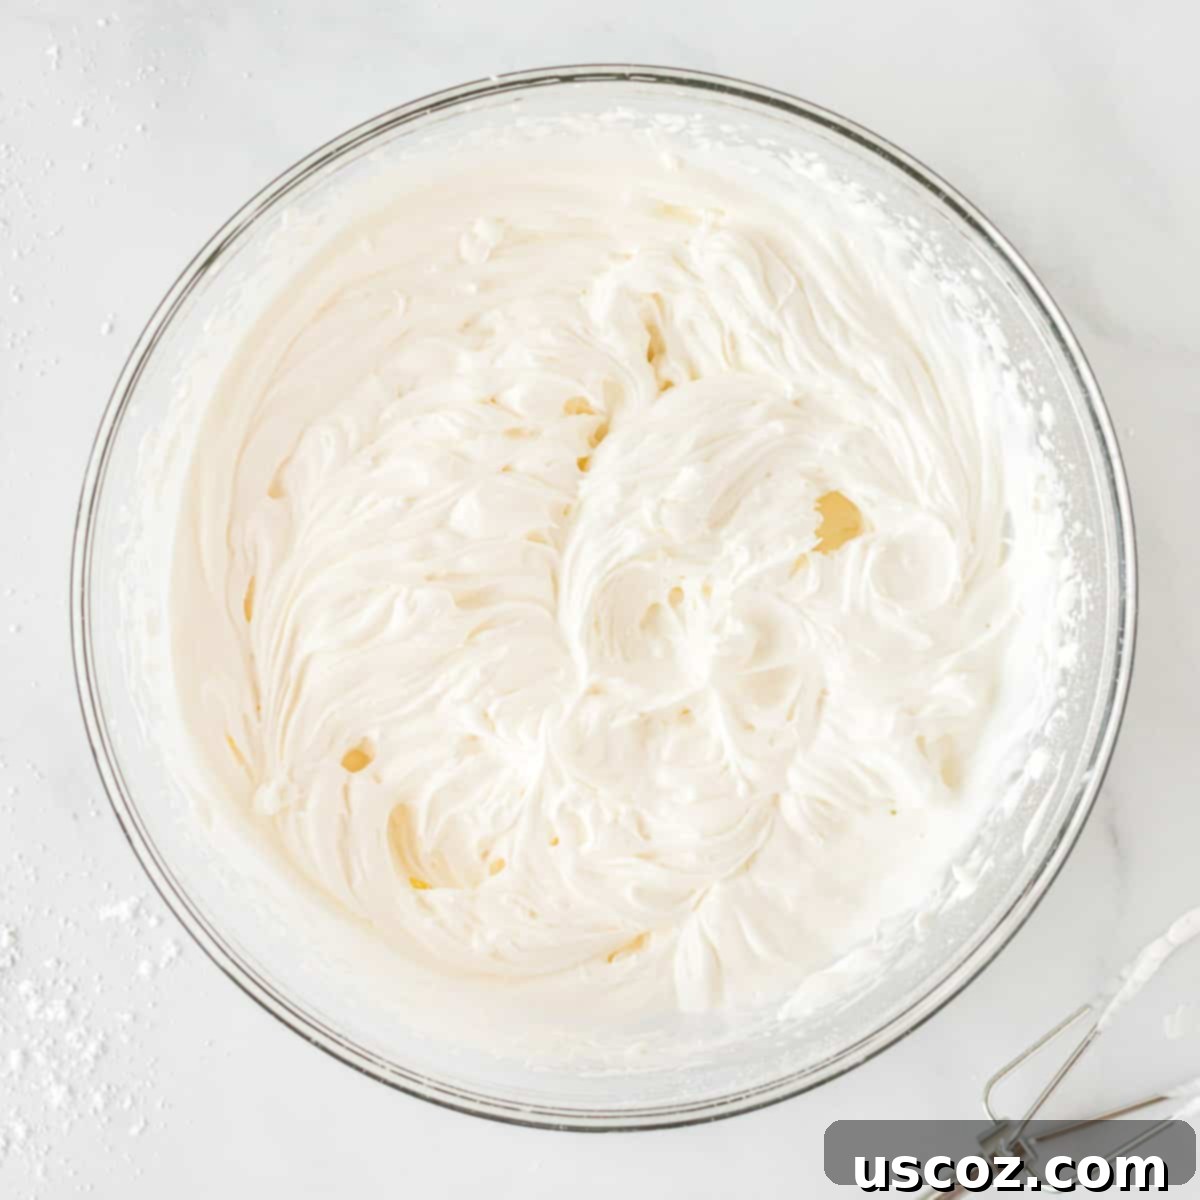
Step 2: Create the Silky Peanut Butter Cream Cheese Base
In a separate, medium-sized bowl, beat together the softened cream cheese and the creamy peanut butter until the mixture is incredibly smooth and well combined. There should be no lumps of cream cheese visible. Next, add the vanilla extract and brown sugar. Continue mixing until these ingredients are fully incorporated, creating a rich and fragrant peanut butter base.
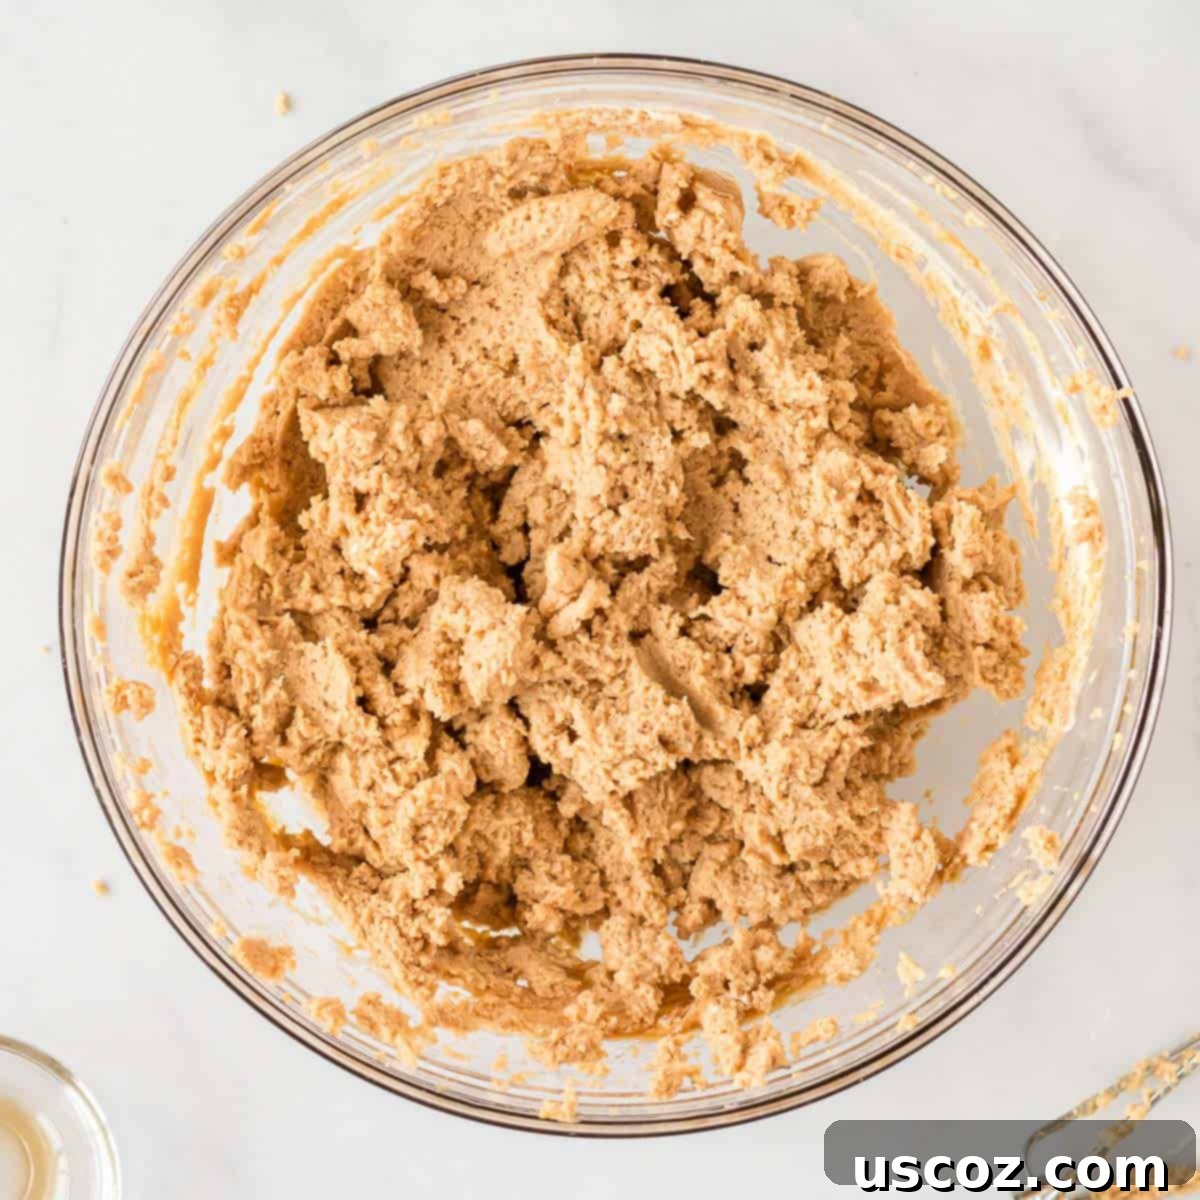
Step 3: Gently Combine for a Velvety Smooth Filling
Now for the magic! Carefully fold the prepared whipped cream into the peanut butter and cream cheese mixture. Use a rubber spatula and mix gently until the entire filling is velvety smooth and uniformly colored. Be careful not to overmix, as this can deflate the whipped cream and reduce the desired airy texture. You want a light, fluffy, and perfectly blended filling.
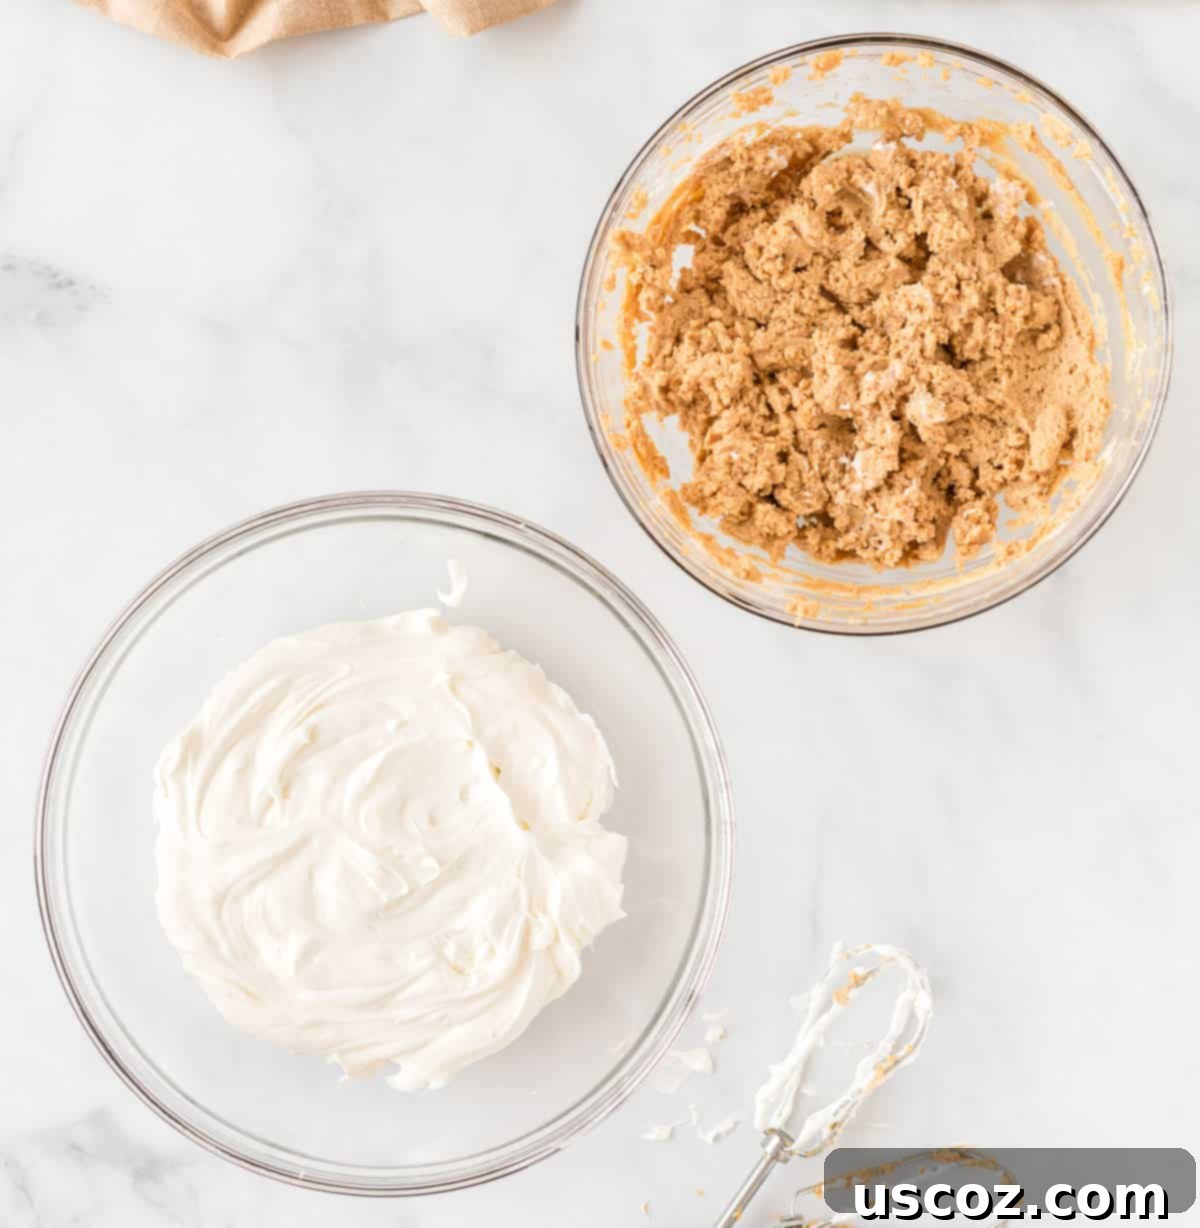
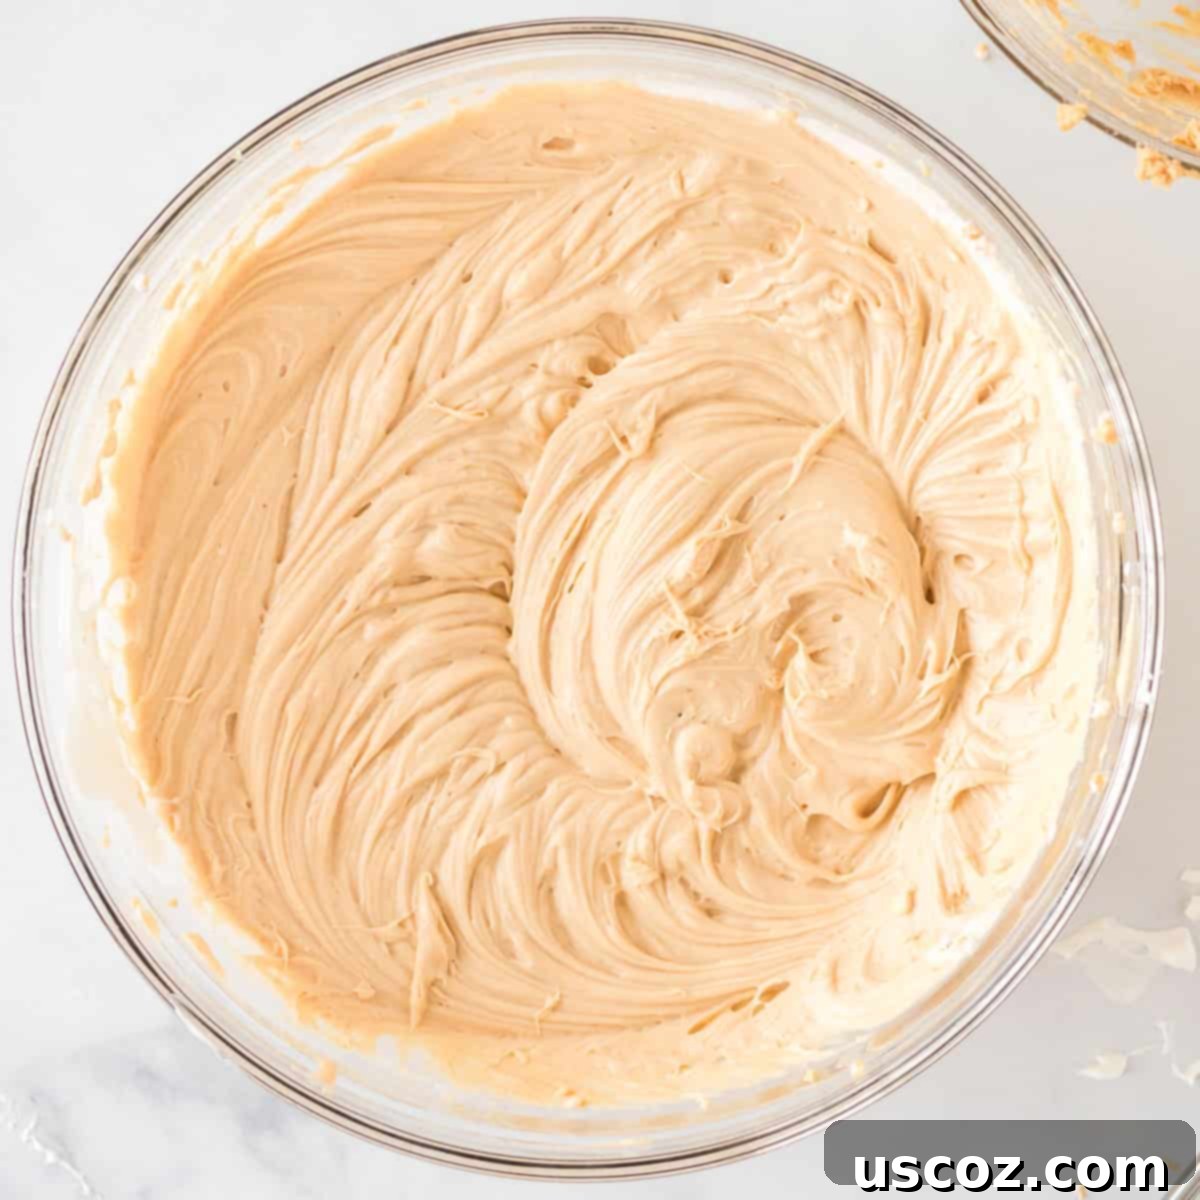
Step 4: Fill the Crust and Smooth it Out
Once your irresistible filling is ready, transfer it carefully into the graham cracker pie crust. Use your rubber spatula to gently spread the filling out, ensuring it’s evenly distributed and has a smooth top. Take your time here to achieve a beautiful, polished surface.
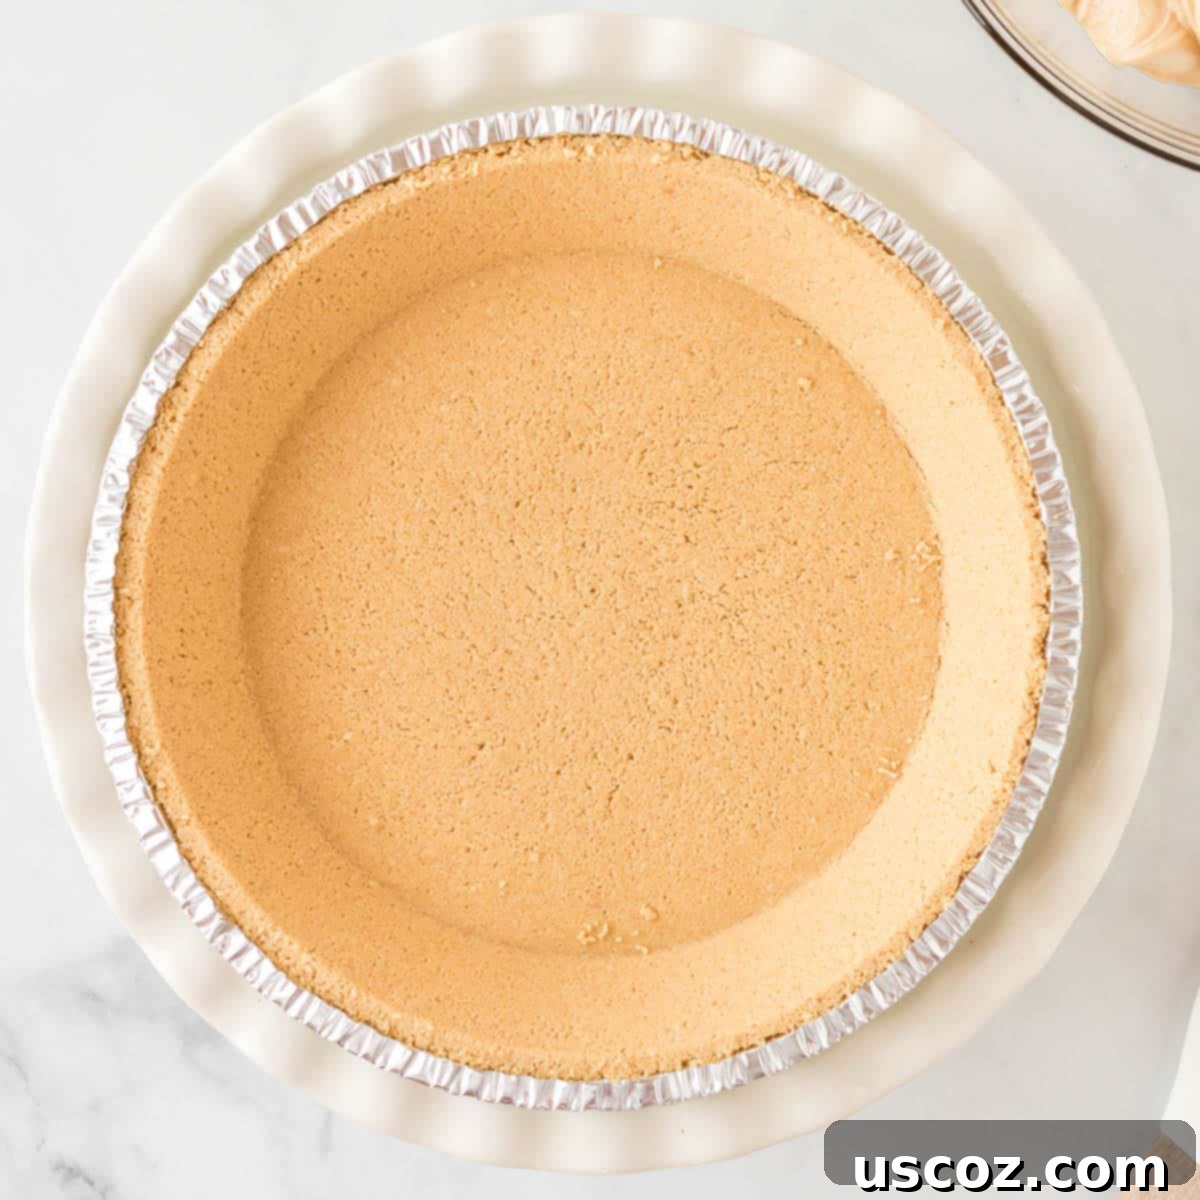
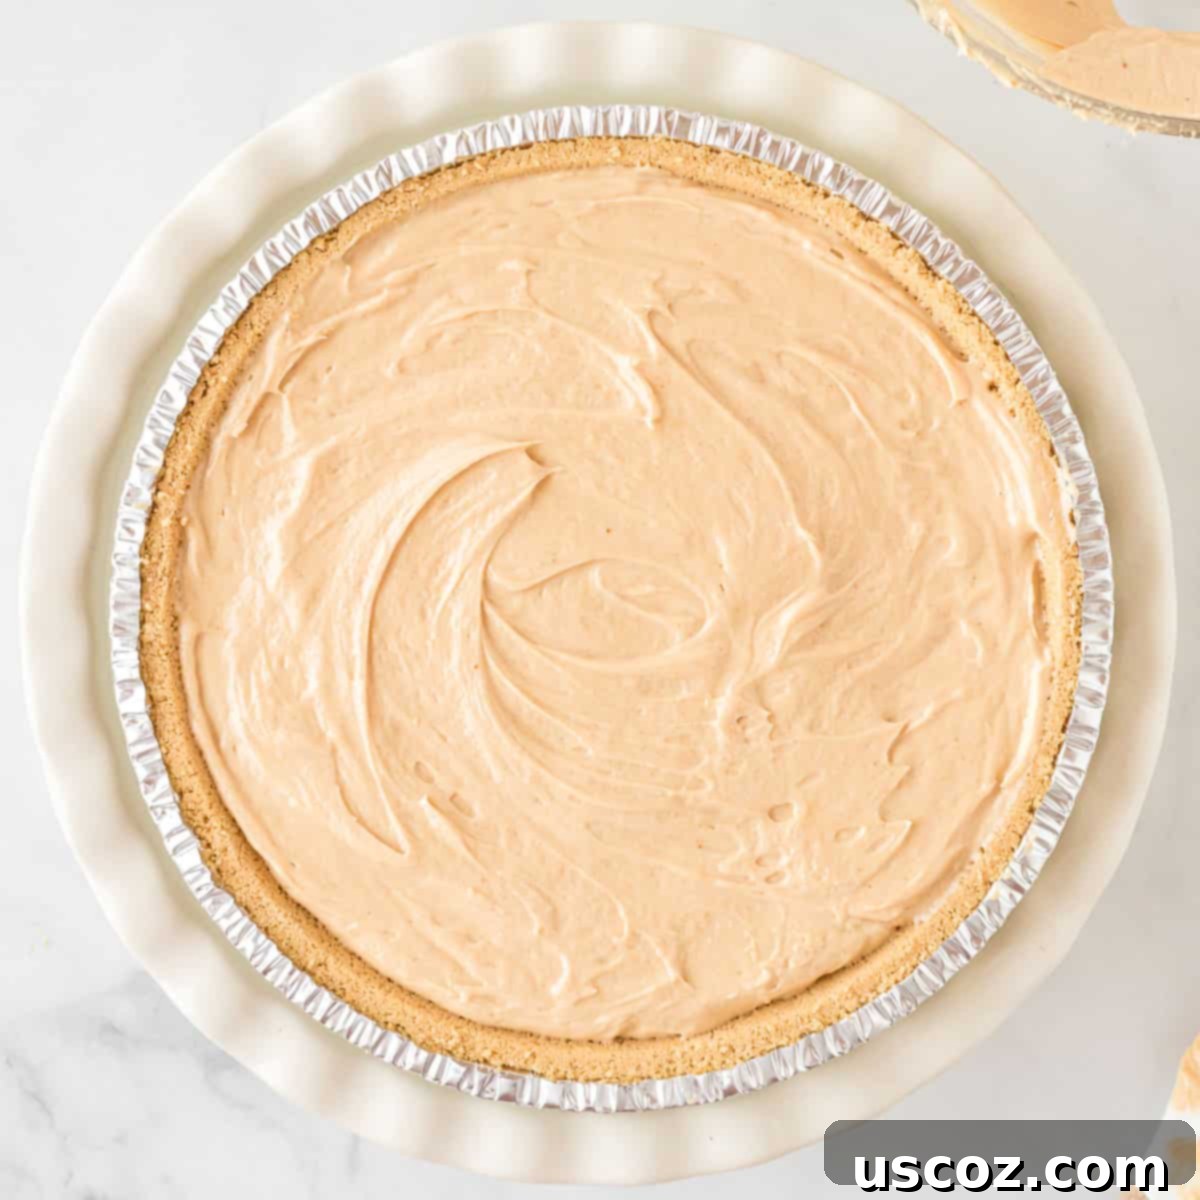
Step 5: Chill to Perfection
This is perhaps the most important step for achieving that firm, sliceable texture. Place the peanut butter pie in the refrigerator and chill for at least 3-4 hours. For best results and ultimate firmness, chilling it overnight is highly recommended. This extended chilling time allows all the ingredients to meld together and the pie to properly set.
This makes it an ideal dessert to prepare the night before a special event or gathering, allowing you to simply pull it out and serve the next day without any last-minute fuss. Once the pie has hardened to your satisfaction, it’s ready for decorating (or not, it’s truly delicious either way!) and serving!
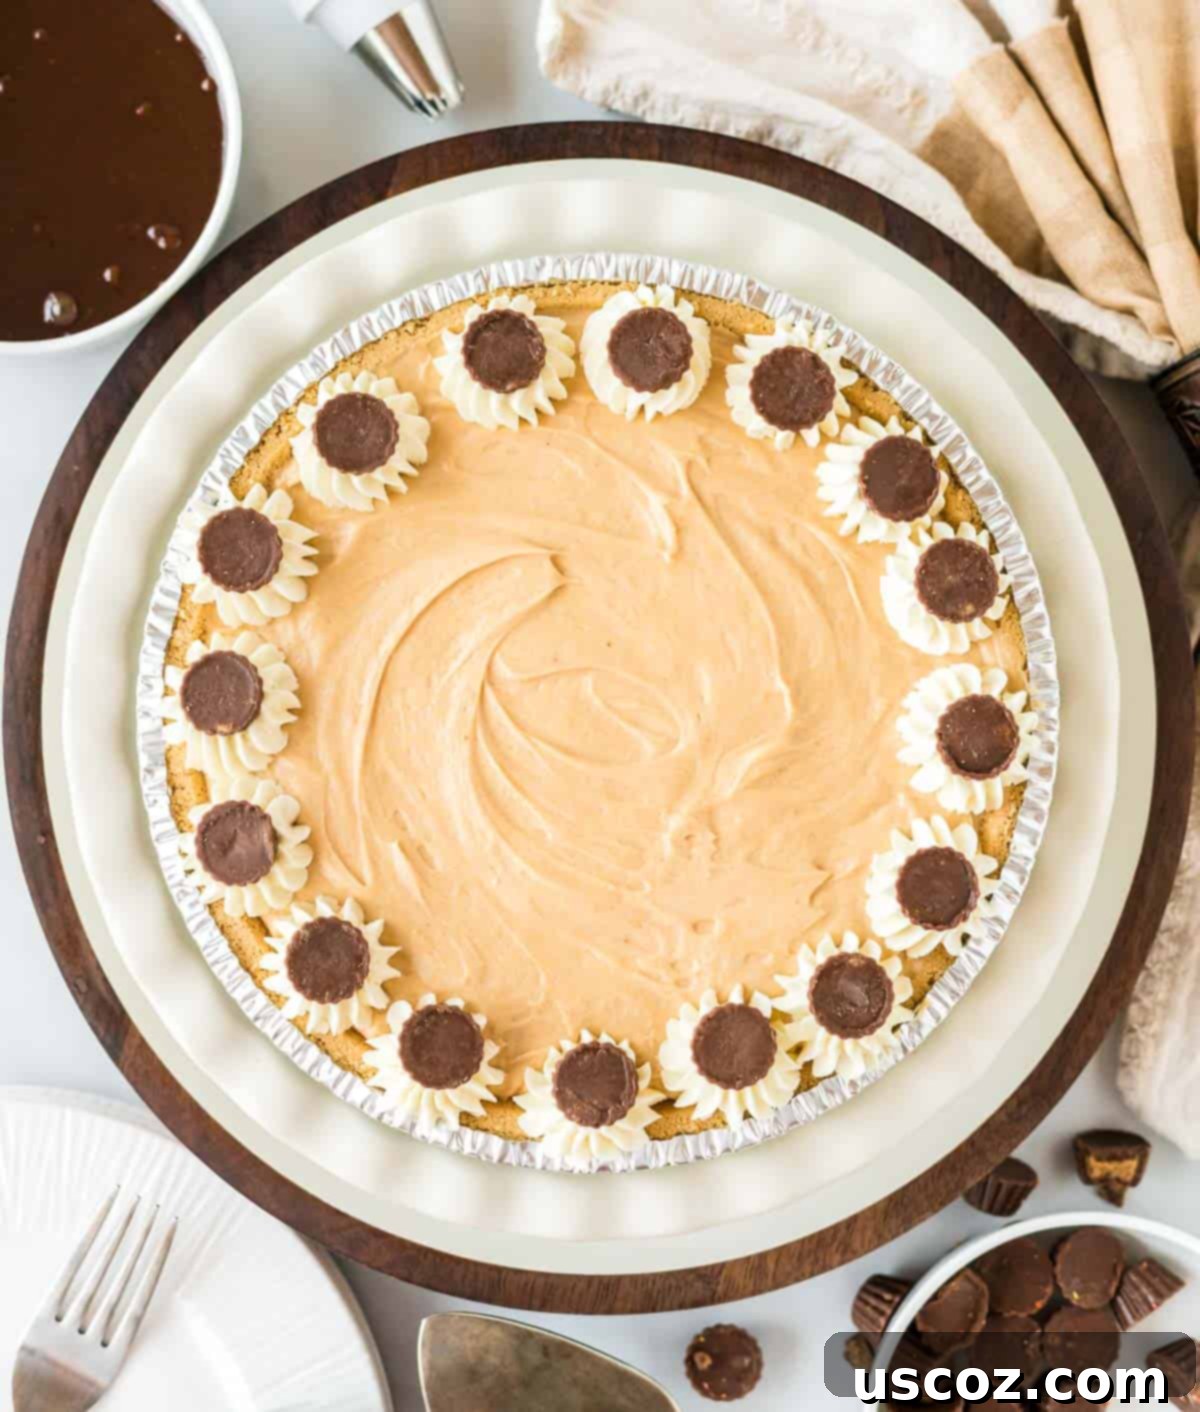
Elevate Your Pie: Delicious Topping Ideas
While this no-bake peanut butter pie is utterly delicious on its own, adding a few toppings can transform it into an even more spectacular dessert. Here are some fun and tasty ideas to dress it up and make it truly unforgettable:
- Reese’s Minis: In my humble opinion, these are an absolute must! The combination of chocolate and peanut butter is iconic, and the Reese’s minis add a delightful texture and burst of flavor that perfectly complements the creamy pie. Chop them up or place them whole for a festive look.
- Hot Fudge Sauce: A warm, gooey drizzle of hot fudge sauce creates a luxurious contrast against the cold, creamy pie. It’s a classic pairing that never disappoints.
- Chocolate Syrup: For a simpler yet equally satisfying chocolate accent, a generous swirl of chocolate syrup over each slice adds visual appeal and a sweet chocolatey kick.
- Drizzled Melted Peanut Butter: If you’re a true peanut butter connoisseur, melting a bit of extra peanut butter and drizzling it over the top adds an extra layer of nutty richness and a beautiful, artistic finish.
- Extra Whipped Cream: A dollop or swirl of freshly whipped cream on top of each slice adds an extra touch of elegance and lightness. You can even pipe it with a star tip for a professional look.
- Chopped Nuts: For added crunch and flavor, sprinkle some chopped roasted peanuts or other nuts like pecans or walnuts.
- Chocolate Shavings: Grate some dark, milk, or white chocolate over the pie for a sophisticated garnish.
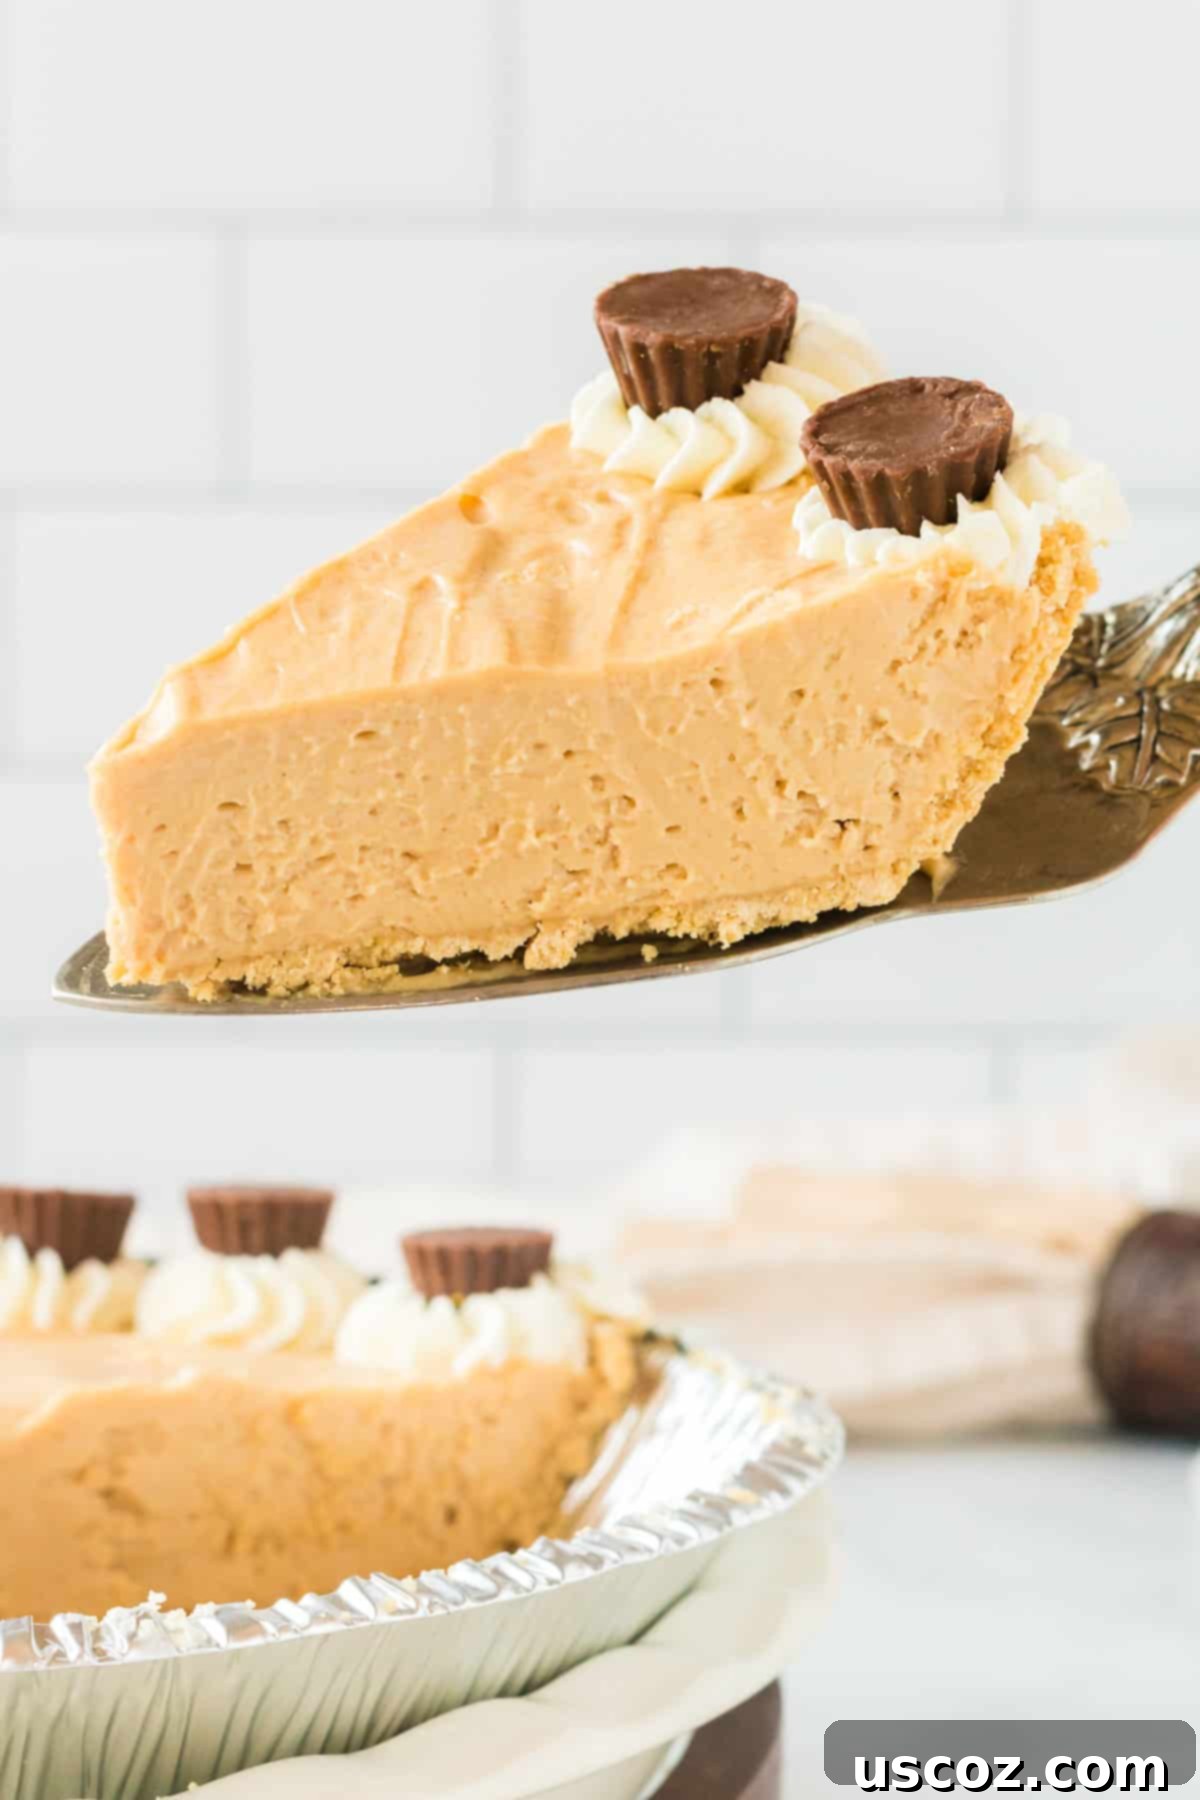
This indulgent no-bake peanut butter pie is truly a classic for anyone who adores peanut butter desserts. Its rich flavor and creamy texture make it a standout treat. It’s perfect for virtually any occasion, from casual weeknight dinners to more festive celebrations. Imagine it as a cherished addition to your dessert spread at Thanksgiving, Christmas, or any holiday gathering. Its make-ahead nature also makes it a fantastic choice for entertaining, allowing you to enjoy your guests without last-minute baking stress.
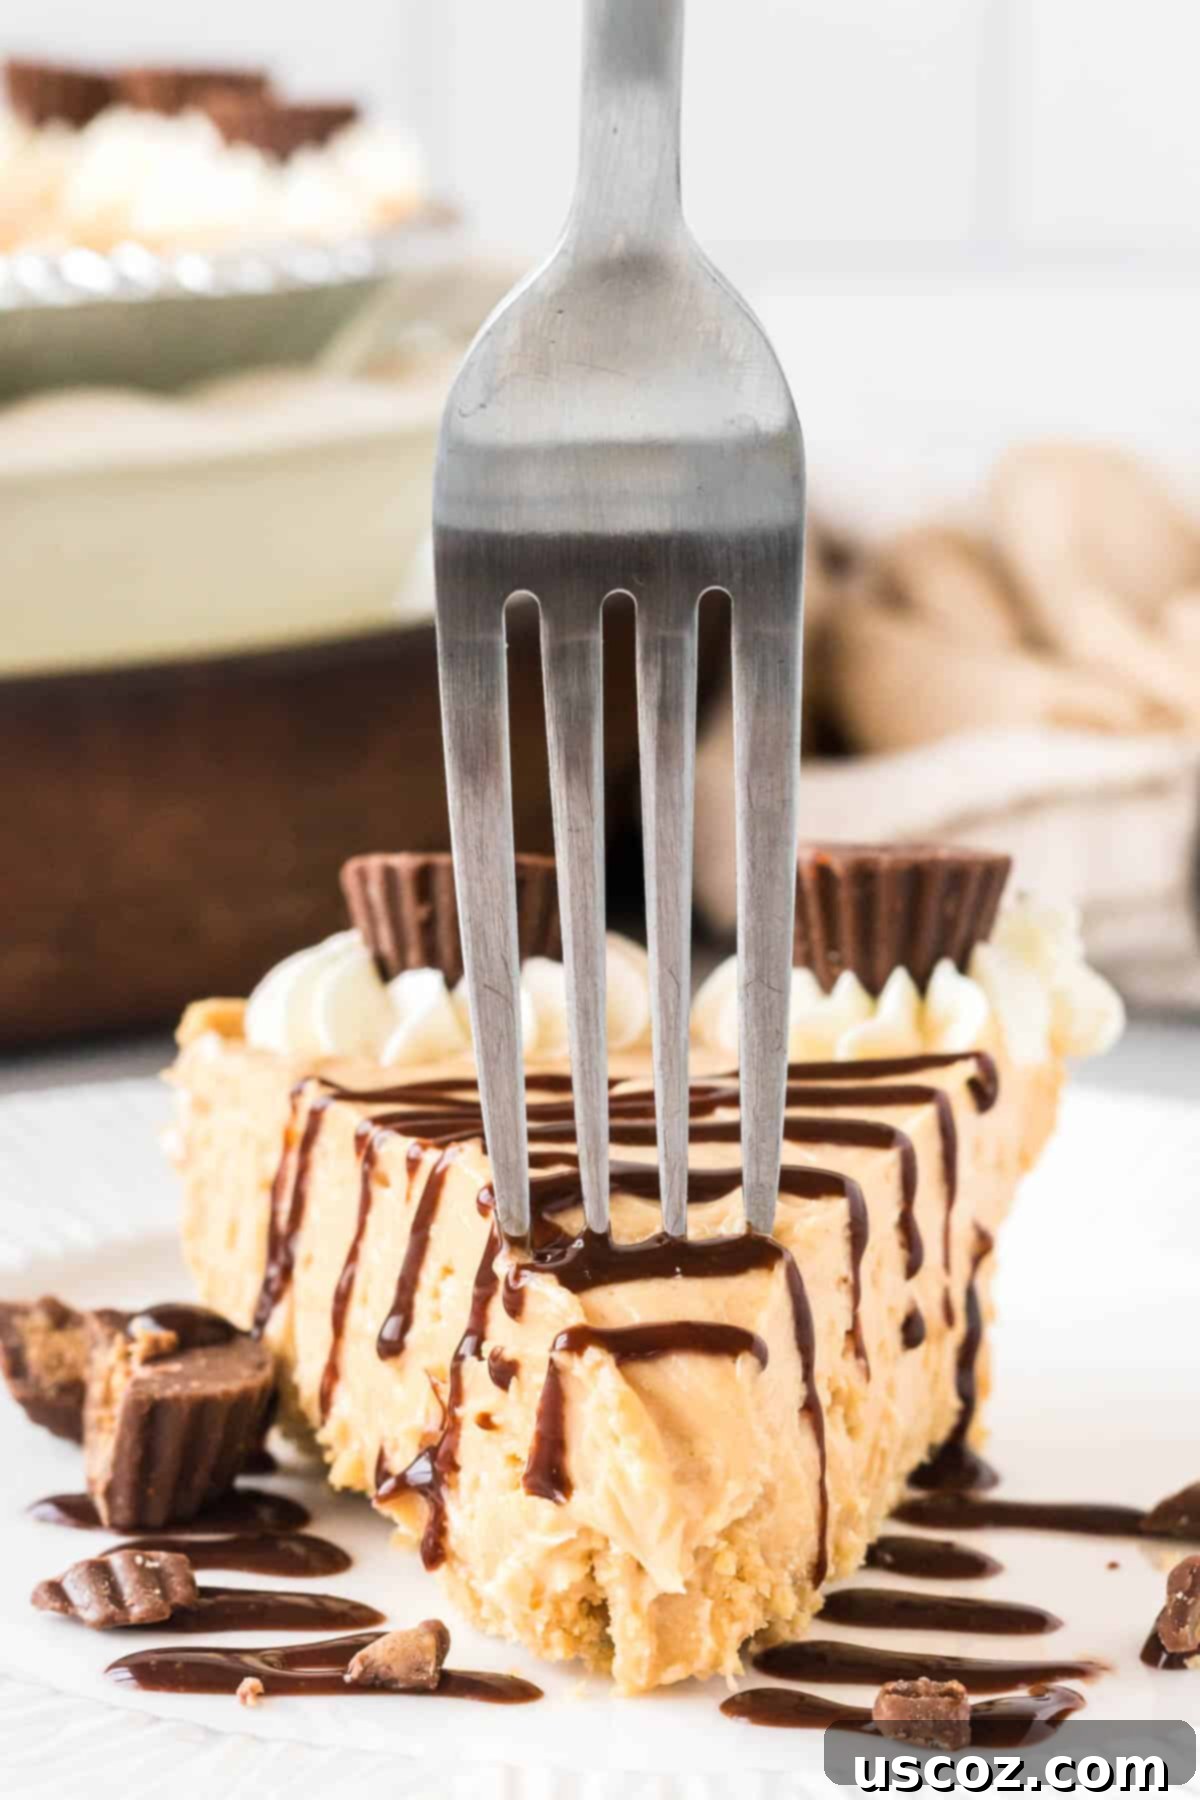
Tips for No-Bake Peanut Butter Pie Success
While this recipe is incredibly simple, a few tips can ensure your pie turns out perfectly every time:
- Softened Cream Cheese is Key: For a lump-free and smooth filling, ensure your cream cheese is truly at room temperature. Cold cream cheese will result in a clumpy mixture.
- Cold Heavy Cream: Always use very cold heavy cream when whipping it. This helps it whip up faster and achieve stiffer peaks, leading to a lighter, airier filling.
- Don’t Overmix the Whipped Cream: Once stiff peaks form, stop beating. Overmixing can cause the cream to become grainy or even turn into butter.
- Gentle Folding: When combining the whipped cream with the peanut butter mixture, fold gently. This preserves the airiness of the whipped cream, ensuring a light and fluffy pie.
- Chill Time is Crucial: Do not rush the chilling process. The 3-4 hours (or overnight) is essential for the pie to set properly, making it firm enough to slice cleanly and hold its shape.
- Quality Peanut Butter: Use a good quality, creamy “no-stir” peanut butter for the best flavor and texture. Natural peanut butter (that separates) can sometimes yield a greasier or less stable filling.
Explore More Easy Desserts
If you loved the simplicity and deliciousness of this no-bake peanut butter pie, you’re in for a treat! We have a collection of other fantastic easy dessert recipes that are perfect for satisfying your sweet tooth with minimal effort. Don’t stop at just one – broaden your dessert horizons with these crowd-pleasing options:
- Avalanche Cookies: A delightful no-bake cookie packed with peanut butter, marshmallows, and chocolate.
- Pecan Cream Pie: A rich and creamy pie, often a great holiday option.
- Oreo Pie: An easy, chocolatey dream for Oreo lovers, usually no-bake too!
- No Bake Pumpkin Pie: Perfect for fall, this is a lighter, quicker version of a classic.
- Peanut Clusters: Simple, addictive chocolate and peanut clusters.
- Christmas Crack: A buttery, crunchy, chocolatey, and caramel treat that’s impossible to resist.
- Peanut Butter Cookies: A timeless classic for any peanut butter enthusiast, often naturally gluten-free.
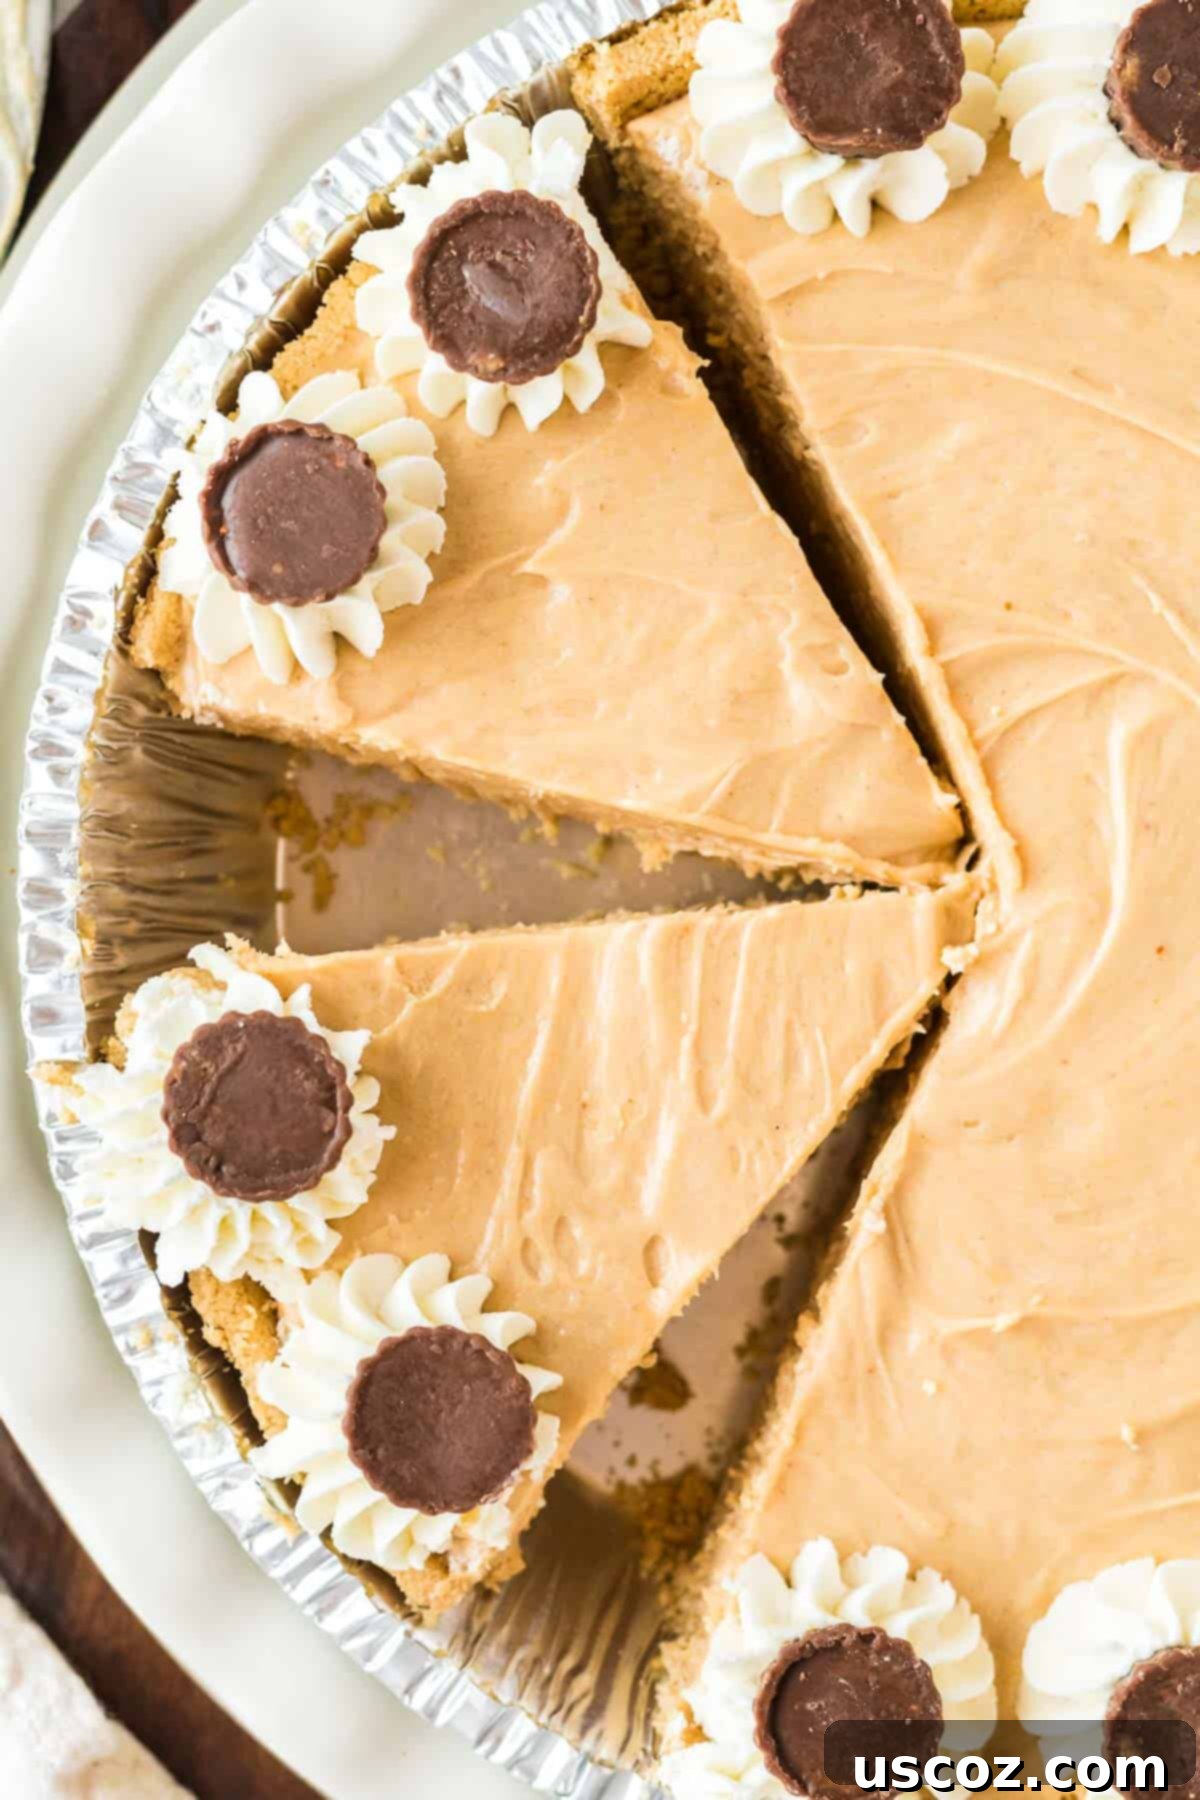
How to Store Your No-Bake Peanut Butter Pie
To keep your delicious no-bake peanut butter pie fresh and irresistible, proper storage is key. Any leftover pie should be stored in an airtight container. You can transfer individual slices or cover the entire pie dish tightly with plastic wrap or aluminum foil. Place it in the refrigerator, where it will remain fresh and delightful for 3-4 days. This makes it perfect for enjoying a little indulgence throughout the week!
Can I freeze No-Bake Peanut Butter Pie? Yes, you absolutely can! For longer storage, you can freeze this pie. Wrap individual slices or the entire pie tightly in several layers of plastic wrap, then an additional layer of aluminum foil. It can be frozen for up to 1-2 months. Thaw it in the refrigerator overnight before serving for the best texture.
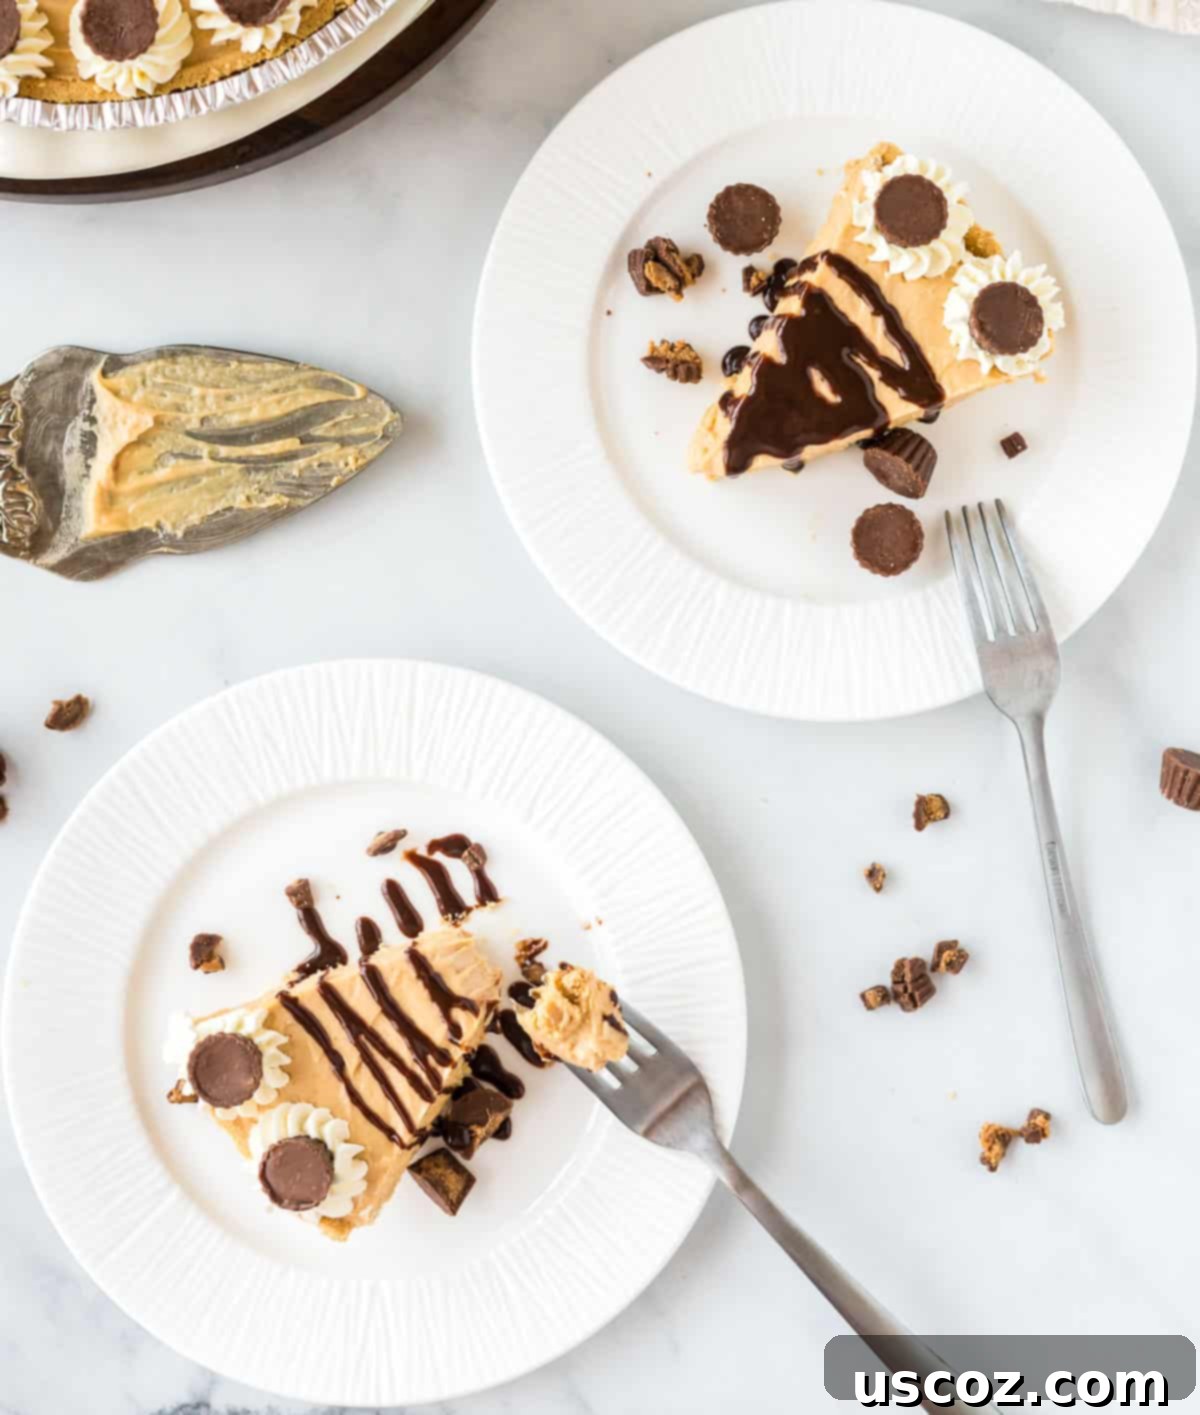
Still craving more effortless desserts? You definitely need to try these incredible no-bake cheesecake bars! They’re just as easy and equally delicious!
Frequently Asked Questions About No-Bake Peanut Butter Pie
Here are some common questions you might have about making this easy and delicious no-bake peanut butter pie:
- Can I use natural peanut butter? It’s generally recommended to use creamy, no-stir peanut butter (like Jif or Skippy) for this recipe. Natural peanut butter tends to separate and can result in a greasier or less stable filling. If you only have natural, ensure it’s very well stirred and combine it thoroughly with the cream cheese.
- How do I make sure my whipped cream gets stiff peaks? The key is using very cold heavy cream and a very clean, cold bowl and whisk attachments. You can even chill your bowl and whisk in the freezer for 10-15 minutes before whipping.
- My pie isn’t firm enough, what went wrong? The most common reason for a soft pie is insufficient chilling time. Make sure you’ve chilled it for at least 3-4 hours, or preferably overnight. If it’s still soft, it may need more time in the fridge. Also, ensure your cream cheese was properly softened and your heavy cream was whipped to stiff peaks.
- Can I make my own graham cracker crust? Absolutely! While a store-bought crust makes it super easy, you can definitely make your own. Combine about 1 ½ cups of graham cracker crumbs with ¼ cup of granulated sugar and ⅓ cup of melted butter. Press firmly into a 9-inch pie plate and chill for 30 minutes before adding the filling.
- What if I don’t have an electric mixer? While an electric mixer makes the process much quicker and easier, you can technically whisk the heavy cream by hand (it will take strong arms and about 10-15 minutes!). For the peanut butter and cream cheese, you’ll need a lot of elbow grease to get it smooth. An electric mixer is highly recommended for the best results.
- Is this pie suitable for special diets? This pie is not gluten-free (due to the graham cracker crust) or dairy-free. However, you can explore gluten-free graham cracker crusts or dairy-free cream cheese and heavy cream alternatives if desired. Always check ingredient labels for dietary restrictions.
No Bake Peanut Butter Pie
Save RecipeSaved!
Pin Recipe
Rate Recipe
Print Recipe
Ingredients
- 6 oz graham pie crust
- 1 cup creamy no-stir peanut butter
- 8 oz block of cream cheese, softened
- 1 cup heavy cream
- ⅔ cup powdered sugar
- 1 teaspoon vanilla extract
- ¼ cup brown sugar
Topping ideas
- Reese’s minis
- fudge sauce
- chocolate syrup
- drizzled melted peanut butter
Instructions
-
In a large bowl, beat the very cold heavy cream and powdered sugar with an electric mixer until stiff peaks form. Set aside.
-
In a separate bowl, beat the softened cream cheese and creamy no-stir peanut butter until smooth and lump-free. Add the vanilla extract and brown sugar; mix until fully combined.
-
Gently fold the whipped cream mixture into the peanut butter mixture until completely smooth and evenly combined. Be careful not to overmix.
-
Transfer the no-bake peanut butter pie filling into the graham cracker crust. Use a rubber spatula to smooth out the top evenly.
-
Cover the pie and chill in the refrigerator for at least 3-4 hours, or preferably overnight, until it is completely firm.
-
Once firm, decorate the pie as desired with your favorite toppings.
-
Slice, serve, and enjoy your delightful No-Bake Peanut Butter Pie!
Nutrition
Like this recipe? Rate and comment below!
