Irresistible Blueberry Crisp: Your Go-To Easy Dessert Recipe
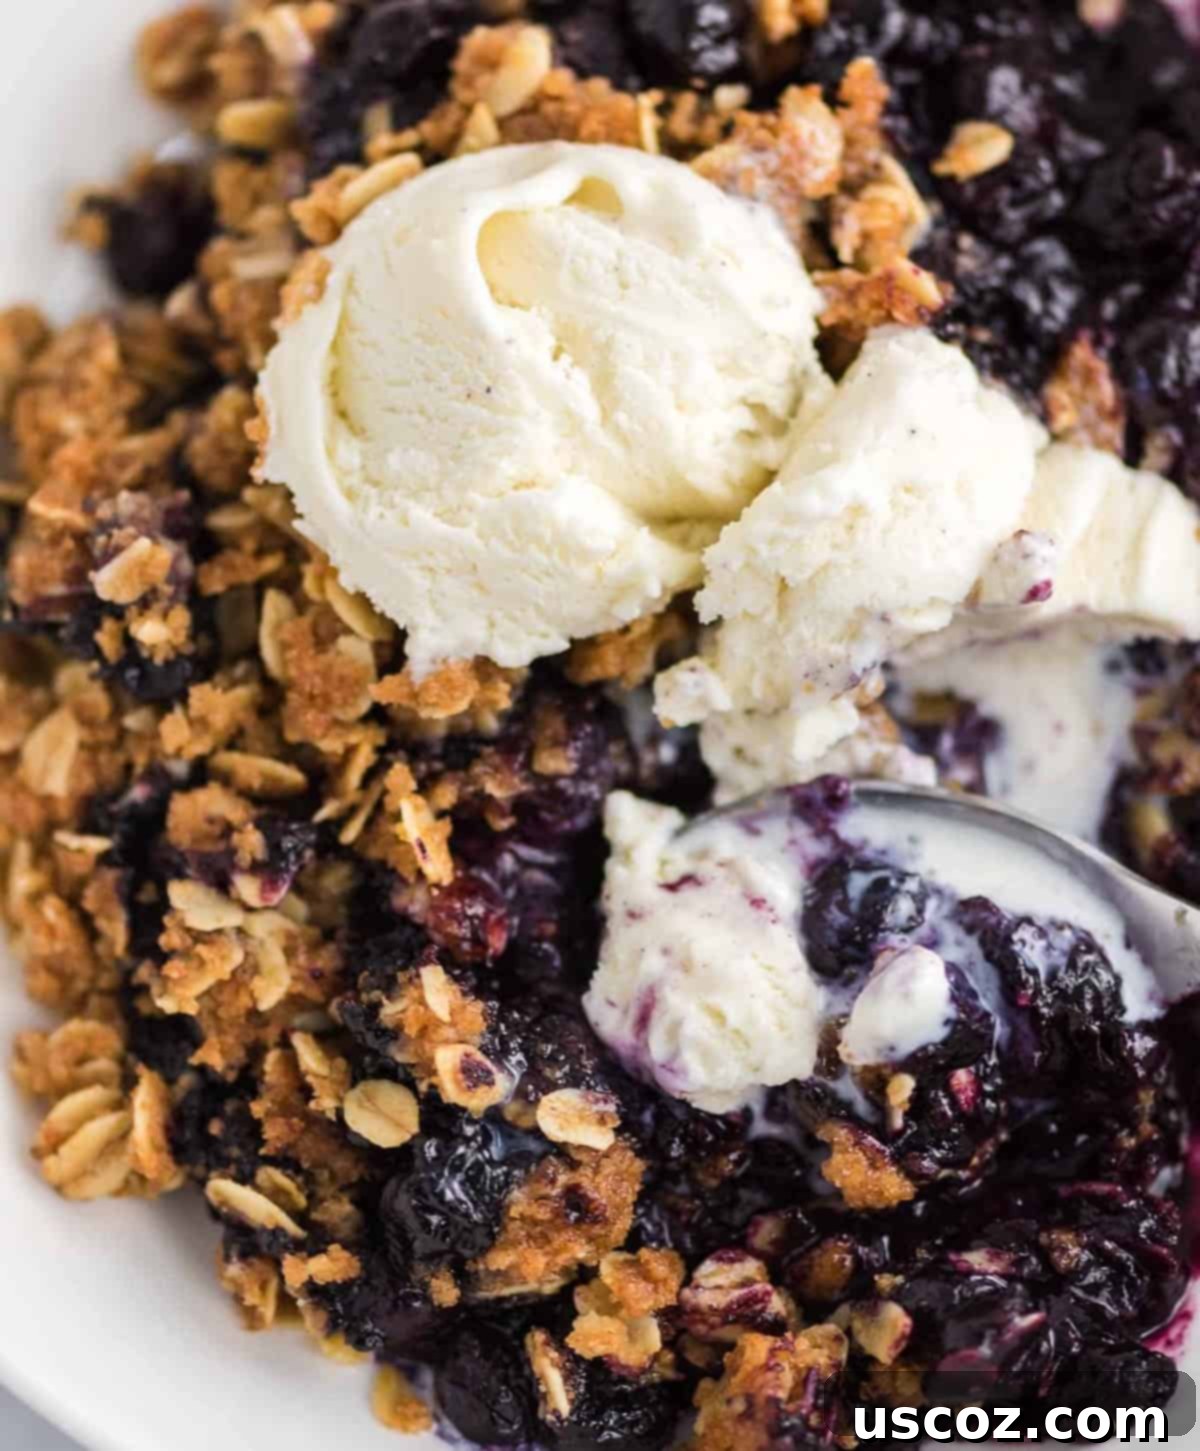
There’s nothing quite like a warm, bubbling fruit crisp straight from the oven, and this Blueberry Crisp Recipe with its perfectly crisped oat topping is a prime example of a dessert that consistently delights! Much like its beloved cousins, Apple Crisp and Strawberry Crisp, this blueberry rendition is best enjoyed warm, ideally topped with a generous scoop of melting vanilla ice cream. It’s the ultimate comfort dessert, simple to prepare, yet incredibly impressive and satisfying.
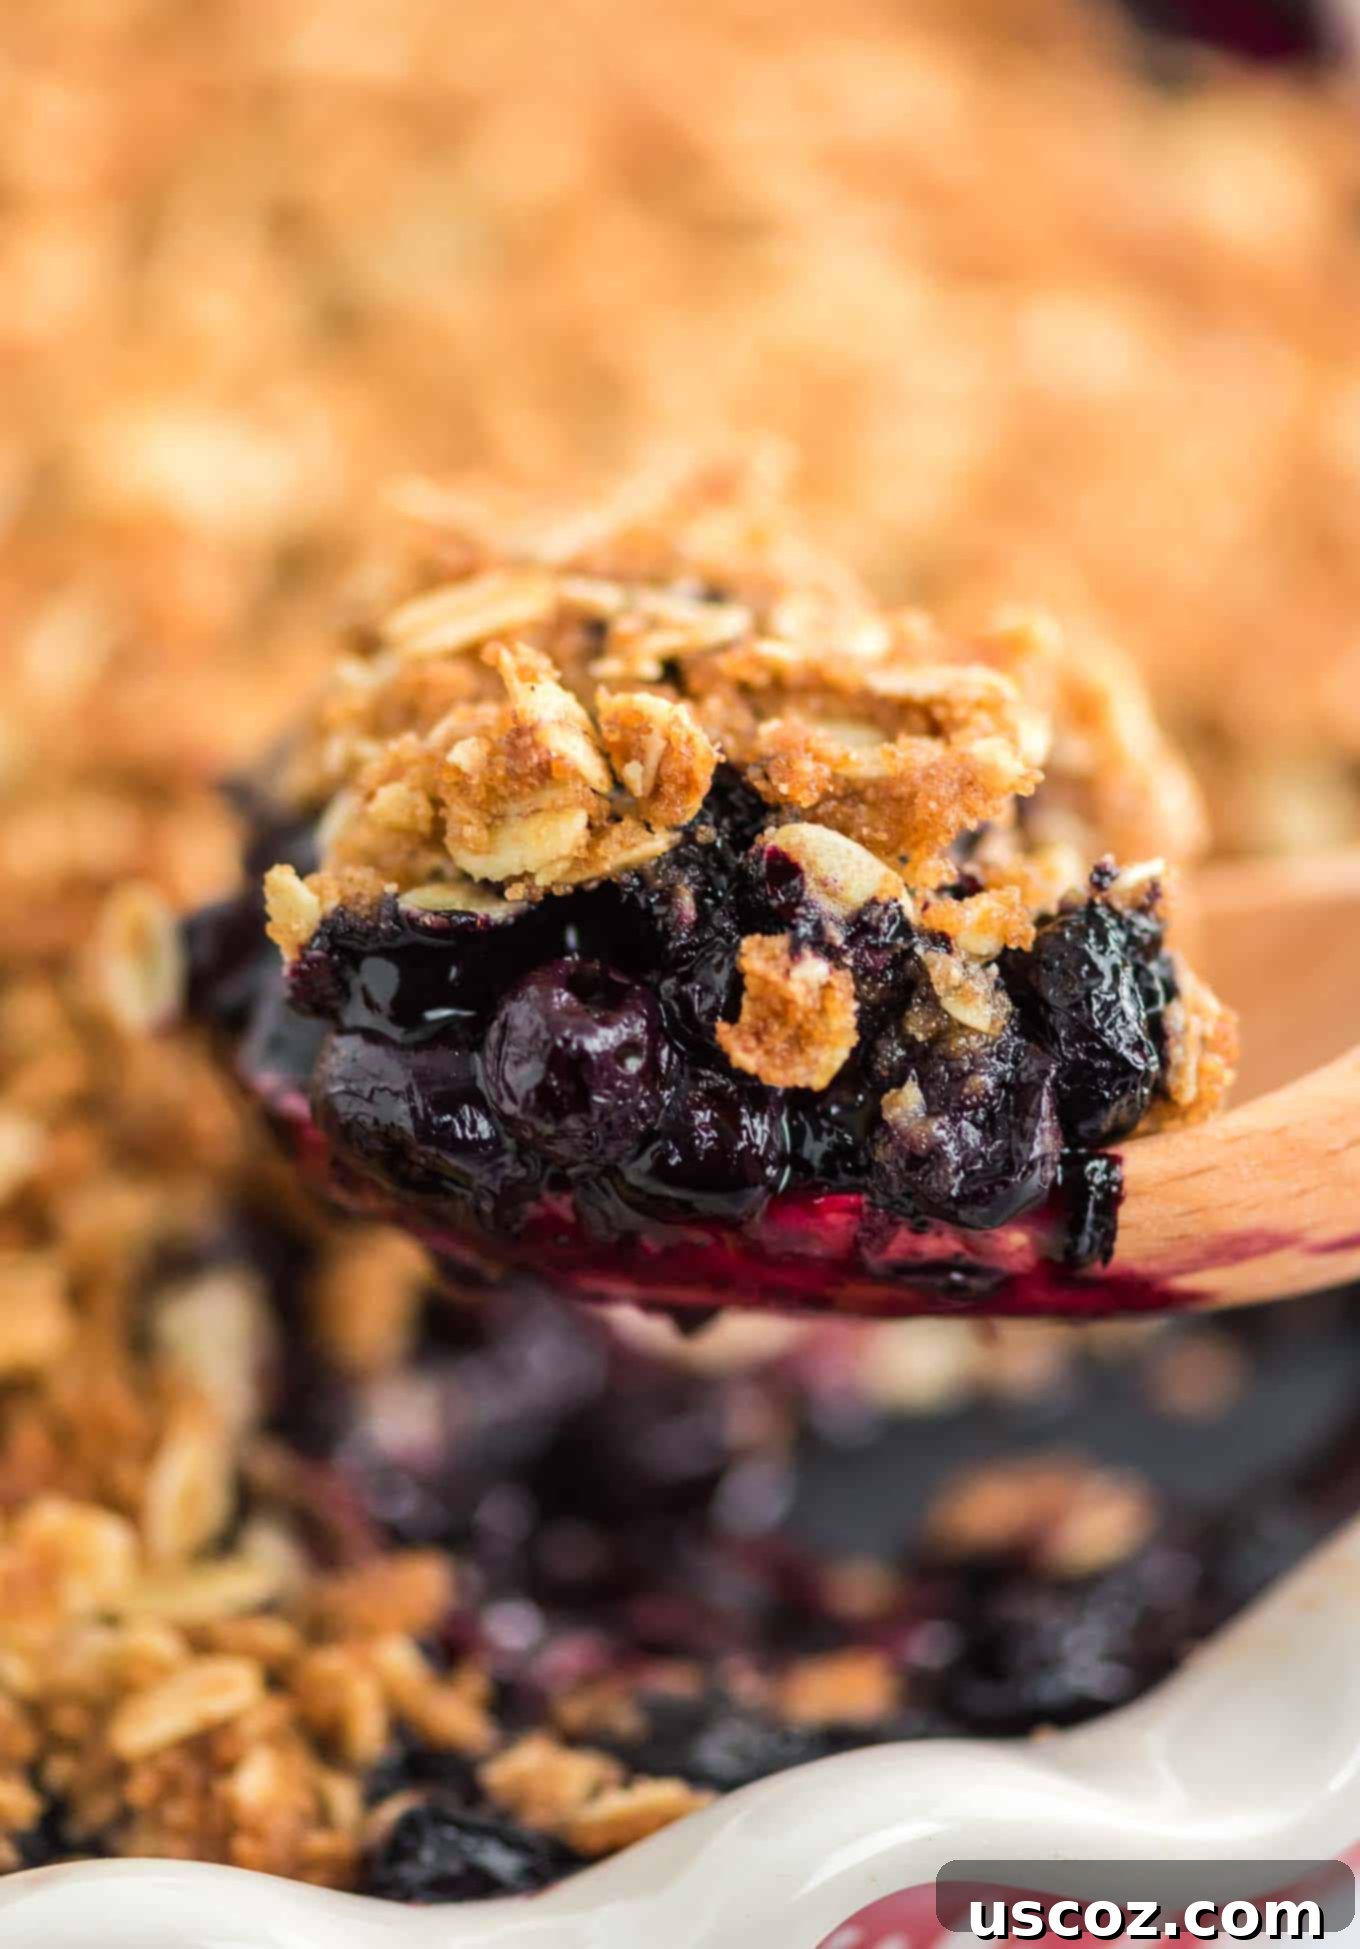
Fruit crisp recipes, whether crafted with fresh, peak-season produce or convenient frozen fruit, are a consistent favorite for excellent reasons. They offer all the delightful warmth, sweet-tart flavors, and comforting aroma of a homemade pie, but with significantly less effort and time. This particular blueberry crisp stands out for its effortless preparation and its ability to consistently earn rave reviews from everyone who tastes it. Imagine: a luscious, sweet, and perfectly jammy blueberry filling, beautifully complemented by a golden, buttery, and irresistibly crunchy oat crumble that truly melts in your mouth.
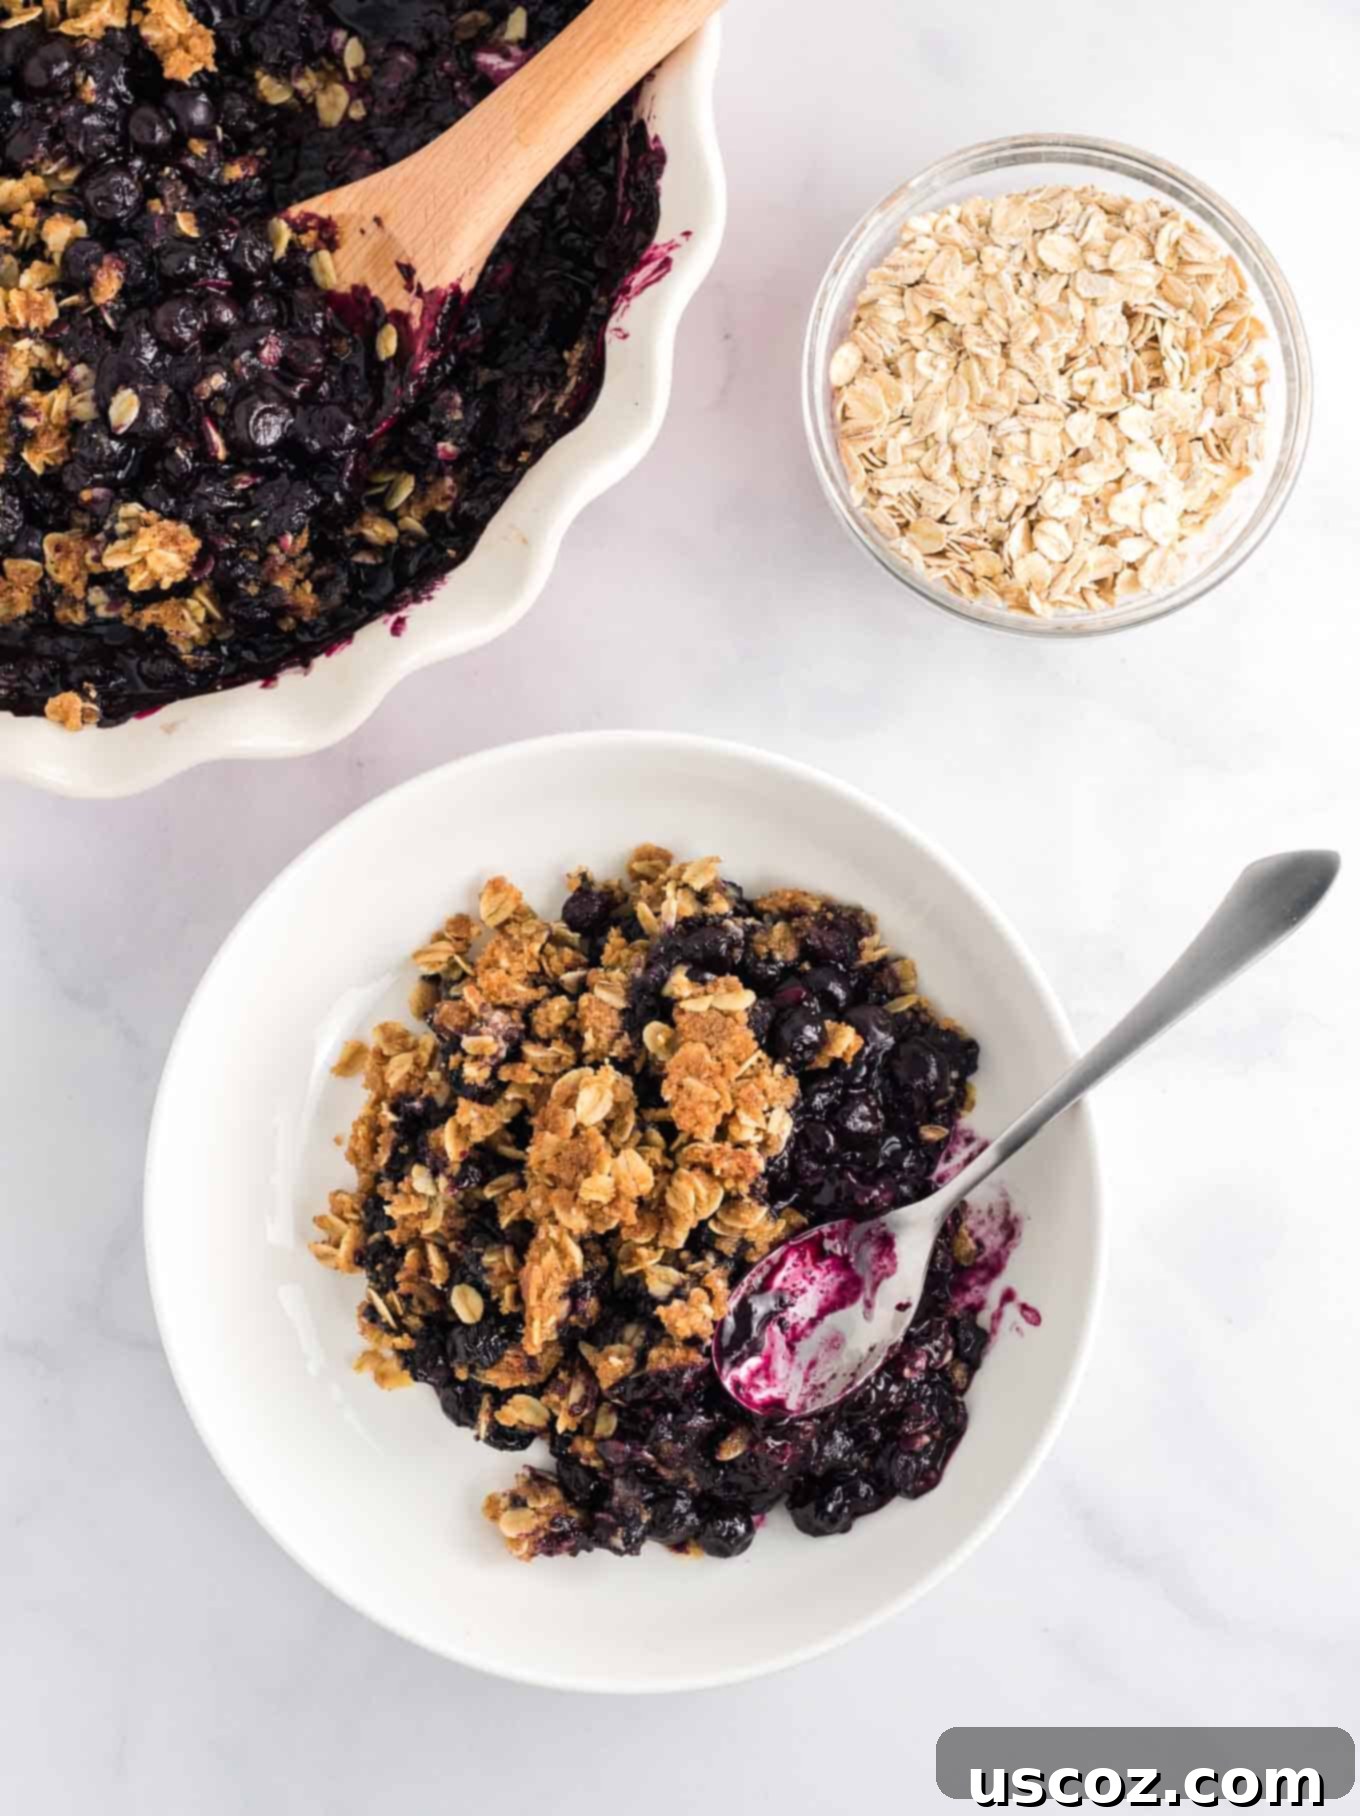
One of the best advantages of this recipe is its smart use of frozen blueberries, making it an incredibly versatile dessert you can enjoy year-round. Frozen blueberries are often harvested at the peak of their ripeness and flash-frozen, effectively locking in their vibrant flavor and nutritional goodness. This convenience means you don’t have to wait for summer to satisfy your blueberry crisp craving. Of course, if you have a bounty of fresh, ripe blueberries on hand, they will perform beautifully in this recipe as well. Either way, the result will be a delightfully sweet and satisfying treat!

How to Make Blueberry Crisp with Frozen Blueberries: A Step-by-Step Guide
Crafting this delightful blueberry crisp is a straightforward process, designed for ease and maximum flavor. The first critical step involves preparing the luscious blueberry filling. Begin by combining your frozen blueberries in a large mixing bowl with the other essential filling ingredients: sugar, cornstarch, a small amount of salt, and a dash of cinnamon. The cornstarch is crucial here as it acts as a thickening agent, ensuring your filling develops into a perfectly jammy consistency rather than becoming watery. The sugar balances the natural tartness of the blueberries, while the cinnamon adds a comforting layer of warmth and spice.
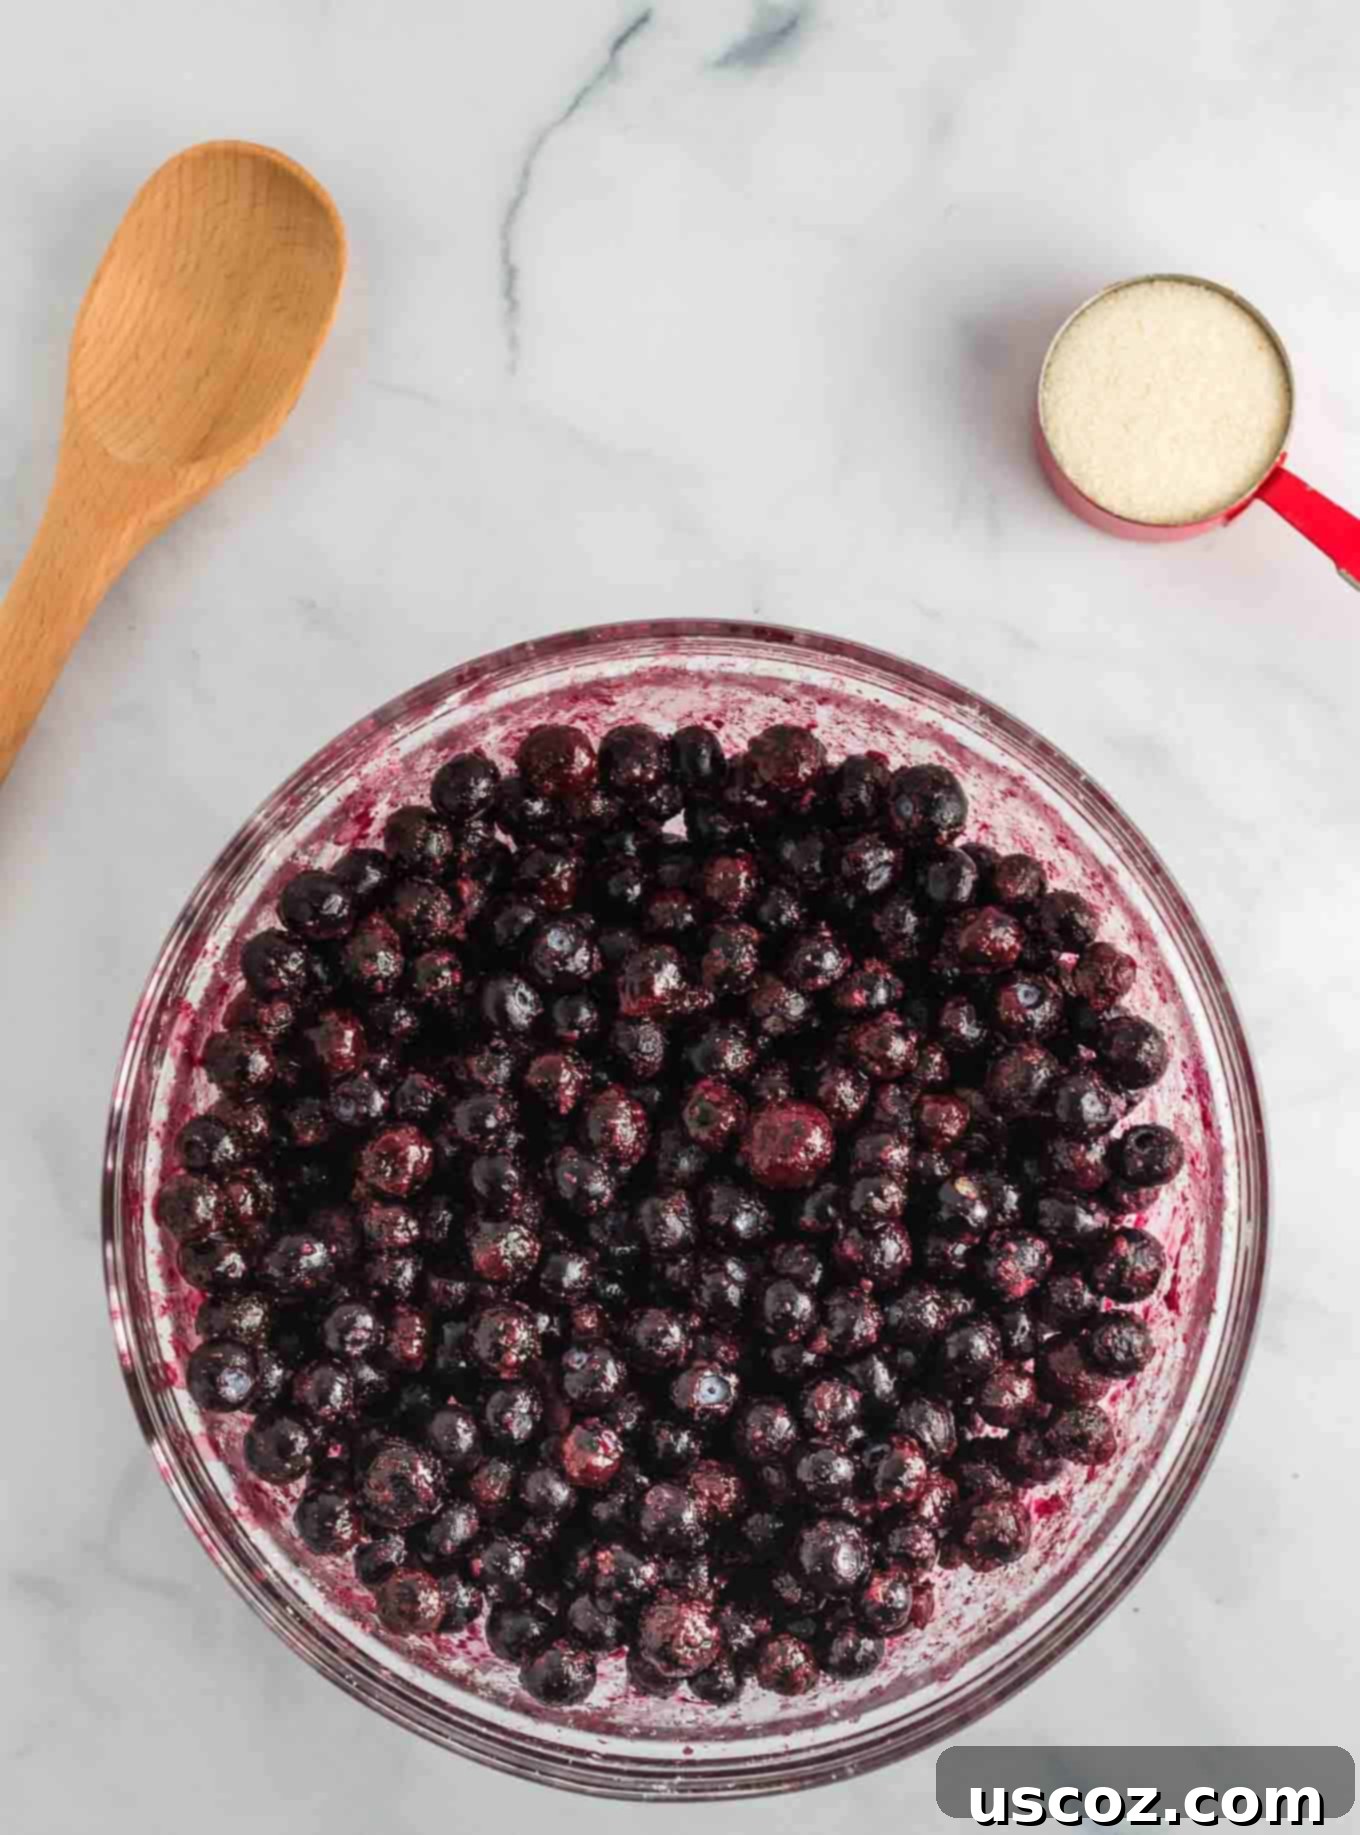
It’s important to do this step first to give the frozen blueberries ample time to partially defrost. Allowing them to sit for approximately 5 to 10 minutes helps them to release some of their natural juices, which then combine more effectively with the cornstarch and sugar. This initial “resting” period is key to preventing a clumpy or unevenly thickened filling. When you first mix these ingredients, the mixture might appear somewhat icy and separated, as depicted in the image below:
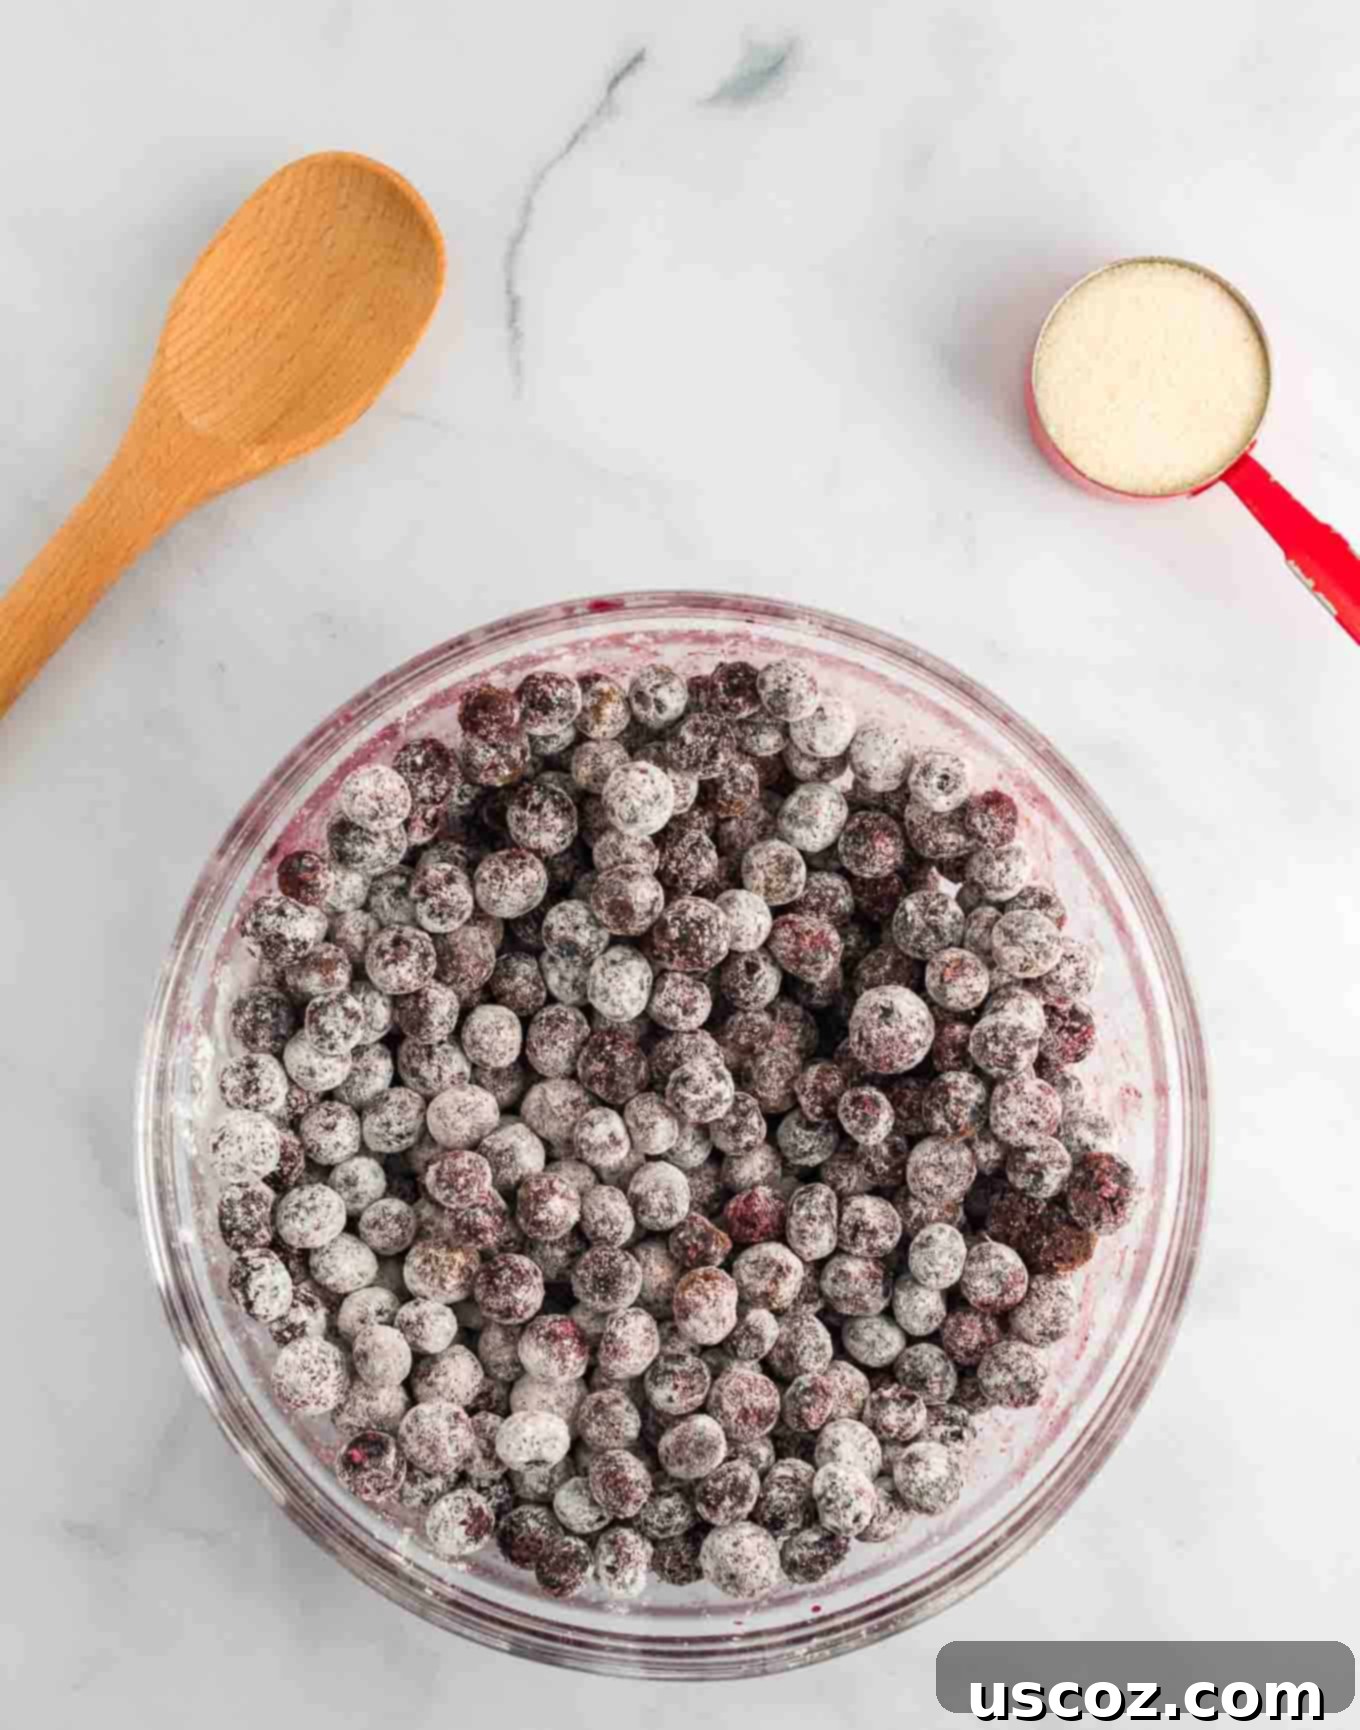
After a few minutes, as the blueberries begin to soften and release more liquid, a second stir will help to integrate all the ingredients much more smoothly and create a more uniform consistency. While your blueberries are undergoing this brief defrosting process, it’s the perfect opportunity to prepare the delicious crisp topping. By the time you’ve finished assembling the topping, your blueberry filling will be perfectly prepared for a final stir and ready for assembly.
How to Make the Delicious Blueberry Crisp Topping
The crunchy, golden-brown topping is truly what sets a crisp apart and makes it so incredibly satisfying. For this blueberry crisp, you’ll need a carefully selected blend of ingredients that come together to form the perfect, irresistible crumble:
- Brown sugar: Provides a rich, deep, caramel-like sweetness and helps to keep the topping moist and tender before crisping.
- Whole wheat flour: Adds a subtle nutty flavor and a hearty, wholesome texture to the crumble.
- Rolled oats: These are absolutely essential for that signature crisp texture and a delightful chewy bite.
- Salt: A small amount of salt is added to balance and enhance all the sweet flavors, making them pop.
- Coconut oil: Contributes a unique richness and a delicate, sometimes barely noticeable, tropical note to the topping.
- Unsalted butter: Crucial for its classic buttery flavor and its role in helping the topping bind together and achieve that coveted golden crispness.
Begin by accurately measuring your coconut oil and butter while they are still in their solid state. Then, gently melt them together in the microwave until they are completely smooth and liquid. This step is important for ensuring an even distribution of fats throughout the dry ingredients, which is key to achieving a consistently crumbly and delicious topping.

Once your fats are melted and combined, add them to a separate mixing bowl containing all the dry crisp topping ingredients: brown sugar, whole wheat flour, rolled oats, and salt. Stir everything thoroughly with a spoon or a sturdy rubber spatula until all the dry ingredients are moistened and well incorporated. The resulting mixture should have a crumbly texture, very much like wet sand – it should be able to hold together loosely when gently squeezed in your hand.

Baking Your Perfect Blueberry Crisp to Golden Perfection
With both your delightful, juicy blueberry filling and your perfectly crumbly crisp topping now ready, it’s time to bring it all together and let the magic happen in the oven! First, ensure your oven is accurately preheated to 350 degrees Fahrenheit (175°C). Next, carefully pour the prepared blueberry filling into a pie dish or any other similarly sized small baking dish. Make sure to spread the filling evenly across the bottom. Then, generously sprinkle the oat crisp topping over the entire surface of the blueberries, ensuring an even layer. This distribution is key for consistent baking and that satisfying crunch in every bite. Carefully place the dish into your preheated oven.
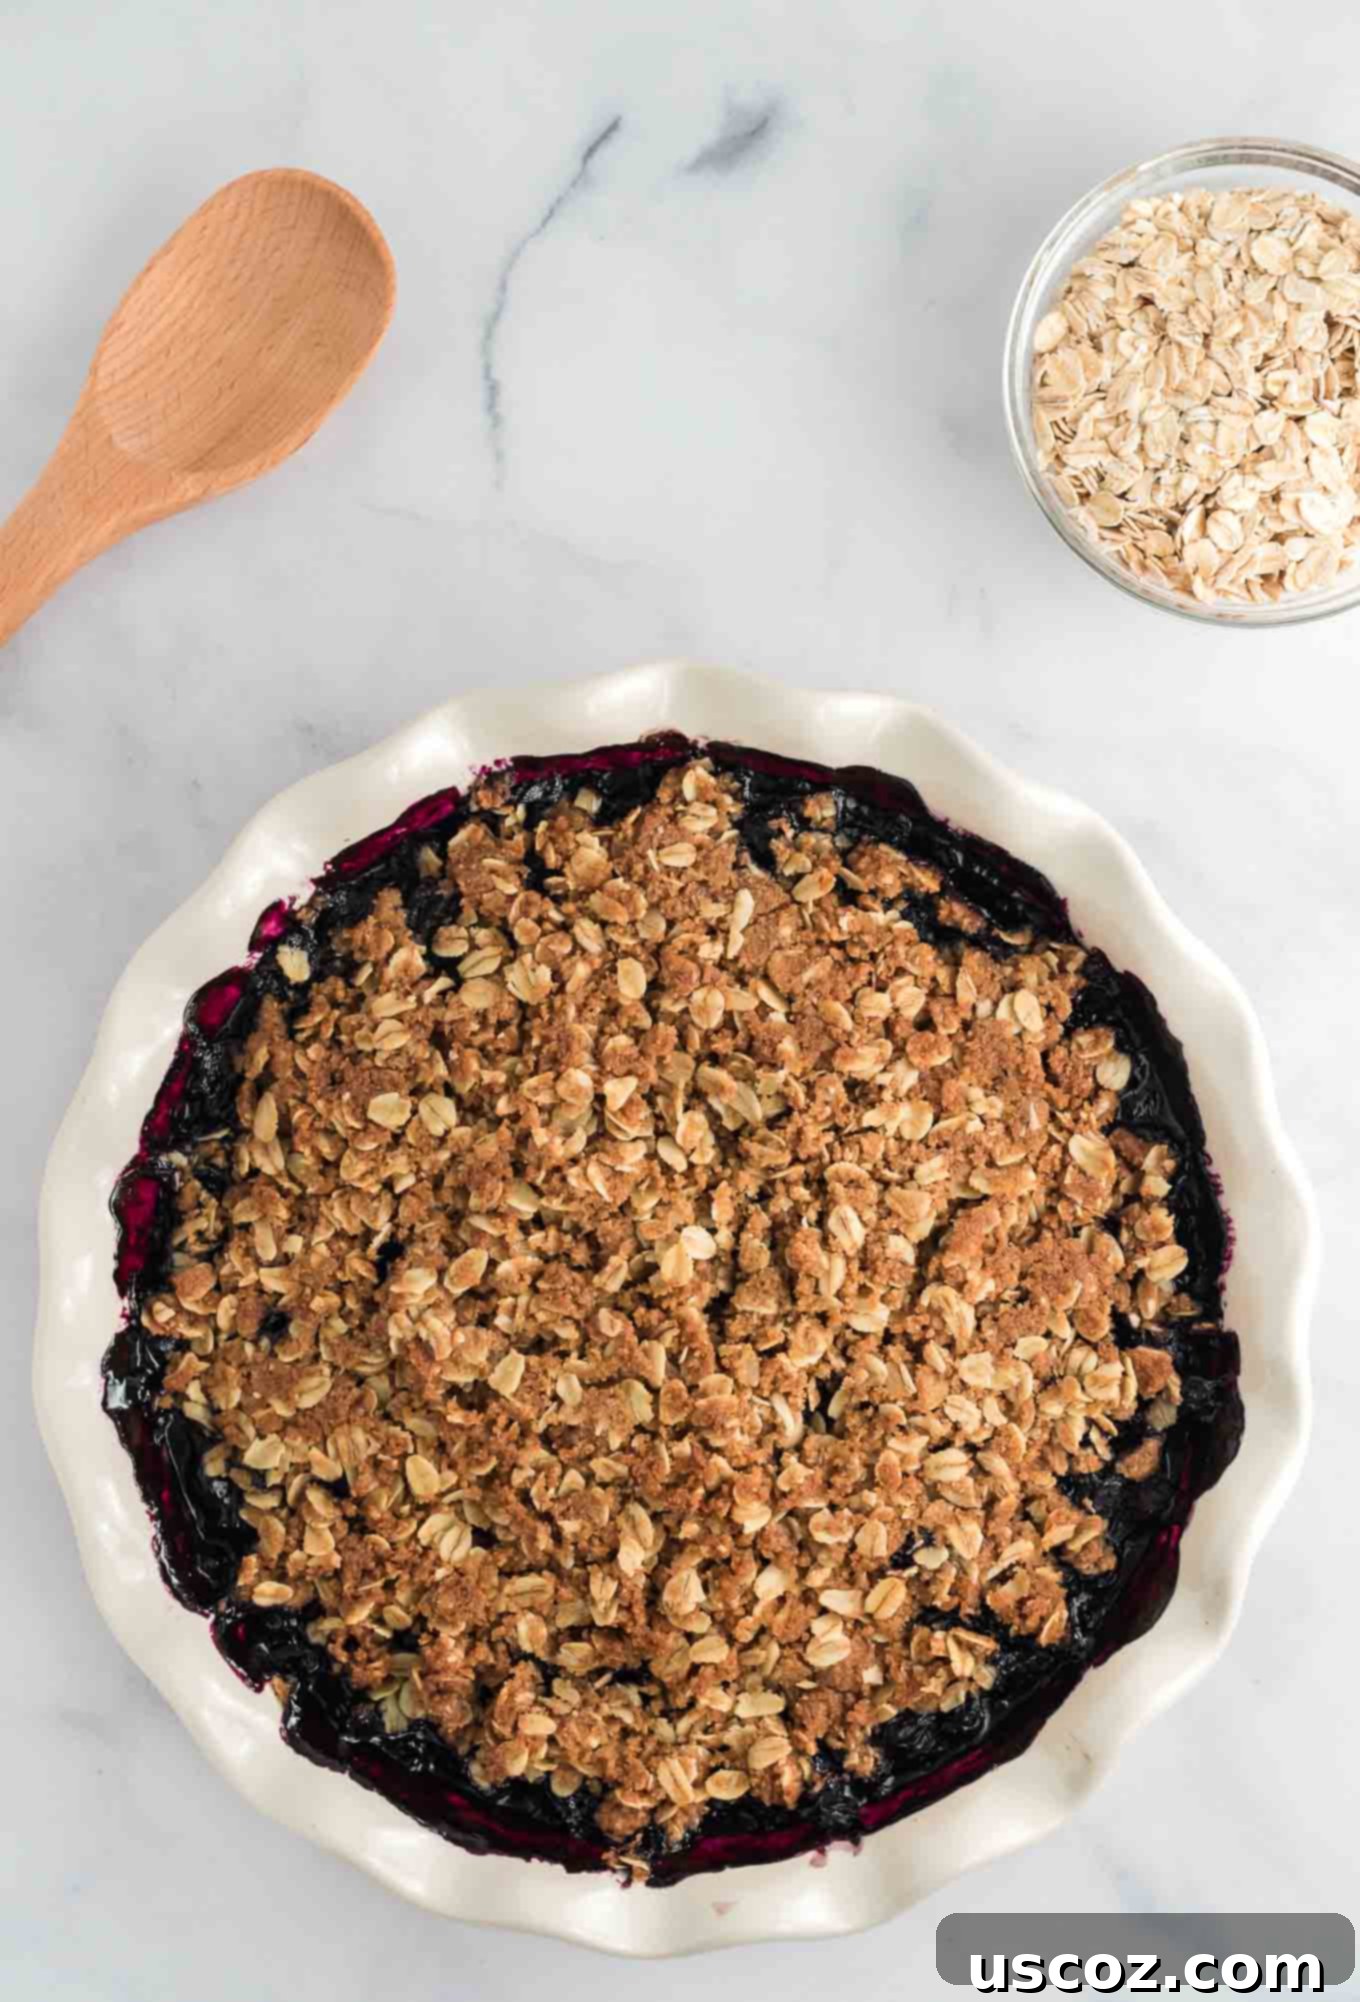
Bake your crisp for approximately 50 to 60 minutes. You’ll know it’s perfectly cooked when the blueberry filling is visibly bubbling around the edges and through the gaps in the topping, indicating it has thickened beautifully into a rich, sweet sauce. Concurrently, the crisp topping should transform into a rich golden brown hue and become wonderfully crunchy. Be sure to keep a close eye on it during the final few minutes of baking to achieve that perfect golden color without over-browning or burning. Once it emerges from the oven, the intoxicating aroma will be almost as satisfying as the first bite!
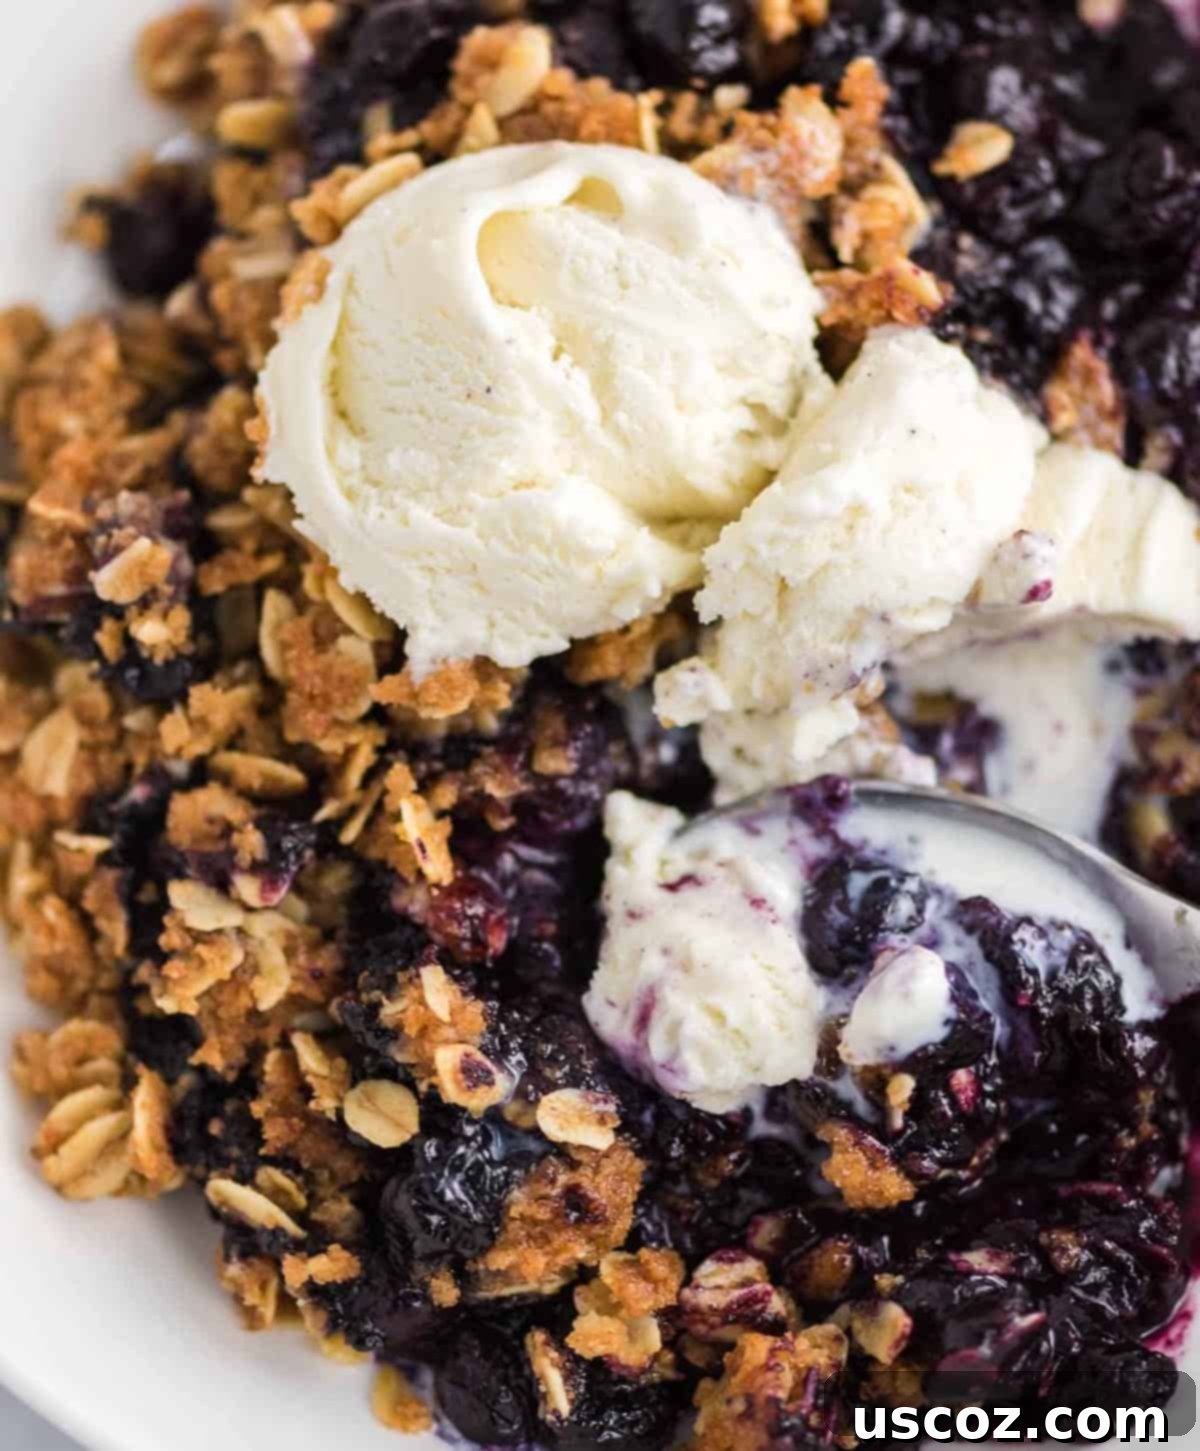
For the ultimate sensory experience, serve this blueberry crisp warm, directly from the oven. A generous scoop (or even two!) of high-quality vanilla ice cream, melting slowly over the hot, bubbling berries and the crunchy oat topping, is pure bliss. The delightful contrast of warm and cold, soft and crisp, sweet and tart flavors creates an unforgettable dessert experience that truly captures the essence of homemade comfort.

Customizing Your Blueberry Crisp: Vegan and Gluten-Free Options
Can I Make This Recipe Vegan?
Absolutely! Adapting this blueberry crisp to be entirely vegan is wonderfully straightforward. The only ingredient that is not plant-based in the original recipe is the unsalted butter found in the crisp topping. To transform it into a vegan-friendly dessert, simply substitute the unsalted butter with your preferred plant-based or vegan butter alternative. Many excellent vegan butter sticks are readily available in most grocery stores today, and they perform exceptionally well in baking, ensuring your crisp topping remains perfectly rich, buttery, and deliciously crumbly. This small, simple change makes the entire dessert accessible and enjoyable for everyone, regardless of dietary preferences.

How to Make Blueberry Crisp Gluten-Free?
Adapting this delightfully crispy dessert for a gluten-free diet is also a very straightforward modification. The only ingredient in the crisp topping that contains gluten is the whole wheat flour. To make it entirely gluten-free, simply swap the whole wheat flour for a suitable gluten-free alternative. Certified gluten-free oat flour is an excellent choice, as it not only maintains a similar texture to wheat flour but also naturally enhances the wholesome oat flavor already present in the crisp. Alternatively, you could use a general gluten-free all-purpose flour blend. If you choose a blend, ensure it contains xanthan gum (or add a small amount separately, typically about 1/4 teaspoon per cup of flour) to aid in binding and achieve the perfect crumble texture.
Can I Use Another Flour Besides Whole Wheat?
Absolutely! While whole wheat flour contributes a lovely rustic flavor and a bit more nutritional value to the topping, regular all-purpose flour will work perfectly fine as a substitute for the crisp topping. If you opt for all-purpose flour or another alternative, it’s always a good idea to pay close attention to the topping’s consistency as you mix it. The ideal texture you’re aiming for is that of “wet sand” – crumbly but able to hold its shape loosely when squeezed. If, after mixing, the topping mixture seems too wet or sticky, you can incrementally add up to an additional 1/4 cup of flour until that desired crumbly consistency is achieved.

Expert Tips for Baking the Perfect Blueberry Crisp Every Time
Achieving a consistently perfect blueberry crisp is easy with a few simple tips:
- Embrace the Defrosting Time: Do not skip the 5-10 minute resting period for the frozen blueberries with the sugar and cornstarch. This crucial step allows the blueberries to release some moisture, which then properly activates the cornstarch, preventing a watery filling and ensuring a rich, thickened fruit base.
- Nail the Topping Texture: The “wet sand” consistency for your oat topping is key. If your mixture feels too dry, it won’t clump and crisp up properly. If it’s too wet, it might become dense or cakey instead of crunchy. Adjust with a very small amount of extra flour or melted butter/oil if needed.
- Ensure Even Topping Distribution: Spread the crisp topping uniformly over the entire surface of the blueberry filling. This guarantees that every single spoonful will have that delightful contrast between the soft, warm fruit and the crunchy, golden streusel.
- Watch for Visual Cues of Doneness: The perfect crisp is ready when the blueberry filling is visibly bubbling around the edges and through any gaps in the topping. The topping itself should be a beautiful golden brown and feel firm and crispy to the touch.
- Serve Warm for the Ultimate Experience: While tasty when cold, the magic of a fruit crisp truly shines when it’s served warm. The heat enhances the fruit’s flavors and creates that irresistible melty goodness when paired with cold ice cream.
Storage and Reheating Your Delicious Leftovers
Should you be lucky enough to have any leftovers of this incredible blueberry crisp (a rare occurrence for many!), they can be stored quite easily. Simply allow the crisp to cool completely to room temperature, then cover the baking dish tightly with plastic wrap or aluminum foil and refrigerate it. It will maintain its deliciousness for up to 3-4 days. To reheat, you have a couple of options: for a quick warm-up, individual servings can be placed in the microwave. For a crispier topping that recaptures some of that fresh-baked magic, place the entire dish (or a portion) back into a preheated oven at 300°F (150°C) for about 15-20 minutes, or until it’s warmed through and the topping has re-crisped.
In conclusion, you simply cannot go wrong with this delightful, juicy blueberry crisp recipe. It’s a cherished classic for a reason: it’s effortlessly adaptable to fit various dietary needs, incredibly satisfying to make, and tastes absolutely amazing every single time it graces your table!

More Delicious Fruit Crisp Recipes to Try
Fruit crisps truly are the perfect easy, no-fuss dessert that never disappoints and always brings smiles to faces. If you loved the simplicity and deliciousness of this blueberry crisp, be sure to explore these other fantastic crisp recipes from our collection. They are perfect for any occasion and any season!
- Cranberry Apple Crisp
- Gluten Free Apple Crisp
- Vegan Blueberry Peach Crisp
- Easy Peach Crisp
- Cranberry Blueberry Crisp
Are you making this recipe? I want to see! Don’t forget to tag me on Instagram @buildyourbite and hashtag #buildyourbite with your delicious recipe creations!
Be sure to pin this recipe for later and follow Build Your Bite on Pinterest for all the latest easy and delicious recipes!

Blueberry Crisp Recipe
Blueberry Crisp Recipe
Pin Recipe
Rate Recipe
Print Recipe
Ingredients
For the filling
- 6 cups frozen blueberries
- 1/4 cup sugar
- 2 tablespoons cornstarch
- 1/4 teaspoon salt
- 1/2 teaspoon cinnamon
For the Crisp Topping
- 3/4 cups brown sugar
- 1/2 cup whole wheat flour
- 3/4 cup rolled oats
- 1/4 teaspoon salt
- 2 tablespoons coconut oil, melted
- 1/3 cup unsalted butter, melted
Instructions
-
Preheat the oven to 350 degrees F (175°C).
-
In a large mixing bowl, combine the frozen blueberries, sugar, cornstarch, salt, and cinnamon for the filling. Stir well to coat the blueberries.
-
Allow the blueberry mixture to sit for 5-10 minutes while you prepare the crisp topping. This helps the blueberries to partially defrost and mix better.
-
For the crisp topping, measure the coconut oil and butter while solid, then melt them together in the microwave until completely liquid and smooth.
-
In a separate bowl, add all the dry ingredients for the crisp topping (brown sugar, whole wheat flour, rolled oats, salt). Pour in the melted coconut oil and butter and mix thoroughly with a spoon or rubber spatula until the mixture resembles wet sand.
-
After the blueberry filling has rested, give it another good stir to ensure all blueberries are evenly coated in the cornstarch and sugar mixture.
-
Pour the blueberry filling into a pie dish or other small baking dish.
-
Spread the crisp topping evenly over the blueberries, covering the entire surface.
-
Bake the crisp for 50-60 minutes, or until the blueberry filling is bubbly and the crisp topping is beautifully browned and crunchy. Keep an eye on it during the last few minutes to prevent burning.
-
Serve hot, ideally with a scoop of vanilla ice cream on top for the ultimate dessert experience!
Notes
To make this recipe vegan:
Use vegan butter in place of the unsalted butter. Ensure your coconut oil is also vegan.
To make this recipe gluten-free:
Substitute gluten-free oat flour or a certified gluten-free all-purpose flour blend for the whole wheat flour.
Storage:
Allow to cool completely, then cover tightly and refrigerate for up to 3-4 days. Reheat in the microwave or oven until warm.
Nutrition
Carbohydrates: 55g,
Protein: 3g,
Fat: 12g,
Saturated Fat: 8g,
Polyunsaturated Fat: 1g,
Monounsaturated Fat: 2g,
Trans Fat: 0.3g,
Cholesterol: 20mg,
Sodium: 154mg,
Potassium: 171mg,
Fiber: 4g,
Sugar: 37g,
Vitamin A: 297IU,
Vitamin C: 11mg,
Calcium: 34mg,
Iron: 1mg
Like this recipe? Rate and comment below!
