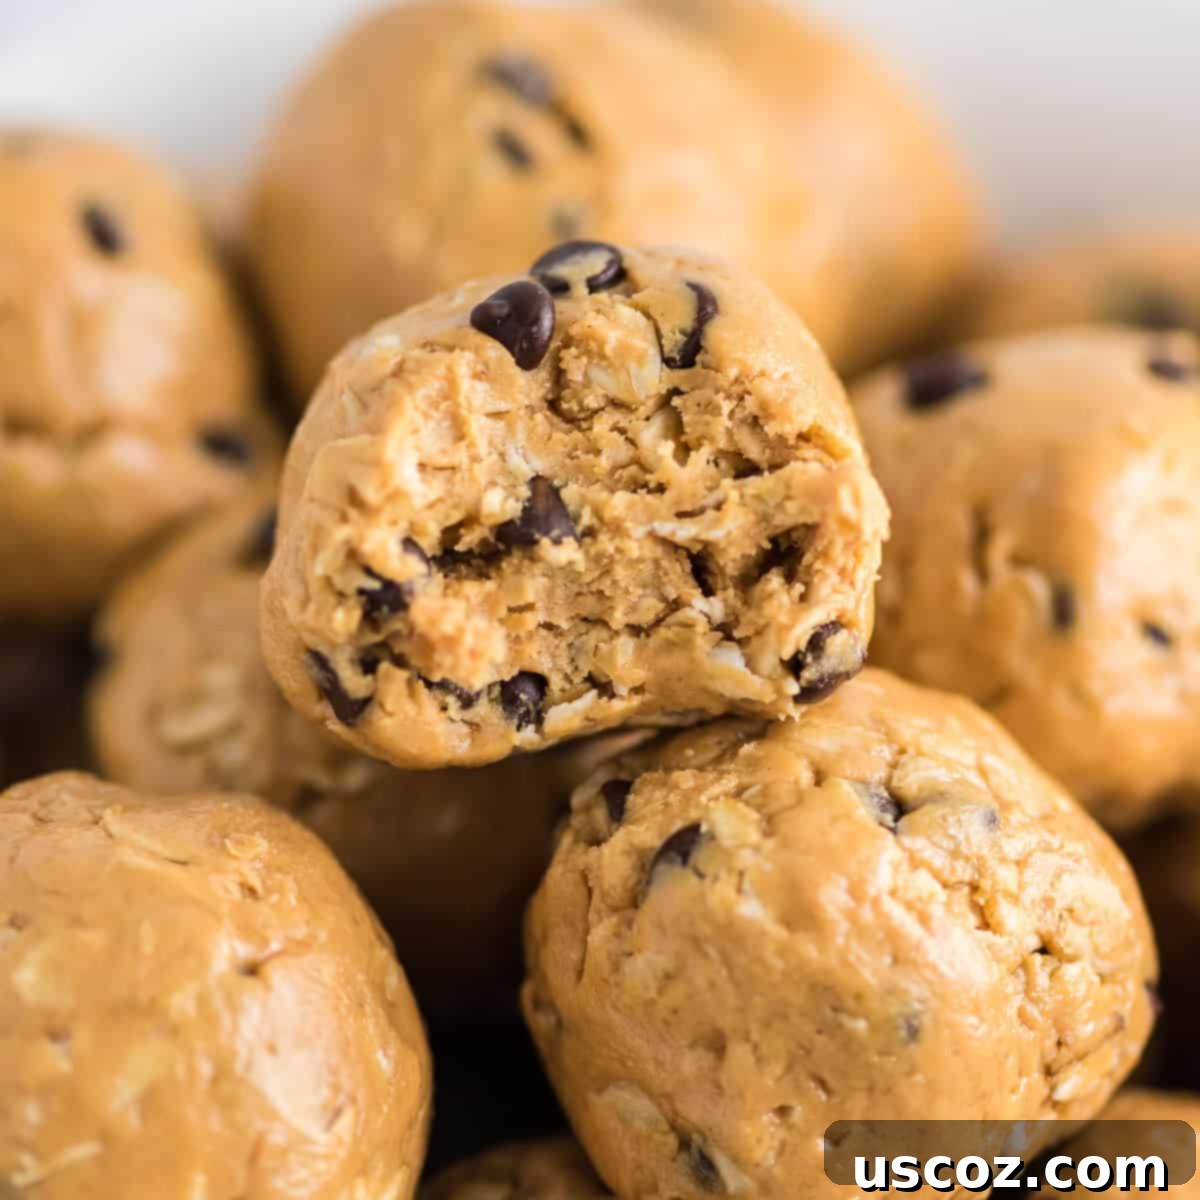
The Ultimate No-Bake Energy Balls: Easy, Protein-Packed, and Deliciously Healthy
Looking for a quick, nutritious, and incredibly tasty snack that requires absolutely no baking? You’ve found it! This is the ultimate easy No-Bake Energy Balls recipe. Crafted with just 6 simple, wholesome ingredients, these delightful bites are a fantastic choice for a healthy breakfast, a satisfying snack, or even a guilt-free dessert.
Why These Are The Perfect Energy Balls
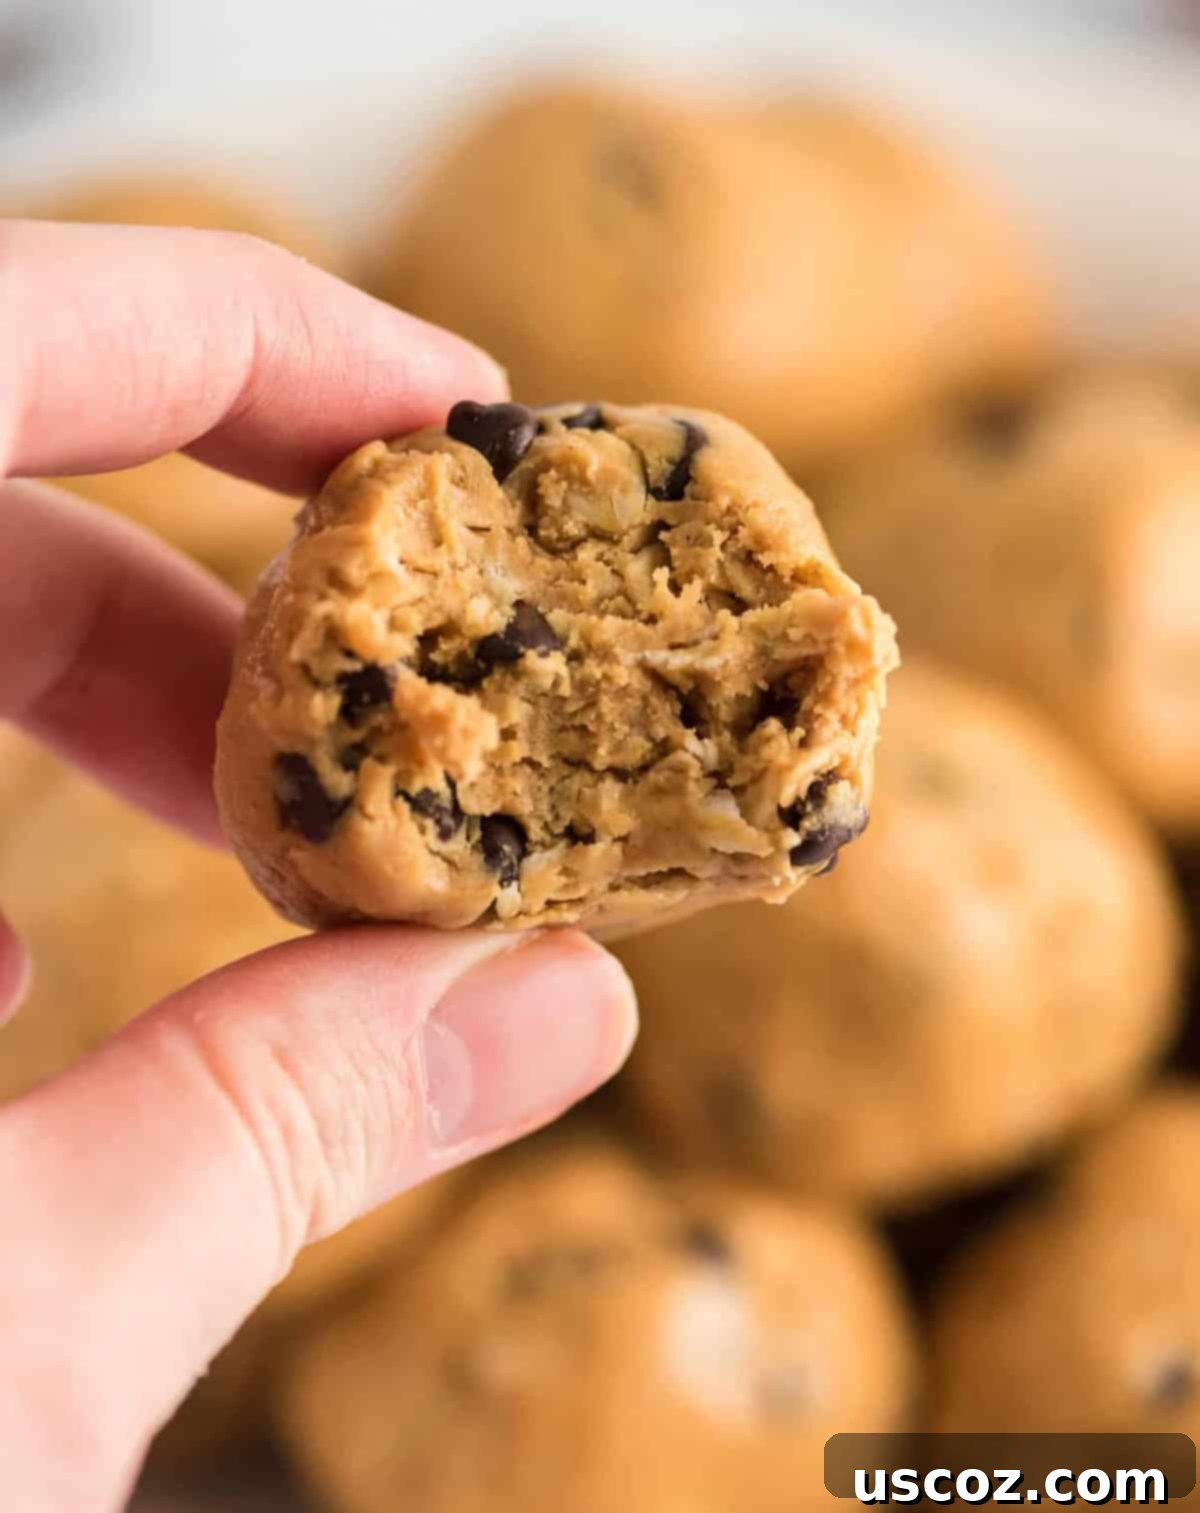
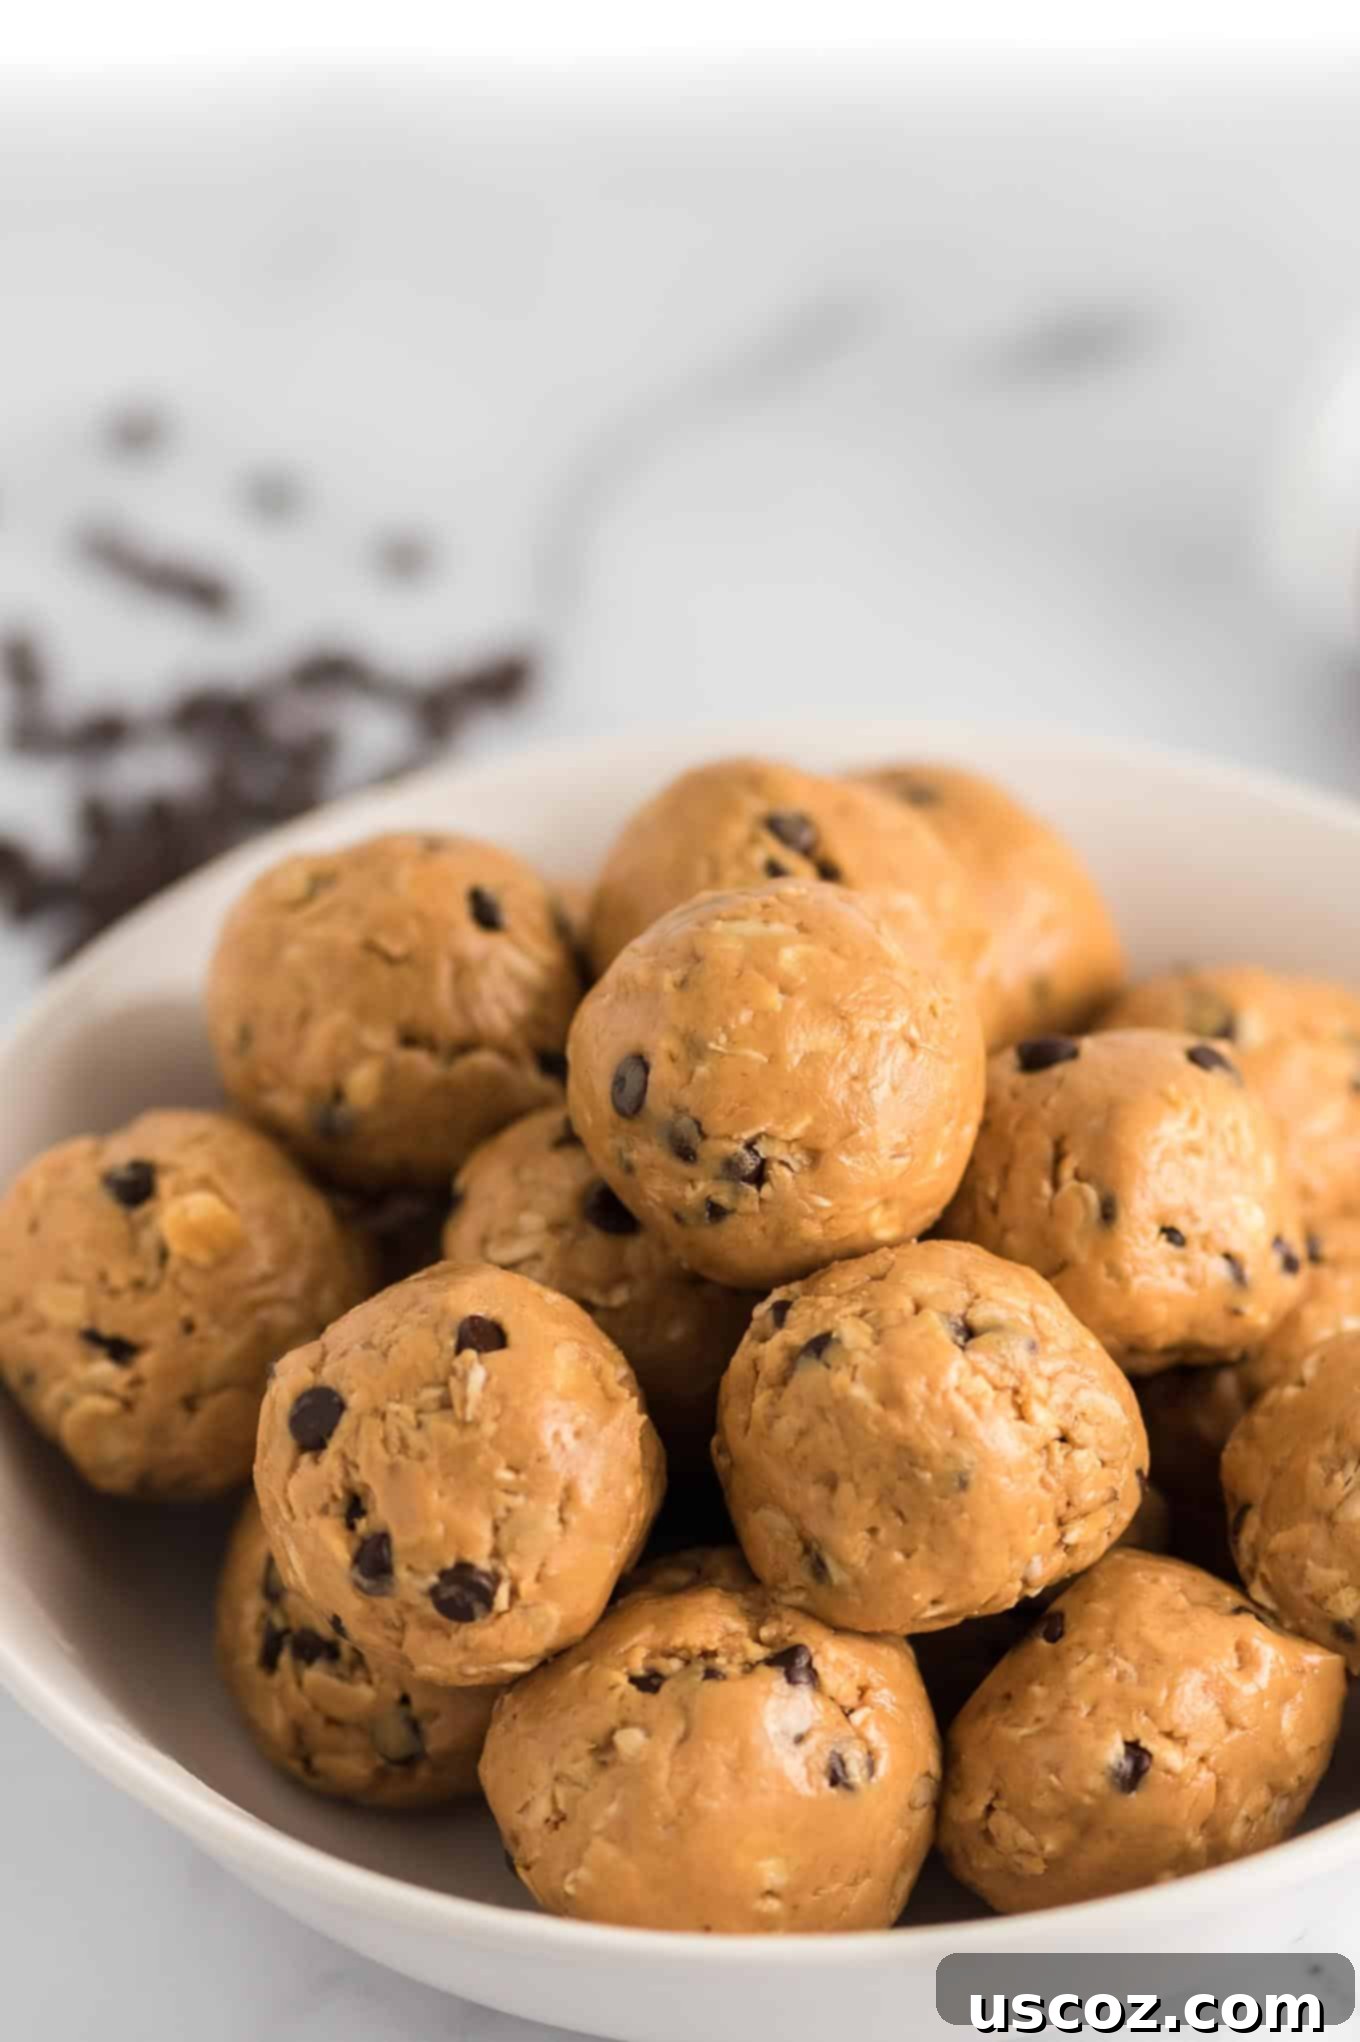
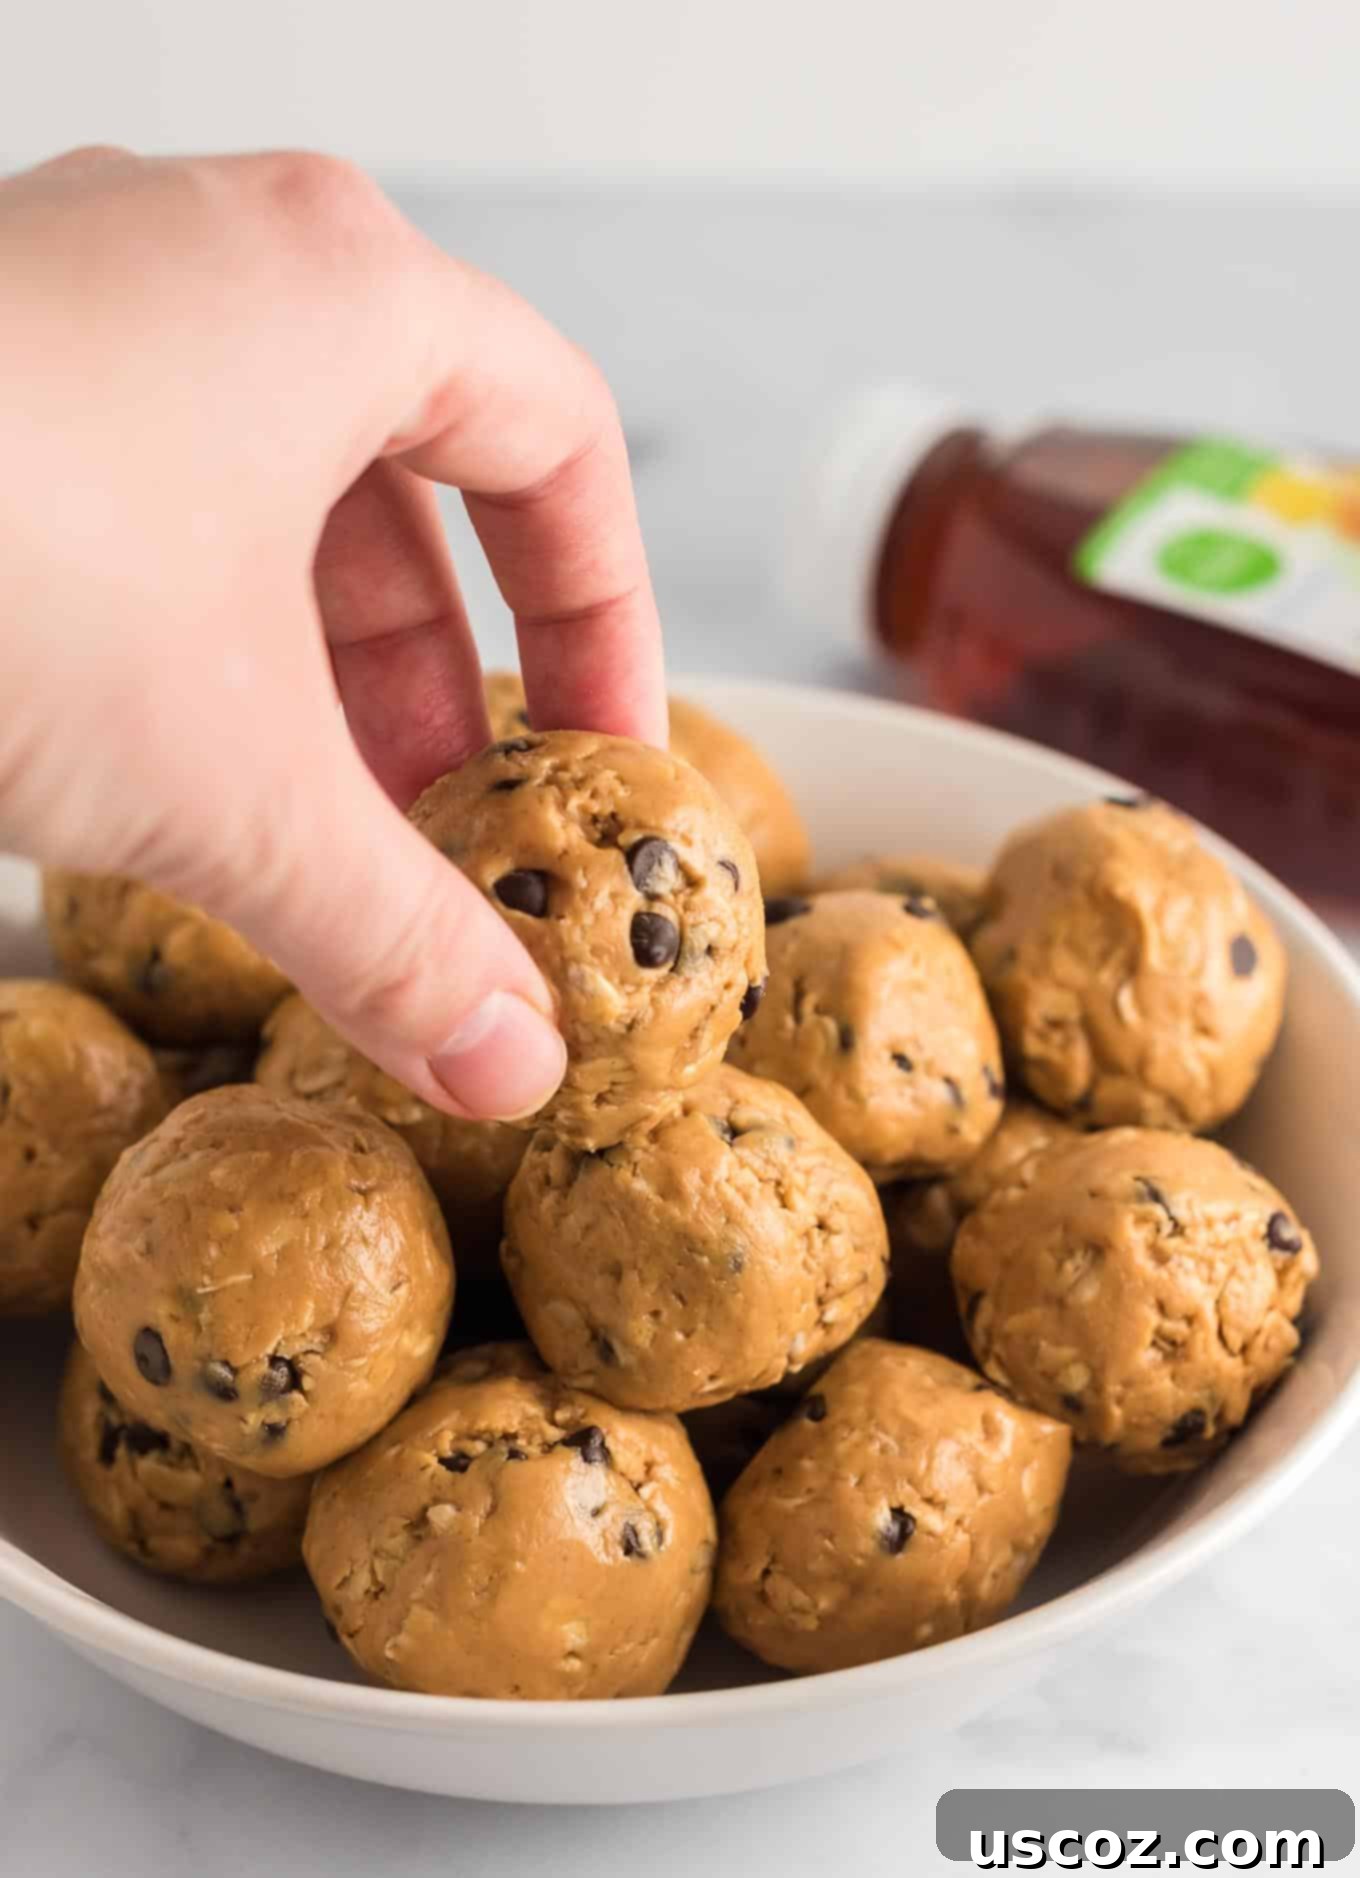
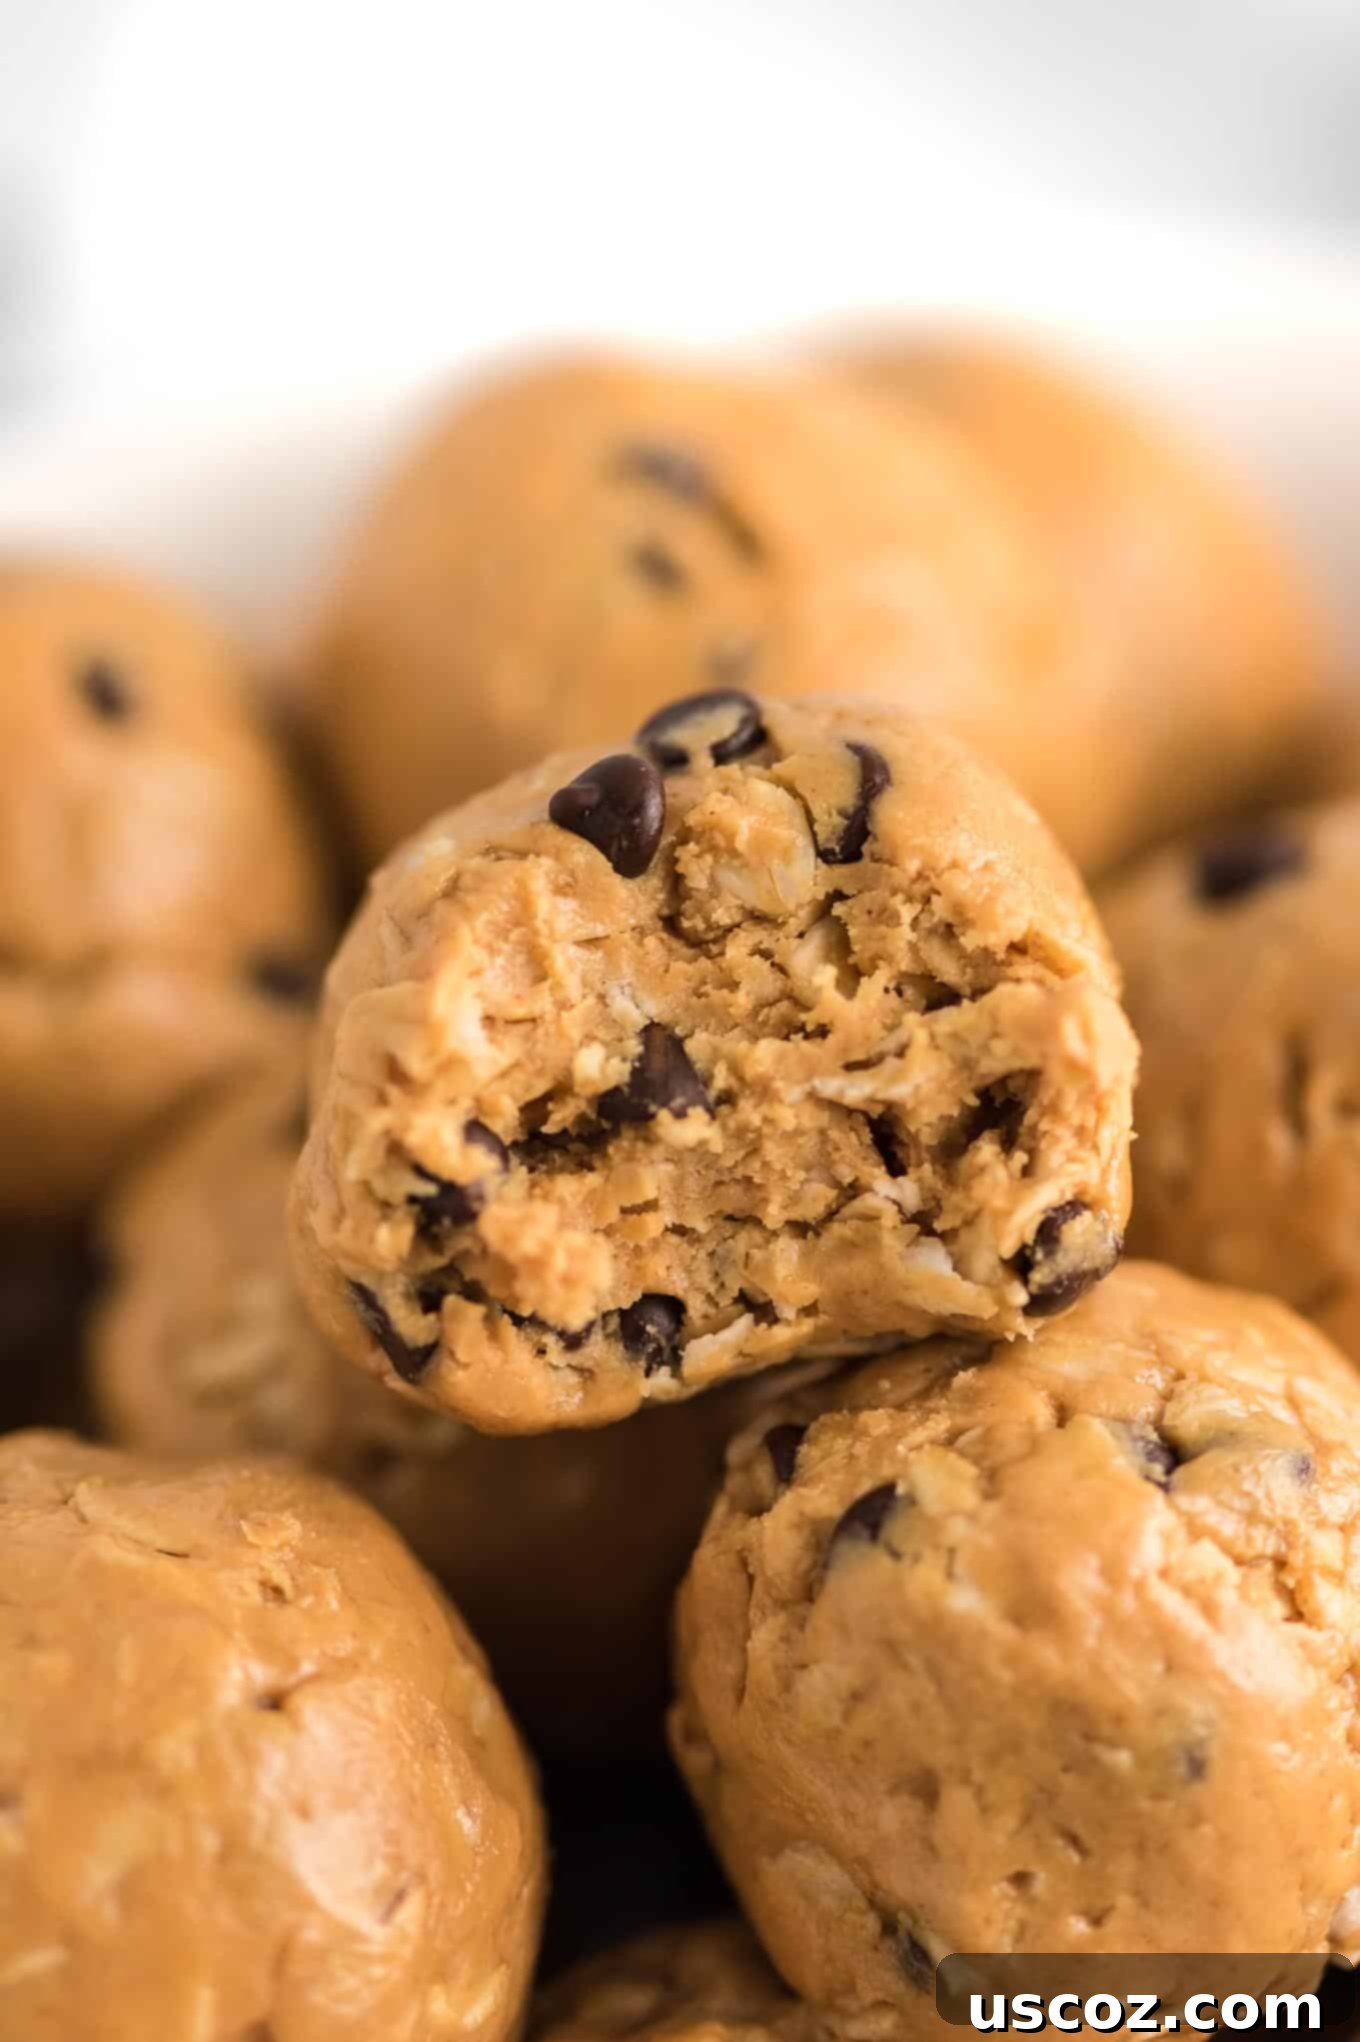
This isn’t just any protein balls recipe; it’s a cult-favorite, made and loved by thousands for a reason! With only 6 effortless ingredients, these easy energy bites magically taste like rich cookie dough, yet each one packs an impressive 5 grams of protein. They’re incredibly simple to whip up, making them a staple in many busy households.
I’ve personally made countless batches of these over the years. As soon as my freezer stash starts to dwindle, I know it’s time to make more. They’re a regular rotation in my kitchen, alongside my homemade protein bars. These delectable little morsels are truly versatile, serving perfectly as a healthy mid-day snack, a quick grab-and-go breakfast, or even a satisfying treat to curb those late-night sweet cravings.
They’re fantastic to have on hand for those moments when you need something fast, wholesome, and delicious. Their immense popularity even inspired me to create delightful almond butter energy balls, offering another fantastic variation on this beloved theme.
Essential Ingredients for Your No-Bake Energy Balls
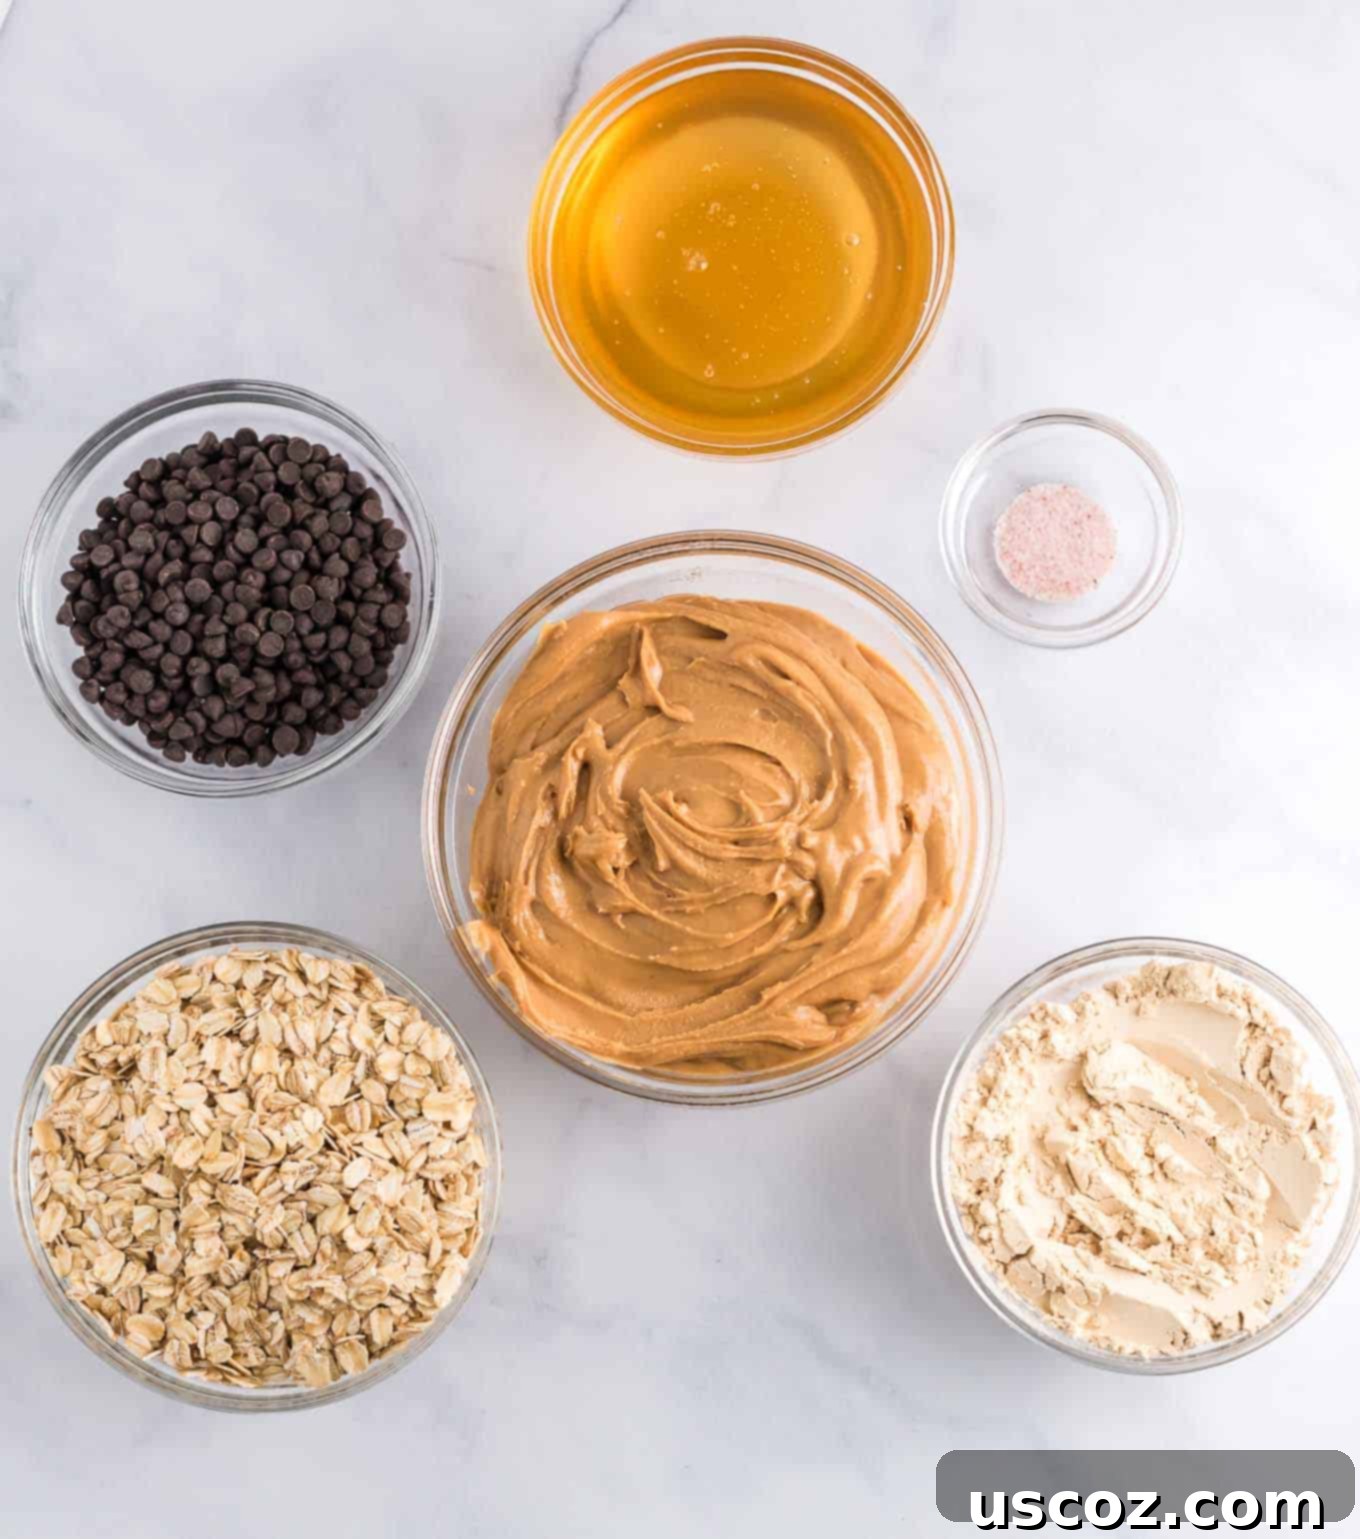
The beauty of this no-bake energy ball recipe lies in its simplicity and the readily available pantry staples it calls for. Here’s a closer look at the 6 core ingredients that make these bites so special:
- Protein Powder: For this foundational recipe, I typically opt for vanilla protein powder, which provides a lovely, mild flavor base. However, feel free to get creative! Any flavor of protein powder you enjoy will work beautifully, contributing to the protein content that makes these balls so filling and satisfying.
- Honey: This is the crucial sticky sweetener that binds all the ingredients together, ensuring your energy balls hold their shape. For those following a vegan diet, pure maple syrup is an excellent 1:1 substitute that works just as effectively.
- Peanut Butter: I recommend using creamy, no-stir peanut butter. Many brands have a tiny bit of added sugar, which perfectly balances the flavors in this recipe. Its rich texture and healthy fats are key to both the taste and consistency of these energy bites.
- Salt: A small pinch of salt works wonders to enhance the overall flavor profile. It expertly balances the sweetness from the honey and chocolate chips, making those salty-sweet notes truly pop!
- Rolled Oats: Inexpensive, nutritious, and incredibly versatile, rolled oats are essential for achieving that delightful cookie-dough-like texture. They add bulk, fiber, and a comforting chewiness that makes these energy balls so appealing. (Yes, old-fashioned oats are the same thing!)
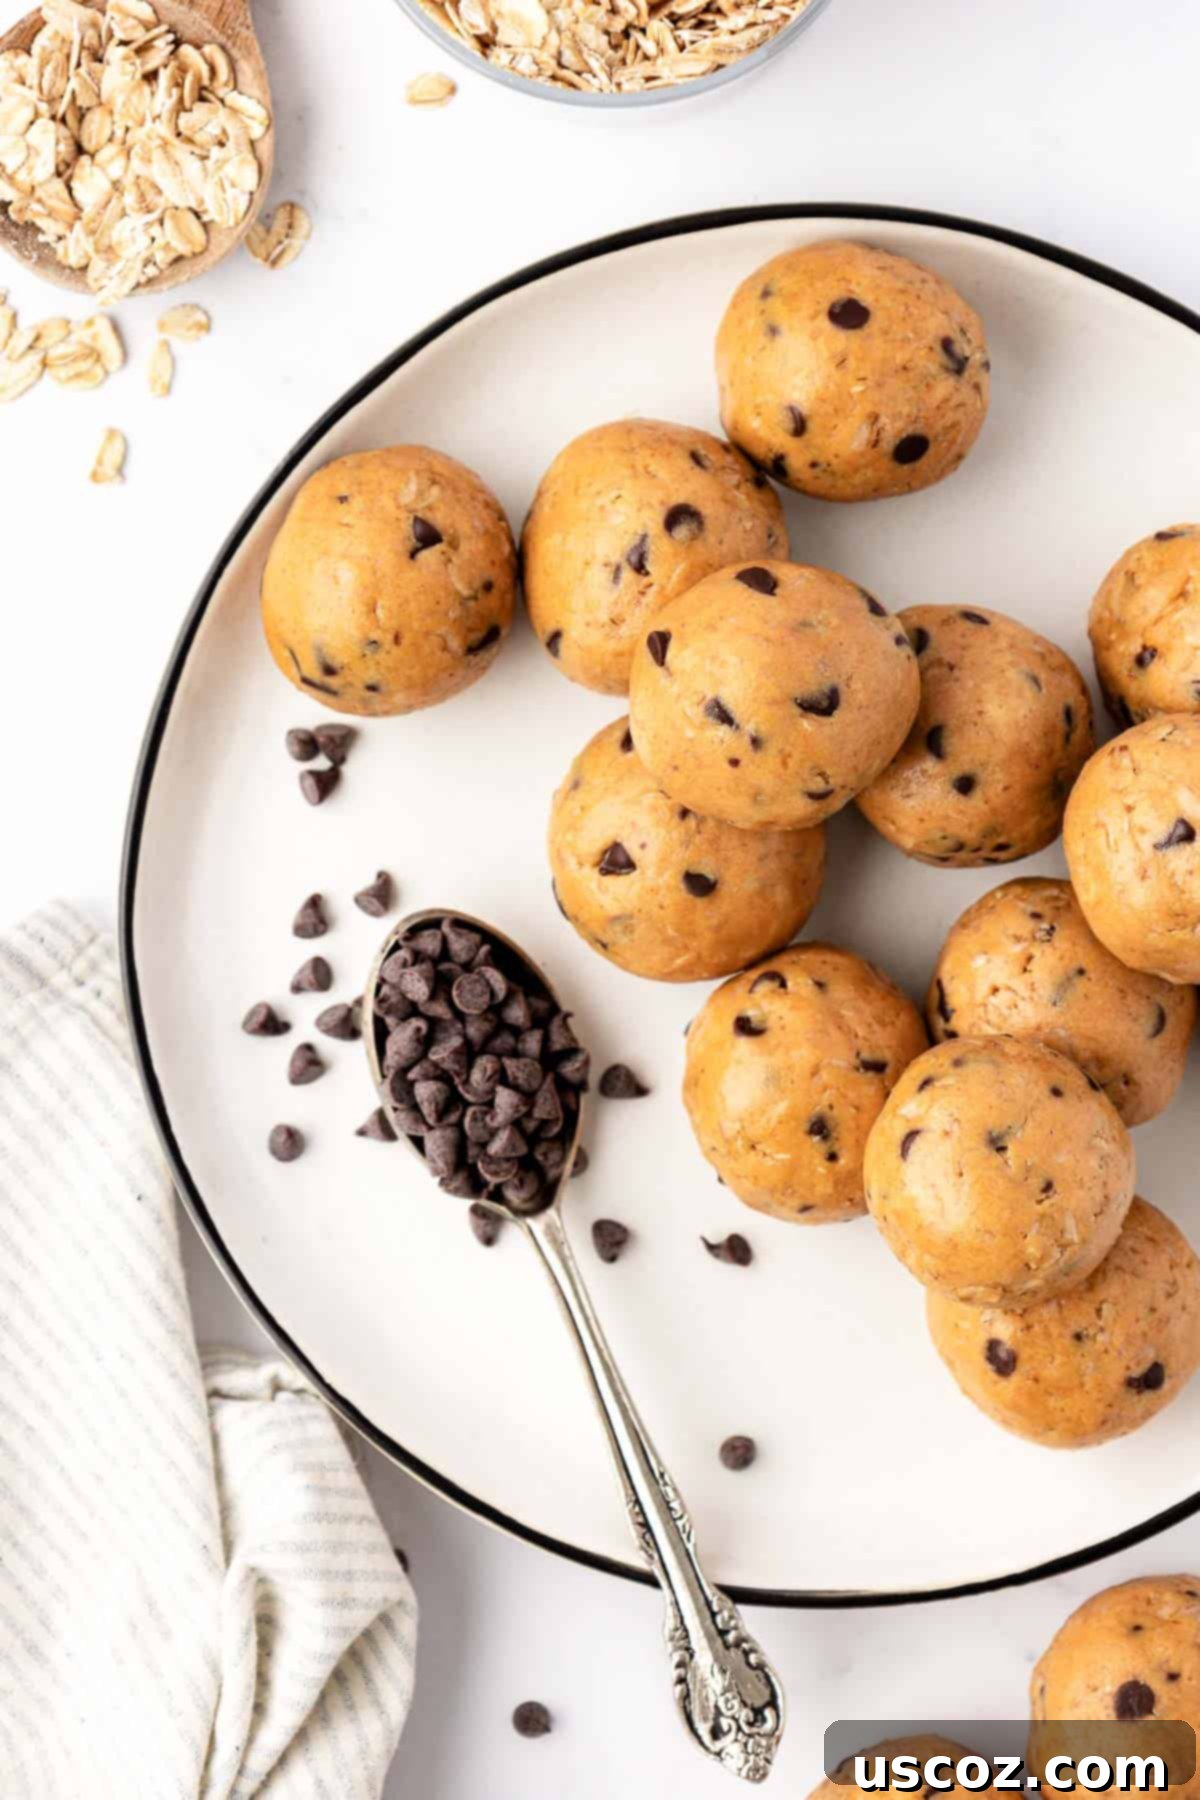
- Chocolate Chips: My personal preference is mini chocolate chips. Their smaller size ensures that you get a perfect burst of chocolatey goodness and a satisfying crunch in every single bite!
How to Effortlessly Make These No-Bake Energy Balls
You’ll be amazed at how incredibly simple it is to prepare this recipe. Forget complicated machinery; all you really need is a sturdy rubber spatula and a spacious mixing bowl. That’s right, these protein balls are made entirely without a food processor, keeping cleanup to a minimum!
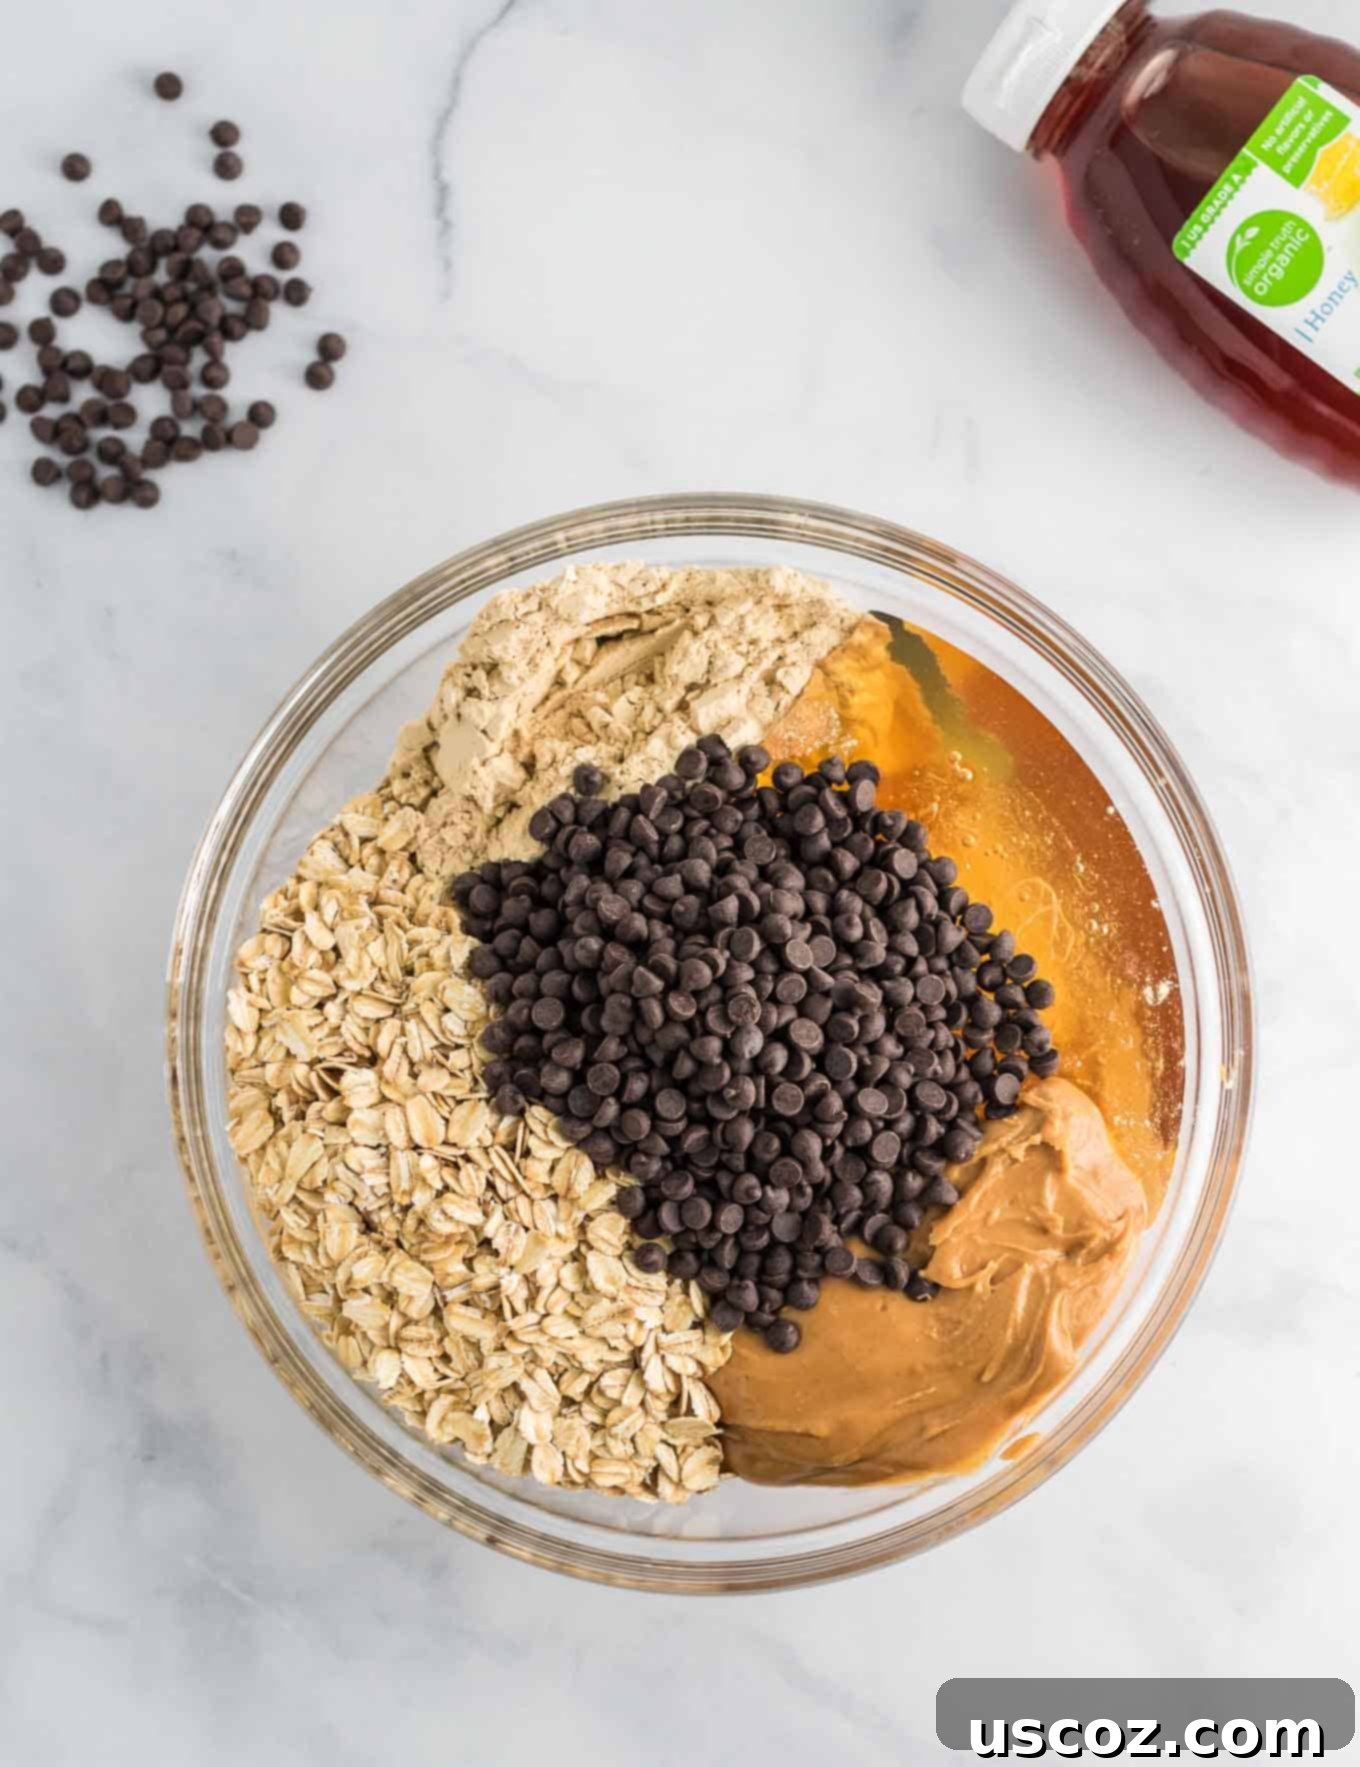
Step 1: Combine the Core Ingredients. Start by adding your creamy peanut butter, wholesome rolled oats, sweet honey, a pinch of salt, delicious chocolate chips, and your chosen protein powder directly into a large mixing bowl. This is where all the magic begins!
Step 2: Stir Until Fully Combined. Now, grab that sturdy rubber spatula. This batter is quite thick and sticky, so a spoon simply won’t cut it. Dedicate a few minutes to vigorously stirring and folding all the ingredients together. You’re looking for a homogeneous mixture where everything is evenly distributed and no dry spots of protein powder remain.
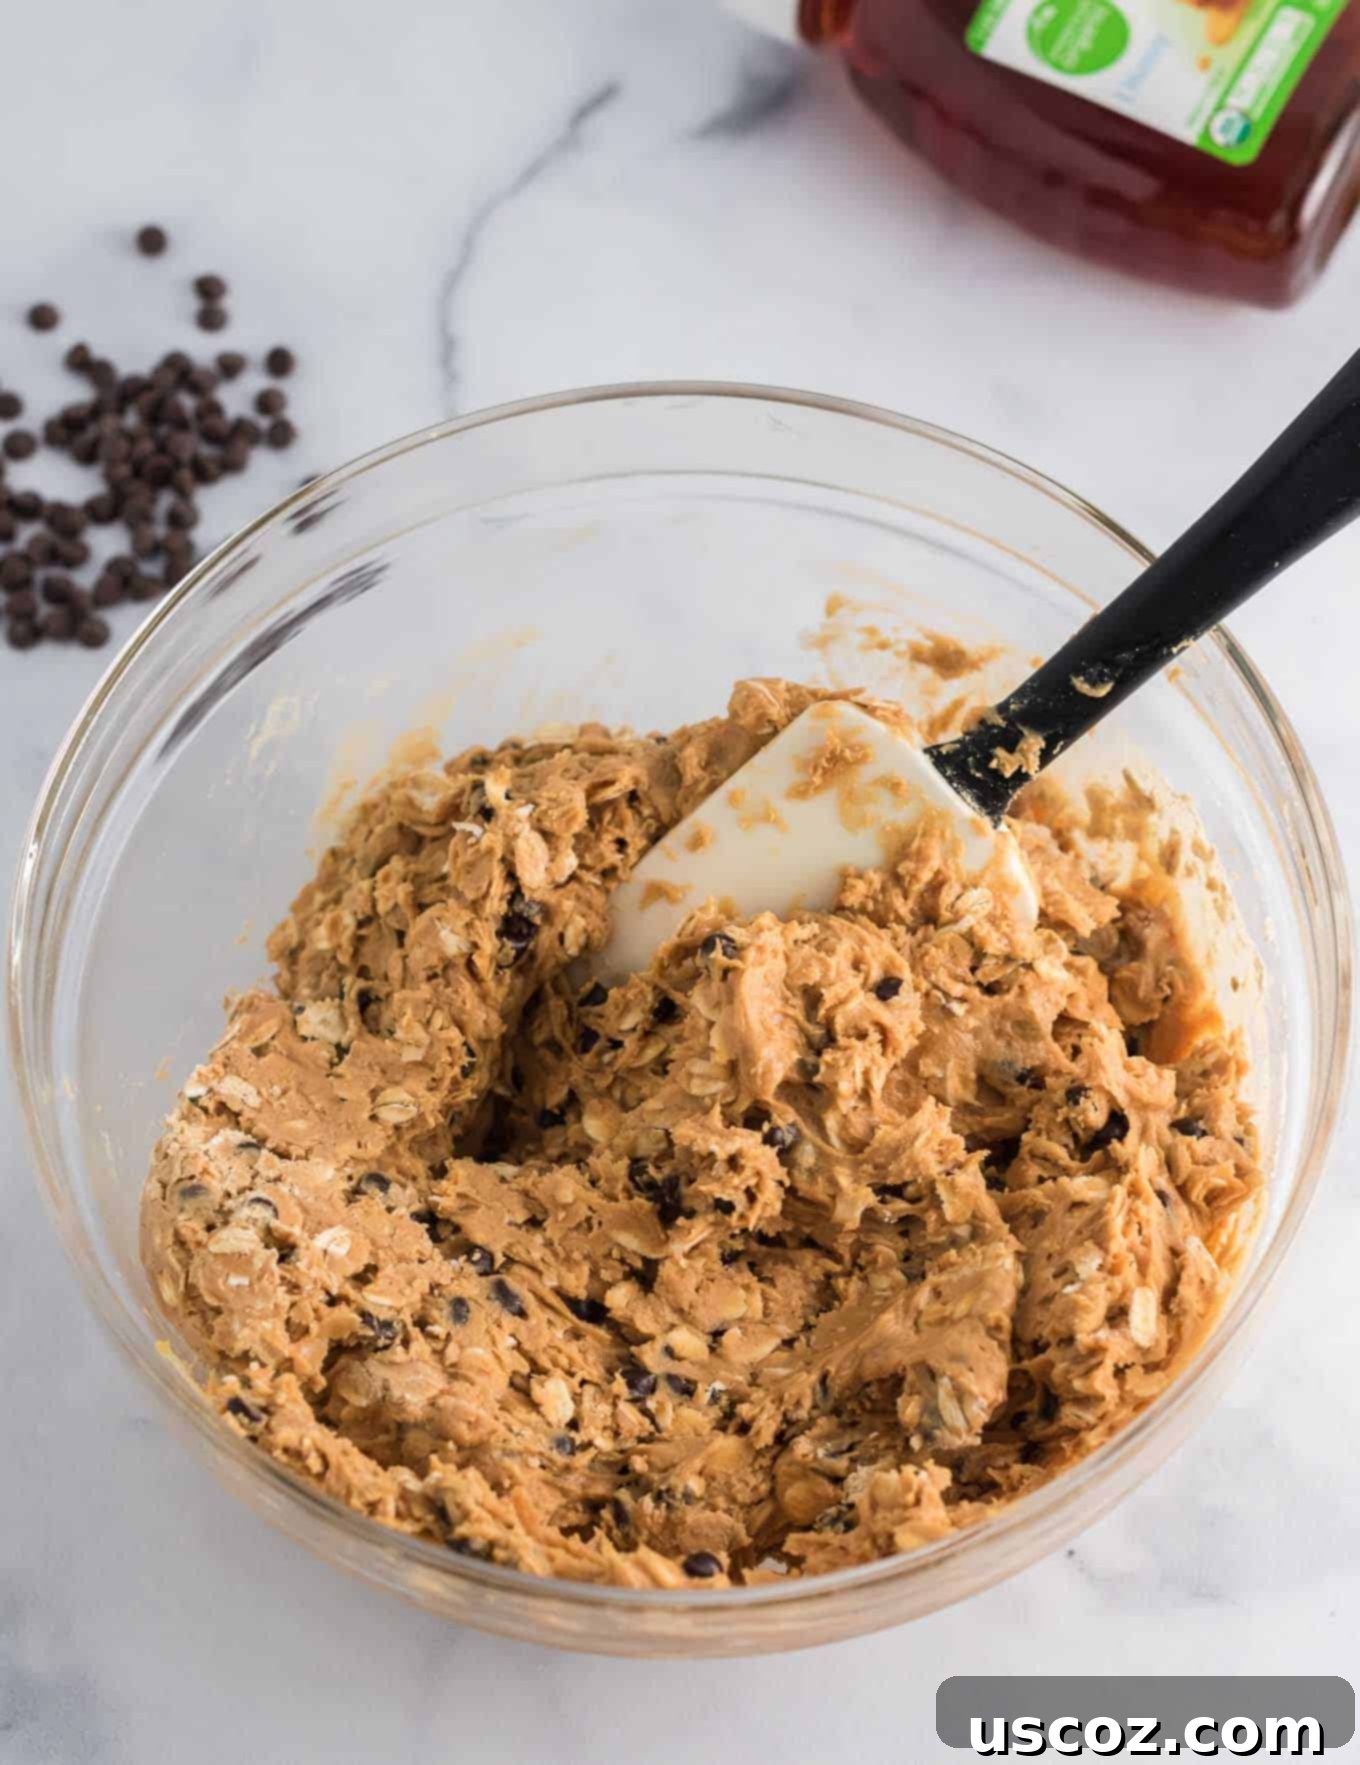
Step 3: Prepare Your Baking Sheet. Line a standard baking sheet with either wax paper or parchment paper. This simple step will prevent your energy balls from sticking and make them incredibly easy to remove later.
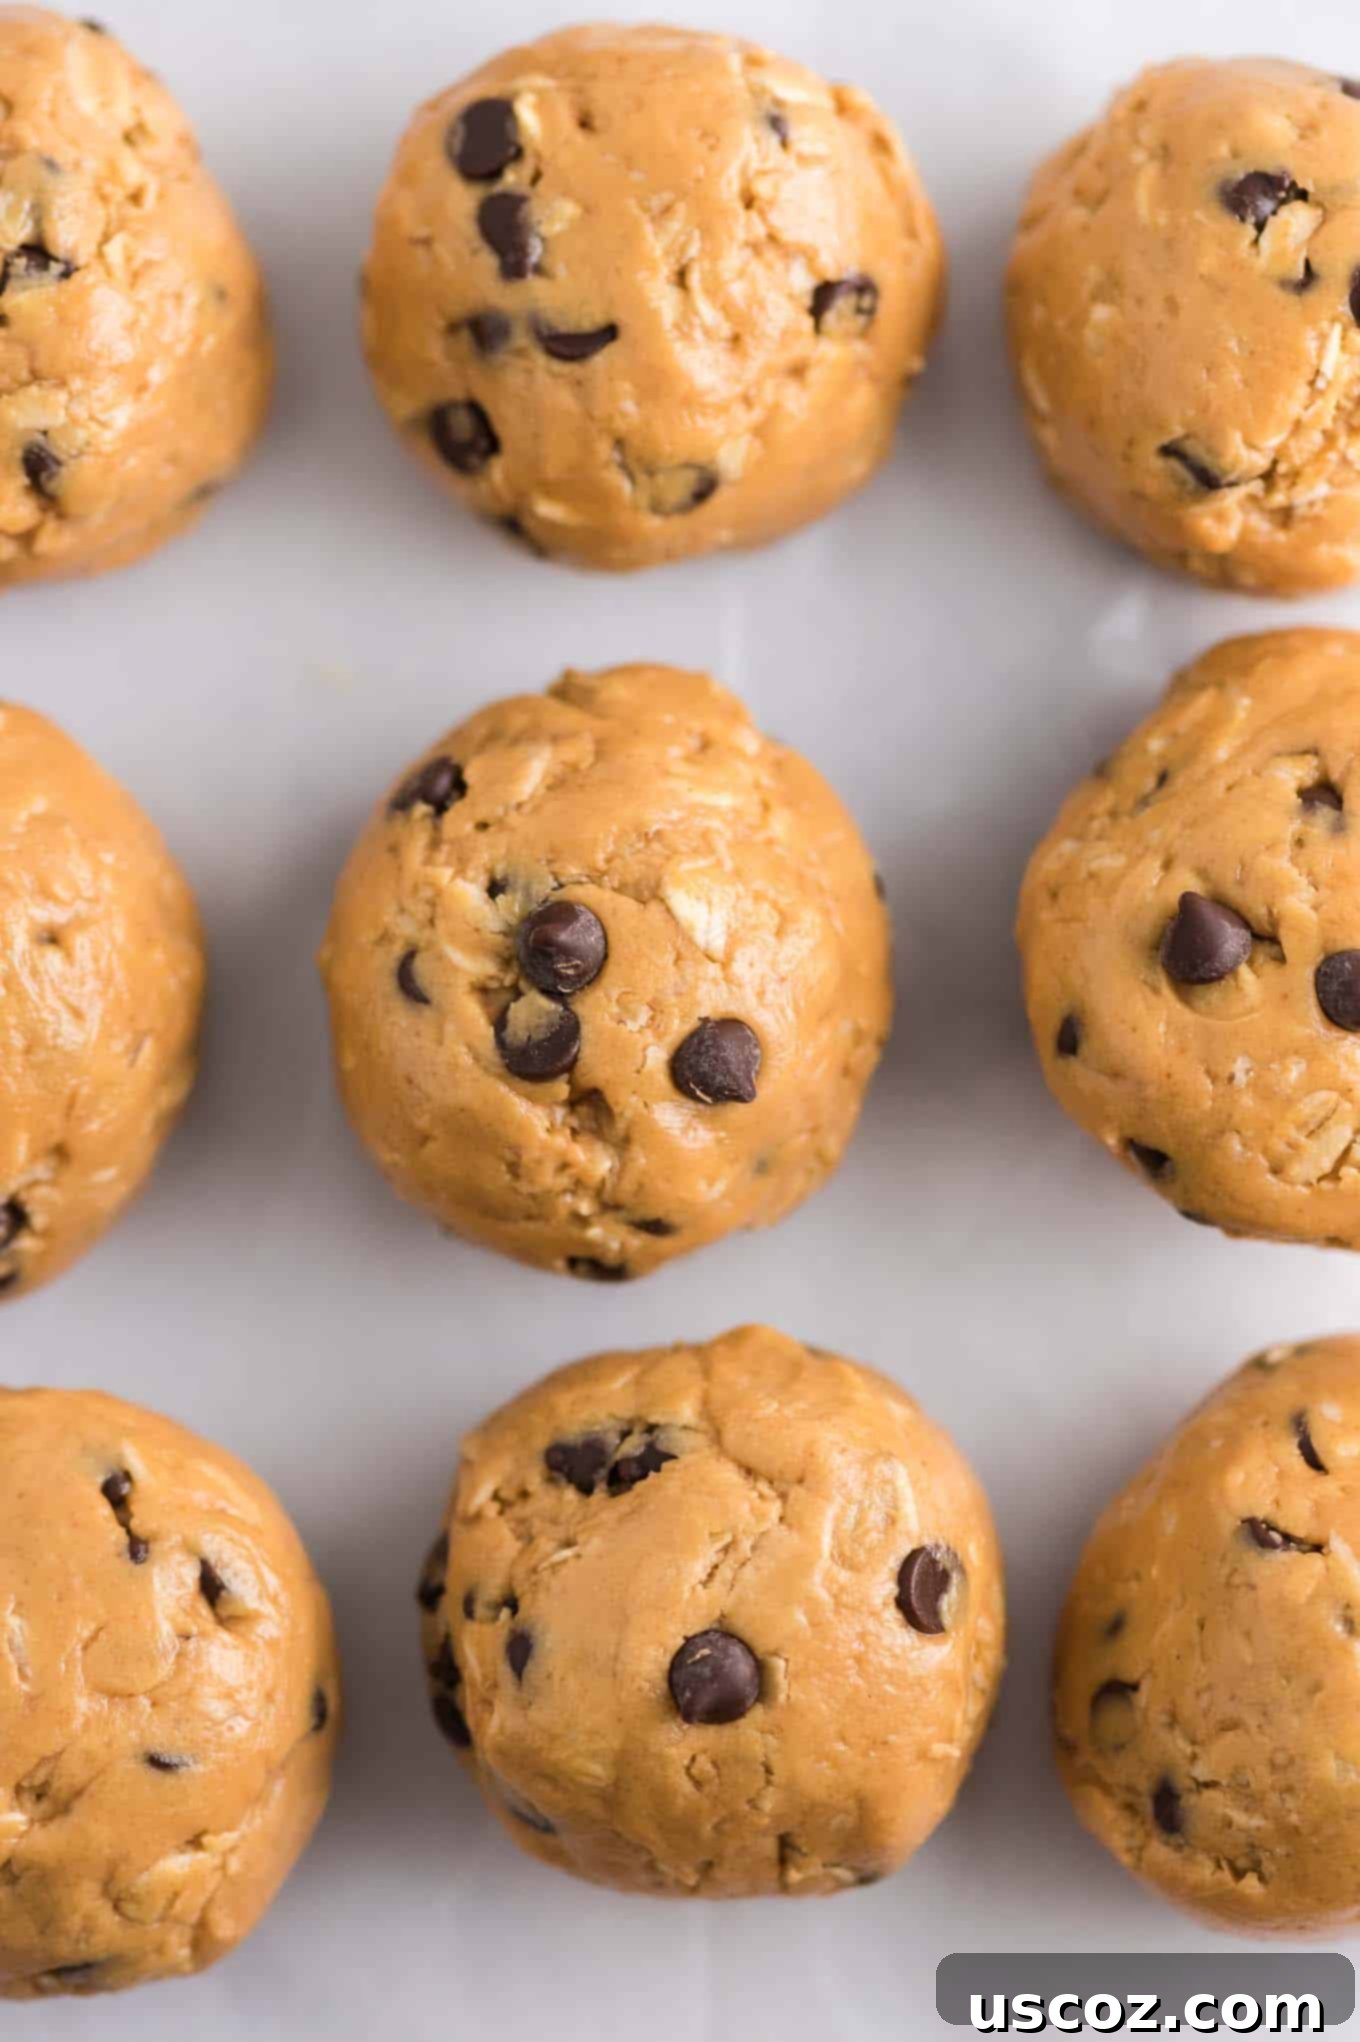
Step 4: Scoop and Shape Your Energy Balls. Using a mini cookie scoop is my secret for perfectly uniform energy bites, and it speeds up the process considerably! If you don’t have one, two spoons will work just fine. Aim for balls that are approximately 1 inch in size. Once you’ve scooped out a portion, gently roll it between your palms to form a smooth, round shape. This hands-on step is quick and ensures a pleasing aesthetic.
Joy’s Tip for Perfect Portions
I find that a 1.5 tablespoon sized mini cookie scoop is the absolute perfect tool for portioning out the batter. It consistently yields perfectly sized energy balls and significantly streamlines the entire preparation process, making it much quicker and more enjoyable!
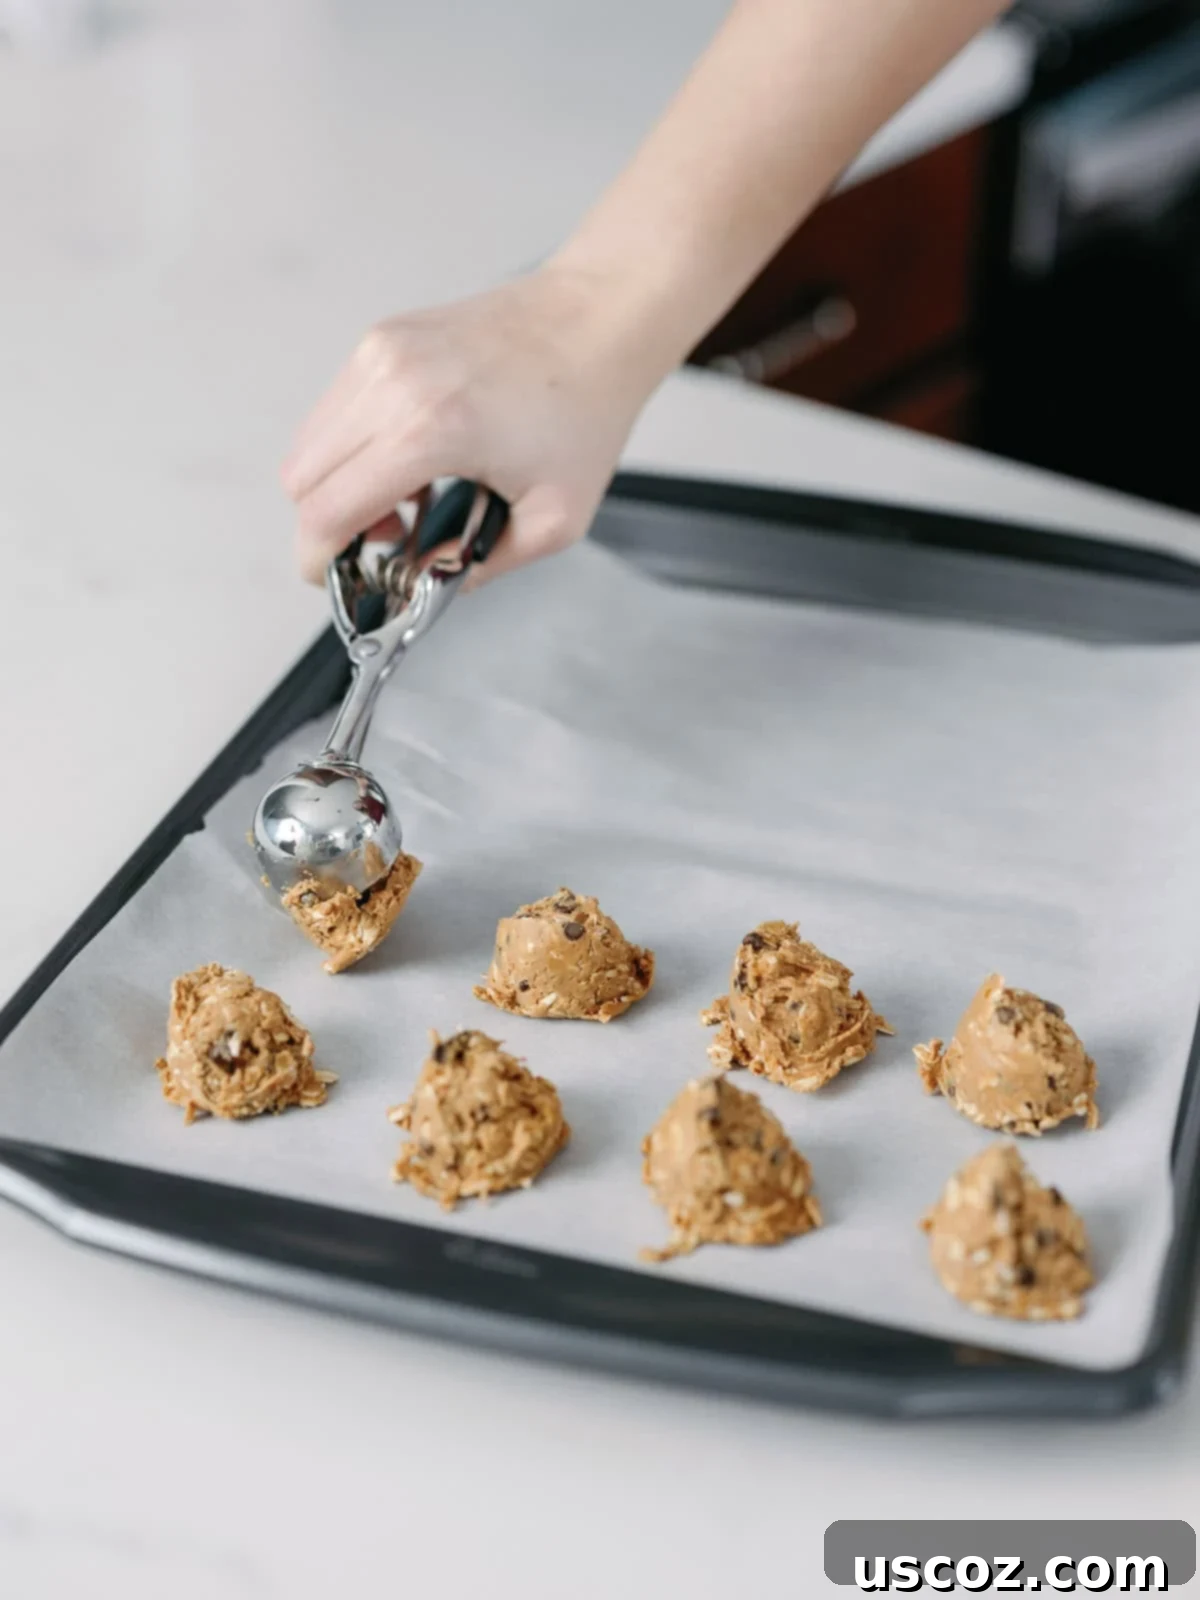
Step 5: Chill to Perfection. Once all your delicious energy ball batter has been scooped and shaped onto the baking sheet, place it into the refrigerator. Allow them to chill for at least one hour, or until they are firm and solid to the touch. This chilling process is essential for their structural integrity and optimal texture.
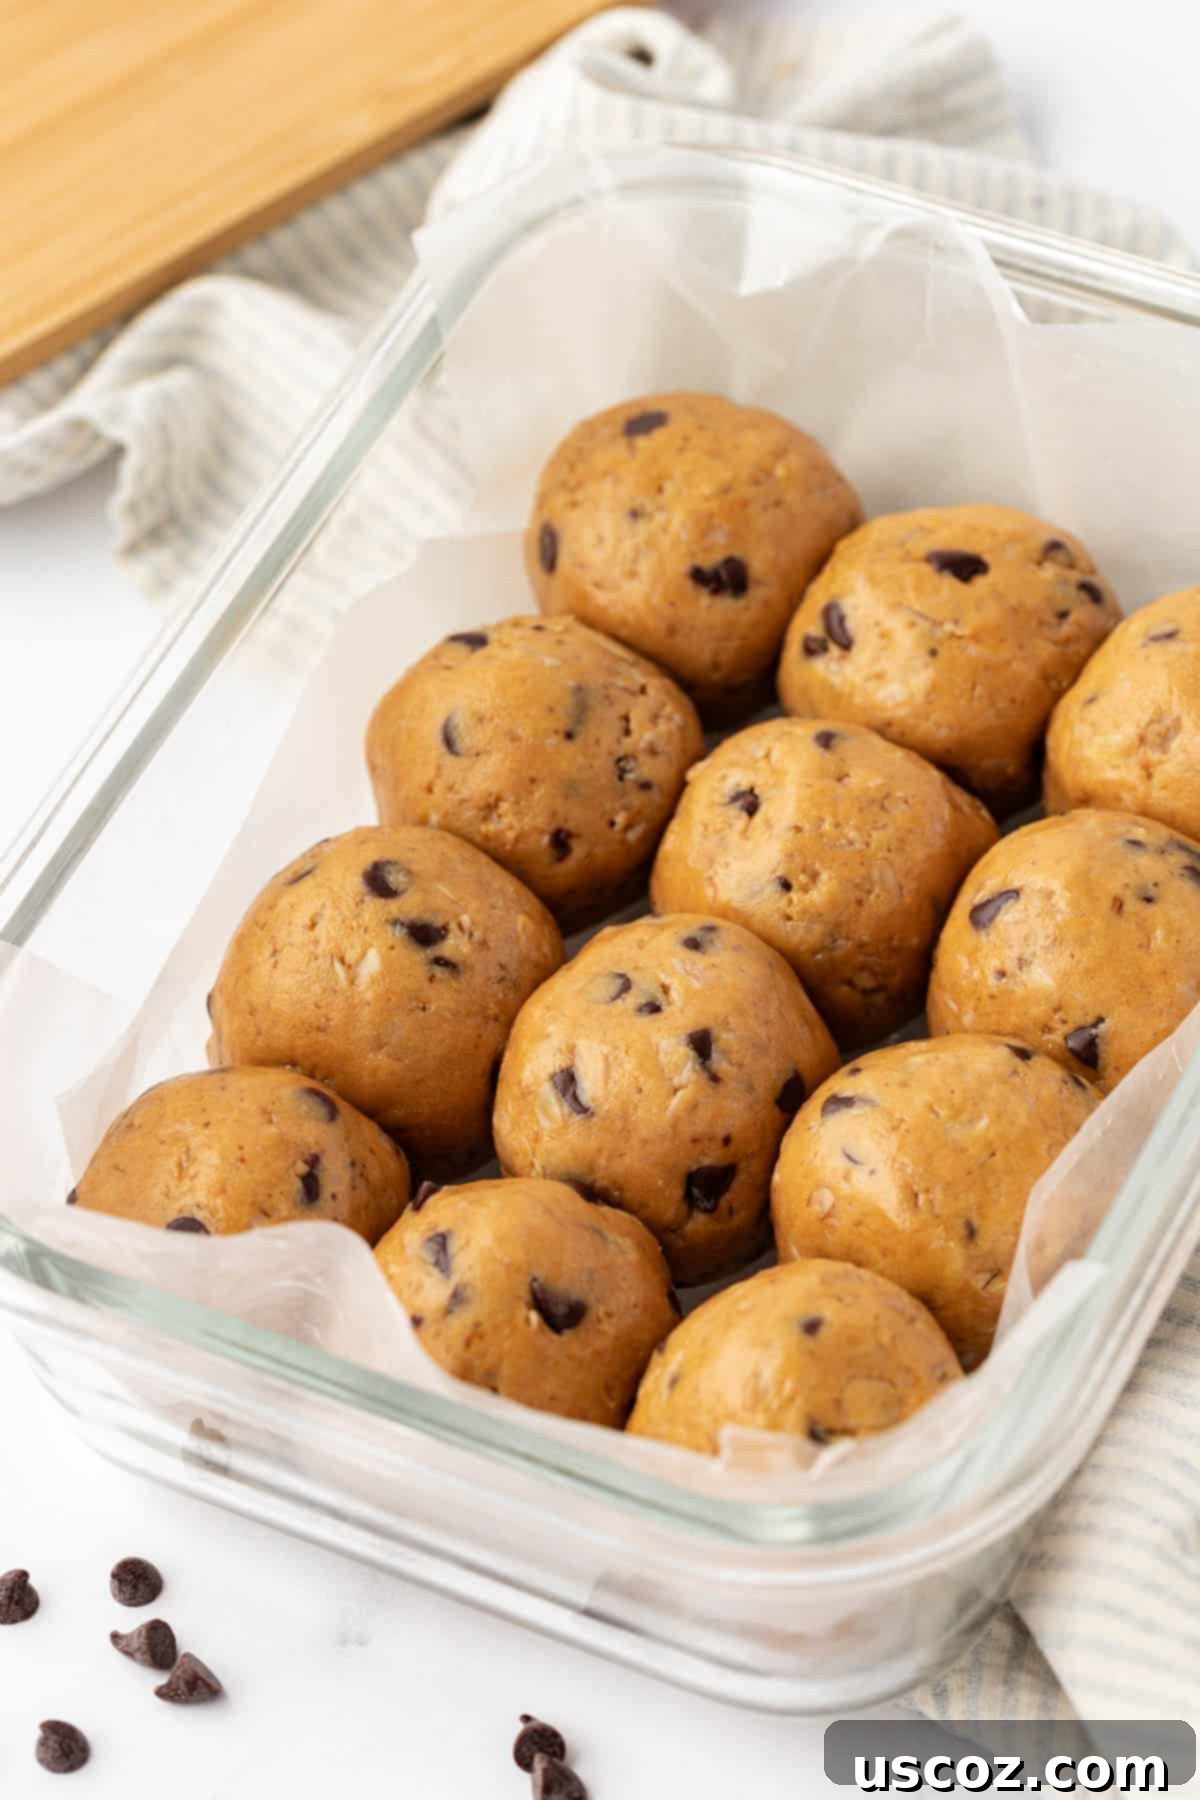
Once set, these energy balls are ready to be enjoyed immediately! For future snacking, carefully remove them from the wax paper and transfer them into a freezer-safe ziploc bag or an airtight container. I always make sure to keep a bag of these on hand in my freezer – they’re a lifesaver for easy, healthy snacking anytime the craving strikes.
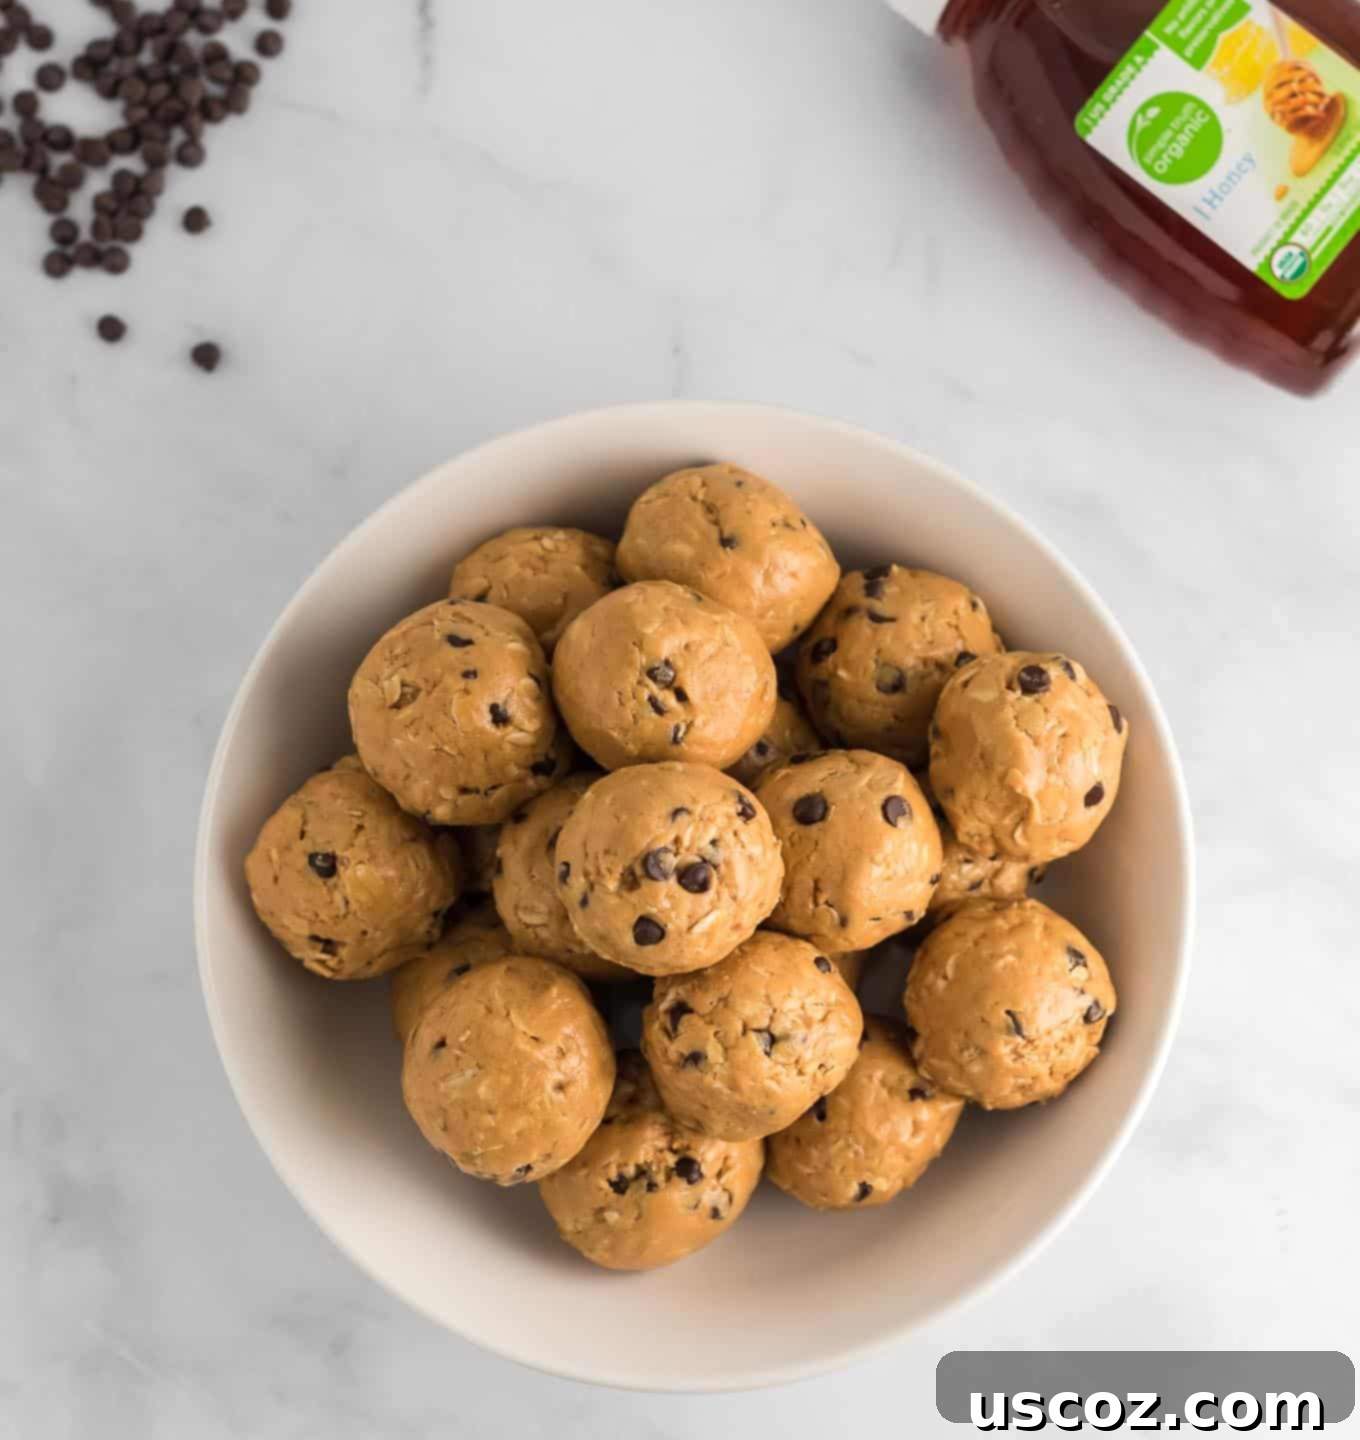
One of the many reasons I adore these particular energy balls is their unparalleled ease of preparation. They rely solely on common pantry ingredients that I almost always have stocked, eliminating the need for an extra trip to the grocery store. This convenience is truly a game-changer for busy schedules.
But beyond their practicality, they are, most importantly, irresistibly delicious! Every bite genuinely feels like I’m indulging in a decadent treat, yet I know I’m fueling my body with wholesome ingredients. Don’t just take my word for it – be sure to read the glowing comments below from countless other satisfied readers!
Endless Customization: Ways to Personalize Your Protein Balls
While the basic recipe is fantastic on its own, these no-bake protein balls are incredibly adaptable. Feel free to unleash your creativity and customize them with a variety of delicious add-ins:
- Chia Seeds: Add a tablespoon or two for an extra boost of omega-3s, fiber, and a slight textural crunch.
- Ground Flax Seed: A wonderful source of healthy fats and fiber, ground flaxseed blends seamlessly into the mixture.
- Chopped Nuts: Almonds, walnuts, or pecans can add a delightful crunch and extra healthy fats. Roughly chop them before adding.
- Chopped Dried Fruit: Raisins, dried cranberries, or finely diced apricots can introduce a chewy sweetness.
- Shredded Coconut: Toasted or untoasted, shredded coconut adds a tropical flavor and a pleasant chew.
- Different Kinds of Chocolate Chips: Experiment with dark chocolate, milk chocolate, white chocolate, or even butterscotch chips for varied flavor profiles.
- Nut Butter Alternatives: Swap peanut butter for almond butter, cashew butter, or even sun butter (for a nut-free option) to change the base flavor.
- Chocolate Protein Powder: Instead of vanilla, use chocolate protein powder for a richer, more decadent taste. You can even use half vanilla and half chocolate for a marbled effect!
FAQs About No-Bake Energy Balls
Do I have to use protein powder in this recipe?
While protein powder is a key ingredient for the added protein boost and helps achieve the perfect consistency, you absolutely do not have to use it. If you choose to omit it, you will need to replace it with something else to ensure the batter isn’t too sticky. I highly recommend substituting with an equal amount of either more rolled oats or oat flour. This will help maintain the structure and texture of the energy balls.
How long can you keep these delicious energy balls?
When stored properly in the freezer, these no-bake energy balls will remain fresh and delicious for up to 3 months. However, in most households, they rarely last that long! My family typically goes through a batch every week or two because they’re such a popular and convenient snack. You can also store them in an airtight container in the refrigerator for about a week if you plan to enjoy them sooner.
Explore More Irresistible Energy Bite Recipes!
If you love these classic energy balls, you’re in for a treat! This recipe is just the beginning. I’ve developed an entire collection of easy, no-bake energy bite recipes to keep your snacking exciting and delicious. Don’t forget to check out my Energy Bites Cookbook for even more inspiration!
- Banana Bread Energy Bites: All the cozy flavors of banana bread in a convenient, no-bake bite.
- Mint Chocolate Energy Bites: A refreshing and decadent treat, perfect for mint-chocolate lovers.
- Cinnamon Roll Energy Bites: Taste the comforting sweetness of a cinnamon roll without the baking!
- Birthday Cake Protein Balls: Celebrate any day with these fun, sprinkle-filled protein balls.
- Gingerbread Energy Bites: Spice up your snack routine with these festive and flavorful bites.
- Chocolate Protein Balls: A rich and satisfying option for serious chocolate cravings.
- Pecan Pie Energy Bites: Enjoy the classic dessert in a healthier, bite-sized form.
- Cookies & Cream Protein Balls: A playful and indulgent take on the beloved cookie and cream flavor.

No-Bake Protein Balls
Saved!
Pin Recipe
Rate Recipe
Print Recipe
Ingredients
- 1 1/2 cups no-stir creamy peanut butter
- 1/2 cup honey (or maple syrup for vegan)
- 1 1/3 cups old-fashioned rolled oats
- 1/2 cup vanilla protein powder (or any flavor, or oat flour for non-protein version)
- 1/8 teaspoon salt
- 1/2 cup mini chocolate chips
Instructions
-
Add the no-stir creamy peanut butter, honey, rolled oats, vanilla protein powder, salt, and mini chocolate chips to a large mixing bowl. Use a sturdy rubber spatula to mix vigorously until all ingredients are thoroughly combined and the batter is uniform.
-
Line a baking sheet with wax paper or parchment paper. Use a mini cookie scoop (about 1.5 tablespoon size) or two spoons to drop portions of the energy bite batter onto the prepared sheet. Aim for balls approximately 1 inch in size.
-
Lightly moisten your hands and gently roll each portion of batter into a smooth, round energy ball.
-
Place the baking sheet with the formed energy bites into the refrigerator for at least 1 hour, or until the balls are firm to the touch.
-
Once set, transfer the energy balls to a ziploc bag or an airtight container. Store them in the fridge for up to a week, or in the freezer for 2-3 months for longer freshness.
-
For more exciting flavors and variations, be sure to check out my Energy Bites Cookbook, featuring over 20 delicious recipes!
Video Tutorial
Notes & Tips
What kind of protein powder should I use?
The best protein powder to use is simply your favorite! For this recipe, I used vanilla protein powder, which provides a versatile and pleasing base flavor. However, I also love using chocolate protein powder for a richer taste, or even a delightful combination of half vanilla and half chocolate protein powder to mix things up. Choose what you enjoy most for your healthy no-bake energy balls.
How many energy balls does this recipe yield?
This recipe typically makes approximately 27 energy bites, depending on the size you roll them. This is a generous batch, perfect for meal prepping a week’s worth of snacks or sharing with family and friends.
Are rolled oats the same as old-fashioned oats?
Yes, they are! “Rolled oats” and “old-fashioned oats” are two terms for the same type of oat. These are the ideal kind of oats for this recipe, as they provide the perfect texture and absorb moisture beautifully without becoming mushy. Avoid instant or quick oats, as they can result in a different texture.
Nutrition Information (per serving)
Like this recipe? We’d love to hear from you! Rate and comment below!
