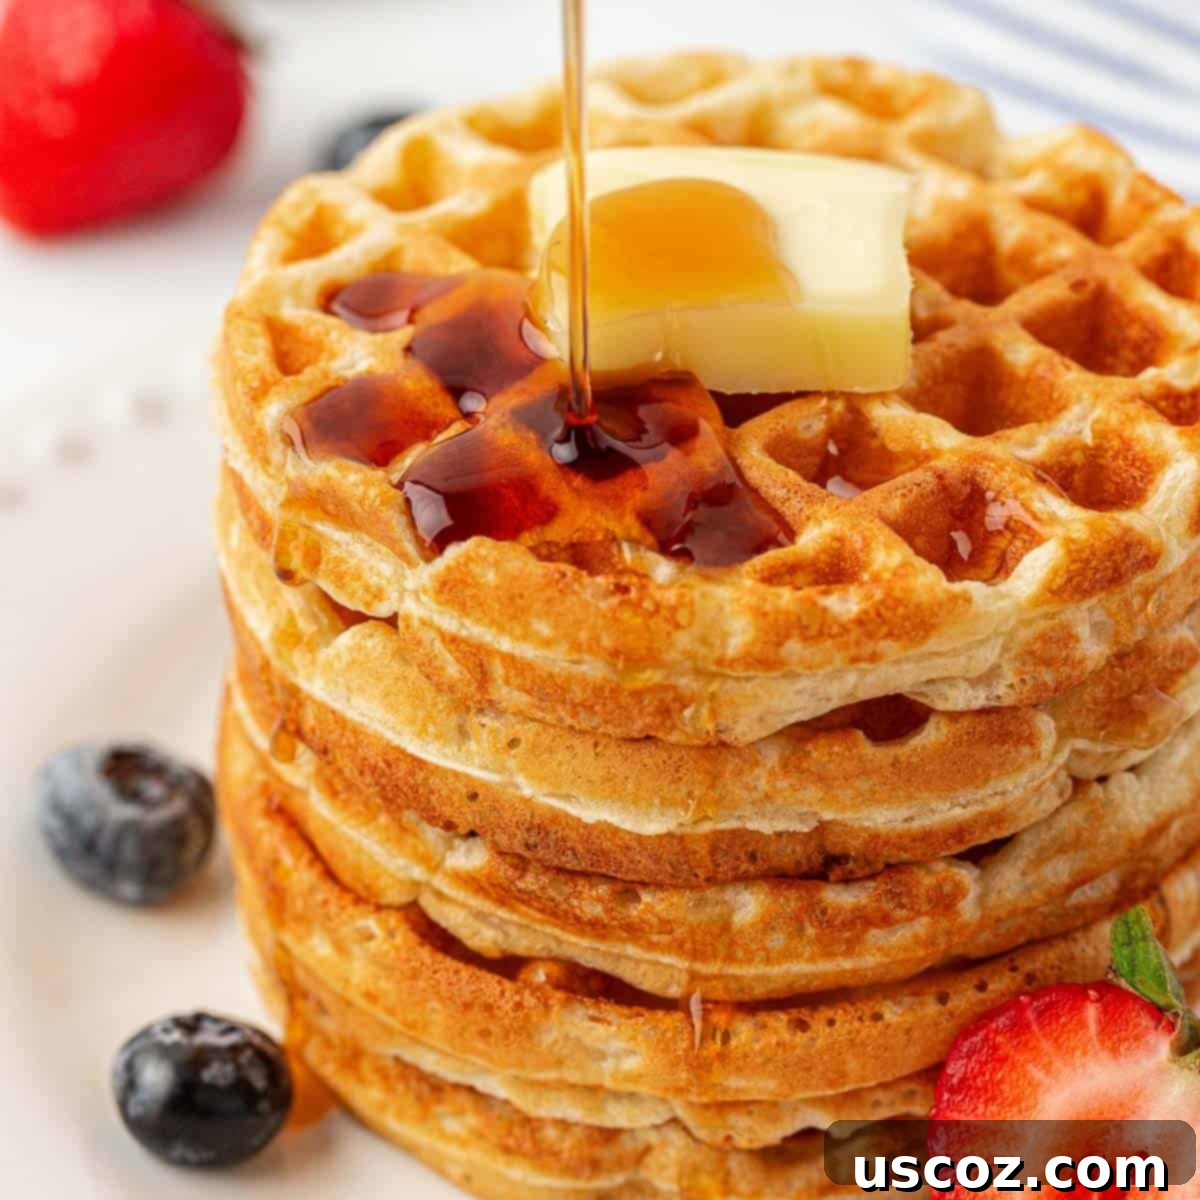
Fluffy & Healthy Greek Yogurt Waffles: The Ultimate Freezer-Friendly Breakfast
Discover the secret to incredibly light and fluffy waffles with our easy Greek Yogurt Waffles recipe! These wholesome, high-protein waffles are a game-changer for busy mornings. Prepare a batch, stock your freezer, and enjoy delicious, homemade breakfast anytime.

Why You’ll Adore These Greek Yogurt Waffles!
As a parent, I understand the morning rush. My kids, like many, often reach for store-bought frozen waffles when time is short. While convenient, I always dreamed of a homemade alternative that offered superior taste, texture, and nutritional value. That’s when I had an idea: could I adapt my beloved Greek yogurt chocolate chip muffin recipe to create a waffle with that same incredible, tender crumb?
I’m thrilled to report that I’ve cracked the code! These Greek Yogurt Waffles are everything I hoped for and more. Each bite delivers an ethereal fluffiness that’s truly unmatched. But it’s not just about the texture – these waffles are also a healthier choice, low in added sugar and boasting a satisfying 4 grams of protein per serving. This makes them a fantastic way to start the day, keeping everyone fueled and happy.
Another major win? They freeze beautifully! This recipe is perfect for meal prepping. I love making a big batch on the weekend and having them ready in the freezer for quick, no-fuss breakfasts throughout the week. They’ve become an instant hit with my entire family, and I’m confident they’ll be a new favorite in your home too.

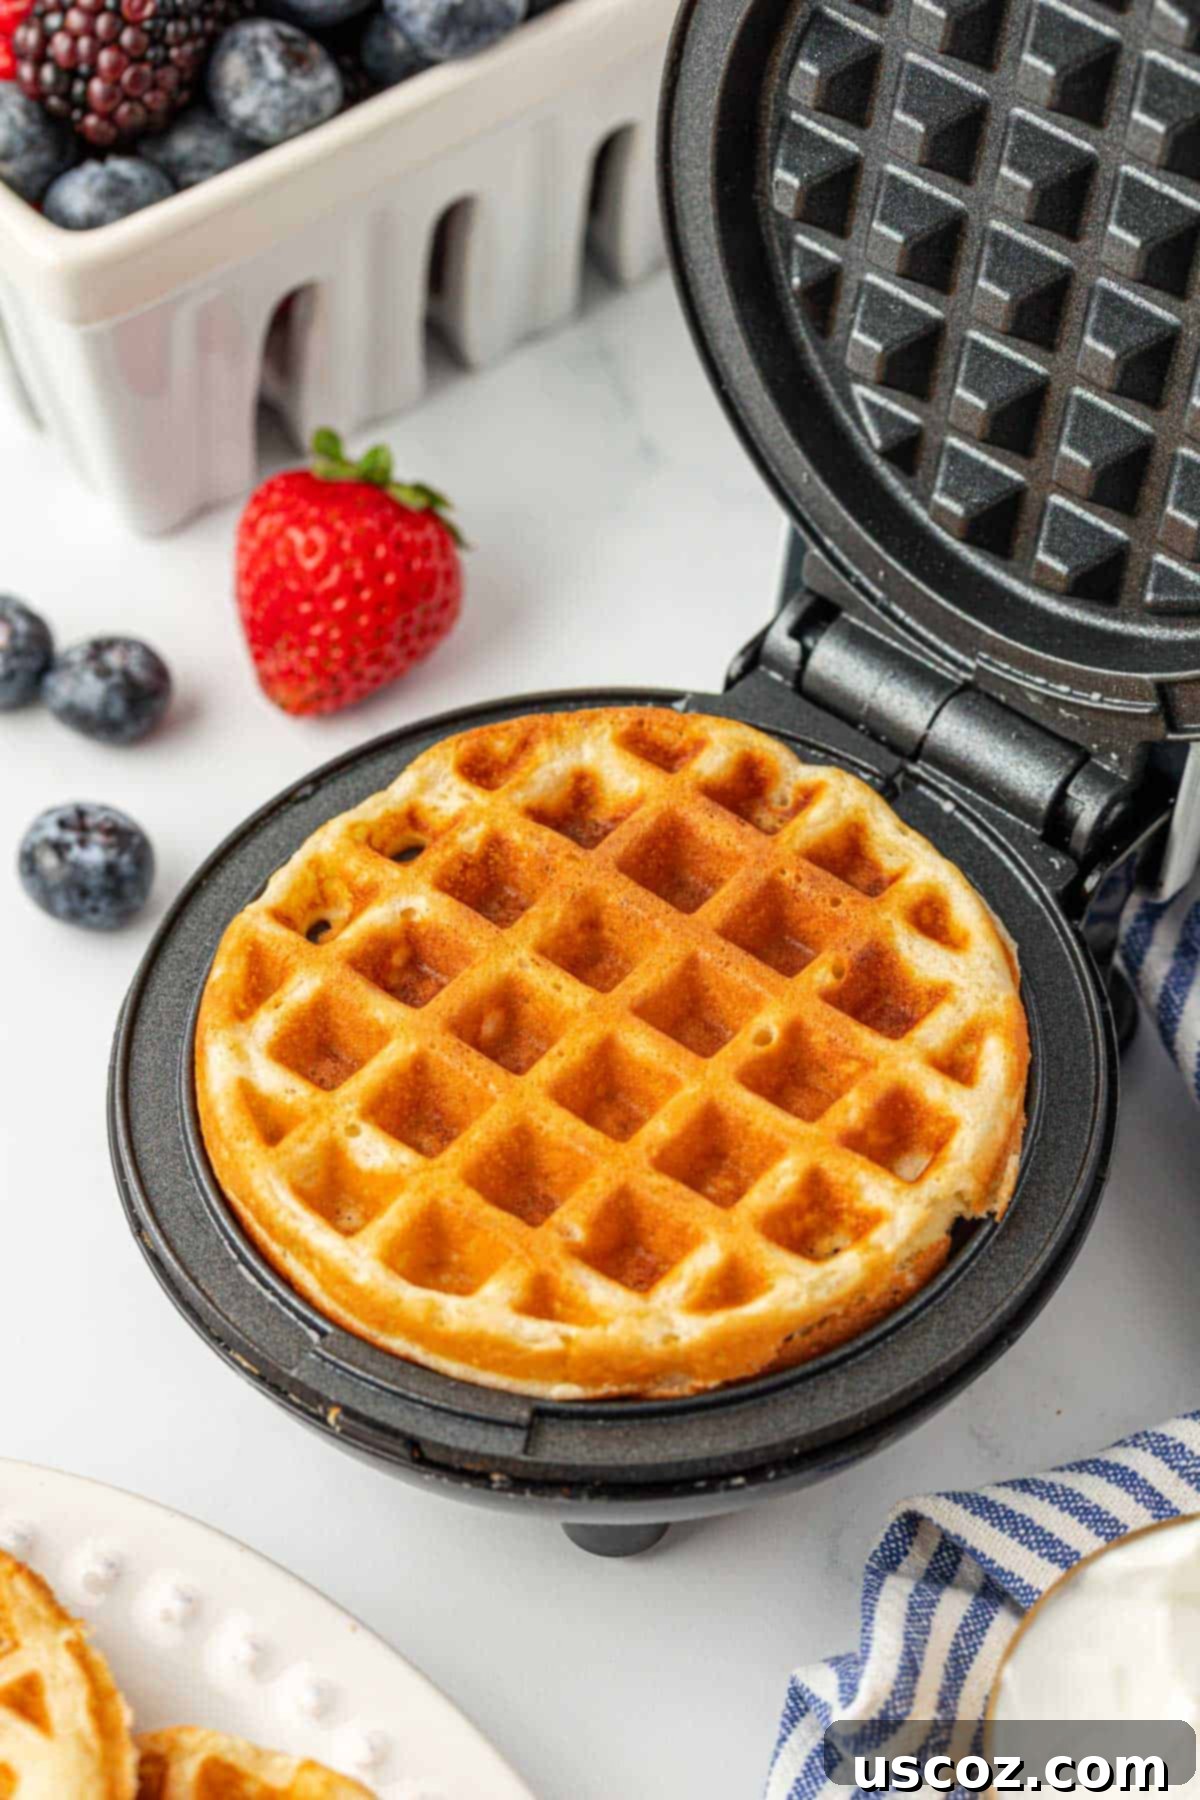
For this recipe, I often use a Dash mini waffle maker because my kids adore mini waffles. The smaller size is perfect for little hands and makes for a fun, bite-sized breakfast. However, don’t feel limited! If you prefer classic, full-sized waffles, this batter works just as wonderfully in a standard waffle iron. The principles remain the same, ensuring you get perfect, fluffy waffles regardless of their size.
Key Ingredients and Helpful Notes
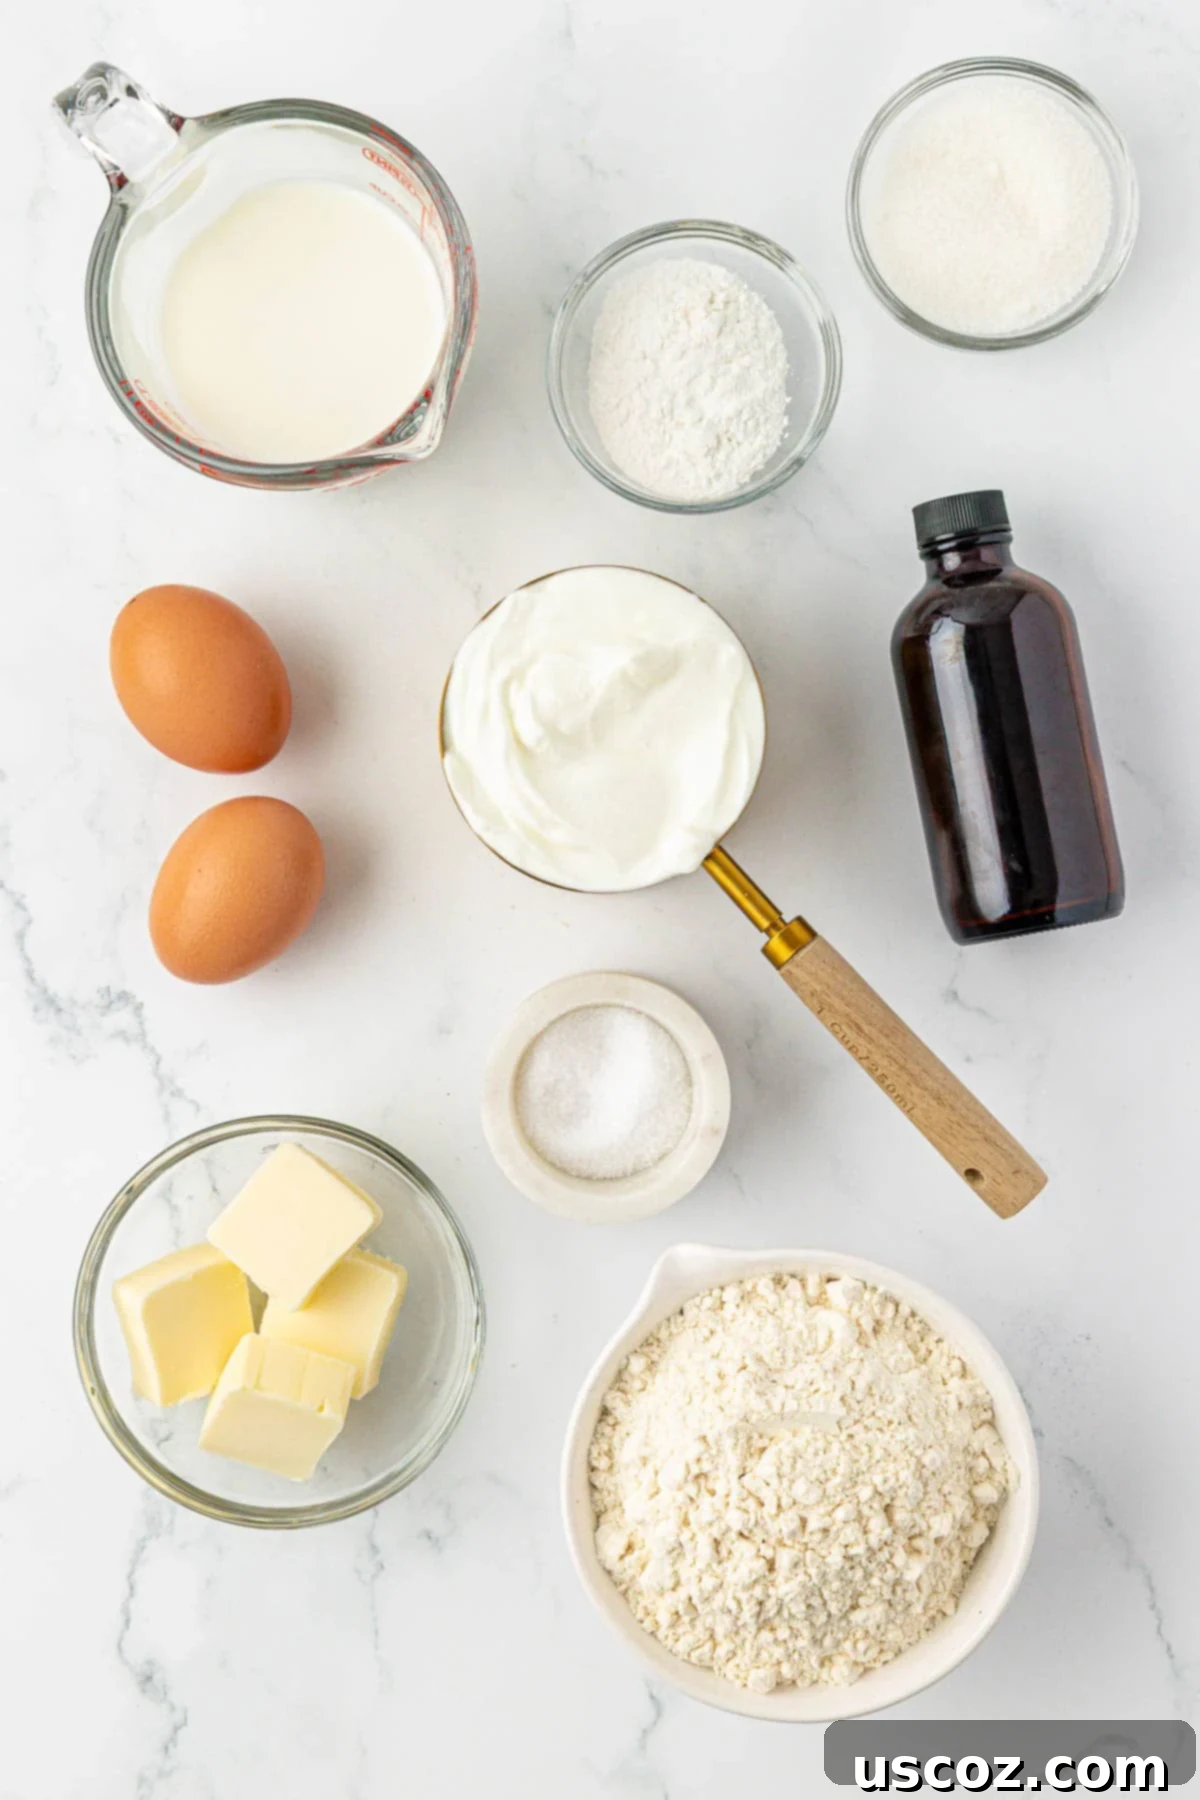
Crafting these delightful Greek yogurt waffles requires a few simple ingredients, most of which you likely already have in your pantry. Below, you’ll find a breakdown of what you need and some tips for best results. The complete recipe with exact measurements is at the very bottom of this post.
- All-Purpose Flour: This forms the foundation of our waffle batter, providing structure. While I haven’t personally tested this recipe with gluten-free flour blends, several readers have reported success with a 1:1 gluten-free baking flour. If you try it, please share your results in the comments!
- Baking Powder: This is our primary leavening agent, crucial for achieving that signature light and airy fluffiness. Ensure your baking powder is fresh for optimal rise.
- Granulated Sugar: Just a touch is needed to balance the flavors and contribute to a lovely golden-brown exterior. These waffles are intentionally low in sugar, allowing natural toppings to shine.
- Plain Unsweetened Greek Yogurt: The star ingredient! Greek yogurt is what gives these waffles their incredible tender texture and boosts the protein content. Make sure to use *plain* and *unsweetened* varieties. Full-fat or 2% Greek yogurt will yield the best results for richness and moisture, but non-fat can also work.
- Whole Milk: Adds moisture and helps create a smooth batter. You can substitute with 2% milk or even a non-dairy alternative like almond or oat milk, though the texture might vary slightly.
- Unsalted Butter: Melted and slightly cooled, butter contributes a rich flavor and helps with the waffle’s crispiness. Using unsalted butter allows you to control the overall saltiness of the recipe.
- Eggs: Act as a binder, provide structure, and add to the richness and rise of the waffles.
- Vanilla Extract: Enhances the overall flavor profile, adding a warm, comforting aroma.
- Salt: A small amount of salt is essential to balance the sweetness and bring out the flavors of the other ingredients.
Step-by-Step: How to Make the Best Greek Yogurt Waffles
Making these Greek yogurt waffles is incredibly straightforward, perfect for any home cook. Follow these simple steps for perfect results every time:
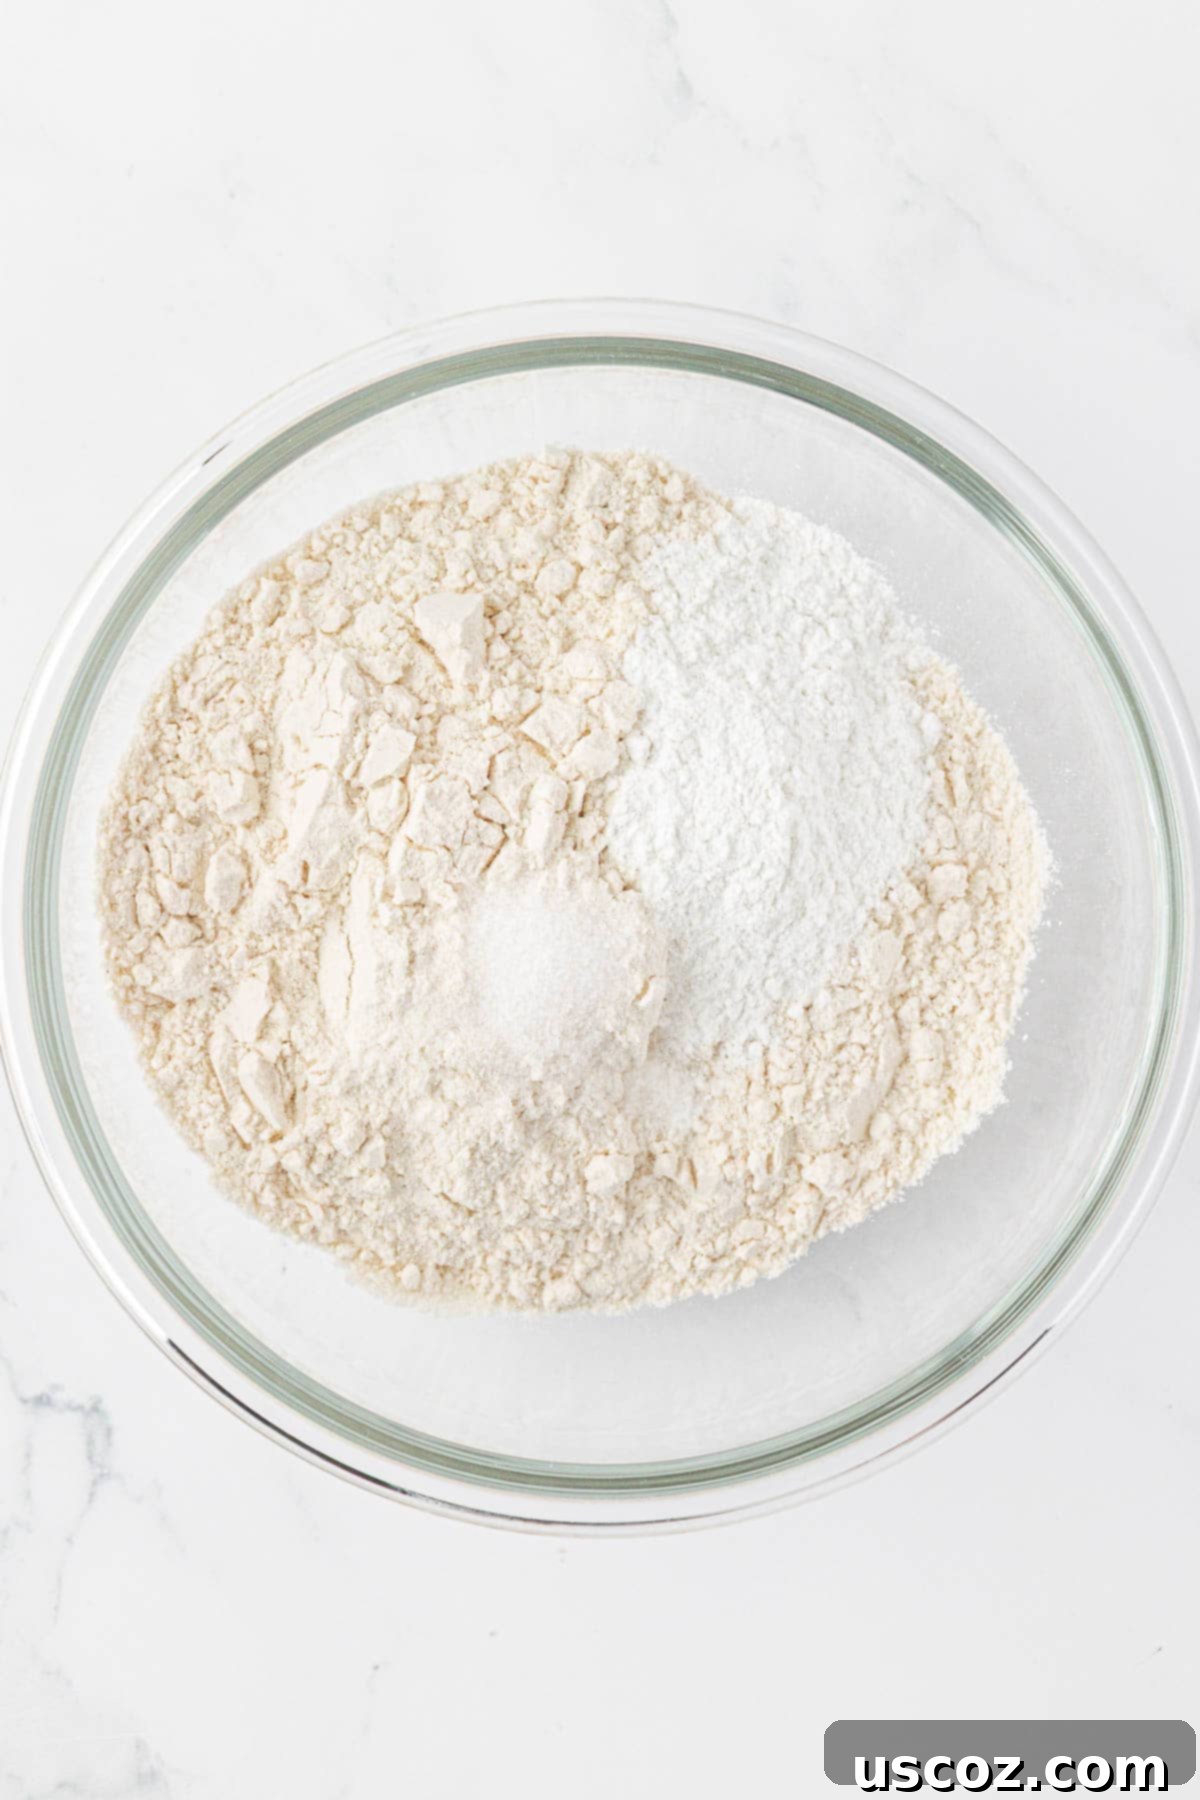
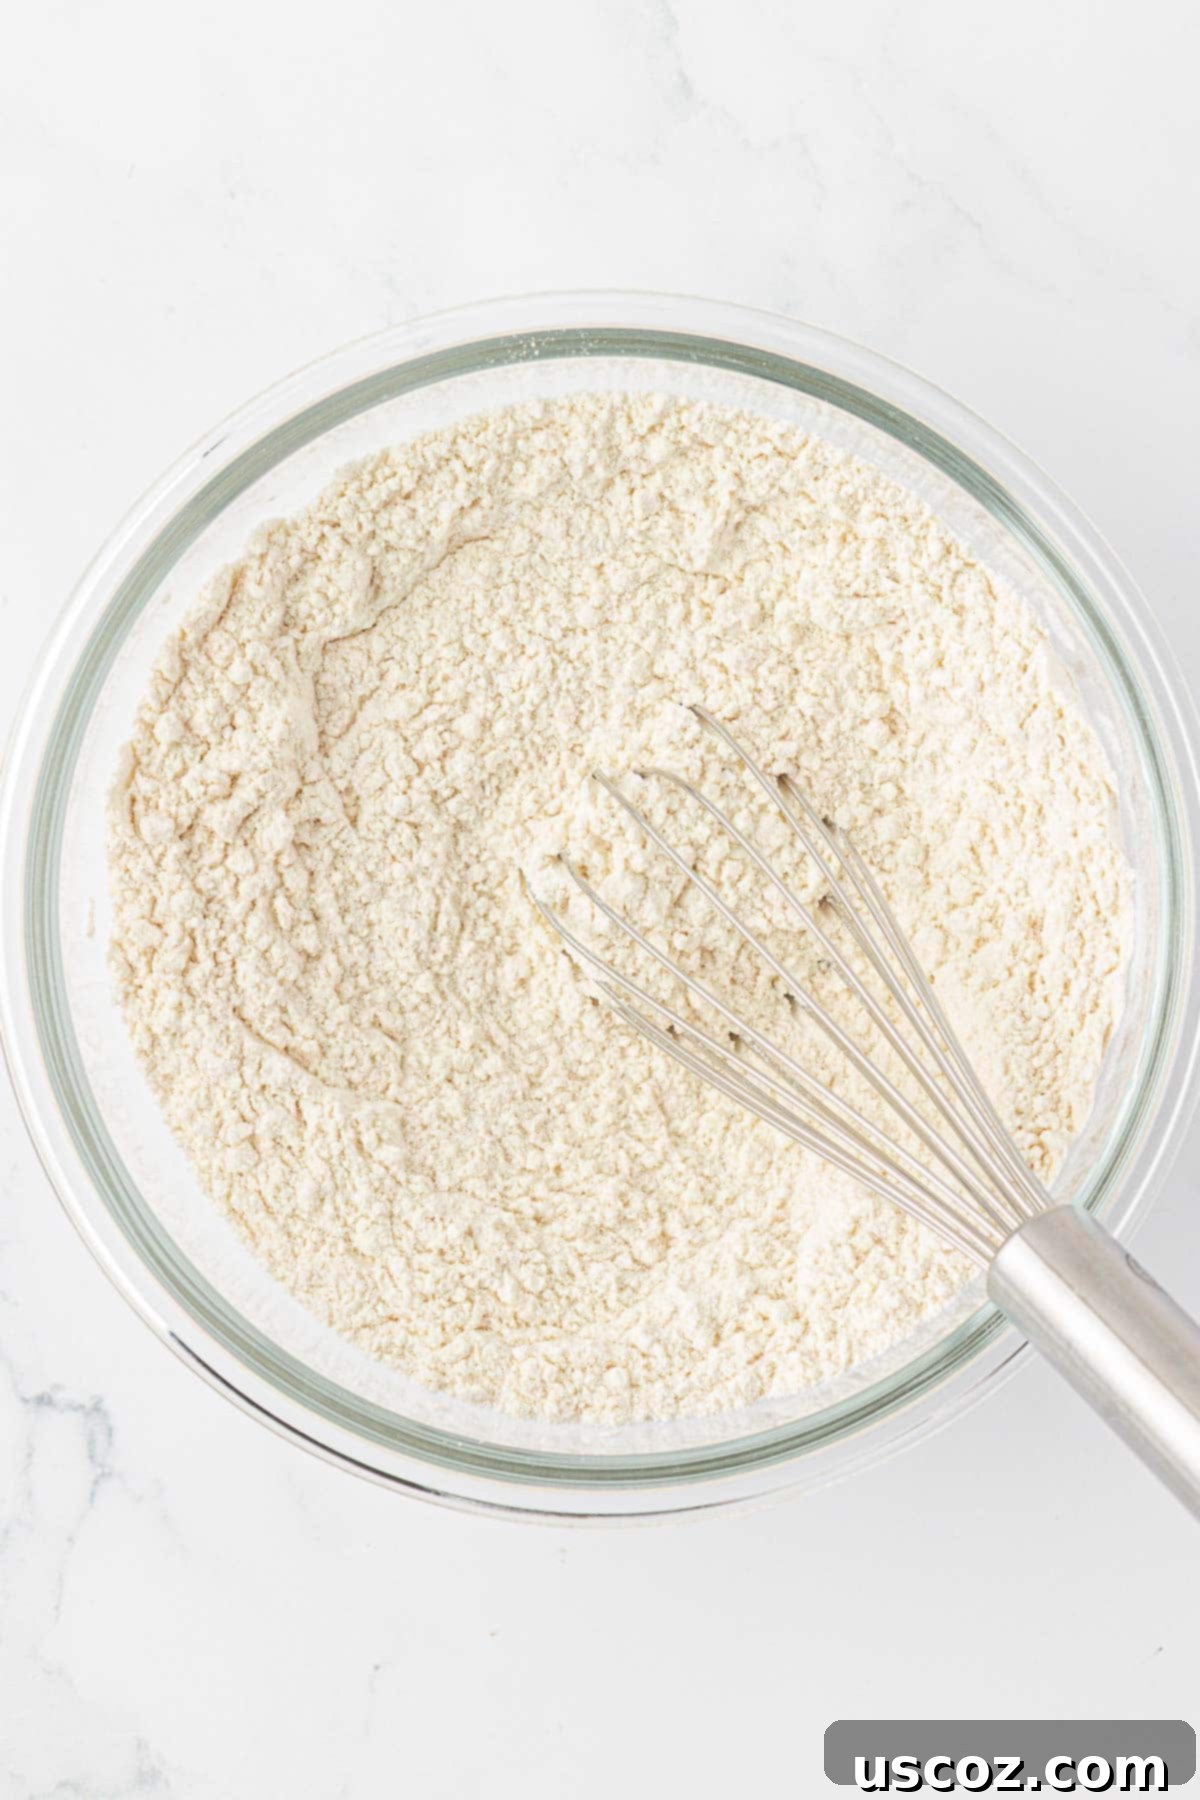
Step 1: Combine the Dry Ingredients. In a large mixing bowl, whisk together the all-purpose flour, baking powder, and salt. Whisking ensures these dry ingredients are thoroughly combined and evenly distributed, which is crucial for a consistent rise and texture in your waffles.
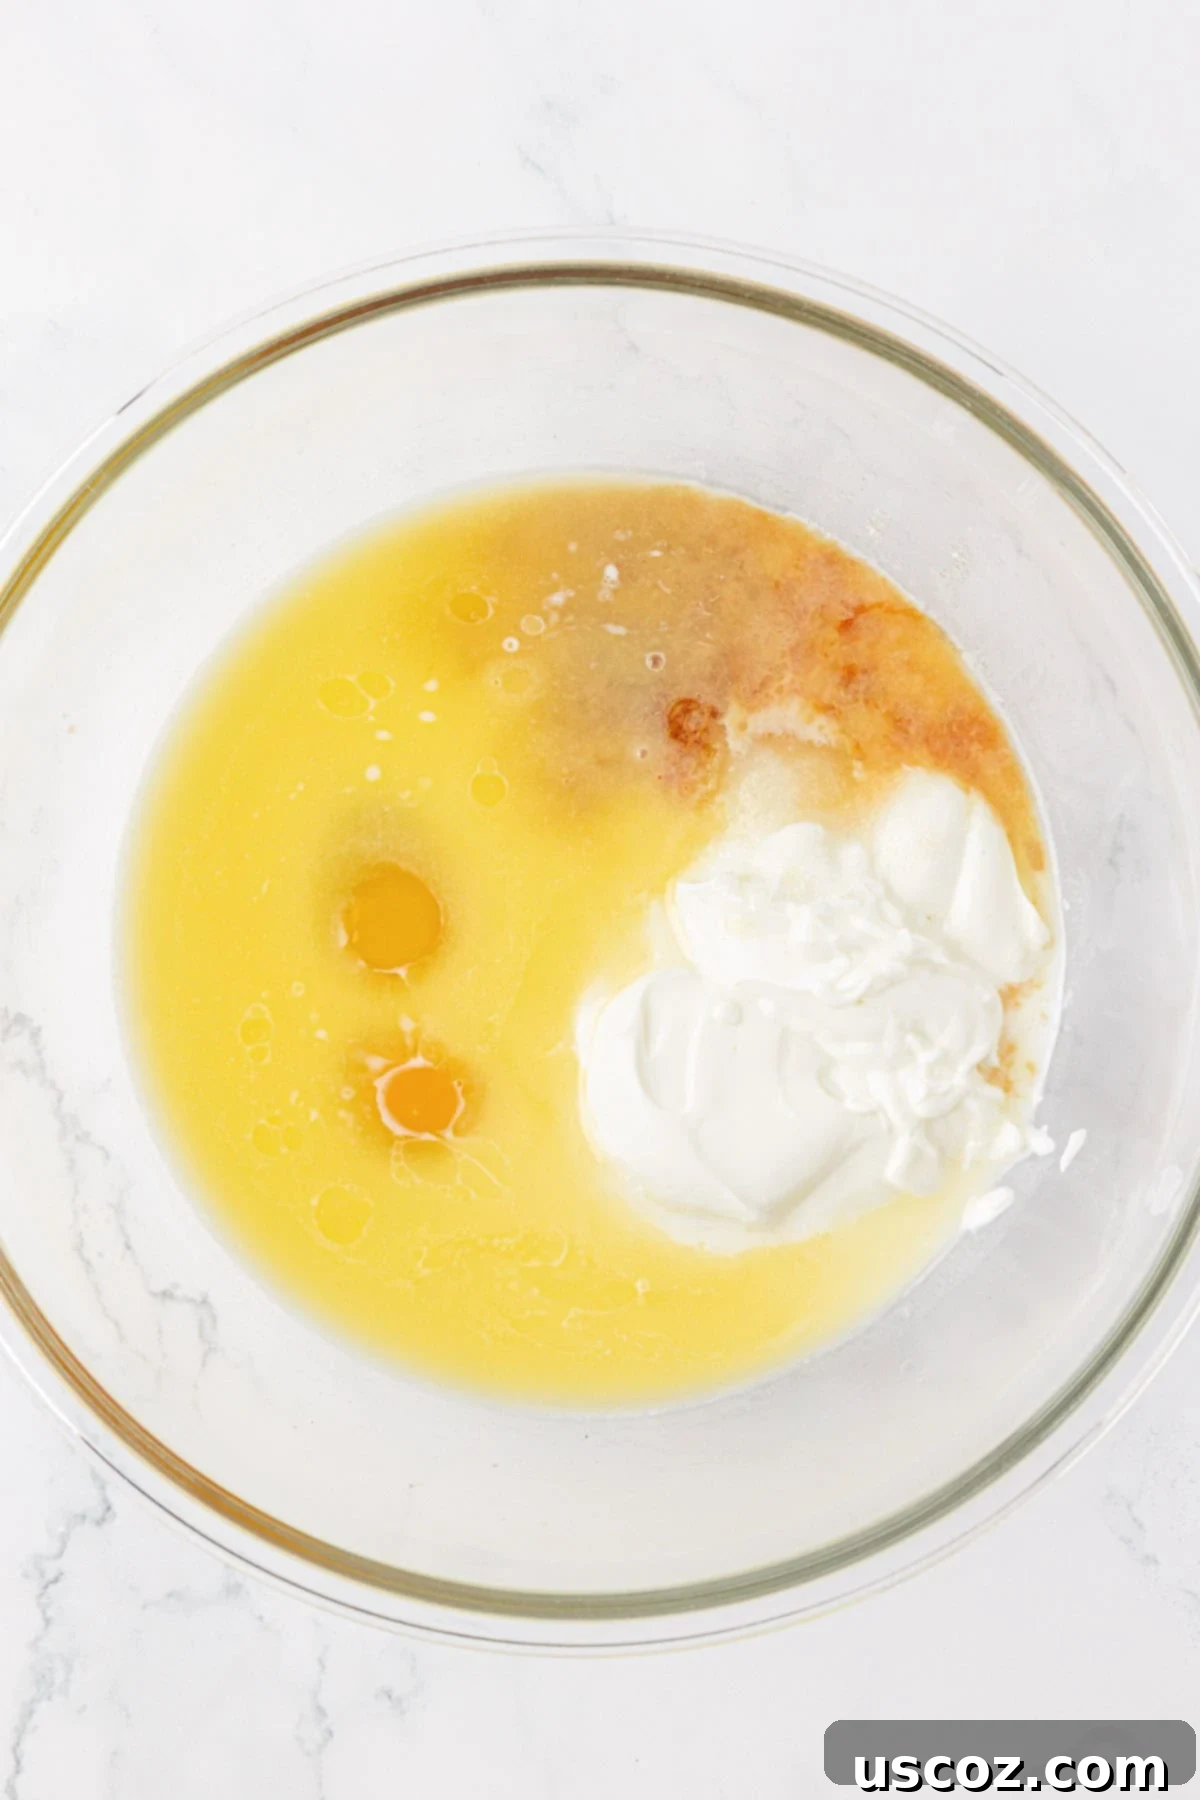
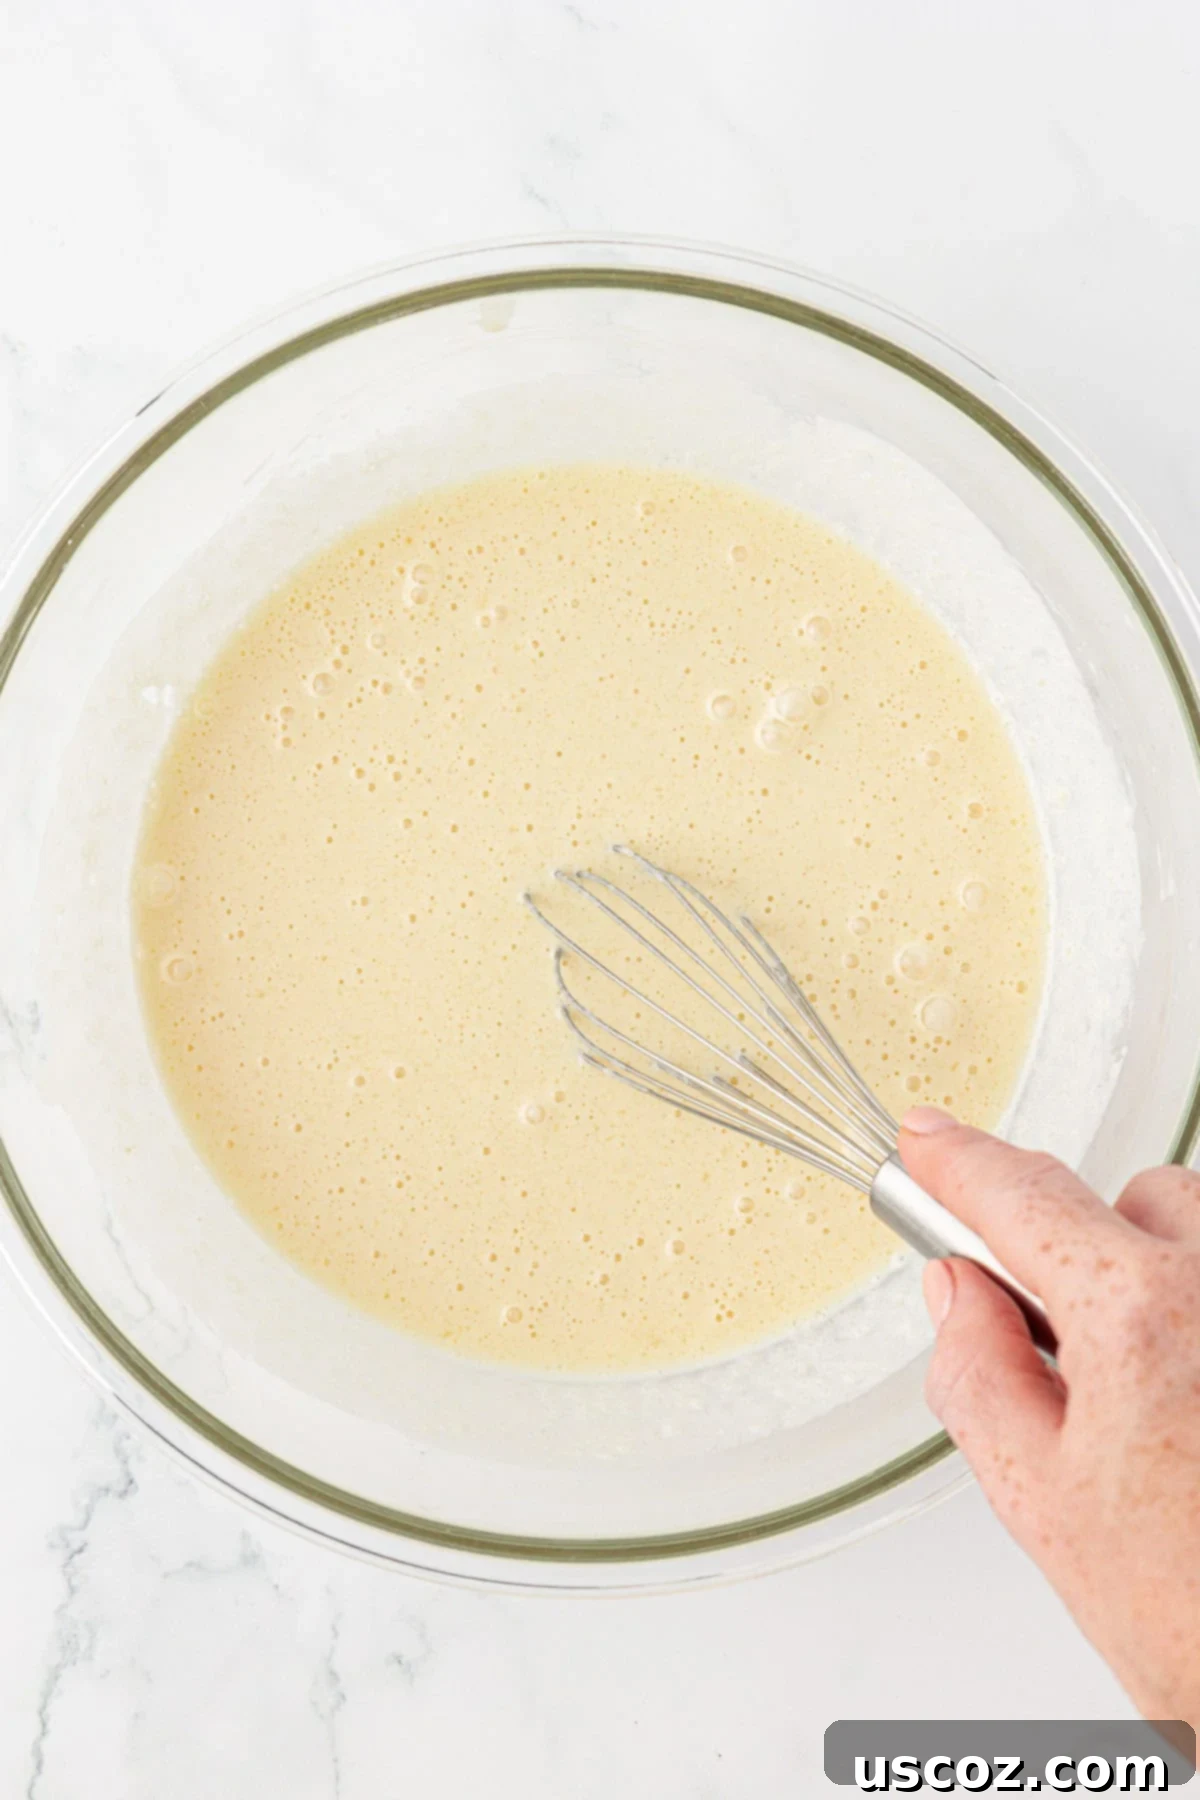
Step 2: Mix the Wet Ingredients. In a separate, medium-sized bowl, whisk together the granulated sugar, plain Greek yogurt, whole milk, melted (and slightly cooled) unsalted butter, eggs, and vanilla extract. Whisk until all these wet ingredients are fully incorporated and smooth. It’s important for the butter to be slightly cooled so it doesn’t scramble the eggs.
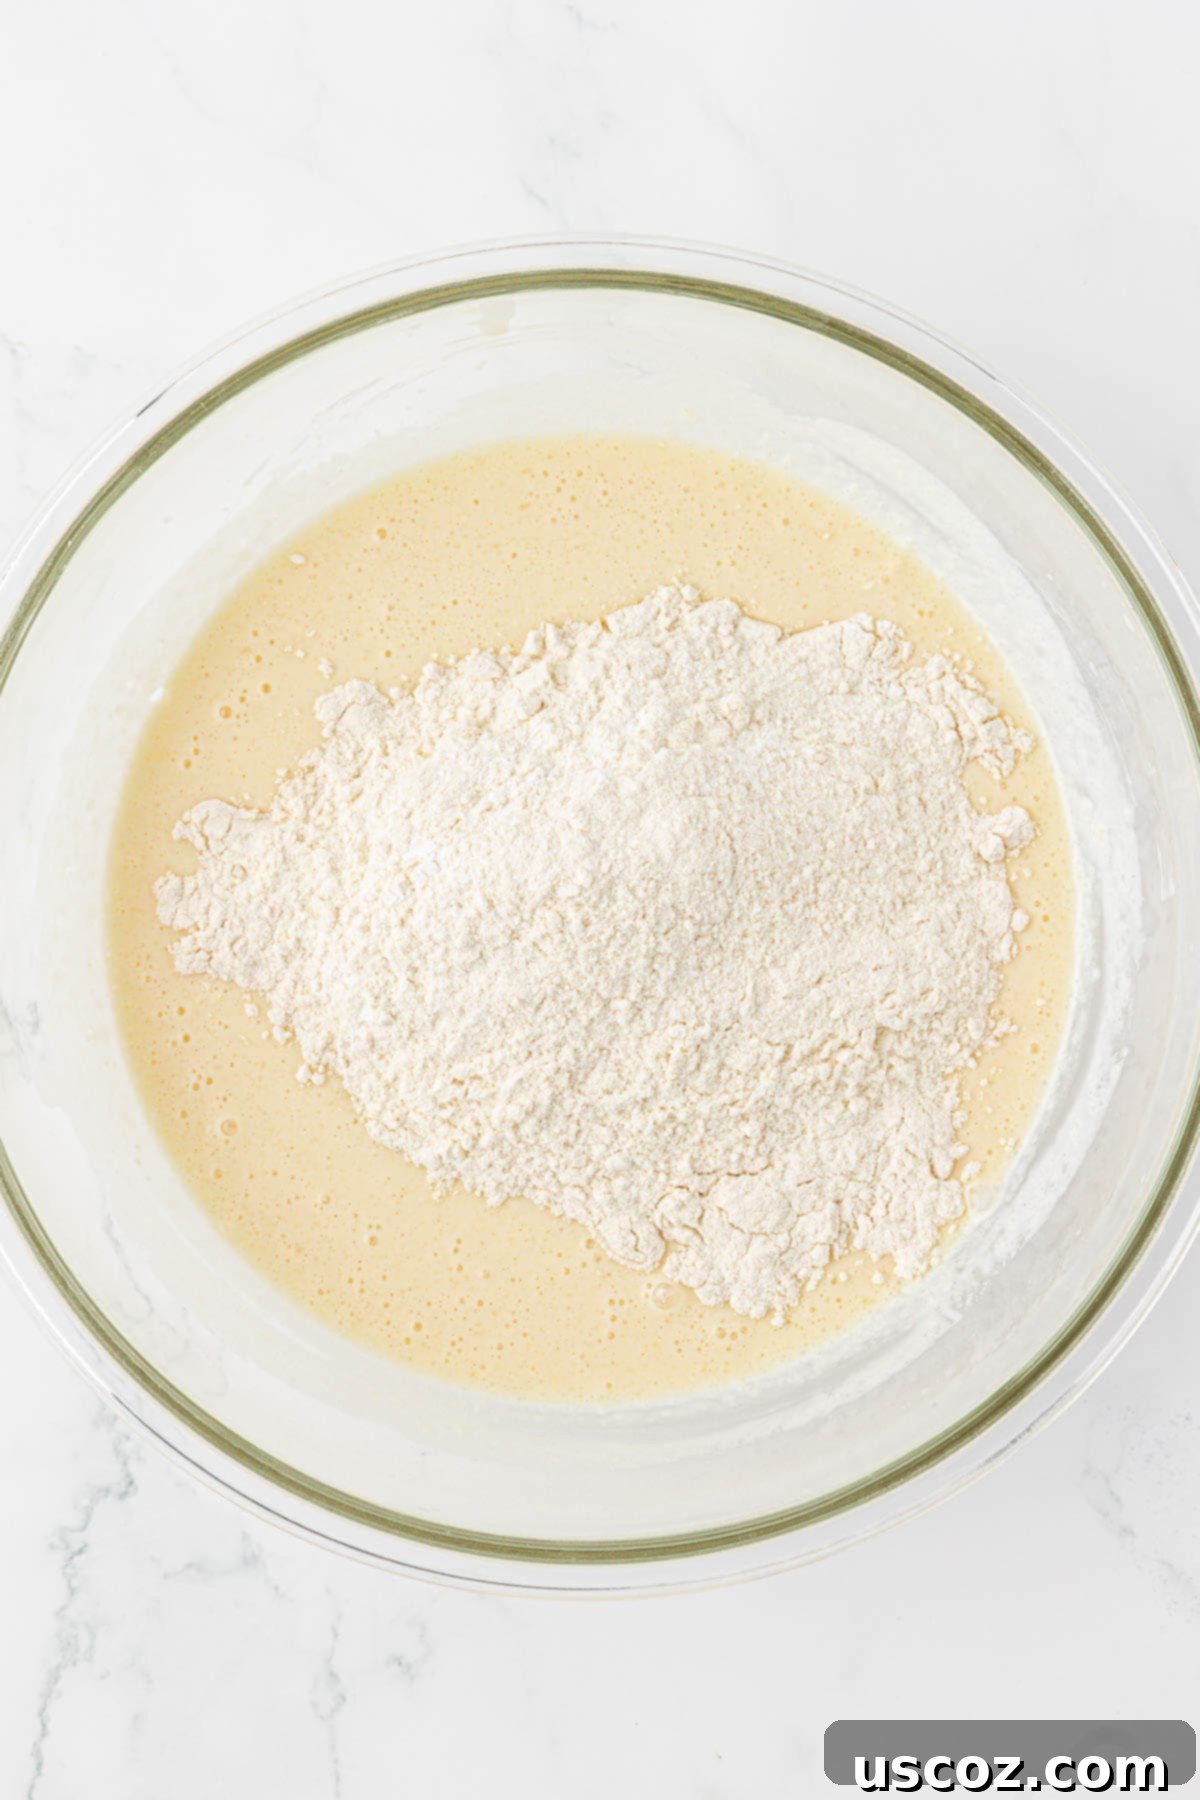
Step 3: Gently Combine Wet and Dry Mixtures. Pour the wet ingredients into the bowl with the dry ingredients. Using a rubber spatula, gently fold the ingredients together until they are *just combined*. It’s crucial not to overmix the batter. A few lumps are perfectly fine and even desirable; overmixing can lead to tough, dense waffles rather than the light and fluffy ones we’re aiming for.
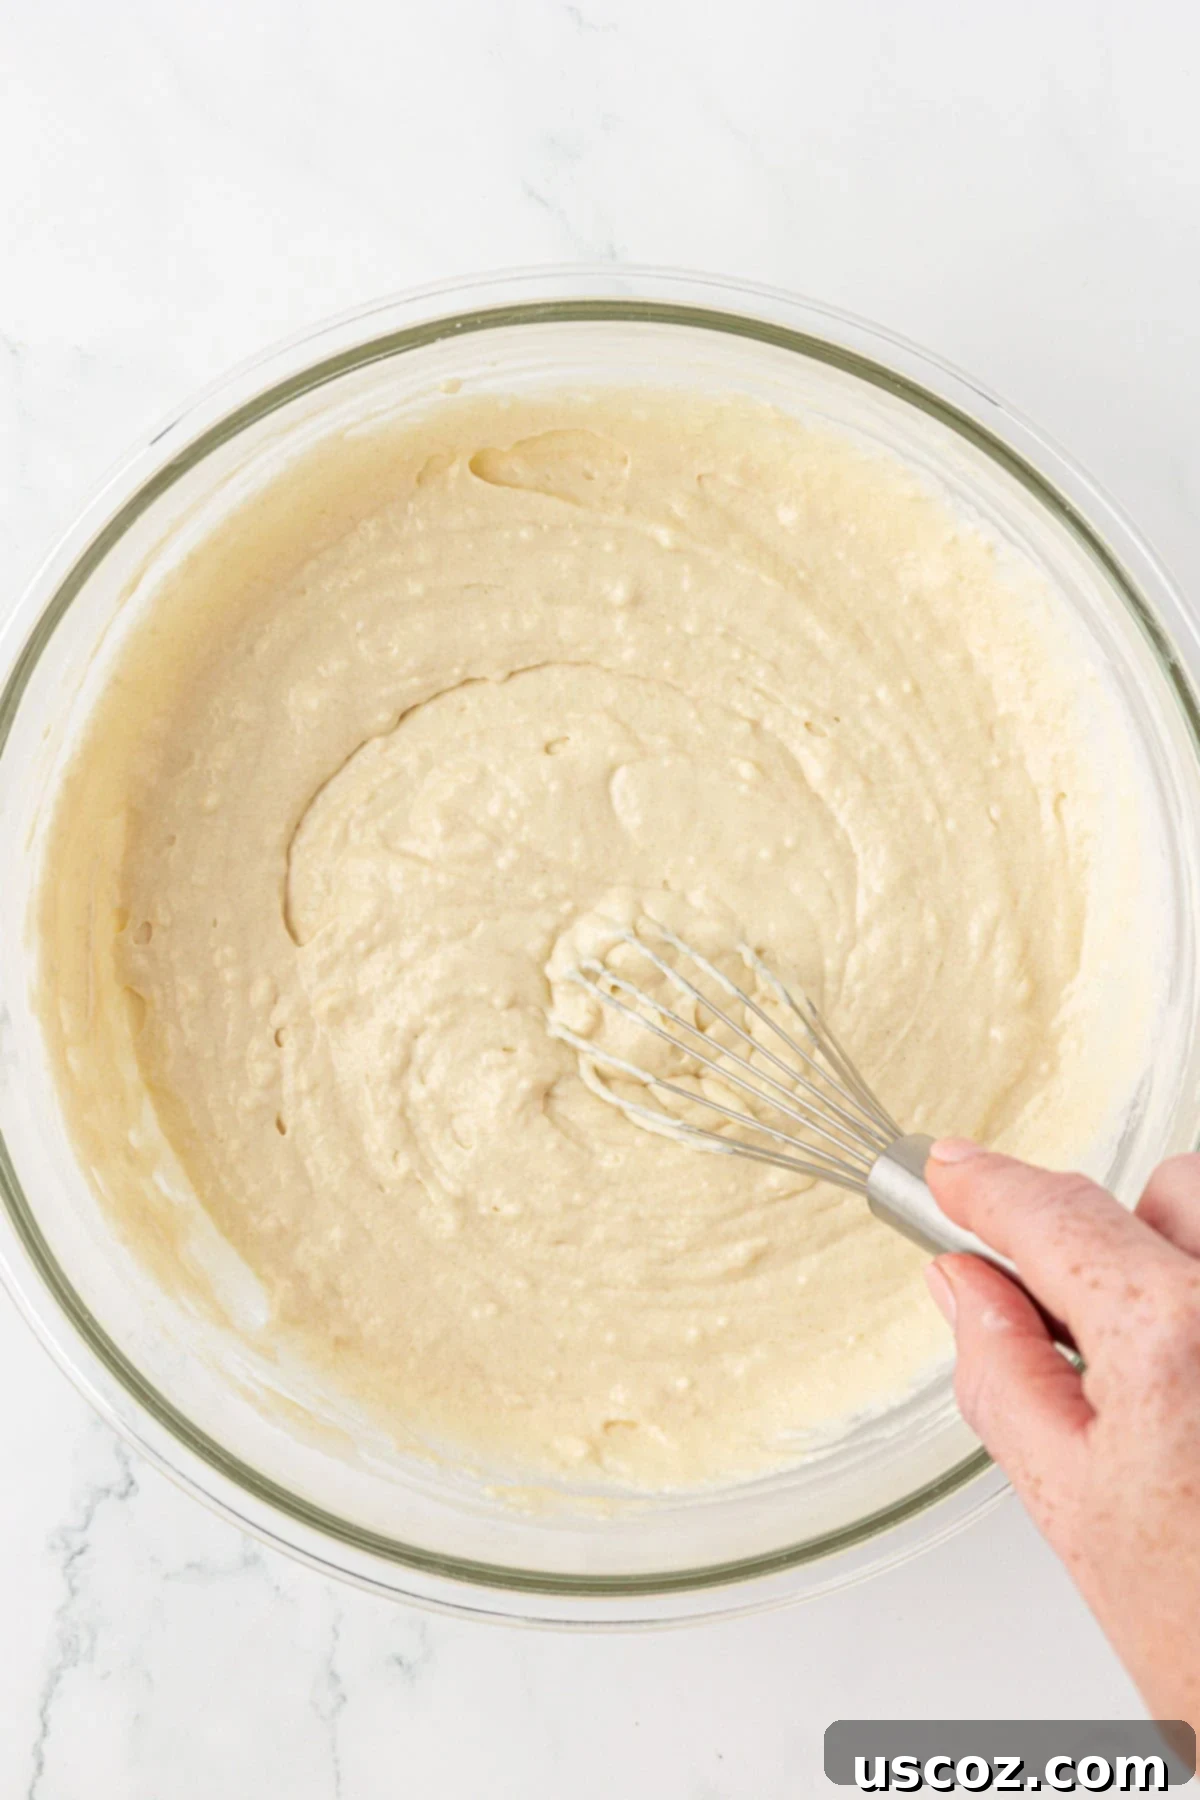
Step 4: Prepare Your Waffle Maker. Heat your waffle maker (whether it’s a mini or full-sized one) according to the manufacturer’s instructions. Once heated, lightly spray or brush the grids with olive oil or another neutral cooking oil. This step is essential for preventing sticking and achieving that perfect golden-brown crispness.
Recipe Tip: Waffle Maker Care
For the longevity of your waffle maker’s nonstick coating and easier cleaning, always opt for a hand-pump olive oil spray or brush oil directly onto the grids. Avoid aerosol cooking sprays, as they can leave a sticky residue that builds up over time and degrades the nonstick surface.
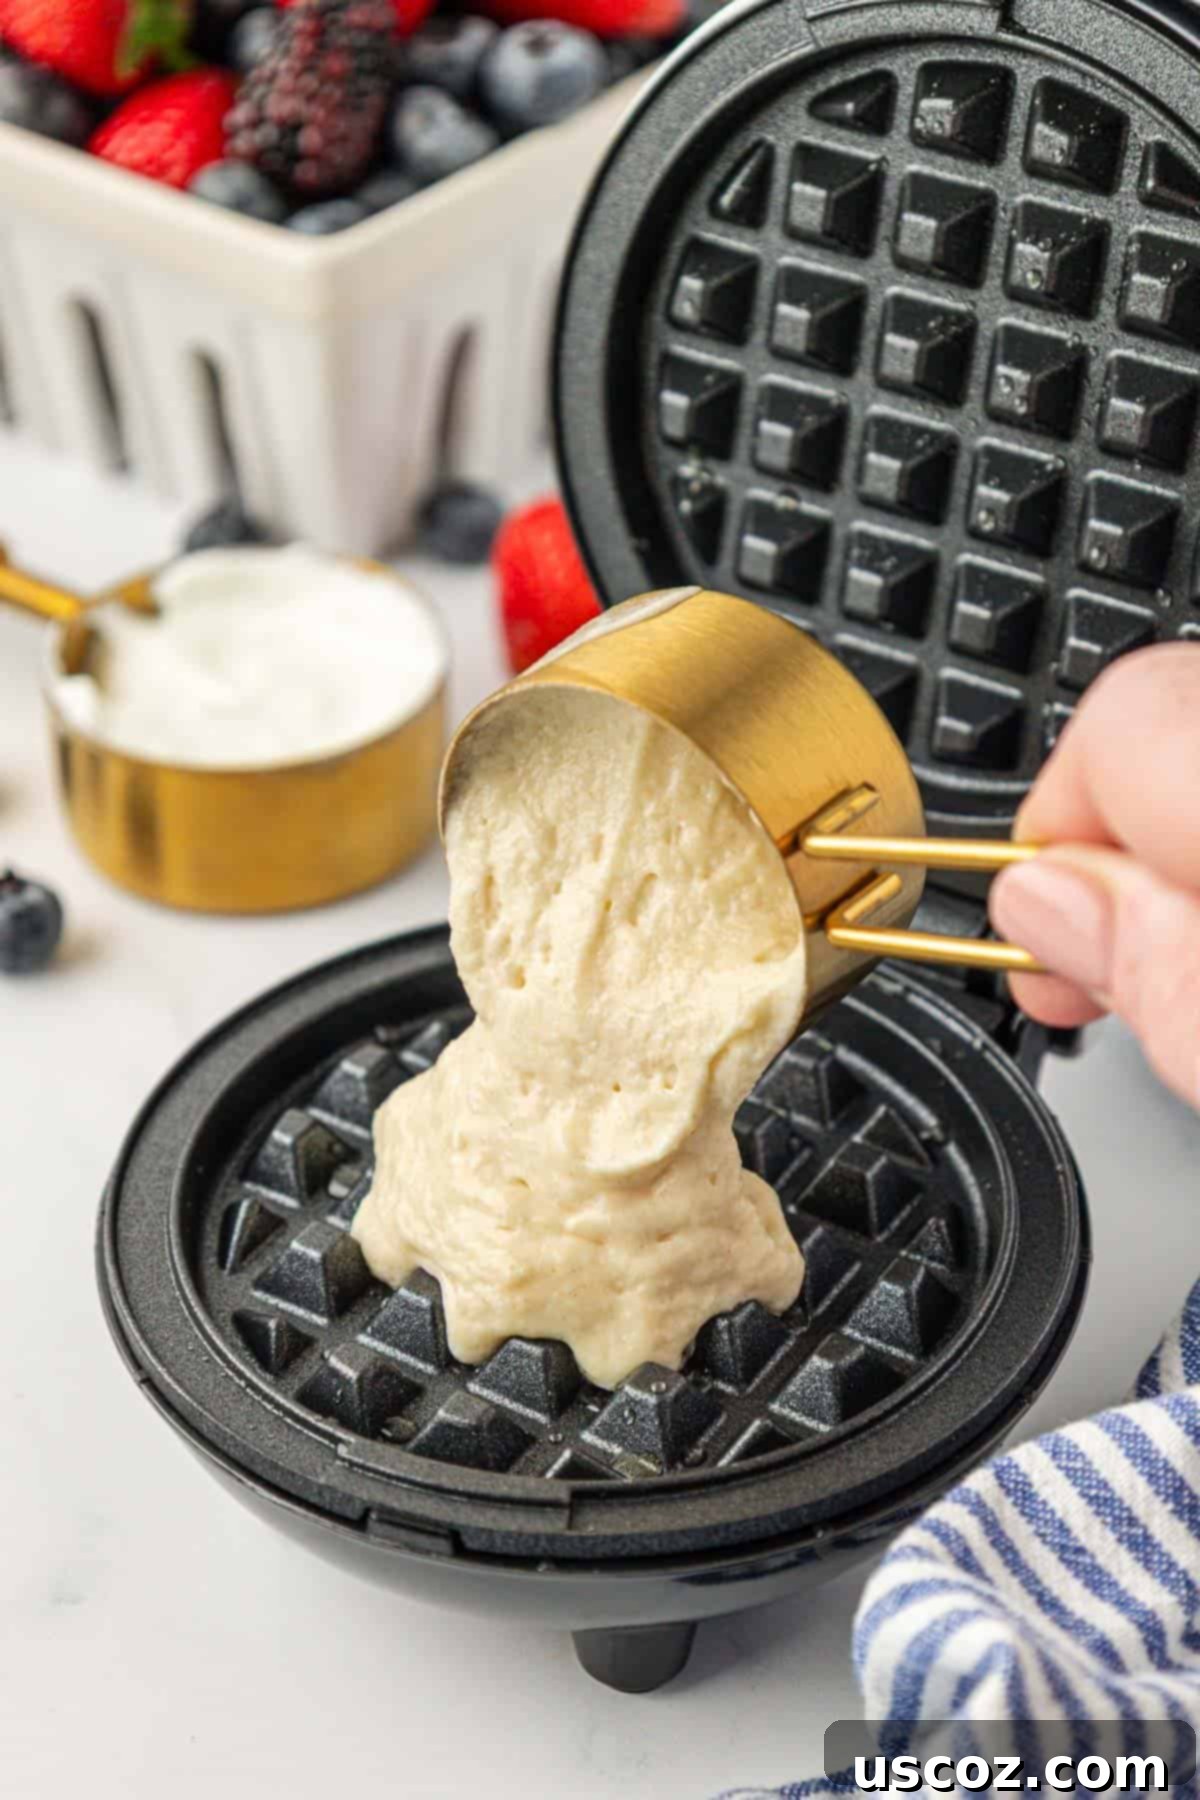
Step 5: Cook Your Waffles. Once the waffle maker is hot and oiled, pour approximately ¼ cup of batter for mini waffles (or the recommended amount for your specific full-sized waffle iron) onto the center of the bottom grid. Close the lid and cook until the waffle is golden brown and steam stops escaping, usually 3-5 minutes depending on your waffle maker. Carefully remove the cooked waffle and place it on a wire rack while you cook the remaining batter. Remember to re-spray the waffle iron between each waffle, or as needed, to prevent sticking.
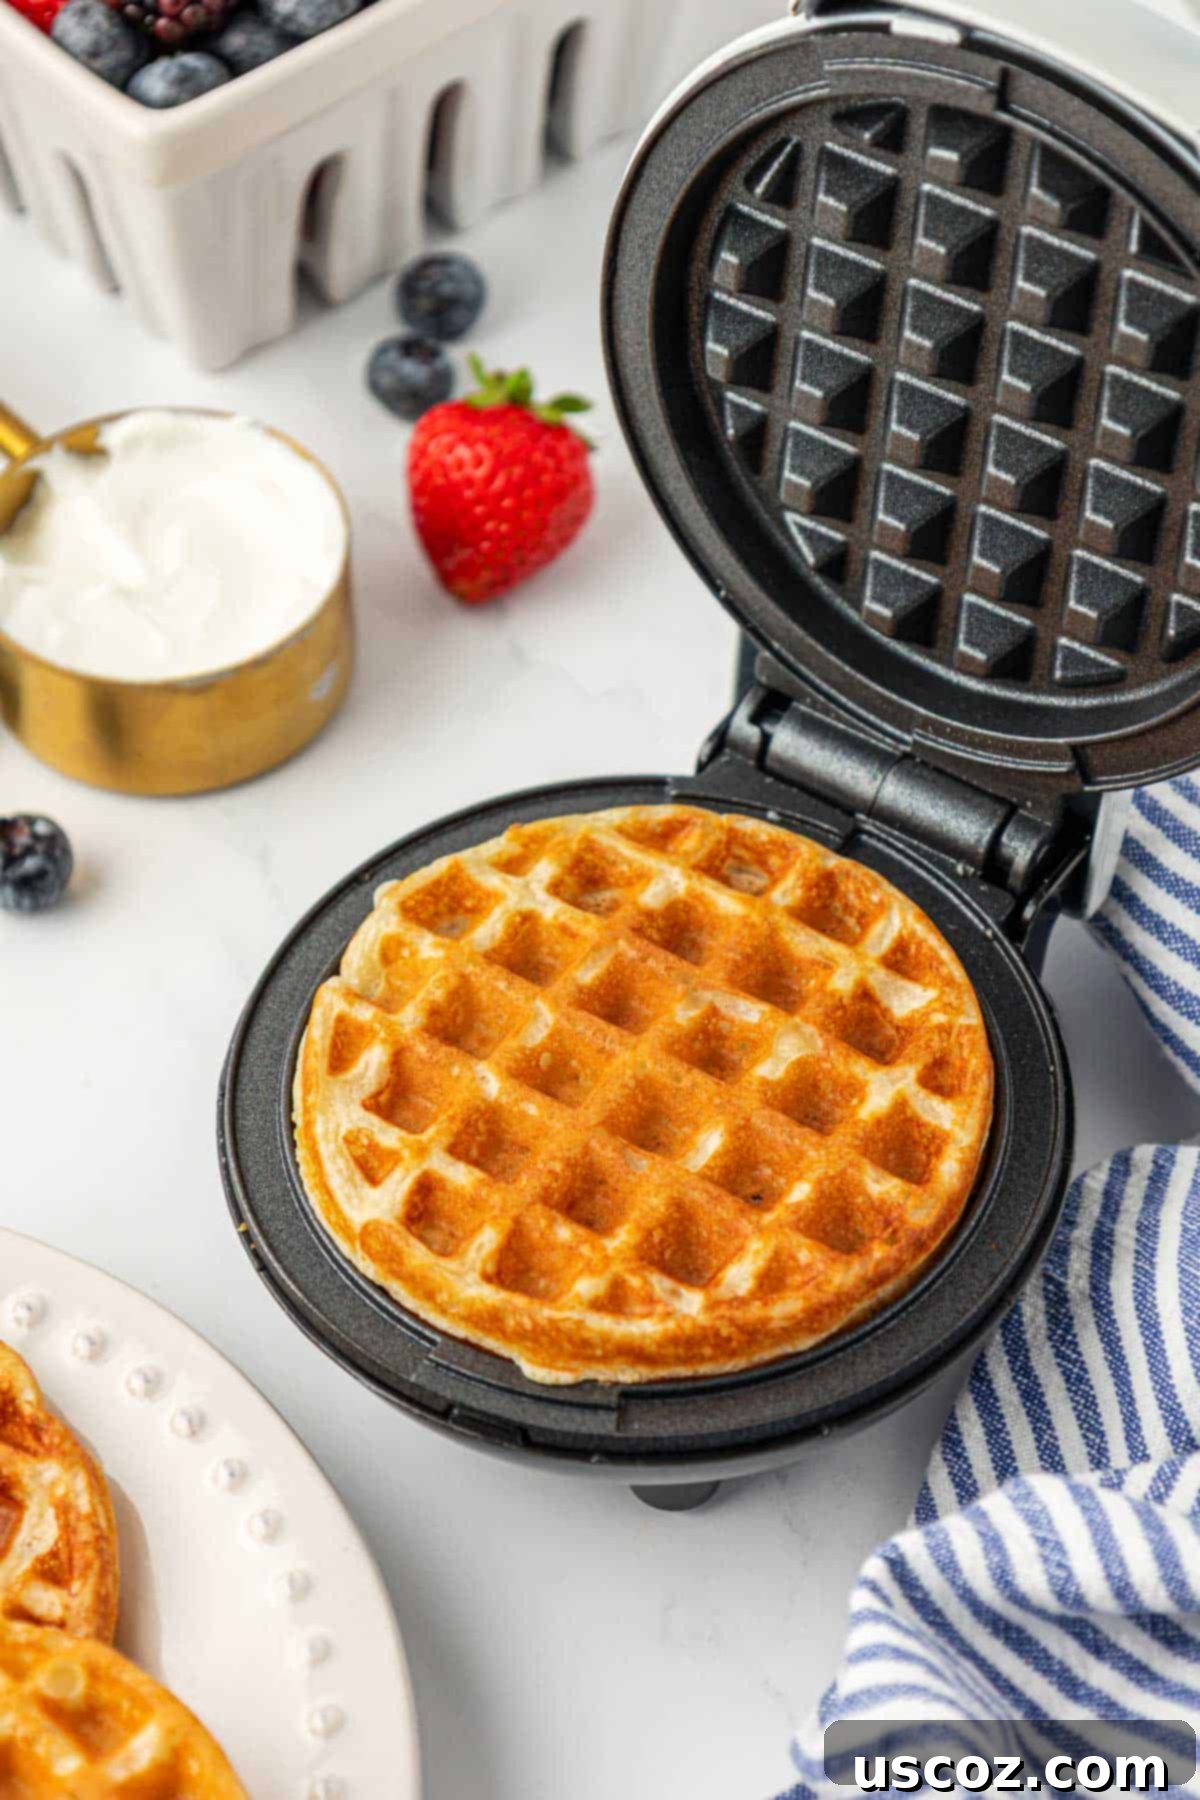
These waffles truly come together so quickly, making them an ideal choice even on the busiest mornings. Knowing I’m feeding my kids a breakfast that’s both delicious and made with more wholesome ingredients brings me so much joy!

Serving Suggestions for Your Greek Yogurt Waffles
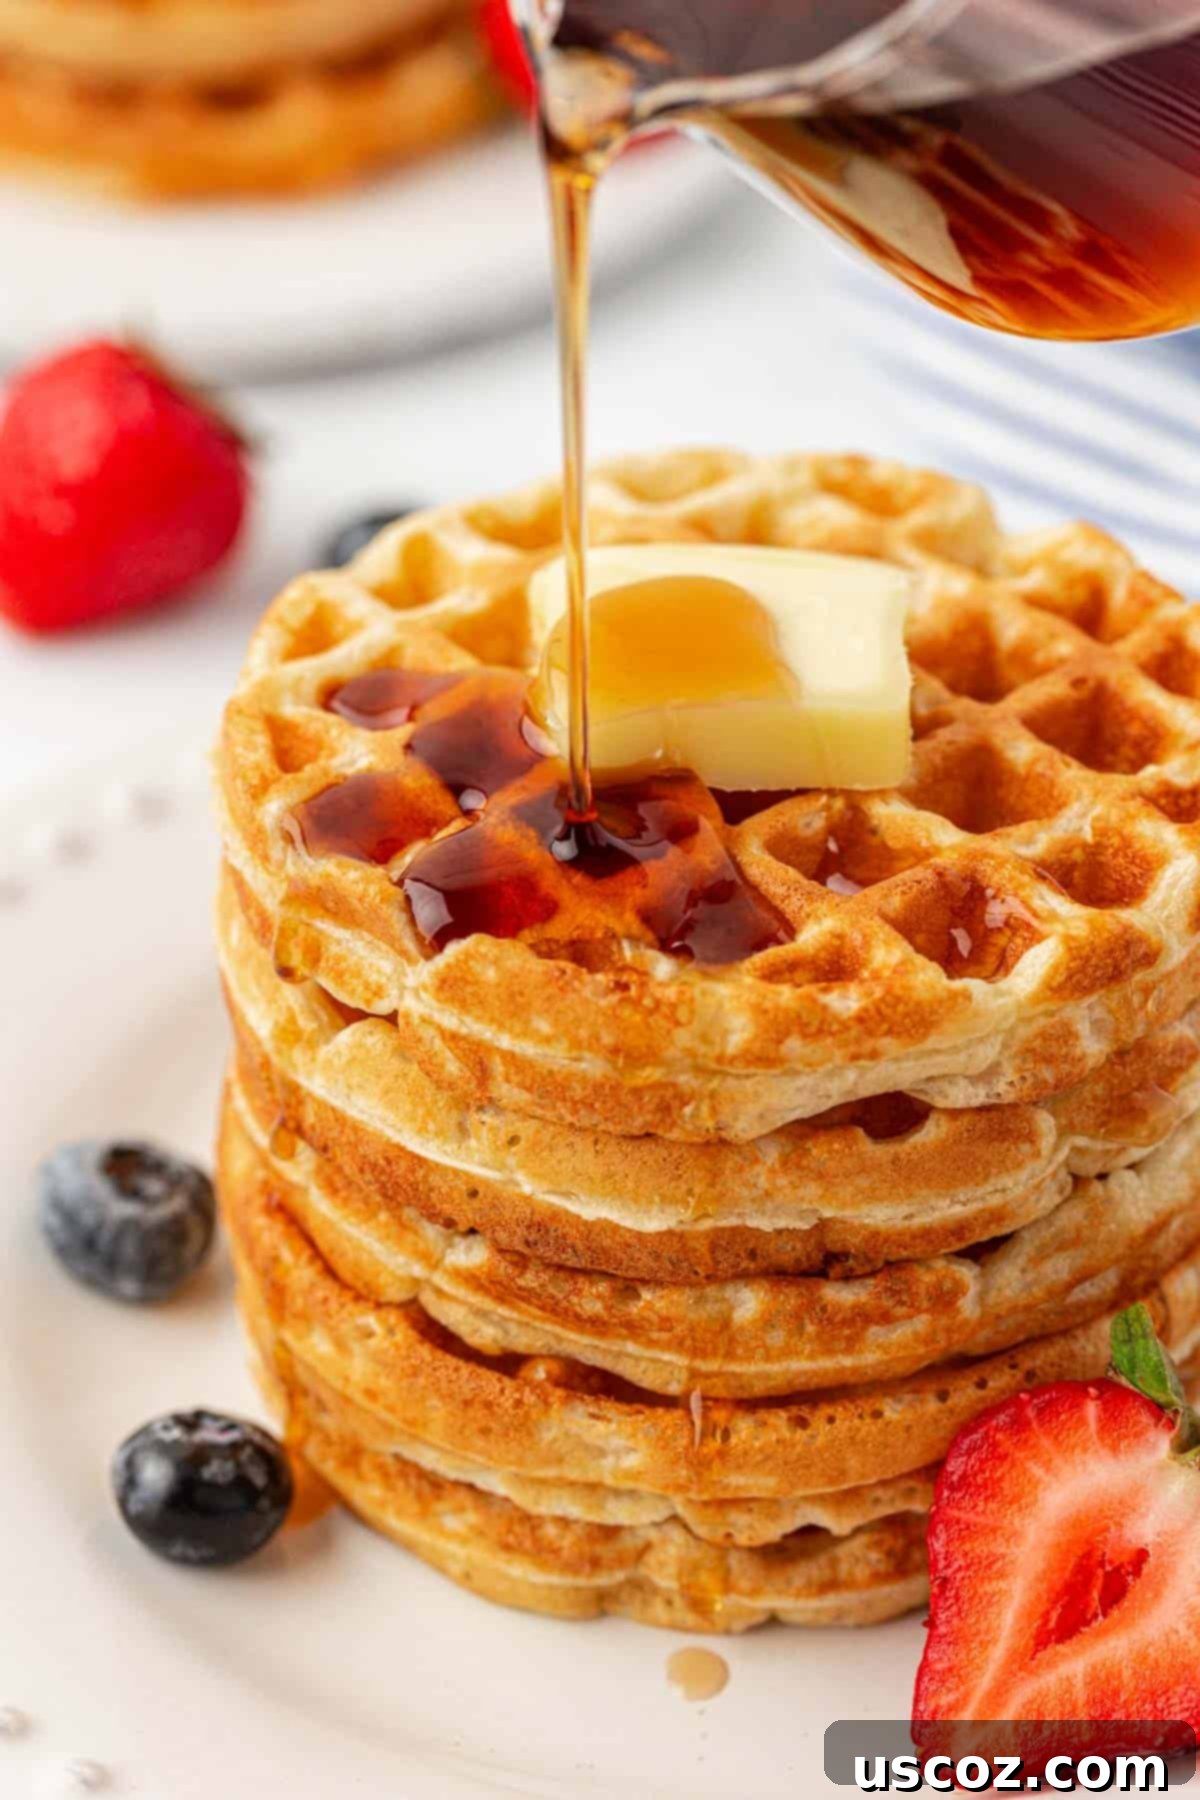
Once your Greek Yogurt Waffles are cooked to golden perfection, the fun begins with toppings! Here are some favorite ideas to elevate your breakfast:
- Classic Maple Syrup & Butter: A timeless combination that always satisfies.
- Fresh Fruits: Berries (strawberries, blueberries, raspberries), sliced bananas, peaches, or even a mixed fruit compote add natural sweetness and vibrant color.
- Whipped Cream or Extra Greek Yogurt: A dollop of whipped cream or a spoonful of extra Greek yogurt (plain or flavored) can add a creamy texture.
- Nuts & Seeds: A sprinkle of chopped walnuts, pecans, almonds, or chia seeds for added crunch and healthy fats.
- Chocolate Chips: For a sweet treat, scatter some mini chocolate chips over the warm waffles, allowing them to melt slightly.
- Honey or Agave Nectar: A lighter alternative to maple syrup.
Whether you’re craving light and fluffy waffles made with more wholesome ingredients or simply looking for a new family favorite, these Greek Yogurt Waffles are the perfect choice. Their unique texture and delicious flavor profile will impress everyone at the breakfast table.

Storing and Reheating Your Waffles
One of the best features of these Greek yogurt waffles is how well they store and reheat. They are truly an excellent option for meal prepping and busy mornings!
- Refrigerator: Store leftover waffles in an airtight container in the refrigerator for up to 4-5 days.
- Freezer: For longer storage, allow cooked waffles to cool completely. Then, place them in a single layer on a baking sheet and freeze until solid (this prevents them from sticking together). Once frozen, transfer them to a freezer-safe bag or airtight container. They will keep beautifully in the freezer for up to 3 months.
How to Reheat Frozen Waffles
- Toaster or Toaster Oven: This is the best method for regaining crispiness. Pop frozen waffles directly into the toaster or toaster oven on a medium setting until heated through and crispy.
- Oven: Preheat your oven to 350°F (175°C). Place frozen waffles on a baking sheet and heat for about 5-10 minutes, or until warm and slightly crispy.
- Microwave: While the quickest method, it won’t yield crispy waffles. Heat for 30-60 seconds, or until warm. Best for very quick warming before adding toppings.

Whether it’s a leisurely Saturday morning breakfast, a fun “breakfast for dinner” night, or just another hectic weekday, these Greek yogurt waffles are always a family favorite. Their versatility and delicious taste make them a go-to option that everyone will love.
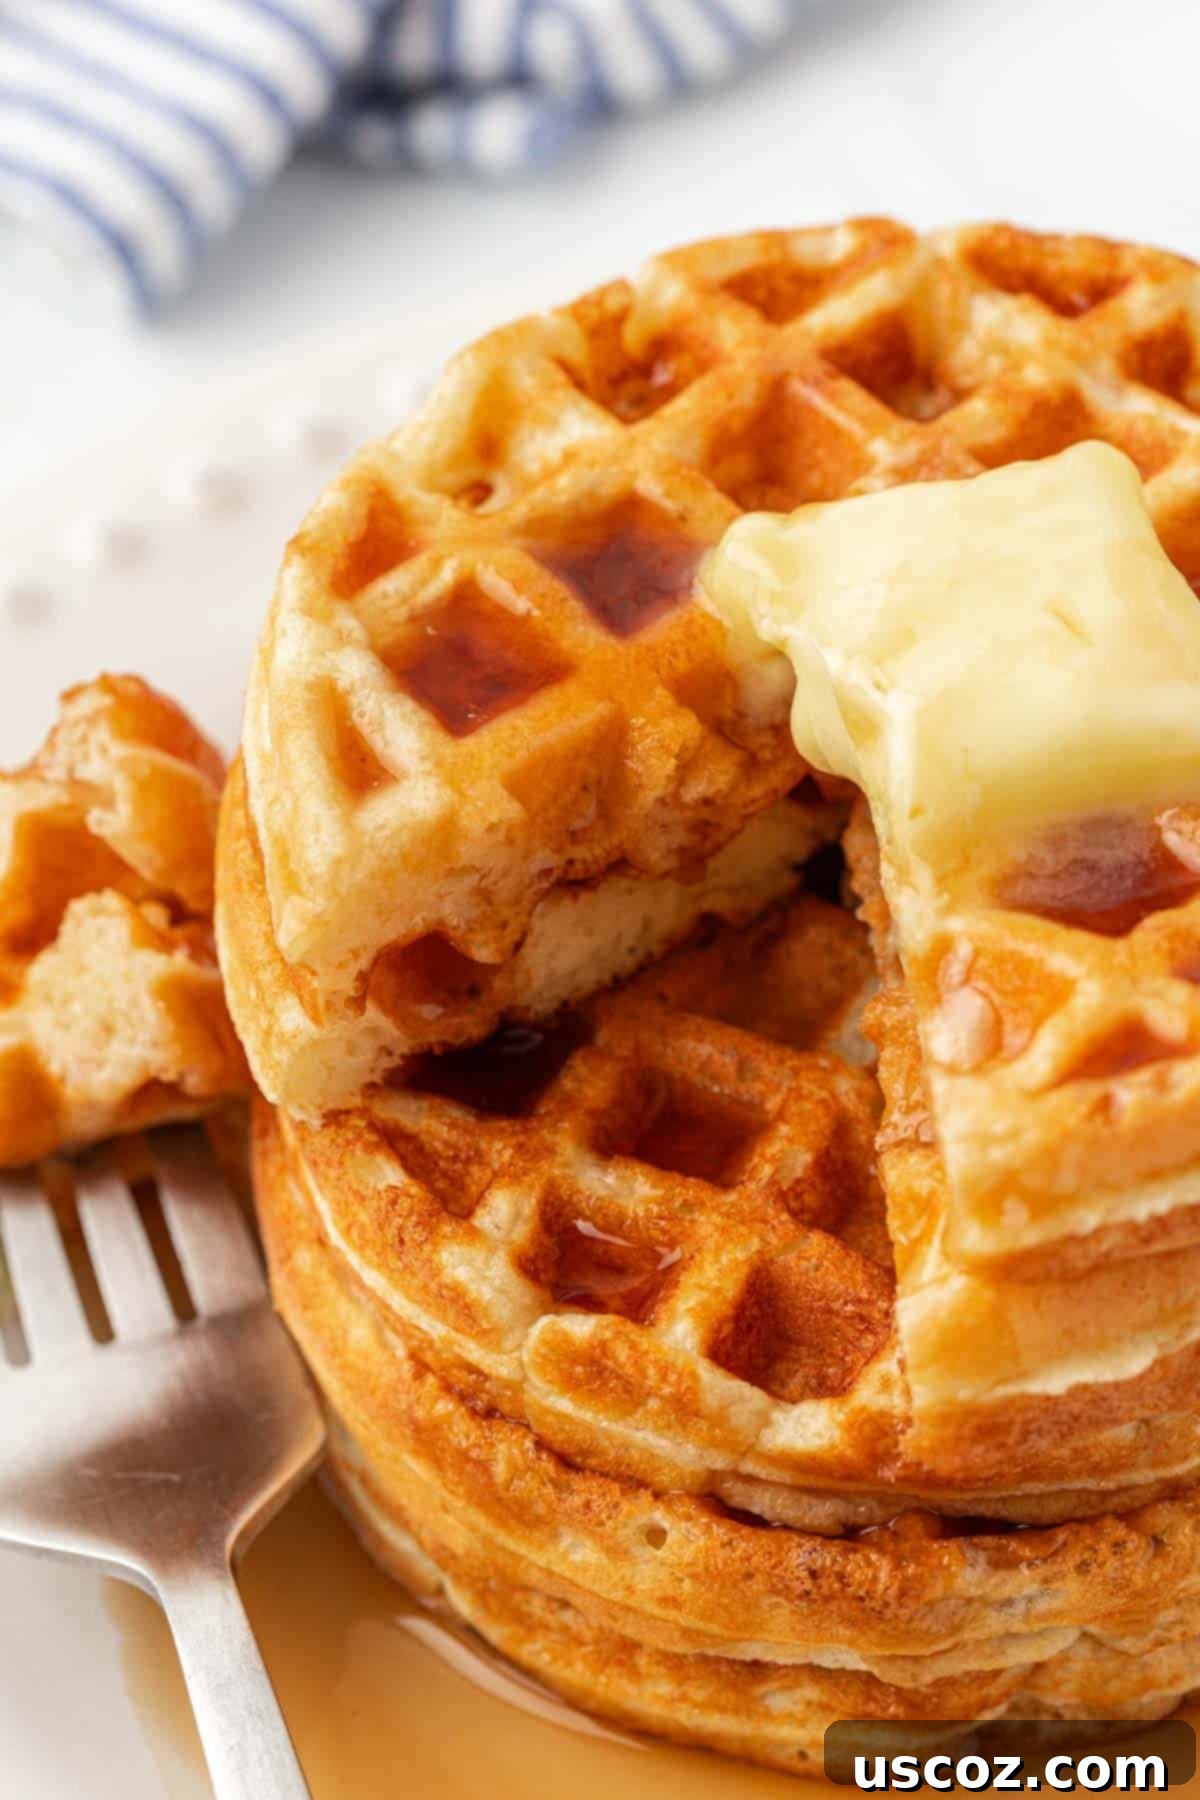
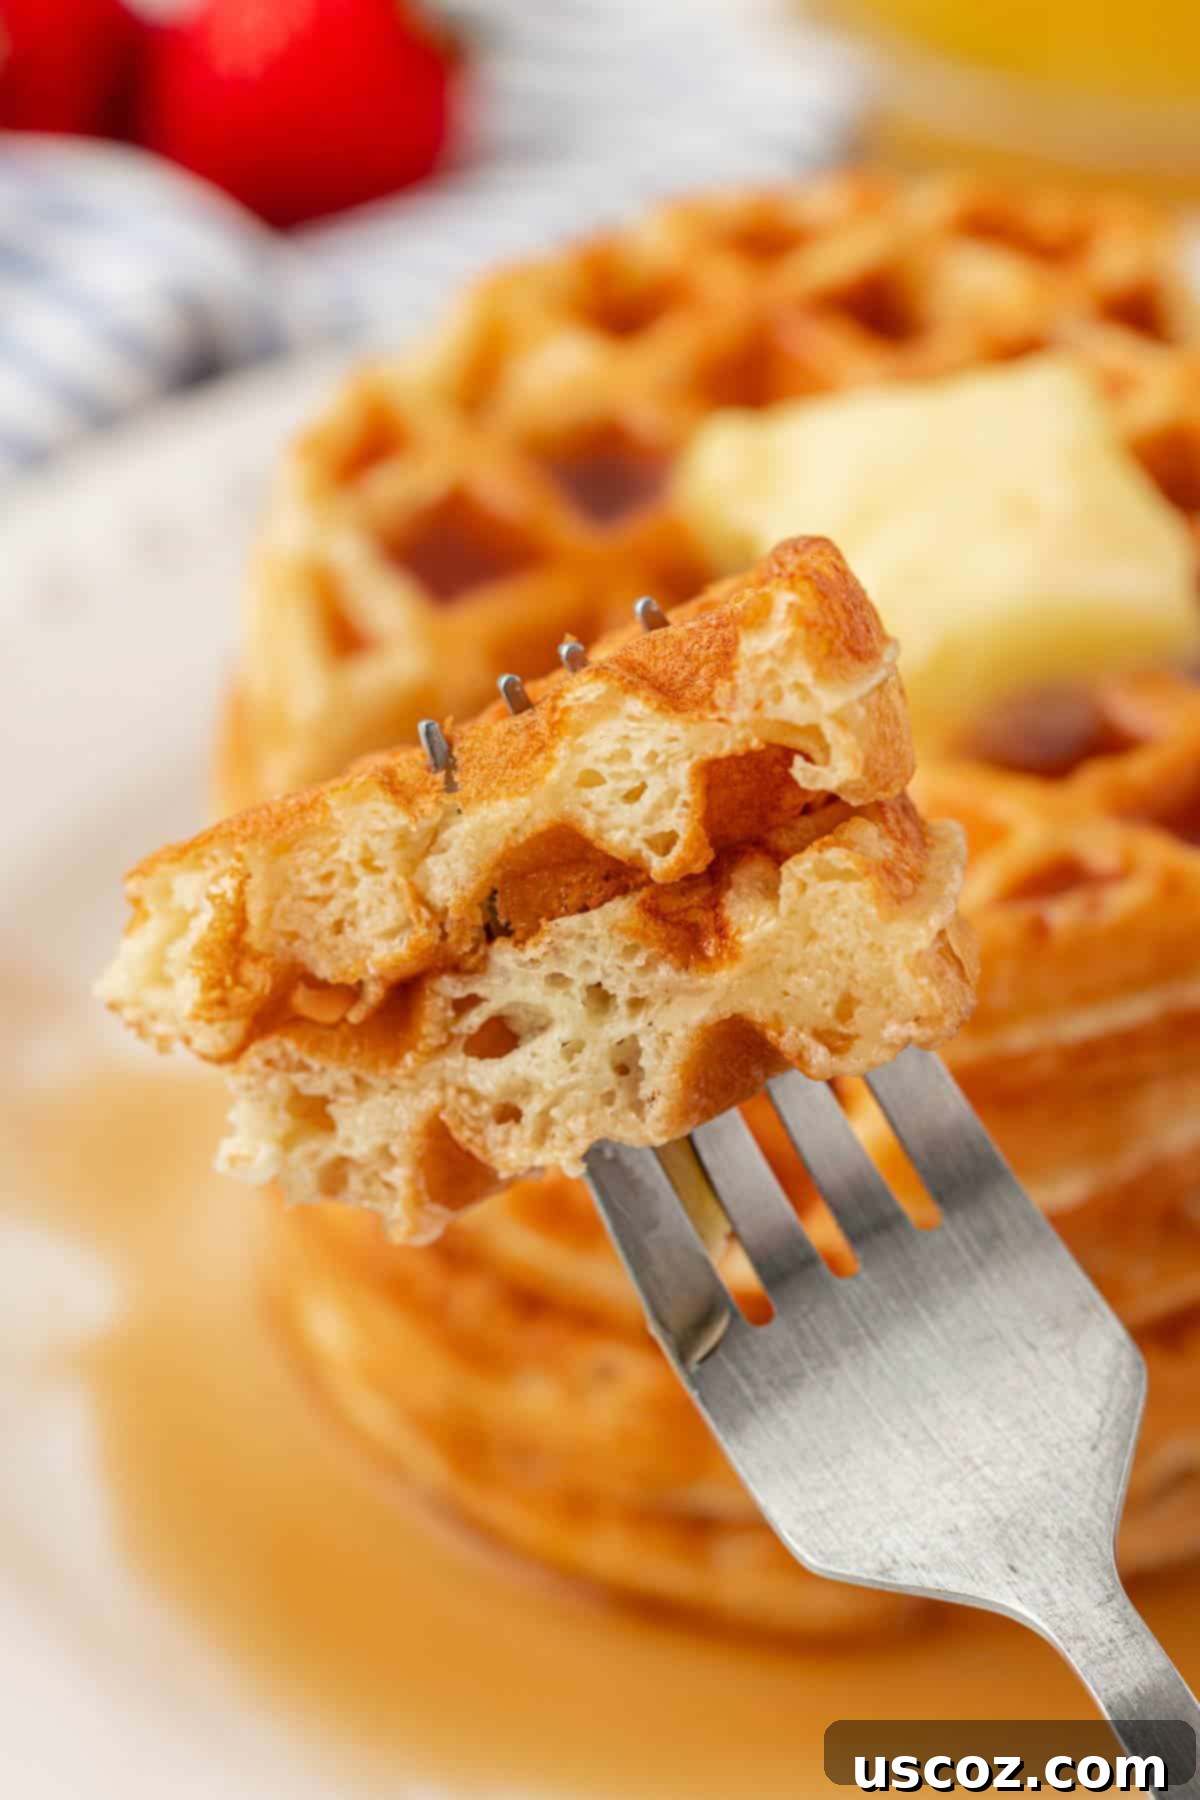
It’s genuinely hard to put into words the unique texture that Greek yogurt imparts to this recipe. It’s not just fluffy; it’s a light, airy, almost pillowy softness that is distinctively different and superior to any store-bought waffle. This secret ingredient transforms ordinary waffles into an extraordinary breakfast experience.
Waffle Troubleshooting & Tips for Success
- Waffles Sticking? Ensure your waffle iron is adequately preheated and well-oiled before adding batter. Over time, nonstick coatings can wear; a generous brush of oil can help.
- Not Crispy Enough? Avoid overmixing your batter, as this can develop gluten and lead to a less tender waffle. Also, ensure your waffle maker is fully preheated and that you’re cooking them long enough for the steam to escape, which helps create crispness.
- Waffles Not Fluffy? Check the expiration date on your baking powder. Old leavening agents are a common culprit for dense baked goods. Also, remember the “just combined” rule for mixing!
- Achieving Golden Brown: Different waffle makers have different heating efficiencies. If your waffles aren’t browning, try increasing the cooking time slightly or adjusting your waffle maker’s temperature setting if it has one.
I truly can’t wait for you to try these incredible Greek Yogurt Waffles. When you do, please make sure to leave a comment and a review below! Your feedback means the world, and I love hearing how much you enjoy these recipes. Happy waffling!
More Greek Yogurt Recipes to Love
If you’ve fallen in love with the magic of Greek yogurt in this waffle recipe, you’ll be thrilled to discover its versatility in other dishes. Here are some more of our favorite Greek yogurt-infused recipes:
- Oatmeal Cookie Mini Muffins
- Mini Blueberry Muffins
- Greek Yogurt Mac and Cheese
- Carrot Cake Snack Bars
- Mini Chocolate Chip Muffins
- Greek Yogurt Banana Bread
- Greek Yogurt Snack Cake
- Greek Yogurt Blueberry Muffins
- Greek Yogurt Banana Mini Muffins


Greek Yogurt Waffles
Save RecipeSaved!
Pin Recipe
Rate Recipe
Print Recipe
Ingredients
- 1 ½ cups all-purpose flour
- 3 teaspoons baking powder
- 2 tablespoons granulated sugar
- 1 cup plain unsweetened Greek yogurt
- ½ cup whole milk
- ¼ cup unsalted butter, melted and slightly cooled
- 2 eggs
- 1 teaspoon vanilla extract
- ¼ teaspoon salt
Instructions
-
Whisk together the flour, baking powder, and salt in a mixing bowl.
-
In a separate bowl, whisk together the sugar, Greek yogurt, milk, melted butter, eggs, and vanilla extract.
-
Add the dry ingredients to the wet and mix until just combined using a rubber spatula.
-
Heat a mini waffle maker and spray or brush it with olive oil.
-
Add ¼ cup of batter to the waffle maker and cook the waffle until done. Repeat for the remaining waffles, re-spraying the waffle maker as needed.
Nutrition
Like this recipe? Rate and comment below!
